Then, start the real job:
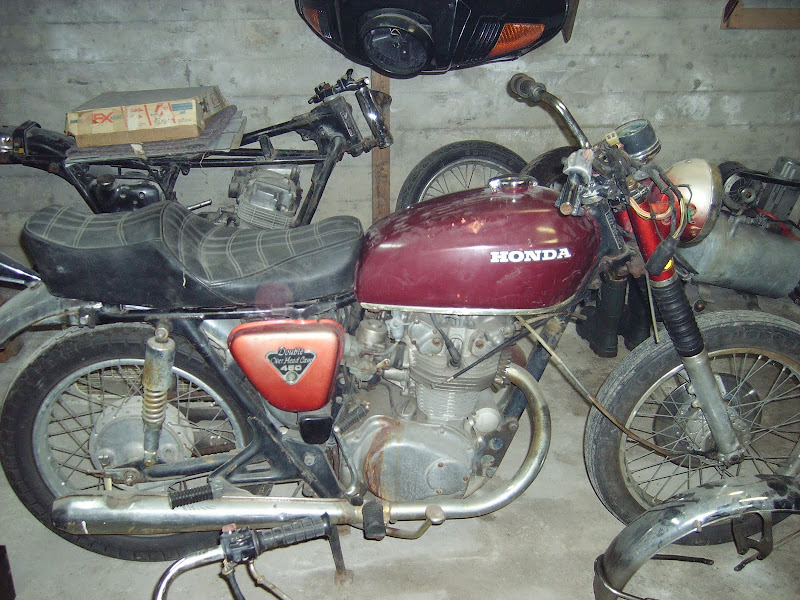
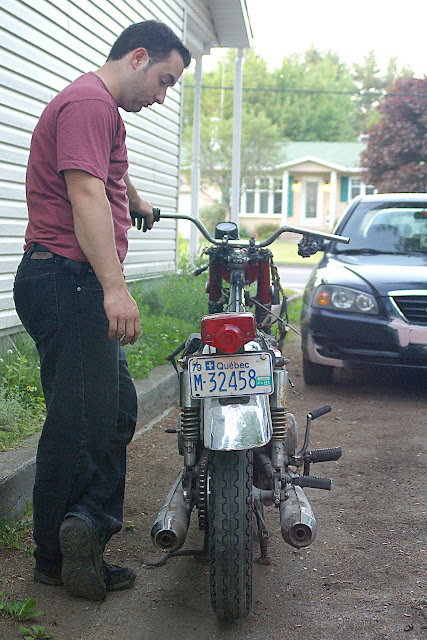
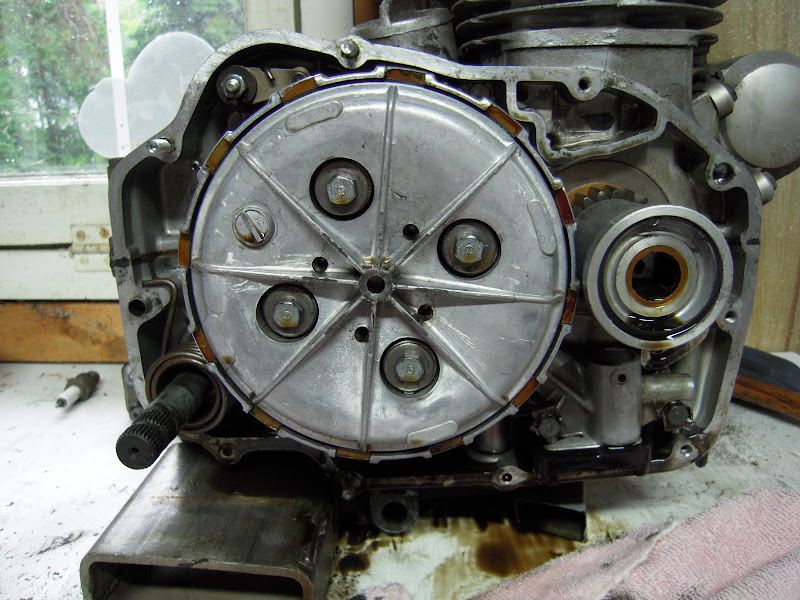
Motor out:
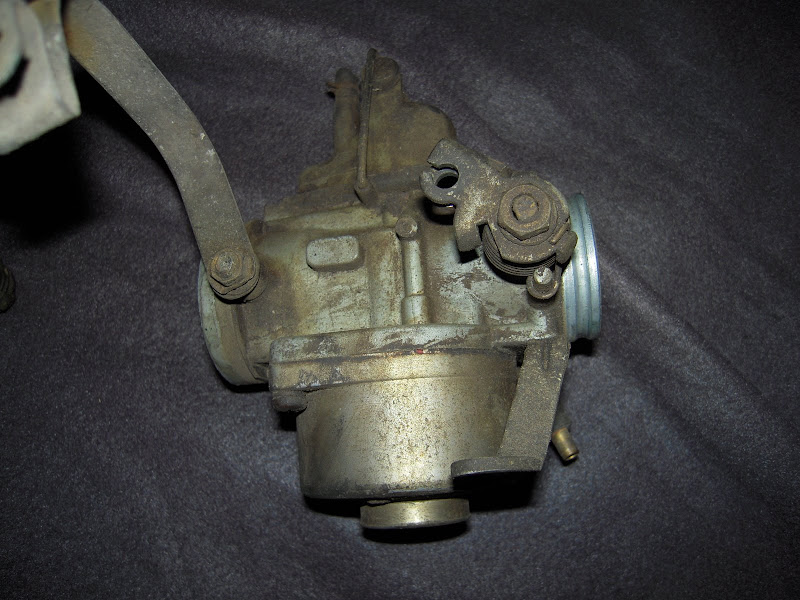
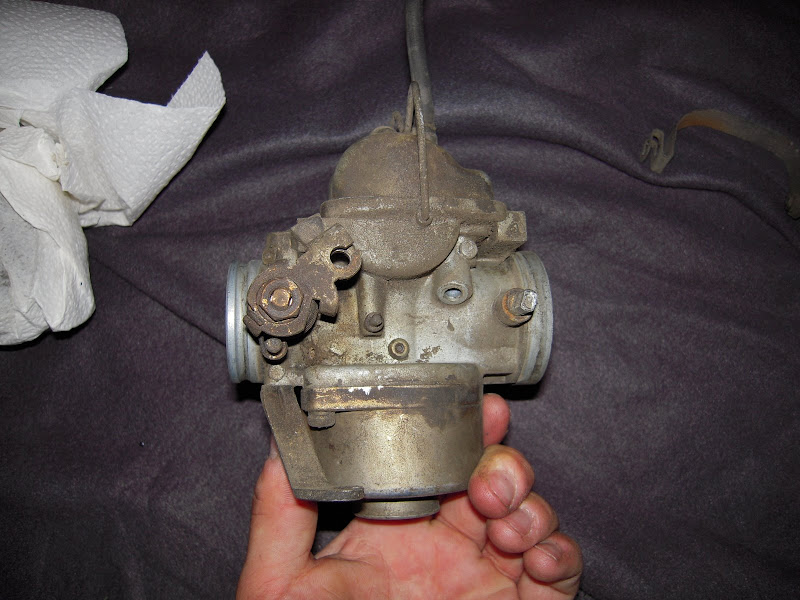
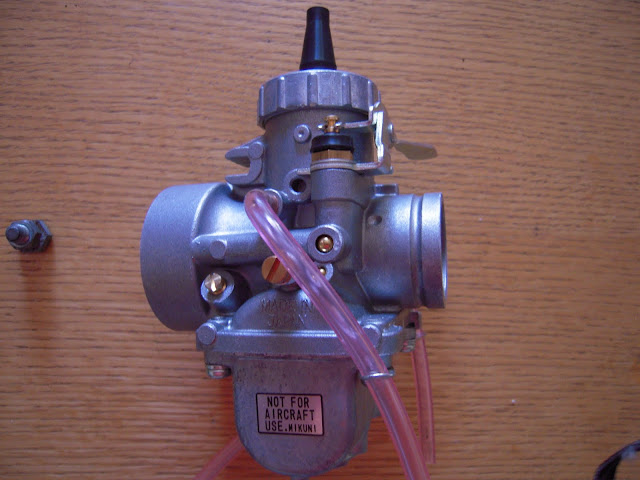
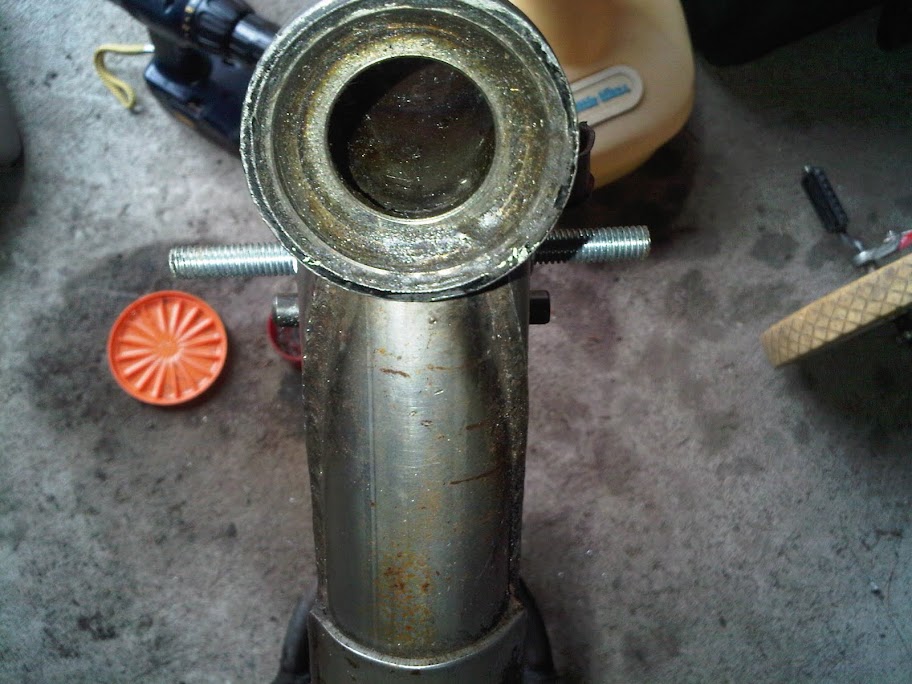
Dirty carb:
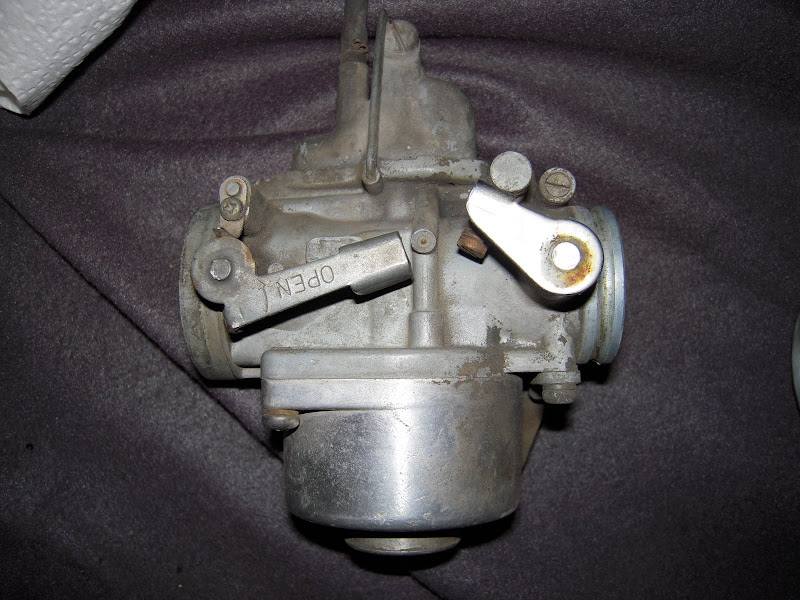
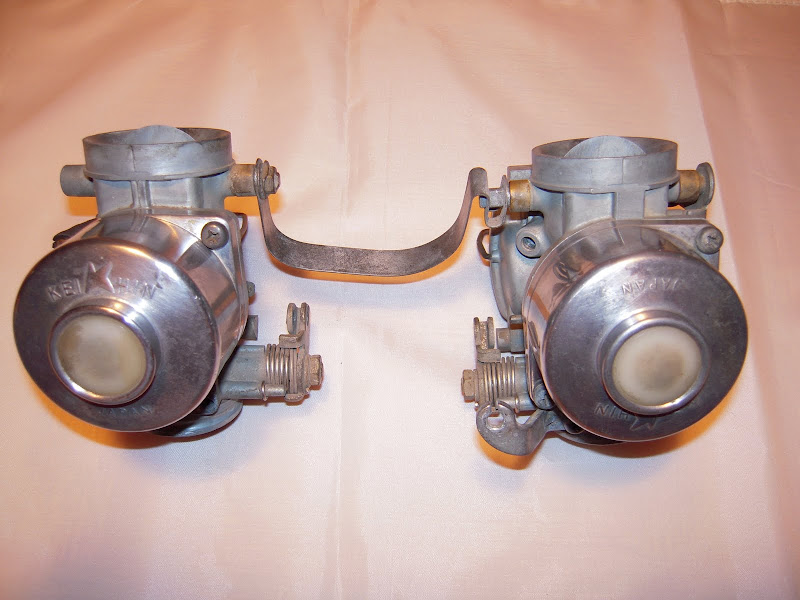
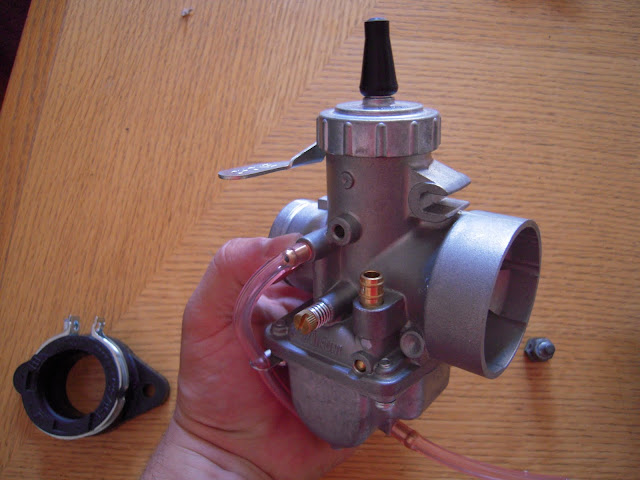
Cleaning and rebuilding carb:
http://[http://lh3.ggpht.com/_1D_up_JQCqc/SsARJq588XI/AAAAAAAABhA/r_1BfiSPtz4/s800/DSCN2089.JPG/img]
While eating chips and salsa :D HUMmmMM!: [img]http://lh5.ggpht.com/_1D_up_JQCqc/SsARKgya8mI/AAAAAAAABhE/Ek1rVzVNoII/s800/DSCN2090.JPG
BTW those carburator are for sale,
After I start to clean every motor covers to get them ready for paint. You'll see, I'll post every tried that I've make (Polishing and different paint color, yep... cost me looootssss of stripper... and beers...

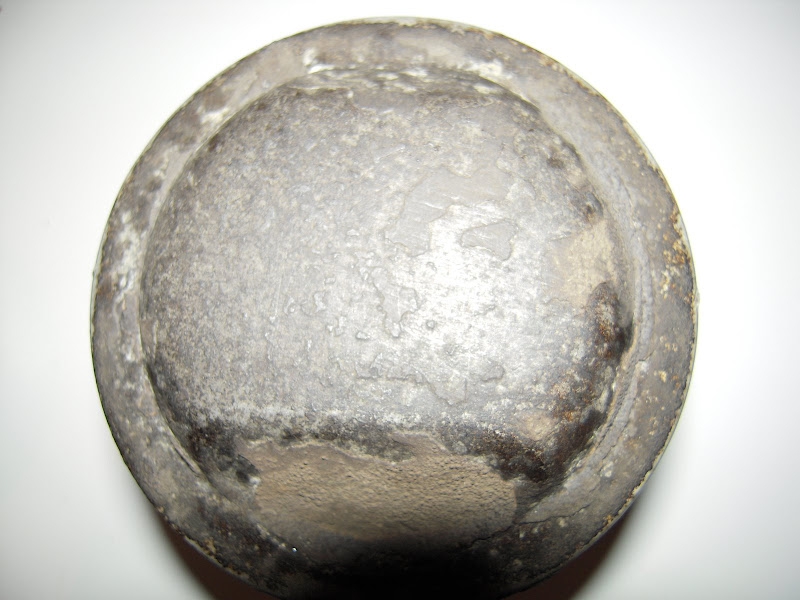
Oxided cap:
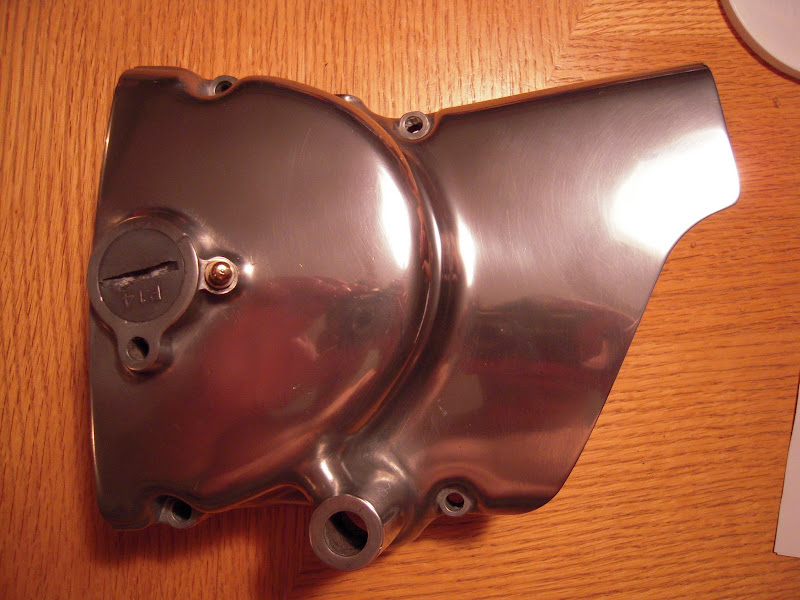
Cleaned and polished:
but still not to my taste...
OLD piston:
Fried ring:
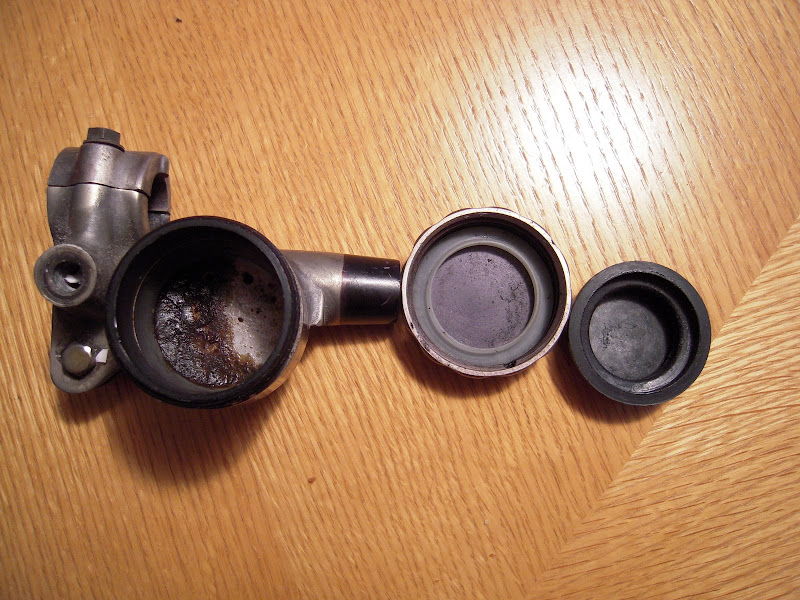
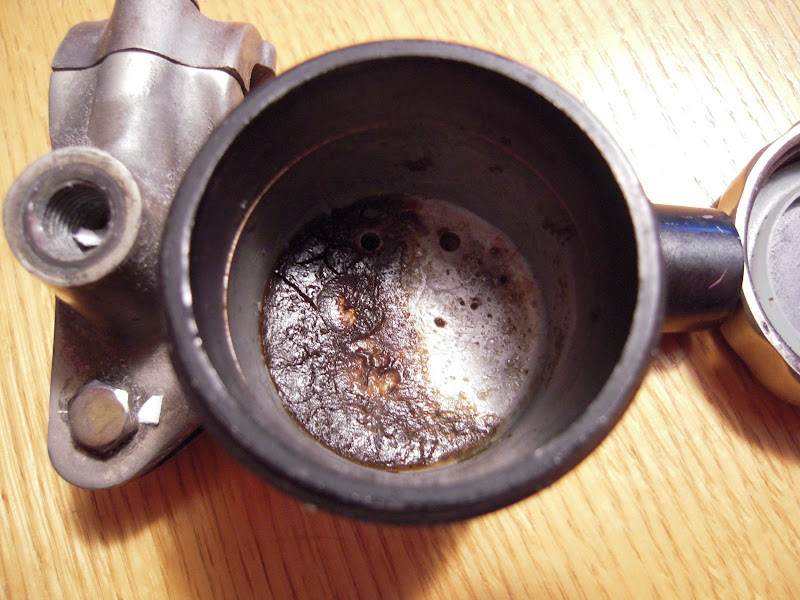
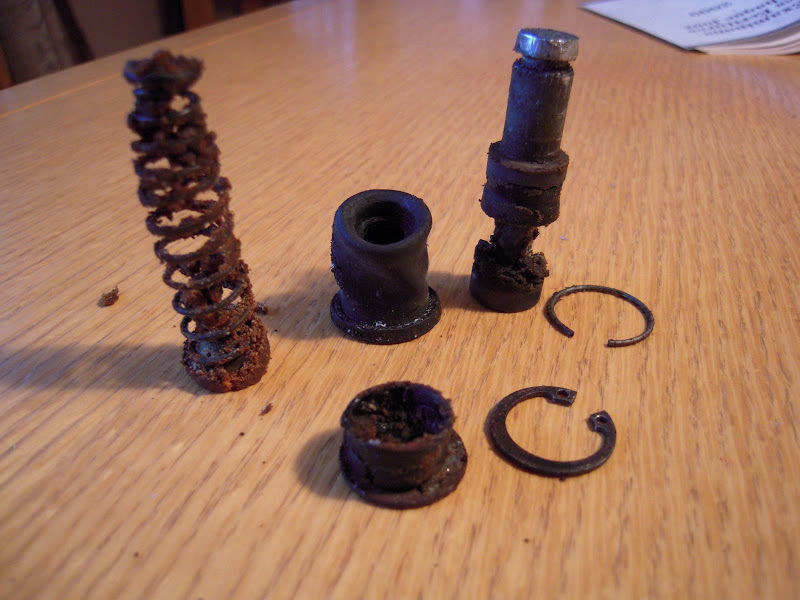
Master rebulding:
Yuk!:
New kit:
Old and new:
YUK YUK!:
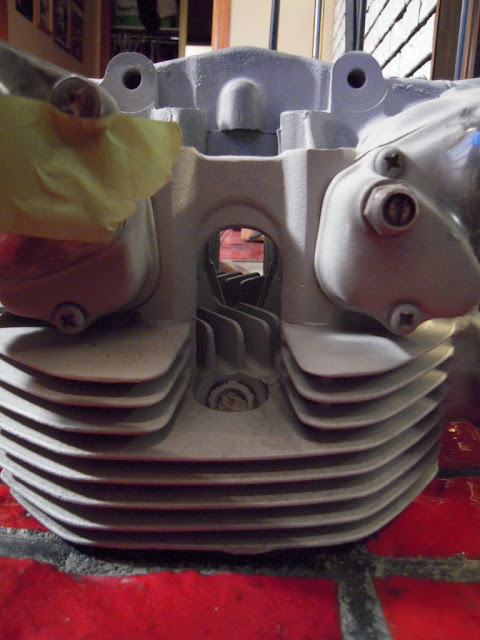
Blasted head and cap:
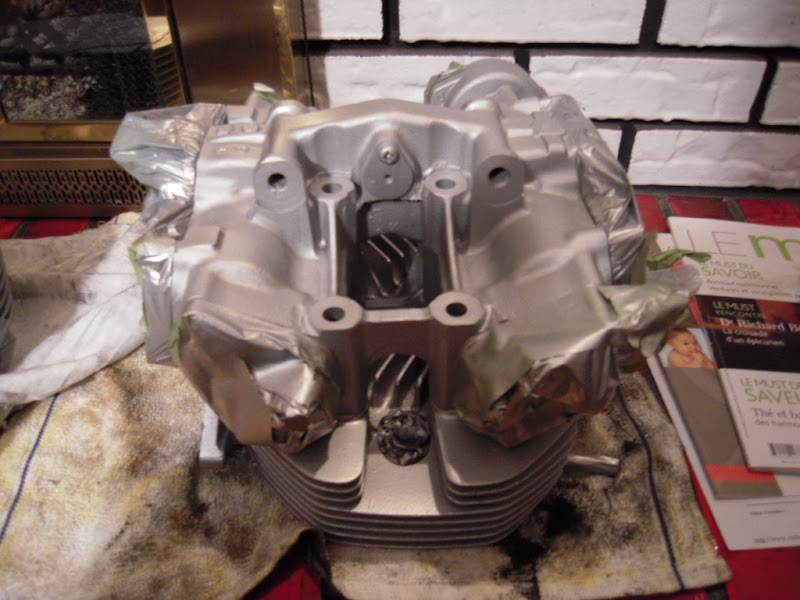
Painted silver... but not for long
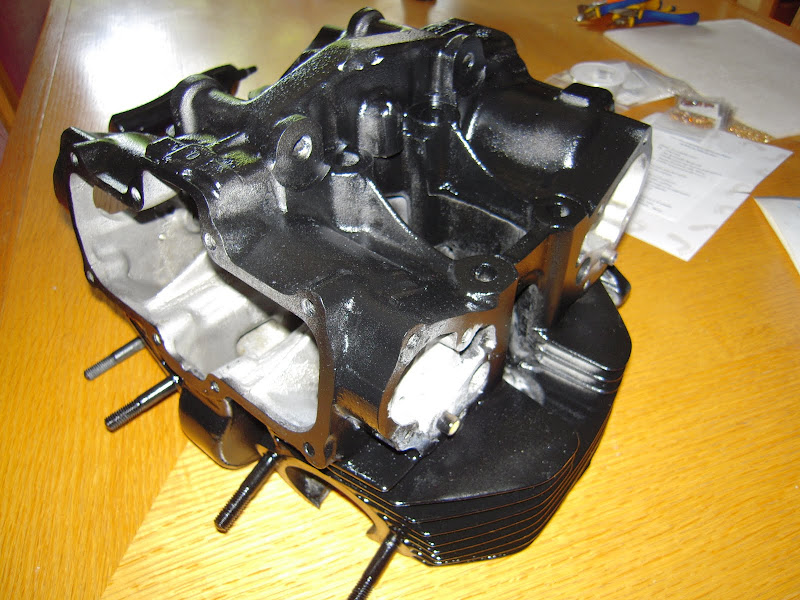
final choice: black
:
Painted cylinder:
Final choice for head:
Look dusty but trust me... its awsome:
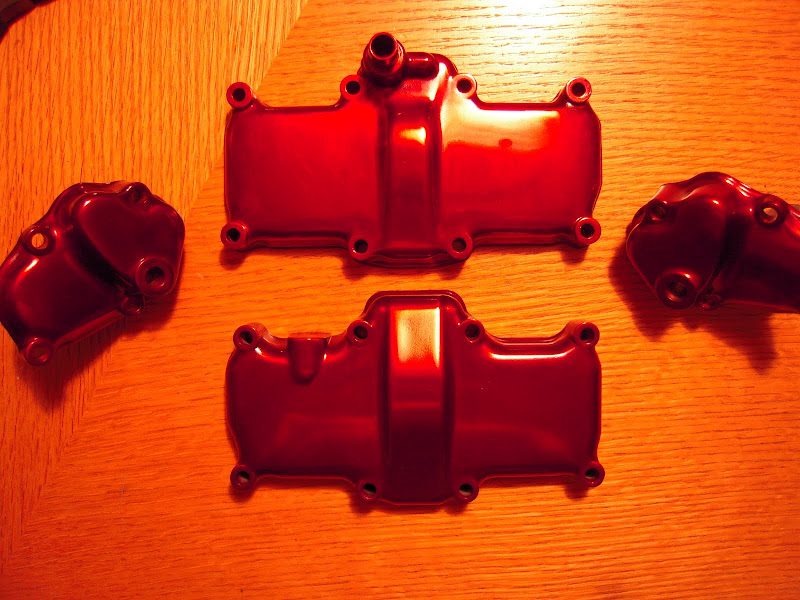
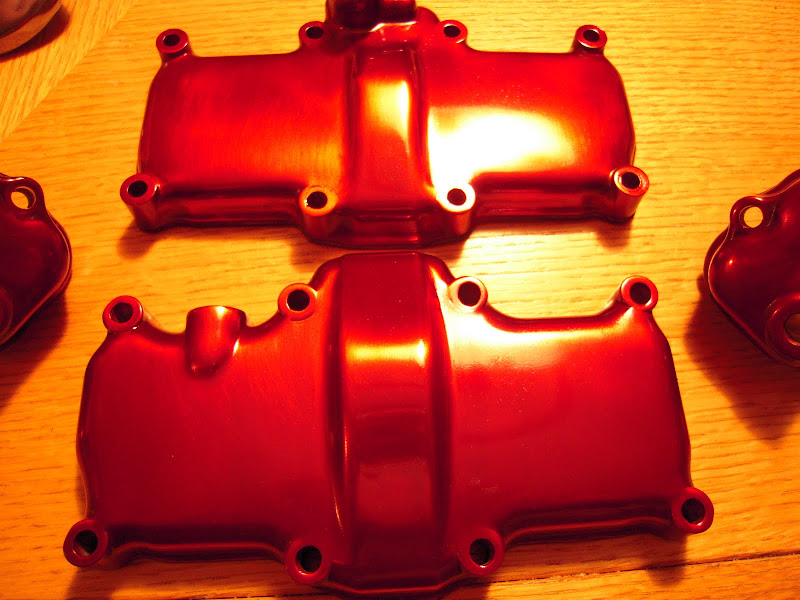
First try for valve cover red:
Nice but don't want red with the black engine on the head.
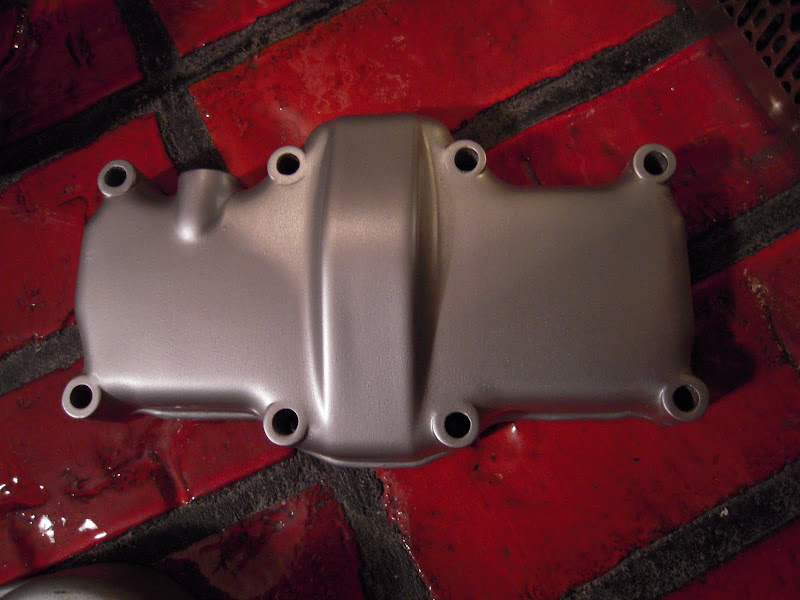
Final choice for the valve cover, silver:
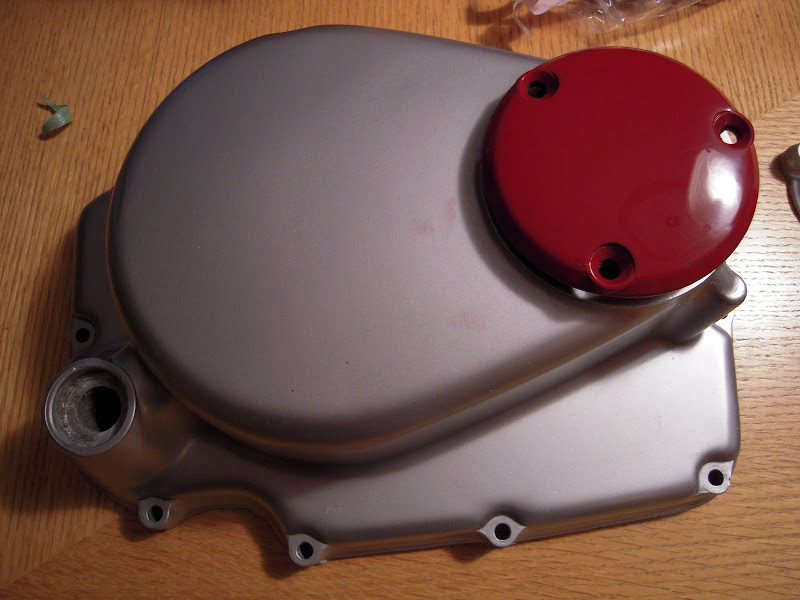
and now lower engine covers: wit some touch of red... I had to redo the whole honda stator cover with honda in black... just to tell you I had to try it 6 time so I can have that result...
first red, then you cure the paint, then black and your remove the black from the red with your nail, cure for black, wet sand everything, clearcoat, then you cure the clearcoat, then wetsand and buff to get the gloss. Final result:
On silver:
Oil filter cover:
Now some new stuff to end my post for right now:
New handlebar:
BTW the handlebar is for sale since i'm doing a cafe
25$
New kill switch:
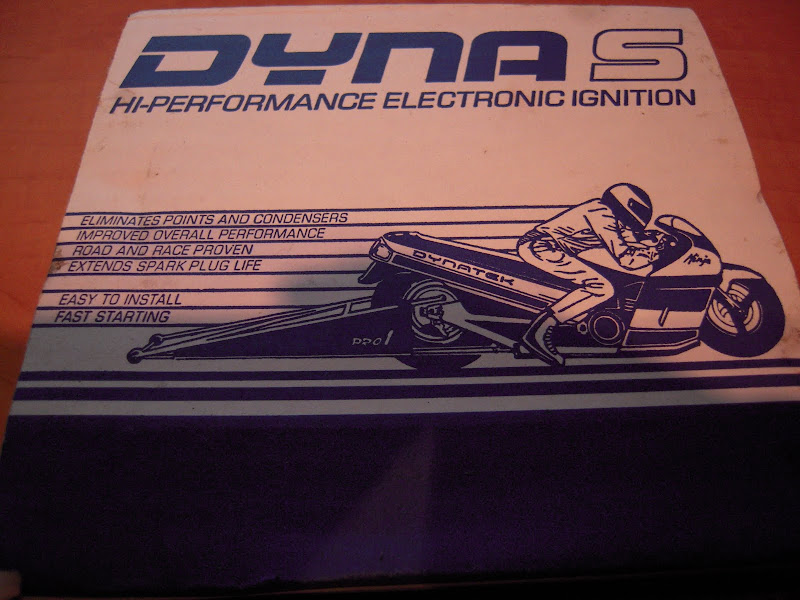
New Dyna-s Ignition:
New STD piston kit,
BTW those are for sell, the whole kit, I want to go 74mm racing piston with VM32 carb.
So... ouff... its all for today, i'm out of heerrreee..
Let me know what you guys think!!