SoCal Mut-N-Chop CB750 - ITS DONE!!!

brycegp

Stop being sad and be awesome, instead!
DTT BOTM WINNER
Hello gentlemen! I'm finally starting this thread on here. I have been keeping this thread over on SOHC4 forum...but thought I'd share over here now that the project is nearly complete.

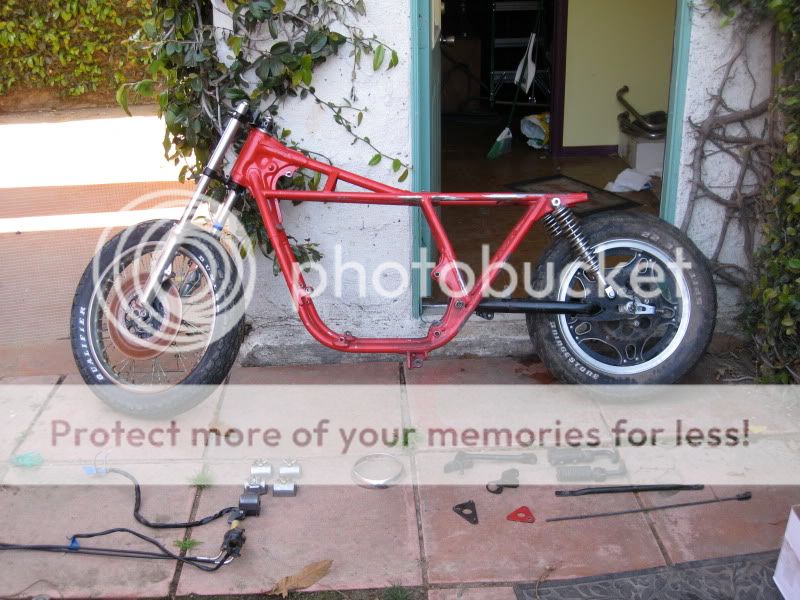
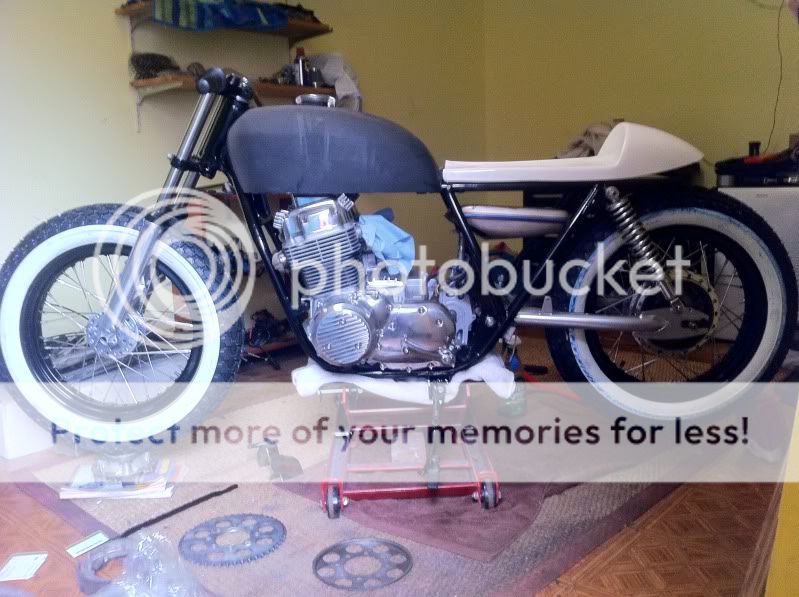
Anyway...I bought (for way too much money) a '71 CB750 Cafe. I bought it on FeeBay out of state...


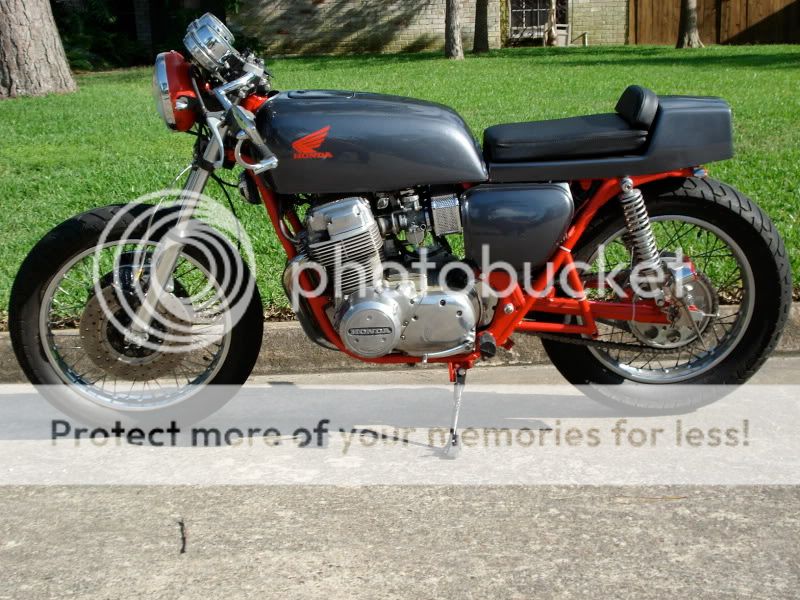
But I knew I'd make some changes here and there, nothing major. But boy was I WRONG...!! After it was delivered from 1500 Miles away I noticed something that was UNACCEPTABLE. What you can't see in the pics is that the red frame has PURPLE METAL FLAKE in it. I'd even go so far as to say it was GLITTER. Needless to say I just spent $2000 on a bike I now had to tear down.

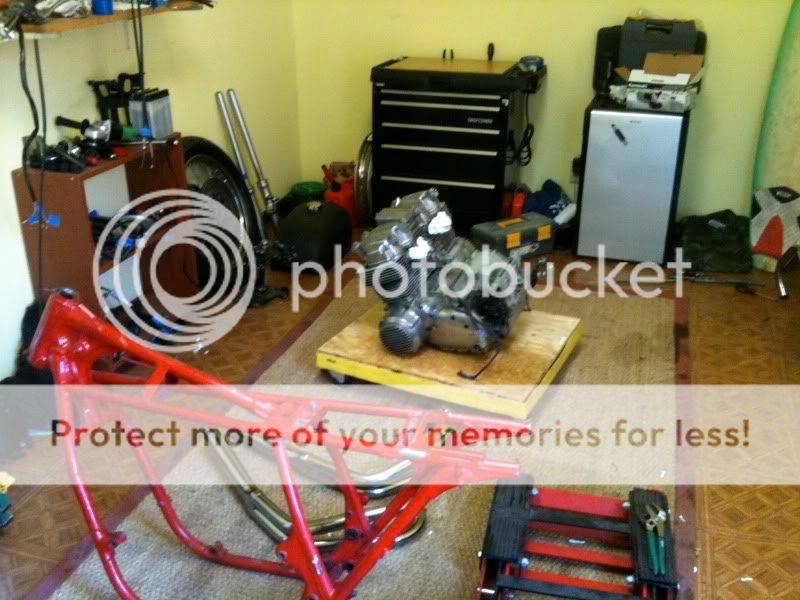
Commence tear down...
IMG_0266.jpg


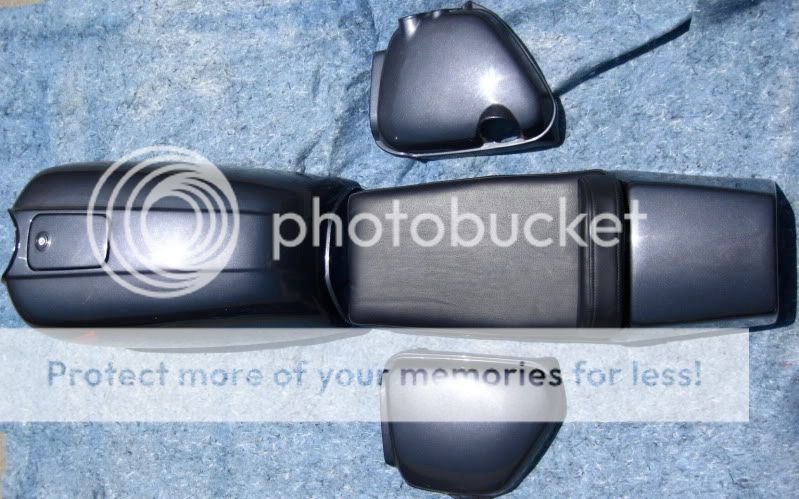
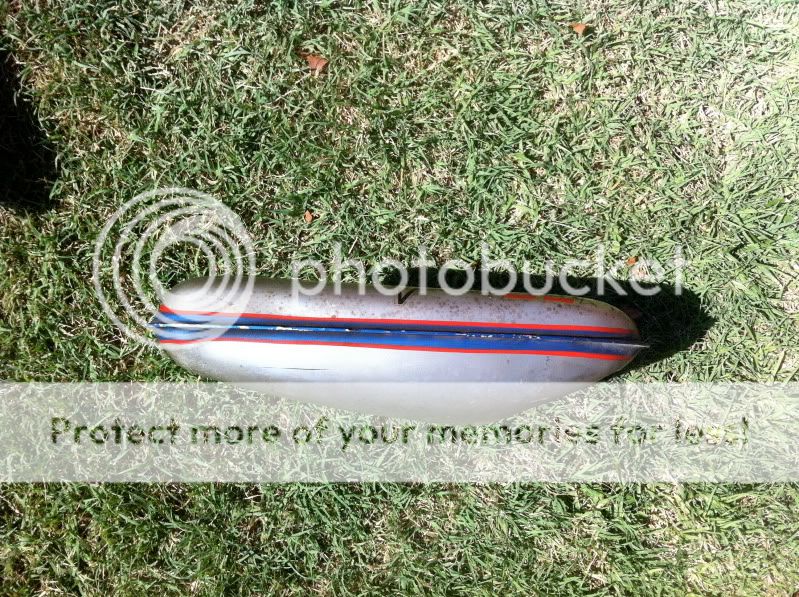
Sold the tank and the tail...
IMG_1087.jpg


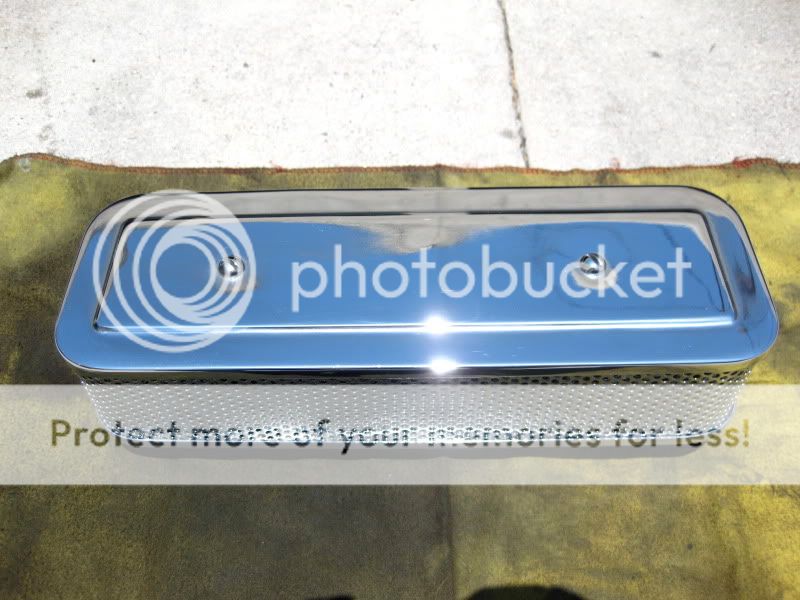
Sold the chrome airbox...
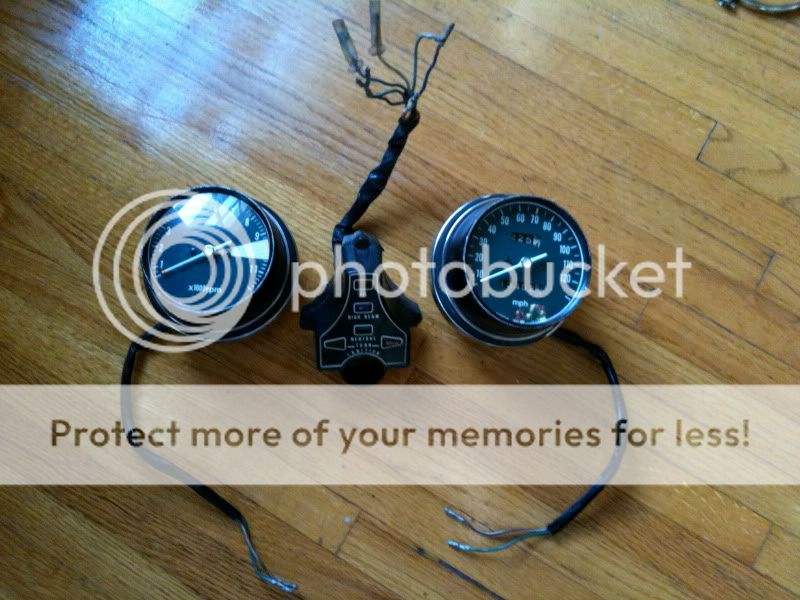
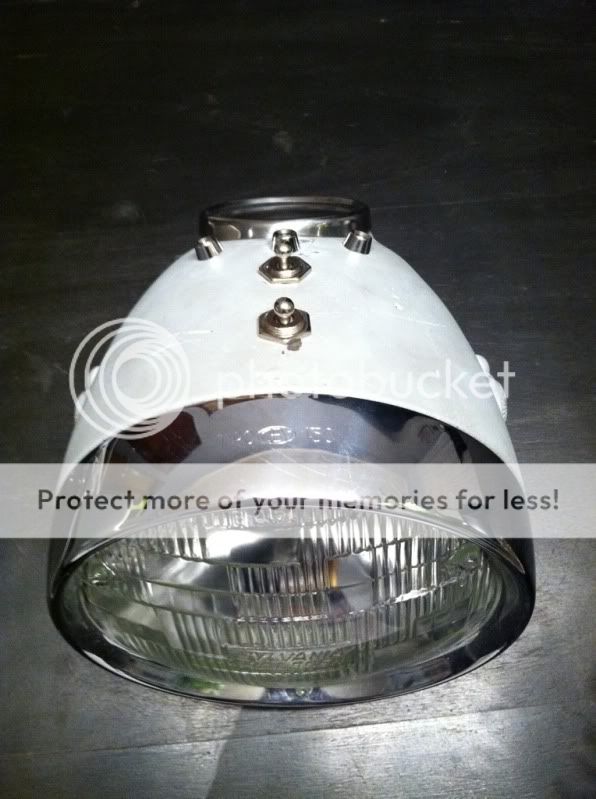
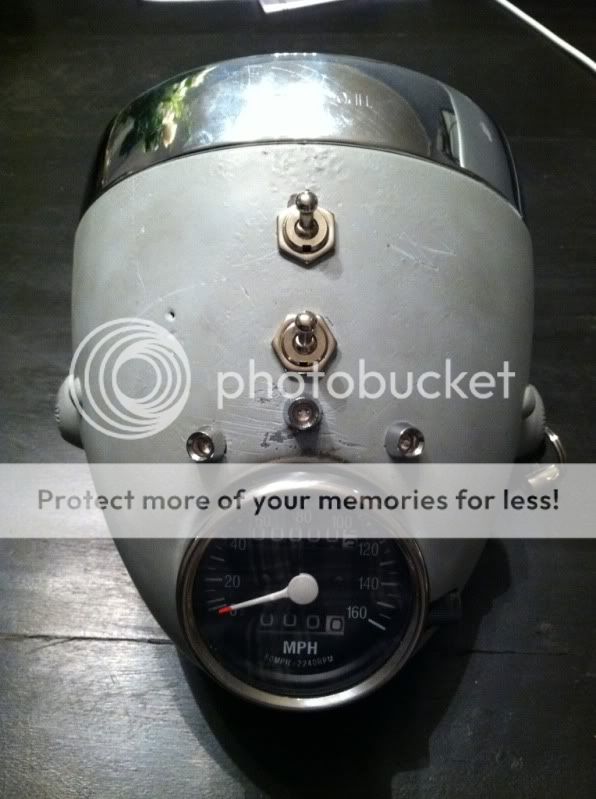
IMG_1102.jpg


Sold the gauges...
IMG_0274.jpg


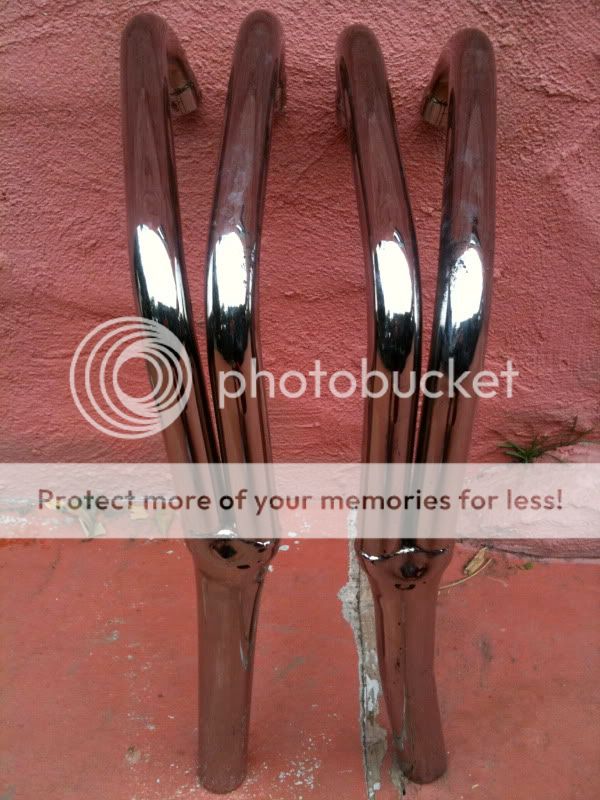
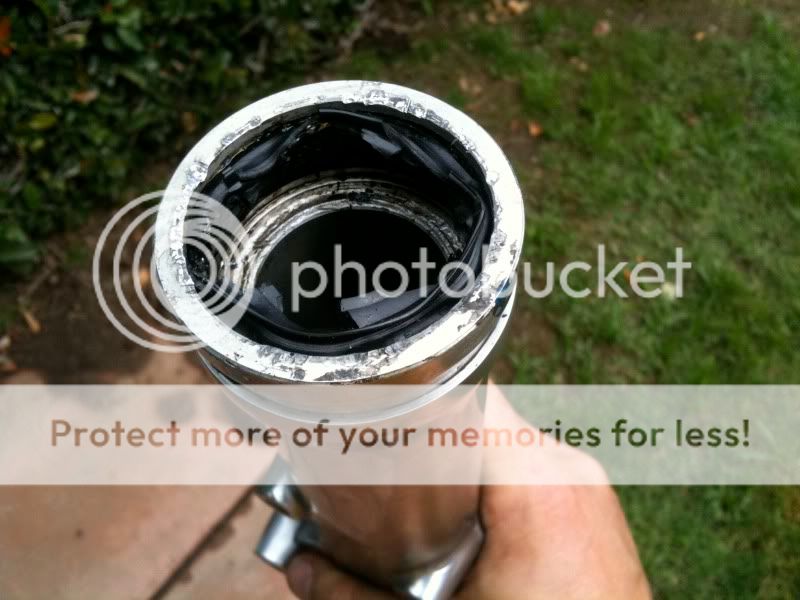
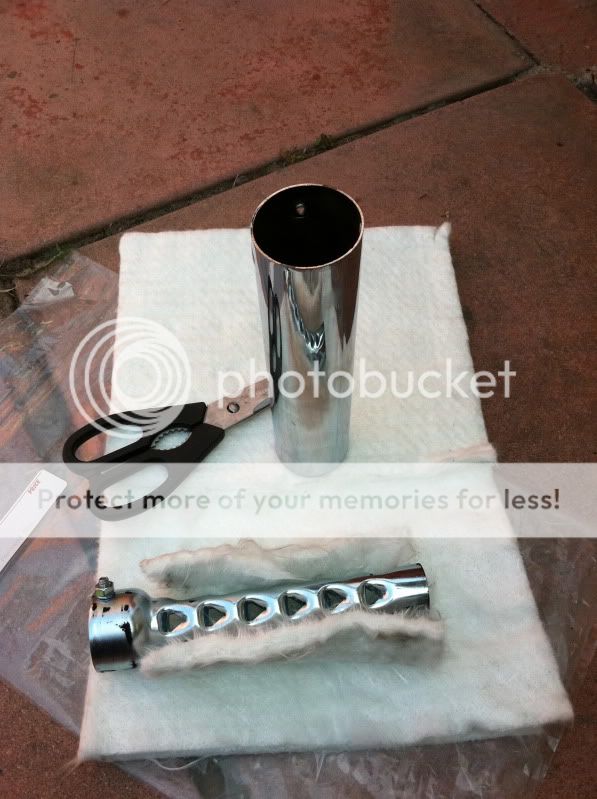
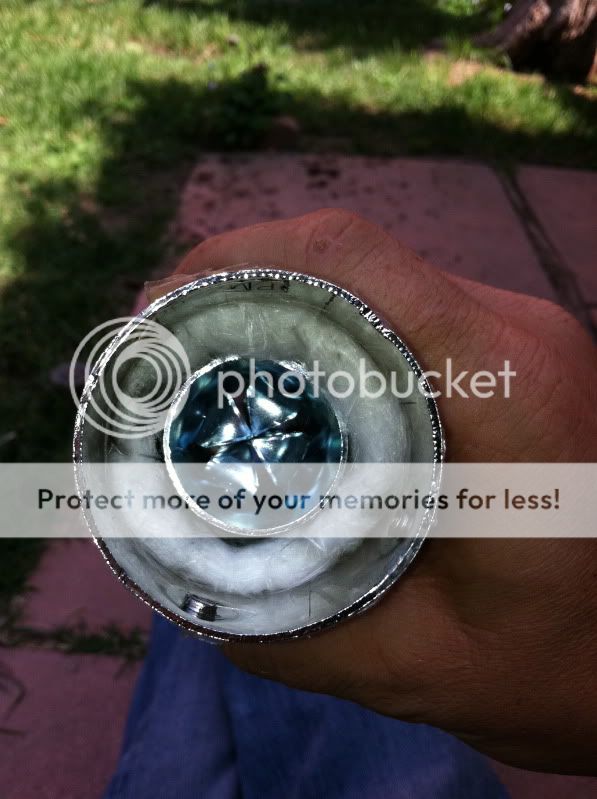
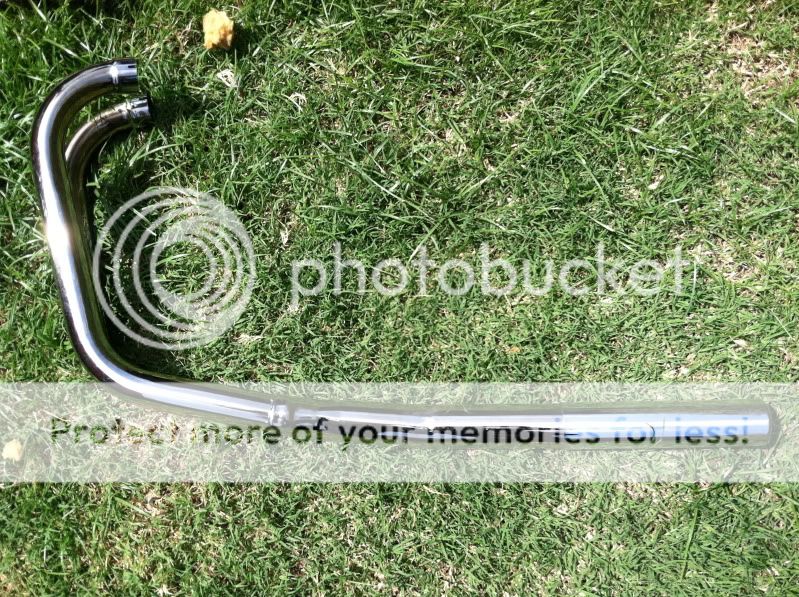
The old exhaust was just UGLY!! Got in a USED 4 into 2 exhaust... (I like the look better)
IMG_0400.jpg


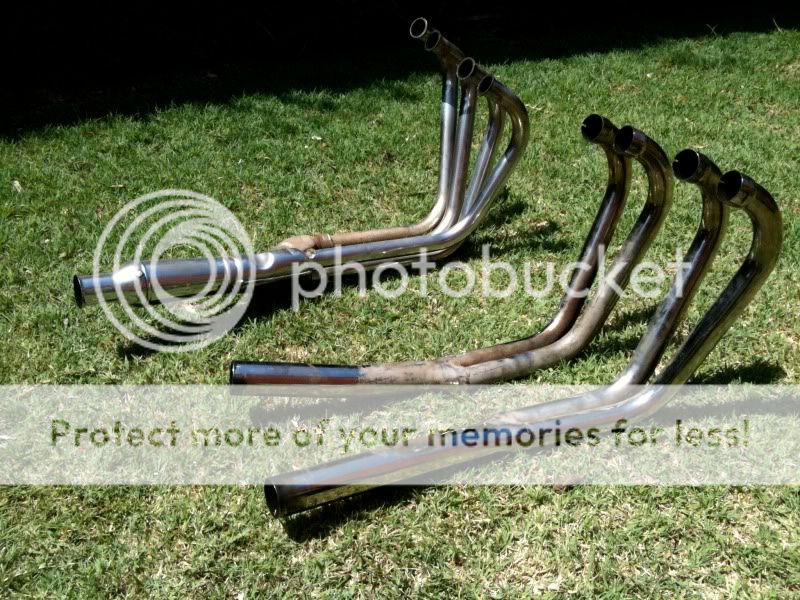
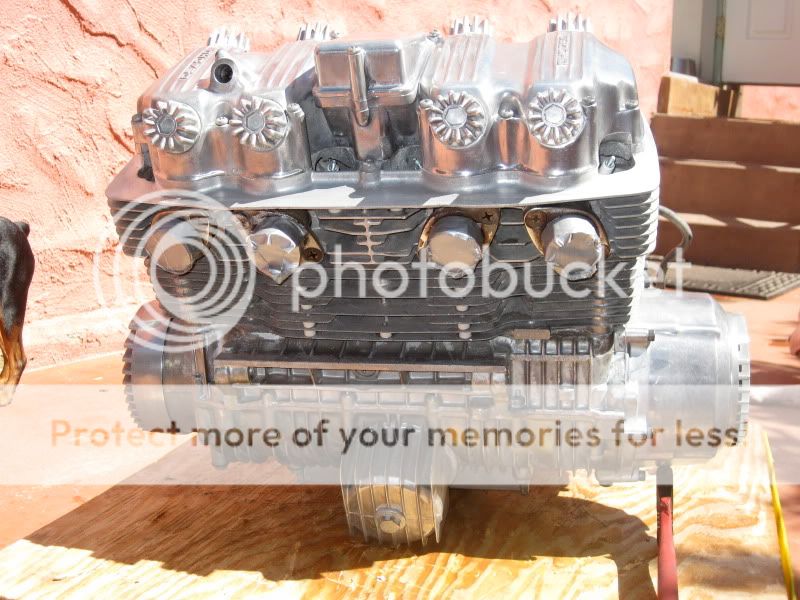
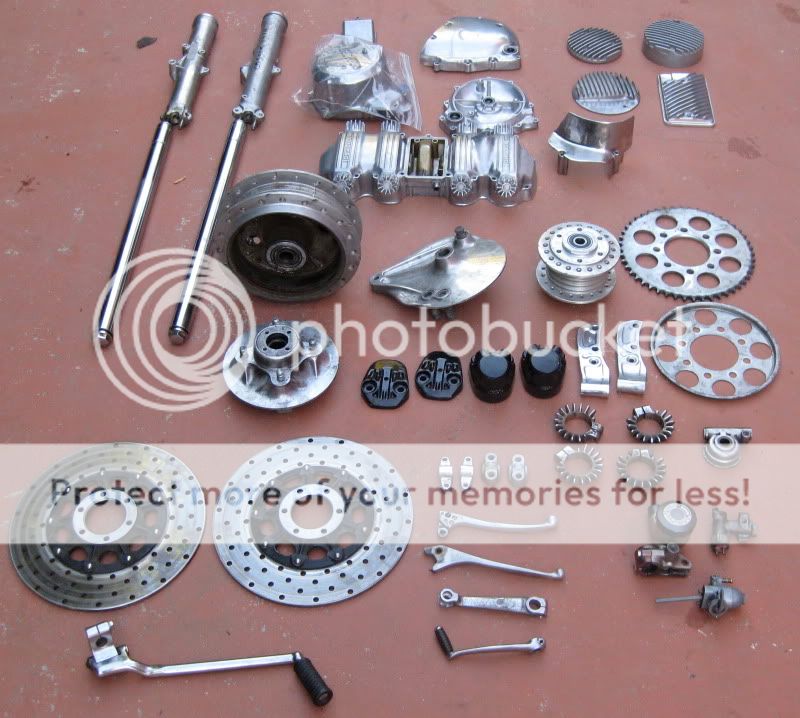
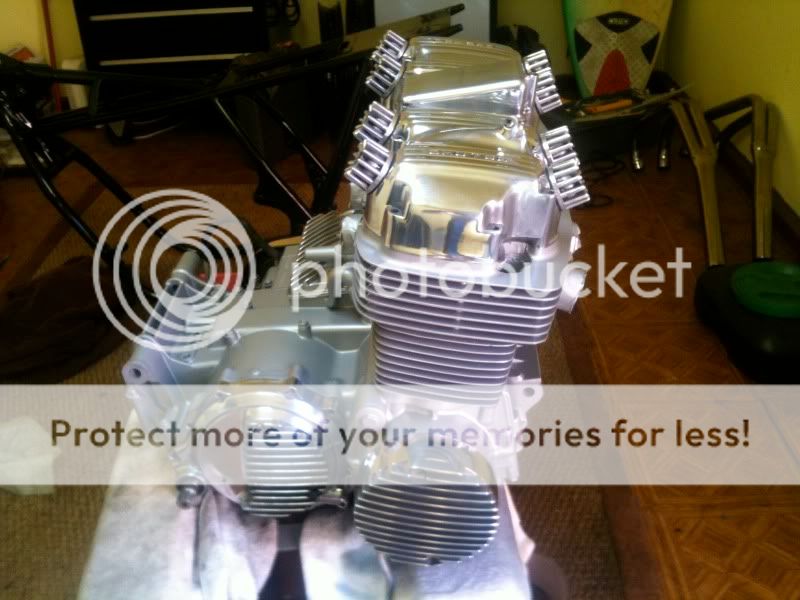
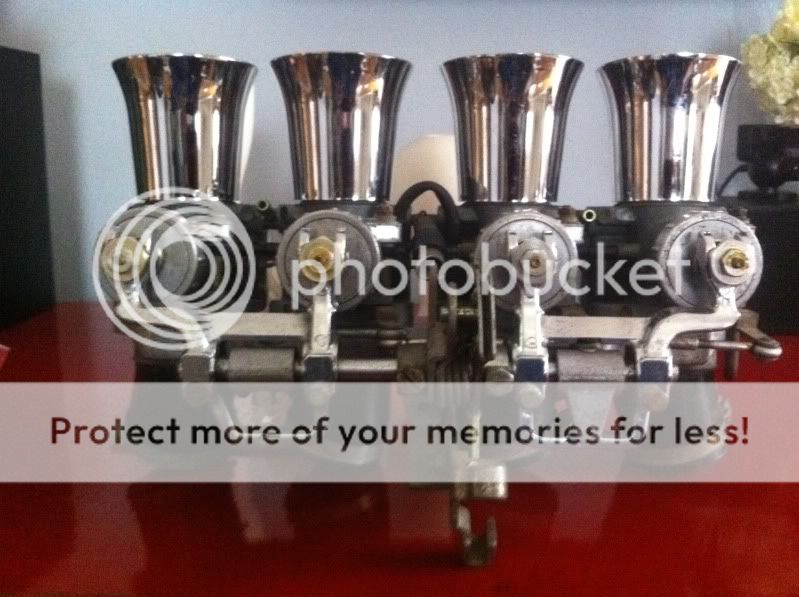
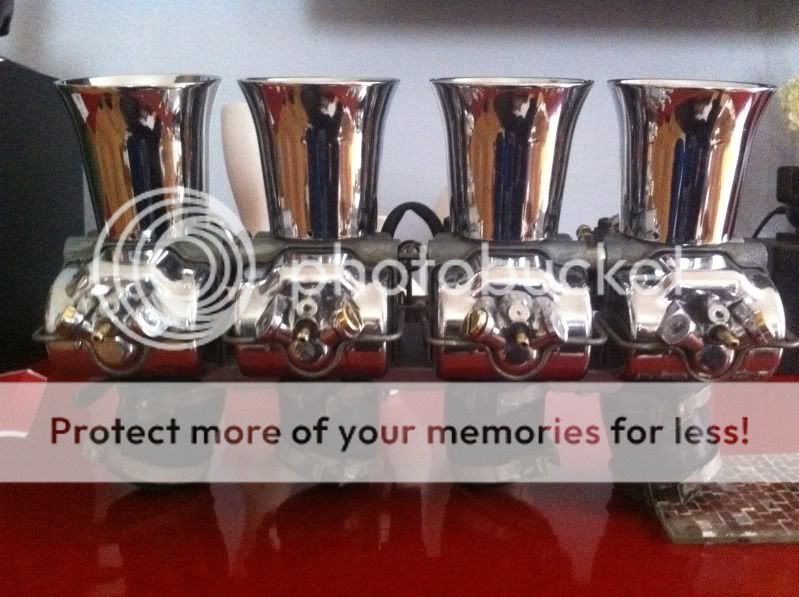
They cleaned up...good as new!! Easy-off oven cleaner and steel wool...works miracles.
IMG_0577.jpg


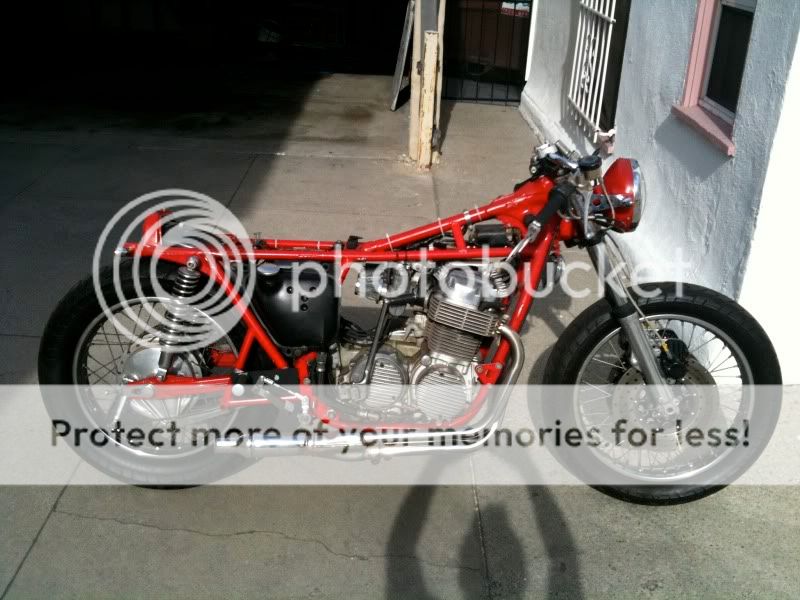
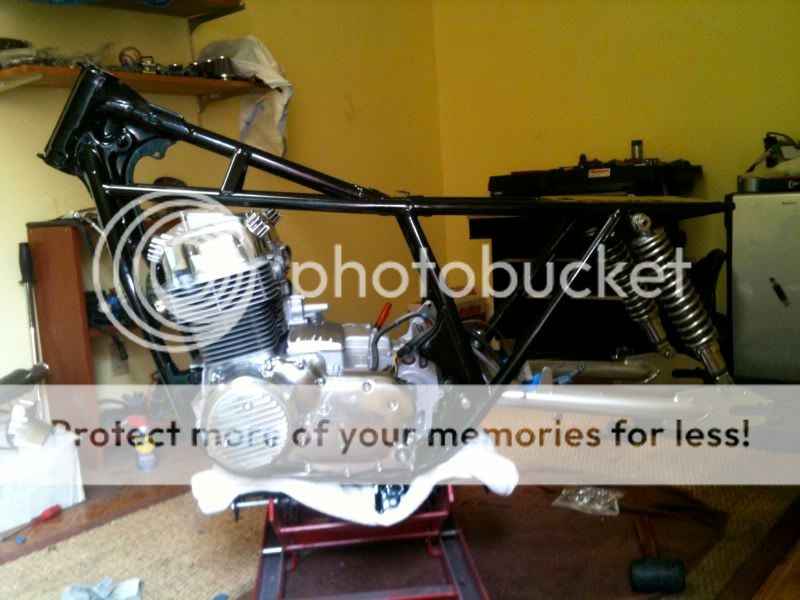
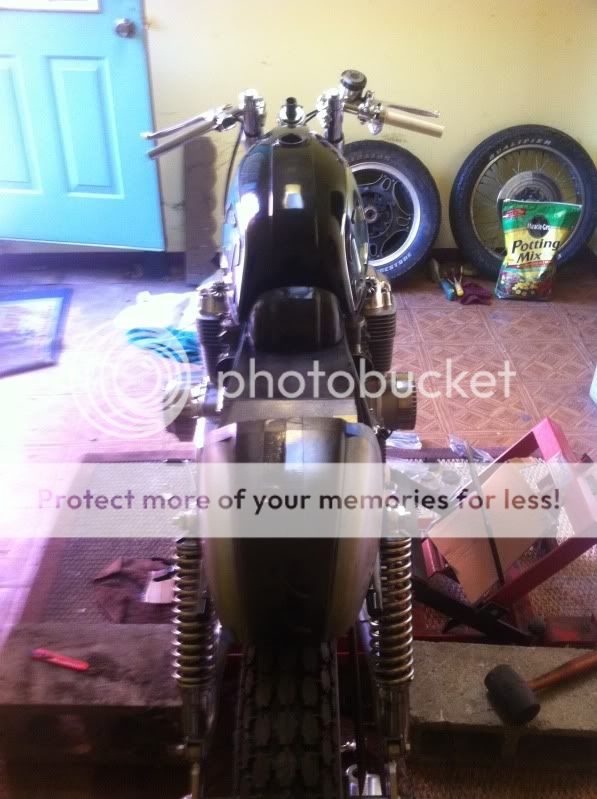
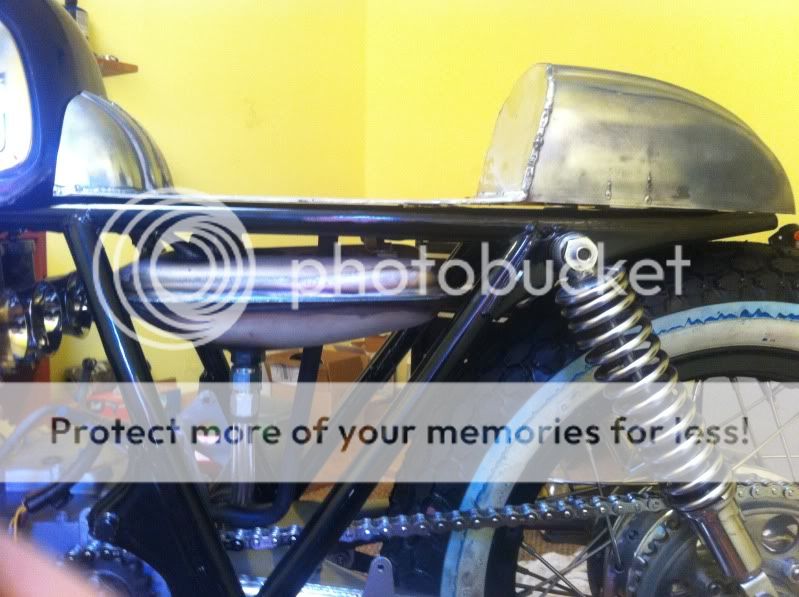
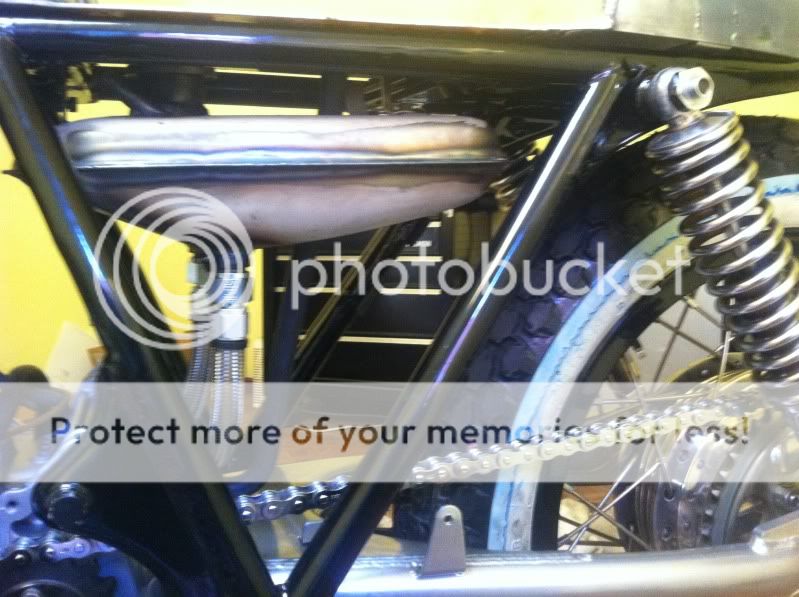
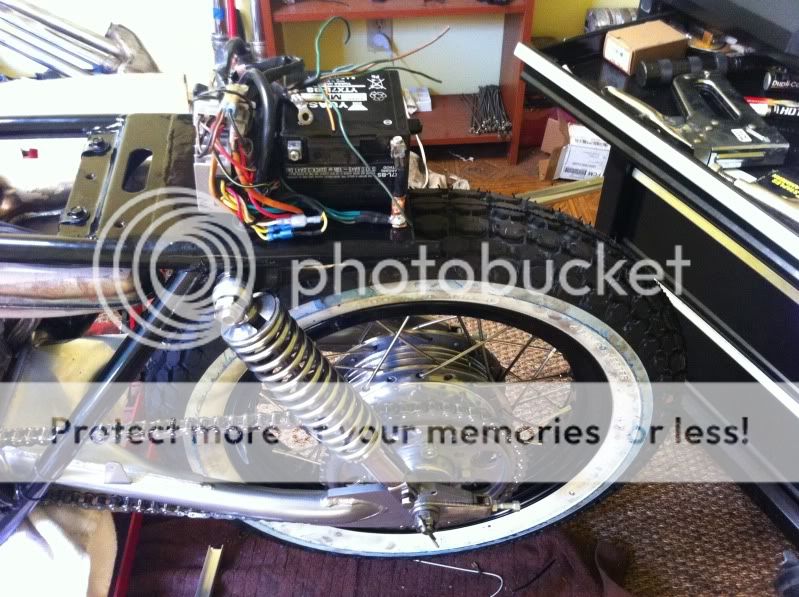
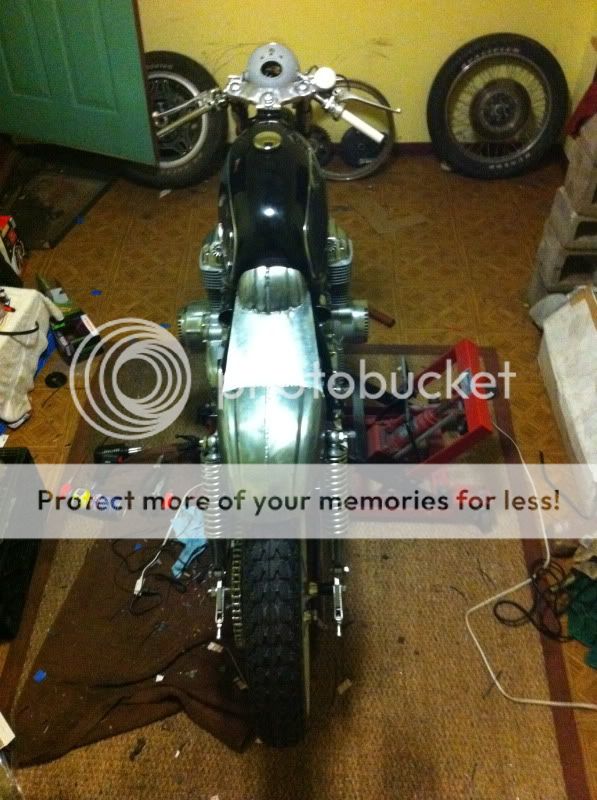
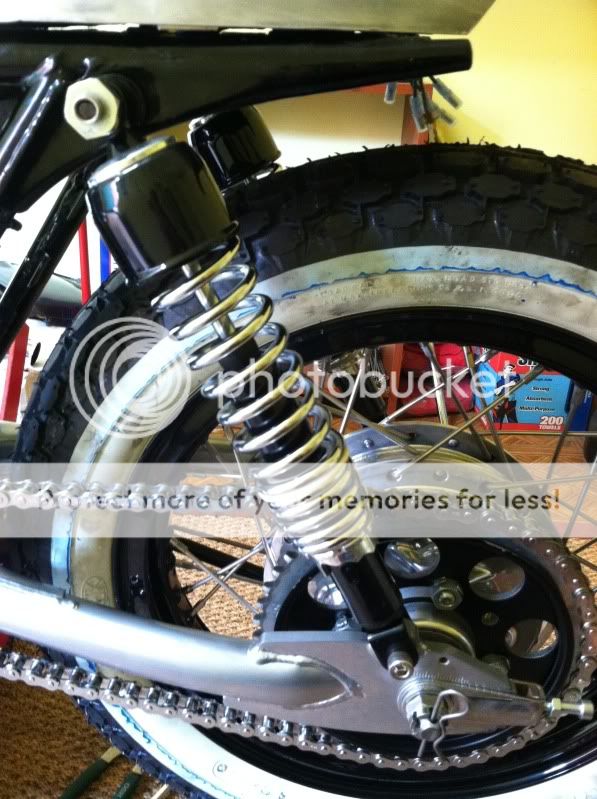
Then I get the bright idea to lengthen the swing arm. Goodbye stock swingarm...hello 1980 DOHC CB750 Swingarm!!
IMG_0492.jpg


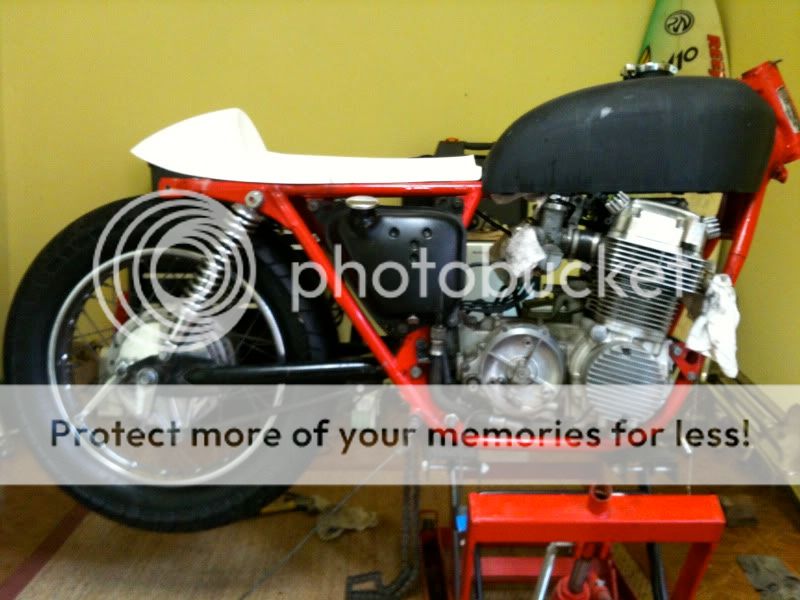
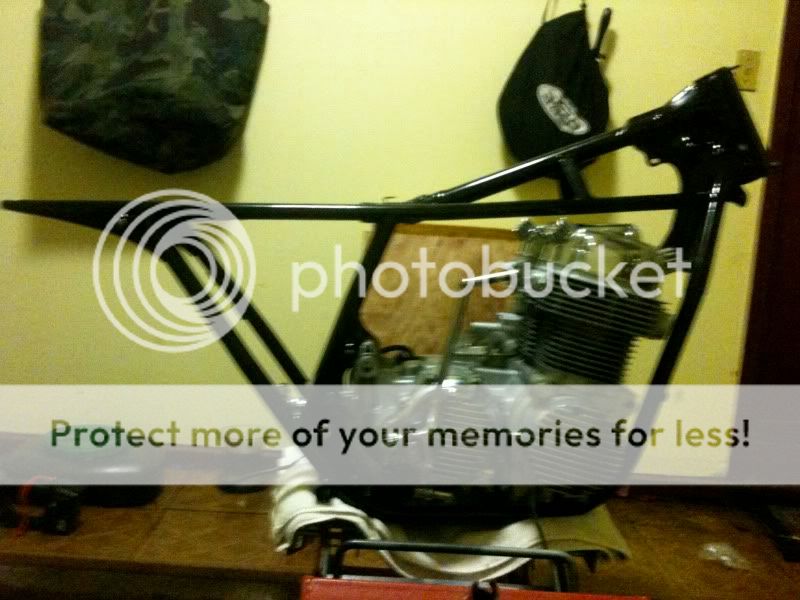
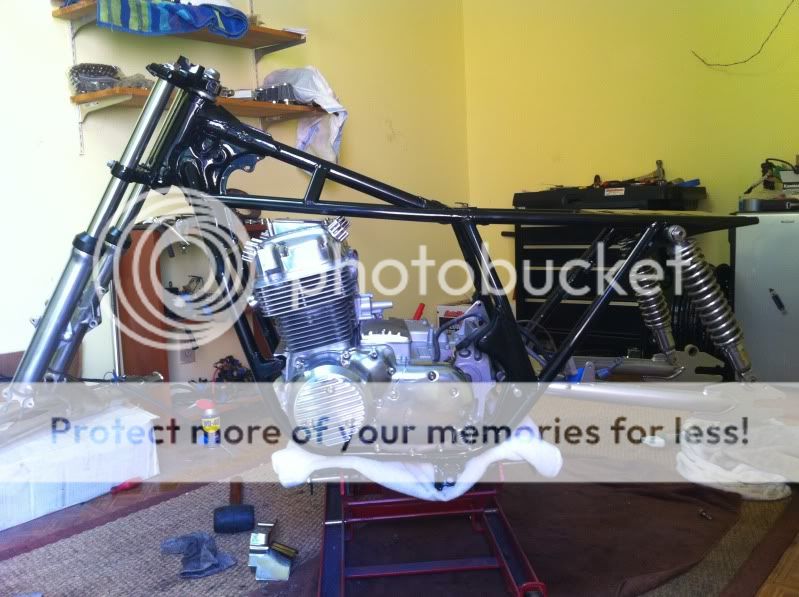
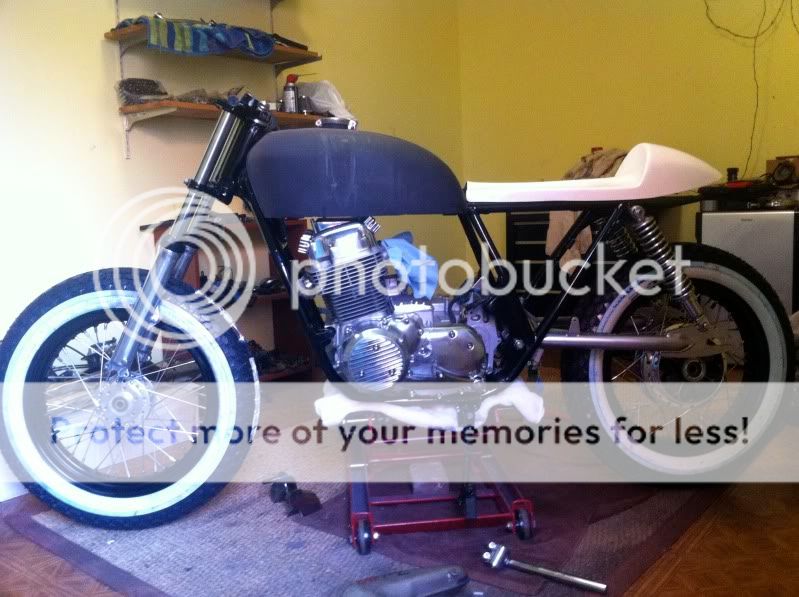
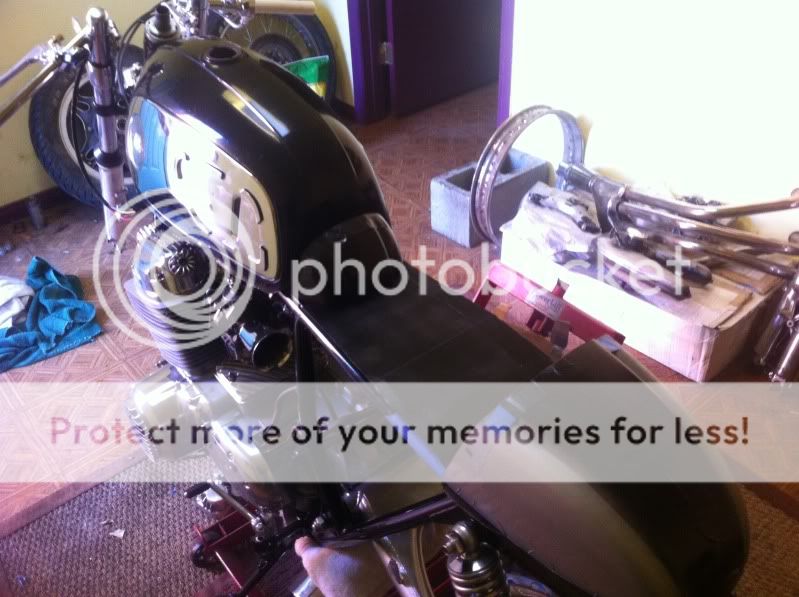
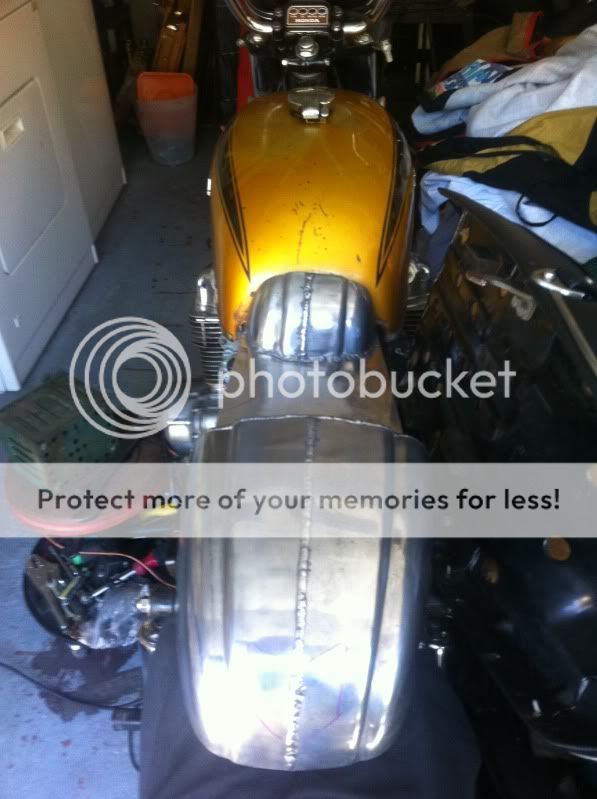
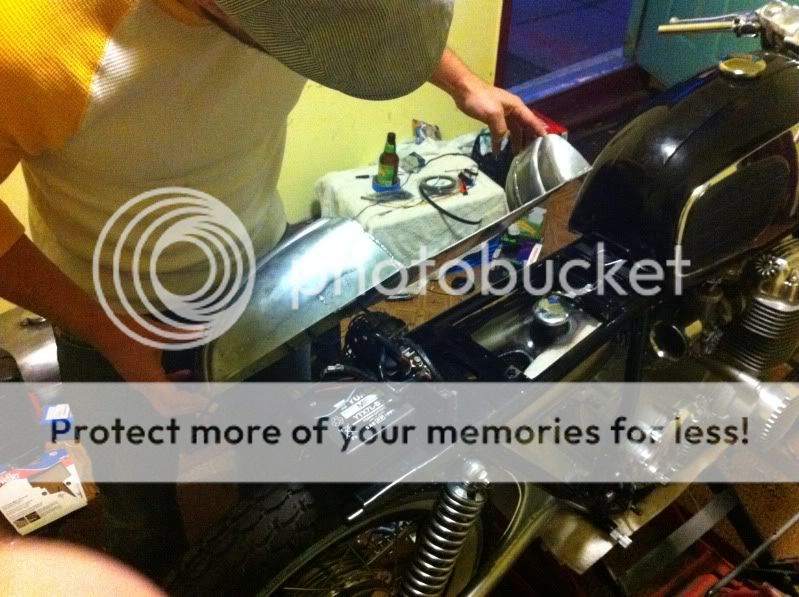
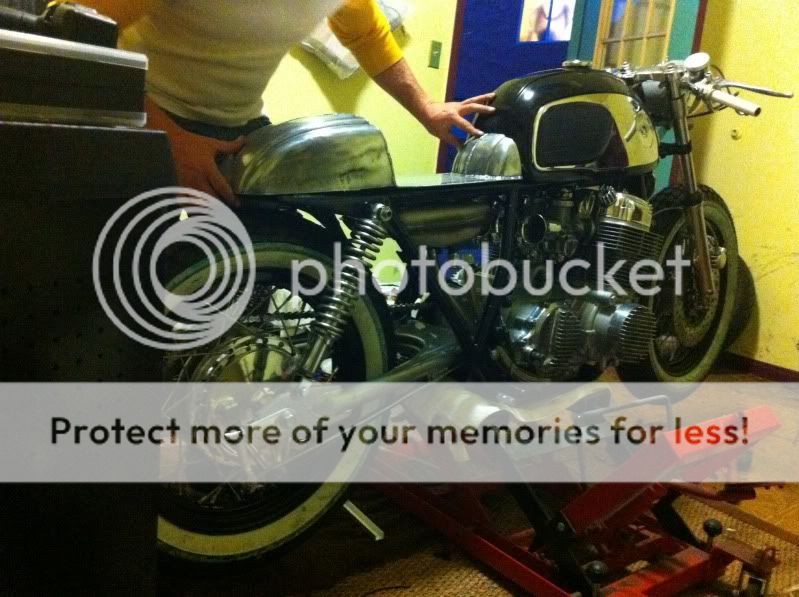
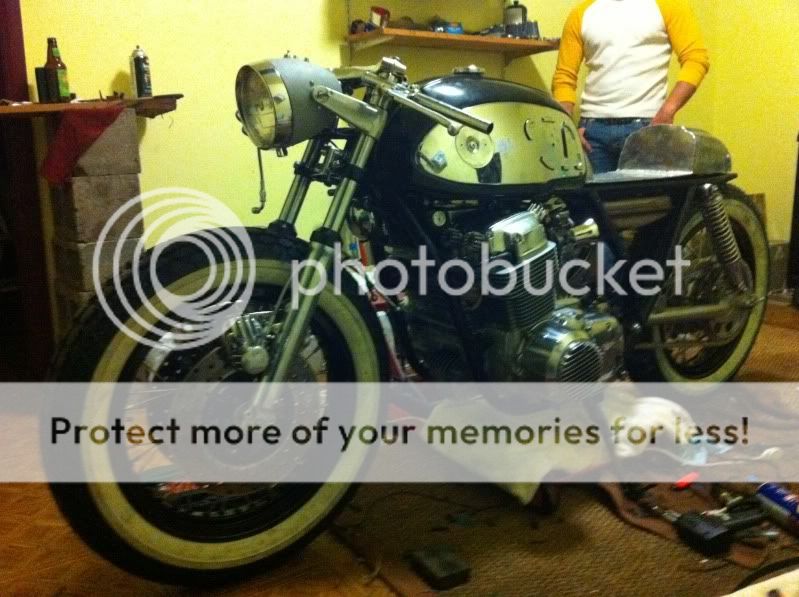
I mocked it up with a stock tank and new cafe tail. Just to get a feel for where it was headed.
IMG_0540.jpg


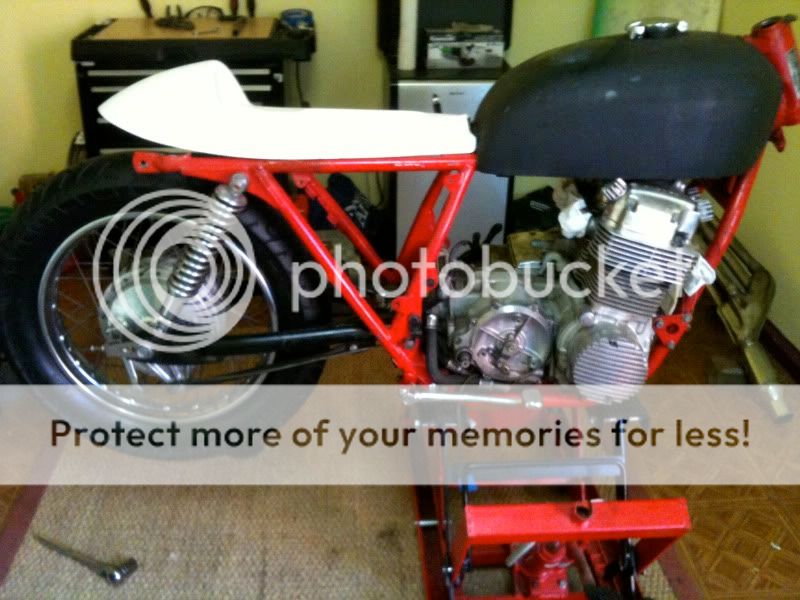
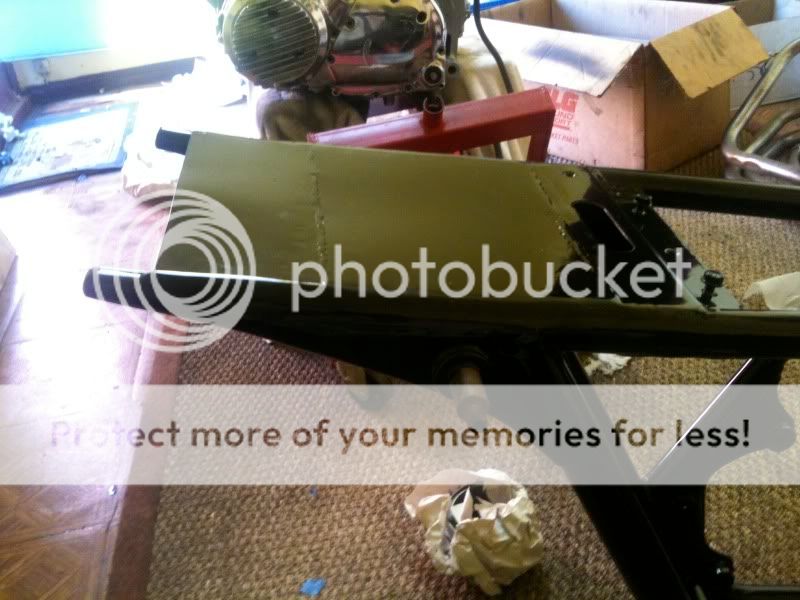
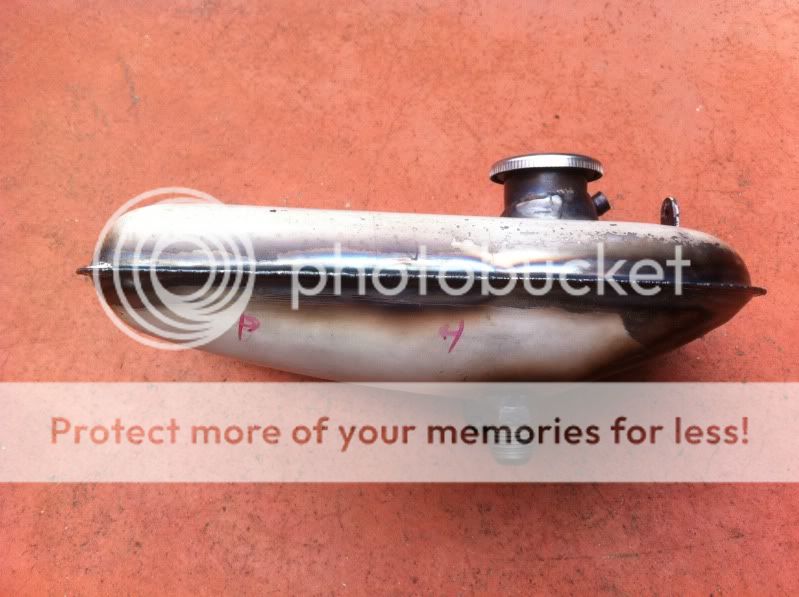
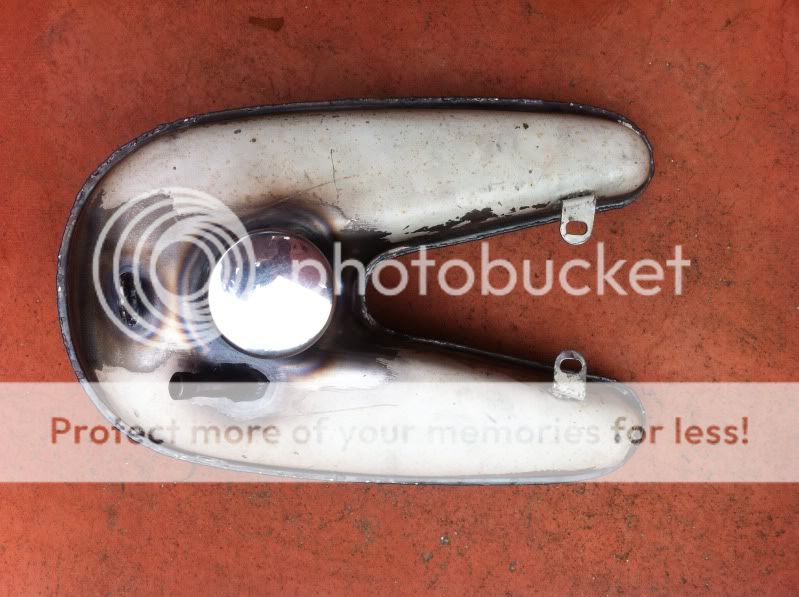
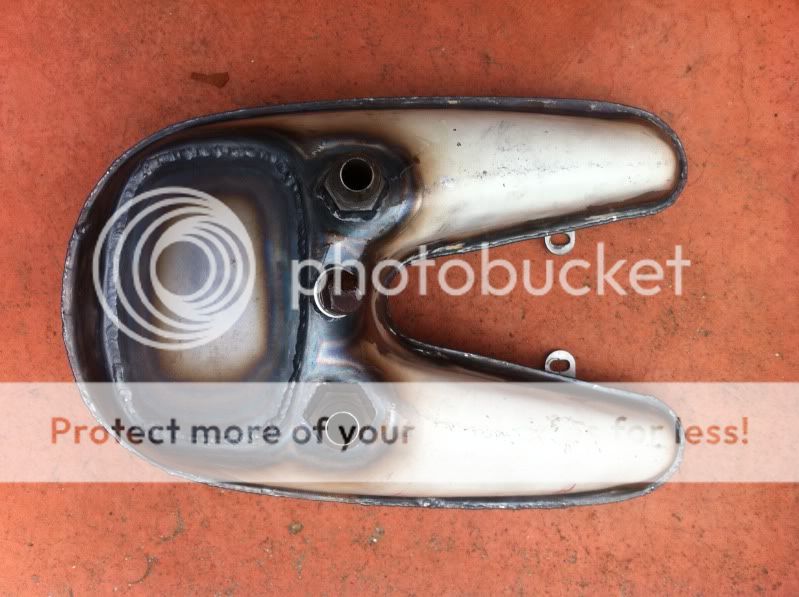
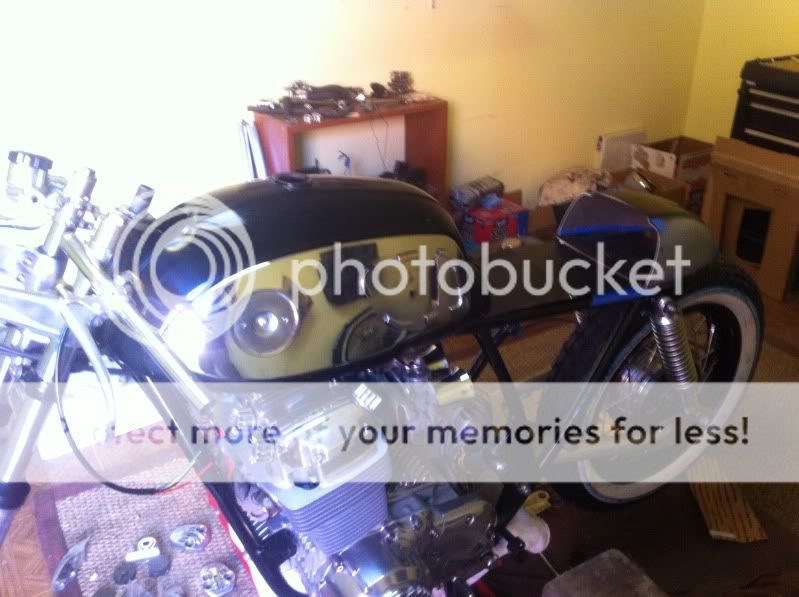
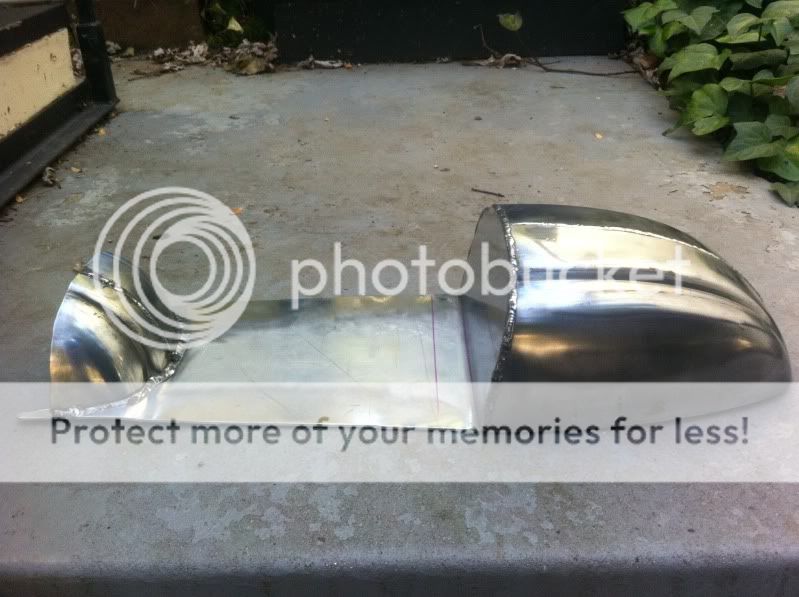
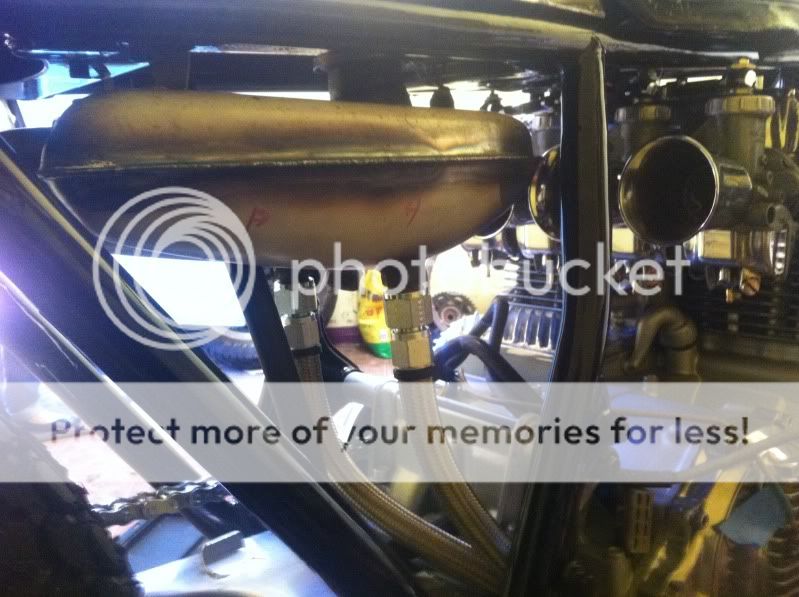
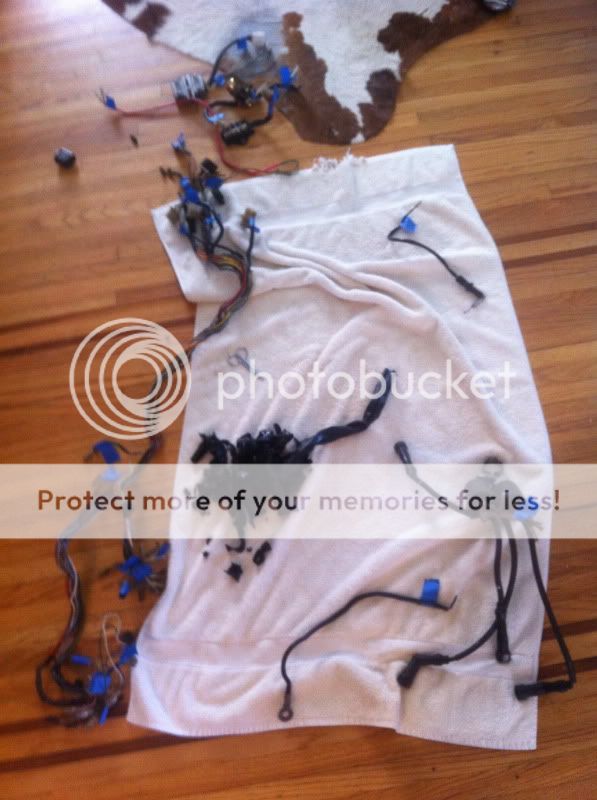
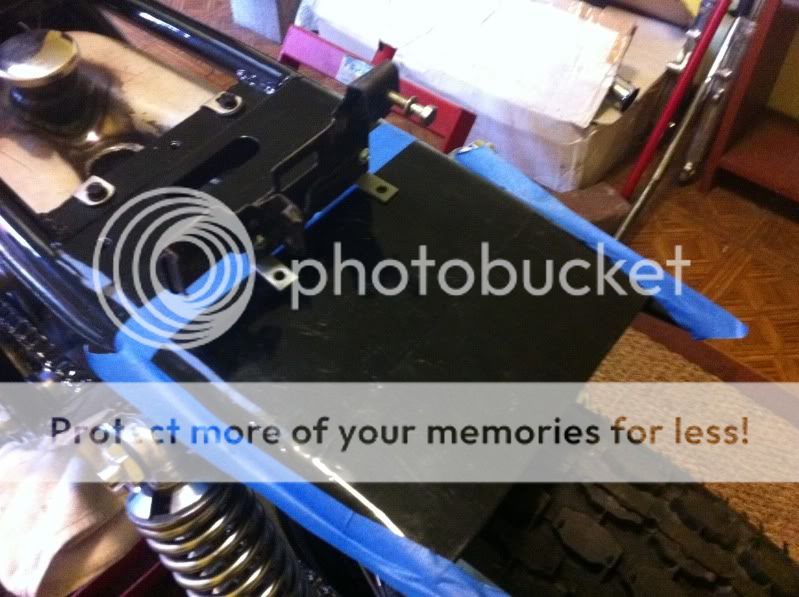
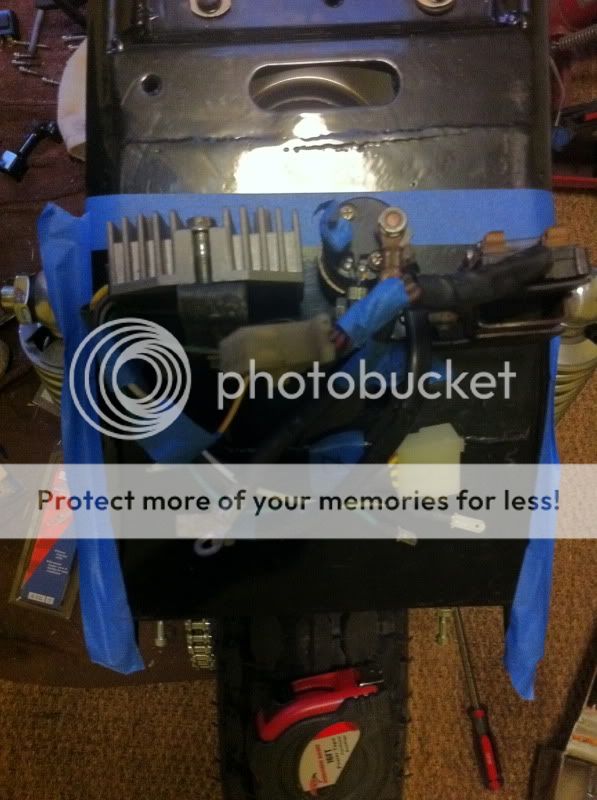
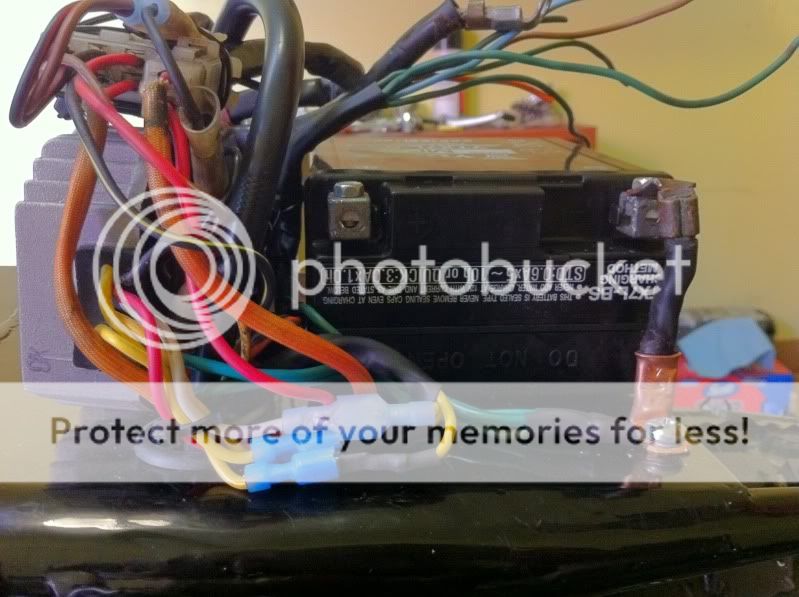
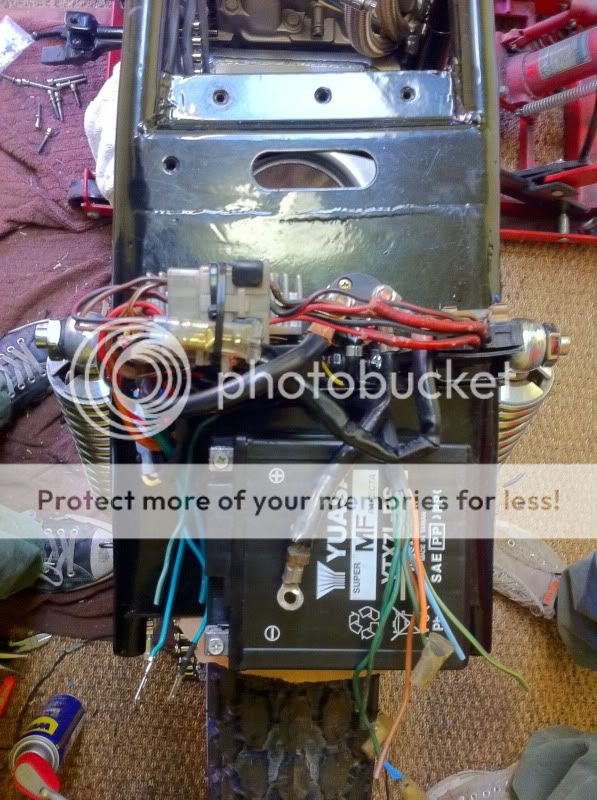
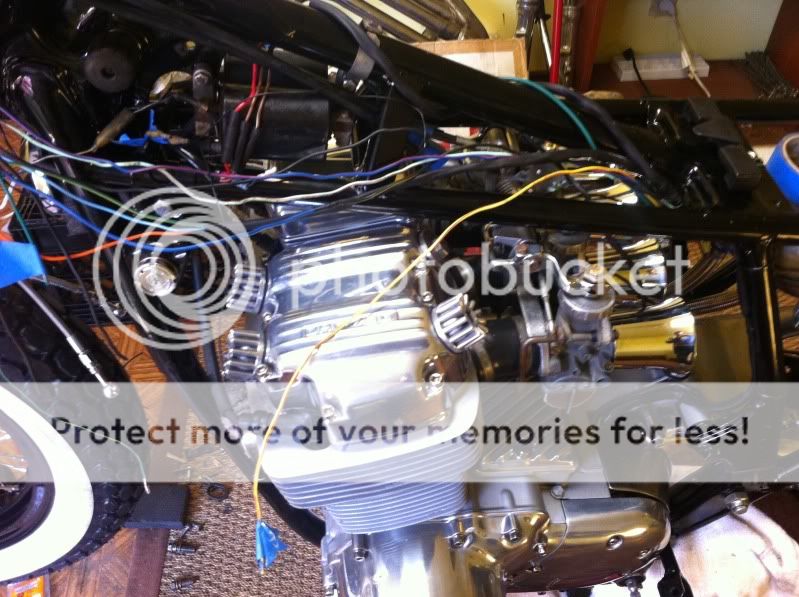
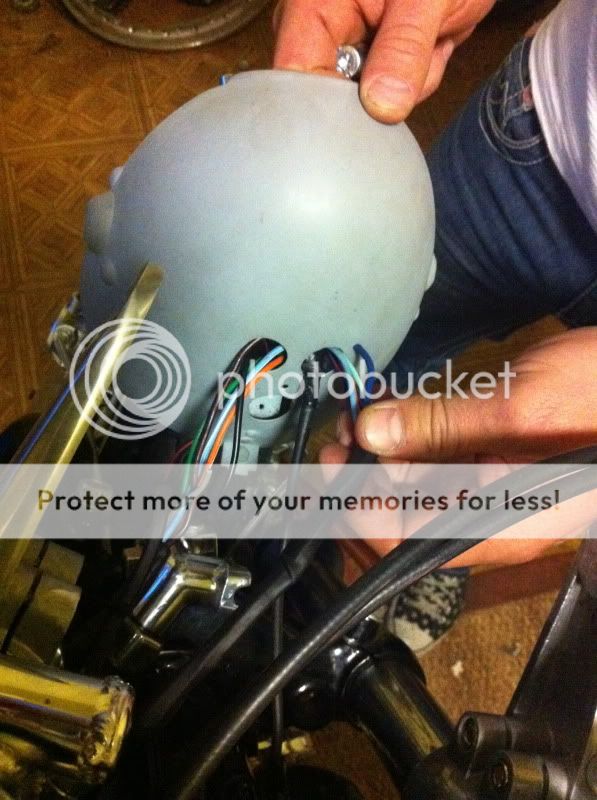
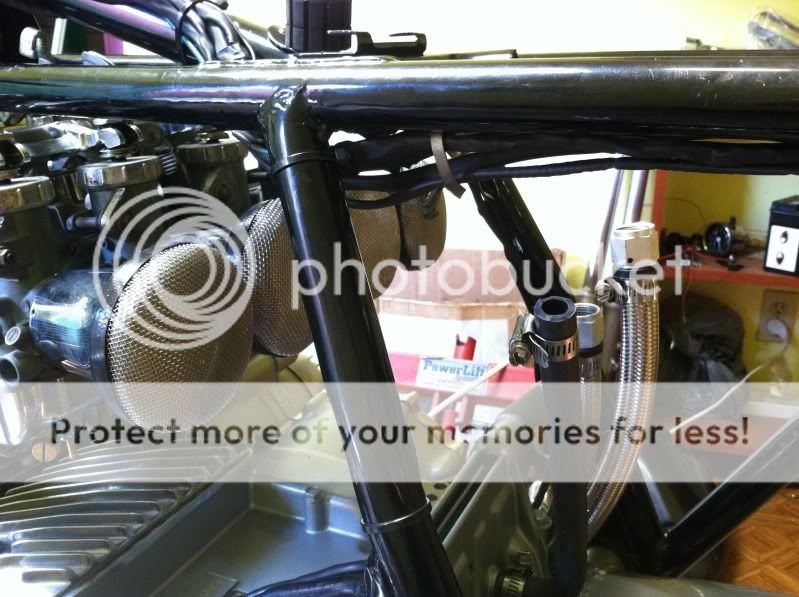
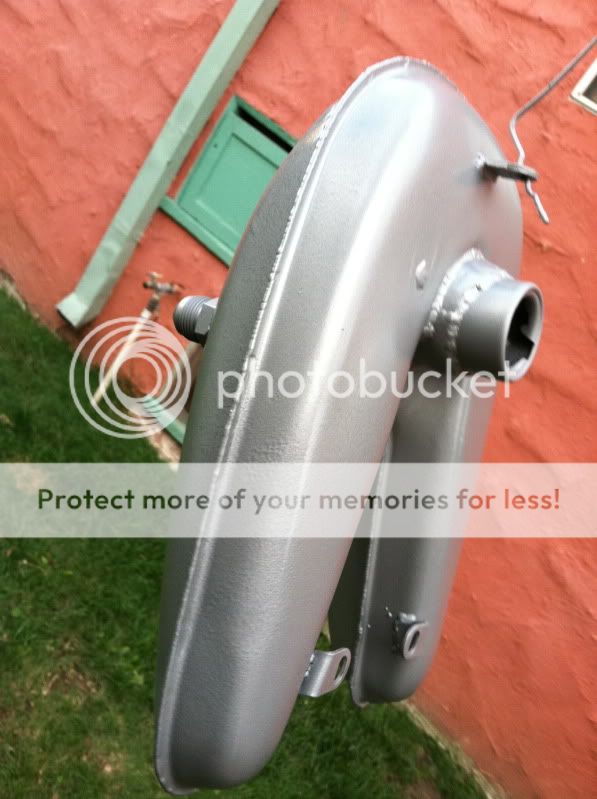
Then I realized I hated the stock oil tank. And if the oil tank had to go...so did the electrical. So I shaved the tabs and chopped the rear A-frame cross brace. Then I mocked it up again.
 
Re: SoCal Mut-N-Chop CB750


Next step was to complete tear down....


IMG_0587.jpg


Then it was time to get the motor cleaned up.
IMG_0584.jpg


I know you guys wouldn't recommend power washing the motor... :-\ but I sealed it up, sprayed it down with aircraft remover and blasted the hell out of it....worked like a charm.
IMG_1484.jpg


Then I sent all the parts out of powder coat and polishing. I just didn't have the time or ambition to polish all that stuff myself. Found a local guy (THANKS AARON!) to polish everything for $250. Powder coat was $350. Not bad I think...


For Powder coat:
IMG_1498.jpg


For polishing:
IMG_1495.jpg


Before the powder coating, I had some end caps welded on to the rear of the frame for a finished look. Also had a platform welded on where I'll mount the battery and electrical. Came out pretty sweet if you ask me..


IMG_0767.jpg


So with all the casing pieces off for polishing I masked up the motor and painted it with Aluminum finish Engine Paint. Everything came back from the polisher and I put her back together.


LOOKS AMAZING...if you ask me.


Before:
IMG_0584.jpg


After:
IMG_0768.jpg


Time to put the motor back in the frame. I did the old "lay it on its side and drop the frame on top down" method...easy cheezy!!


IMG_0664.jpg


Ok...what I haven't told you yet is that I had the swingarm powdercoated in this awesome "chrome" color...it came out perfect. The swingarm is gonna be a really nice accent to the bike when it all done.


IMG_0670.jpg
 
Re: SoCal Mut-N-Chop CB750

Looks good so far. If it were me, I would have left good enough alone for $2000 though. What plans do you have for the oil tank?
 
Re: SoCal Mut-N-Chop CB750


I was rebuilding my 1978 CB550 front forks. YES...you read that correctly. I'll explain later.


But this one fork seal was giving me a lot more trouble than usual. I beat the hell out of it from every angle but it would NOT come loose.
IMG_0673.jpg


So then I boiled the fork lower (cuz elquenada told me to, thanks!) and it came out with a 10th the effort I'd already put into it. No problem!
IMG_0674.jpg


So I mentioned above that I was rebuilding my 1978 CB550 forks. Well...I am swapping in those forks because as you can seen they are 1.5" shorter. So now I don't of have to drop my fork tubes into the triple tree to lower the front end, which looks sloppy in my opinion. Now it will be a clean look on the top triple tree but still be 1.5" lower, too!


AND the dual disc caliper mounting points match up so no disc brake swap necessary!


IMG_1552.jpg


I purchased the PartsNMore.com STEERING BEARING KIT, Part#28-2011. It seems easy enough to install and I've identified the pieces that need to be removed from my Frame Neck and Triple Tree Stem in order to reinstall the new tapered bearings.


Here are pics of what needs to be removed. BUT I need some advise on HOW to remove the top and bottom bearing cups and triple tree bearing cone.


1. Top Bearing Cup seems like it is a separate piece that is merely seated in the neck.
IMG_0767_2.jpg


2. Bottom Bearing Cup also seems to be a separate piece seated in the neck.
IMG_0780.jpg


3 Triple Tree Bearing Cone at base of stem. Removal tips??
IMG_0778.jpg


The "Blind Hole Bearing Puller Tool" got both cups out in under 5 minutes. Best removal tool ever invented!! Auto Zone has a "loan out" program...in case anyone doesn't know...you just pay for the tool, use it and return it...NO CHARGE TO YOU.


IMG_0790.jpg


The Triple Tree Bearing Cone at base of stem was a little harder but the Dremel and a hard metal cutter bit...took about 15 minutes to cut it off.


IMG_0791.jpg


So then I just tapped in the new cups for the tapered bearings into the neck (top and bottom). And then tapped the new bearing cone onto the base of the Triple Tree Stem, gave it some grease and bolted it up...


1ed6d0fd.jpg
 
Re: SoCal Mut-N-Chop CB750


So I scored a sweet pair of old Harley rims (both 2.5 X 18) from Hoosier Tom. Thanks, Tom!!


rims001.jpg


The part # in case anyone wants it...


rims002.jpg


But FINALLY!! After re-angling the nipple holes for the rear rim, powder coat and lacing up a fresh set of Buchanan spokes...here you go! Next up is a set of Coker - 2" White Wall - 400 tires...gonna be SICK!


IMG_0851.jpg


I was rummaging around at The Garage Company and found some old "tank" type thing. Didn't know at the time what it was...but now know it to be some part of a 1964 Ducati Super Falcon 80. But its gonna make a SWEET oil tank for my CB750. Mmuuuaaahaaahahahaha!!!


1.
IMG_0860.jpg


2.
IMG_0861.jpg


3.
Picture3.png


In addition, I finally got my wheels trued and tires mounted this weekend. Thanks to Johnson & Woods in Van Nuys for doing that for me. They look effing AWESOME!!


IMG_0863.jpg


So then I took them home and mocked up the bike just to get a taste of where its headed. Also grabbed the stock tank and a spare cafe tail section I have laying around. However, I'll be doing a completely custom tank and tail section later...but you can get a sneak peak at something close to what it will become. Looks a little "tall" because the bike will come down about 3" once the wheels are actually mounted...but you get the idea.


IMG_0864.jpg


I mocked it up with the oil tank and actual ride height. Looks a lot better in the lower stance....


but I think I will be mounting the oil tank up directly to the frame under the seat....dunno yet.


IMG_0873.jpg
 
Re: SoCal Mut-N-Chop CB750


So...I plan on deleting the handlebar switches. But this means I have to put all those switches somewhere else...


Check out where I'm mounting my "Start Button". Found this cool Mini Start Button on Feebay...and just drilled out the Top Triple Tree nut...perfect spot for it, if you ask me!!


1.
d303a1f3.jpg


2.
1242a1bd.jpg


3.
a762228c.jpg
 
Re: SoCal Mut-N-Chop CB750


My friend Aaron took this and fab'ed it for me. It's gonna get polished but look at the great work he did to turn it into a bolt up oil tank...


859b734e.jpg


cf40bd03.jpg


17a30053.jpg


I scored these for $80 off a local guy dumping a bunch of extra parts. They were rebuilt professionally. I had the bowls polished...and had a set of velocity stacks laying around, waiting to be mounted.


Here they are...


552ca743.jpg


a593cf03.jpg


I fabbed this tank to fit the cb750 frame. And now its on to fabbing the tail. It is being made out of a custom alloy piece to flow with lines of the Black Bomber tank. Its gonna be amazing...IMHO. Take a look...but disregard the paint job...it was just for mock up...will be polished alloy / paint combo.


1.
47a7152d.jpg


2.
07b4d203.jpg


3.
2f7c5660.jpg


4.
a8675400.jpg


I got my tail finished...still needs more polish and a couple tweaks...but it's beautiful!! IMHO...


32698af3.jpg


56164819.jpg


And it looks great with stock tank too...


86ae201c.jpg
 
Re: SoCal Mut-N-Chop CB750


I'm mounting my oil tank today before I have it chromed. Still have to tweak the mounting points to get it level.


Made my own steel braided oil lines for under $40...


f37f251d.jpg


56a3d2ea.jpg


428b676c.jpg
 
Re: SoCal Mut-N-Chop CB750


Had a WIRED WEEKEND!! My brother came into town and we spent the weekend hold up in the garage wiring my bike. It turned out pretty badass!! Here's a recap...


I studied the existing wiring harness before beginning.
IMG_1502.jpg


And the tail mount plans begin... Did some light fabbing to the original mounting bracket to fit on the tail section.
IMG_4396.jpg


New R/R unit and Solenoid...but kept the original fuse box just cuz...mounted up perfectly.
IMG_4399.jpg


3am...too buzzed to solder.
IMG_4404.jpg


Drilled a 1.5" hole w/ rubber grommet to run wires out of the rear section.
IMG_4429.jpg

IMG_4421.jpg

IMG_4423.jpg


At little birdie decided to land on the floor of the garage at our feet...hung out for a while and then disappeared.
IMG_4405.jpg


The tail section all finished...moving foward...
IMG_4468.jpg


Under the tank...forgot to get a pic of it all harnessed up...
IMG_4469.jpg

IMG_4433.jpg


Getting everything into the headlight bucket.
IMG_4514.jpg


Fitting the tail section over the electrical.
IMG_4517.jpg

IMG_4518.jpg


Fitting the headlight.
IMG_4522.jpg

IMG_4515.jpg


Haven't mounted the lights yet...but tested the system and no problems. Can't test charging system till I get it running.
IMG_4531.jpg

IMG_4533.jpg


Fuel lines and exhaust...then I'll start it up!!
 
Re: SoCal Mut-N-Chop CB750


i finished fabbing all the light holes and what not to my headlight bucket. I put in all the lights, switches, speedo, and headlight to make sure everything fit...and its looks pretty badass. Now its in the box of #$%* to get body work and paint...


09ae7c8e.jpg


43d26bc2.jpg


639f3e4a.jpg


So here are some of the final bits....


Velocity Stack screens...and almost had to sell a kidney for these...who knew!!??
IMG_0342.jpg


New shocks...had to go with longer than stock due to the lengthened swing arm...
be05aa8e.jpg


AND new cables...Motion Pro braided SS...purrrrty!! Installed them all and its a sweet look...
IMG_0360.jpg


Painted the oil tank to match the engine block and swing arm...
IMG_0350.jpg


Scored a very nice headlight screen...
e4cc9a2e.jpg


Finished the 4 into 2 exhaust headers with rolled end pencil tips...stuffed with a baffle and glass packing...
IMG_0354.jpg

IMG_0355.jpg

IMG_0361.jpg


The gas tank and headlight bucket are going to the body shop for paint tomorrow.


Getting so close I can taste it...
 
Re: SoCal Mut-N-Chop CB750


Just had to put it all together to see it before sending the headlight, gas tank, and oil tank out for paint...


dd752767.jpg
 
Re: SoCal Mut-N-Chop CB750

bryanjnkns said:
Looks good so far. If it were me, I would have left good enough alone for $2000 though. What plans do you have for the oil tank?

"good enough" would have been minus the purple glitter in the paint. And those pics look better than it did in person...
 
Re: SoCal Mut-N-Chop CB750

brycegp said:
"good enough" would have been minus the purple glitter in the paint. And those pics look better than it did in person...

I really like the direction you went with it. It looks awesome.
 
Re: SoCal Mut-N-Chop CB750

bryanjnkns said:
I really like the direction you went with it. It looks awesome.
believe me...it killed me to have to tear down that bike after paying so much for it. that wasn't the original plan.

but now that I see it after all that work...i'm not sorry. ;)
 
Re: SoCal Mut-N-Chop CB750

to mark the completion of the bike, I got a new tattoo...
 

Attachments

  • ImageUploadedByTapatalk1313949976.204712.jpg
    ImageUploadedByTapatalk1313949976.204712.jpg
    29.5 KB · Views: 269
Re: SoCal Mut-N-Chop CB750

Would you believe that my tanks and headlight have been at the painter for going on 4 WEEKS??


Geez..i've been using this painter for years...and he's been really busy. Anyway...I'm getting really antsy waiting for this s#!+ to be done!!


Ugh...
 
Back
Top Bottom