Follow along with the video below to see how to install our site as a web app on your home screen.
Note: This feature currently requires accessing the site using the built-in Safari browser.
We noticed you are blocking ads. DO THE TON only works with community supporters. Most are active members of the site with small businesses. Please consider disabling your ad blocking tool and checking out the businesses that help keep our site up and free.
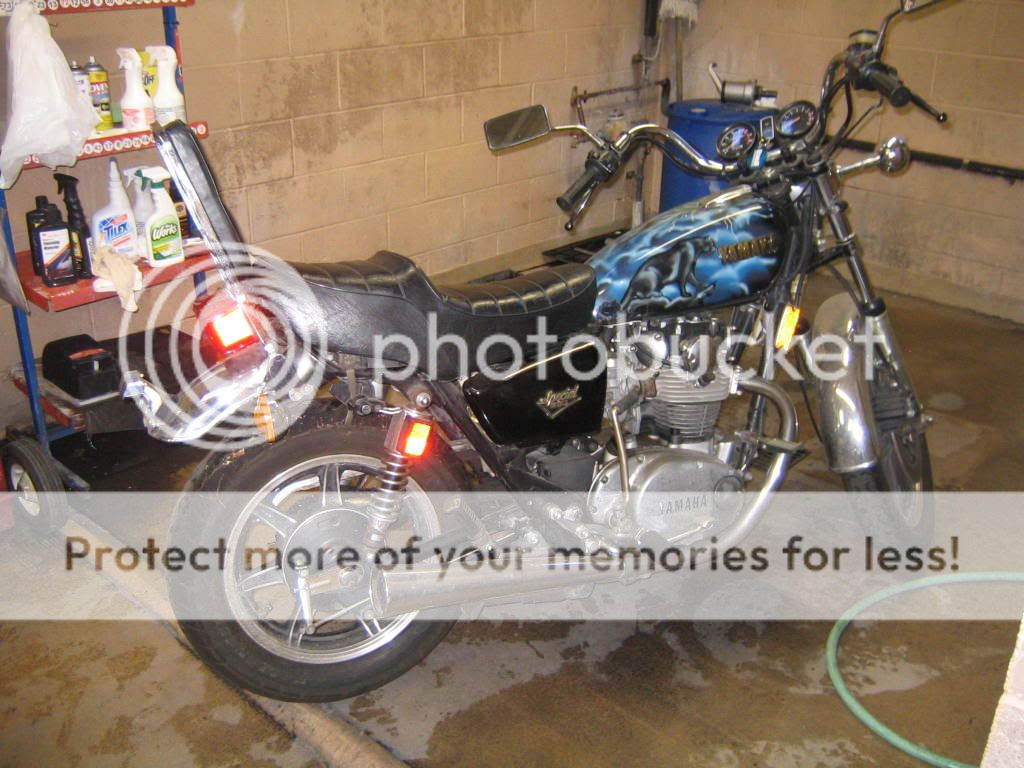
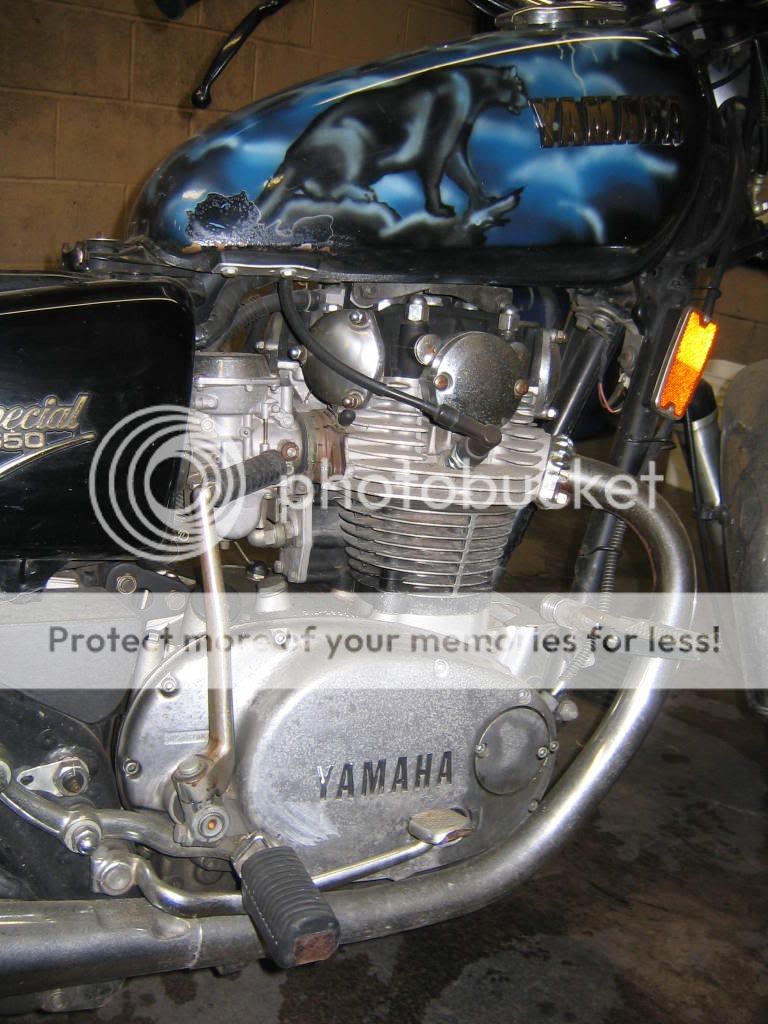
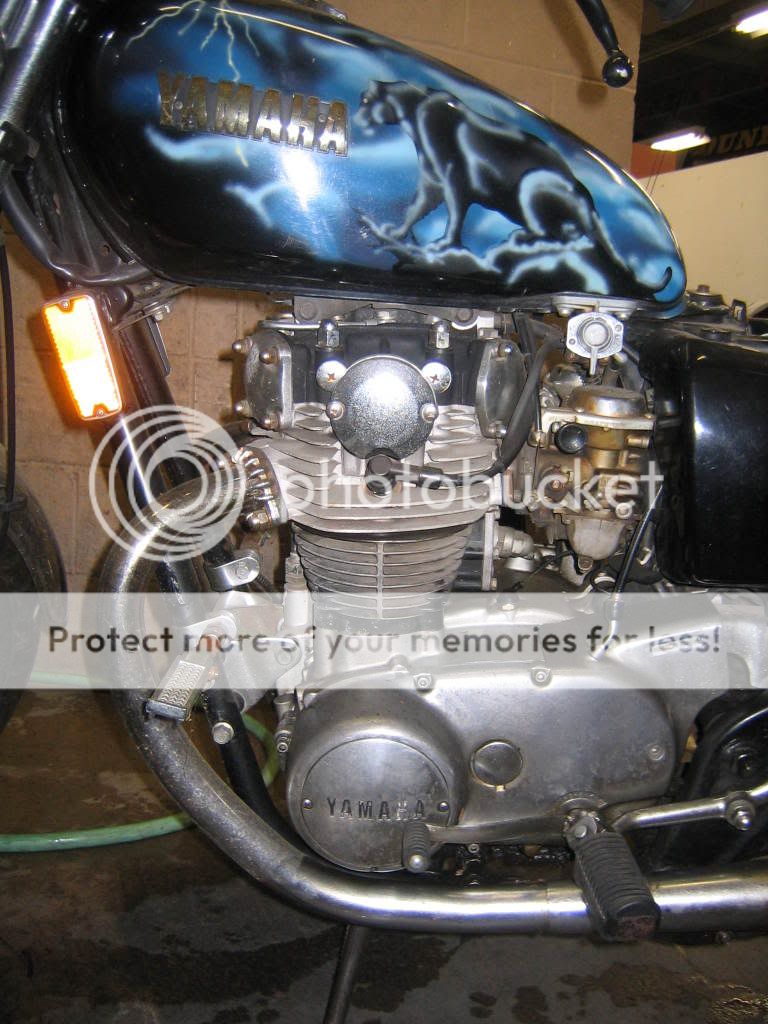
Well, here is the motorcycle I chose for my cafe style build. Reading JRK's post about his TX, he inspired me to take the plunge. The bike has been under a tarp over the past 8 years and seems to be in good condition. There is an electrical issue in that the previous owner "rigged" a fuse box with newer style fuses. I ordered a stock fuse box to take care of that issue. I've removed the fuel tank, draining the fuel and am using CLR to clean out the rust. I removed the stock airbox and will take the carbs out to clean, repair, and polish and or paint. I ordered clubman bars but in evaluting the cables, they look like they will be too long. Can anyone suggest where I can get shorter cables? Can I order them by size? The backrest will go along with the turn signals and the front fender. I might remove the rear fender, but will depend on whether I can get a cafe style seat. Looking to polish or maybe use wrinkle black paint on the side covers of the engine. Any opinions or thoughts? I've ordered a gasket kit so If and when I take off components that need them, I will replace. Looking forward to your opinions and thoughts. I am a rookie at this and greatly appreciate your opinions or thoughts as I get my build off the ground.
Make sure you coat your tank with something immediately after the CLR or it will flash rust very quickly. I sprayed a bunch of WD-40 in there and swished it around. Then I cleaned the WD-40 out with some gas before installing it back on the bike.
Great bike, and nice find by the way! I had one "back in the day" and loved it, traded it for a Suzuki 750 four and regretted it every day. This is a great platform for a cafe, narrow, nimble, torquey and sounds great too!
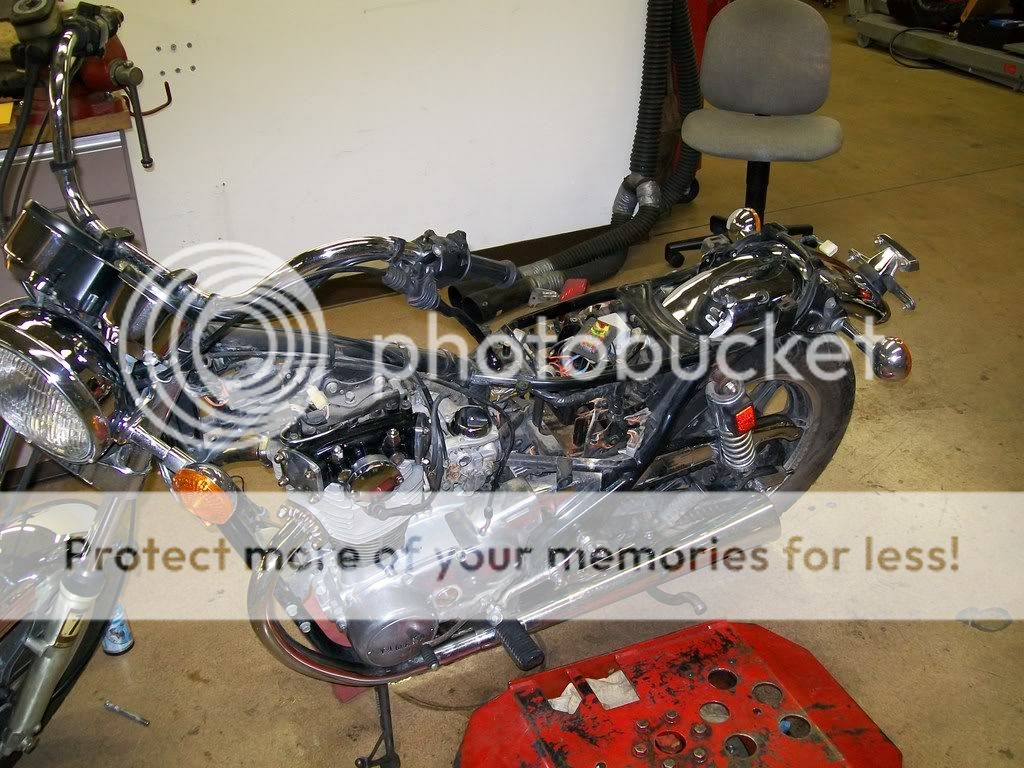
Well, I've been working on the Yamaha over the last few days. I removed the tank and started to clean it with CLR. Got a problem, I missed placed the key now I can't get the gas cap off, any suggestions. What a way to start my build....I removed the sissy bar with the tail lamp, removed the side covers and the air filter system. In the process of ordering carb pods. I am in the process of removing the engine side covers so I can attempt to polish them. PUrchased a demel tool and cleaning kit to get me started this weekend. The carbs have been removed also for cleaning and possibly painting, we will see how much I can do. Being a rookie at turning a wrench I will take it slow and easy. Thank God I got a service manual. Will post pics in a day or two....
take it slow, take lots LOTS of pictures so you know where it all goes, when you remove a part put it in a zip lock baggy and mark it with what is in it so that when you re assemble it willbe much easier... i would take the tank to a lock smith personally and have him pick it or make you a new key by replacing the cylinder.
If you go over to the 650 Garage website those guys can point you to a website that makes keys for old Yamaha's, or you can search the archives. All you need is the number that is engraved beside the key slot on the ignition switch. i didn't save the address other wise I'd give it to you, sorry.
Thanks for the heads up on the key. JRK, I've been doing as you have suggested, taking pics and putting parts in a bag and marking them so I know where they go when I start putting them together. I am having difficulty polishing the engine side covers. They are badly tarnished that I don't think I can polish them. Any suggestions on a process to remove the tarnish? I might just paint them with epoxy appliance paint. Well off to keep trying to polish.....Again thanks for your input.
Thanks for the heads up on the key. JRK, I've been doing as you have suggested, taking pics and putting parts in a bag and marking them so I know where they go when I start putting them together. I am having difficulty polishing the engine side covers. They are badly tarnished that I don't think I can polish them. Any suggestions on a process to remove the tarnish? I might just paint them with epoxy appliance paint. Well off to keep trying to polish.....Again thanks for your input.
can not epoxy them man they will get tooo hot! got to use an engine paint.. polishing is not an over night thing man take elbow greece! start will 400 grit and work your way up... when you get to 800 start to lube with WD40... go all the way to 200 then swap over to metal polish... takes time, that is why people (myself included) charge HIGH dollar to polish!
can not epoxy them man they will get tooo hot! got to use an engine paint.. polishing is not an over night thing man take elbow greece! start will 400 grit and work your way up... when you get to 800 start to lube with WD40... go all the way to 200 then swap over to metal polish... takes time, that is why people (myself included) charge HIGH dollar to polish!
haha ha ya... typo king here! start with 400 - 600 - 800wet - 1000wet - 1500wet - 2000wet (wet means with WD40 lubeing it)... then once you get that done wipe it all down wiht rubbing alchole or denatured alchole and use some metal polish on it... will shine up real nice, the 400 is what is used to remove any oxidization... also i have buddies that get concrete cleaner from home depot, they use that on there befroe they even start any sand papers, i am told that the chemical in there will eat alot of the oxidization away and really help cut down the time, but again i hve never doen it, just seen the results, looked like it works great... a buffing wheel will really really save you a ton of time as well man, and a grinder in the garage is never a bad thing!
i jut can not recall if you want the driveway cleaner with phosphoric acid or Oxalic acid... if someone on here does not know i can find out for you bud
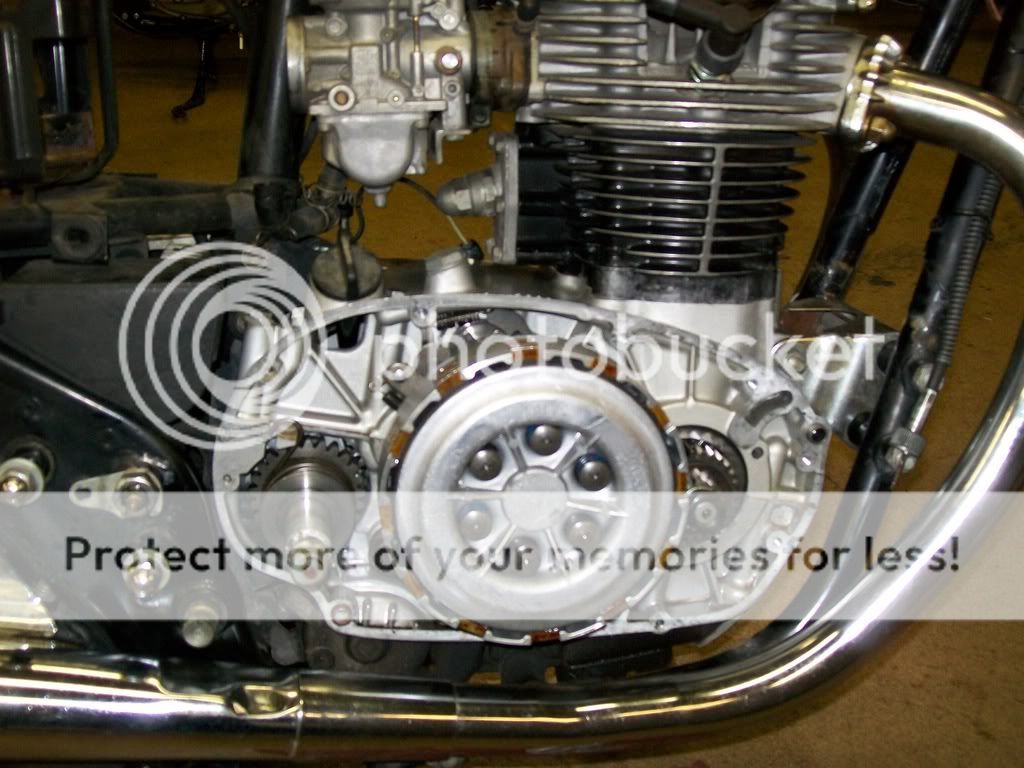
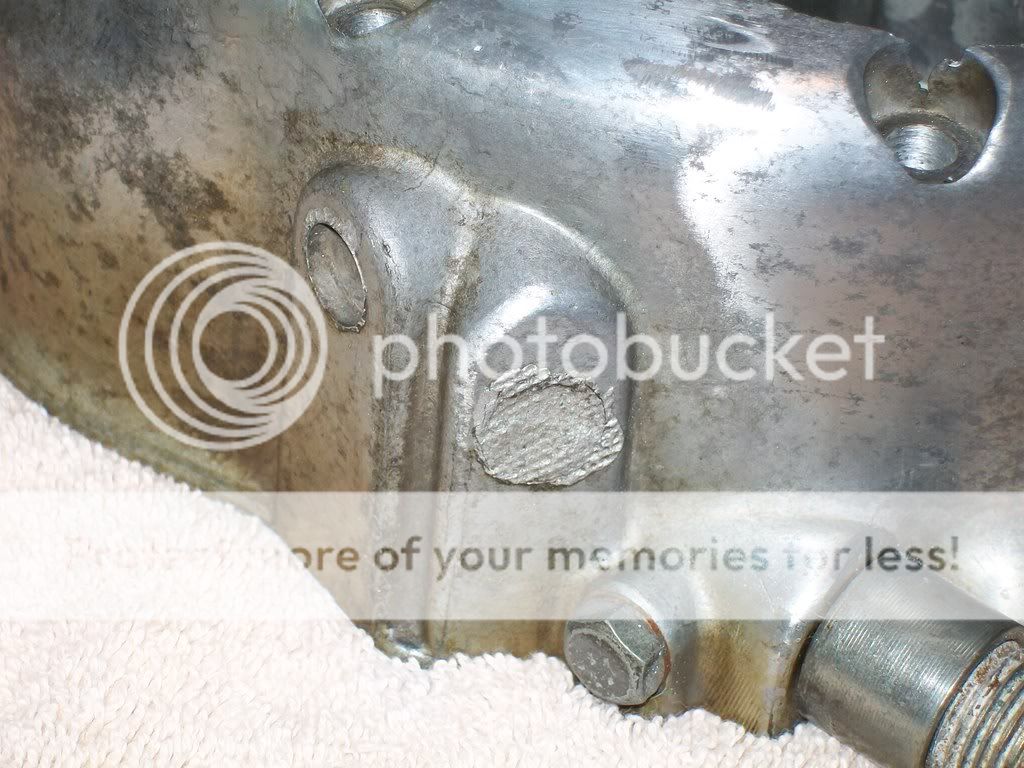
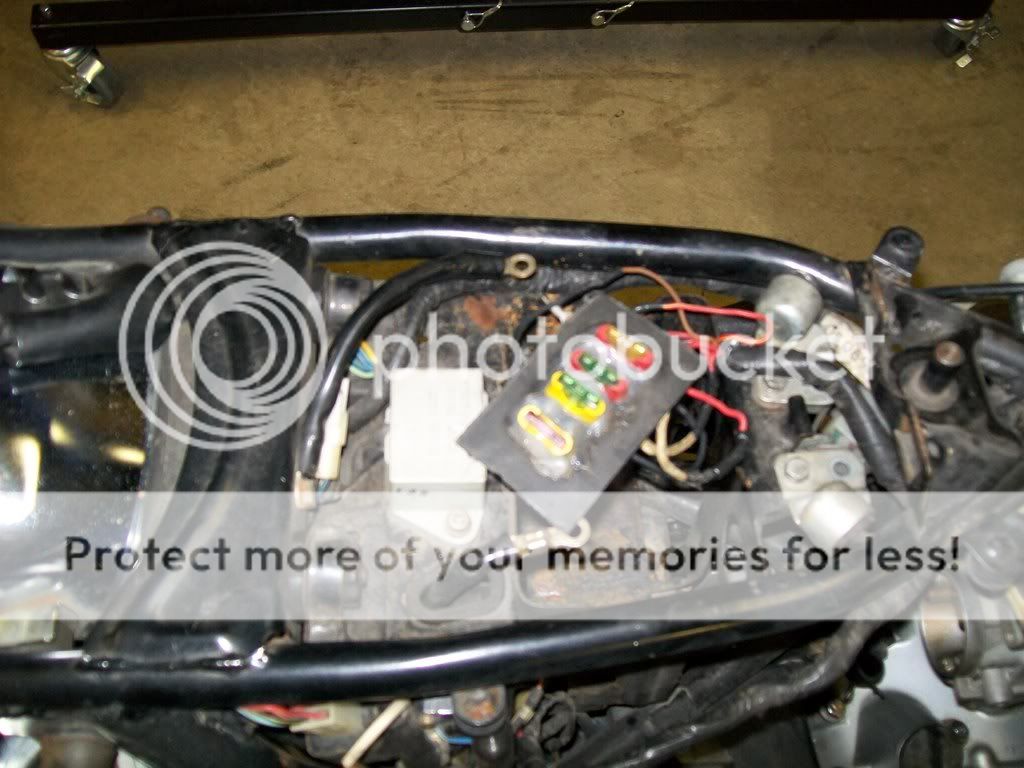
Here are some pics of my progress with tank off, sissy bar disposed of, and a side cover removed for polishing. The inside of the tank turned out great, eliminating all the rust. That was a great low cost fix. Since I lost the key to the gas cap, I took it to a lock smith who unlocked it in a minute, only $5. I purchased the aircraft stripper and she will get a coat of that before I paint. Sorry for all those who like that "nittany lion" graphics, just not my thing, lol. The side cover has lots of oxidation and will continue to fight the good fight to get it cleaned. But can someone give me a heads up on why the front area has a hole repaired? Was their something there originally? Can not find anything in my service manual. And check out the cluster "f**k" for a fuse box. I ordered a stock fuse box to replace the homemade one. Thanks again for all your input, this forum ROCKS!!
Not sure what they were trying to fill there? Also, it may have just been easier to get a fuse box from an auto parts store because the stock one may have glass fuses. I prefer the newer mini fuses myself so just something to think about.
Being the novice that I am with repairs, could you be more specific about the fuse box Big? Is it a car style? How many fuses does it hold? Any info would be appreciated...
This site uses cookies to help personalise content, tailor your experience and to keep you logged in if you register.
By continuing to use this site, you are consenting to our use of cookies.