1962 BSA DBD34 Gold Star restoration (1000 miles and more)

Re: 1962 BSA DBD34 Gold Star restoration (We have ignition...)

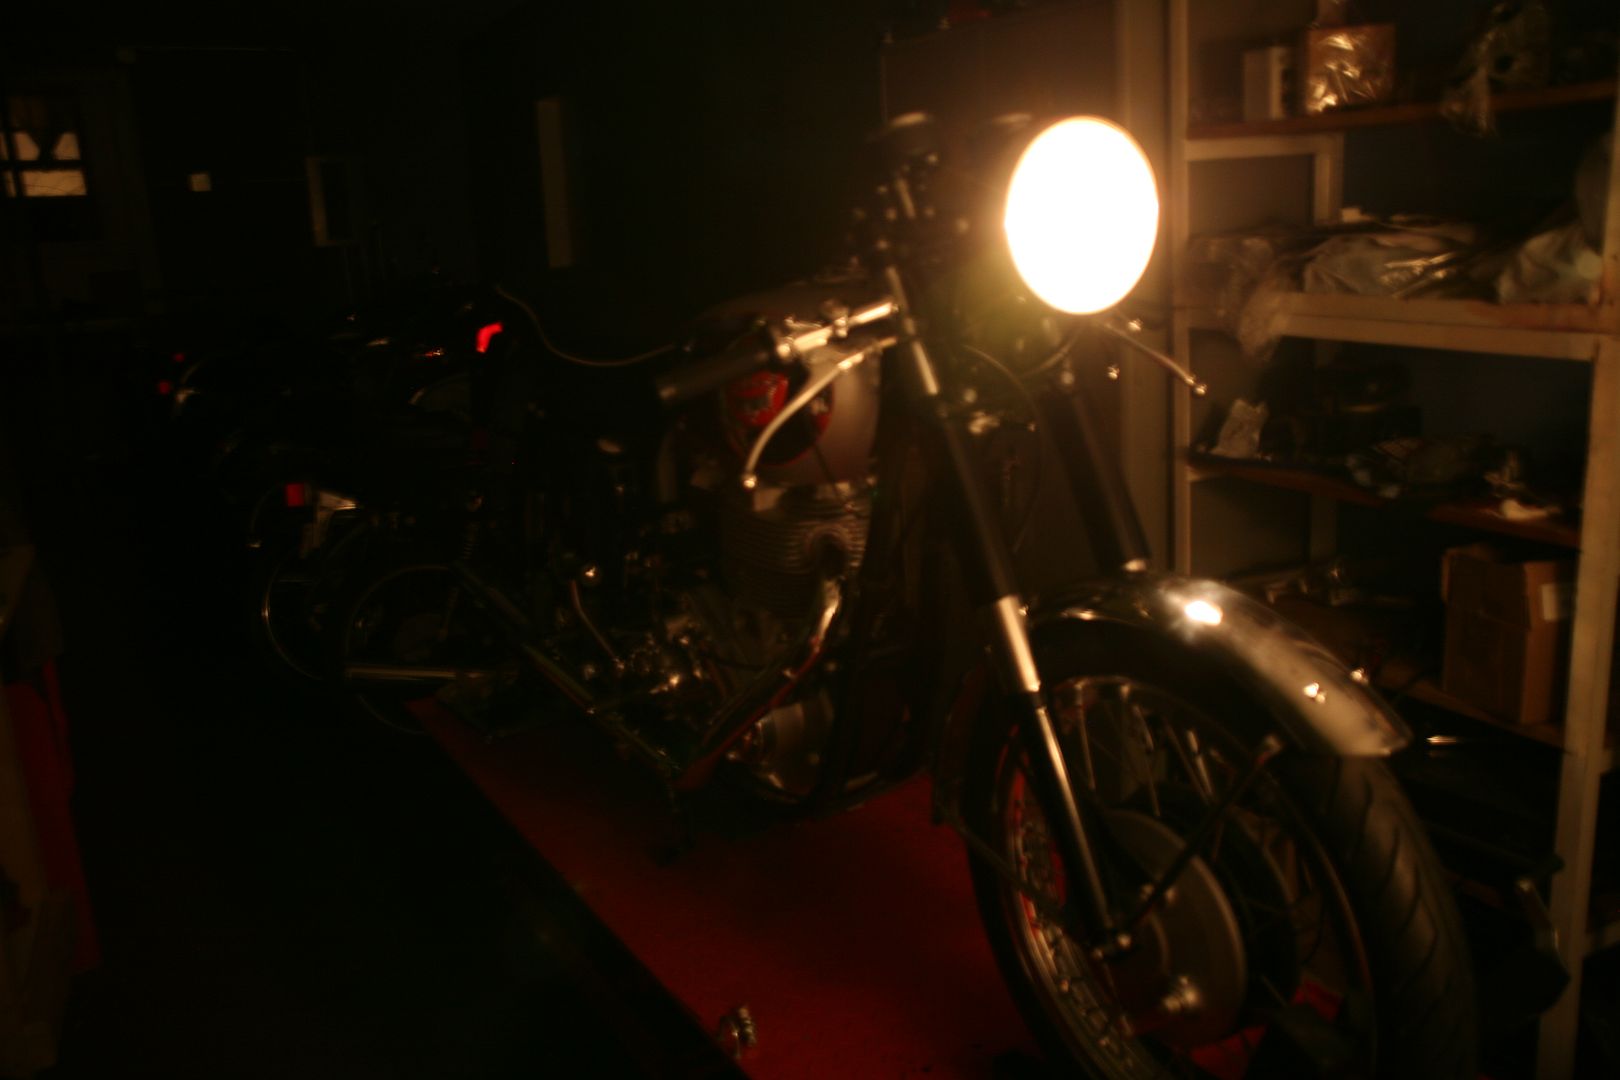
Good news, my bike is out of my house and finally at the Winona Riders' workshop! Three friends and I took the bike out of my apartment, across my snow covered rooftop garden, carried it down a flight of stairs and I rolled it down the street to our workshop. The seat, mud guards, tank, cylinder head, clocks and head light were removed to make it lighter and to protect those items from damage. It was much easier than I feared and I rewarded the guys with a growler of kind beer and pizza. I spent that evening putting all the pieces back on and cleaning her up.

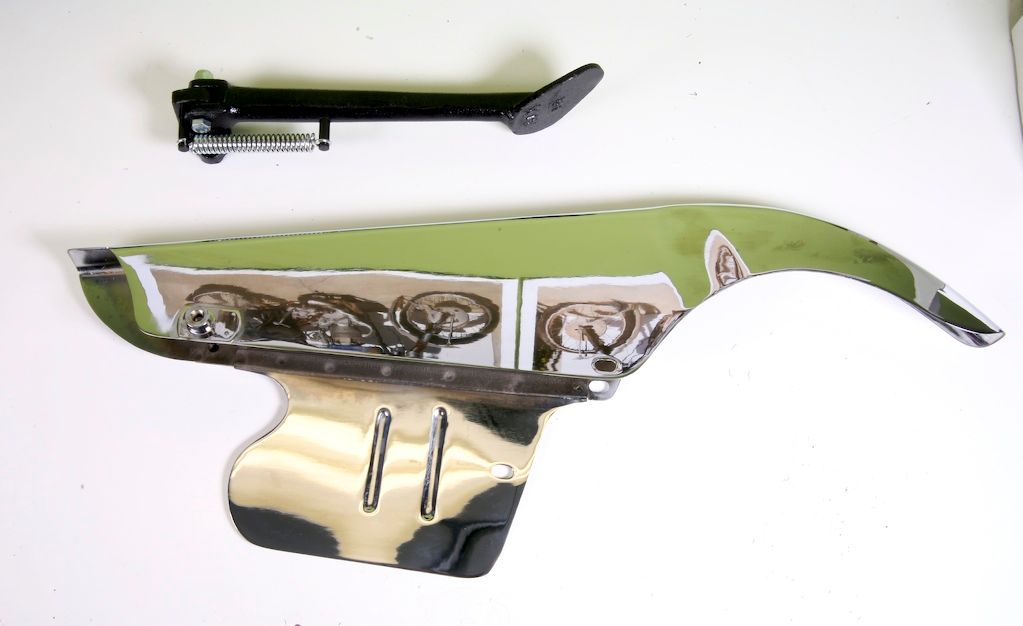
Despite still feeling ill, I spend more than 10 hours at the shop yesterday. My new chainguard and side stand arrived from Burton Bike Bits. The triple chromed, UK made chainguard was USD $175 and side stand was USD $158 with delivery. Expensive, but very nice components.
IMG_3439-Version2_zps8e1adb3d.jpg


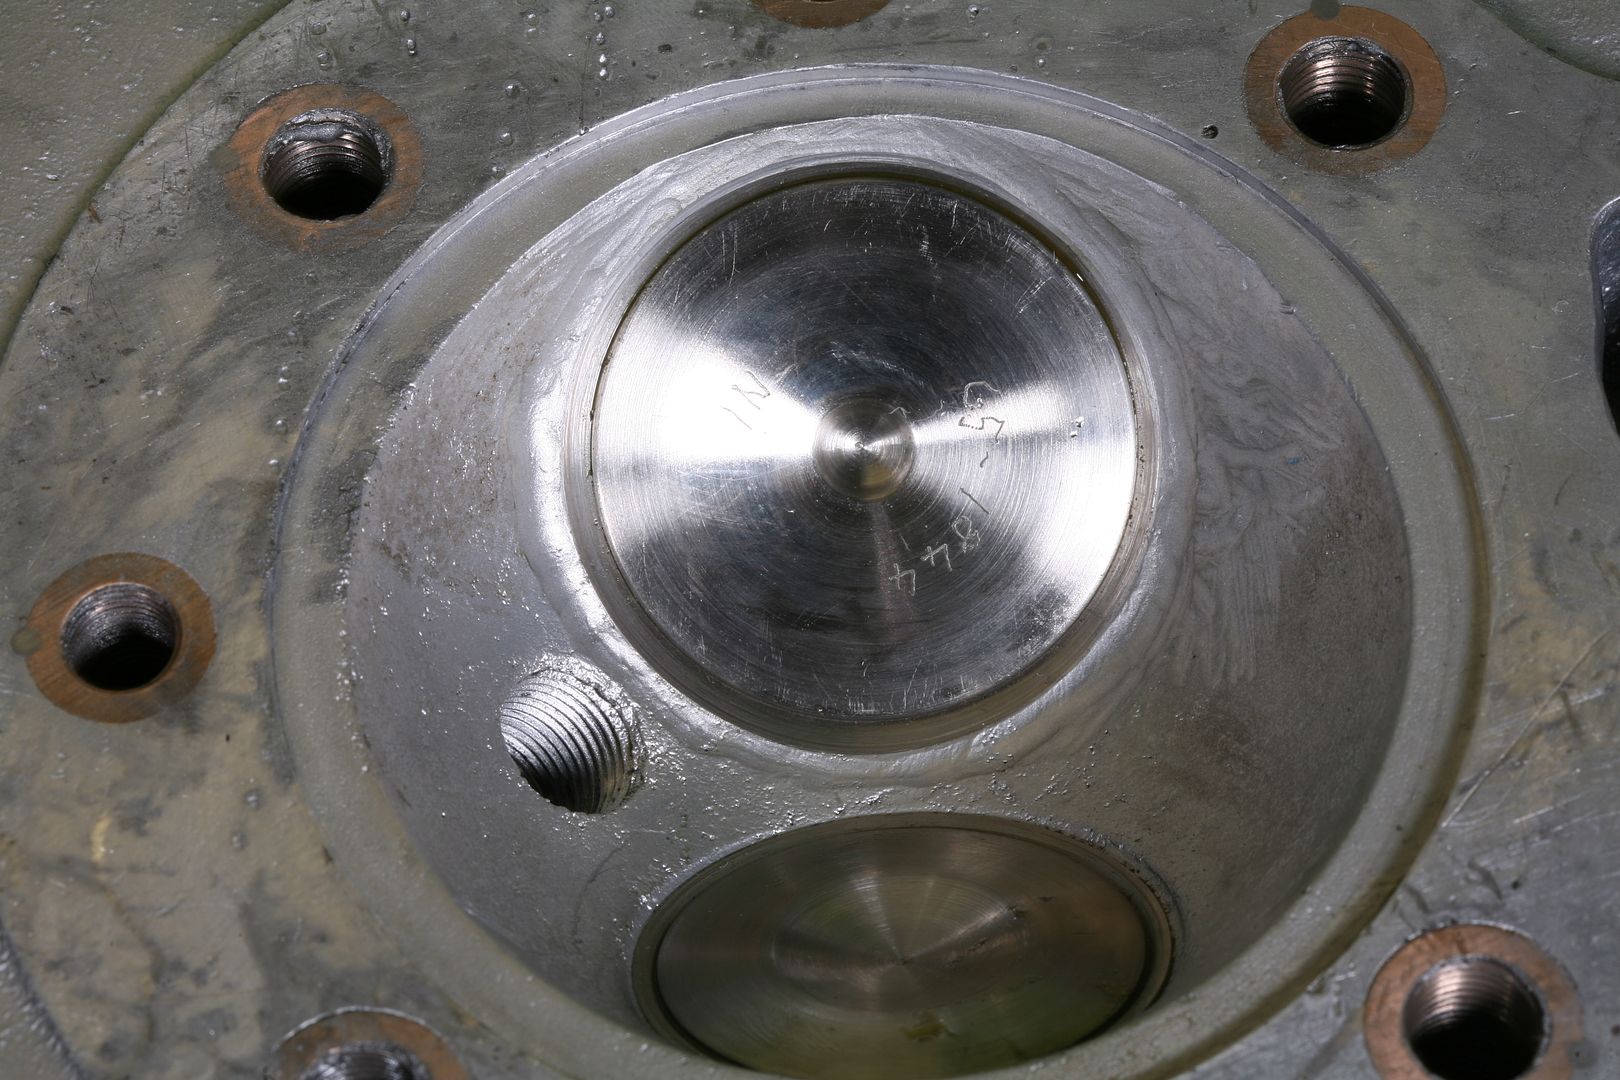
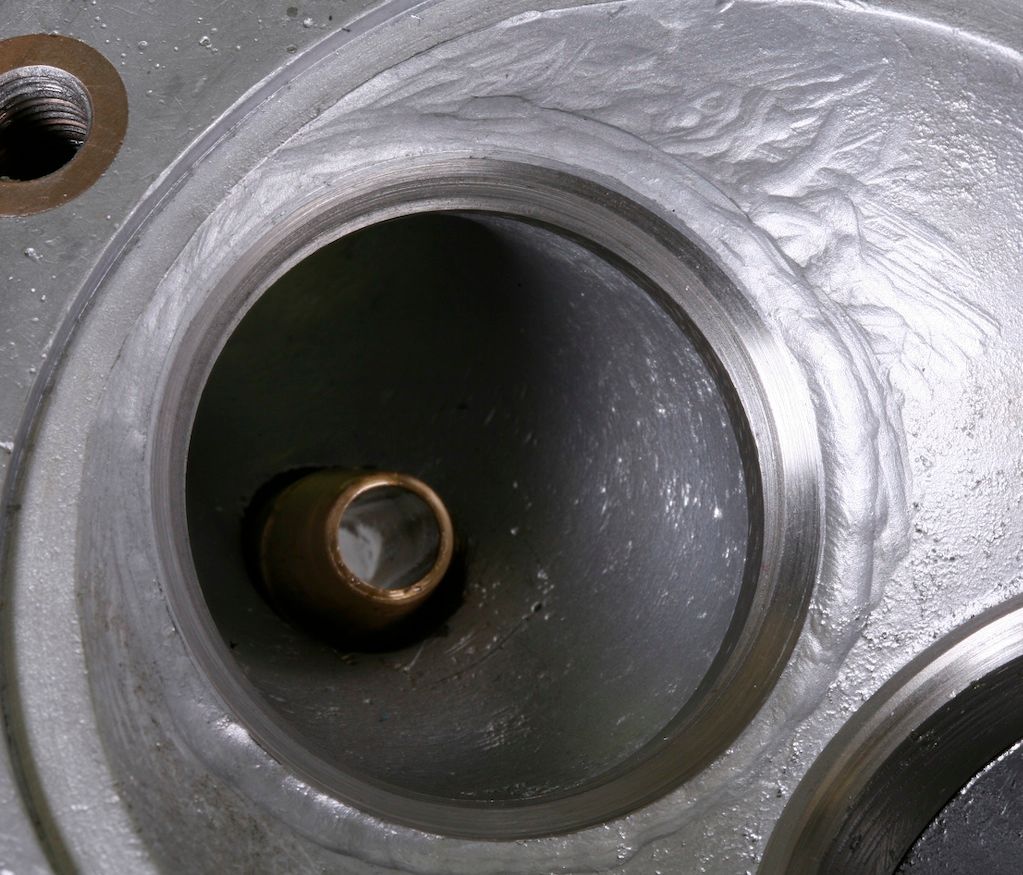
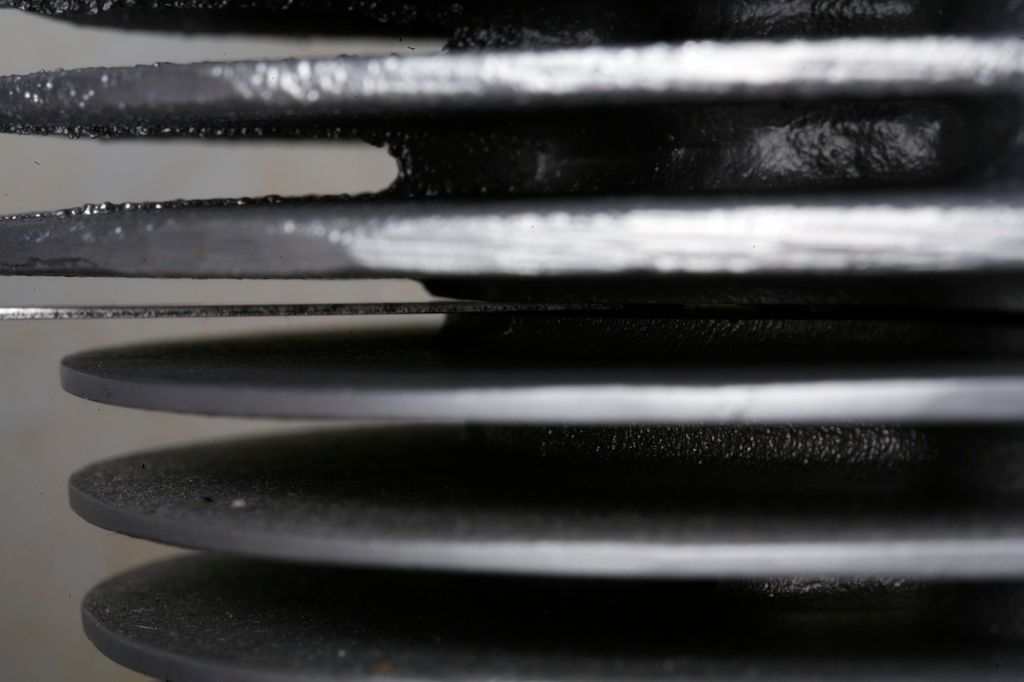
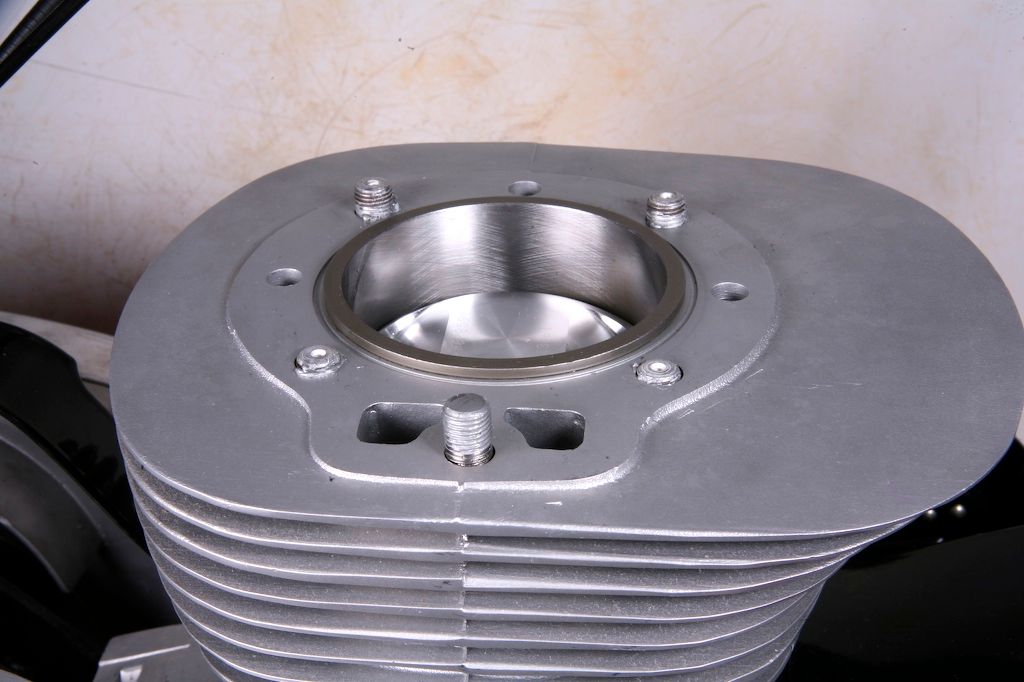
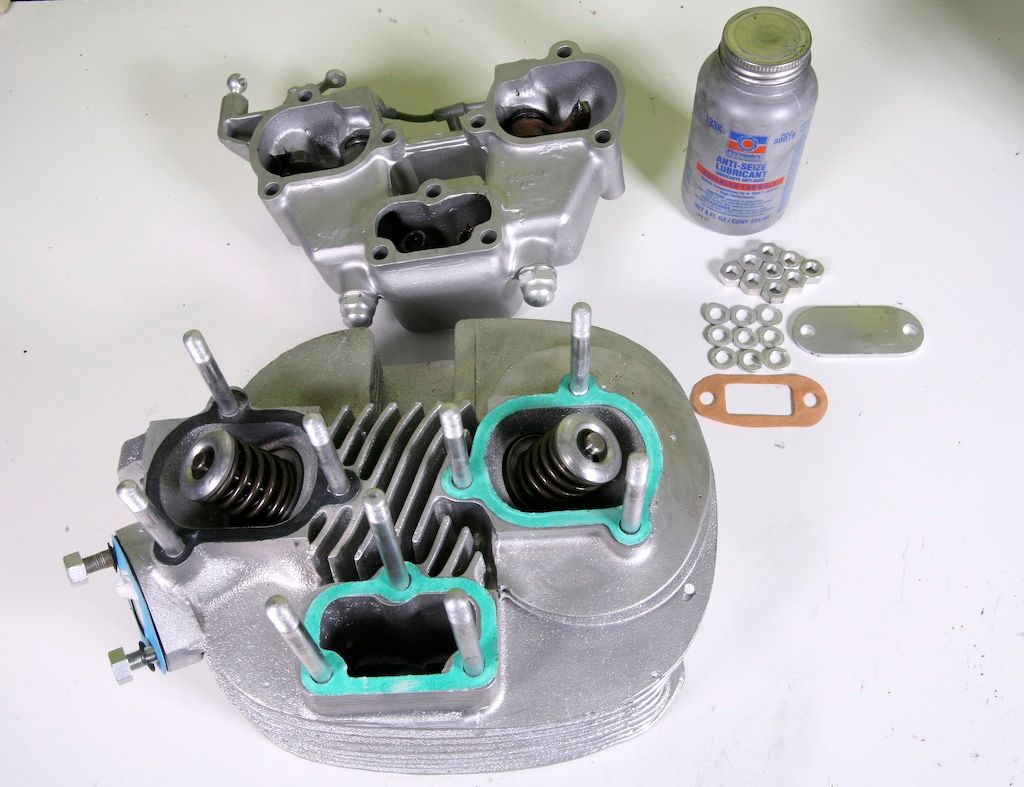
I assembled my cylinder head and rocker boxes, measured the gap between the head and cylinder in 12 different places. My new cylinder gasket is just over .033" and the largest gap was just over .032" so I am within recommended tolerance (gasket is 001 to .002" larger than the gap).
IMG_3455-Version2_zpse8f2cfc2.jpg

IMG_3466-Version2_zpsd187d0bb.jpg

IMG_3468-Version2_zps26b9c2f8.jpg


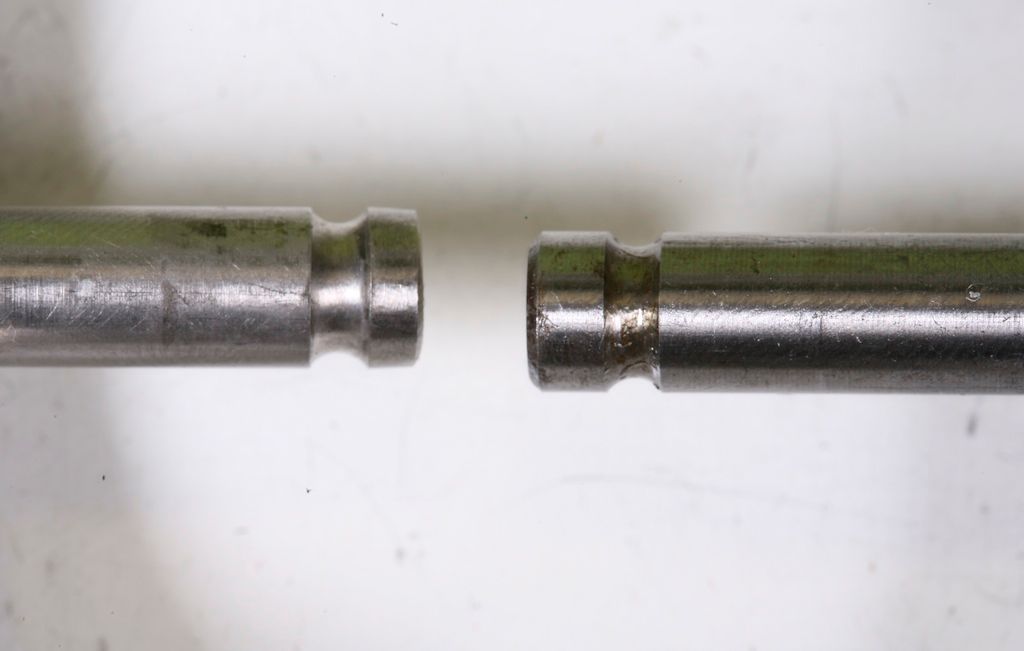
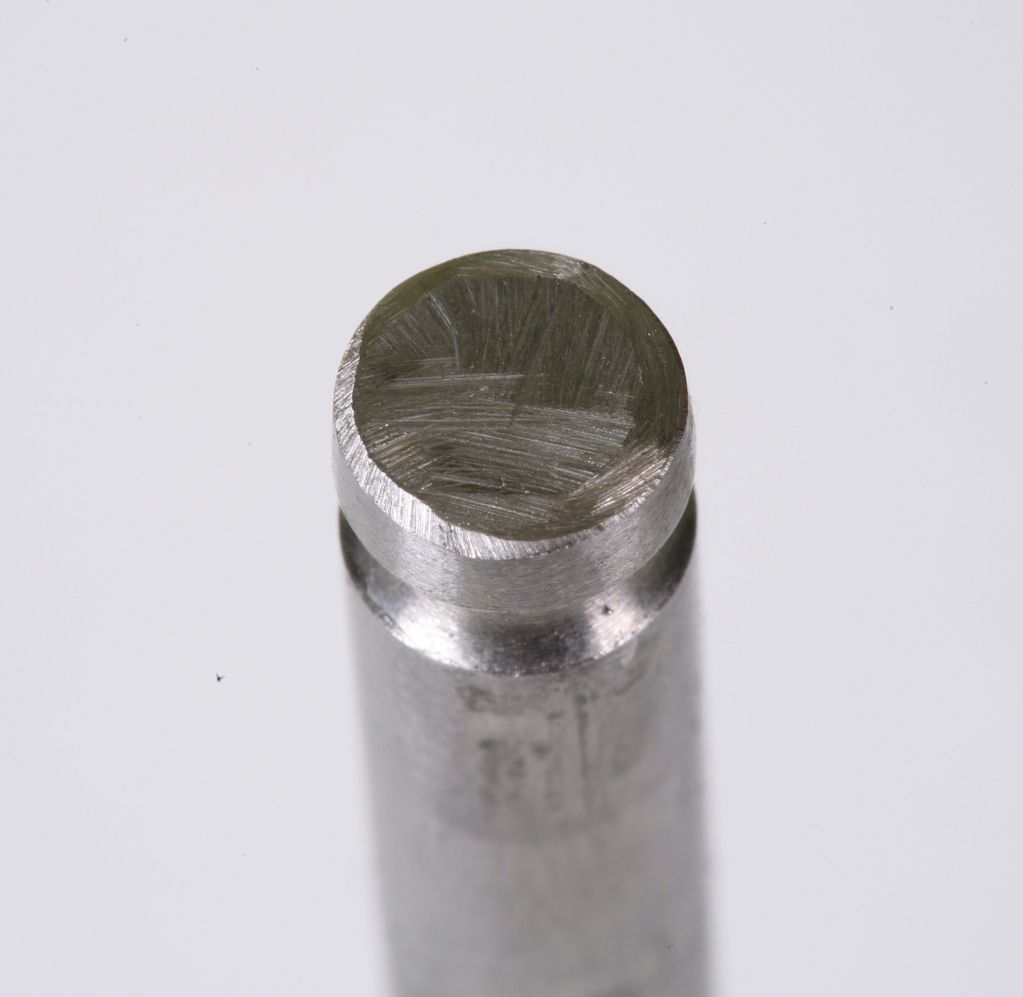
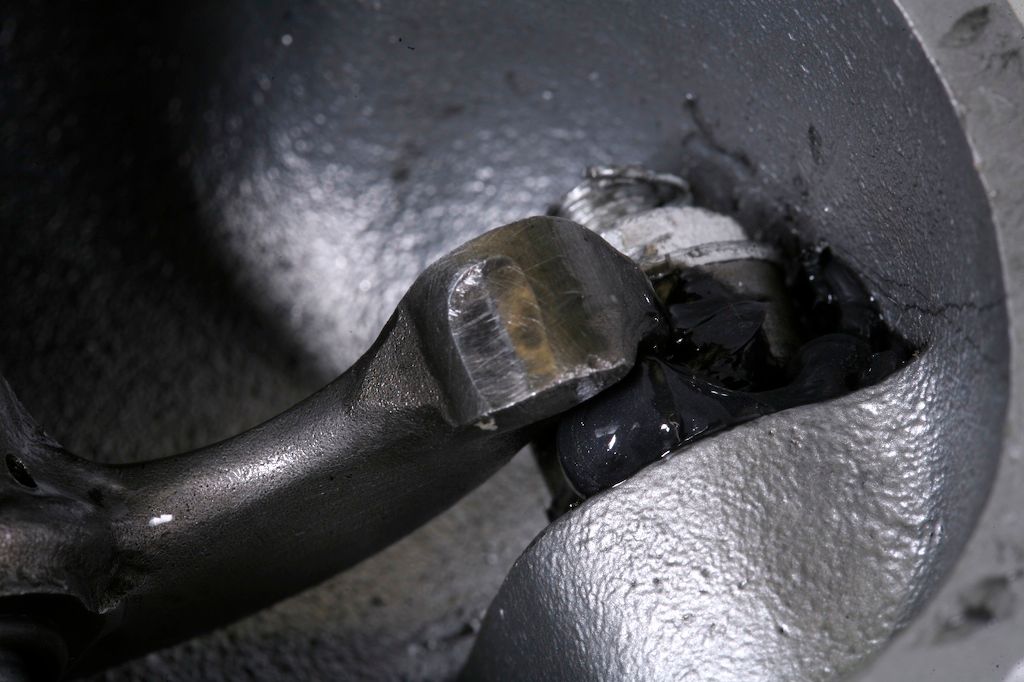
I fitted the head, cylinder studs, rocker boxes and pushrods on to the cylinder. It took me quite a while to get this correct and I must say I am not a fan of the inverted cylinder bolts on this motor. It was very tedious, time consuming and difficult to reach even with the magdyno off the motor. Time for me to bend up a wrench which all Goldie owners are familiar with. Everything is buttoned down to spec but I still need to set the valve clearances before turning over the motor.
IMG_3463-Version2_zpsc903fa96.jpg

IMG_3474-Version2_zpseea94d09.jpg


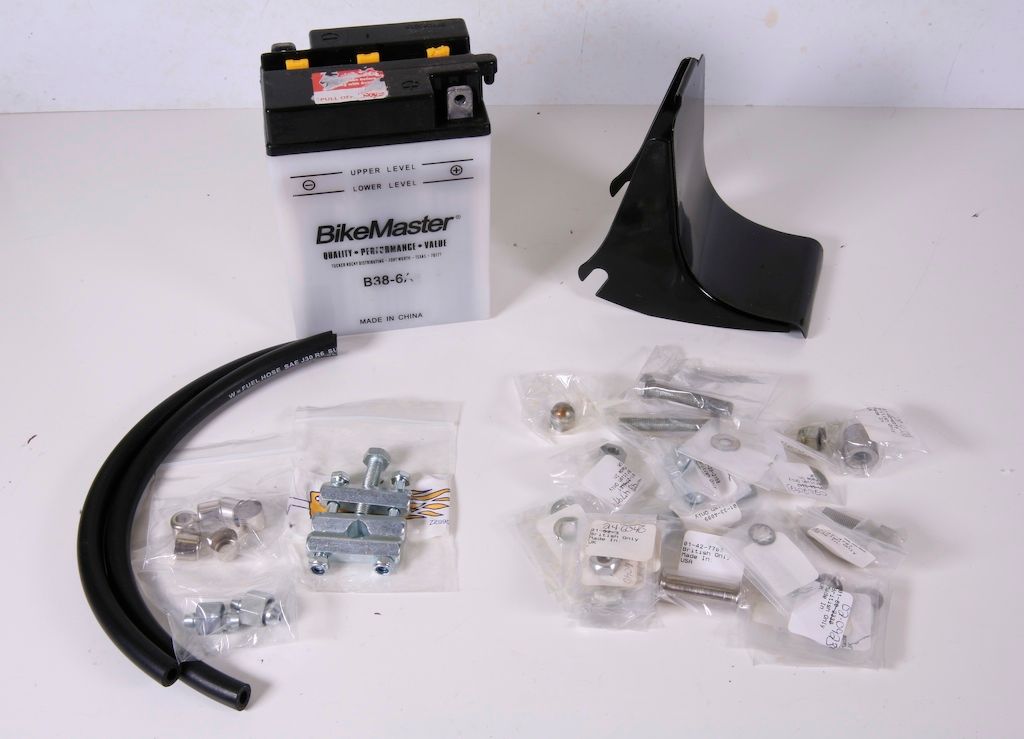
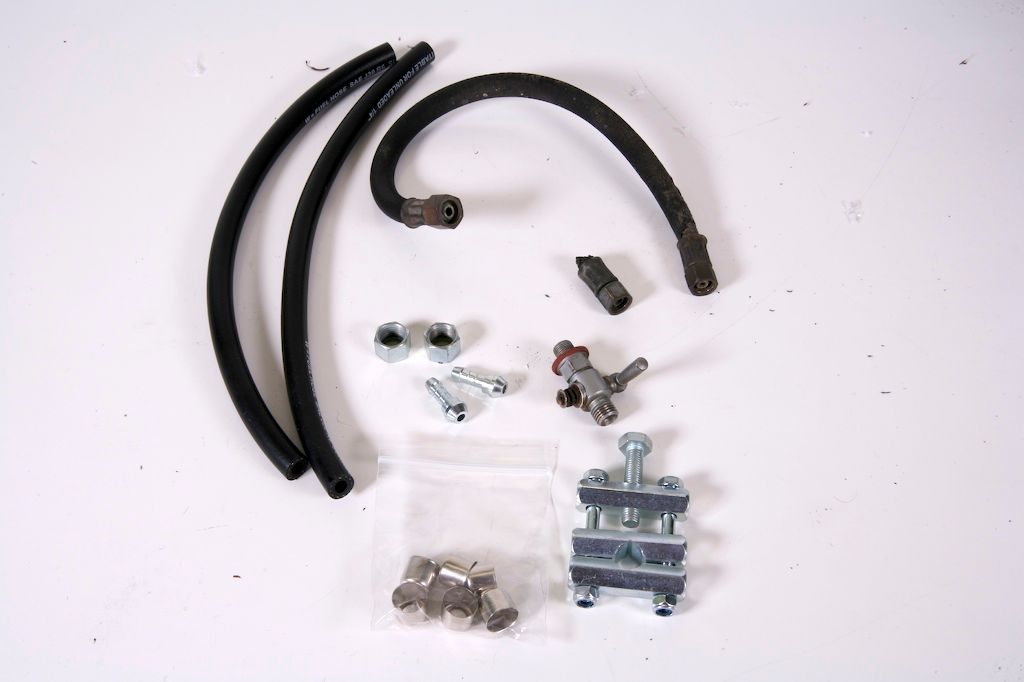
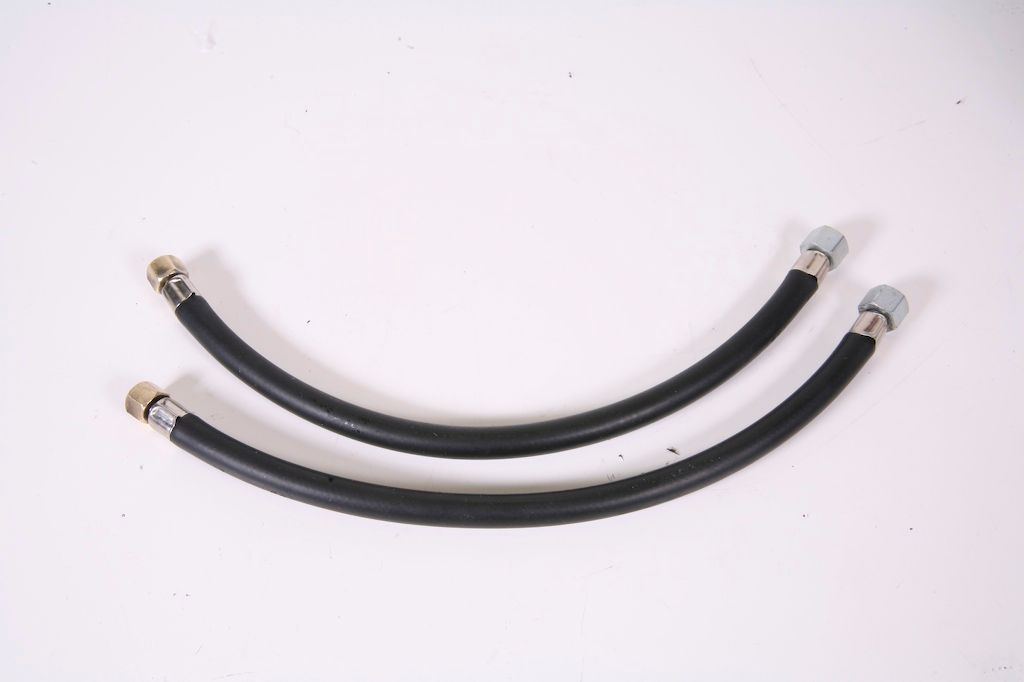
I also roughed in the wiring harness, headlight switch panel, wired and tested the horn (sounds cool!). My battery will be here in a few days so I can finish the electrical. The exhaust pipe and silencer were installed and the other finals parts will be here this week (misc hardware, compression release cable and gas line kit). I am so happy and we are on the home stretch and time to end this obnoxiously long build thread, hurry up spring!
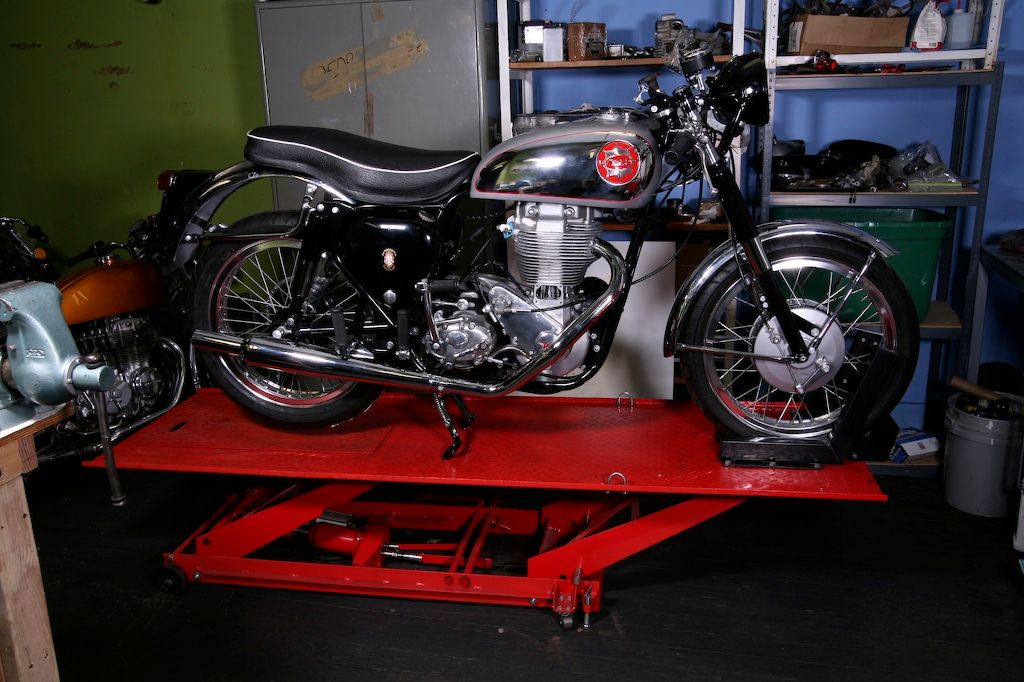
IMG_3484-Version2_zps72d7f7dc.jpg
 
Re: 1962 BSA DBD34 Gold Star restoration (Nearly done...)

Wow, yea, that is one beautiful bike! The old pictures and drawings of them don't do it justice.
 
Re: 1962 BSA DBD34 Gold Star restoration (Nearly done...)

Yay, you'll be ready for spring for sure! Beautiful bike. Will it be BOTM March or April?
 
Re: 1962 BSA DBD34 Gold Star restoration (Nearly done...)

Thanks guys! A few more pieces of the puzzle have arrived: new battery, fuel line, drip tray and hardware for my side stand and chain guard.
IMG_3518-Version2_zpsd4dec28a.jpg


Spent a couple hours last night installing the side stand, misc hardware, battery, making fuel lines and tweeking the wiring harness.

Of course the side stand lug on my frame was slightly bent, so it took time and force to fit the new stand. It now looks and works well.
IMG_3520-Version2_zps424384fb.jpg


I used the two small petcock connectors from my original fuel lines and two new connectors to make two new ones. The crimping tool is simple to use and works great. I am going to make new lines for my Triton. No more hose clamps. The new black hose had white lettering screened on to it, but it was easily removed with a rag and some carb cleaner.
IMG_3521-Version2_zps63ee5980.jpg

IMG_3522-Version2_zps0d776bf7.jpg

IMG_3526-Version2_zps325d7b56.jpg

IMG_3527_zps94bba46a.jpg


I also soldered and heat shrink wrapped more electrical connections, charged and installed the battery and realized I neglected to order a tail light bulb. The original bulb came out of its base upon removal and it took a while to get the base out and clean out 40 + years of dirt.

If all goes well, I will have a day off tomorrow and will spend it in the shop. Cannot wait!
 
Re: 1962 BSA DBD34 Gold Star restoration (Nearly done...)

Light-bulb! I am adding a crimping tool to my tools. For some reason I never thought it was so easy to make. Thanks for the details. Looks like you are close to firing this old girl up.
 
Re: 1962 BSA DBD34 Gold Star restoration (Nearly done...)

Crimping is easy...

Another quick update; I am feeling better, spent a few hours in the shop and finished the electrical. Initially I wired the new switch incorrectly and had to do a lot of troubleshooting to realize I needed to move each wire one position over on the switch. Once that was done, it was fairly simple and everything works perfectly. I do need to order a bulb and holder for the speedometer. Part number anyone?
IMG_3548_zps6d0ae8db.jpg


I will create and post a wiring diagram soon detailing how I converted a stock harness to a QD quick detach harness.

With the money I saved on the horn from Domiracer, I splurged and bought a UK made Halcyon mirror (based on the original Stadium brand). It is stainless steel, solid and so much nicer than the Emgos I use on my other bikes.
IMG_3545_zpsbda74b28.jpg


That's it. I have most tomorrow free (after snow removal) and all of Saturday to work on my bike. Need to install the chain guard, finalize all the control cables, add fluids and do compression test. Come on spring!
 
Re: 1962 BSA DBD34 Gold Star restoration (Nearly done...)

I am so close, but the plot thickens... I assembled the motor, cylinder head and rocker box and began to adjust the valve/ pushrod clearances only to realize the inlet valve was not seating all the way.

After much head scratching and posting on Britbike.com, we determined my pushrods were too long and/or my vavle stem height was too high due to valve seat being cut too deep.
IMG_3621_zpsbf6f23ed.jpg

Looking down inlet port with light shining in spark plug hole. The sliver of light shows the valve not seating all the way.
IMG_3616_zps6190dfcd.jpg

Inlet valve and seat (top) is set too deeply into the head, thus raising the valve stem height too high to close via the push rod.

I met with Skip Green, my neighbor and machinist last night. He is nearing retirement after a lifetime of working as a motorcycle mechanic, VW mechanic, machine tool salesman for Winona Van Norman and other machine companies, a world traveller, vintage radio and electronic equipment genius and a man of many more talents. Not to mention has owned two Goldies along with any other bike I mention. He is setting up his shop so he can do high end machine work on vintage motorcycles in his retirement. http://apparatusmc.com

We pulled the cylinder head and he examined everything and we discussed several possible solutions including shortening the push rods, shortening the valve stems, adding shims and/or additional gaskets to rocker cover etc. But rather than treating the symptoms, I wanted to address the cause, which we both agree is that the intake valve seat is too deep. So he is going to replace and properly re-cut the valve seat. Here is the old one and obviously someone has been in here before:
IMG_3689-Version2_zpsd239b282.jpg


We measured the old intake valve stem height and it is 1.668", .034" less than new valve stem height. This I believe is why the new valve is not closing all the way.
IMG_3700-Version2_zps2a0d3361.jpg


Someone removed quite a bit from the old valve stem:
IMG_3685-Version2_zps85ac2718.jpg

old left, new right
IMG_3686-Version2_zps81e6153c.jpg

crude grinding
IMG_3694-Version2_zps16b0c798.jpg

Intake valves, new left, old right

The exhaust valve seat looks much better, but he is going to cut it to properly match the new valve. The exhaust rocker however shows wear. I need to regrind or replace it or have it stellited and reground.
IMG_3692-Version2_zps64f2734e.jpg


This is 100% my fault for failing to measure valve stem height heights or re-cutting (rather than lapping) the valve seats to the new valves. I was anxious to get the motor done but am glad I am taking the time to have a new valve seat installed and cut now while there is still snow on the ground. This is what happens when you overlook something or cut corners. Live, learn and move on.
 
Re: 1962 BSA DBD34 Gold Star restoration (Nearly done...)

Five seconds now or five minutes later, right? Glad you caught it.
 
Re: 1962 BSA DBD34 Gold Star restoration (Nearly done...)

I am loving the updates in this thread! I know you had good reasons to not be working on the bikes, but I'm excited to see it going again!
 
Re: 1962 BSA DBD34 Gold Star restoration (Nearly done...)

The dumb shit some people do to 'save money' or offload junk.
Oh well, looks like you got real lucky with a neighbor who does precision engine work though 8)
 
Re: 1962 BSA DBD34 Gold Star restoration (Nearly done...)

In San Diego, I can get you the address of the shop if you like.

538356_10152577239575361_1066888007_n.jpg


17512_10152577234665361_362558821_n.jpg


307370_10152577228600361_278403809_n.jpg
 
Re: 1962 BSA DBD34 Gold Star restoration (Nearly done...)

crazypj said:
The dumb shit some people do to 'save money' or offload junk.
Oh well, looks like you got real lucky with a neighbor who does precision engine work though 8)

I am beyond lucky. Skip is a great guy and I just shut up, listen and learn. He has all the right machines and tools to do it perfect, not just "good enough".

Garage Rat, nice bikes!

Just got an e-mail from Joe A (Joe V's Cycle) telling me my magdyno is done! I will be in Minneapolis tomorrow and may swing by his shop to pick it up and drool over his shop equipment, Triton build and Goldie. I am waiting on a compression release cable and that is it for parts. My head should be done in a week or so and I can start thinking about starting this beast. Come on spring!
 
Re: 1962 BSA DBD34 Gold Star restoration (Nearly done...)

Picked up my freshly restored magdyno yesterday from Joe A. He did great work and installed new bearings, insulators, new condenser, rewound armature, tested and more. He is a nice guy and has a beautiful workspace and a garage full of bikes in a quiet residential area . I did not get to see his BSA's but did look over his Triton project on the bench, very nice. As a former airline mechanic, his shop is clean, well organized and everything looks well used but very well cared for. I highly recommend him. http://joesvcycle.net
IMG_3725_zps36a3f4c9.jpg
IMG_5426-Version2.jpg


Skip my machinist repaired my rocker arm. He built some type of rocking pivot to hold it in his mill so the cut would keep the exact radius and seat correctly on the valve stem. He also mocked up a valve seat in plastic to test the valve stem height. We are going to install the head with weak valve springs to dial in the correct valve stem height then he will cut a new seat with his beautiful Neway valve seat cutters.

I have a busy work and travel schedule in the next two weeks but will eek out any and all spare time to keep moving forward on my Goldie.
 
Re: 1962 BSA DBD34 Gold Star restoration (Nearly done...)

Awesome! I've always wanted to meet Joe A. I've sent a few guys his way before, as I clean carburetors for people and they wanted more work done I didn't feel comfortable with. That magdyno looks perfect!
 
Back
Top Bottom