Follow along with the video below to see how to install our site as a web app on your home screen.
Note: This feature currently requires accessing the site using the built-in Safari browser.
We noticed you are blocking ads. DO THE TON only works with community supporters. Most are active members of the site with small businesses. Please consider disabling your ad blocking tool and checking out the businesses that help keep our site up and free.
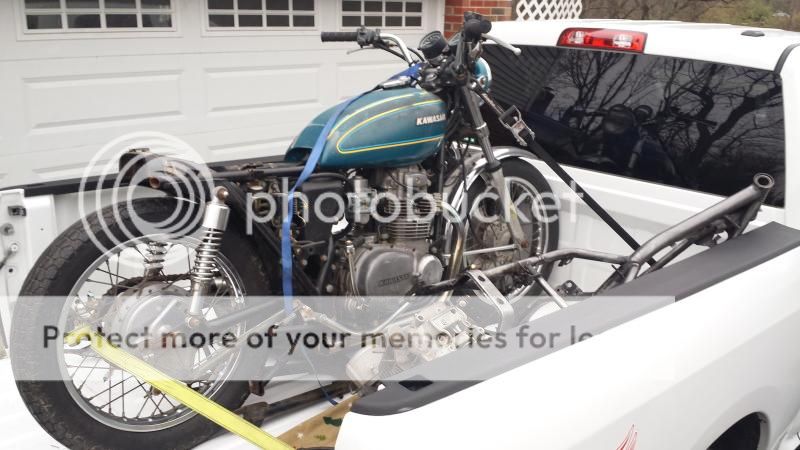
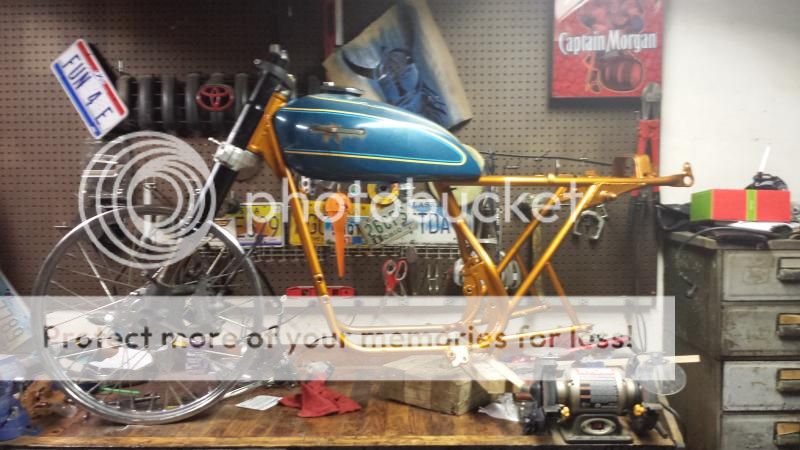
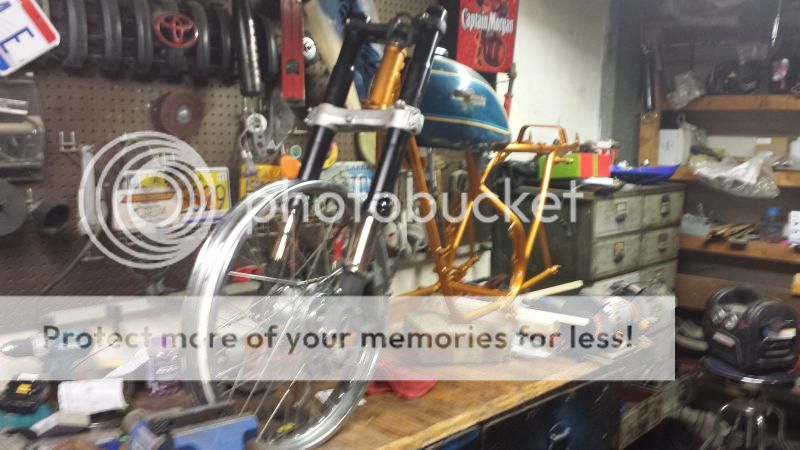
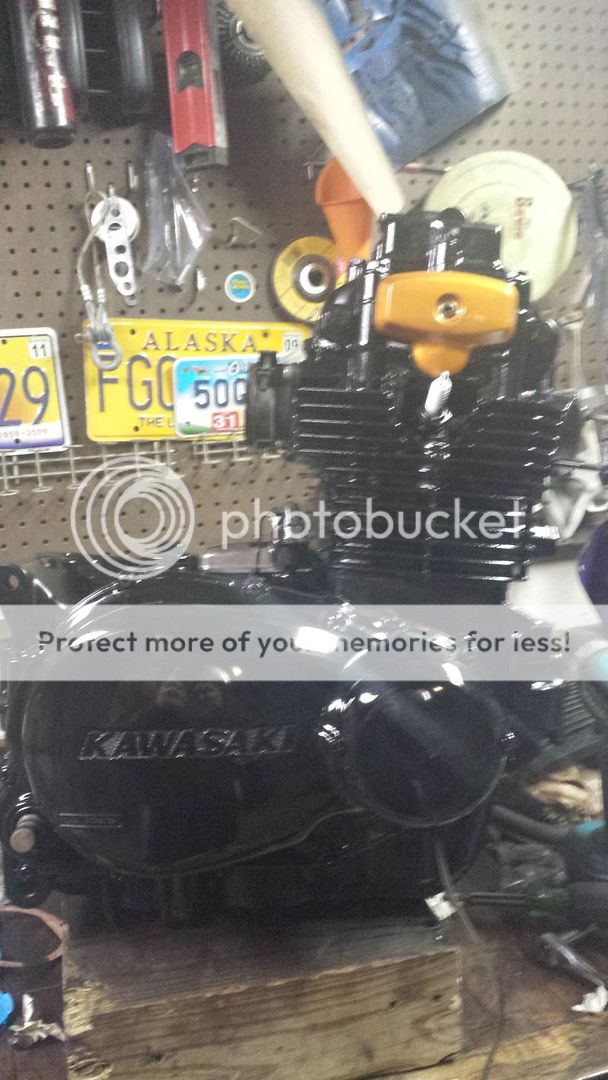
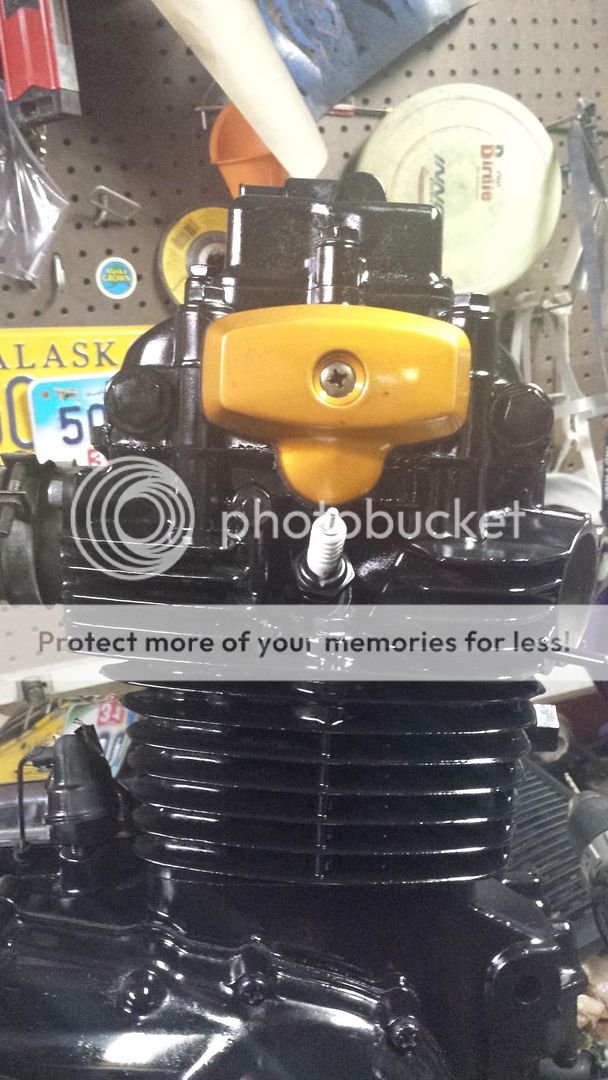
1975 frame and engine
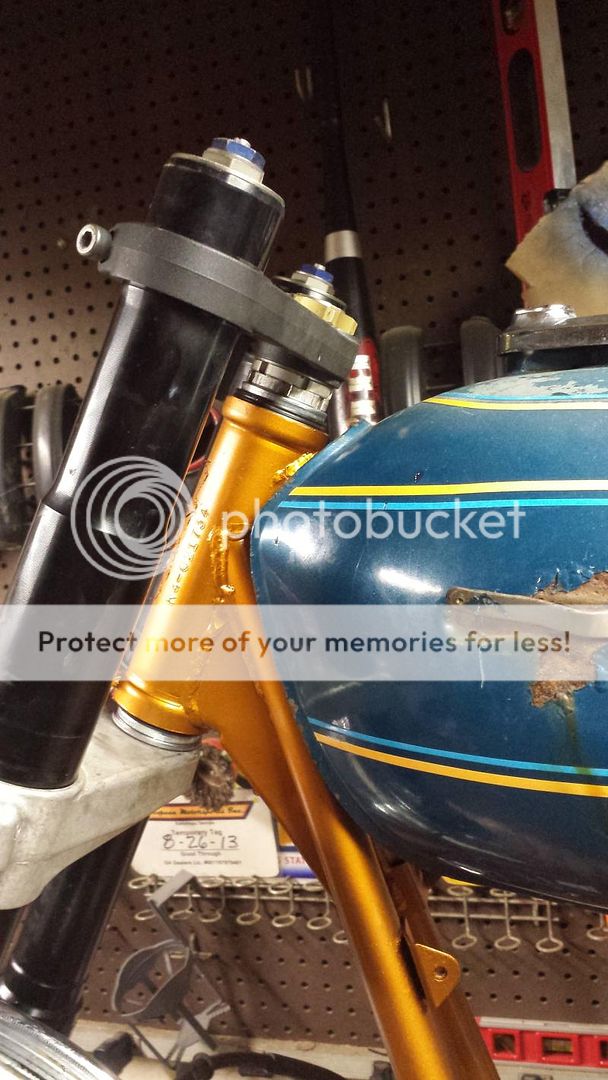
2006 gsxr 600 forks
2011 Harley front rim 19"
2004 Hayabusa rotors
2008 ninja 250 rear swingarm
18" kz400 rear wheel
Batteryless capacitor system "bacpak" (cause my battery and starter are fried)
The day it came home
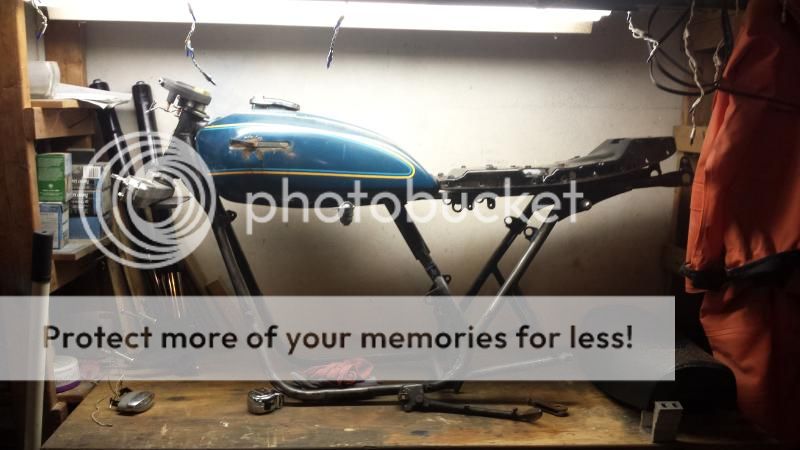
It sat taunting me for a few weeks
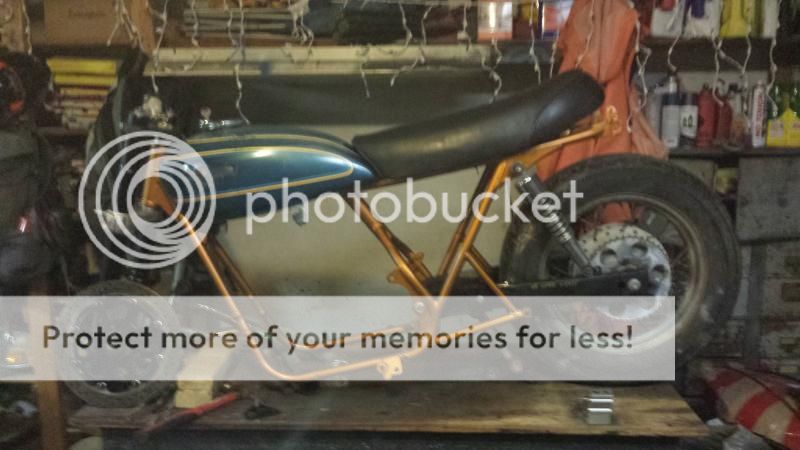
The progress
Mock-up pic; not sure if I want to go dual sock or mono shock. Mono shock would require more bracing but look clean. Dual shock would keep in vintageish looking.
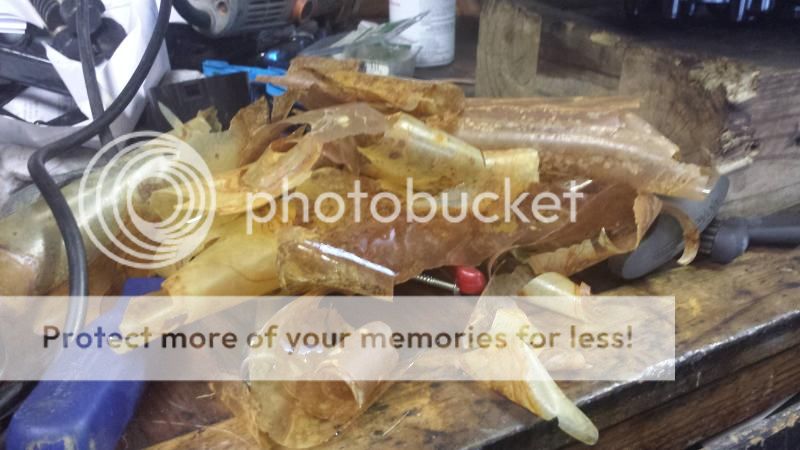
Previous owner tried to clear the inside of the tank. After using acetone to soak I got most of it out.then putting a load of bolts with a run in the dryer took care of the rest. A final soak with apple cider vinegar cleaned up the rust.
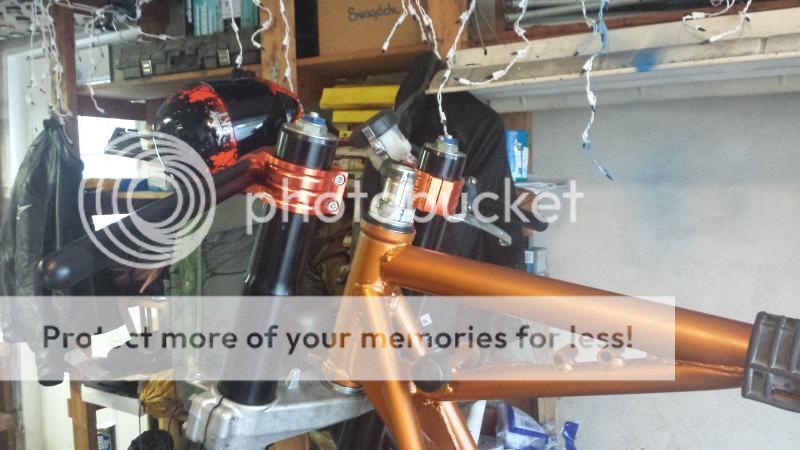
Clip ons installed, the orange doesn't match at all...
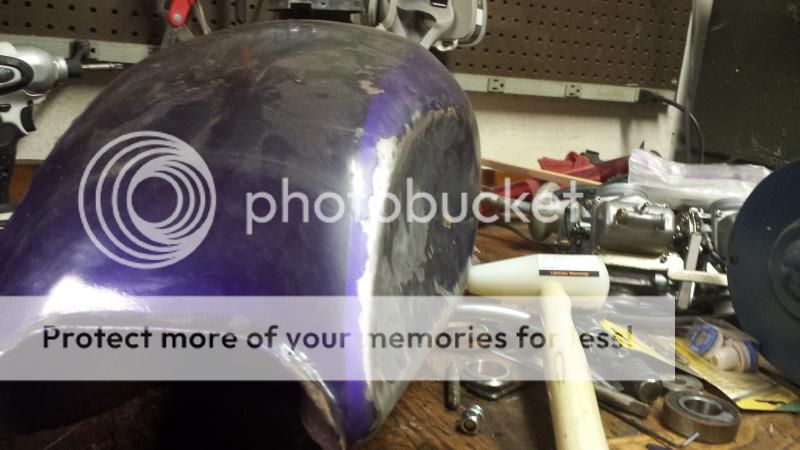
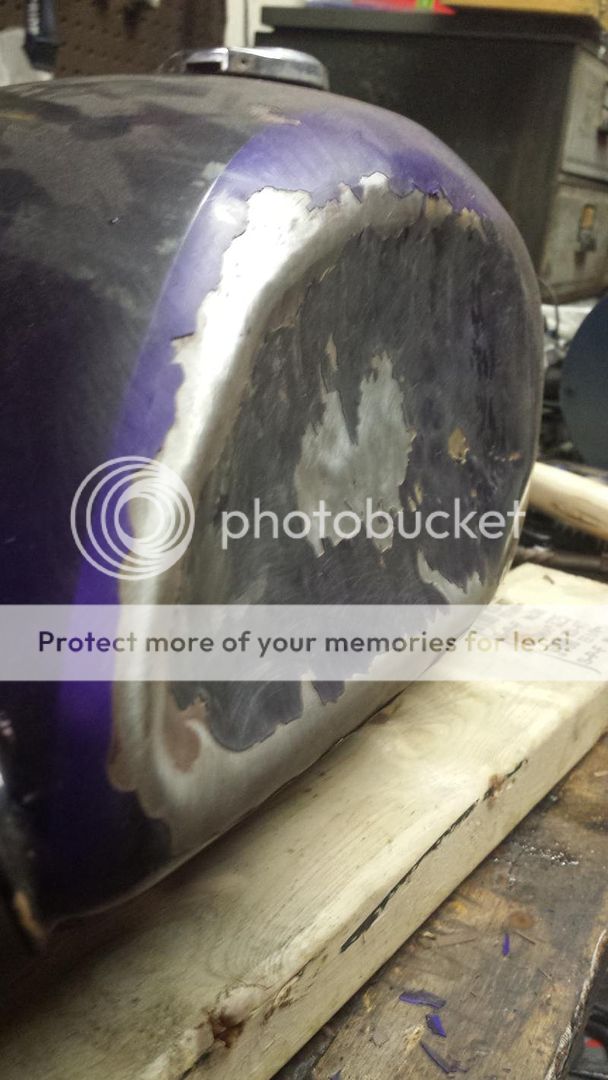
Knee dent practice on a beater tank. Turned out really good for my first try.
And there she sits waiting on random things to show up, machining and my time.
Will the batteryless system work on that bike? I thought due to the type of charging system on that one 77- vs the newer design 78+ dictated if you could use that system or not.
Will the batteryless system work on that bike? I thought due to the type of charging system on that one 77- vs the newer design 78+ dictated if you could use that system or not.
Here is my front wheel setup. 2011 Harley 19" dyna rim and tire, 2006 gsxr hub bearings from allballz, 2004 Hayabusa rotors. I will still need to make spacers to allow the calipers to work on the larger diameter rotors. The dust seals stick out a little for some reason. When I measured the hub depth and the bearing/seal dimensions they were spot on. Not sure if the Harley hub tapers down or something. I will just run it as it and may just remove the seals since the bearing is a sealed unit anyways.
Made some progress on the kz. I cut off the passenger foot peg mounts to make room for the rearsets and new swingarm. Made some shock tabs to mount the longer shocks I bought. Now to finish weld and powder coat black. I also powder coated my wheels gloss black.
Initial assembly and fitting. Some more tweaking will be needed to make the ninja 250 swing arm work with my rear sets. I also want to raise the rear end up a little to give it a better rake for handling.
Thanks to the guys at AFJ race shop for staying late to mount my tires for me!
I can't believe how well my DIY powder coating is going. I am using a harbor freight system and an old gas stove in my basement. Yes I know the powder coat is combustible. I spray in garage and walk the parts to the basement so there isnt a cloud of powder coat hanging in the air. I had the wheel doctor powder coat my wheel cause my oven was too small.
I have decided to use a burnt orange peal effect vinyl wrap for the tank and rear seat cowl. I will be attempting to make my own white vinyl seat with orange stitching. I figure I can mess up a hand full of times before I blow through the cost to have one made.
I will start on hiding all the wiring in a small box that will be placed between the frame rails.
I will have to wheel it outside to get some better pics
Project looks good so far.
Might be a good idea to check the wheel & frame clearance now as suggested, not hard to do.
It'll be the hole in the road, that you didn't plan on hitting, that could bring you unstuck very quickly.
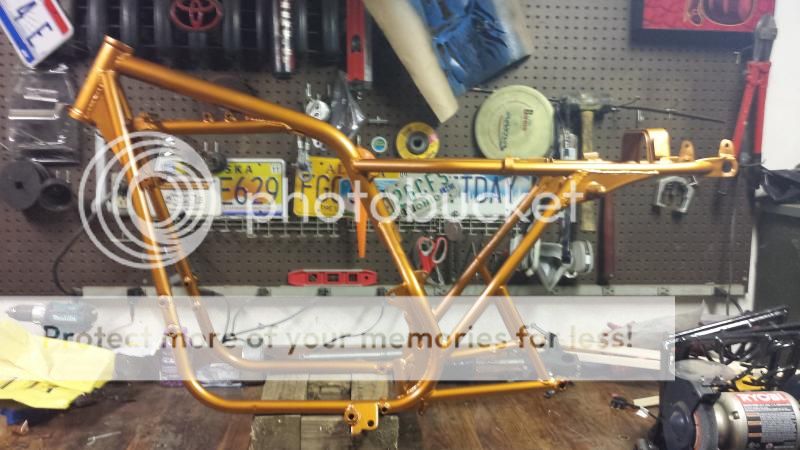
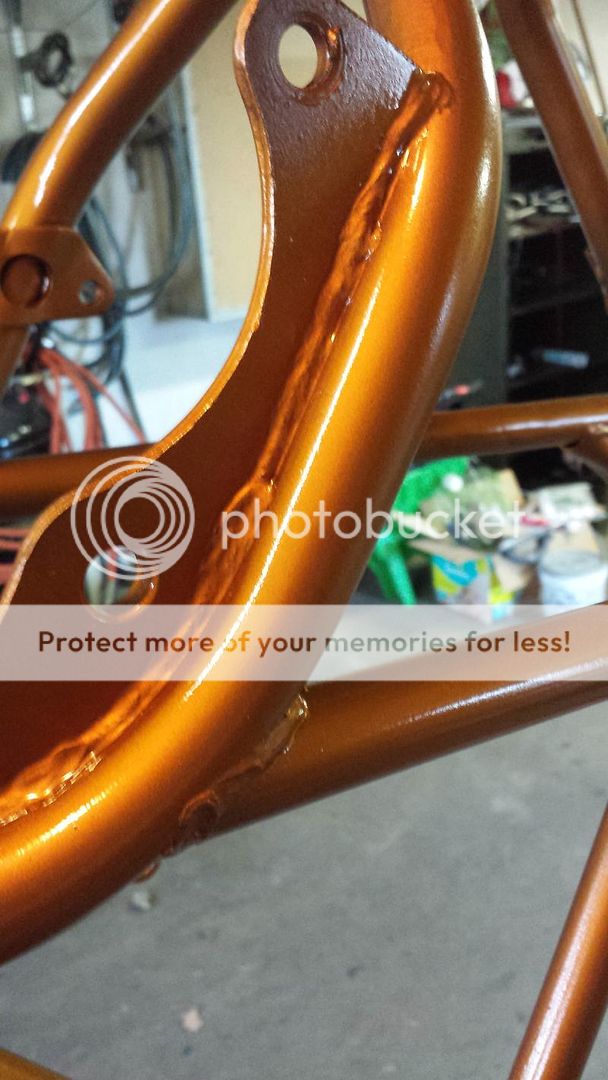
I looped the frame today and cut out some more unnecessary things. It was pointless of me to paint the frame before all of this was done. Originally I wasn't going thus deep in a build so I thought I was good.
Frame looped and cross members welded up for the electronics box.
with box laying between the frame rails, powder coated black.
trimmed up the seat cowl
Seat cowl sitting on the frame
looks like I will be raising the rear suspension to allow more clearance between the tire and the cowling
cut out a template for the upholstered seat. I am going to be using white vinyl and orange thread.
still so much to do but things are still moving forward. Thanks for all the comments on my build.
Made my seat pan for upholstery, turned out pretty good for my first time even doing this. I'm going to TIG some fasteners in 6 spots to bolt everything down and powder coat it. After thus is all done I will figure out how to do upholstery work or just send it out and be done with it.
This site uses cookies to help personalise content, tailor your experience and to keep you logged in if you register.
By continuing to use this site, you are consenting to our use of cookies.