
Viton is about 70% fluorine. It's actually not very far, chemically speaking, from teflon (also a DuPont product). Fluorine is extremely stable.
We noticed you are blocking ads. DO THE TON only works with community supporters. Most are active members of the site with small businesses. Please consider disabling your ad blocking tool and checking out the businesses that help keep our site up and free.
You are using an out of date browser. It may not display this or other websites correctly.
You should upgrade or use an alternative browser.
You should upgrade or use an alternative browser.
1970 Triumph Tiger 650
- Thread starter o1marc
- Start date
o1marc
Over 1,000 Posts
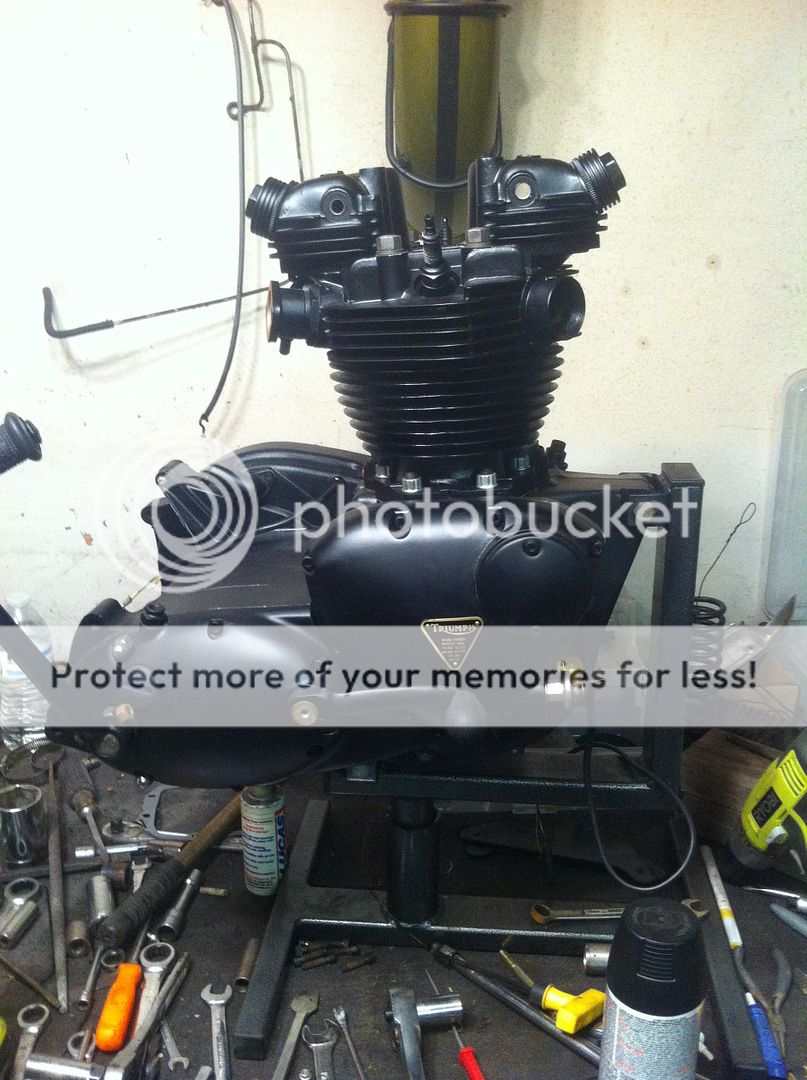
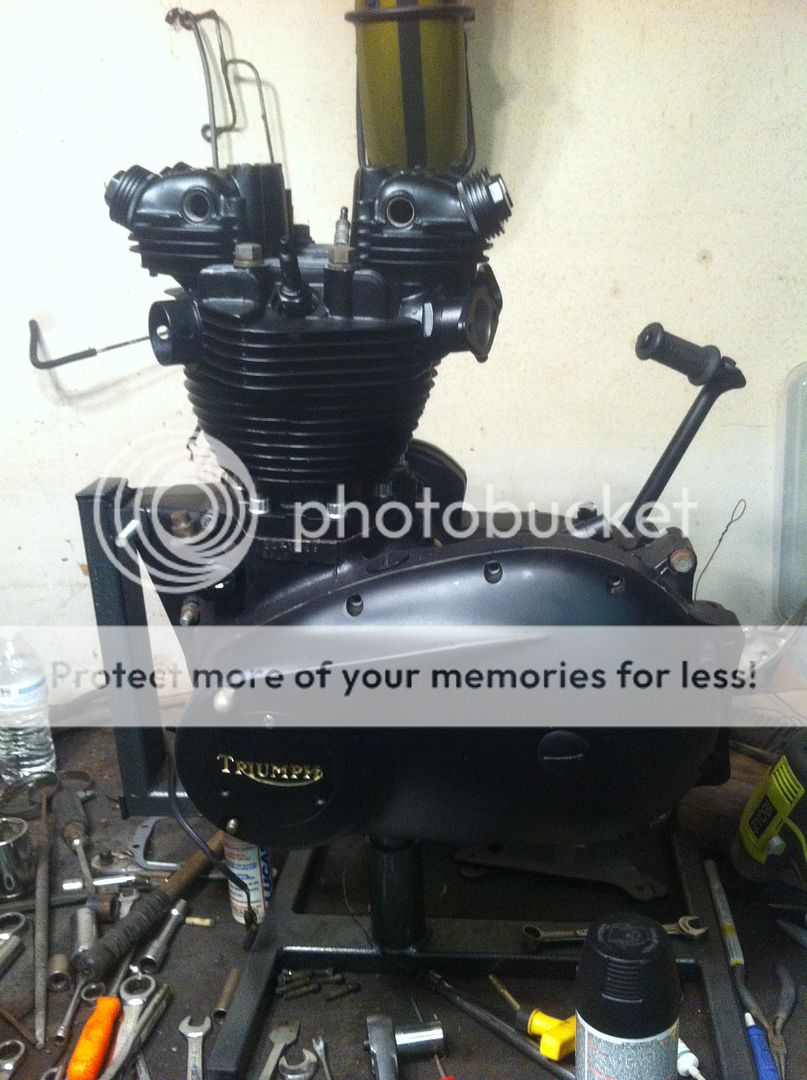
Starting to look like a motor finally:laugh2:

The parts book for 66 shows the carb to manifold bolt and calls for 2 of them, but the manifold has a smaller hole on the outside than the one on the inside. There were only 3 carb bolts in my box and they are all the same diameter and fit only the inside holes on the manifold.


The parts book for 66 shows the carb to manifold bolt and calls for 2 of them, but the manifold has a smaller hole on the outside than the one on the inside. There were only 3 carb bolts in my box and they are all the same diameter and fit only the inside holes on the manifold.
the viton from what i heard and i dont understand pertnear as much as i think i know about it...um repeat the question please
as far as warping anything if the sealing material flexible semi hard or liquid is trapped while forcing it to fill any gaps in the gland or space it is in
if its trapped enough once all gaps are filled like a crushed oring in a square groove it becomes as a [size=18pt][size=18pt][size=10pt]solid [/size][/size][/size]non compressable
and gaps in the assembly at least in hydrauliucs is called extrusion gap and if the gap is too big for the pressure it will shove an oring out like toothepaste
it the same differencre just pushing on it with pushrod tube you cant [size=18pt][size=8pt]compress[/size] it only distort it and displace it[/size]
too small a gap and the resistance of it extruding may overcome yer head i could see warped\,that all


3DogNate
"You Meet the Nicest People on a Honda"
They do look good..I'd probably have put kapton tape between the assembled parts and reassembled them and powder coated them as a unit. leaving in all the parts I planned to replace and then rebuild them afterward.... But I didn't see anything in your pics that was off.. what should we look out for if we powder our Amals down the road?
I'm about to rebuild my Amals for my '69... is there a "Best" rebuild kit for these things? I've not investigated it yet.
I'm about to rebuild my Amals for my '69... is there a "Best" rebuild kit for these things? I've not investigated it yet.
hey yer gonna need a pinstriper to paint a grin full of pearly whites on her timing chest ,sorery i said white,wilst talking about your black as a nigerian colored motor.... cause shes so dark you aint gonna see much at night,unles she be a grinnin
it looks bitchen tho good work
it looks bitchen tho good work
o1marc
Over 1,000 Posts
These carbs, like the rest of the motor, are the easiest things to work on. It literally only takes 5 minutes to rebuild one completely. Take it completely apart and mask the obvious faces and plug any hole that is used. I even found a way to remove the tickler. Coat each piece separately for the best assembled looking finish. The trick to these is , because they are cast and like any other cast part, they absolutely have to be outgassed before coating. Put the parts in the oven for an hour at 500°F. This will open the pores of the metal and release all the gasses and casting debris left from the casting and cooling process. Skip this step and they look like absolute crap and will need to be stripped and redone. I thought these looked like a quality casting and I would skip that step. I was wrong, they looked totally unacceptable when I coated them last night, so into the stripped bin they went. After you remove them from the oven give them a light blasting to remove all the crap and then mask,plug and coat.
I use these kits from eBay. They are genuine Amal kits and have all gaskets, filter screen, adjustment screws and needle valve for $20.
http://www.ebay.com/itm/TRIUMPH-Amal-Rebuild-Kit-930-928-932-626/252363911491?_trksid=p2047675.c100005.m1851&_trkparms=aid%3D222007%26algo%3DSIC.MBE%26ao%3D1%26asc%3D38804%26meid%3Ddaf3b3ec1100491cabcef8ccffd71649%26pid%3D100005%26rk%3D1%26rkt%3D6%26sd%3D252375192067
I don't know if you can see it, but if you look closely at the banjo it is a rough finish, not as bad as the carb was, but not acceptable. I didn't outgas it and will have to strip, outgas and recoat it later.
Double click the pic and you'll see what I mean.


pic host
I use these kits from eBay. They are genuine Amal kits and have all gaskets, filter screen, adjustment screws and needle valve for $20.
http://www.ebay.com/itm/TRIUMPH-Amal-Rebuild-Kit-930-928-932-626/252363911491?_trksid=p2047675.c100005.m1851&_trkparms=aid%3D222007%26algo%3DSIC.MBE%26ao%3D1%26asc%3D38804%26meid%3Ddaf3b3ec1100491cabcef8ccffd71649%26pid%3D100005%26rk%3D1%26rkt%3D6%26sd%3D252375192067
I don't know if you can see it, but if you look closely at the banjo it is a rough finish, not as bad as the carb was, but not acceptable. I didn't outgas it and will have to strip, outgas and recoat it later.
Double click the pic and you'll see what I mean.
pic host
o1marc
Over 1,000 Posts
Thanks, I'll paint some shark teeth on the primary. ;D not.xb33bsa said:hey yer gonna need a pinstriper to paint a grin full of pearly whites on her timing chest ,sorery i said white,wilst talking about your black as a nigerian colored motor.... cause shes so dark you aint gonna see much at night,unles she be a grinnin
it looks bitchen tho good work


o1marc
Over 1,000 Posts
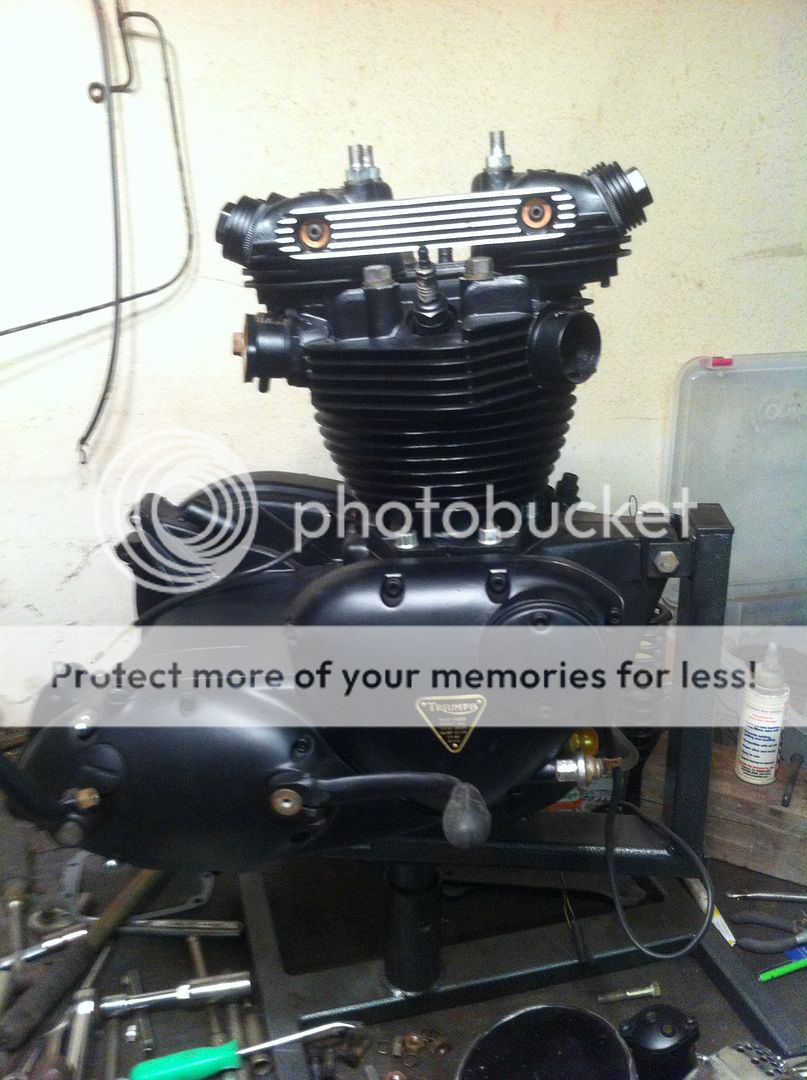
Had this finned rocker box oil cooler in the box of parts and went to fit it to the rockers only to find it is for a pre unit 650 that doesn't have fins on the rocker box. Fins got in the way of it fitting up against the box. I had to chuck it up in the mill and machine the back side to fit the Bonny head, it ain't pretty on the back, but it can't be seen and I was of course going for function over form.

o1marc
Over 1,000 Posts
xb33bsa said:flamin beauty issat a webco piece ?
Yes , it is an old Webco piece for a pre unit modified to fit the unit .
3DogNate
"You Meet the Nicest People on a Honda"
o1marc said:Yes , it is an old Webco piece for a pre unit modified to fit the unit .
Interesting.... Is it just a solid heat sink? or is there oil passages in it for circulation?
o1marc
Over 1,000 Posts
3DogNate said:Interesting.... Is it just a solid heat sink? or is there oil passages in it for circulation?
Unlike the factory feed pipe that splits and then feeds oil to both rocker shaft ends, the Webco unit is fed oil into the center of the rear of the unit and then directed to each end.

here is the back of one made for a unit Triumph motor, notice the cutaway back to clear the fins on the rocker boxes that are not present on a preunit.

I assume the channel for the oil is cast into the original design because I see no exterior drilled hole access. In the later unit you can see where the hole drilled was afterwards from the outside and then plugged.
o1marc
Over 1,000 Posts
3DogNate said:Interesting... that might be something I have to machine up for my Unit bobber build next year... I like it. I'll need to fully understand how it mounts...
Copper crush washers on the rockers shafts, push the cooler over the shafts, more copper washers and then the dome nuts. Mounts the same as the factory tube. Keep in mind it is a gimmick cosmetic accessory. There isn't much oil pressure or flow to the rockers and if it does any cooling it is negligible at best. Pretty pricey retail at around $75-$100 for the vintage ones. If I didn't have this one in the spare parts box I would not have purchased one.


