Follow along with the video below to see how to install our site as a web app on your home screen.
Note: This feature currently requires accessing the site using the built-in Safari browser.
We noticed you are blocking ads. DO THE TON only works with community supporters. Most are active members of the site with small businesses. Please consider disabling your ad blocking tool and checking out the businesses that help keep our site up and free.
Nice work. This brings back memories. In '72 my folks, my oldest brother, his wife, and I drove the AlCan in one similar to this, long trip for five people, but we had fun.
Probably a load of people 'of a certain age' have Westphalia stories? I drove one to Santa Pod for 'Bug Jam' one around 1989 as friend wanted his buggy there as well as 'bus' In 2015 I got in touch with the girlfriend I took (through Facebook) I may have posted before but I still like the comparison between |Mair and Hedi Montag, still think Mair looks better (looked a lot more FMS 23 years earlier )
Attachments
(1) Mair Thomas - Mozilla Firefox_2015-01-13_17-59-59.png
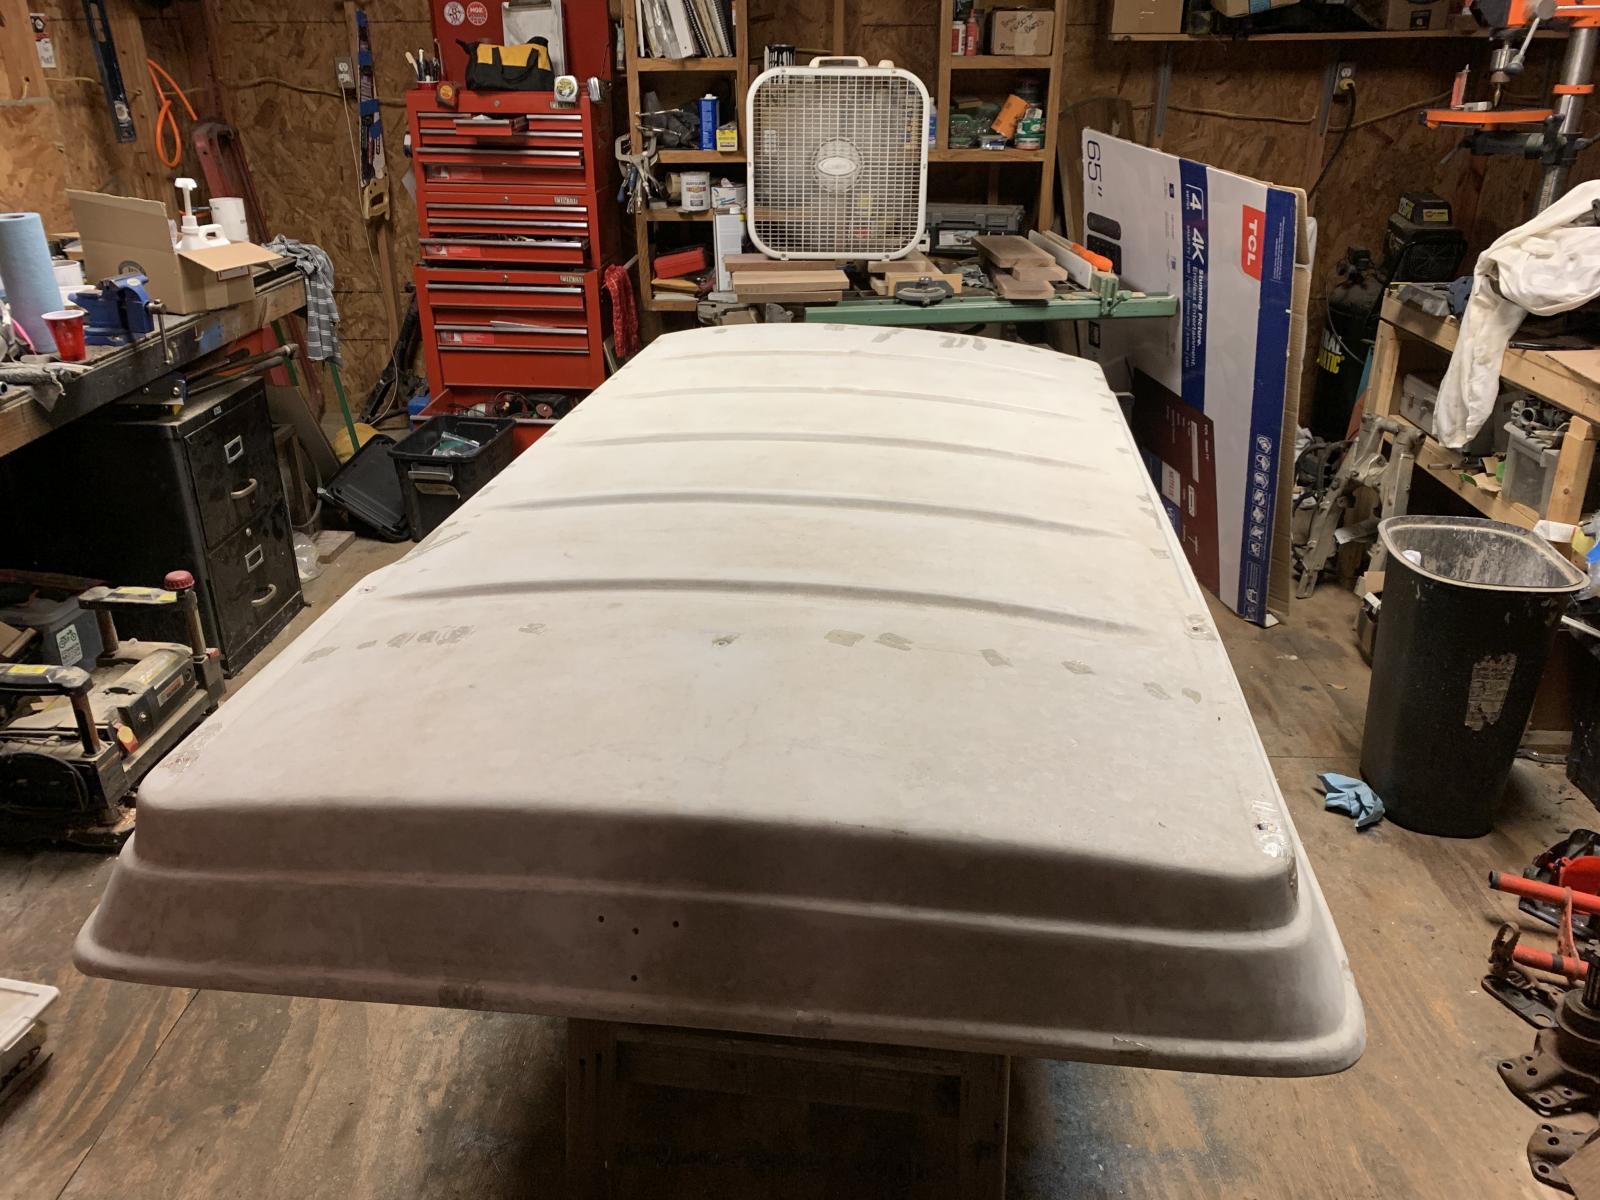
Next, I flipped over the top and filled in all the nail holes from the wood replacement along with any stress cracks. There was a pretty bad one at the drivers front corner that I ground 1/8” deep and packed with epoxy.
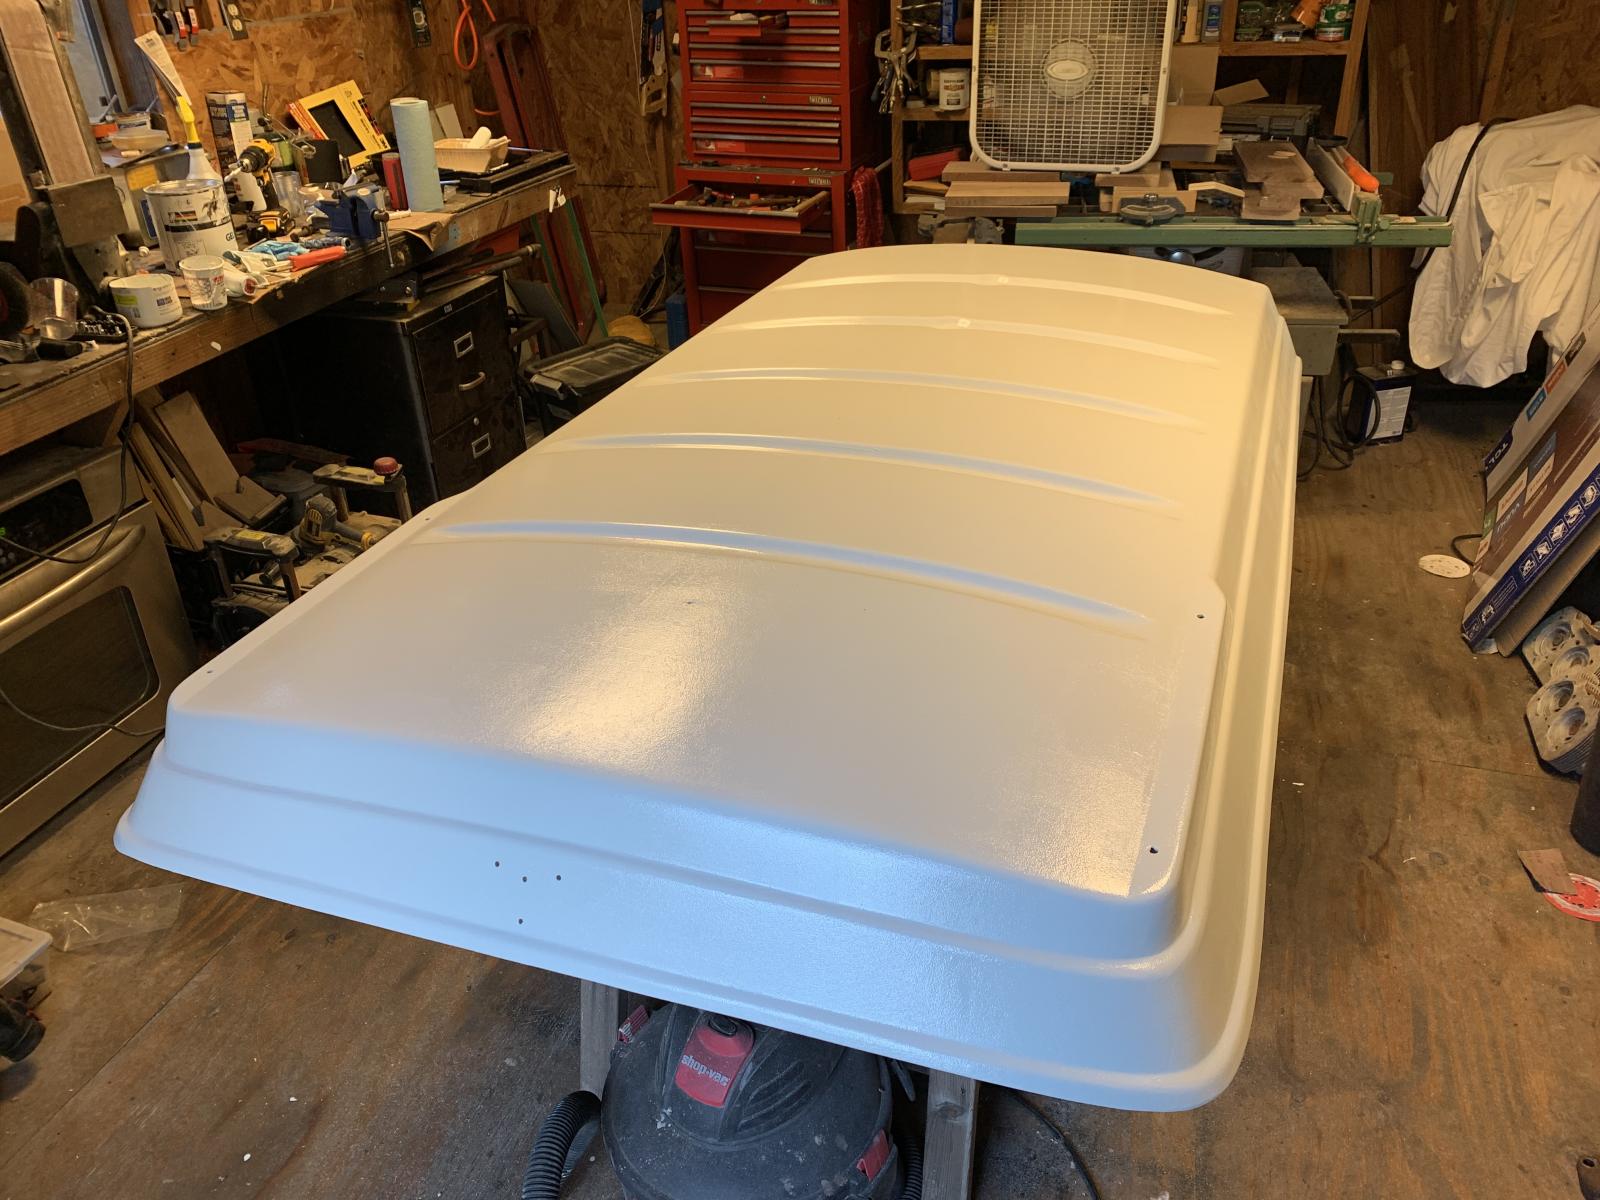
Then I slopped on 2 coats of gel coat Thursday, and yesterday I sanded some high spots down and put a final coat of gel coat on last night. I’m pretty happy with the outcome. If I were to do it again I think I’d probably spray it, the mess and hassle would probably be the same either way.
A pain in the ass lol. Even with the lowest amount of activator it gels pretty fast especially in the heat so you have to get it on quickly. I used foam brushes and rollers and it attacks the foam so that was interesting.
It’s best use is for spraying onto a mold, that’s how you get that really perfect smooth finish (like a fiberglass bathtub). This can be sanded and buffed out to a perfect finish. For now I’m going to leave it as is, probably next spring when the rest of the bus is finished up I’ll take it off to install the canvas and take that time to cut and buff it.
The upside is it’s insanely durable, so rather than just putting a cosmetic coat of paint on its a very strong thick coating.
Back in the 80's I knew a guy making kayaks. (Dragon Canoe) Used gel coat all the time. You can use a slow activator that takes literally weeks to go off or if gel coat is thin enough don't use activator but rely on the activator in resin when the mat is going on to cure it. Gel coat should be tacky when CSM or woven roving is being laid to make sure you get a good bond., Spraying was for full on industrial stuff. in high volumes. (initial outlay for equipment too high for smaller businesses) Of course it only works when your using conventional polyester resin though, My sister worked at a place making powerboats (PIcton Boats) for a few years. They hand rolled gel onto 35ft hulls (just had a thought, wonder if that was contributory to the kidney cancer that killed her?) She also worked fo rthe guy that invented the 'tree' used on surf skis (Gareth Lucas, forget company name) I've only tried glassing once in Florida, mistake to use the stuff I learned in Britain during Florida summer at 90+ deg and 90+ % humidity ;D $100.00+ plus in 'stuff' in about 20 min. I can laugh about it now but was pretty pissed at my stupidity at the time
Had to button everything down for some heavy rain we’re expecting, but managed to get a few things done today. Popped the reservoir off the master cylinder. I thought it was cracked at a first glance but tossed it in the ultrasonic and it came out really well.
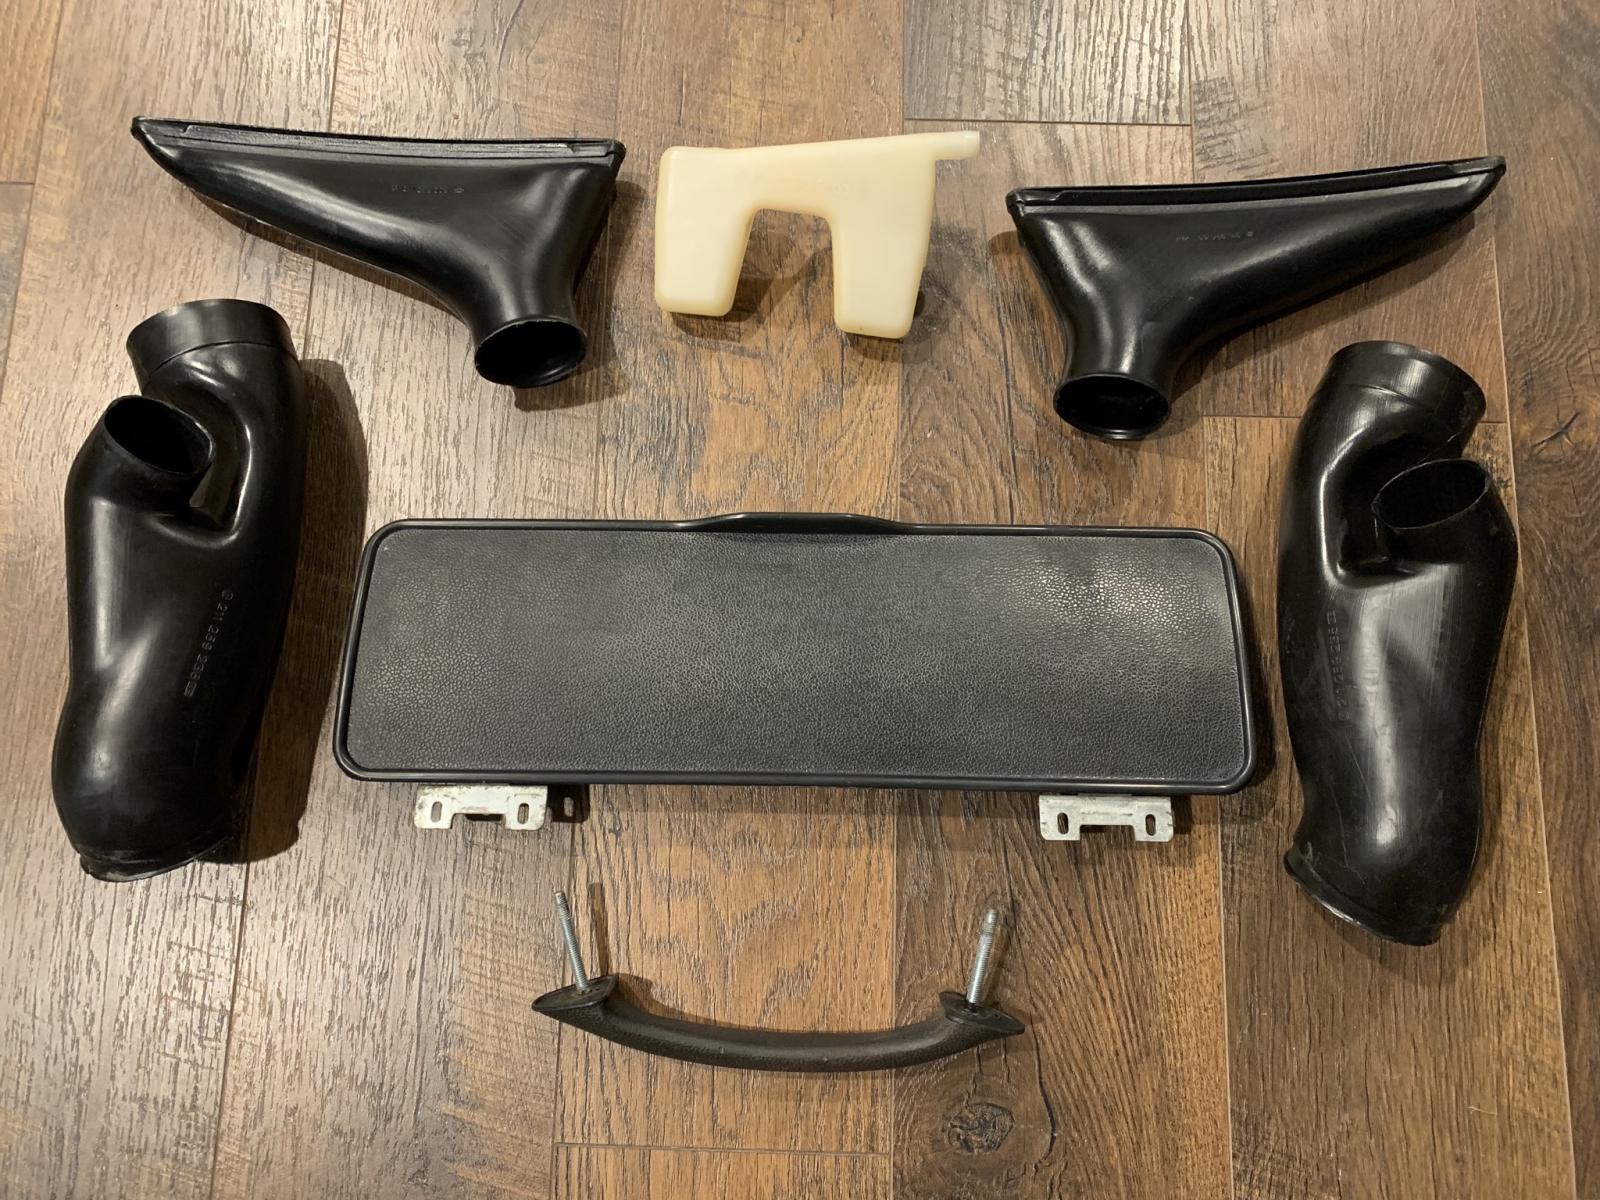
I disassembled the dash over the weekend so I took some time to clean up a few of the vents and other dash parts. The glovebox cover and handle need a bit more work to get them black so I’ll look into that.
Put a dab of grease on the glovebox door hinges and stuck everything in a box as parts ready to reinstall.
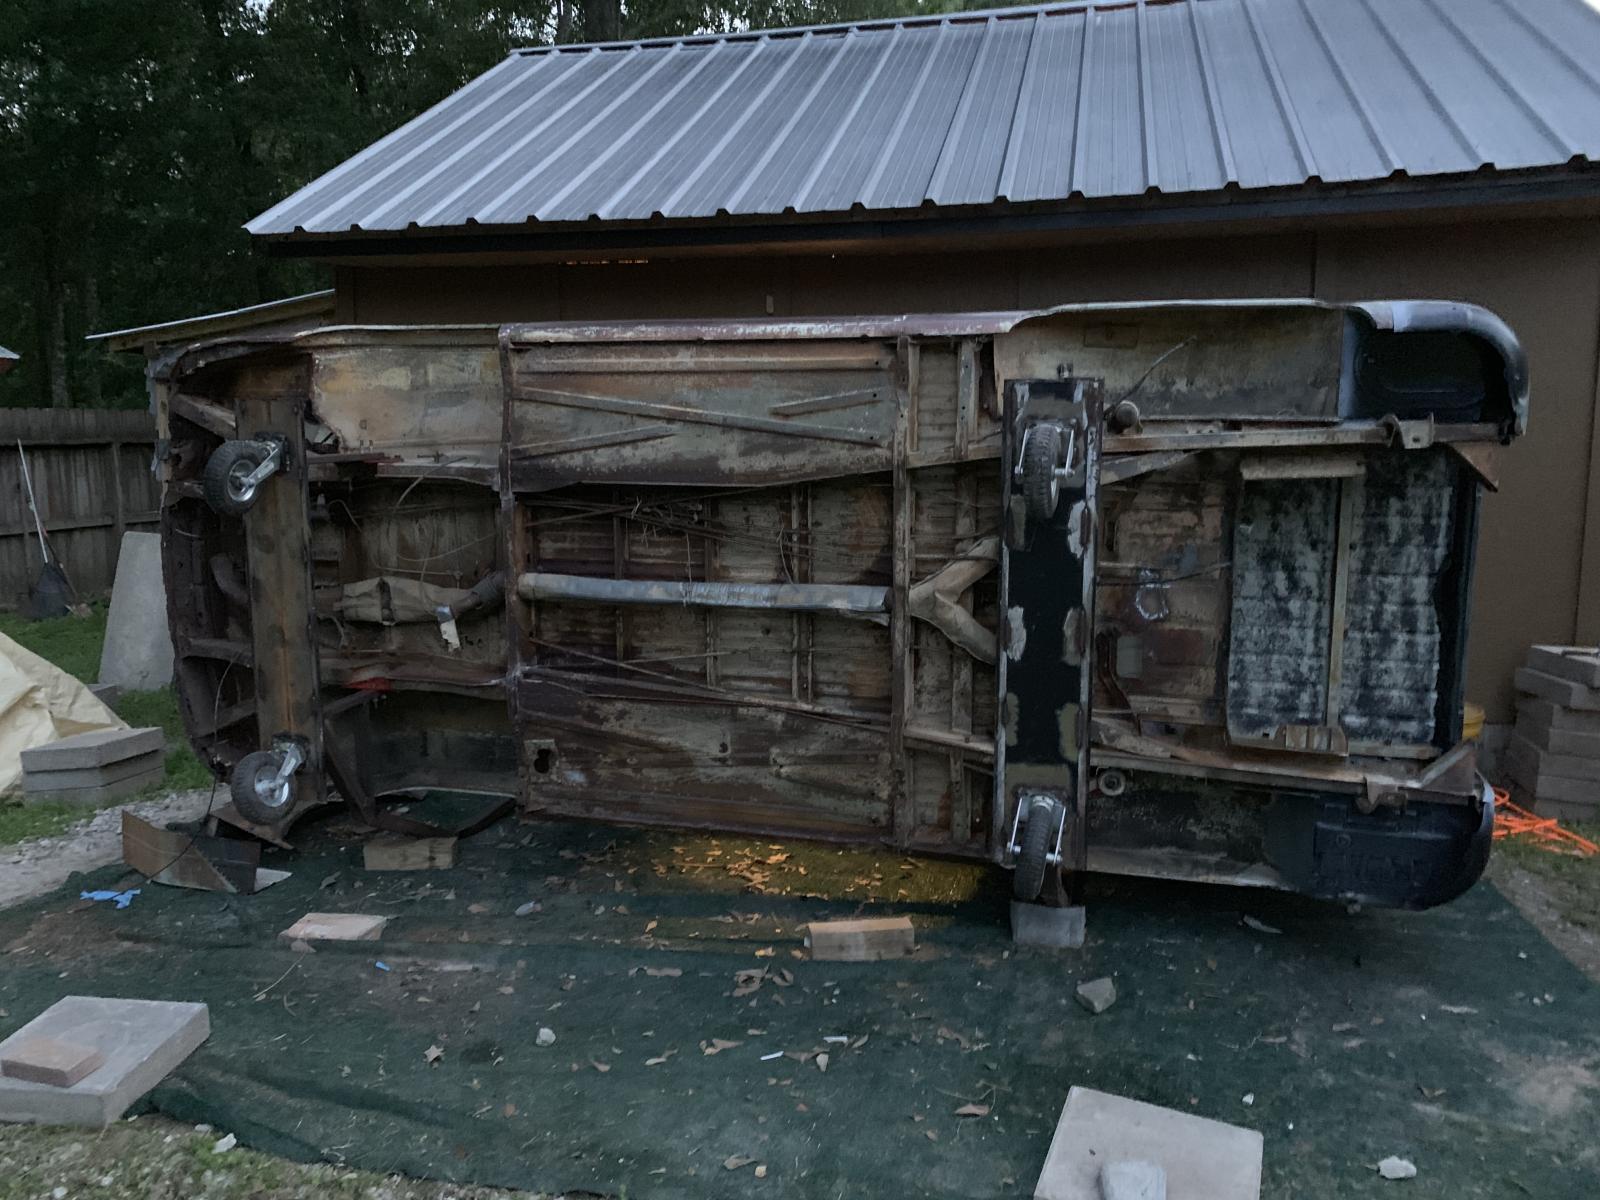
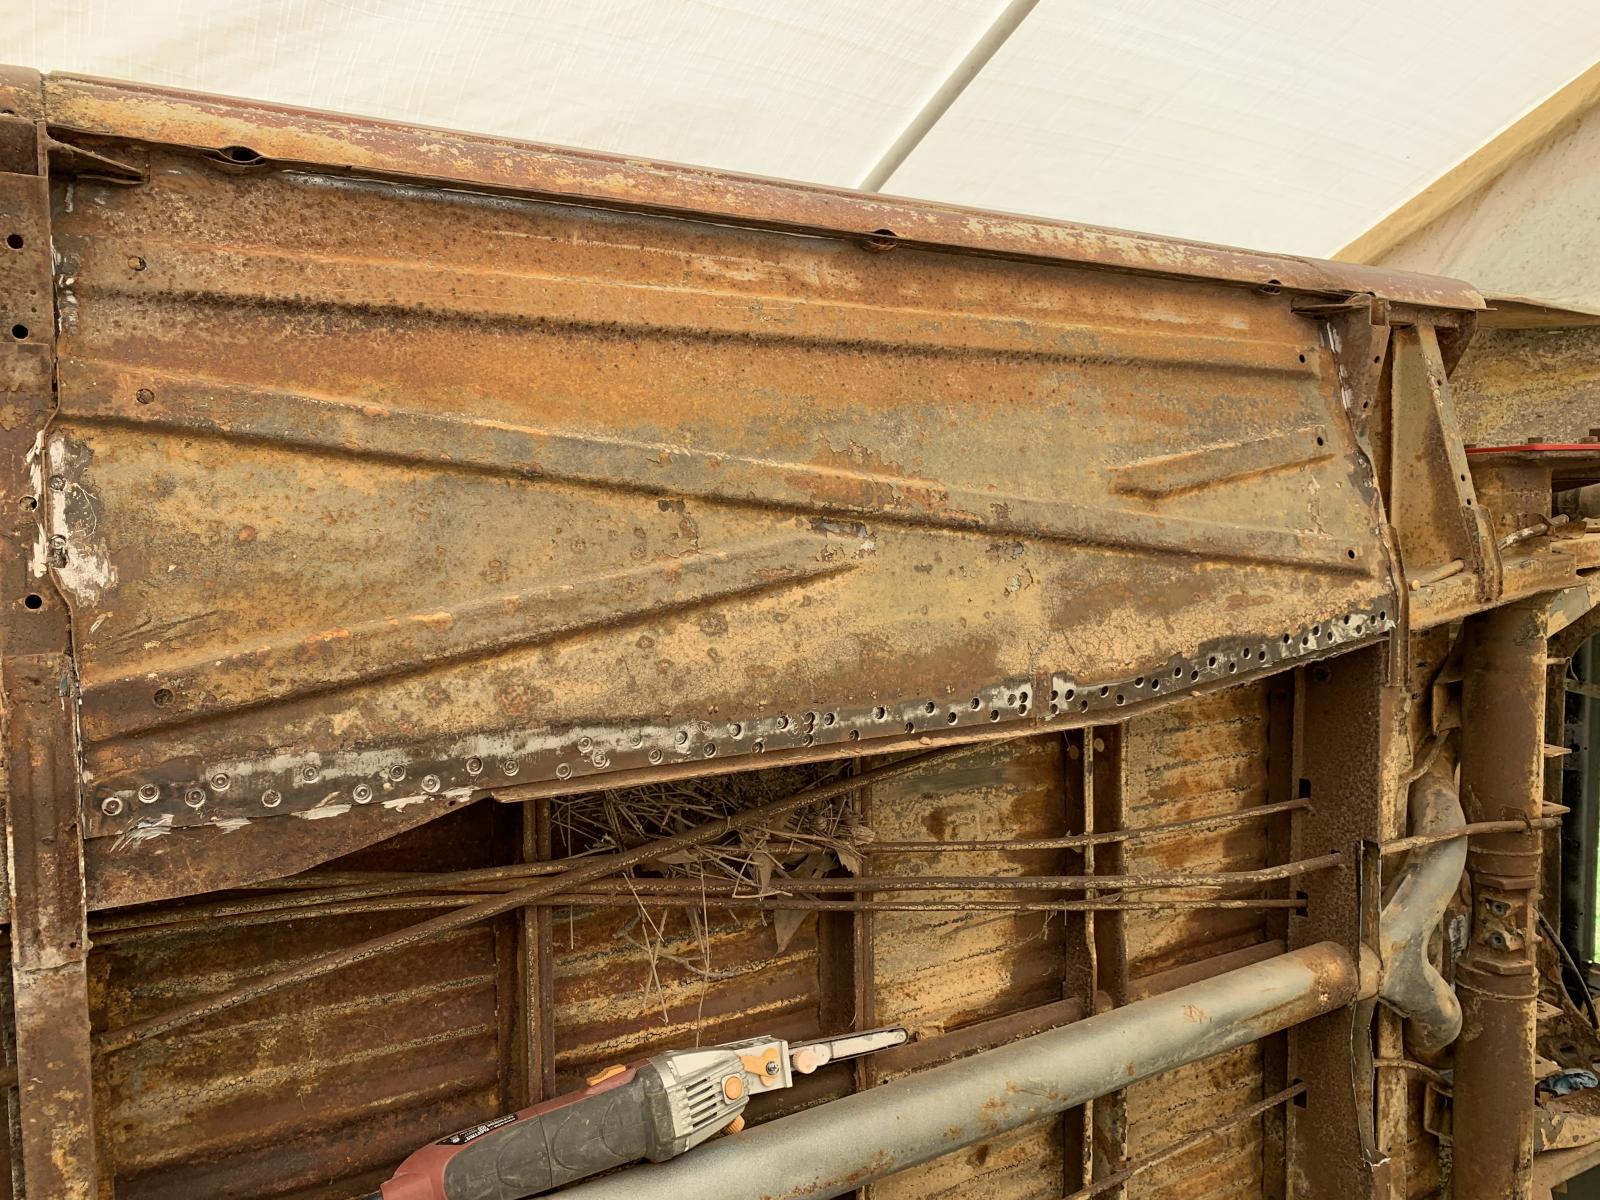
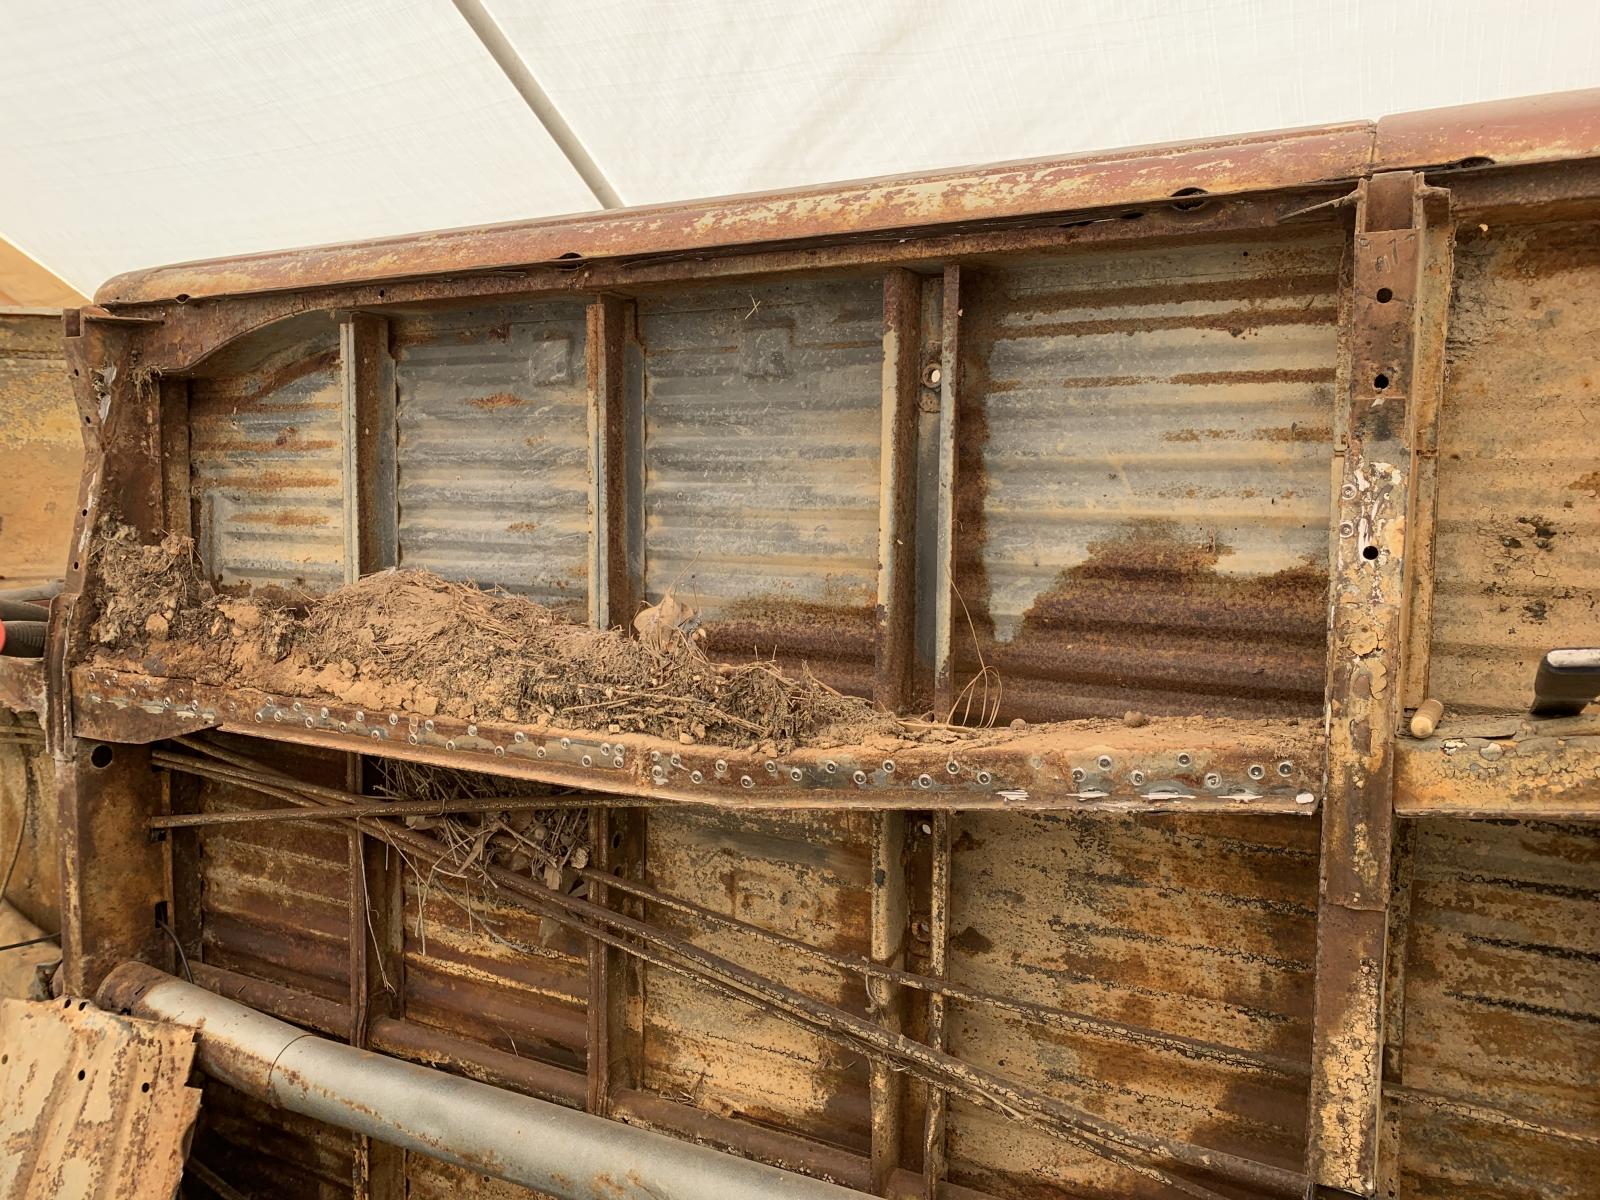
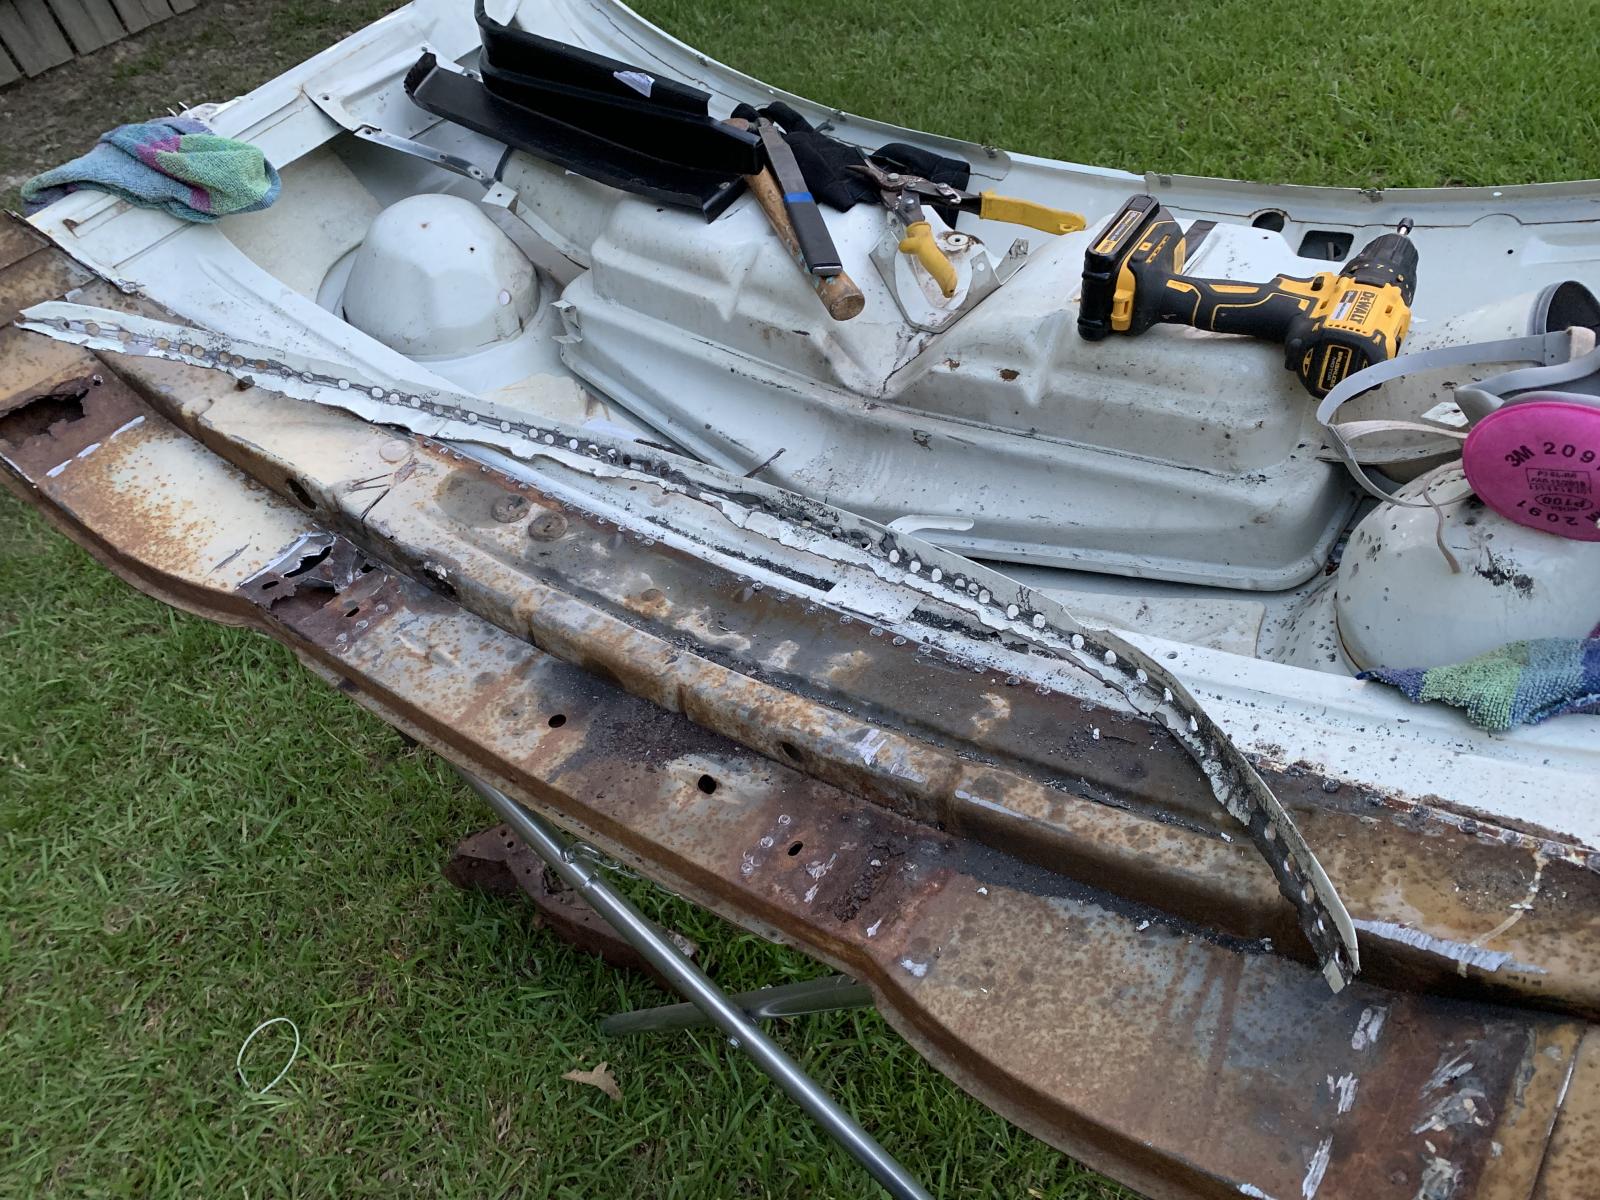
Been putting a ton of work into the bus but there's been hardly any glory. After seeing signs of critters inside the belly pans I made the decision to pull them off, and boy am I glad I did. Luckily I think that for the most part I had either squirrels or chipmunks in here so the nest was never really wet.
Took me a good 6 hours to get them off without damaging anything too badly. I ended up cutting the flange off on the rocker side and I'll stitch weld directly to the inner rocker when I re-install.
To remove the rocker side of the belly pans, I cut about 1/8" above the bend on the spot welded flange. I came back after with the power file and ground down the spot welds and popped the remaining material off.
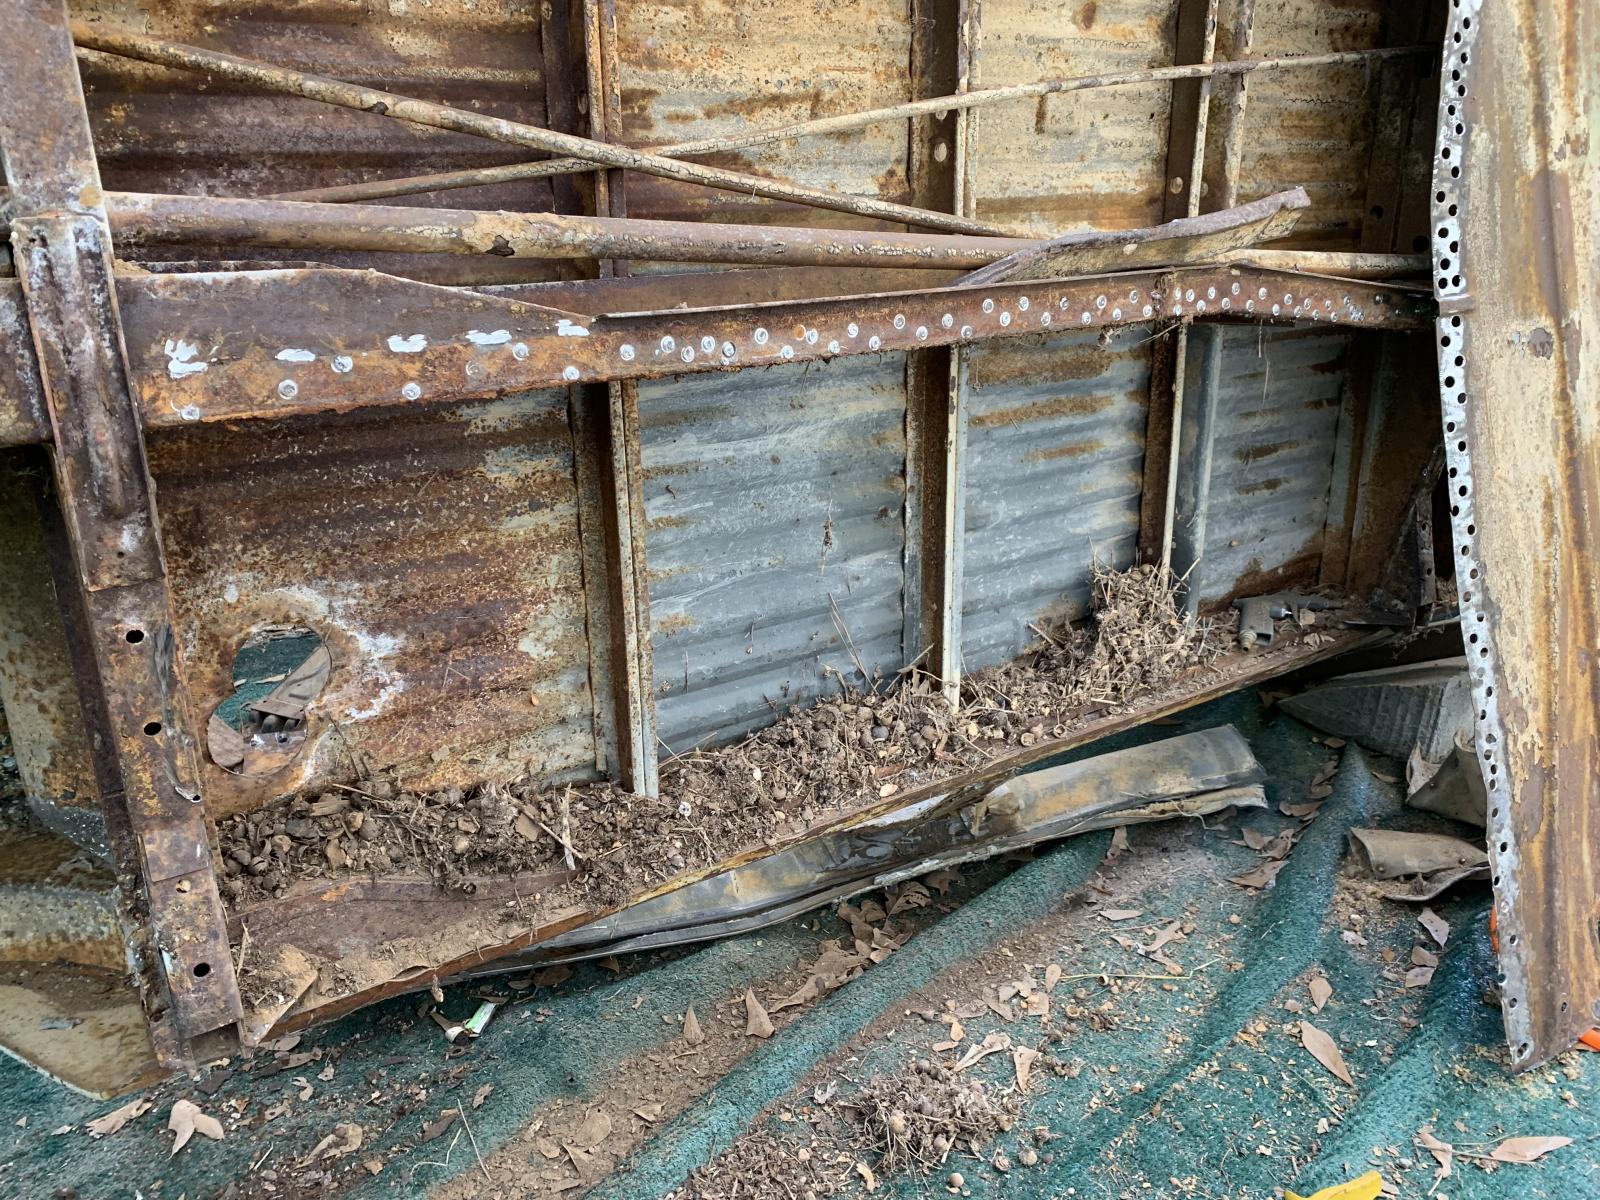
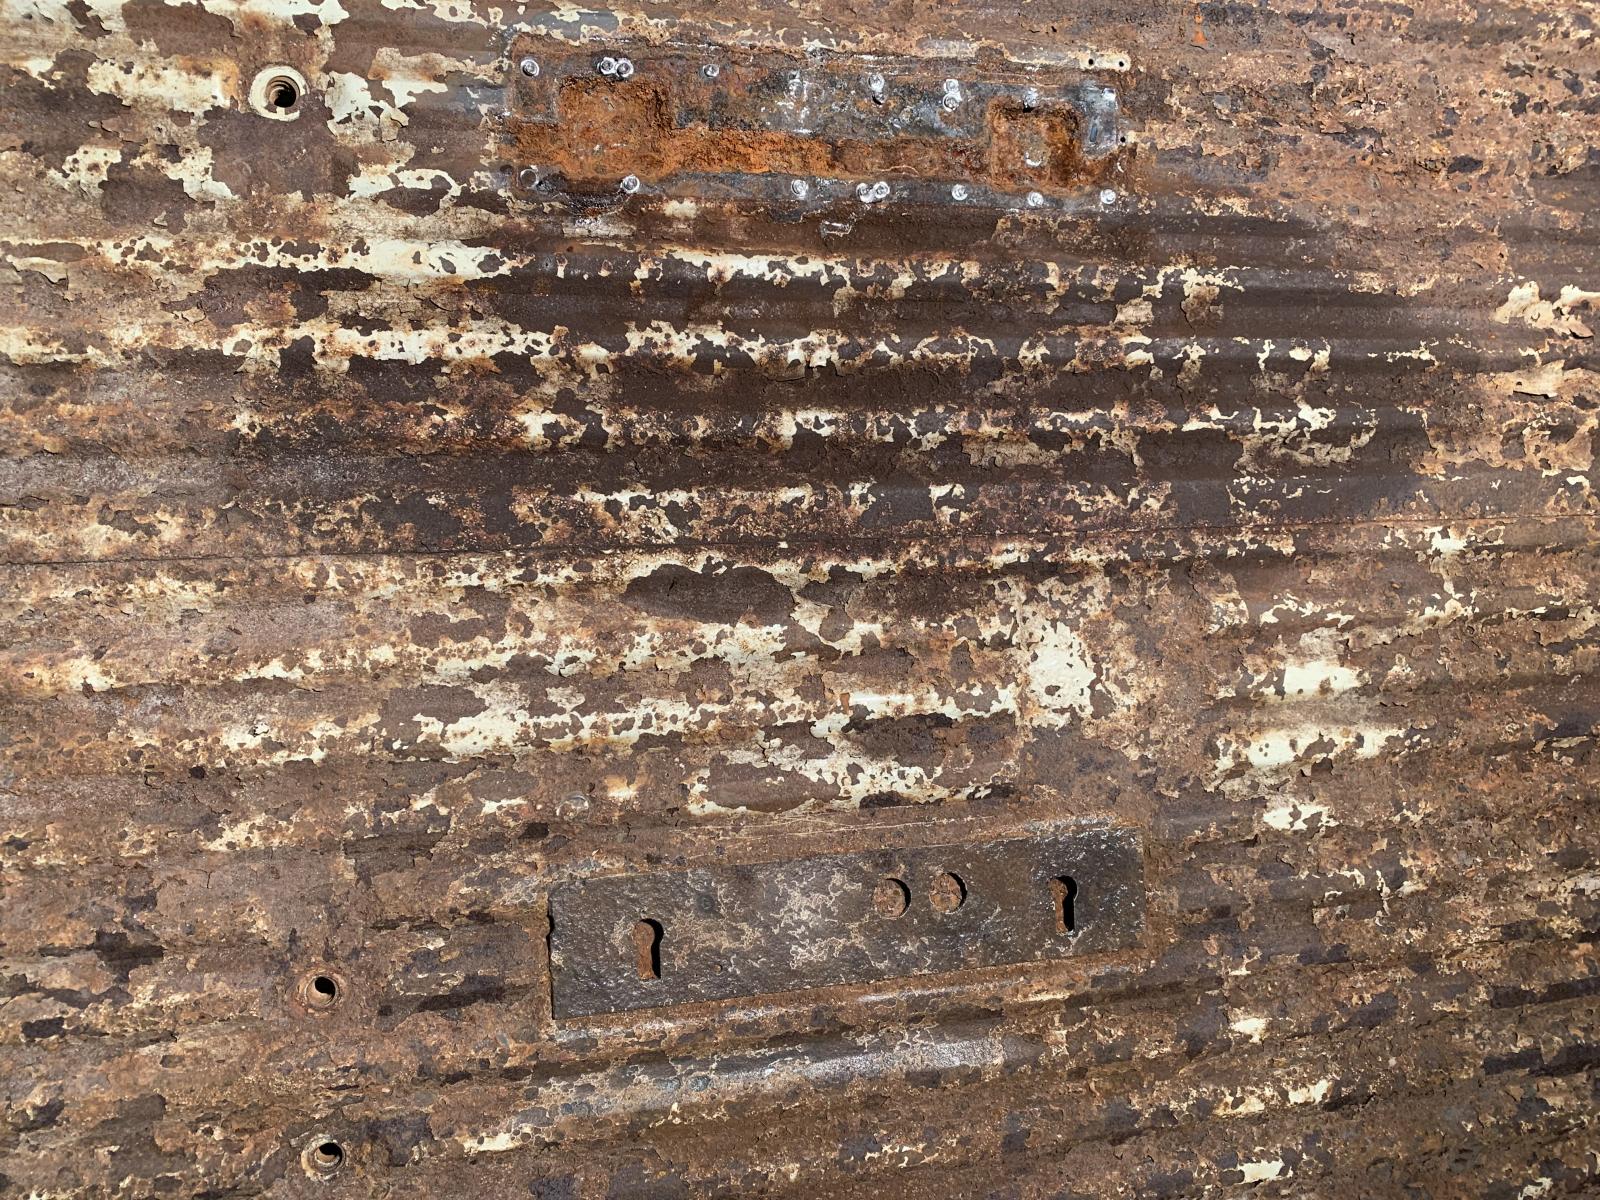
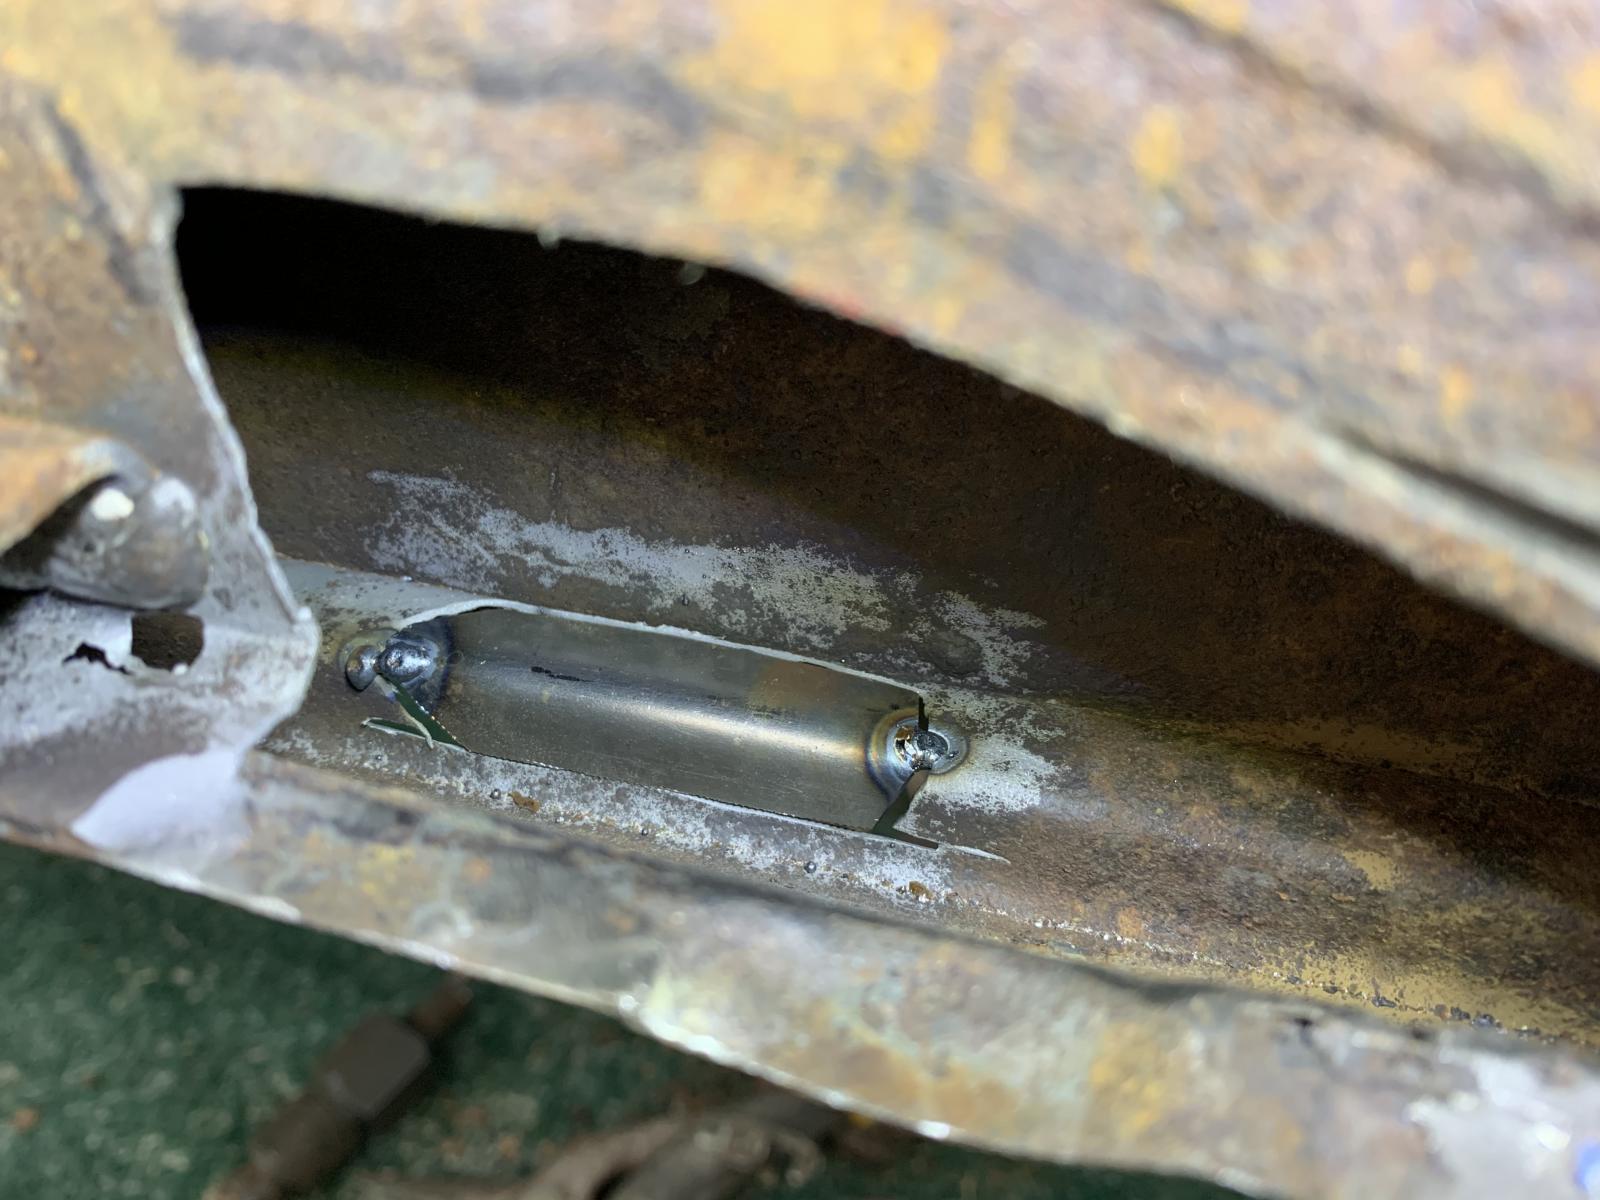
Then I removed the middle seat mounting brackets that are spot welded to the floor so that the The middle two were so rotted that I would never have trusted them to mount a seat to. I could easily have replacements waterjet and reinstall them but I never plan to put a middle seat in there.
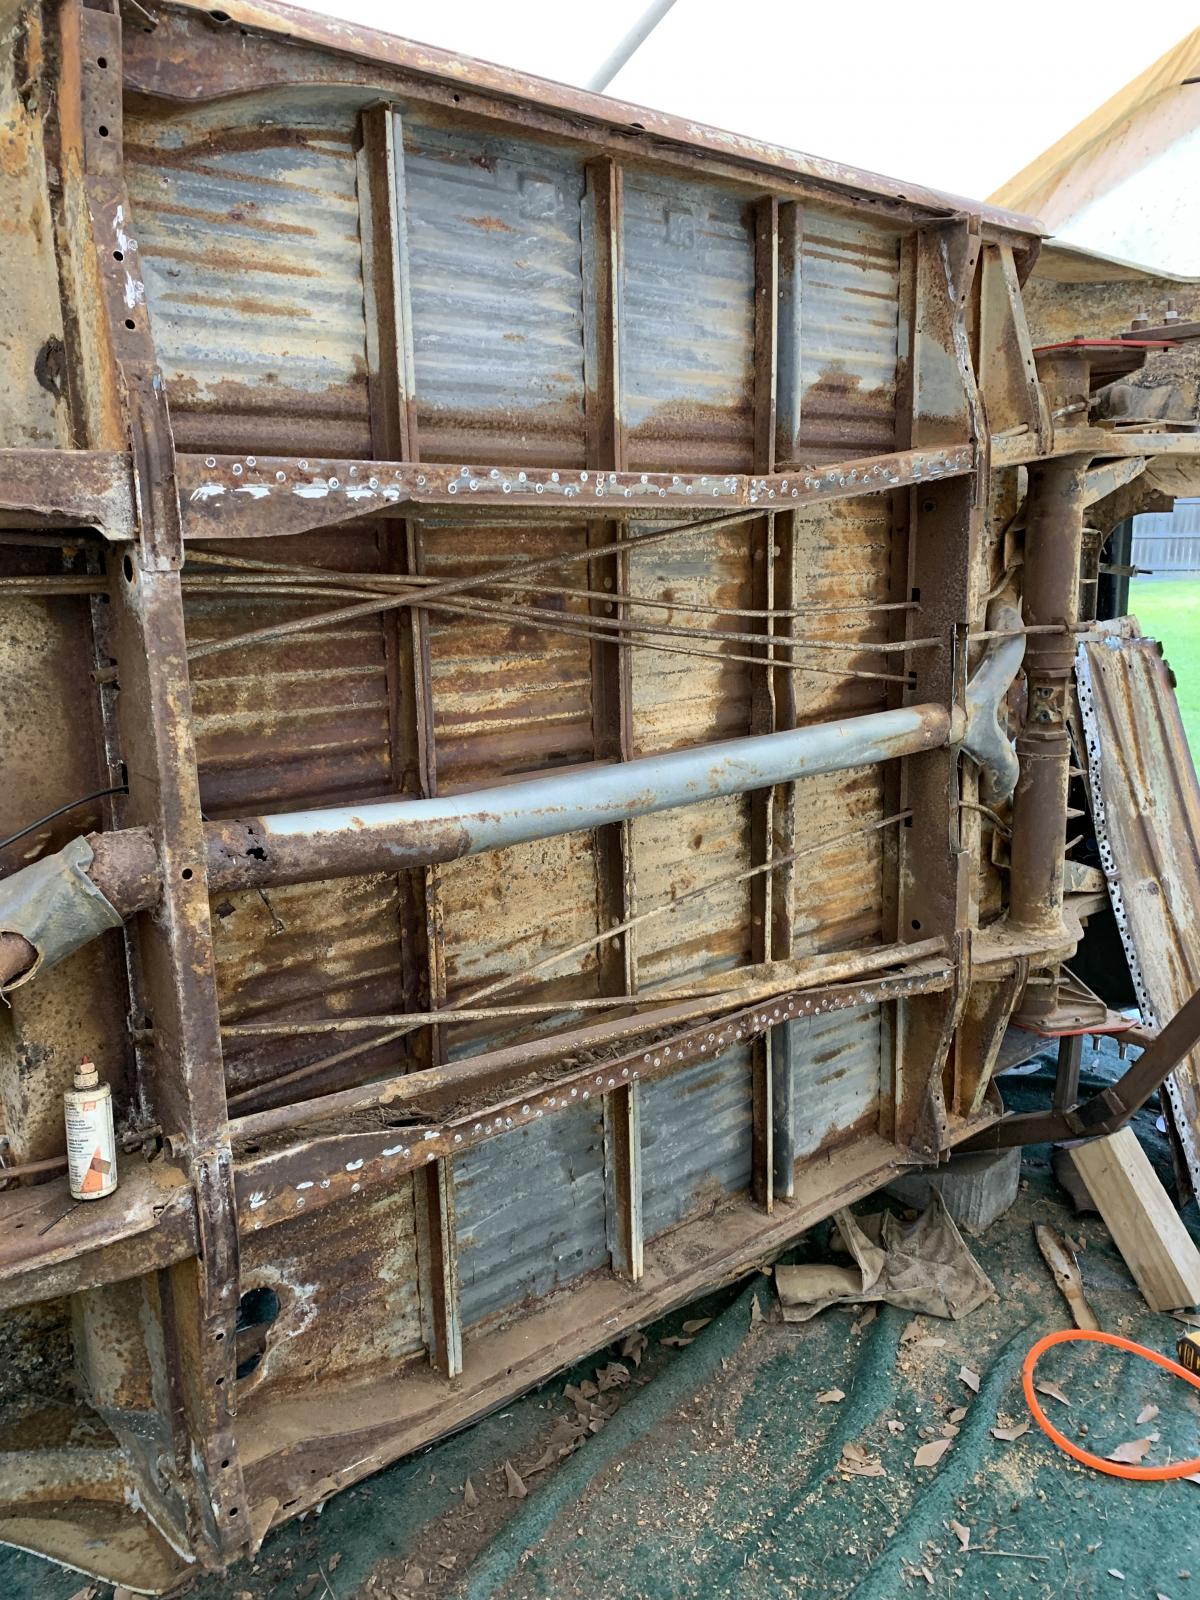
This job sucked pretty bad. You can see the spot welds from the bottom but from the top it was impossible to see. I found the best method was to grind the spot welds starting at one corner, then bending up the bracket until it stopped and just kind of guessing where the next spot welds were. The brackets were absolutely toast but the sheet metal underneath is in great shape.
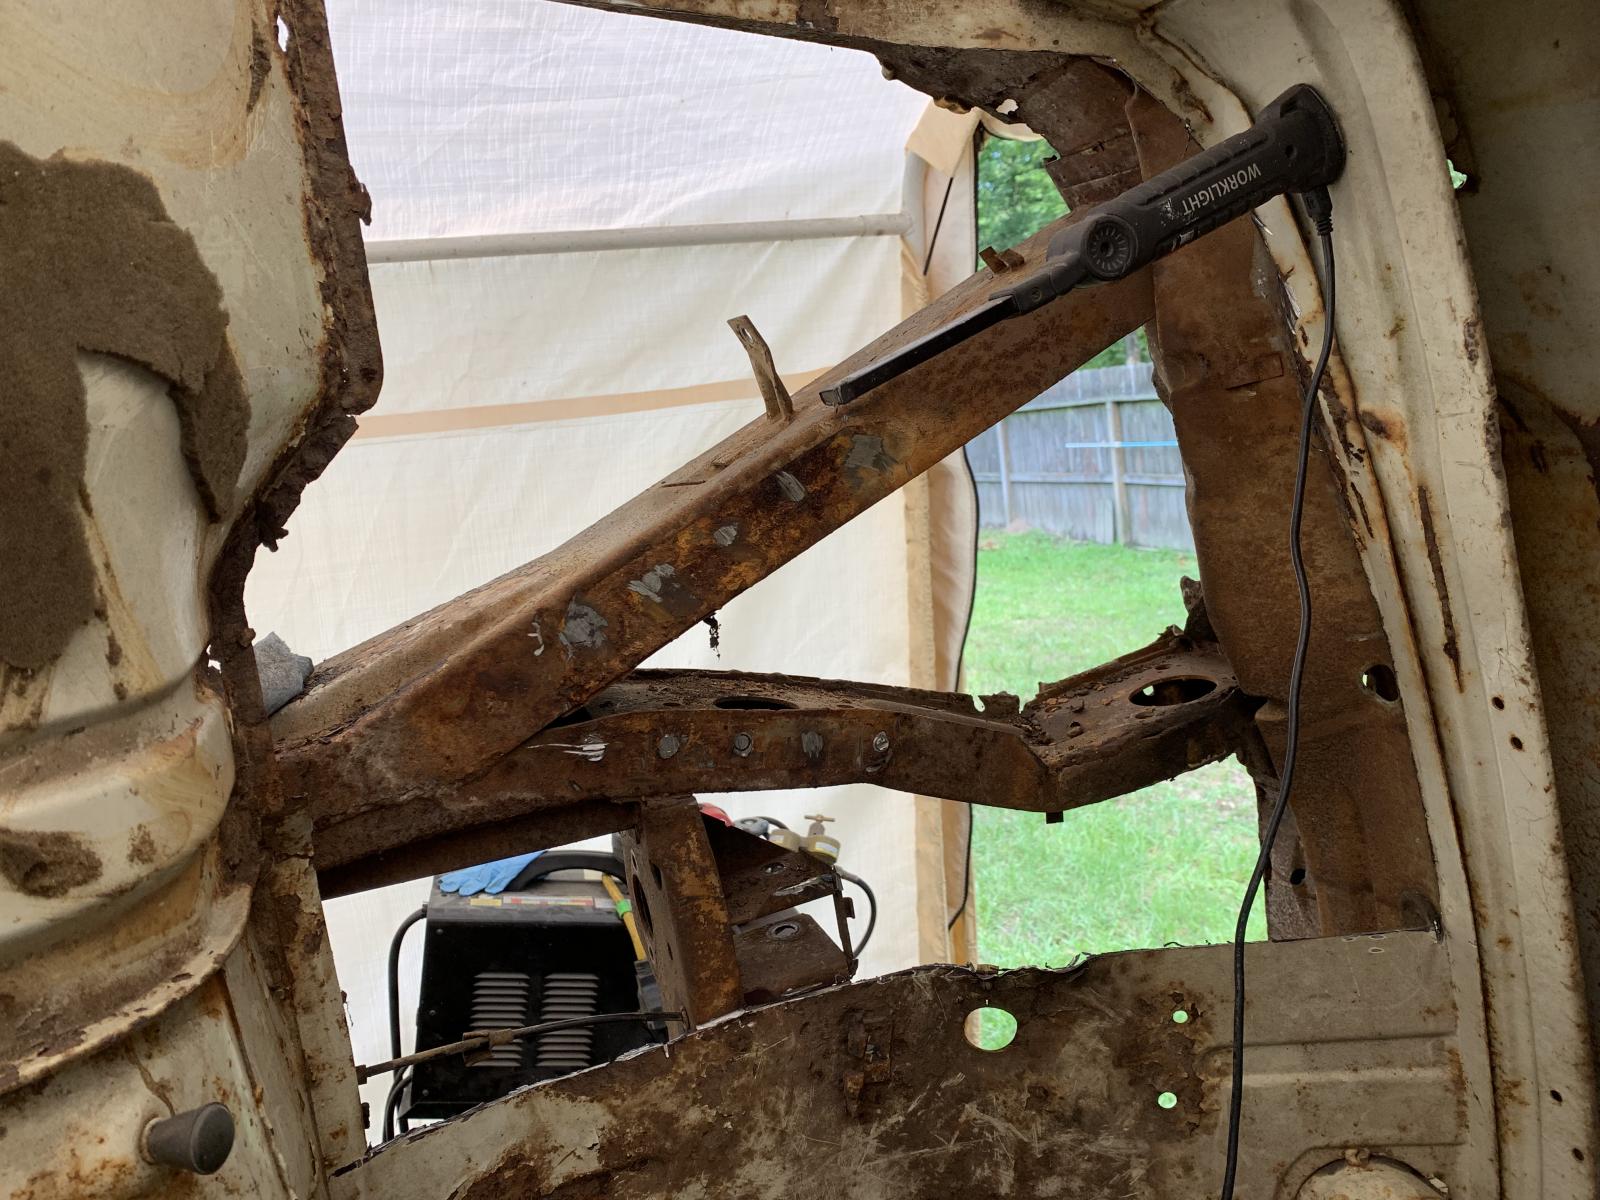
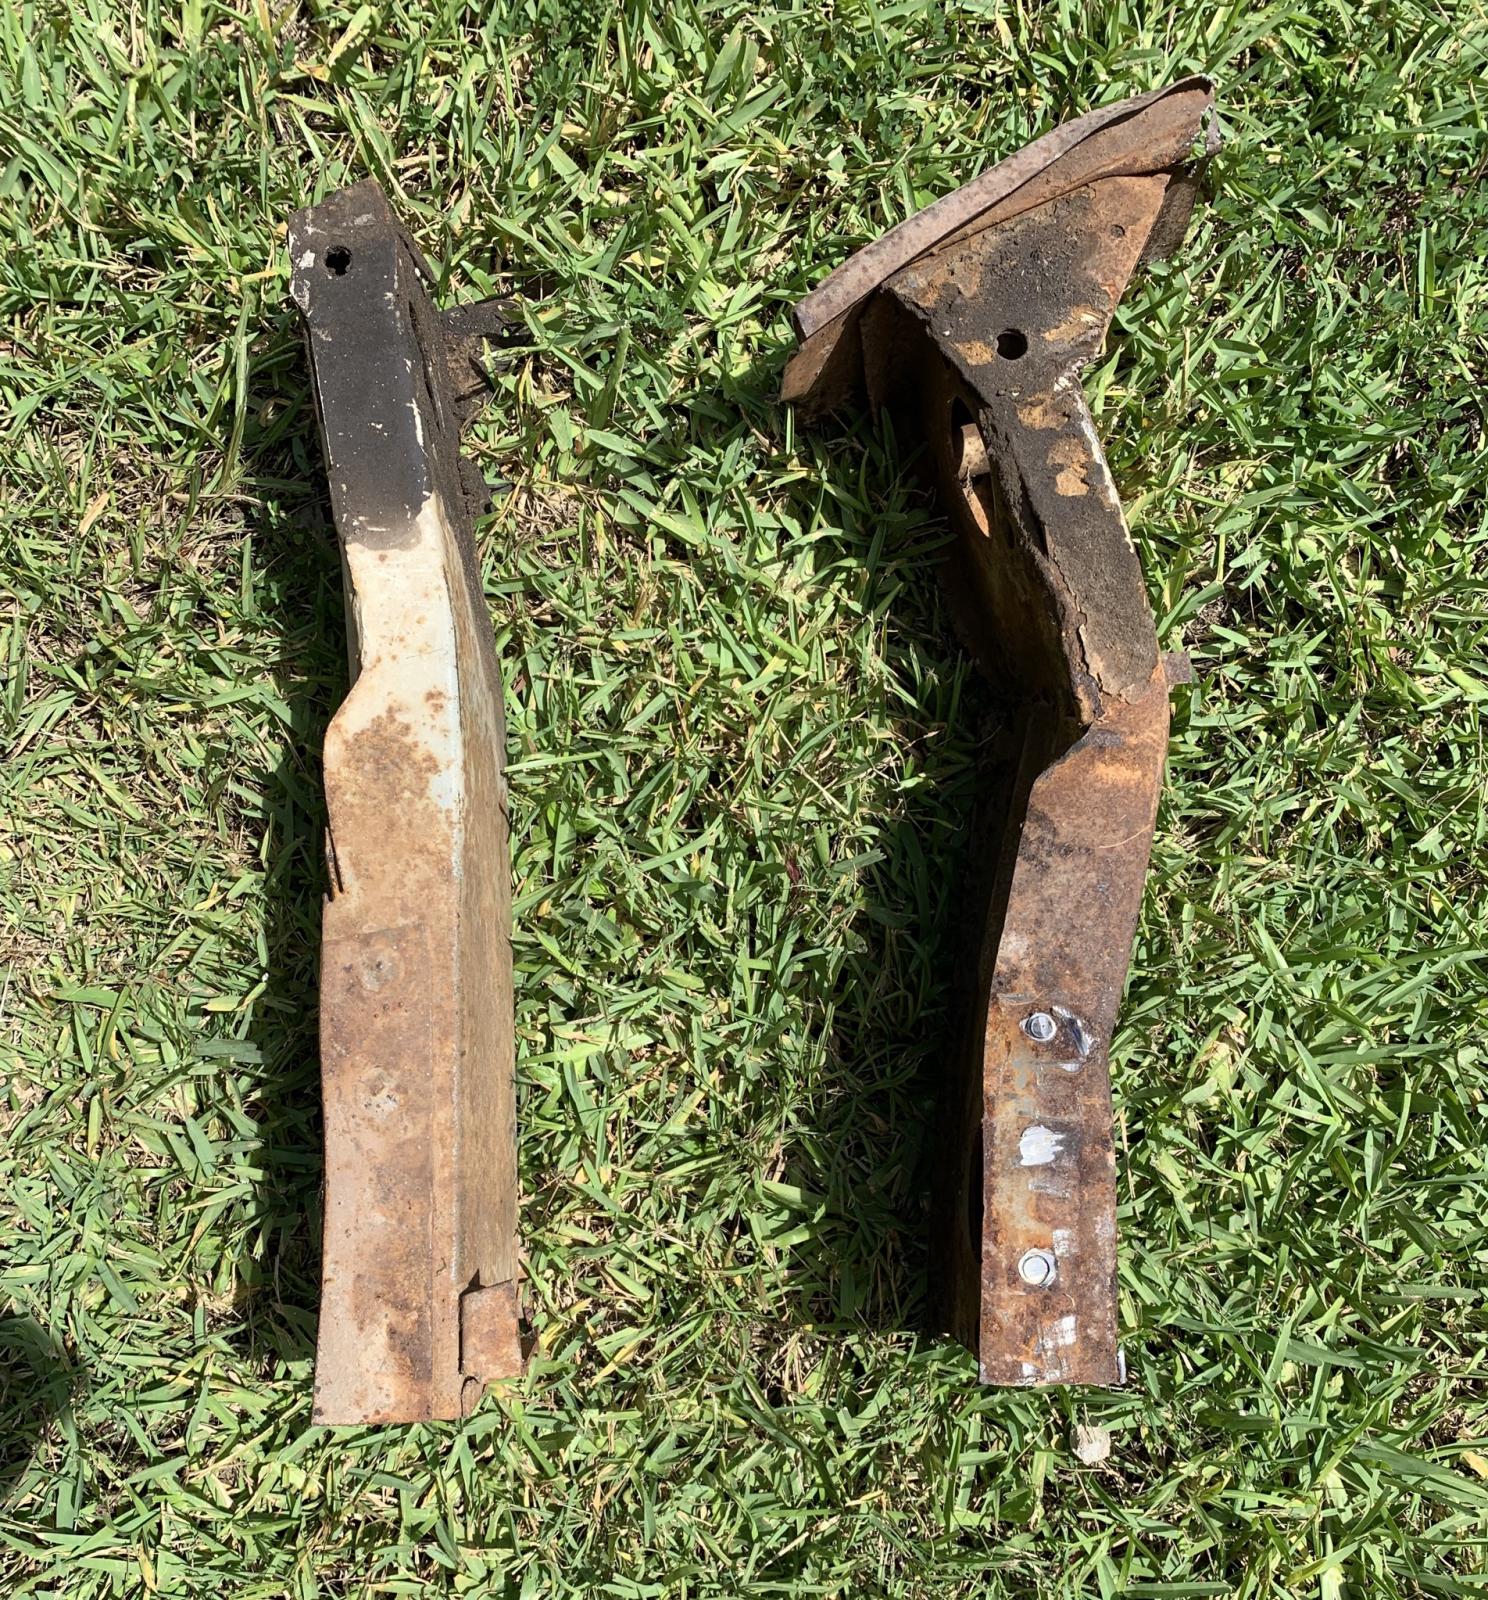
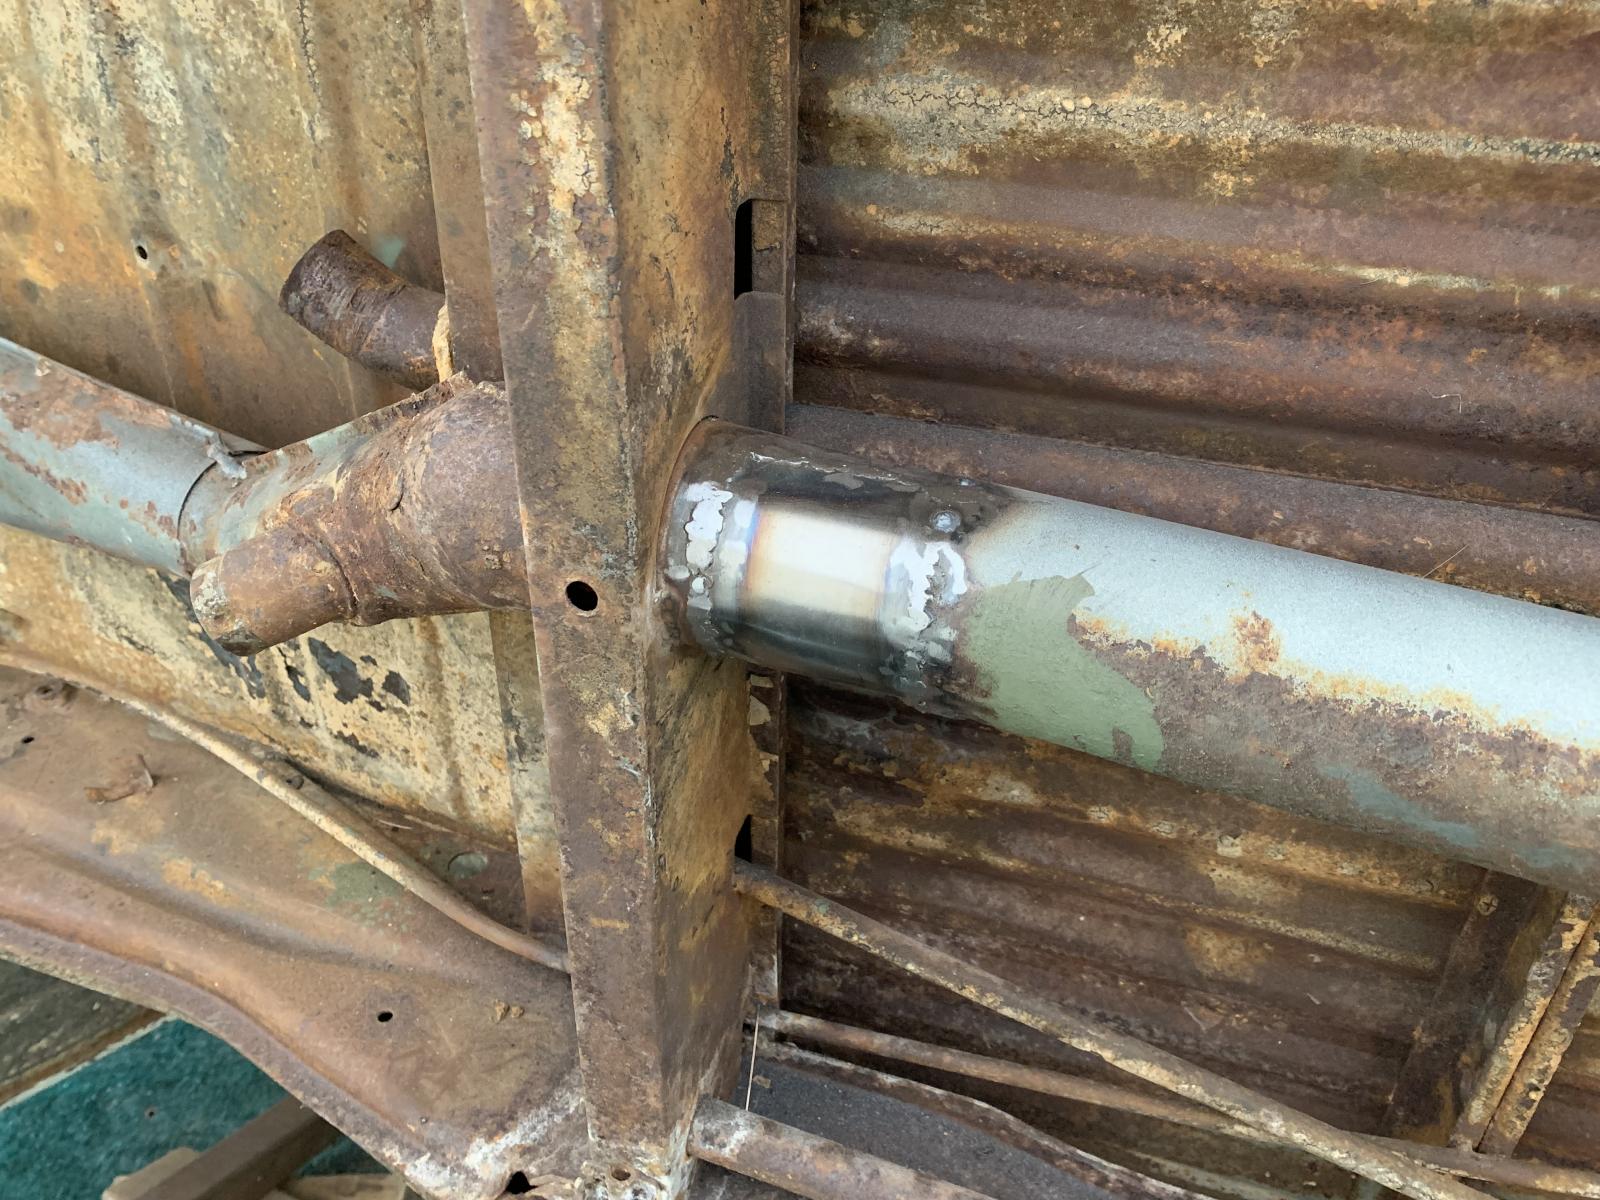
I cut out the rotted section of the front floor, as well as the botched frame member onto which the steering box mounts. I am going to dry fit the nose before I final weld this bracket back into place.
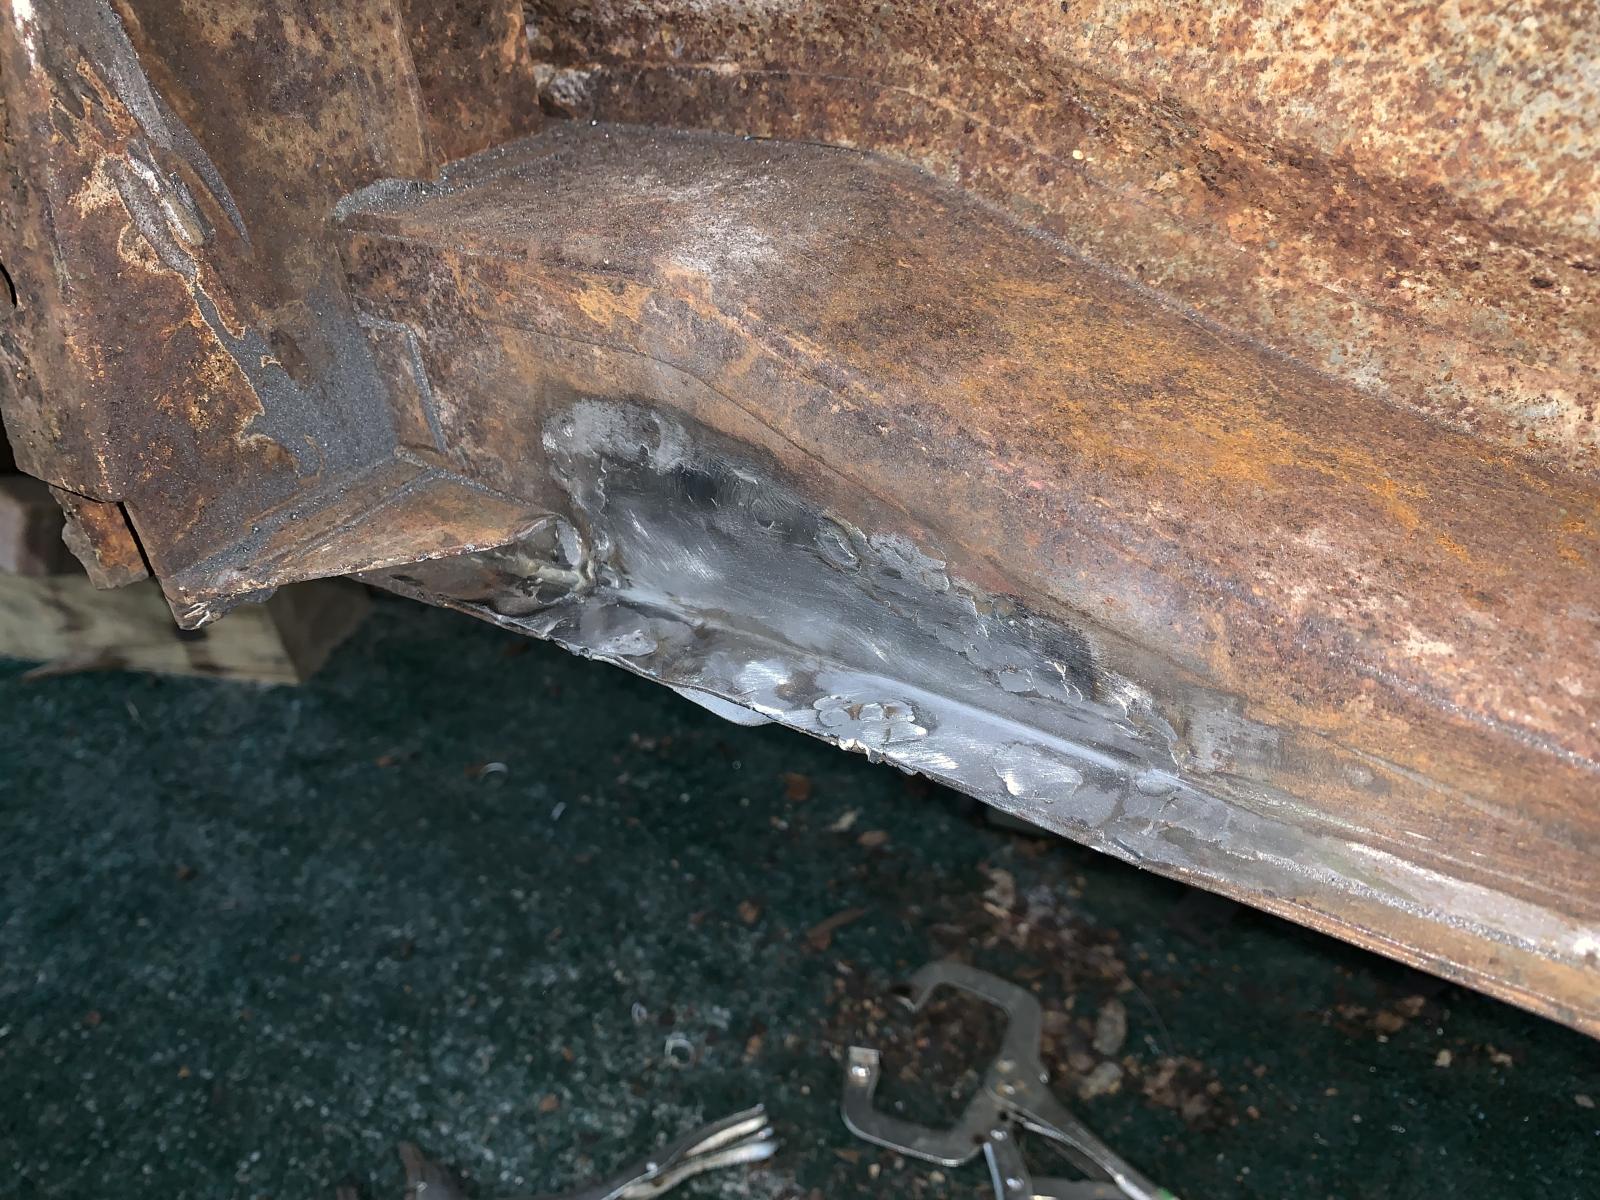
I fixed some rust and damaged to one of the frame rails on the bottom.
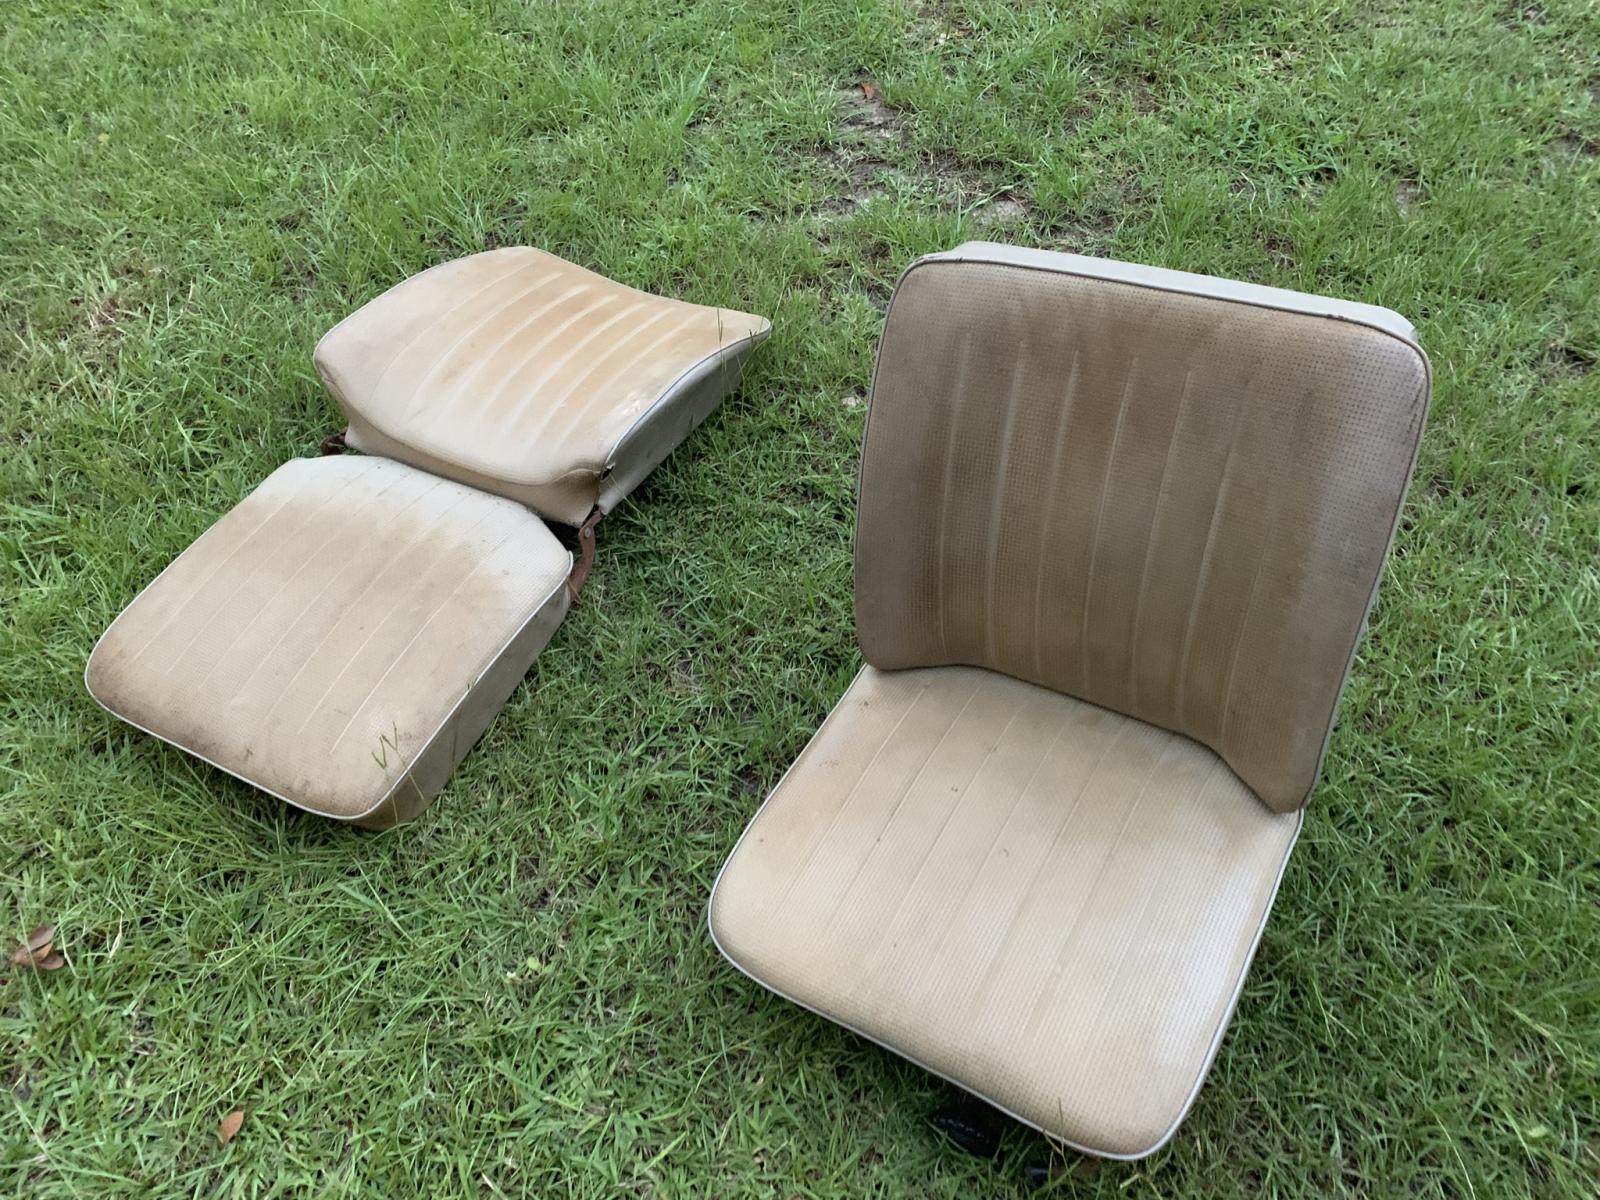
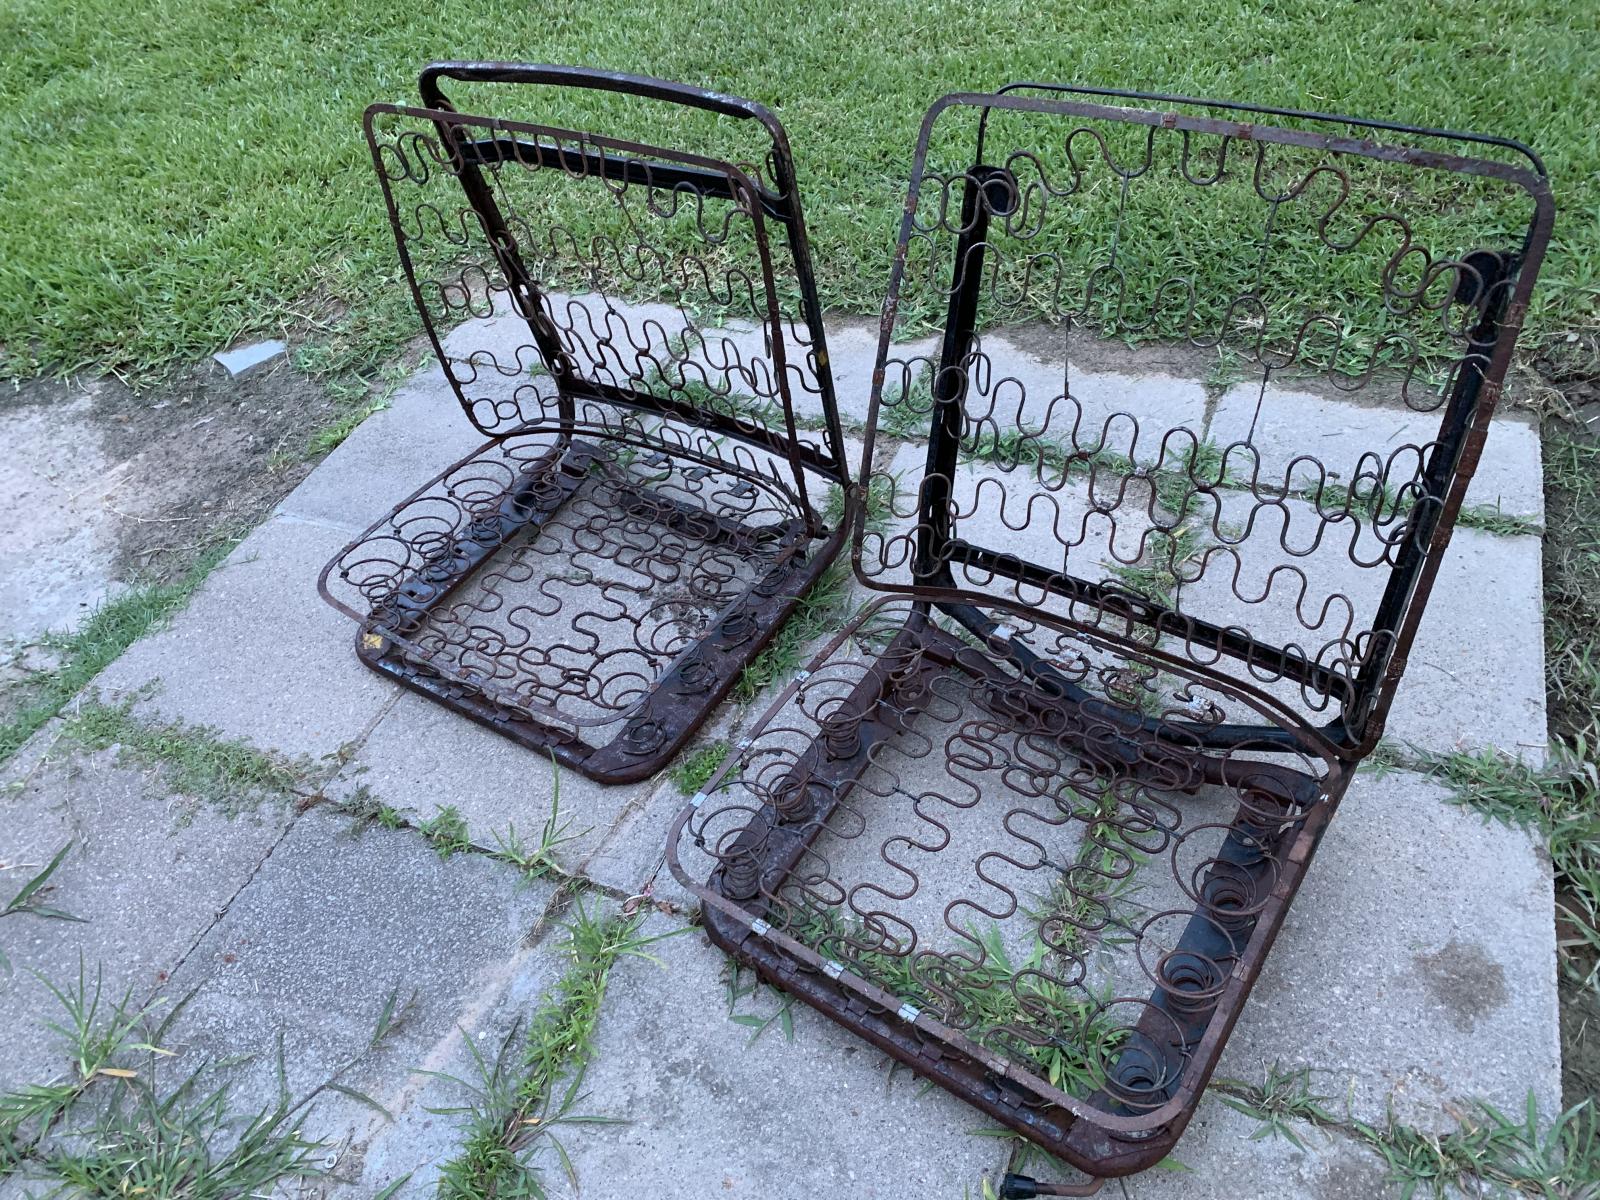
Stripped the nasty mouse infested seats. I really wanted to save the original upholstery for someone else's project but it was disgusting so it went in the trash.
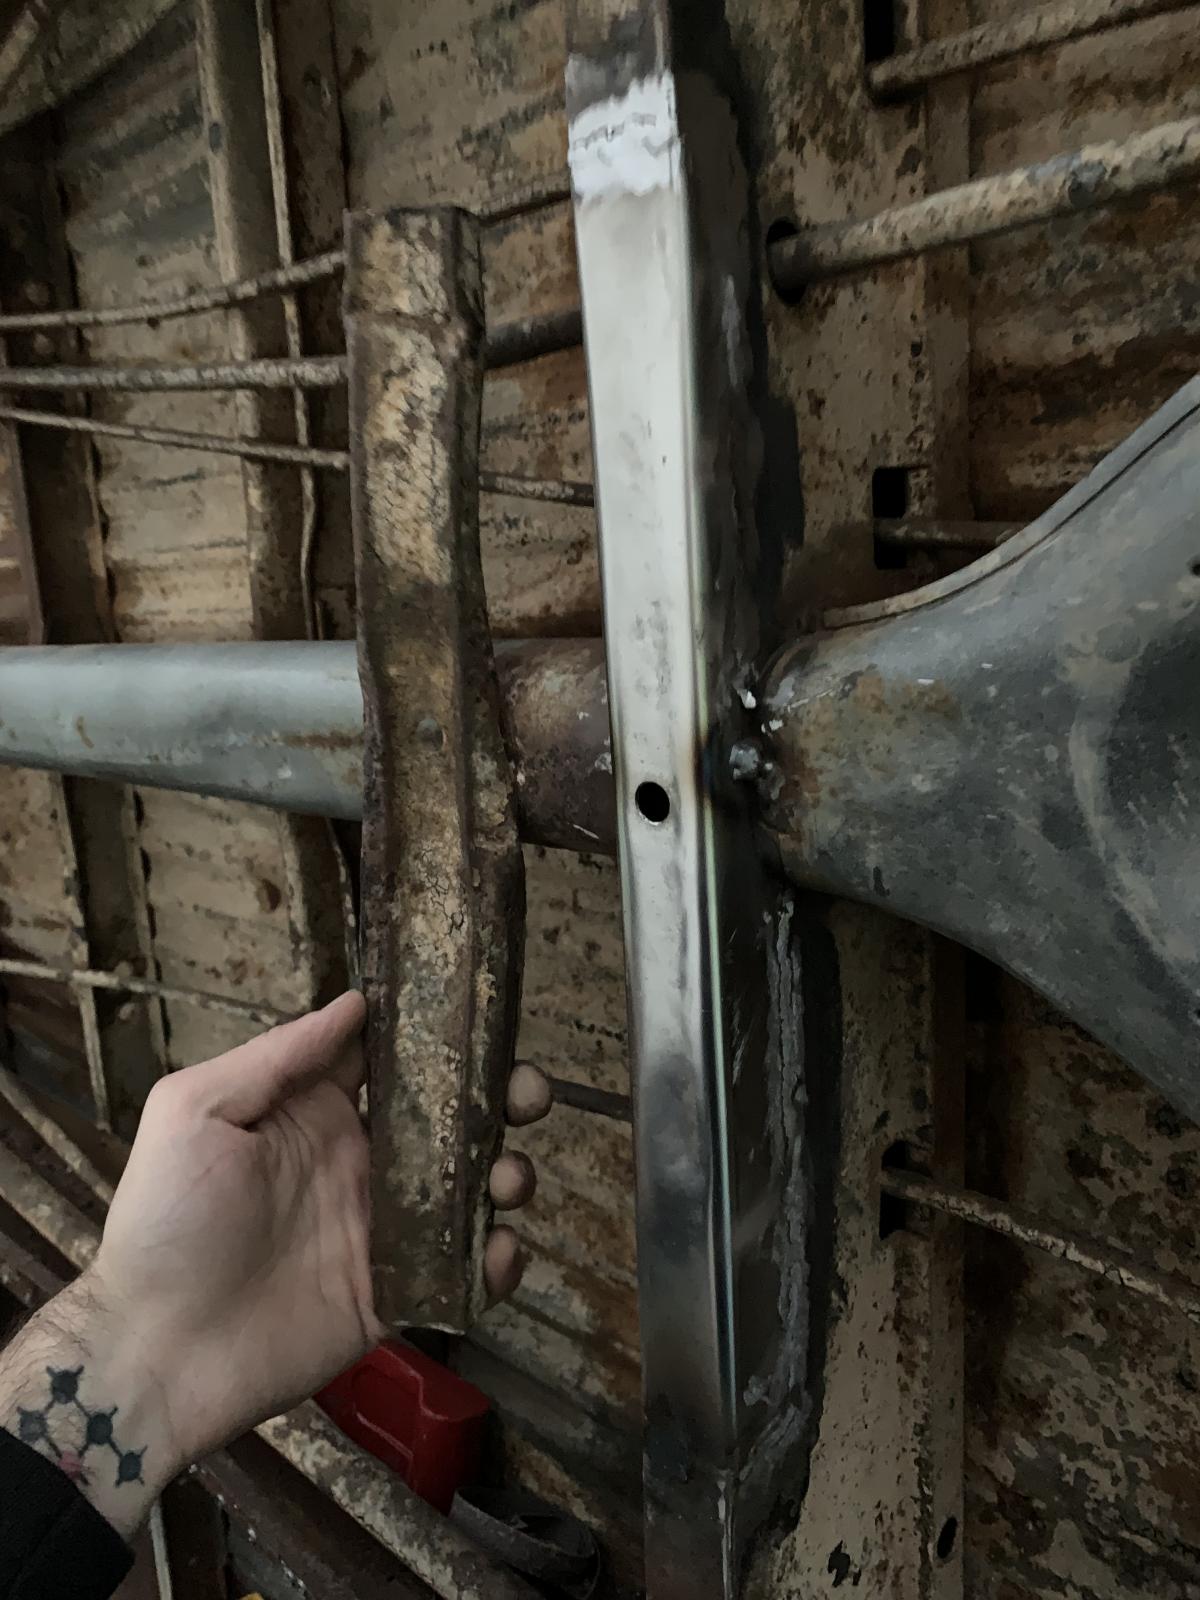
Then I started prepping the donor nose for the transplant. So many spotwelds.
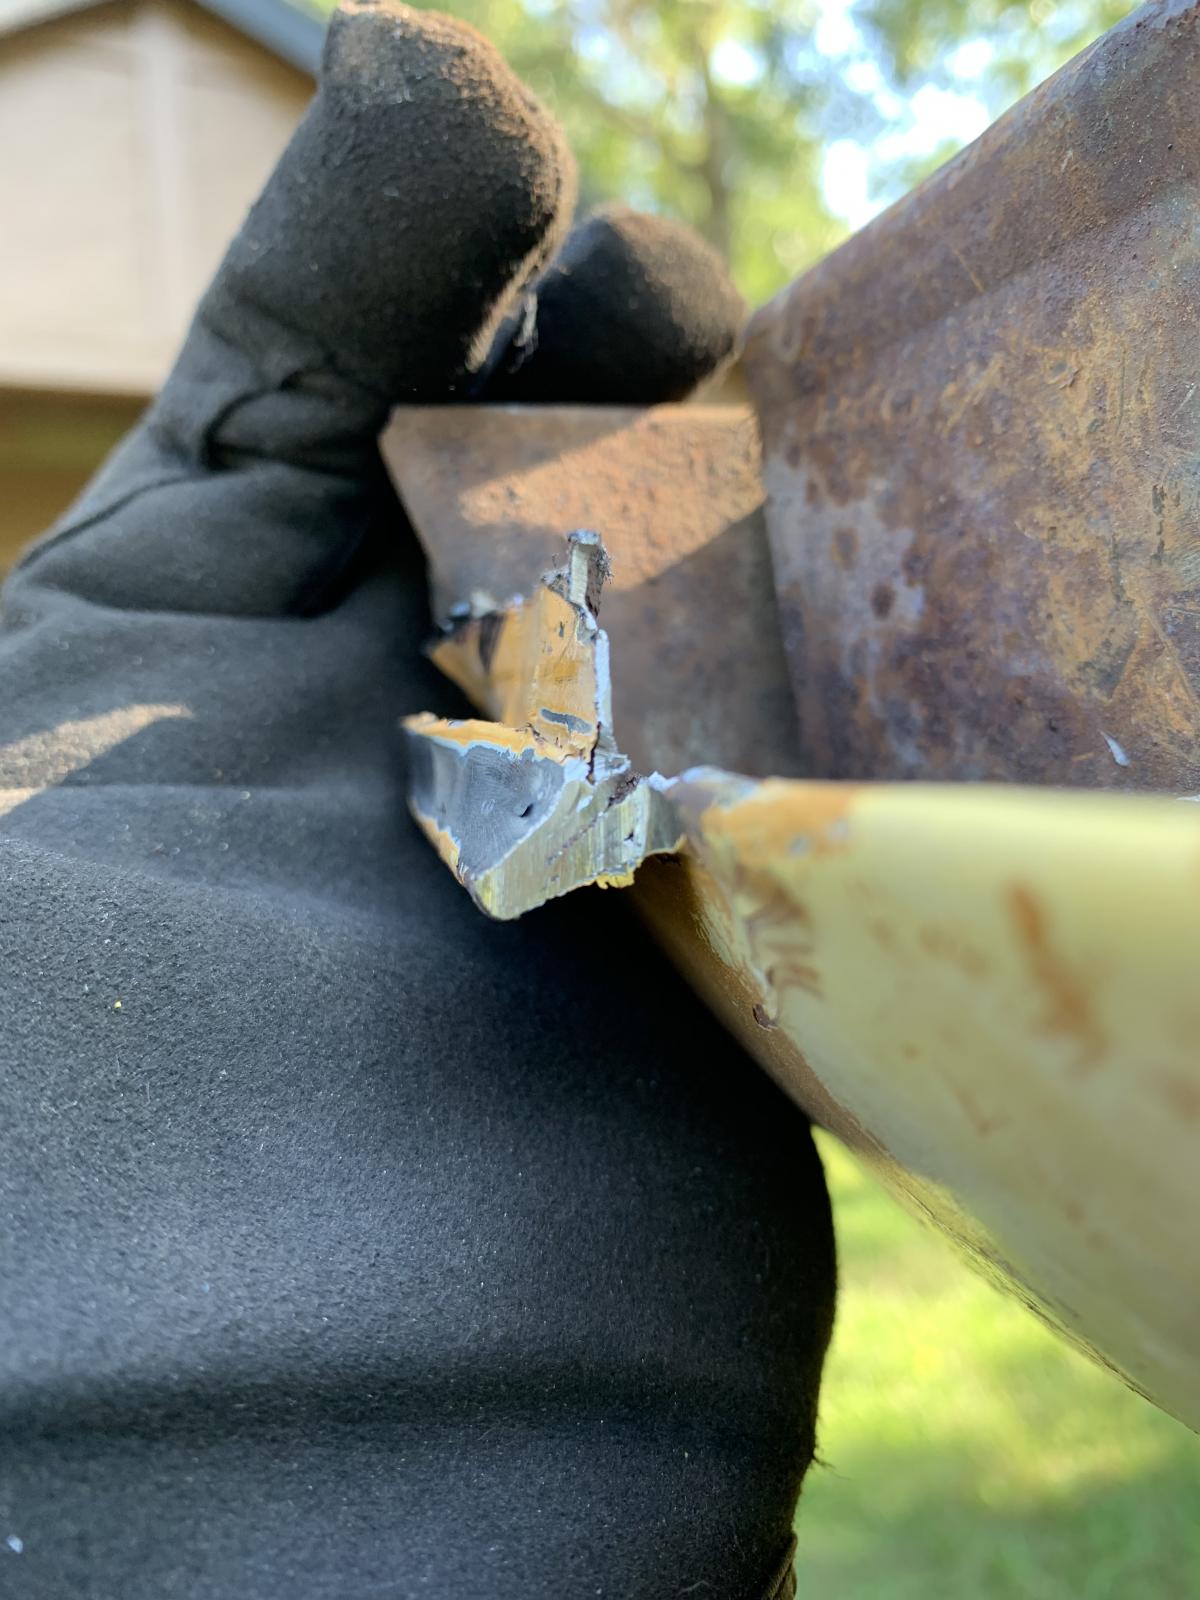
I managed to peel back the folded over bit of the lower nose skin without any damage. Here's a pic showing the layers of metal.
Onwards an upwards man, great to see this coming along. My seats were full of horse hair I think - fine I'm sure as long as it was where it was supposed to be, but minging as all hell when it started spewing out all over the cab. Turns out it was nothing duct tape couldn't fix - and you can take that to the bank 8)
This site uses cookies to help personalise content, tailor your experience and to keep you logged in if you register.
By continuing to use this site, you are consenting to our use of cookies.

") )
)