Follow along with the video below to see how to install our site as a web app on your home screen.
Note: This feature currently requires accessing the site using the built-in Safari browser.
We noticed you are blocking ads. DO THE TON only works with community supporters. Most are active members of the site with small businesses. Please consider disabling your ad blocking tool and checking out the businesses that help keep our site up and free.
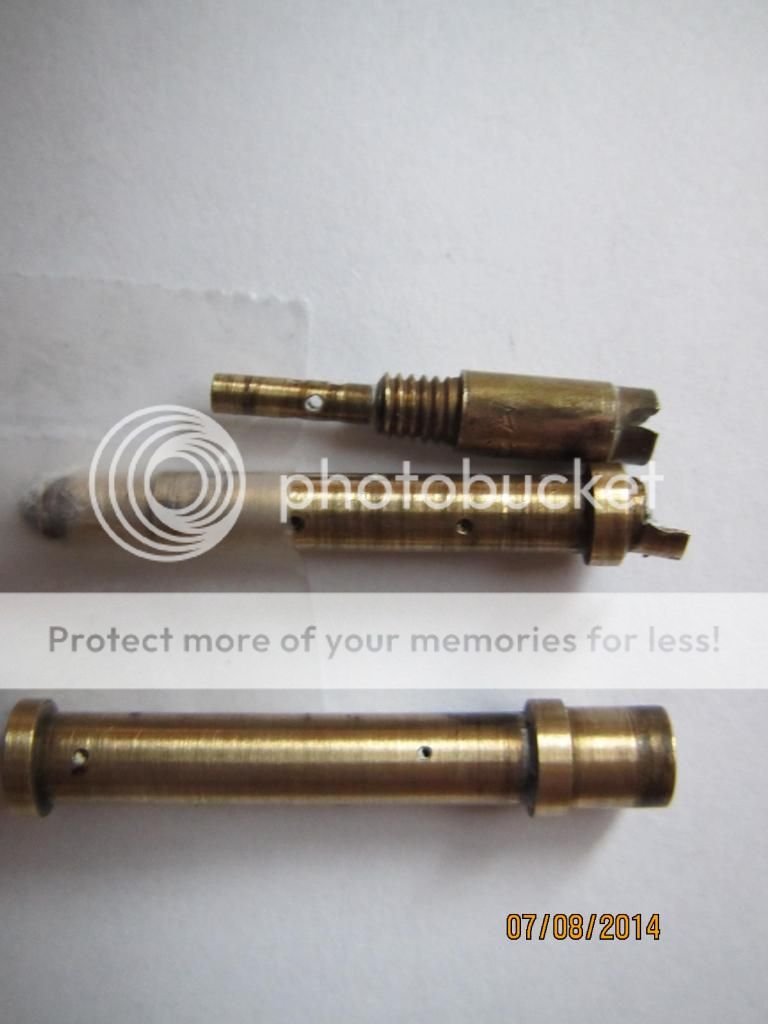
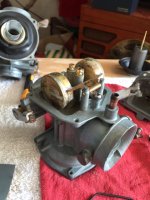
The emulsion tube with, what looks to be a screwdriver slot, does not unscrew. You may be able to twist it and break it loose, but they should be pressed out from the other side.
Here is a picture of mine removed and before cleaning:
I sent my carbs to crazyPJ and he said the one damaged emulsion will still work. Be careful as these are no longer available.
Really for that bike you need a god set of JIS screwdrivers. With them you won't need the impact stuff and you will save a lot of screws you won't have to replace. JIS Japanese Industrial Standard. look them up, if you continue to work on Asian bikes, you will save whacks of screw and whacks of time.
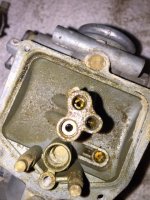
The jets need to be unscrewed to be removed. Make sure you are using the correct size flathead screwdriver. Its worth taking some to the grinder to make sure they fit properly, otherwise you risk mucking them up for good.
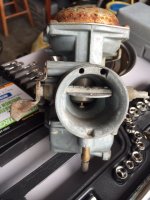
Emulsion tubes can be pushed out from the bore side with a wooden dowel.
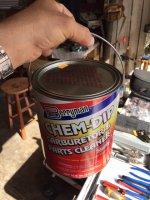
very good advice. Those things can be very hard to take apart sometimes. You can try submerging them in carb cleaner overnight and then warming them up with a heat gun before you attempt removing some of the parts. The brass is very easy to damage and takes experience to know how much force you can apply without damage. Absolutely perfect fitting flat blade drivers are essential. Patience is your friend. I strongly recommend that you take the gaskets out of those rebuild kits and toss the rest in the trash. Factory OEM brass only. So don't think it is ok to damage the factory brass because you have suitable replacements on hand - you don't. I couldn't tell you how many bikes I have "repaired" by simply tossing all the aftermarket rebuild parts I've found in "freshly rebuilt" carbs and replacing them with used OEM parts. You know with certainty that the original factory parts are the right thing and no telling about the kits.
The JIS drivers are also a very good idea, but won't eliminate the need for stronger measures in every case. I'd also recommend never using a hand impact (that you strike with a hammer),but if you do be very careful. Lots of bike stuff is pretty delicate and smacking aluminum castings with a hammer can end up badly.
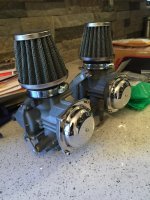
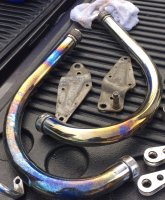
Well I got the carbs cleaned there looking good. I decided to paint the top covers black. Cheap and looks good. Replaced all the seals and jets and tubes. Looking super clean. This is the first set of carbs I have ever cleaned. I gota say I feel I did a good job. but the satisfaction of seeing them so shiny and new is priceless!! I'll post some better picture once I receive 2 stainless screw kits I ordered for them along with some new filters and boots.
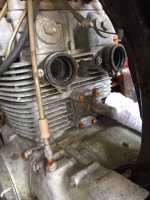
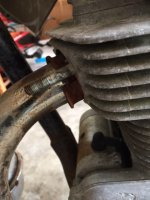
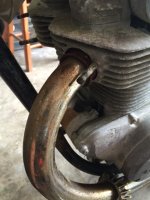
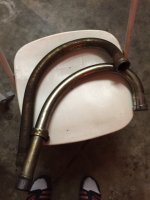
I really gotta thank you guys for all the good advise. A beginner like me would have never seen through the rust and grime with out the hope you all have given me! after a nice long Vinegar bath this is what I got from the headers. A little burnt but I think it adds to the flavor. I'm open to opinions on reusing these.
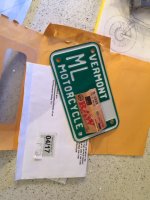
Glad the Vermont registration worked. Just curious - did you get taxed on the value from your bill of sale or did they make you use a Kelly Blue Book value?
Glad the Vermont registration worked. Just curious - did you get taxed on the value from your bill of sale or did they make you use a Kelly Blue Book value?
Well I got the carbs cleaned there looking good. I decided to paint the top covers black. Cheap and looks good. Replaced all the seals and jets and tubes. Looking super clean. This is the first set of carbs I have ever cleaned. I gota say I feel I did a good job. but the satisfaction of seeing them so shiny and new is priceless!! I'll post some better picture once I receive 2 stainless screw kits I ordered for them along with some new filters and boots.
As for registering in VT, here is the link, http://dmv.vermont.gov/sites/dmv/files/pdf/DMV-VD119i-Registration_App_Instructions.pdf
I have registered a few bikes this way without any problems at all.
Good luck.
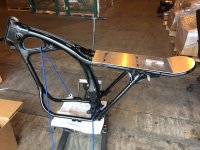
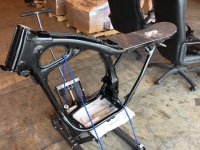
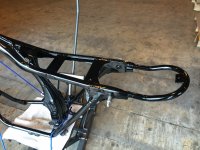
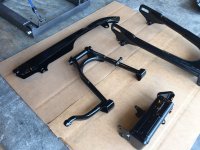
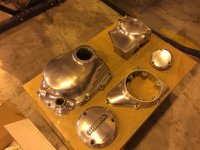
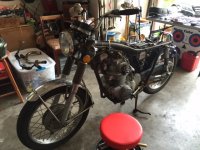
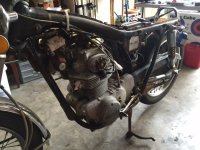
Well I've been of the post for some time. I've been held back by a pregnant wife, work and excessive fishing. But I have been working on the bike in between. Just to give you a heads up. I got the frame welded and powder coated along with a few other parts. All the engine covers have been painstakingly wet sanded and polished. They look great but I'm not to happy with the outcome. I would like to see more shine! Here are a few pics of the build.
This site uses cookies to help personalise content, tailor your experience and to keep you logged in if you register.
By continuing to use this site, you are consenting to our use of cookies.


")