Follow along with the video below to see how to install our site as a web app on your home screen.
Note: This feature currently requires accessing the site using the built-in Safari browser.
We noticed you are blocking ads. DO THE TON only works with community supporters. Most are active members of the site with small businesses. Please consider disabling your ad blocking tool and checking out the businesses that help keep our site up and free.
I've been a long time lurker on this site and haven't posted anything before. I've spent a long time admiring all of the amazing things that everyone does on this site and I figured that I'd give it a shot myself.
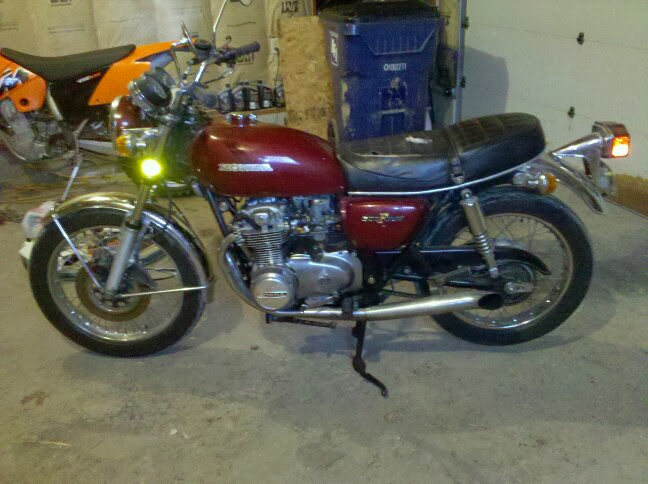
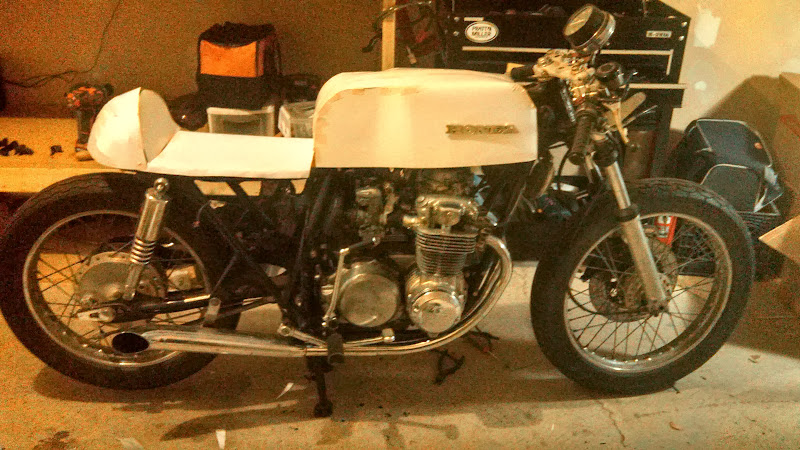
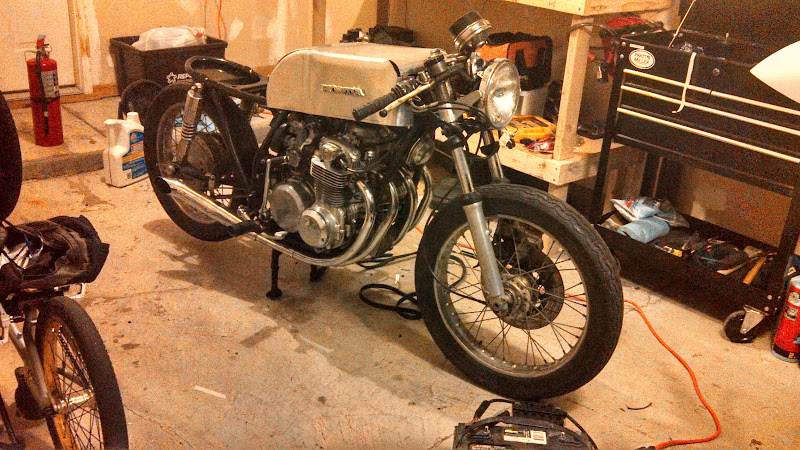
4 years ago I picked up a really clean 734' CB500 four for 500 dollars. It didn't run, but I figured I could get it running with little work. The bike looked great and had very little rust.
In hindsight I probably shouldn't have taken the bike apart, because it was so cherry. But I was a young 18 year old at the time and didn't know any better. In the four years since, I've gained a mechanical engineering degree and spent 4 years on Michigan State's FSAE team. Now I'm wrapping my bachelors degree and have some time to work on this project. Plans are to have it running smoothly for next springs riding season.
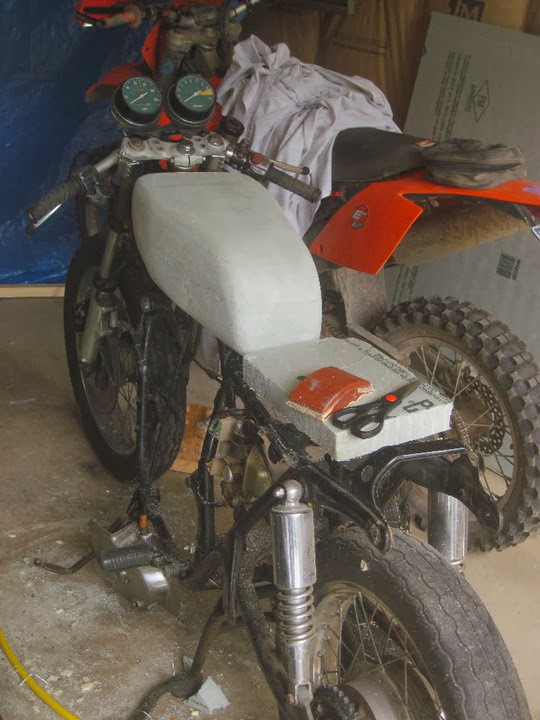
I initially started building a fiberglass tank taking cues from some of the other people on this forum.
But after it sat a while, I realized that it wasn't the same direction that I wanted to go with this build. The bike had sat an unfinished project for roughly 3 years at this point and I decided that I just needed to finish it.
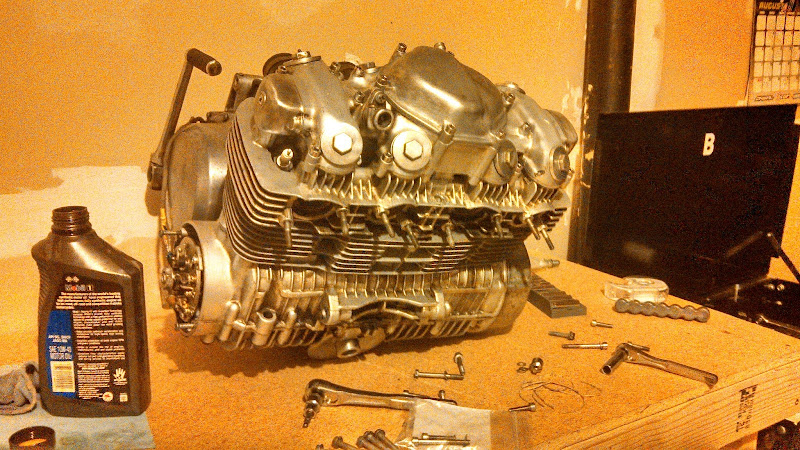
The engine had low compression on 2 cylinders and was burning quite a bit of oil when I finally did get it running.
So I did a basic top end rebuild replacing the piston rings and honed the cylinders. Also cleaned the carbs. Everything was reasonably clean, however I'm sure the PO before me had taken this engine apart at one time or another. There were a number or questionable repairs, stripped threads, and leaking gaskets. Again, had I known a lot of this before making the purchase 4 years ago, I probably would have looked for something else. But hey, that's part of the fun.
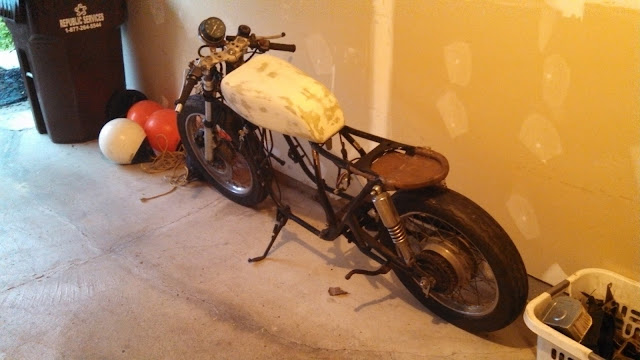
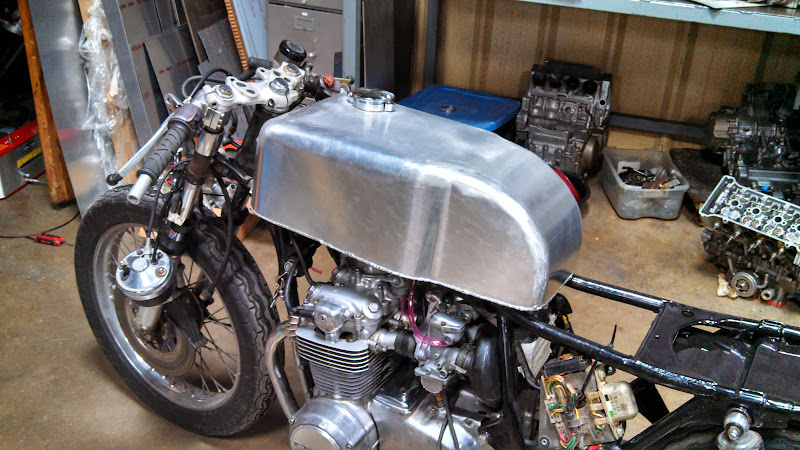
I got the engine back in and started mocking up the basics of what would be an aluminum tank and tail section.
I had a ton of inspiration from this guy. I'm amazing by his fabrication skills and I hope that one day my parts can even slightly resemble his.
http://www.youtube.com/watch?v=rw5lYMmxSB0
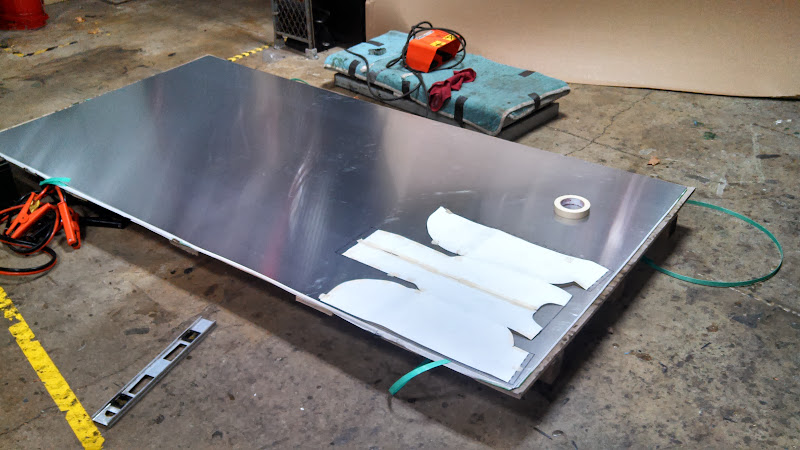
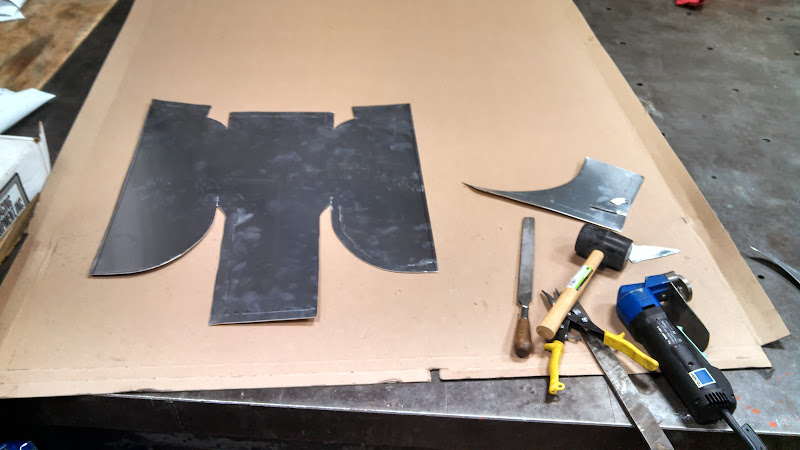
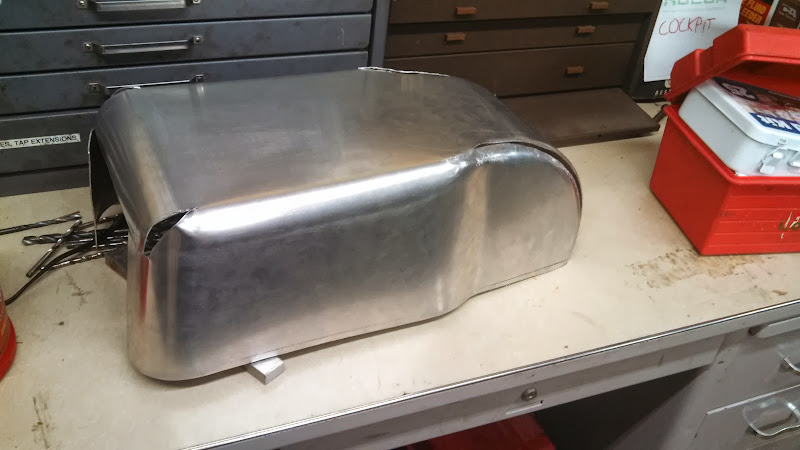
Finally took the plunge and bought a 4x8' sheet of 3003 aluminum .063" thick. Then I traced the template of the tank and cut it out with some electric tin snips.
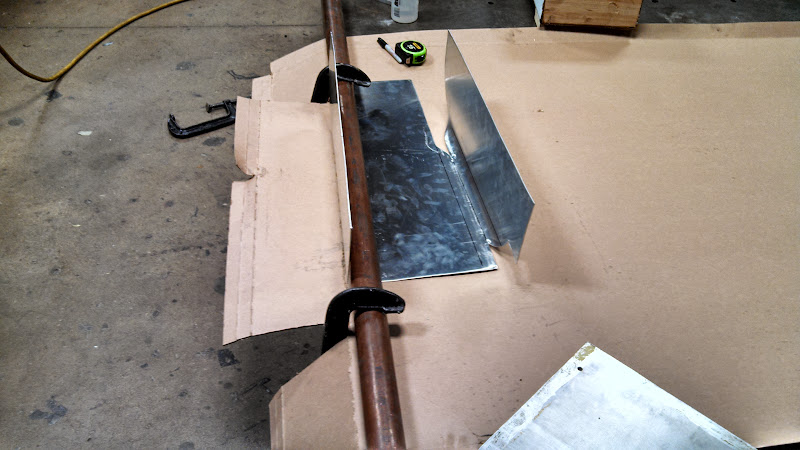
Using some clamps on the edge of a bedplate and a 3" diameter copper tube I was able to bend both sides. Getting both sides symmetrical was crucial in these first steps.
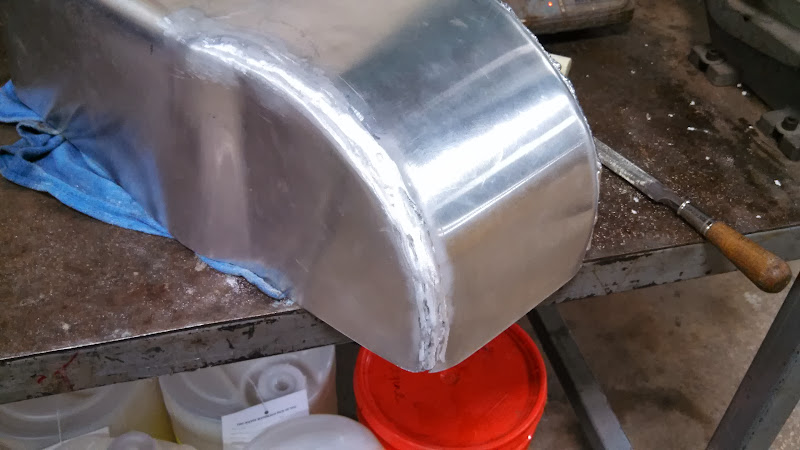
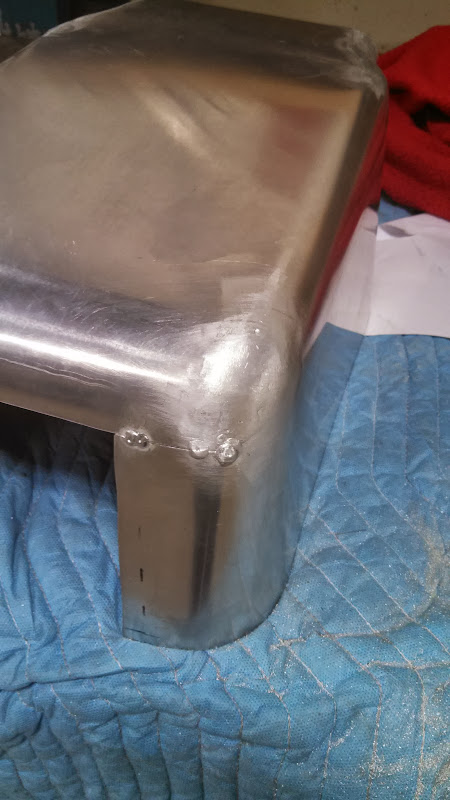
After some more negotiating with the hammer I was able to tack the edges. I'm using strips of 3003 cut from the parent metal as my filler rod. It welds beautifully this way and hopefully there will be no signs of it once polished.
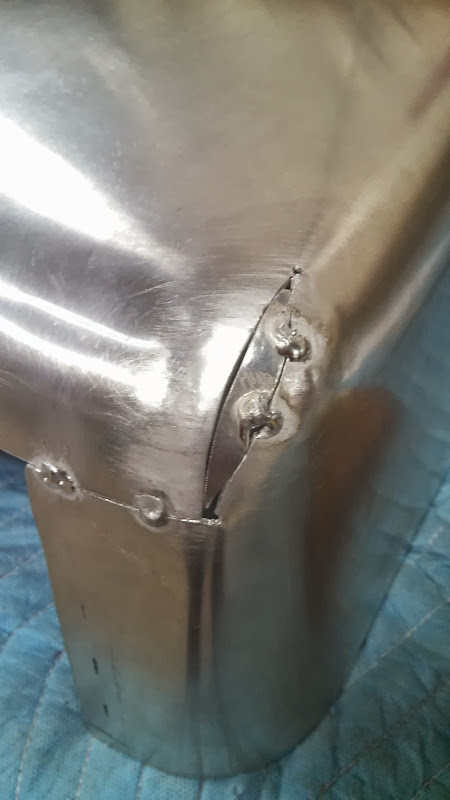
Miss judged my gap distance on the front corner and had to add some material. Aluminum doesn't quite bend like poster board. It was tricky welding such a small piece in but I managed.
Some more time with a file and everything is good again.
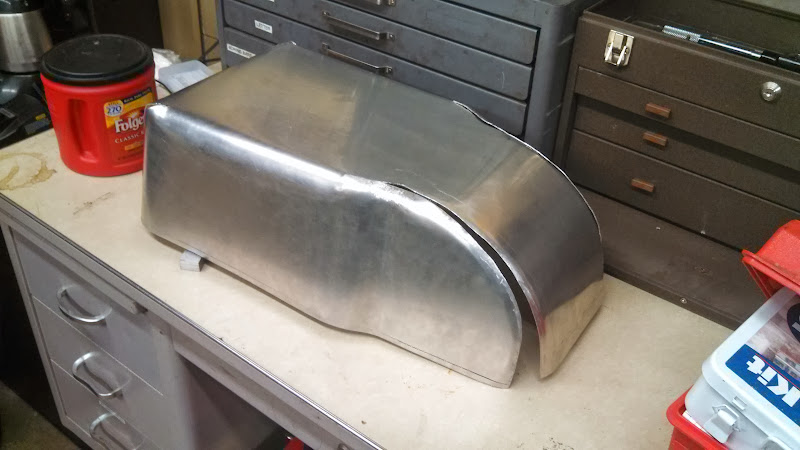
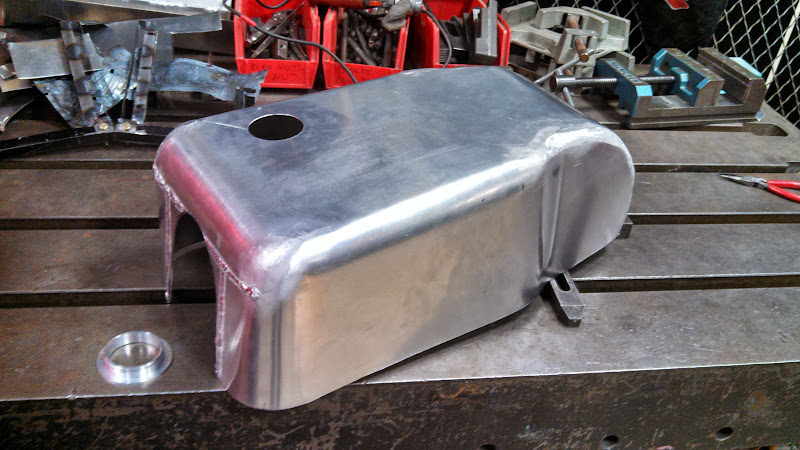
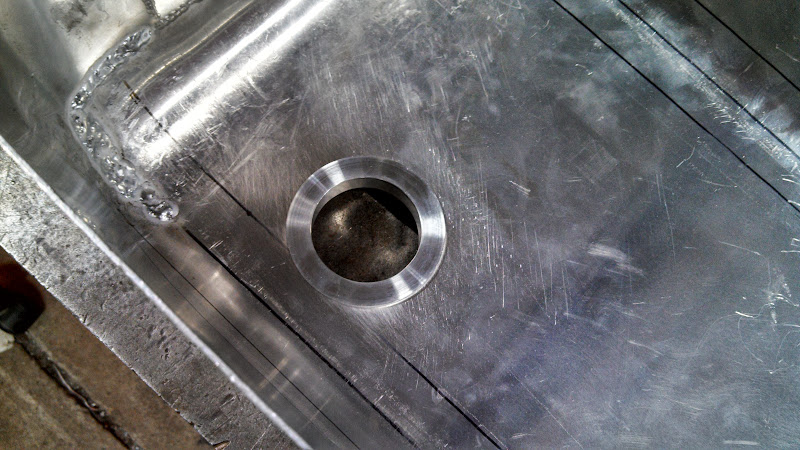
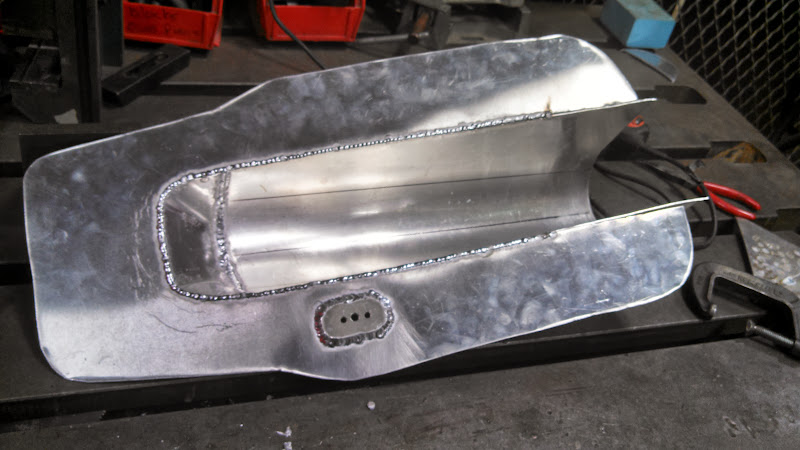
I skipped some photos on this, but you can get the idea. The petcock bung is drilled and tapped to accept the original cb500 petcock
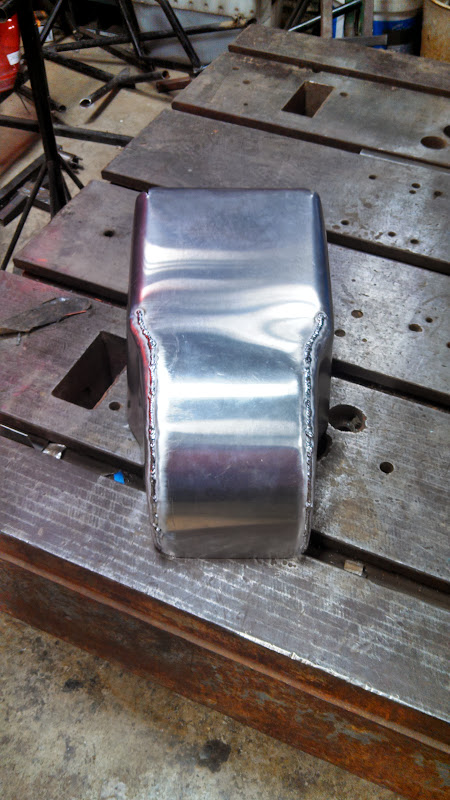
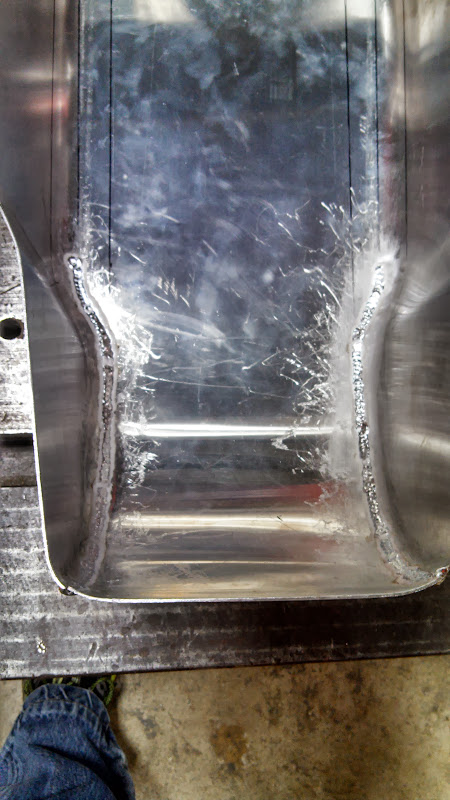
These are the two halves ready to be welded together.
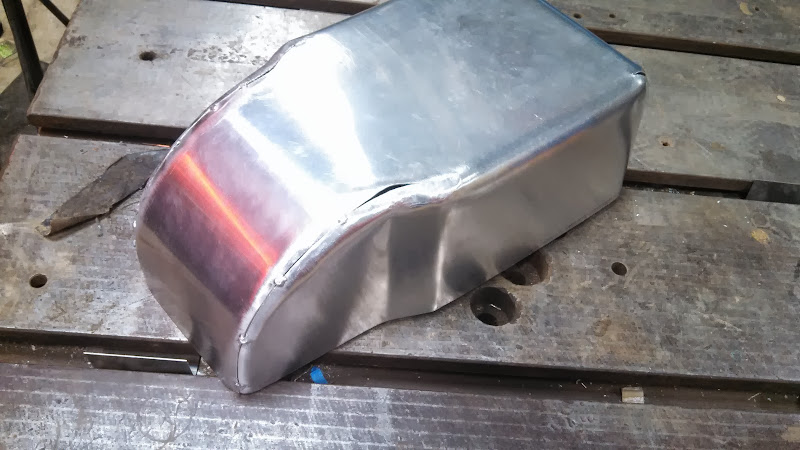
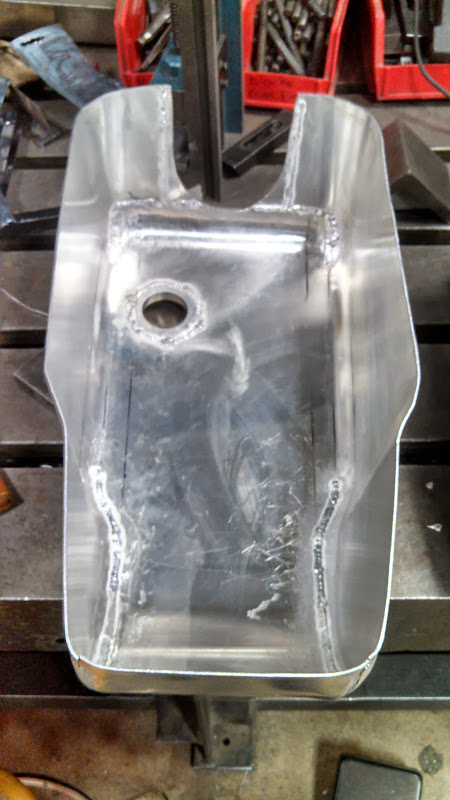
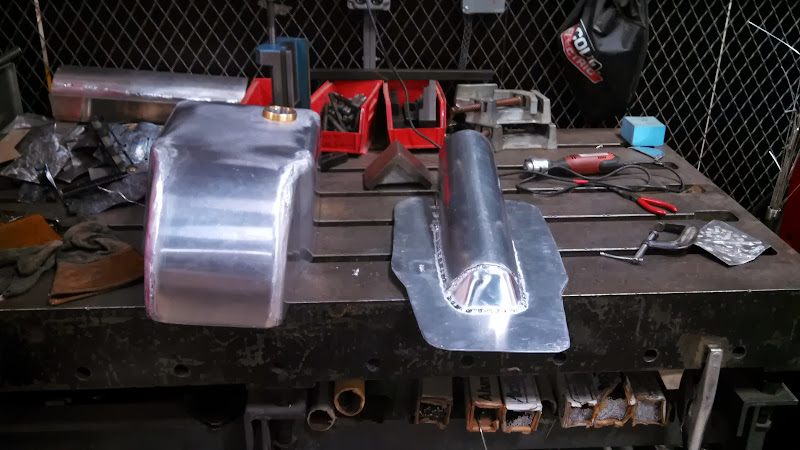
Boom! I was originally thinking about rolling the bottom of the tank under and doing a lap weld on the bottom. But I had come this far and didn't want to screw it up with a hammer and waste all of this work. So I just decided to be careful and run a nice seam weld bead along the bottom of the tank. I'll probably try the alternative on the next tank I build.
You could totally do it, it really isn't that bad. Just takes a lot of patience.
As for welding setup,
I used my university shop's Lincoln Precision TIG® 275 TIG Welder. I'll post pictures later, it's a really nice setup. I'm hoping to buy my own TIG eventually once I get my big boy job.
As for welding setup, I'm using 3/32" 1.5% lanthinated tungsten. I could use cheaper but the nice thing about lanthinated is that it welds aluminum and steel both very nicely and when you grind your point, the dust isn't radioactive like thoriated tungsten.
I cut strips of the 3003 aluminum using a Beverly hand shear roughly .08" wide and use it as my filler rod. It welds really nice, and won't show a color difference once polished.
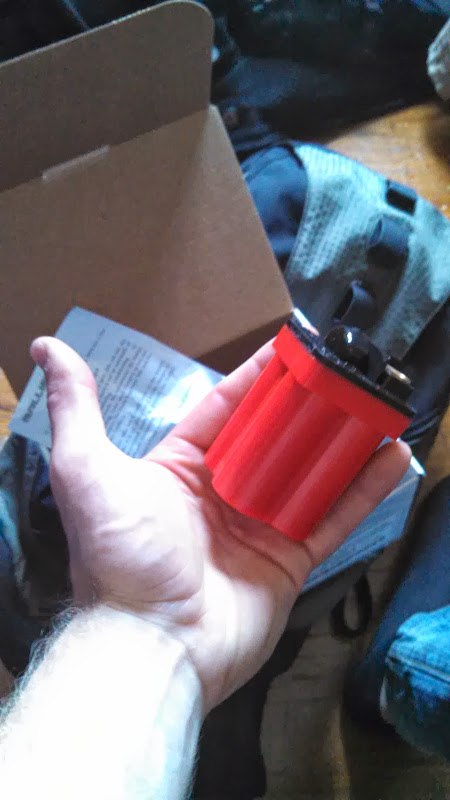
Scored a ballistic 4 cell evo2 battery off of Craigslist for $50.
Because it's only a 4 cell I don't think it will be enough to use as a starter, so I'm planning on just leaving it a kick start. But I love how tiny this thing is, it will give me lots of flexibility of hiding everything away.
When I get the bike running i'm going to pay really close attention to the voltage level of this, because I've read about people having problems with the alternators overcharging. If that is the case I'll probably upgrade my reg/rectifier to a more modern alternative because I don't want to burn this battery up.
This site uses cookies to help personalise content, tailor your experience and to keep you logged in if you register.
By continuing to use this site, you are consenting to our use of cookies.