Follow along with the video below to see how to install our site as a web app on your home screen.
Note: This feature currently requires accessing the site using the built-in Safari browser.
We noticed you are blocking ads. DO THE TON only works with community supporters. Most are active members of the site with small businesses. Please consider disabling your ad blocking tool and checking out the businesses that help keep our site up and free.
Hey guys, just got ahold of my '75 CB360 a couple days ago. A year ago the cam tensioner snapped, the cam skipped two teeth, and the timing was off so badly it melted the end of the exhaust on one side. My buddy (who I got the bike from) completely rebuilt the engine after that happened and is now passing it off to me. The bike runs, but needs a little TLC and tuning. I want to get it running well before I begin the cafe modifications. It's currently running stock carbs with pods (rejetted), with a pair of ridiculously fat Harley mufflers on stock headers. I've already torn the carburetors down to the ground and cleaned them, using a home made soda blaster (works GREAT). Carb rebuild kit (for the needle and seat as well as gasket) is on its way. Ordered new boots for the carbs to mount up to the cylinder head, the old ones were cracked and attempted to be sealed with epoxy by the previous owner. Unfortunately I managed to shear off the float drain screw on one of the float bowls, so now I gotta try to get the very stuck brass end of that drain screw out and get a new screw to replace it. Pictures will be up soon, but I'm tired so they'll wait 'till a little later.
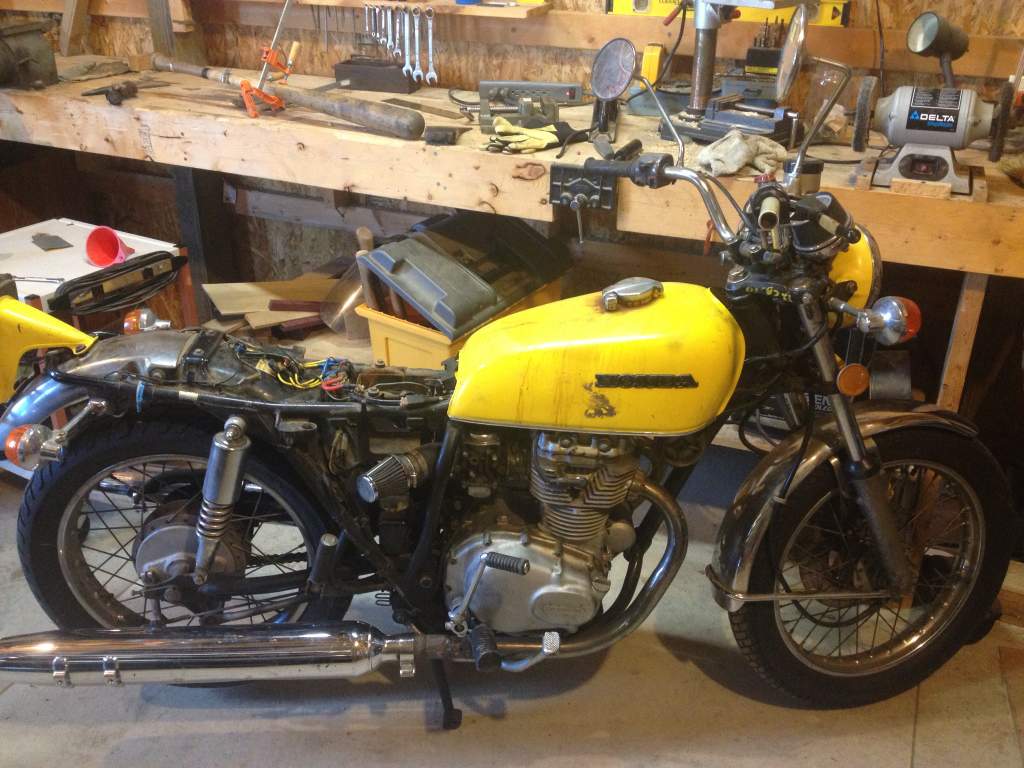
Well to start off with, here's a pic of the bike with the seat off. This was taken about four days ago. On 4/19/13. Pulled the battery and the battery box to better access the carbs which have been rejetted by the previous owner (two owners ago) to run with pods.
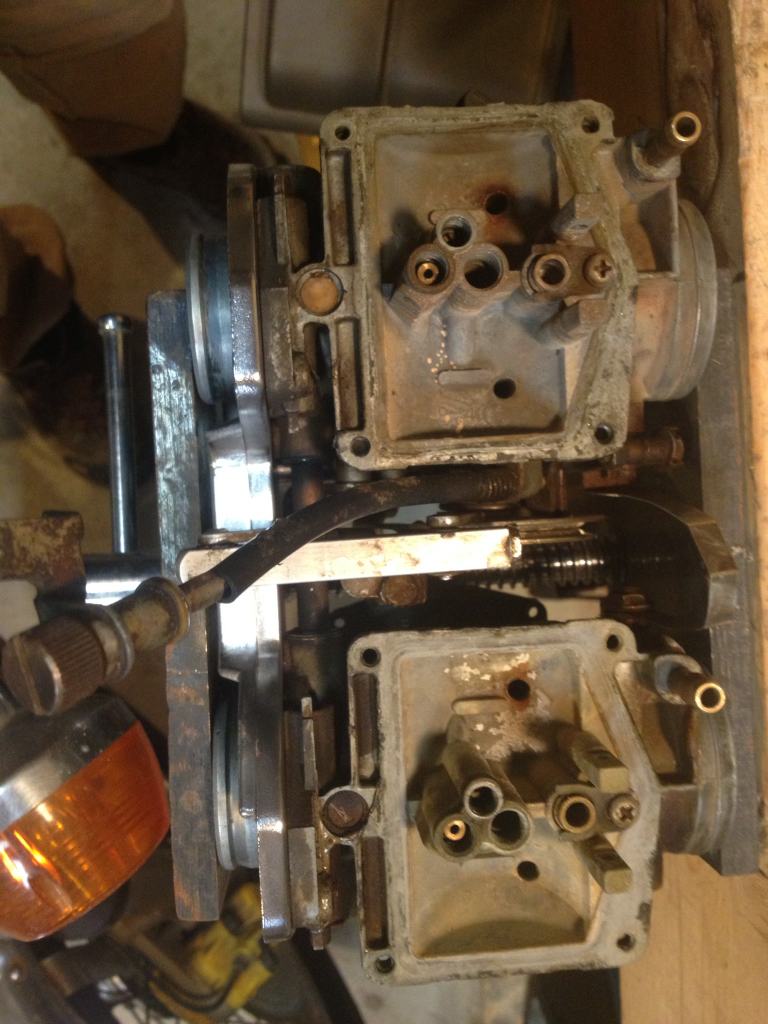
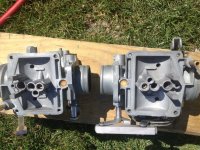
Next up is a pic of the nasty carbs. Replaced both diaphragms with new ones from JBM industries. $40 for a set of diaphragms as opposed to ordering new OEM slides/diaphragms for $70 each. Also adjusted float bowl height.
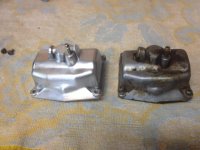
And, finally, the float bowls. One is obviously dirty and the other has been brass-wheeled.
Managed to break off one of the brass float drain screws. Sheared the head off the screw
Cost me about $10 cause I didn't have the barbed wand attachment. I used 1/4" tubing and just drilled a hole about an inch back from the end, stuck the barbed air fitting in to the first barb, electrical taped it to the wand, and stuck the other end in the bottom of the soda box. Blasting medium, gun/nozzle, and hopper all in one.
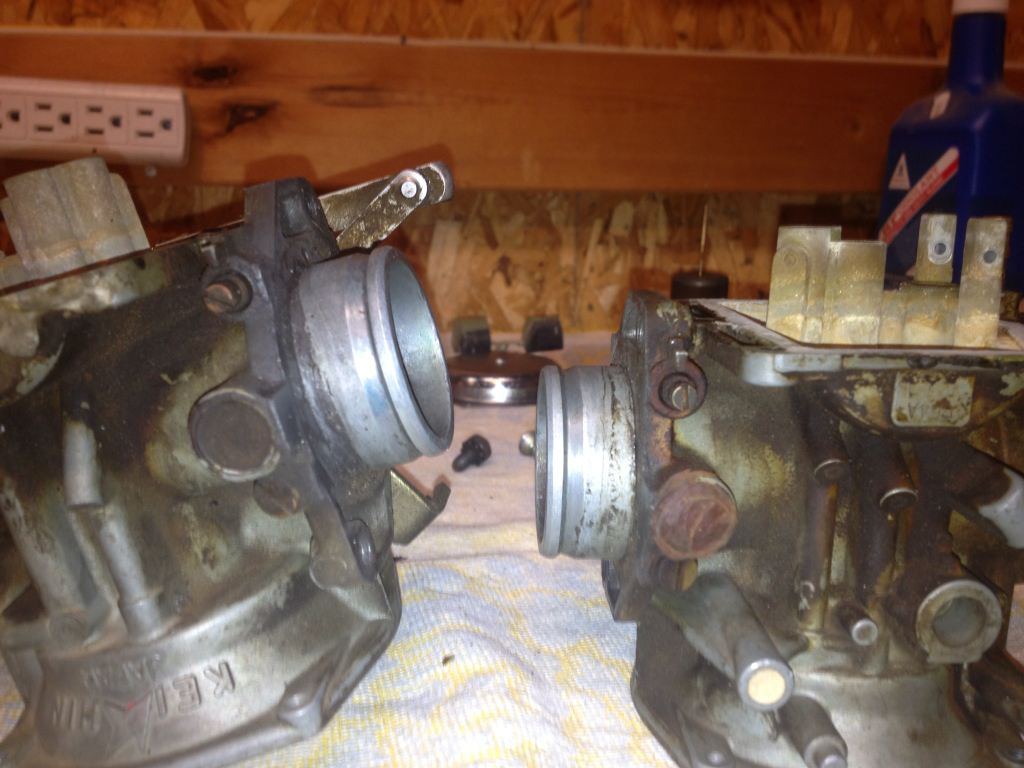
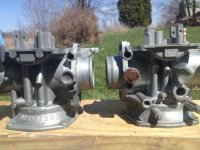
Next pic is the carburetors after disassembly and soda blasting. I also boiled them in vinegar and water (marginally effective and a total waste of time compared to the ease of cleaning with soda).
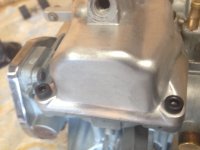
In the third pic you'll notice that the previous owner put some kind of silicone caulk on the side of the carb. What is that covering? And do I dare remove it? It's pretty unsightly... But the carbs are a damn sight better than when I started!
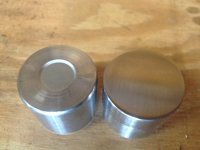
Final pic is the allen head replacement screws for the float bowl. The OEM philips head screws were getting pretty rounded out.
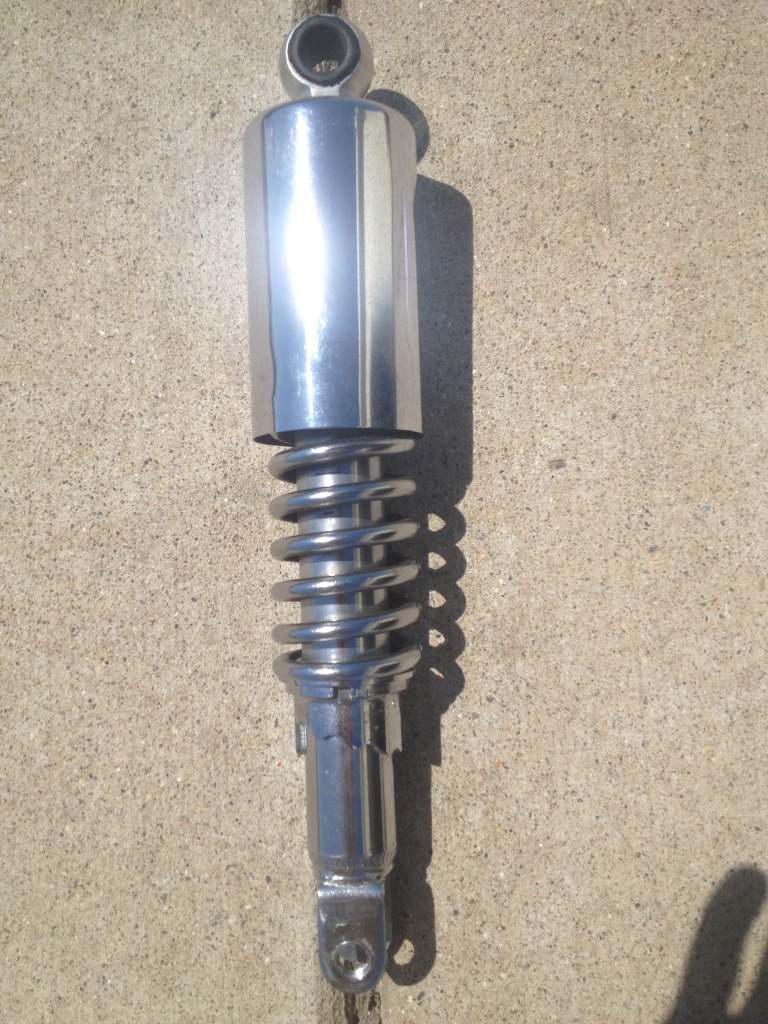
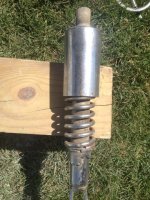
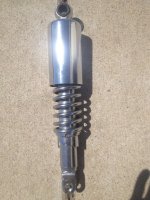
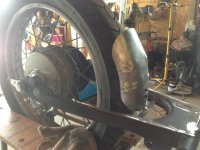
Rear shocks came off, I blasted them as well (hopefully this didn't compromise the chrome) but I'm planning on replacing the rear shocks soon anyways and they were pretty well on their way to getting rust pitted so I figured playing with different cleaning methods couldn't kill me. Use some 000 steel wool (ultra-fine) and then hit them once over on the buffing wheel. Not perfect, but they look a lot better than they did before I invested an hour of my time. Oh yeah, brass-wheeled the springs, too (the brass wheel didn't seem to harm the chrome). Before and after pics below.
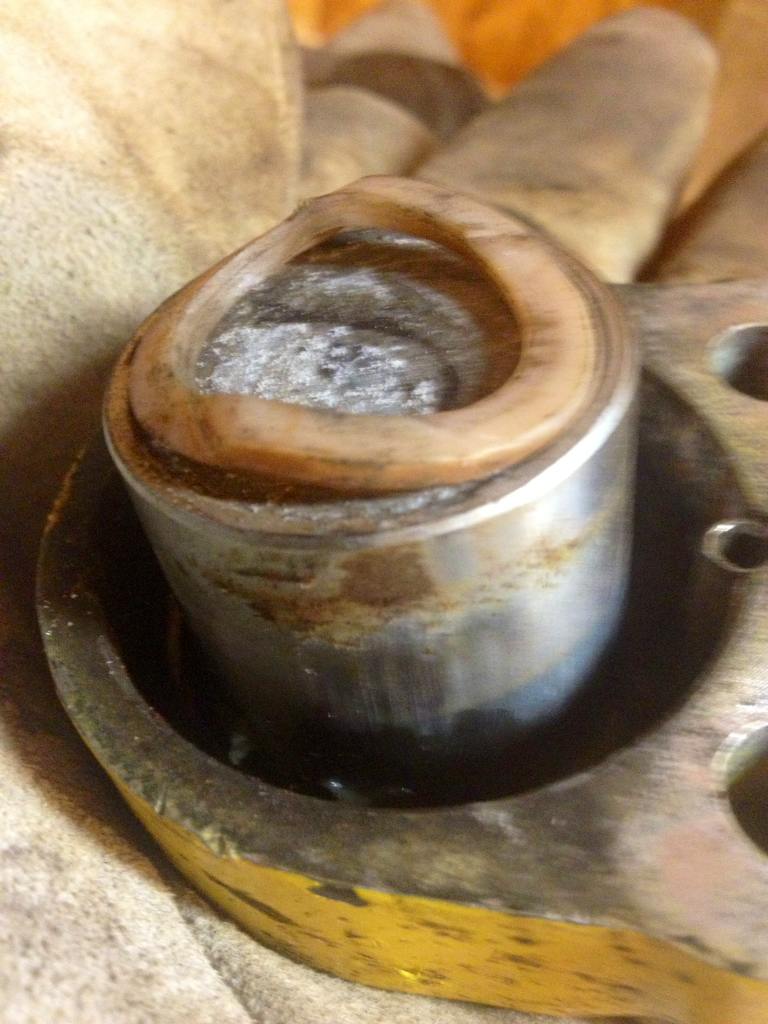
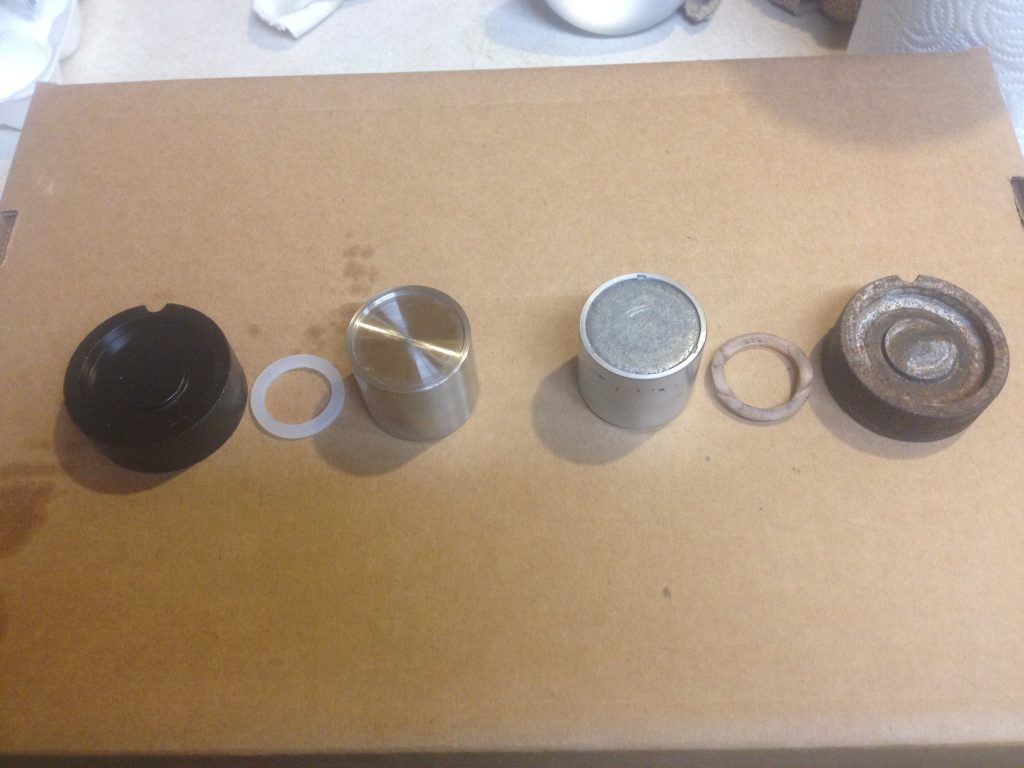
Then it was time to fix the front brake which was sticking badly. Pulled the caliper and the master cylinder (along with all the linkages). Broke open the caliper and had to remove the piston with the grease-gun technique since 130PSI wasn't budging the piston. The grease-gun technique works WONDERFULLY, by the way. After pulling the piston I found the nylon anti-squeak washer had been laying off center and pinched over the side of the piston for who knows how long. This explains the stuck front brake. The piston-side brake pad was terrifyingly lopsided in its wear pattern. I wonder if the rotor has been unevenly worn on that side too?
The last picture in line illustrates the nylon washer problem.
Got new sintered brake pads for the front. Cleaned everything out thoroughly and soda blasted the caliper assembly. Looks great, pics soon.
Pulled the brake lever off the master cylinder and decided I didn't like the rubber tip and dust cover, so I cut them both off and had at the cast aluminum brake lever with the buffing wheel for a half hour. Here's how it turned out. Needs more buffing to be perfect, but I like the style.
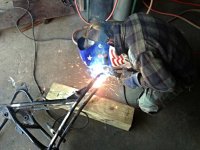
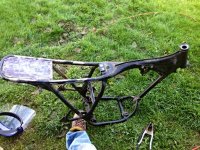
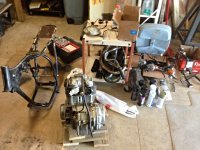
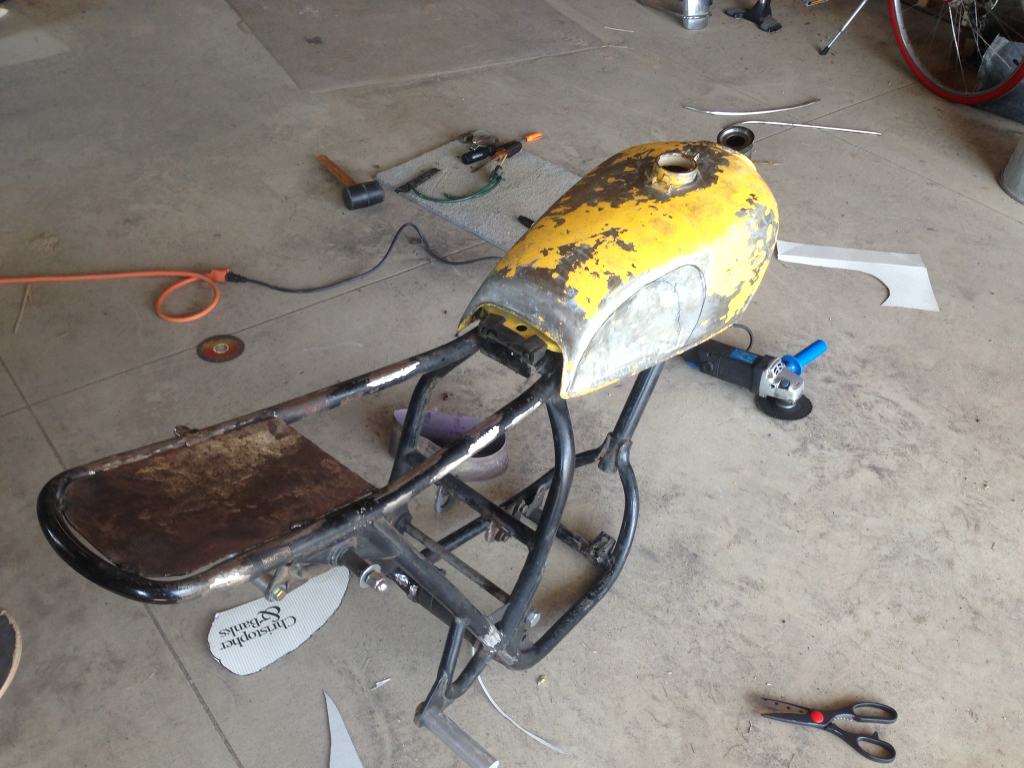
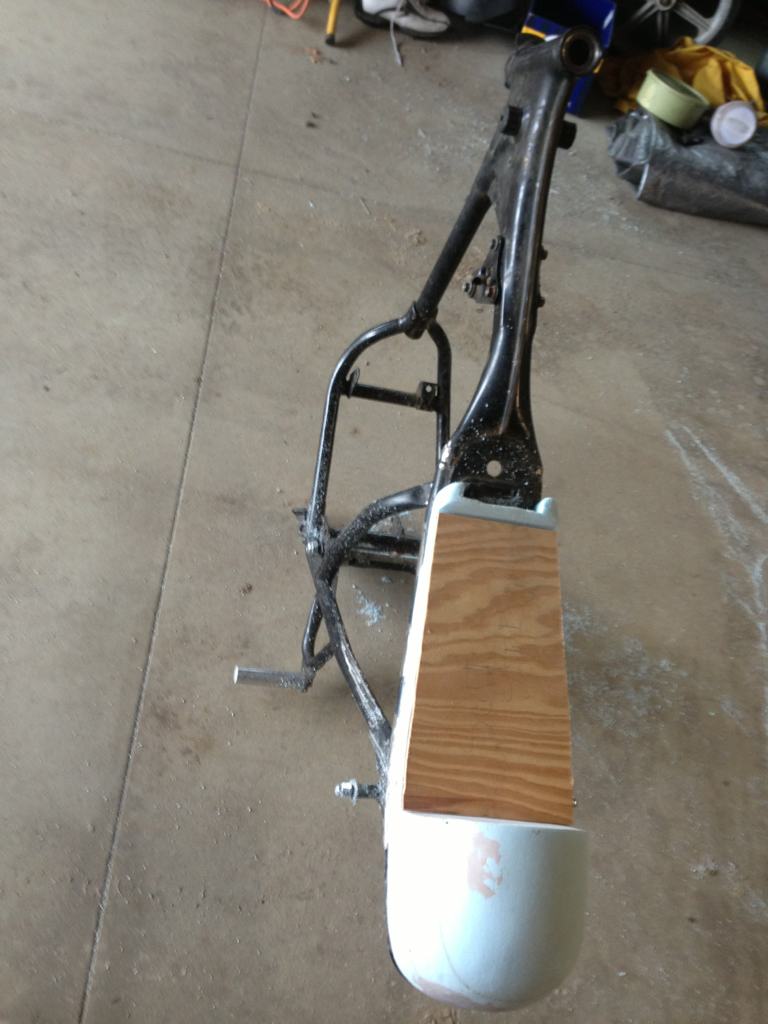
So it's been a while since I updated the thread. Gotten a lot done in the last couple weeks. The bike is completely apart. Just finished cutting and welding the frame. Cut off all extra tabs, cut the seat hoop brackets (actual name of that piece unsure) and then cut and welded the hoop back to the frame.
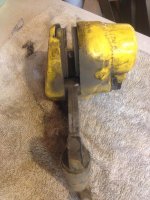
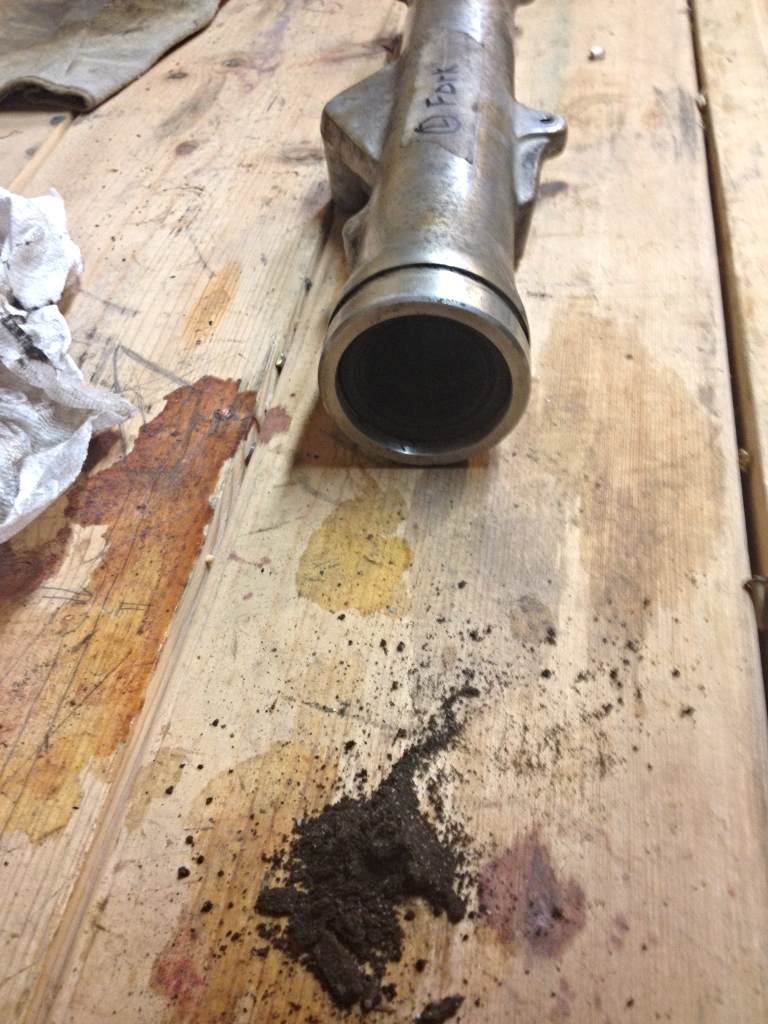
Had some trouble with the replacement caliper piston not matching the brake cylinder. Did some Dremel, file, and sanding work to make it fit though. And got a 50% refund from the eBay seller for my troubles. This giant pile of rust and dirt came out of the right fork lower. Both forks had not a single drop of oil. The seals were all but welded in there.
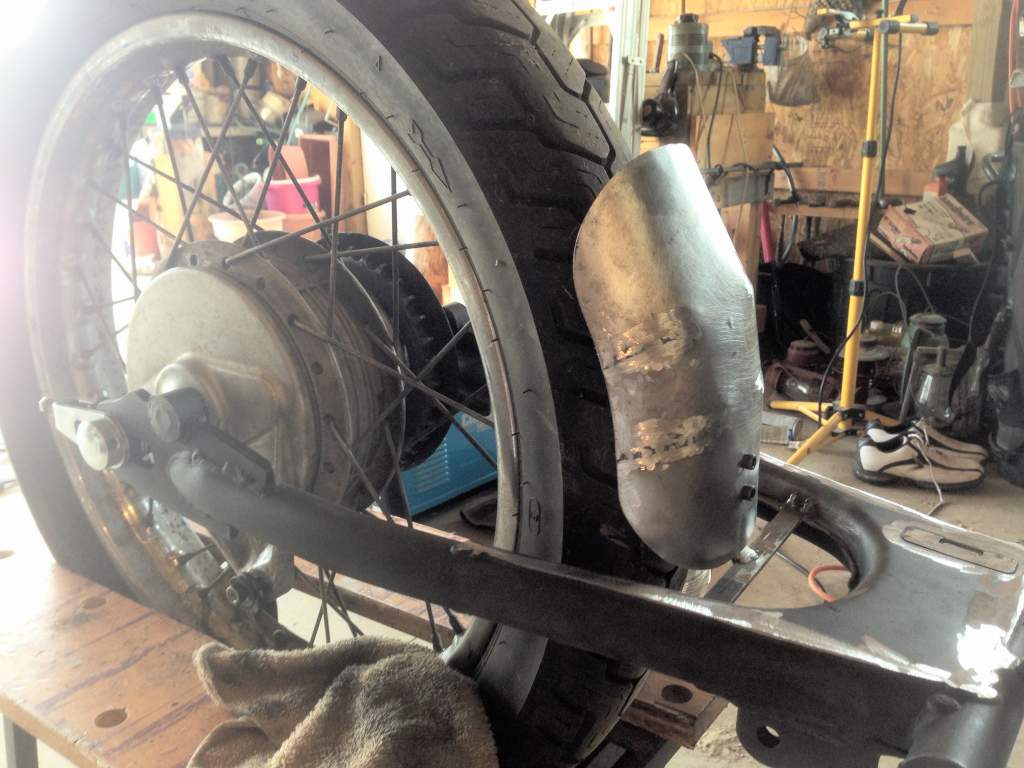
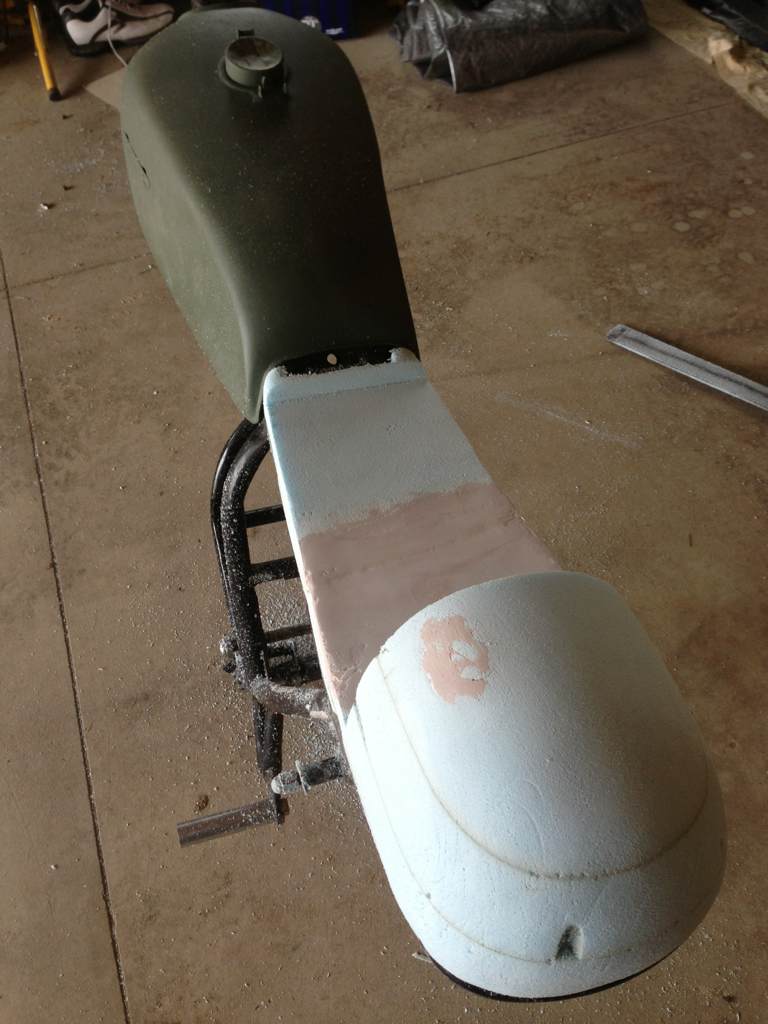
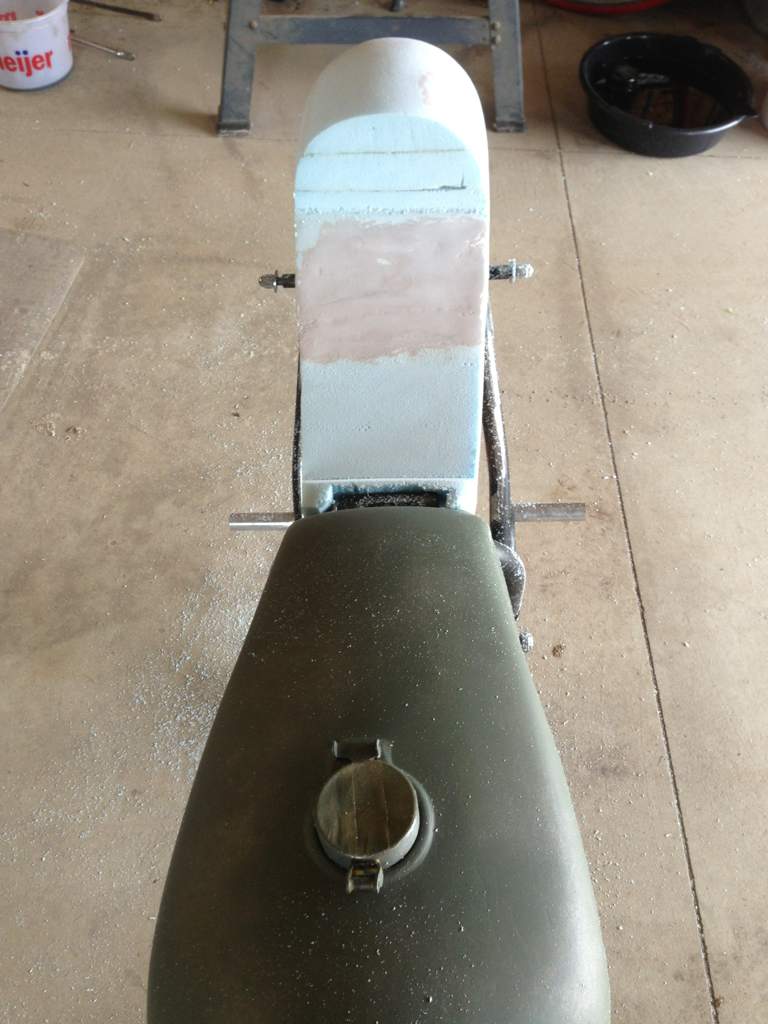
Got a lot done recently. Just finished cutting frame tabs and fabed up a new rear fender. I wanted it to be as minimal as possible. Welded up a bracket to the swing arm and then cut and welded some 20ga mild plate for the fender. Obviously some sanding and painting will be next.
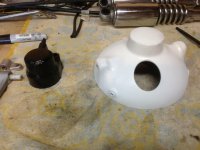
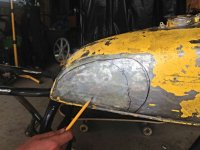
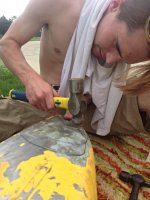
Got the knee dents dished into the gas tank. My buddy helped me out with the dishing as he has more metal forming experience than myself. We mocked up some templates, marked out the tank, and had a go with a metal ball peen.
For those of you trying to dish your own gas tanks here are some tips:
Start with the smallest radius ball peen hammer you have, gently begin to tap in the edge on the unsupported middle of the tank. If you're not delicate and progressive, you'll buckle the tank and lose your shape.
Its all looking good. But you may want to mock up rear tire/swing/ shocks/frame. right now. to make sure you have plenty of clearance from the frame hoop to the tire. Ive seen guys cut finished 360s up too many times. cause the tire will bottom out, first bump in the road. measure how much travel is in the shock then compare that to the amount of tire clearance to frame.
Any thoughts on making a 2-1 header from mild steel? I was thinking I'd cross the left header over to meet the right and then neck them up in diameter where they meet to improve exhaust flow. Obviously putting a muffler on the end. Currently only in the "beta" stage of an idea.
This site uses cookies to help personalise content, tailor your experience and to keep you logged in if you register.
By continuing to use this site, you are consenting to our use of cookies.