montessa172
Been Around the Block
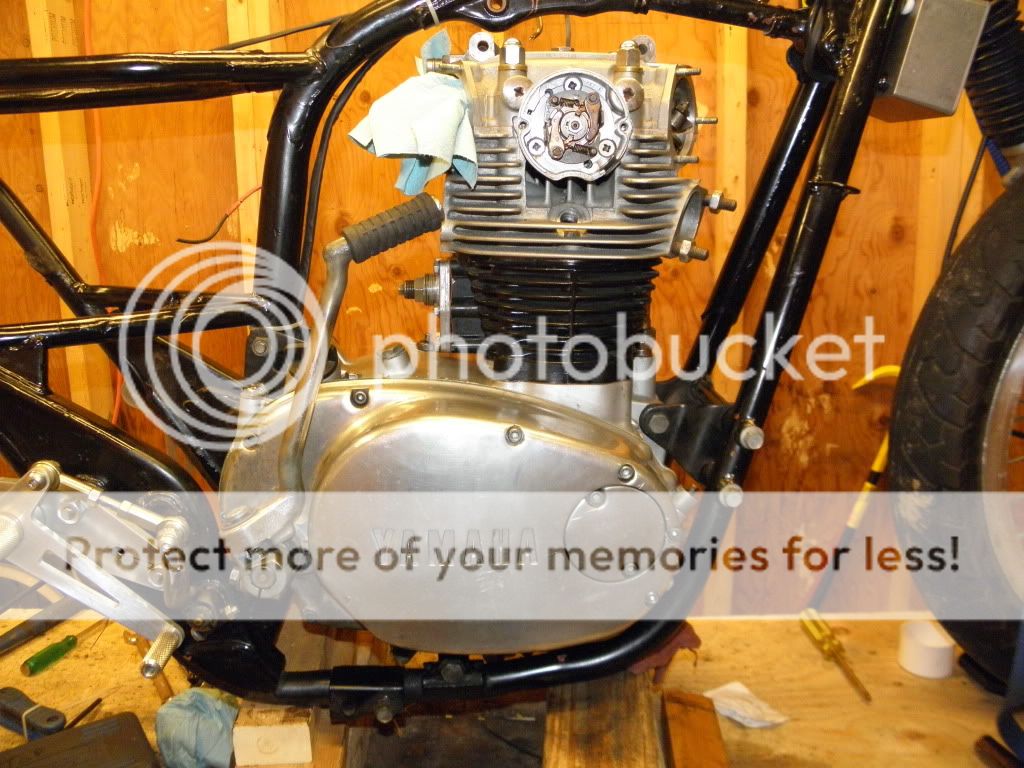
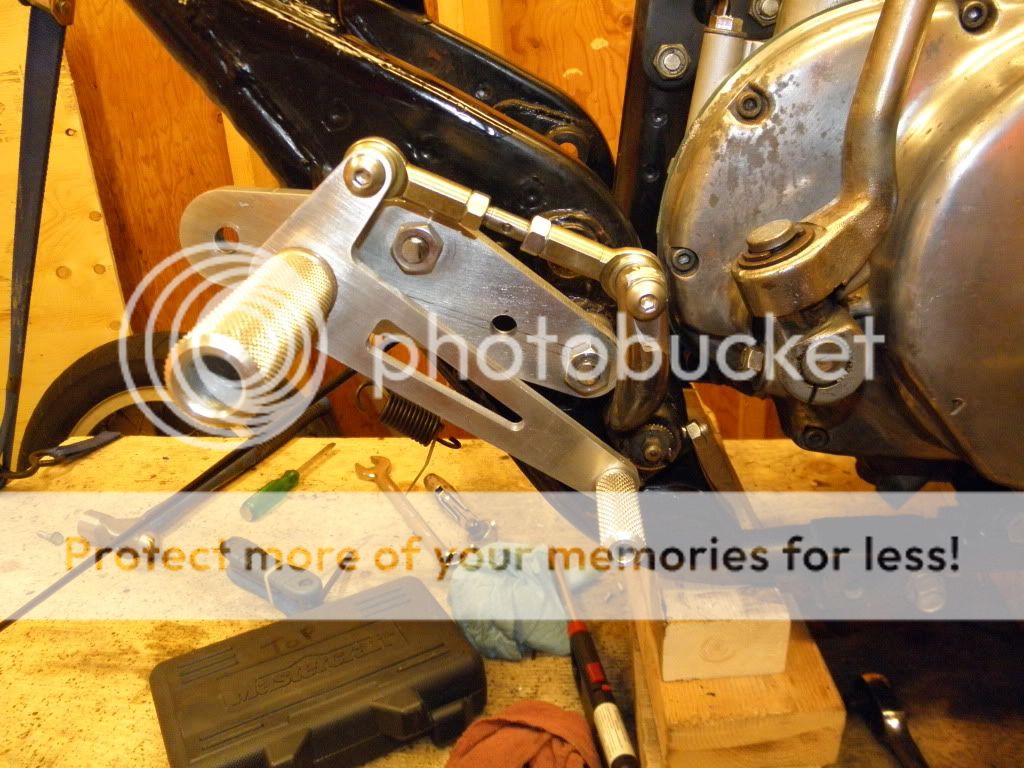
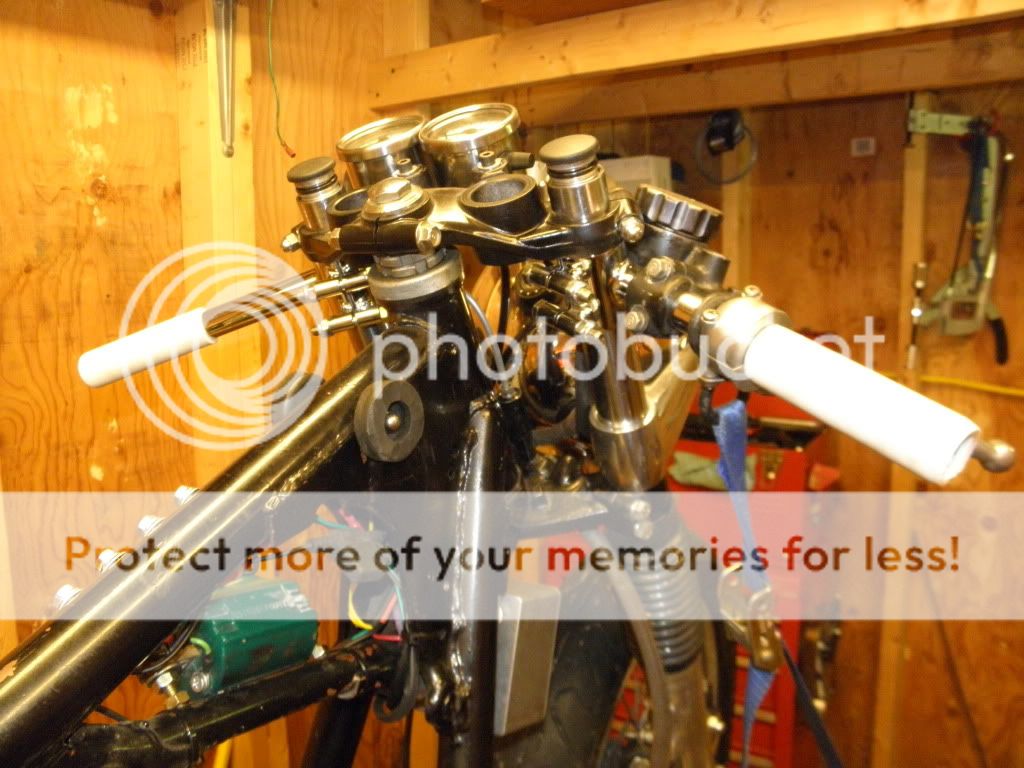
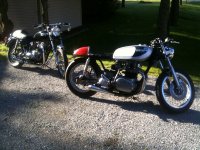
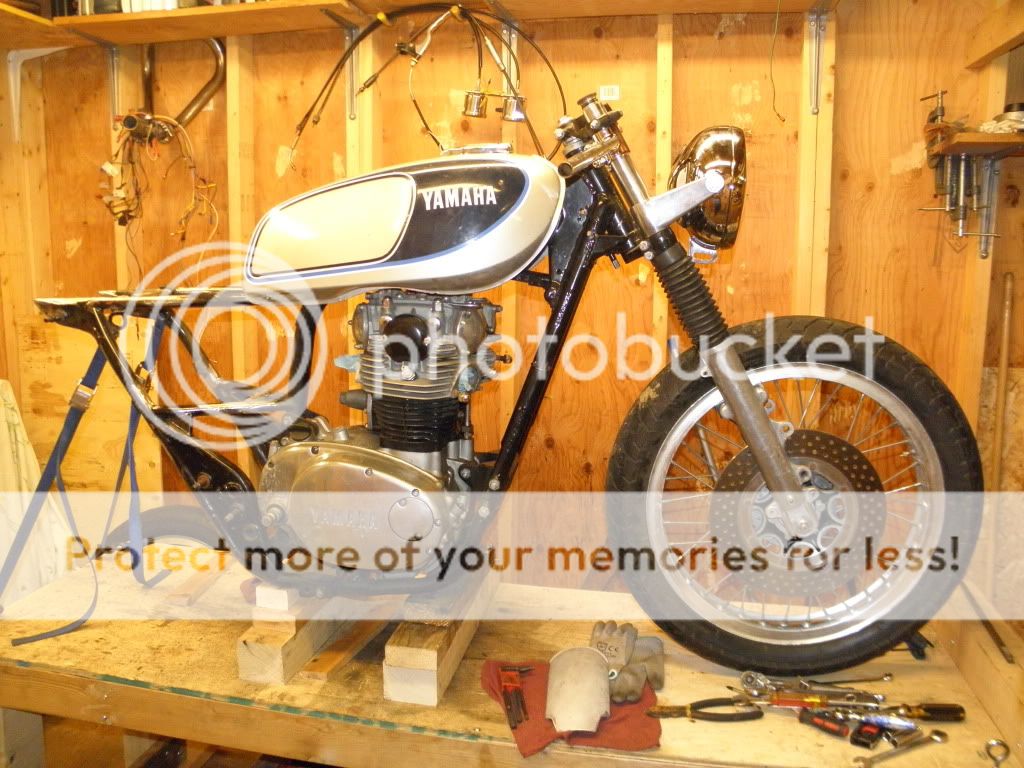
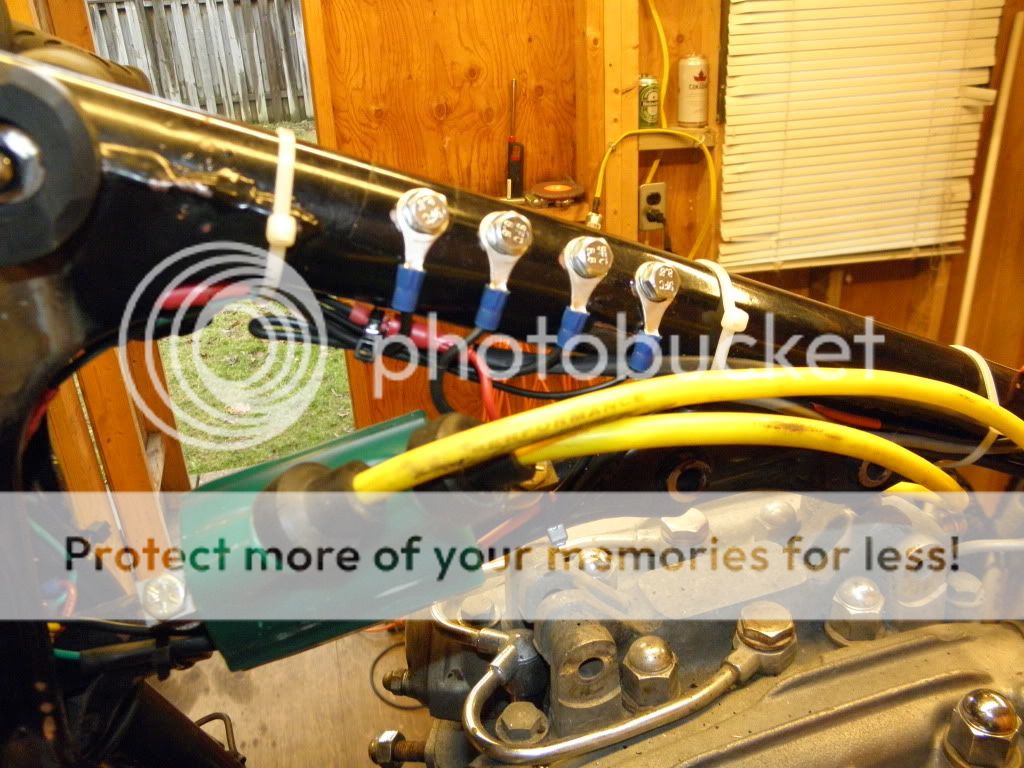
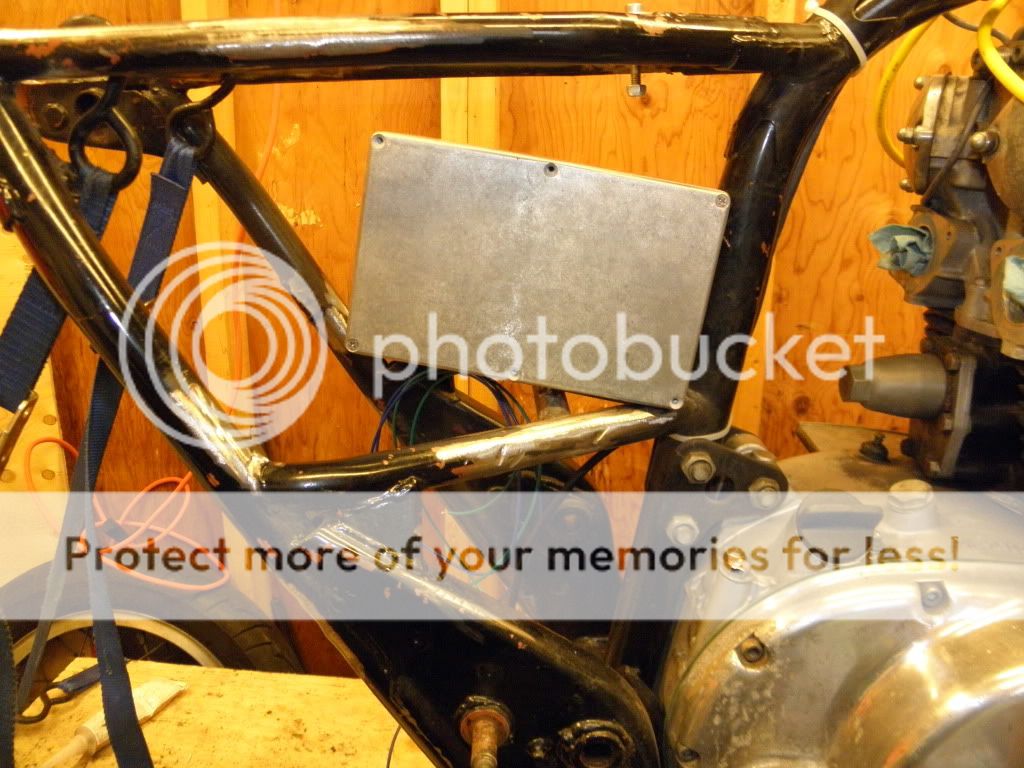
XS 650 cafe - v2.0 less resto more cafe

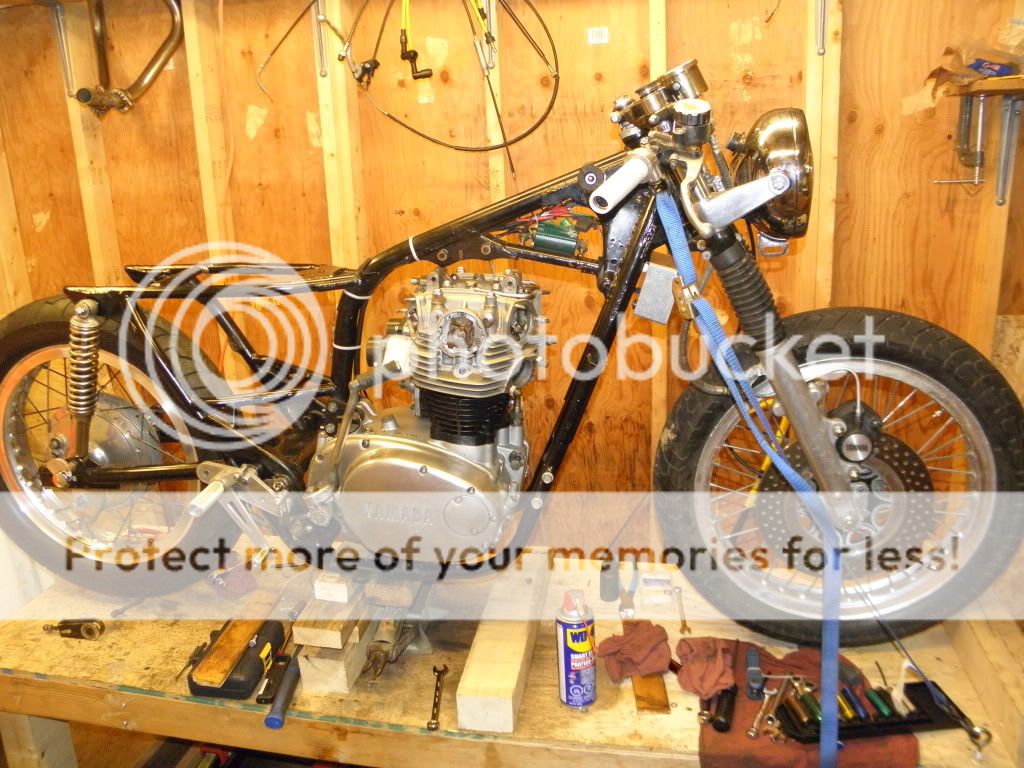
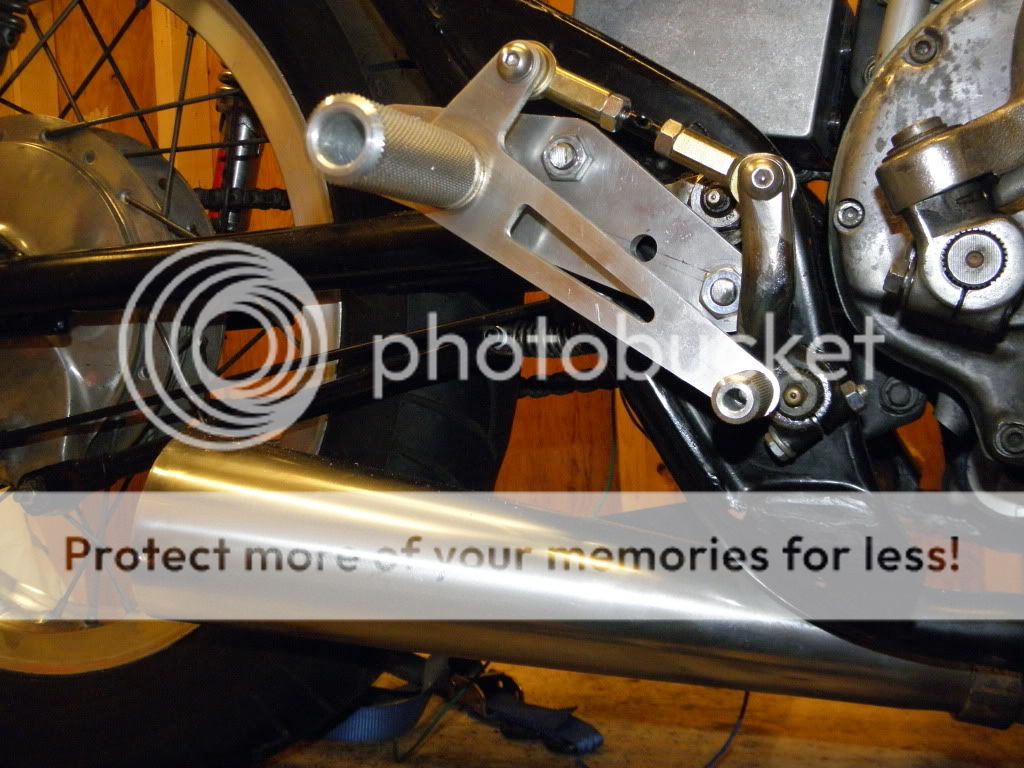
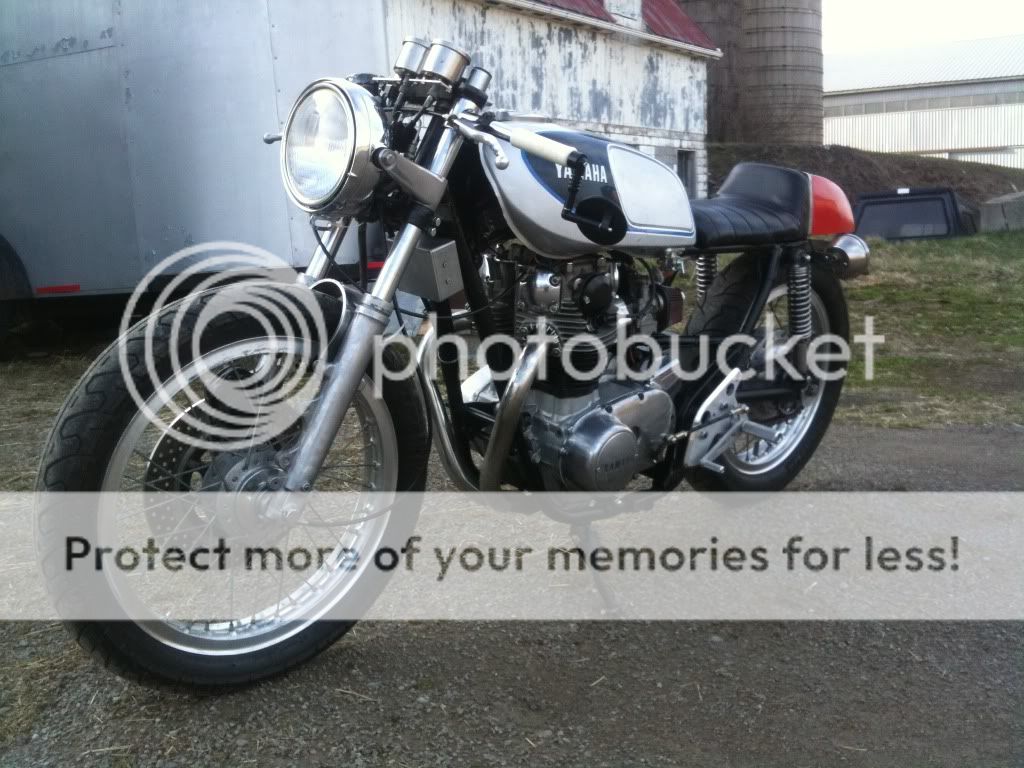
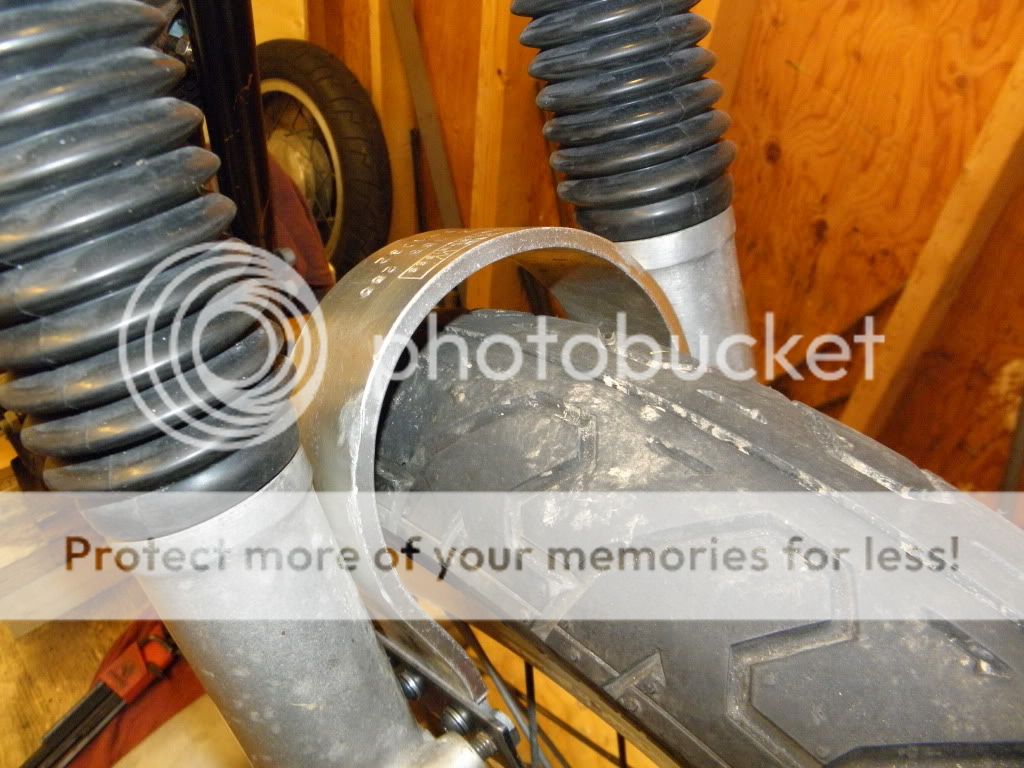
Finished the 2 into 1 exhaust…it's tucked in about 2 inches closer to the frame while still giving me an inch off the wheel. Plus I have the saved weight factor, hopefully it won't affect the performance of the engine but I'll have to wait and see on that...
Finished the 2 into 1 exhaust…it's tucked in about 2 inches closer to the frame while still giving me an inch off the wheel. Plus I have the saved weight factor, hopefully it won't affect the performance of the engine but I'll have to wait and see on that...


")