Follow along with the video below to see how to install our site as a web app on your home screen.
Note: This feature currently requires accessing the site using the built-in Safari browser.
We noticed you are blocking ads. DO THE TON only works with community supporters. Most are active members of the site with small businesses. Please consider disabling your ad blocking tool and checking out the businesses that help keep our site up and free.
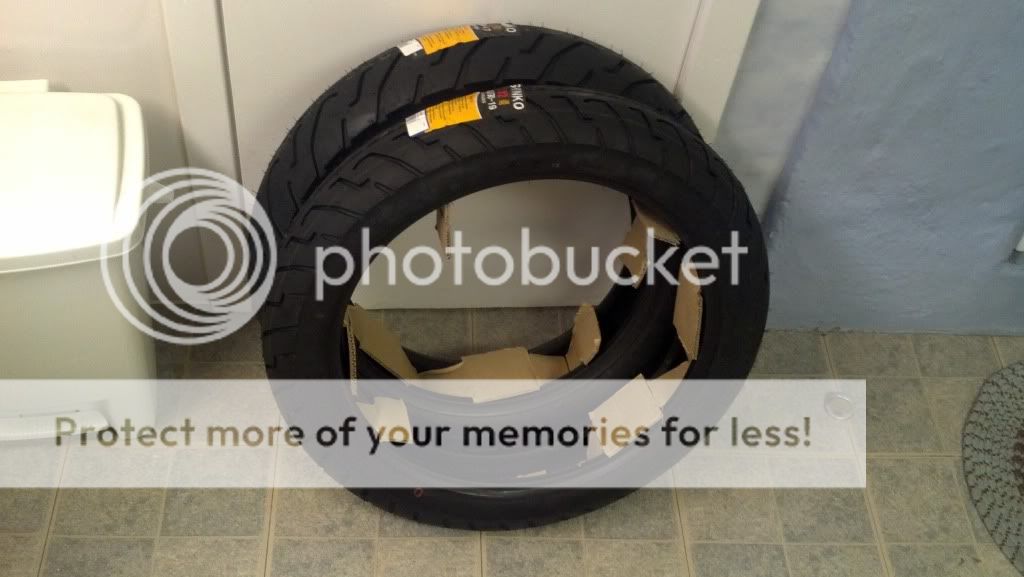
Did the second coat of the tank sealer the other day, just letting it cure now. Hopefully that and the soldering fixed the leak. In other news, I just got these today!
I'm still waiting on the spokes for the rear wheel, hopefully they'll ship soon so I can get these mounted. Also, I should have some big updates coming soon. I made the decision to sell my CM400 to get this project underway. It was bittersweet seeing it go but I'll actually be able to afford to get this bike done now.
Still waiting on parts but managed to accomplish this on Saturday:
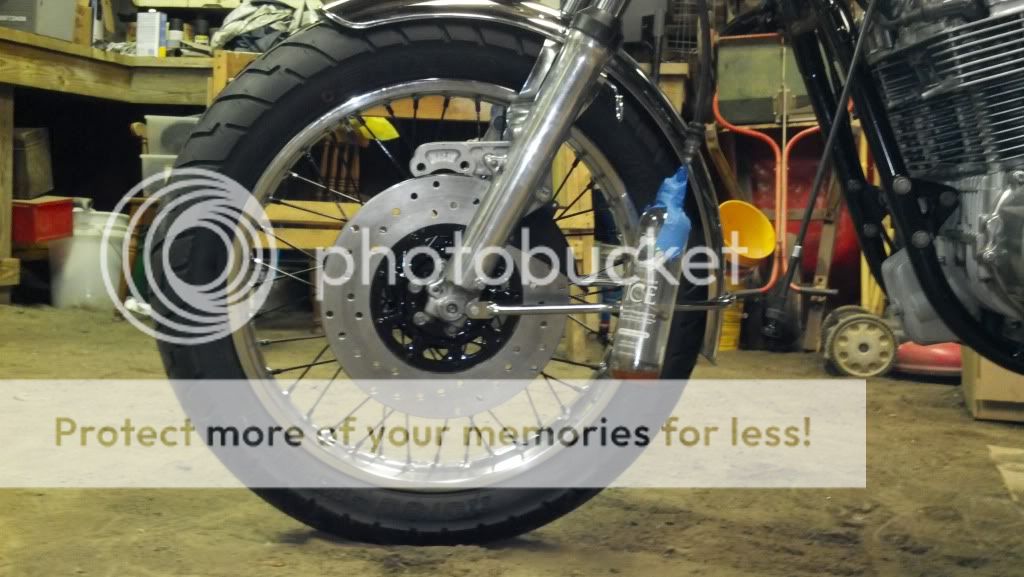
Took nearly the entire afternoon to drill and chamfer the rotor but it was worth it. I used a template I found over on sohc4.com
Rear tire mounted, also managed to disassemble pretty much my entire front end to clean up for my new parts. Hopefully I'll be able to accomplish some more before the weekend is out.
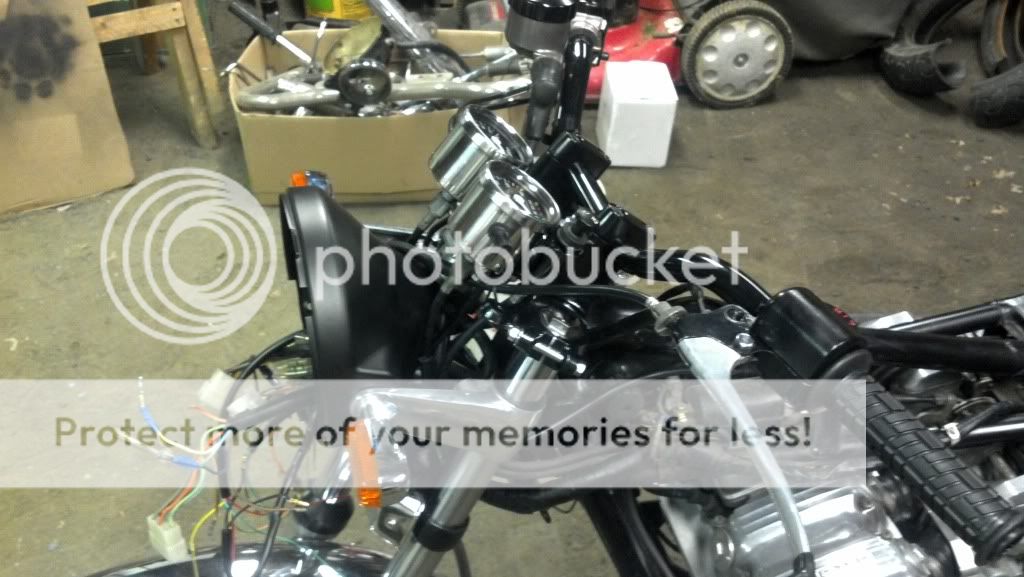
No real significant updates for the day, I focused mostly on cleaning up the frame today. No sense putting new shiny things on old grimy things. I did mock up my new mini gauges though, they should look pretty sweet when it's all said and done. I removed the headers as well to get some better cleaning done behind it. Also I started work polishing my brake drum. It's not done yet but it's starting to shine up pretty good. I only snapped one picture but here it is, proof I am doing stuff.
Painted my wheels yesterday, they turned out great. I left the rim chrome and painted the spokes and the hub. I used a trick I found on sohc4 to do the tape on the spokes. Take a small piece of painters tape and punch a hole in it with a hole puncher and then cut the tape in half and place it around the base of the spoke, then repeat. It took forever but it was worth it.
I scored some exhaust collars on ebay for the new exhaust I'm going to run on the bike. They were really rusted up so I let them sit it CLR overnight and scrubbed them with a bunch of different sized wire brushes. I was considering painting them but they cleaned up so nice I think I'll leave them as is.
I also scrubbed the hell out of my rear shocks and got them shining like new.
Finally I taped off my freshly painted motor and a few other things and put some fresh paint on the frame.
I should be able to start reassembly pretty soon.
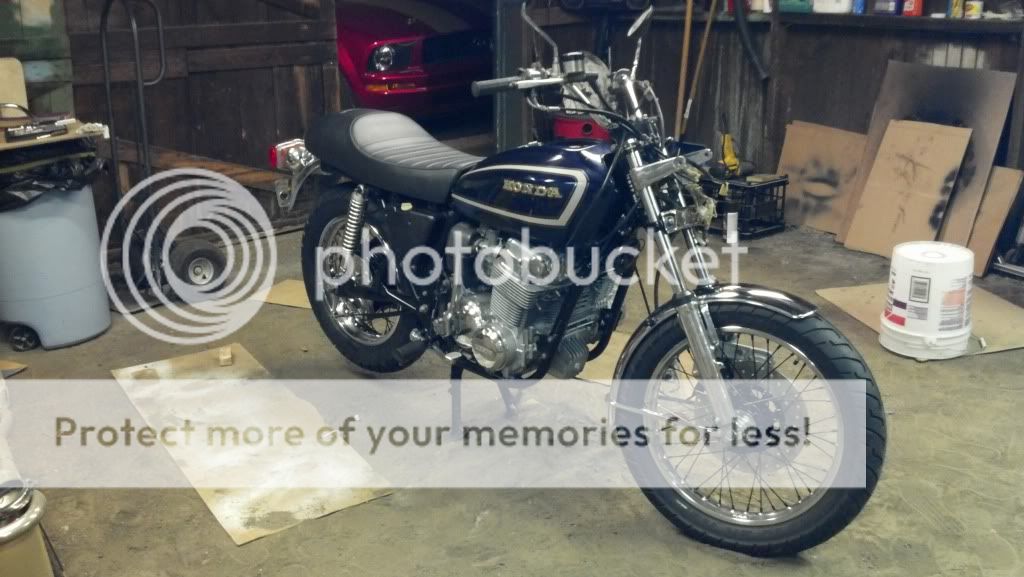
I had my 5 year old nephew convinced I was converting my motorcycle into a hoverbike, he'll be upset that I put the wheels back on. I, on the other hand, am very happy they're back. The bike is really starting to come together. It had a busy afternoon but the forks, new headlight brackets, wheels, foot pegs and my brand new seat are on the bike. I had the front brake caliper reattached but some brake fluid got on it when I was putting the brake line back on and ate the fresh caliper paint. I didn't fully drain the brake line and thought i could get it back on quick enough. I couldn't. I'll have to repaint it so I'm draining the brake fluid completely this time. I threw the tank back on real quick just to get an idea of how it flowed with the seat.
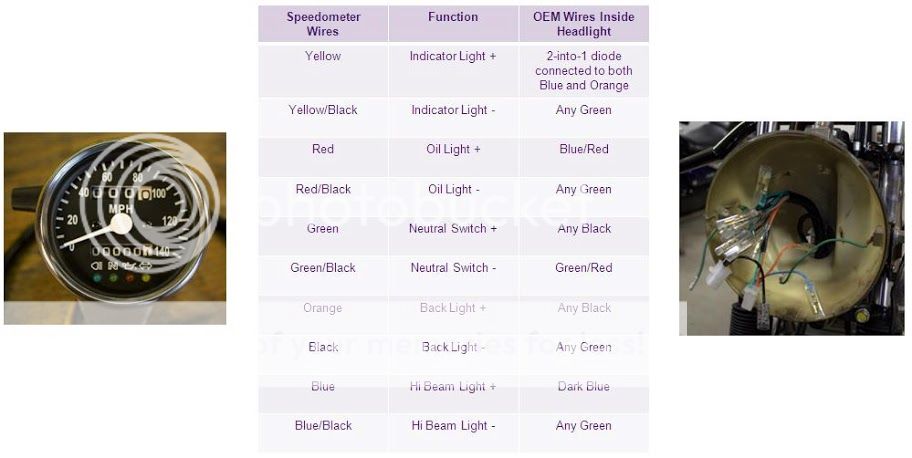
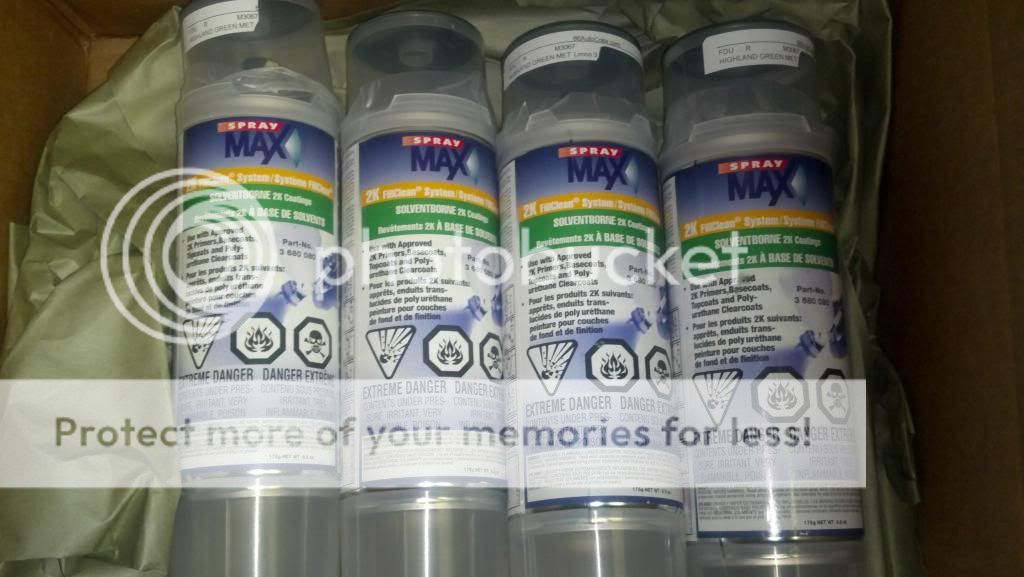
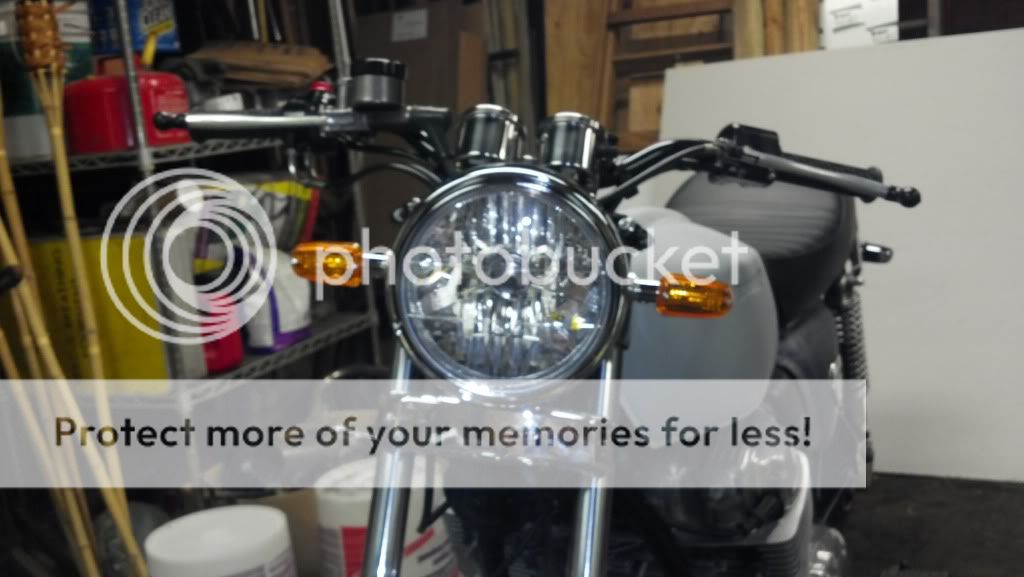
A few updates. I've got the new headlight bucket mounted as well as the front and back turn signals and the speedo and tach. I ended up having to drill the headlight mounts out a few sizes to fit the turn signal stalks. I also repainted the handlebar controls. Still have to connect all of the wiring but I found a "cheat sheet" for the speedo on another page that will make it a breeze, tach and turn signals are pretty self explanatory. I also started prepping the tank for paint. I ordered some Spraymax 2k two-part, single stage paint. I used their clear on my last bike so hopefully this stuff works just as well. Not sure what I'm going to do for a taillight but I'm leaving this one for now.
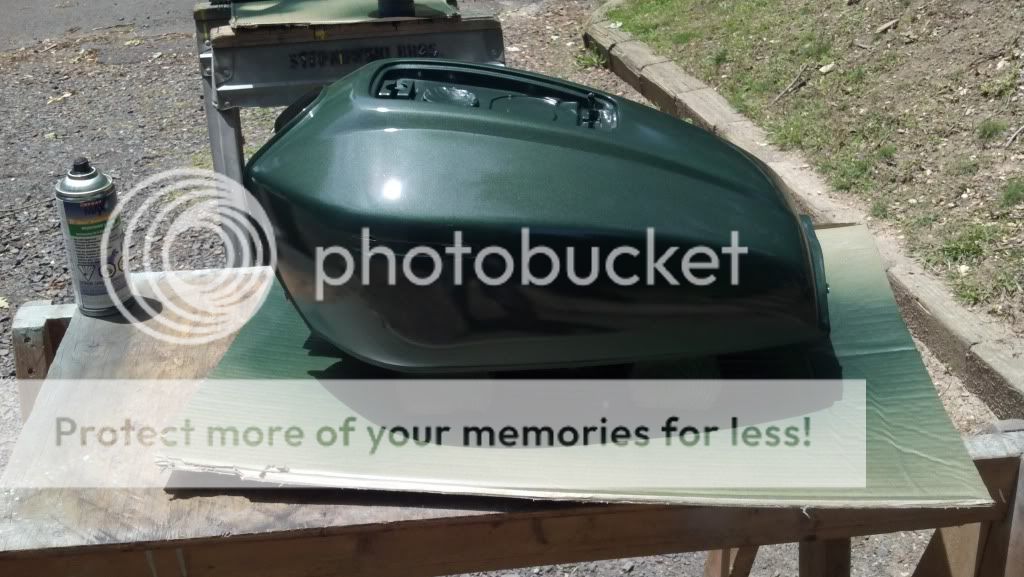
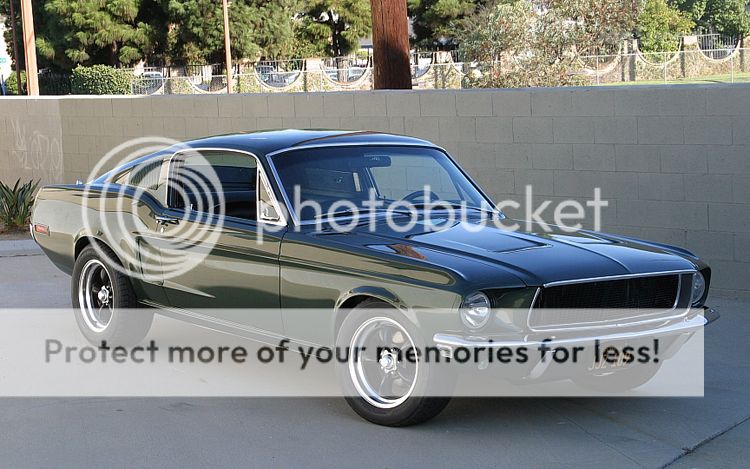
Got my paint from 66 Auto Color. It's Spray Max 2K single stage, two-part paint. It's a paint, clearcoat, and hardener all in one. I used their clear coat on my last bike with great results so hopefully this works just as well. I actually have an extra can of clear left over from that build so I'll be putting it over this paint, it should really make it pop. The color I got is Highland Green, same color as the '68 Mustang in Bullitt.
Finally finished wiring up all of the new electronics and got it all back into the headlight bucket. With the help of the cheat sheet I posted before it was a breeze. It definitely saved me a headache having all the wiring sorted out. I hope Boulevard_beck from the SOHC4 forums doesn't mind me posting it here but I figured it would help out anyone working on a 77-78. I really love the look of this headlight. It has a modern looking glass lens but also has a small illumination bulb in the housing that gives it an old school yellow look when lit.
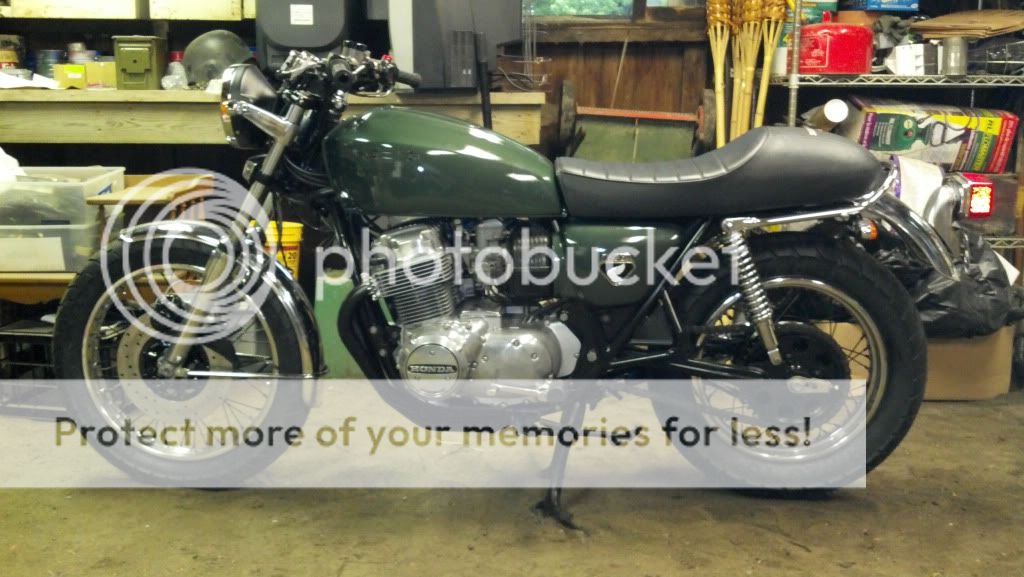
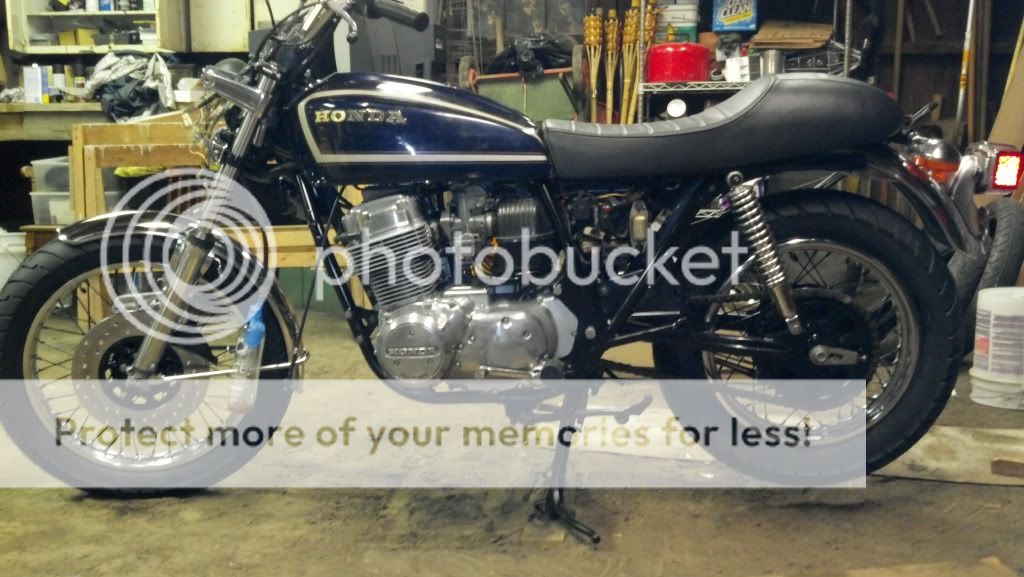
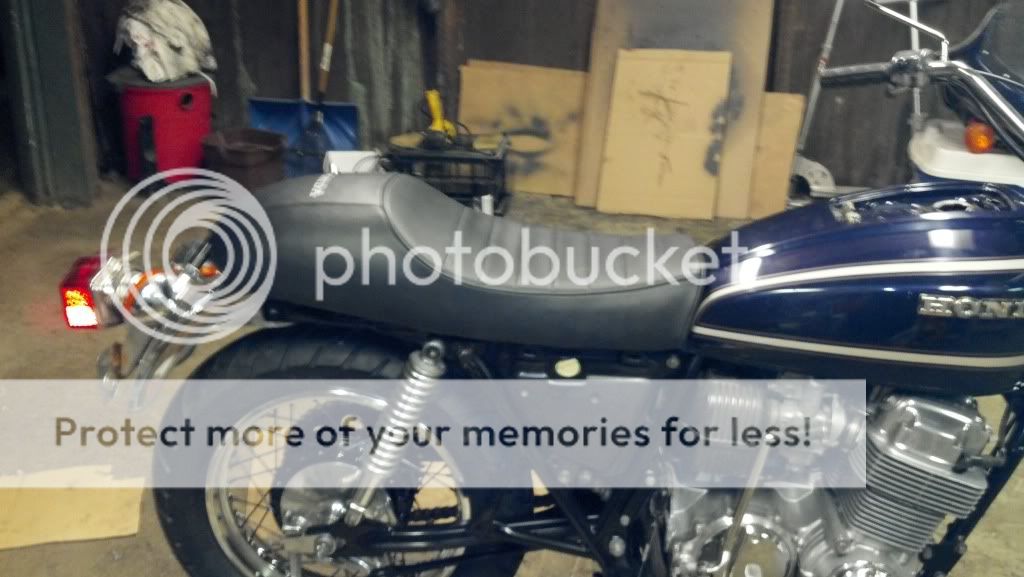
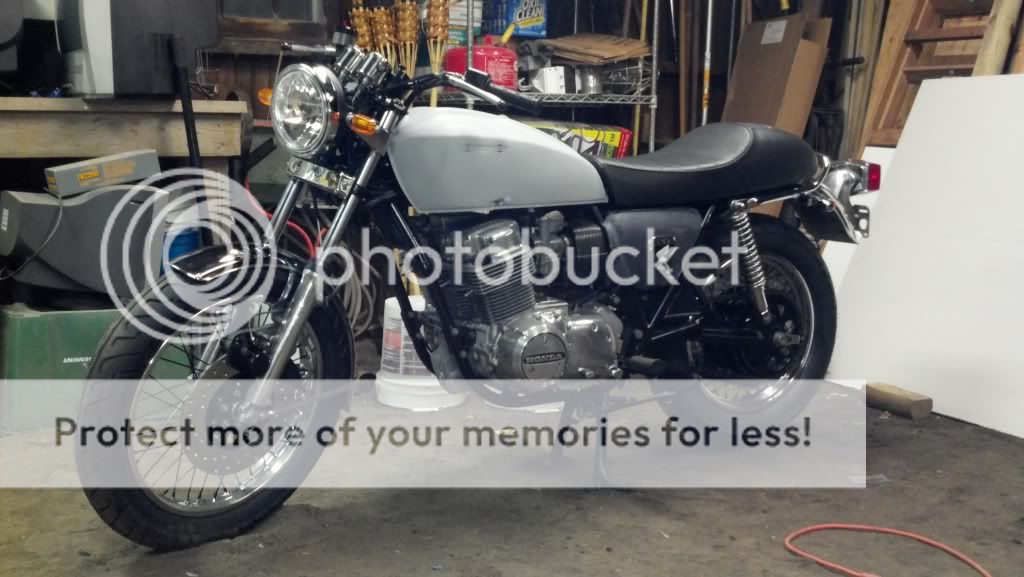
I wanted to get another look at how everything looked all together again so I threw the tank and side covers back on. I'm really happy with the overall look and profile of the bike. Should be even nicer once the new exhaust is on.
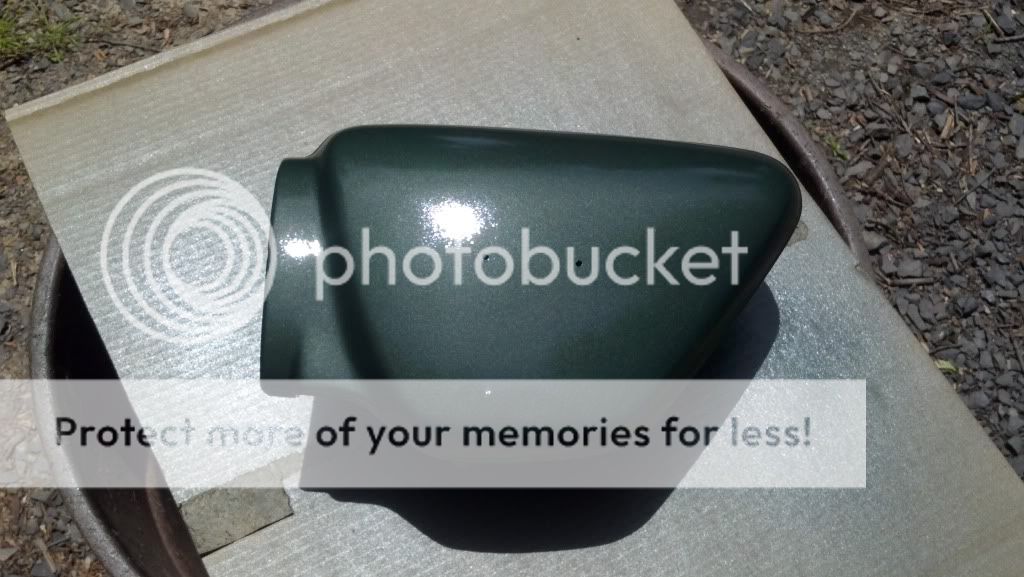
I also did some repair work/modification on the sidecovers. The left hand side cover had a nice crack running down it that had been "repaired" by someone by drilling holes into either side of it and zip-tying it together. They did the same to reattach it's top right mounting tab. I repaired the tab by dremeling each part a bit and j-b welding it back on. I had to do a similar repair on my CM400 when I got it and it held up so I think this should too. For the crack I also used some j-b weld and just added a little filler putty on the surface. You might notice I also decided to change out the side cover badges to the original 750 emblem. So I found a spot on the cover where they'd sit flat and used the original mounting points as a reference to get a straight line and drilled. I just filled the original holes with more putty. Hopefully I can do some more priming this weekend, weather permitting and then lay some paint. I'm really excited to ride this. Not being able to ride on nice days is killing me, every time I hear a bike go by I get jealous.
I got everything primed and sanded last night and woke up early this morning and got to work painting. After bad weather all last week I finally caught a break and got a perfect day for it. No humidity, barely any wind, 70 degrees, and sunny. Got my tank, tank lid, and side covers painted and cleared both in Spraymax 2k. The results look great. The paint is a little pricey but it sprays like a paint gun and is fuel resistant so you won't ruin all your work if you drip any gas on it. I actually overestimated how much I needed and only ended up using 2 cans of color and my one can of leftover clear from my old bike. I thought I'd go into the 3rd for sure and bought a 4th can for insurance since the color cans are only 6oz each. Oh well, I'll have extra in case of emergency. If you're gonna be using this stuff be sure to do it in a well ventilated area and use a respirator. The stuff is no joke, the can is covered front to back with warnings and skulls and crossbones. That's how you know it's the good stuff
Pictures are from before I cleared so they look even better now.
Got the bike pretty much reassembled. The aftermarket K0 style tank badges didn't work out so I'm working on touching up the paint on the originals. Having some issues getting the bike to run right, It starts up but it needs the choke pulled all the way out, I let it warm up but it stalls once I close the choke halfway. I'm going to have to pull the tank off and connect a longer hose so I can play with the idle and sync the carbs. I'll have to wait a few days though since my tach cable broke while messing with everything.
This site uses cookies to help personalise content, tailor your experience and to keep you logged in if you register.
By continuing to use this site, you are consenting to our use of cookies.


")