'77 CJ360T (Café SOS) - Calling it Done (for now...)

Re: '77 CJ360T (Café SOS) - Head and Valve Work in Progress - Expensive Mistake

Weird... I had it backwards then. I thought tensioner was at the front because the tensioner adjustment lives there.

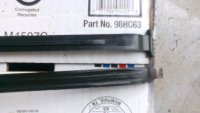
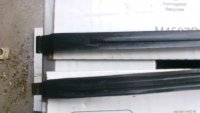
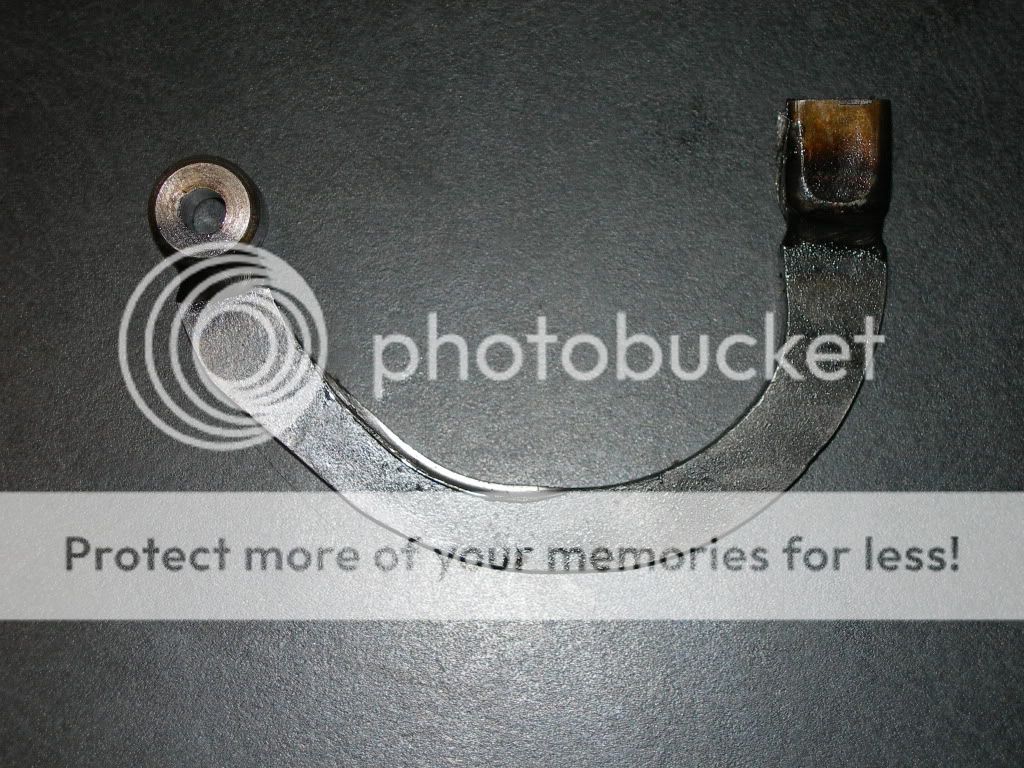
I guess the problem is with my guide then? The chain is starting to mark the front inside of the head and jugs and the slipper just seems to sit in place. The chain, when still attached to the cam, was kind floppy on the front side, but I was unable to move the rear in any significant fashion.

Also... I won't be able to post any pics in the near future (my camera got a decent case of road rash) but I'll post a short vid when I get home this evening.
 
Re: '77 CJ360T (Café SOS) - Head and Valve Work in Progress - Expensive Mistake

Nooooooooo!
I feel for ya! I hope you get it sorted............. as you said, so near yet so far!
Sure PJ will put you back on the straight and narrow.
 
Re: '77 CJ360T (Café SOS) - Head and Valve Work in Progress - Expensive Mistake

Erskine said:
as you said, so near yet so far!

That is definitely how I'm feeling at the moment. Not sure how much more of this I can take. Just when it seems everything is good to go, there's something else that needs to be tweaked or fixed. On the plus side, there's not much else to go wrong; at least I hope not.
 
Re: '77 CJ360T (Café SOS) - Head and Valve Work in Progress - Expensive Mistake

I've been watching your build for a few months now Sonreir. You've done a great job! Sorry to hear about the head /valve/tensioner issue. You're way too far into this build with such good work done to throw it in now!! Park it in the back of the shed and forget about it for a week and come back to it fresh and re-energised.

Are you still selling your custom gauge stickers? I'll be ordering some when I work out what style I want. My build is quite a way off from it yet though...
 
Re: '77 CJ360T (Café SOS) - Head and Valve Work in Progress - Expensive Mistake

Thanks, man. The words of support mean a good deal to me.

On a side note, my Dad is awesome. He's been a great technical resource for me and an excellent person off of which I could bounce ideas. He used to build choppers back in the day (he's not only machined his own parts, but cast them as well) and he's got an old truck he's hot-rodded, too. I grew up with stories about twisted drive lines in Corvairs and V-8 engine swaps in Beetles... But I digress... When I asked for his advice on this issue he said to remove the head and leave it with him. He and his machinist are going to go over it and get it all setup. I'm not exactly sure what the finished product will look like, but I'm definitely looking forward to it. He said it was a shame I'd put so much into the engine just to leave the head as a marginal component in the build. He said that fixing and prepping the head was still cheaper than having to bail me out of jail. ;D
 
Re: '77 CJ360T (Café SOS) - Head and Valve Work in Progress - Expensive Mistake

Also... yes, I still am producing custom gauge graphics. Feel free to PM me to discuss any ideas you may have and I'd be more than happy to create some mock-ups for you to review.
 
Re: '77 CJ360T (Café SOS) - Head and Valve Work in Progress - Expensive Mistake

I've got the valves out of the head and I'm waiting for my Dad to come haul it over to his machinist. As suspected, the left intake valve is bent pretty badly and the associated guide was actually snapped in half. Everything else looks functional.
 
Re: '77 CJ360T (Café SOS) - Head and Valve Work in Progress - Expensive Mistake

pj,

Here's the requested pics of the tensioner and slipper.
 

Attachments

  • IMG00056.JPG
    IMG00056.JPG
    305.3 KB · Views: 198
  • IMG00057.JPG
    IMG00057.JPG
    284 KB · Views: 207
Re: '77 CJ360T (Café SOS) - Head and Valve Work in Progress - Expensive Mistake

Head work is in progress so I've been trying to find stuff to keep myself occupied in the mean time. Luckily, the black vinyl marine fabric I ordered from eBay has arrived. I found a sweet deal; two yards for $14, shipping included. So I've got to get some patterns setup before I start on my upholstery.

I also managed to score a new H4 headlight and install it. The Lucas shell I'm currently using is meant to have some clips that keep everything together and I don't have the clips. So I decided to use an old brass toggle clasp and rivet it to the headlamp shell and ring retainer. Looks OK, I figure.

Finally, I also have an H4 LED "fog light" on the way from China. It puts out about 500 lumens and represents the very last bulb on my bike that has yet to be converted to LED. After the installation, total draw of all my lighting (with brake lights on, turn signals on, and high beams on) is a little over fourteen watts.
 

Attachments

  • IMG00055.JPG
    IMG00055.JPG
    400.6 KB · Views: 194
  • IMG00054.JPG
    IMG00054.JPG
    396.7 KB · Views: 207
Re: '77 CJ360T (Café SOS) - Head and Valve Work in Progress - Expensive Mistake

Bummer about the motor dude! I have faith in ya though.
 
Re: '77 CJ360T (Café SOS) - Head and Valve Work in Progress - Expensive Mistake

Guide looks fine, the tabs at top are sill in place?
tensioner is showing a lot of wear but as new ones are not available (except e-bay ~$60.00)
your going to have to use it.
If one end is less worn, put that at top.
The tensioner pivot is OK?
I'll find link to pic, probably somewhere in my 360 thread?
 
Re: '77 CJ360T (Café SOS) - Head and Valve Work in Progress - Expensive Mistake

Tabs are intacts on the guide and the tensioner seems evenly worn. By the pivot, do you mean the U-shaped piece of metal? If so, that looked pretty good to me; almost new.
 
Re: '77 CJ360T (Café SOS) - Head and Valve Work in Progress - Expensive Mistake

The 'horseshoe' under the crank.
The chain wears into the pivot and causes it to stick
Here's one where tensioner had broken but pivot was fine
You can see wear on lower part where chain was rubbing on iy
Camchaintensioner5.jpg
 
Re: '77 CJ360T (Café SOS) - Head and Valve Work in Progress - Expensive Mistake

Yup. That's the piece to which I was referring as well. Looked almost brand new last time I had it out. There was a bit of an indentation/deformation where the tensioner contacted it, but it was very minor.
 
Re: '77 CJ360T (Café SOS) - Head and Valve Work in Progress - Expensive Mistake

Should be 'good to go' then. How far does the tensioner blade stick up above cylinder head beore you fit top seat?
If it's more than about 1/2" the 'horseshoe' is probably over adjusted.
Need to back off the tensioner to get closer to correct height.
I've done it with a 5/16" bar into bottom seat then get someone else to loosen tensioner lock bolt on front of engine.
It's real surprising how such a small pair of springs is so hard to compress.
 
Re: '77 CJ360T (Café SOS) - Reassembly Started

Sonreir said:
A bit more done this weekend. I trued the wheels (easier than I thought!) and started reassembling the front end. I also tested the fit of the stacks onto the carbs and all is good there. Finally, I managed to get a bit of paint down onto the rocker cover in anticipation of getting this engine back together.

I was hoping to get a lot more done, but Easter threw a spanner into the works... That, and it took my literally three hours of tinkering to get the AllBalls bearings to fit properly. It turns out I had forgotten to remove one of the OEM spacers from the bottom of the neck...
icon_redface.gif


Test fitting the stacks on the carbs and all is good. I'll need to shim them a bit if/when I remove the screens though.
216281_10150223891725159_734955158_8478163_735109_n.jpg


Put down some paint onto the rocker cover in prep for engine reassembly.
216348_10150223891770159_734955158_8478164_3370268_n.jpg


Front end mostly reassembled with the bars in place for mock up.
223496_10150223891820159_734955158_8478165_6175839_n.jpg

Hi Sonreir,
Can you tell me what Brand and color gold/brass? paint you used on these, I thought you told me Rust-oleum Metalic Engine Enamel 650F Metalic Gold, but I used that here on my cards and it sure doesn't look the same.
 

Attachments

  • Clean carbs 2.jpg
    Clean carbs 2.jpg
    1.7 MB · Views: 232
Re: '77 CJ360T (Café SOS) - Head and Valve Work in Progress - Expensive Mistake

I didn't use the engine enamel. No reason to spring on the spendy stuff for parts that don't heat up too much. I did use Rustoleum, but I used their metallic bright coat. I'll get you a color code once I get home.
 
Re: '77 CJ360T (Café SOS) - Head and Valve Work in Progress - Expensive Mistake

crazypj said:
Should be 'good to go' then. How far does the tensioner blade stick up above cylinder head beore you fit top seat?
If it's more than about 1/2" the 'horseshoe' is probably over adjusted.
Need to back off the tensioner to get closer to correct height.
I've done it with a 5/16" bar into bottom seat then get someone else to loosen tensioner lock bolt on front of engine.
It's real surprising how such a small pair of springs is so hard to compress.

I think I'm right about 1/2" so I'll need to check and adjust if necessary. The slipper/guide just seems to sit there and doesn't stick up above the head at all. The front (exhaust side) is where the wear appears to be and so I thought I had more of a guide issue than a tensioner one. Your thoughts?
 
Re: '77 CJ360T (Café SOS) - Head and Valve Work in Progress - Expensive Mistake

Usually the chain was loose and motor operated at high rpm.
The chain will centrifuge off sprocket and wear top of guide
The tensioner is working?
sounds like it may be sticking?
 
Re: '77 CJ360T (Café SOS) - Head and Valve Work in Progress - Expensive Mistake

That's the weird thing... there's very little wear on the guide, but noticable marks on the head and (copper) head gasket. That was the reason I thought I had installed the guide incorrectly...

LearnAsIGo! - The color is called "Gold Rush Metallic" and the code is 7270830 but is sometimes shown as just the 7270 portion. Rustoleum is the brand.
 
Back
Top Bottom