twerth
Active Member
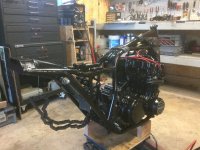
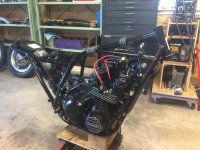
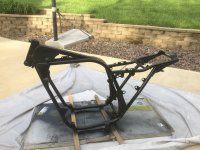
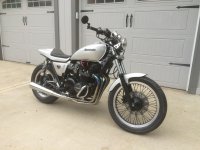
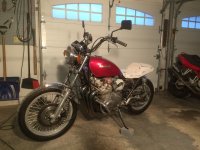
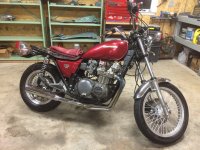
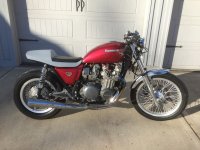
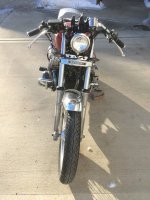
I started this project a couple of months ago, so I've got a little catching up to do. I bought the subject bike for $300. The PO had completely disassemble it except for the motor and it was in several boxes and baskets. He had bought new tires and tubes, new Progressive shocks, all new bearings and rebuilt the forks with stiffer springs. I think the new parts alone cost more than the purchase price. The paint on the tank is in good shape, and according to the PO it was running well when he pulled it apart.
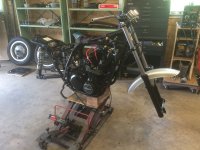
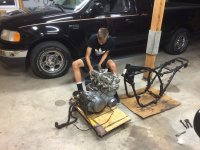
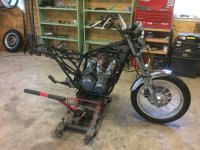
The plan is to put it back together and let me son have it as his first street bike. He's logged quite a few miles on ATVs and dirt bikes, but this will be his first shot at asphalt. So, I put him to work cleaning the engine so we can start reassembly. The seat is gone except for the pan, so we'll be doing a café style rebuild.
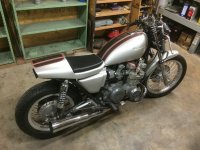
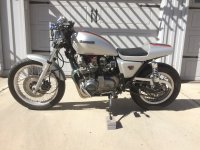
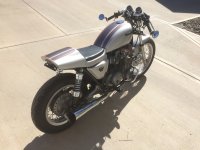
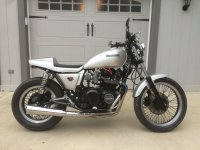
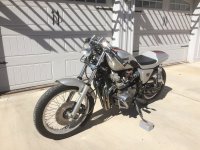
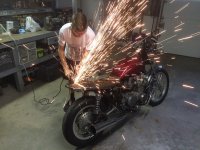
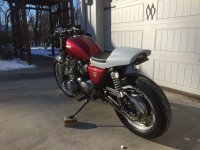
We put it back together, and it ran great. I could only put about 50 miles on it before the lack of a seat cushion got to be too much. So now I'm in the process of building a café seat. I wanted to use the stock pan so I could retain the hinges and latch. I turned my son loose with the cut-off wheel. He hacked the back of the frame off as well as the seat pan.
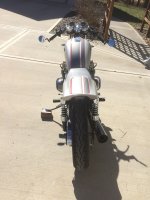
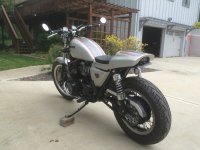
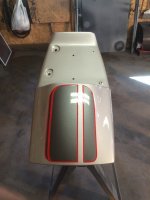
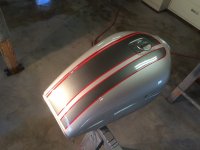
We made a form out of foam and started laying fiberglass over top. It's taken longer than I expected, but I've finally got most of the body work done on the seat pan. It was a lot more work than I thought. An easier route would have been to buy tail section off the net and bolt it to a trimmed down pan. It would have been quite a bit more expensive, but it would have gone a lot faster. My garage wouldn't be filled with dust either.
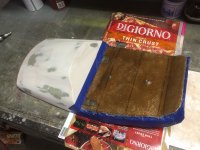
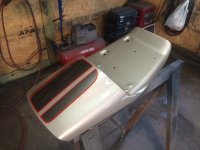
Next step is the seat cushion. I'll be using camping mat over a wood and fiberglass board. The pic below shows my progress so far. I started with a piece of 3/16" underlayment plywood cut to shape. I sawed some grooves in it so it would "curve" to match the shape of the seat pan. Then I bolted it down and put a couple of layers of fiberglass mat over the top. Hopefully, when it's unbolted, it will retain its shape. Wish I'd have taken more "in progress" photos, but I didn't think of it at the time.
That pretty much brings this build up to date. I'll continue to post photos the project progresses. Wish me luck!
The plan is to put it back together and let me son have it as his first street bike. He's logged quite a few miles on ATVs and dirt bikes, but this will be his first shot at asphalt. So, I put him to work cleaning the engine so we can start reassembly. The seat is gone except for the pan, so we'll be doing a café style rebuild.
We put it back together, and it ran great. I could only put about 50 miles on it before the lack of a seat cushion got to be too much. So now I'm in the process of building a café seat. I wanted to use the stock pan so I could retain the hinges and latch. I turned my son loose with the cut-off wheel. He hacked the back of the frame off as well as the seat pan.
We made a form out of foam and started laying fiberglass over top. It's taken longer than I expected, but I've finally got most of the body work done on the seat pan. It was a lot more work than I thought. An easier route would have been to buy tail section off the net and bolt it to a trimmed down pan. It would have been quite a bit more expensive, but it would have gone a lot faster. My garage wouldn't be filled with dust either.
Next step is the seat cushion. I'll be using camping mat over a wood and fiberglass board. The pic below shows my progress so far. I started with a piece of 3/16" underlayment plywood cut to shape. I sawed some grooves in it so it would "curve" to match the shape of the seat pan. Then I bolted it down and put a couple of layers of fiberglass mat over the top. Hopefully, when it's unbolted, it will retain its shape. Wish I'd have taken more "in progress" photos, but I didn't think of it at the time.
That pretty much brings this build up to date. I'll continue to post photos the project progresses. Wish me luck!
Attachments
-
 IMG_2190.JPG191.2 KB · Views: 256
 -
 2015-12-20 16.35.29.jpg1.9 MB · Views: 259
 -
 2015-12-20 15.32.54.jpg1.7 MB · Views: 256
 -
 2015-11-29 13.59.51.jpg214.9 KB · Views: 258
 -
 2015-11-29 09.49.15.jpg210.1 KB · Views: 248
 -
 2015-10-24 21.16.50.jpg236.6 KB · Views: 249
 -
 2015-10-18 16.55.10.jpg219.8 KB · Views: 257


") theres always something to do especially when it comes to polishing haha
theres always something to do especially when it comes to polishing haha