Follow along with the video below to see how to install our site as a web app on your home screen.
Note: This feature currently requires accessing the site using the built-in Safari browser.
We noticed you are blocking ads. DO THE TON only works with community supporters. Most are active members of the site with small businesses. Please consider disabling your ad blocking tool and checking out the businesses that help keep our site up and free.
I can not wait to see her done either Brothers, we are getting close!
Today I worked on a lot of the small parts for the Bridgestone, I did not take photos of everything I worked on today however I did take a few to share!
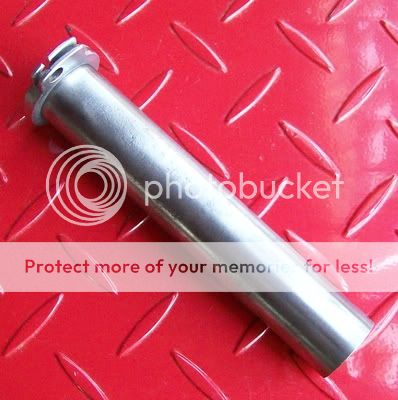
You have to love the quality of vintage motorcycle parts, this throttle control is metal instead of plastic like modern ones! It had a lot of rust so it was one of the parts I cleaned today.
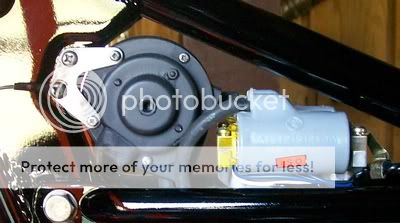
I started to clean the horn assembly however I thought I should test it first and it did not work, I just happened to have the same model horn saved here at the shop so I took the electronics and backing plate out of it and rebuilt a horn using the Bridgestones original bell and she sounds nice now! I also cleaned the horns rusted bracket and mounted the horn assembly to the frame.
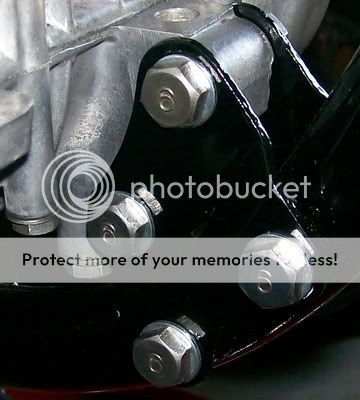
The front engine mounts are now on the bike, the top front bolt is still loose as the skid plate that I have not restored yet mounts to it as well.
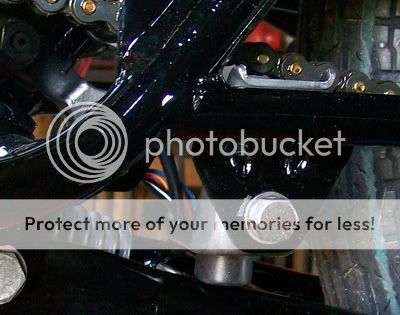
I also restored the bracket for the center stand stop today, it had a lot of rust so I cleaned it and sealed it with shark hide before I installed the new rubber bumper and mounted it to the frame.
Thank you Brother! The horn that I had that was the same as the one on your Bridgestone was from a Yamaha CS1, that motorcycle actually looks very similar to your Bridgestone as well. I spent some nice quality time with her this afternoon so we will be able to hear her run very soon!
Brother casi with the bikes you have in your stable she ig going to have a few good sisters!
Brother Justin I am happy that you like her!
We have been waiting for the new wristpin bearings to come in and they were delivered this afternoon so I was able to assemble most of the top end today!
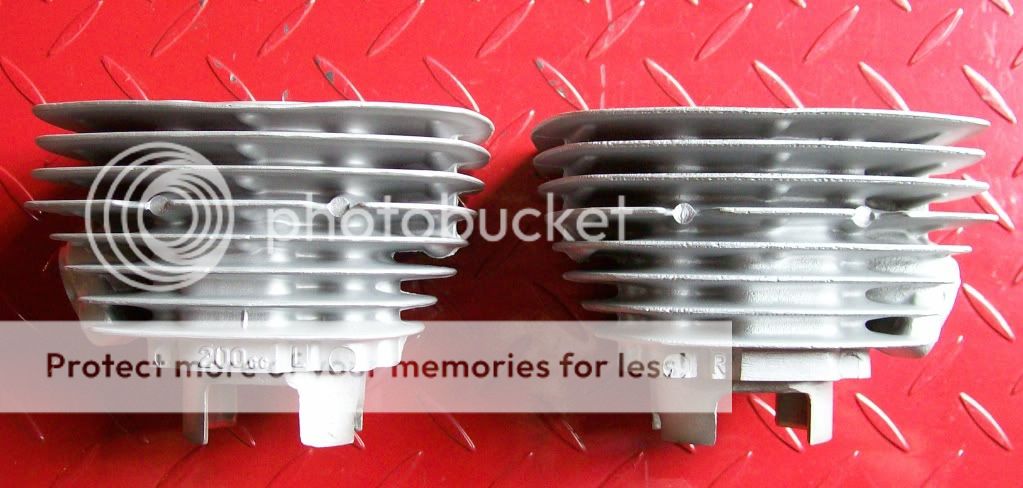
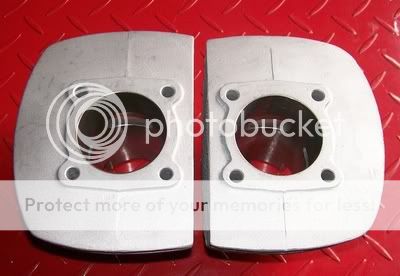
Brother casi found this nice pair of cylinders and had them replated.
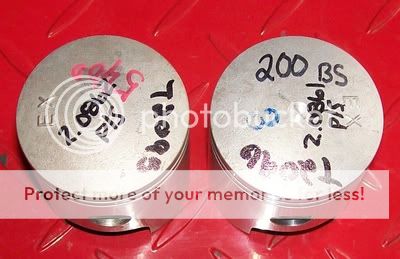
These are the new old stock pistons.
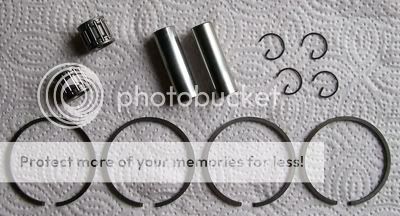
This photo shows the new rings, wristpins, wristpin bearings, and clips.
Here are the new cylinder head and cylinder base gaskets.
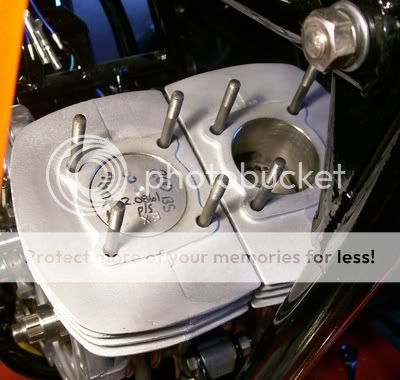
The top end is now completely assembled except for the cylinder heads, here are a couple photos of how she is resting this evening!
@vonYinzer: that is the plan once she is completed. I have been trying to get in with Bridgestone but they seem to have no interest in their vintage motorcycle history. I want to make sure Joe gets the accolades for building such a beautiful bike for us to all enjoy! I plan to bring her to all the local shows as well to create awareness not only of the Bridgestone motorcycle heritage but also the amazing work that Joe at DWMS is capable of!
Brothers as always your words are truly inspiring and I can not put in to words how much your encouragement always means to me. I never got in to this business to be famous, on tv, or in magazines, I simply enjoy returning antique and vintage motorcycles to their former glory and am truly blessed and honored to be provided the opportunity to work with Brother casi on this build to help create his vision, if she were to make it in to a magazine for others to enjoy I am sure it would be her honor and Brother casi definatley deserves it as he is a truly honorable gentleman.
Brother casi I did not know that you were making contact with Bridgestone, I would think that they would be very interested in one of their motorcycles!
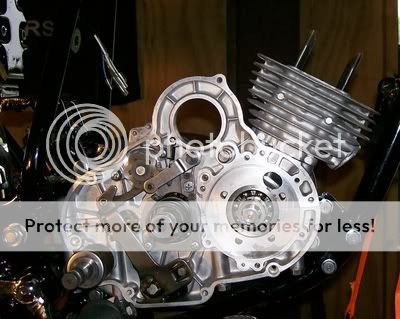
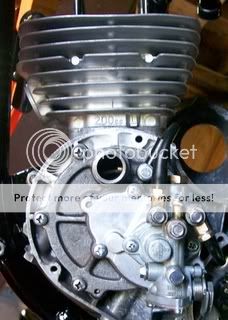
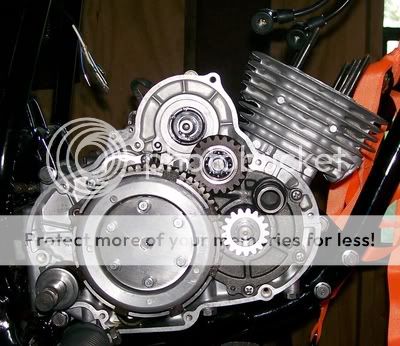
I spent some time working on the engine and installed the rotary disc valve guides, rotary disc valves, rotary disc valve covers with intake manifolds, crankshaft collar, oil pump gear case, oil pump, and a new oil pump line today!
Thank you again for your kind words Brothers, this has truly been a very enjoyable build!
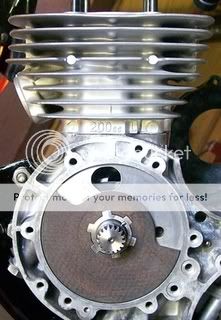
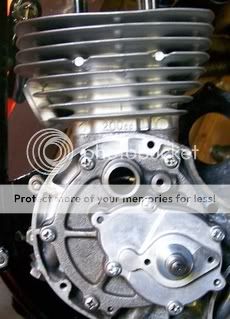
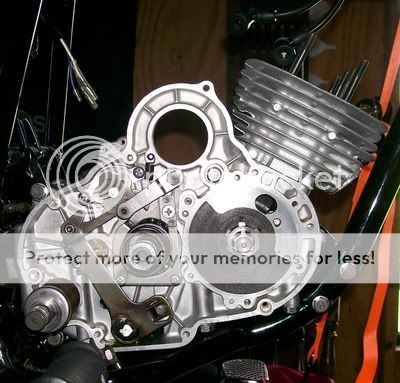
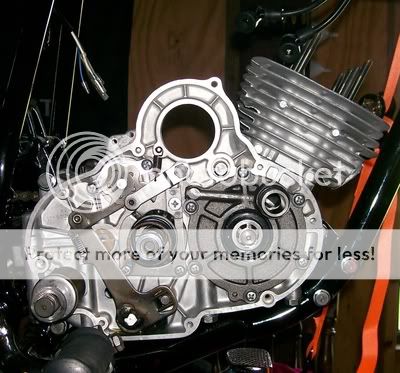
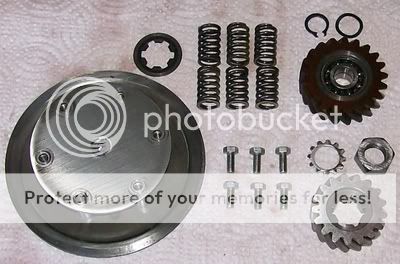
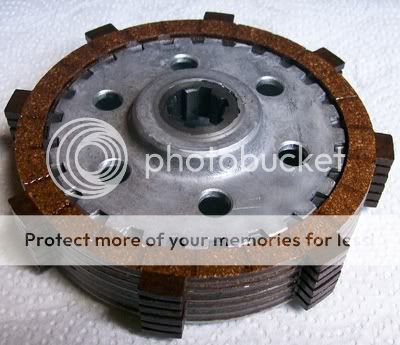
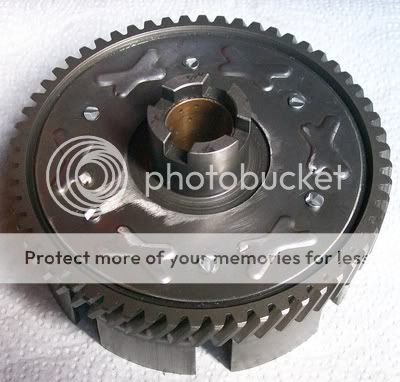
Today I installed the clutch assembly as well as the pinion gear and the timing idler gear. The left side engine cover internals are complete and as soon as I receive a couple small pieces of hardware such as the generator o-ring, etc. I will be able to complete the right side engine cover internals as well!
Thank you Brother! To be honest I really thought I would have had her completed by now however she will be ready very soon!
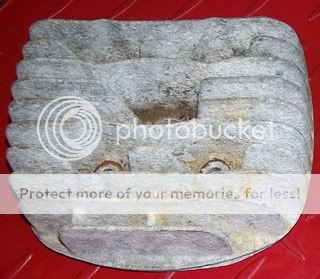
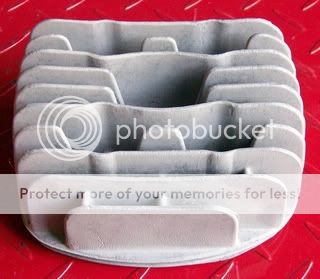
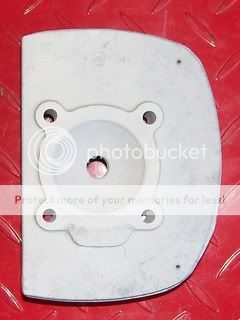
Today I started blasting the cylinder heads so that they will have the same natural finish as the cylinders, I am still working on them however this is how the head for the left side looks so far.
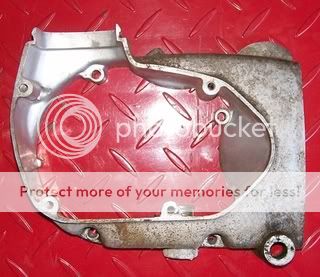
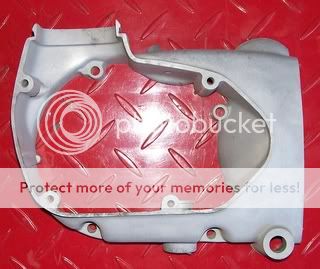
We are going to blast the inner side covers of the engine to give them a nice natural finish and polish the outer side covers so I also started blasting this cover for the left side of the engine.
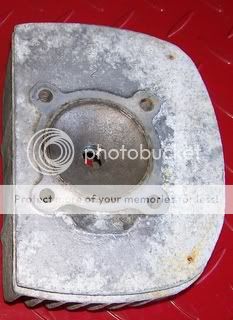
They are coming right along... as for the bad head with all the pitting I was able to score a used one so you should have it in the next few days. Sorry you had to clean up a head that we wont be using. I guess the metal from the early 70's was good but not when left in New England weather for 30 years untouched!
This site uses cookies to help personalise content, tailor your experience and to keep you logged in if you register.
By continuing to use this site, you are consenting to our use of cookies.

")