Follow along with the video below to see how to install our site as a web app on your home screen.
Note: This feature currently requires accessing the site using the built-in Safari browser.
We noticed you are blocking ads. DO THE TON only works with community supporters. Most are active members of the site with small businesses. Please consider disabling your ad blocking tool and checking out the businesses that help keep our site up and free.
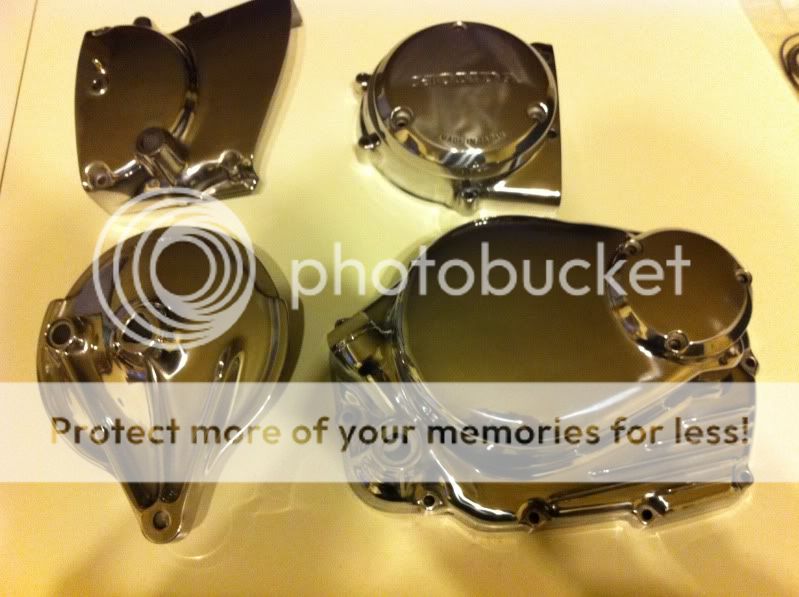
That looks expensive, it isn't easy to get real good finish all over without a lot of work.
Clutch cover and sprocket cover are pretty difficult to do with all the nooks and crannies 8)
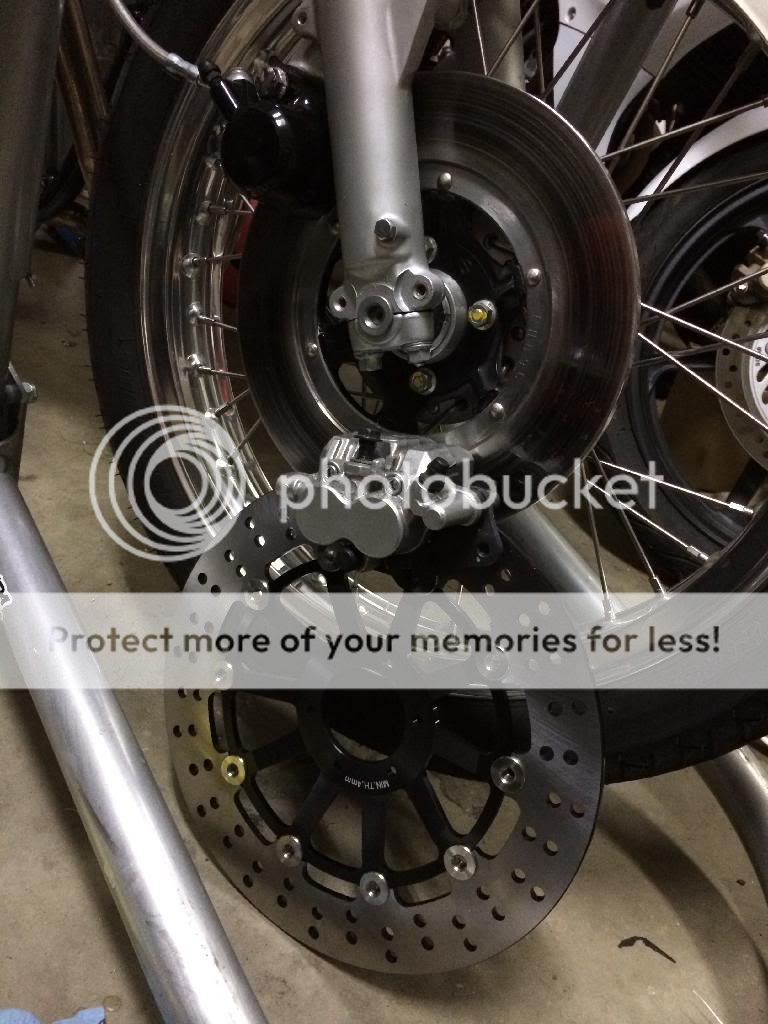
gonna see if I can get the old girl to stop a bit better!
a buncha times last summer I found I had more 'go' than 'stop'. I'm hoping I can get some more modern gear to work and not ruin the look too much.
the new rotor is 1.5# lighter too....
Wish me luck!
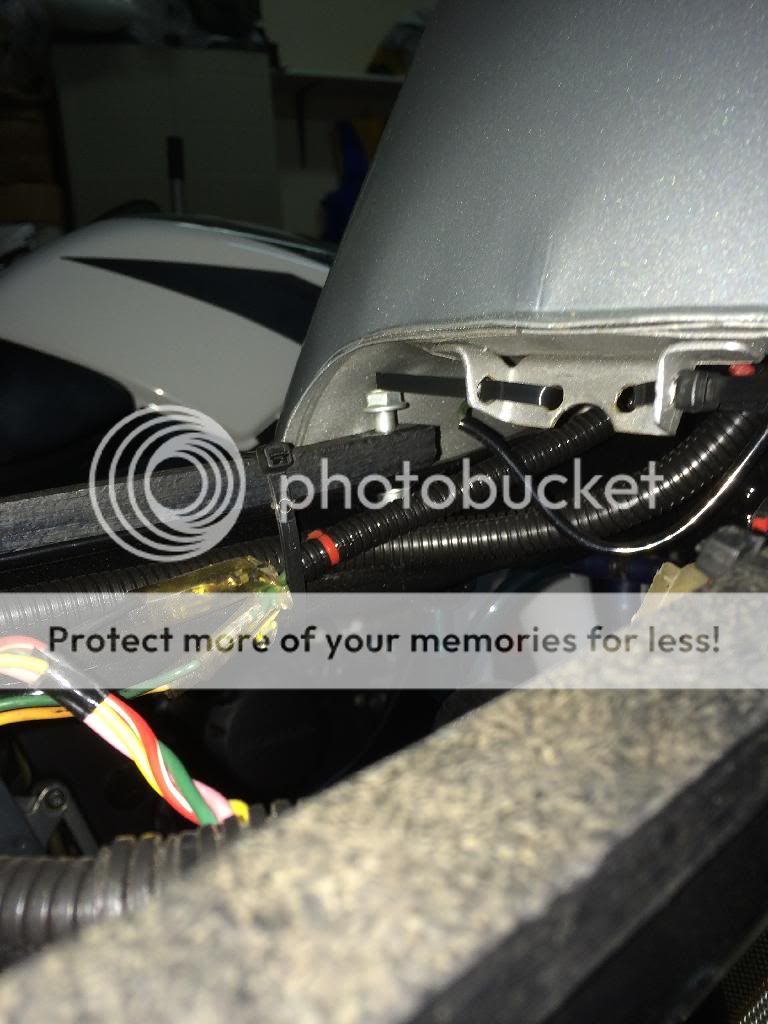
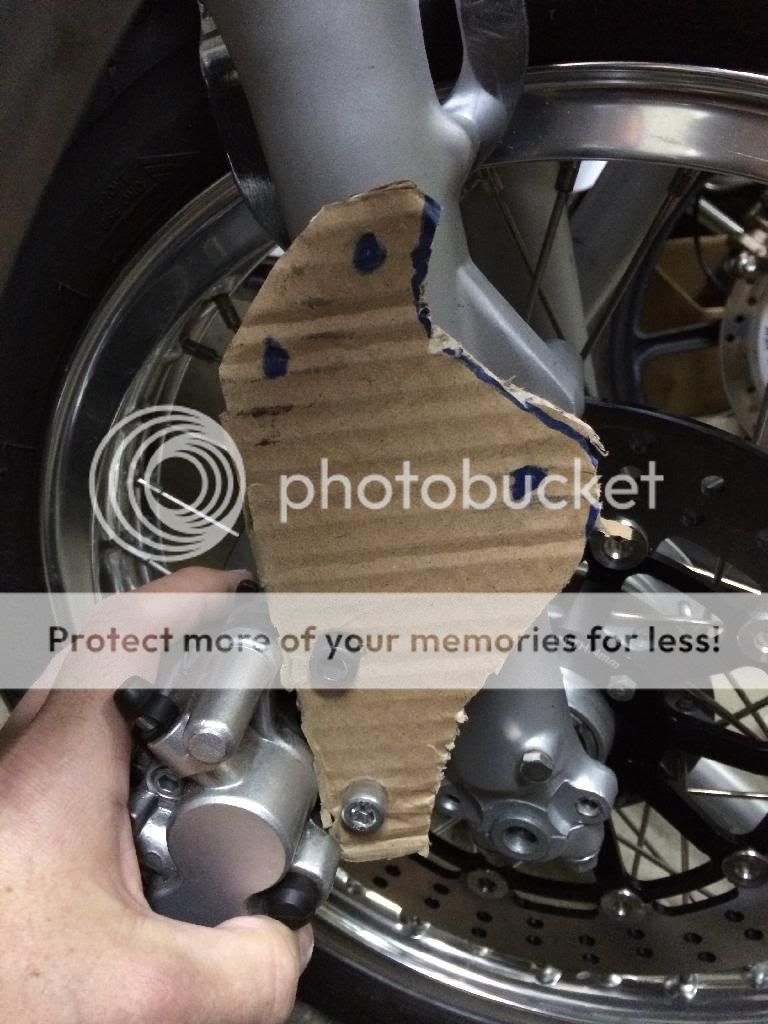
made up a mounting bracket.... cardboard is legit for brakes, right?
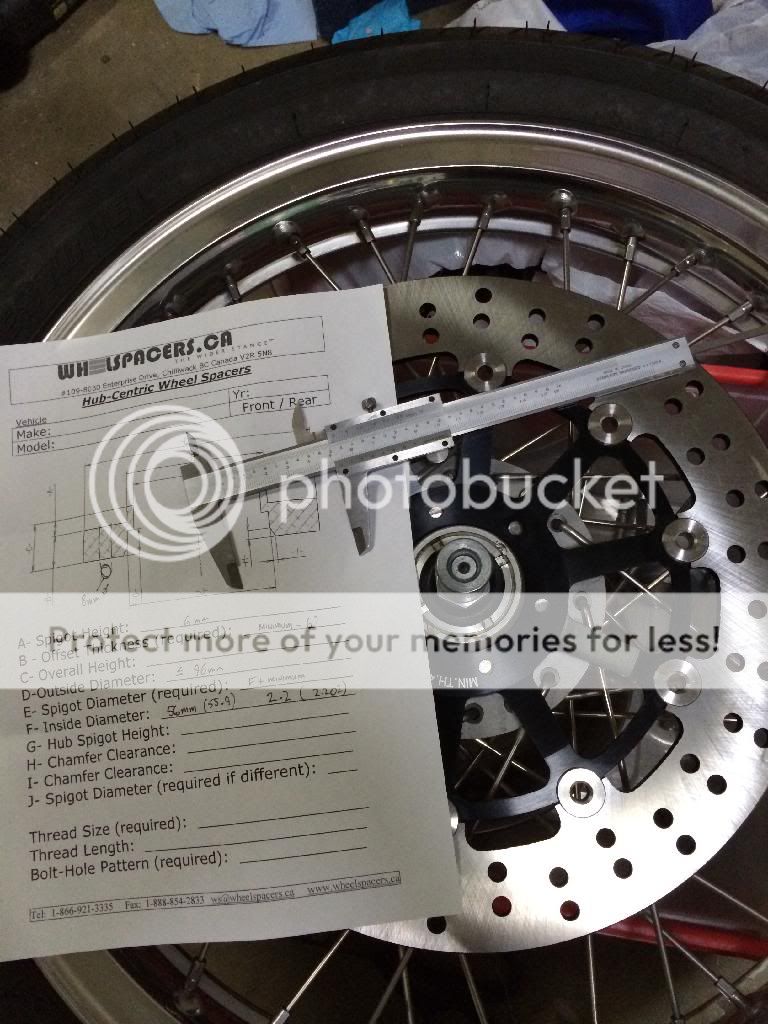
unfortunately there's no such thing as a new brake rotor with the same bore as the hub (that i could find) and because the rotor is hubcentric not boltcentric i now have to find a way to make up the difference.... the hub is about a millimeter smaller than the bore of the rotor.... thinking of getting a spacer made up, but there's no way they're going to be able to make one that's only a millimeter i don't think, so this may be a two parter where i get the spacer as small as i can and rebore the rotor to match.... unless anyone thinks i could get the bore built up with weld and bored to fit?
hope it all works out... cuz then someone's gonna get one of these!
If I can do it on my hobby machines a company with heavy duty stuff will have no problem.
1mm is plenty thick enough to support itself in 6061 or even lower grade aluminium
Minimum I would do is 0.50mm, 0.25 would be dodgy and could get damaged too easy (unless it was made in steel)
Is there space to "move" the rotor out towards the fork leg? That might give you more room to play with spacer designs. The ones I used on mine were about 2mm radially IIRC. http://pinkpossum.com/GT750/phattrakka2/p5brakes.htm
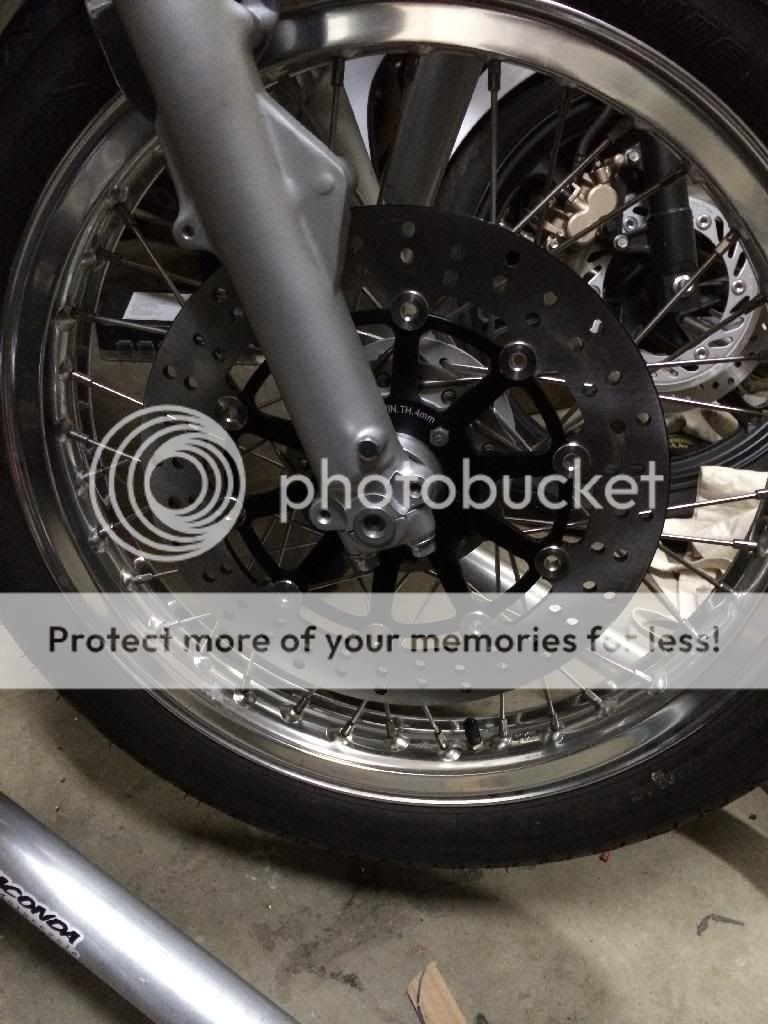
excellent writeup teazer... looks good! and is pretty much exactly what I'm trying to achieve with the exception of the fact that you can't get a modern rotor with a 4 bolt pattern so I'll have to drill my own holes to mount the thing. the offset on the rotor is about right which is one of the reasons I chose it, so my adaptor plate that I'm hoping to have built which will look just like yours only with 4 holes, will be mounted outside, not inside as you'd expect. This will have the cosmetic benefit of hiding the original holes on the rotor. hopefully my local guy can machine this up for me or i'll have to get pj to do it!
The hub is about 12mm thick, use one original hole (if possible) and drill/tap for the other 4~5.
If you fit Helicol in original hole you don't need complete through holes
Spacer will hide the original holes
hmmm... hadn't thought of tapping the hub. although there's a cover on the opposite side that's held on by the 4 rotor bolts that go all the way through the hub... i guess i could find a different way to attach it. wouldn't be much hub left... the bolt circle on the new rotor is a different diameter so i can't reuse any of the holes so there'd be 10 holes when i was finished.
Thanks!
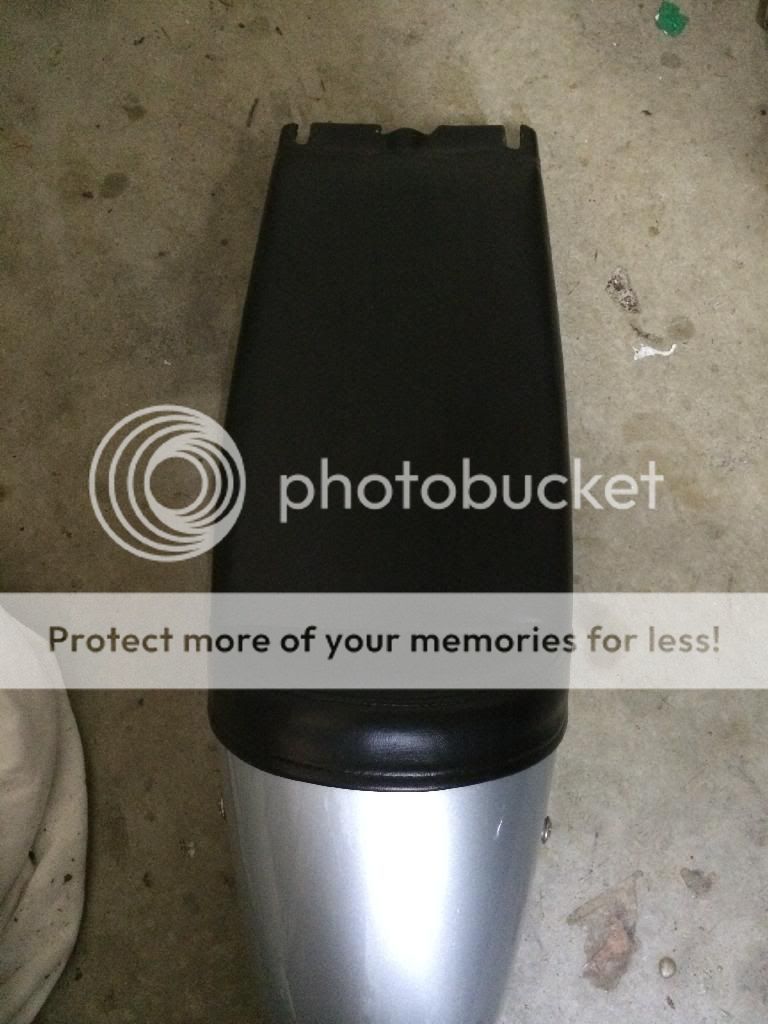
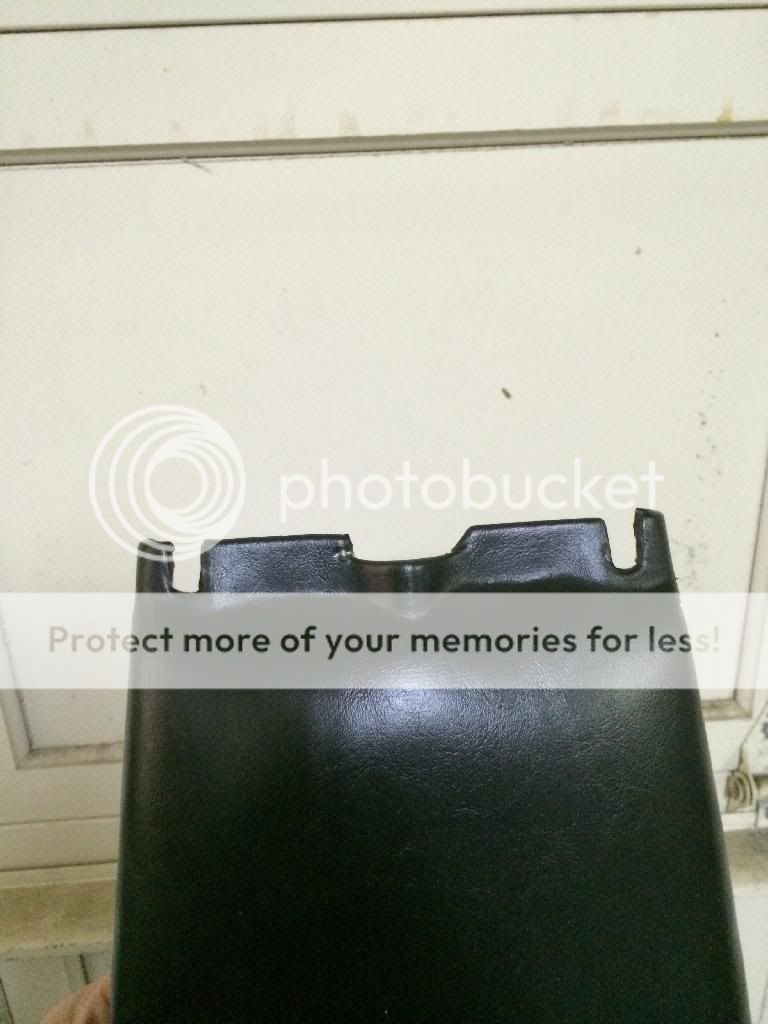
The seat is off the rack... got it from airtech streamlining. I THINK it's the small cutlass C4, but I guess it might be the large cutlass C1... but there are measurements on their website so you'll be able tell which one is right just by quickly measuring which part of the frame it goes over... Note that the tank I used is somewhat longer than the stock tank so the place on the frame where my seat lands may be different than yours... I had to cut it to length. Paint and upholstery was done locally.
Very nice, so width wise it was a prefect fit then? It just bolted right up after trimming length off? Looks nice.
Edit: it looks like there are a few Cutlass versions, including a small, large, and a honda twin Cutlass. If you have a way to check your reciept to see which one you have that would be much appreciated. Keep it up build is quality!
Another thing I am curious about (I have searched whole thread) is what size Bridgestone BT-45's did you get for for new Buchmans rims? On the rims did you go 2.15 rear and 1.85 front?
what pj said... bridgestone battlax B45... 90/90/18 and 110/90/18
so it was a C4, the small one...
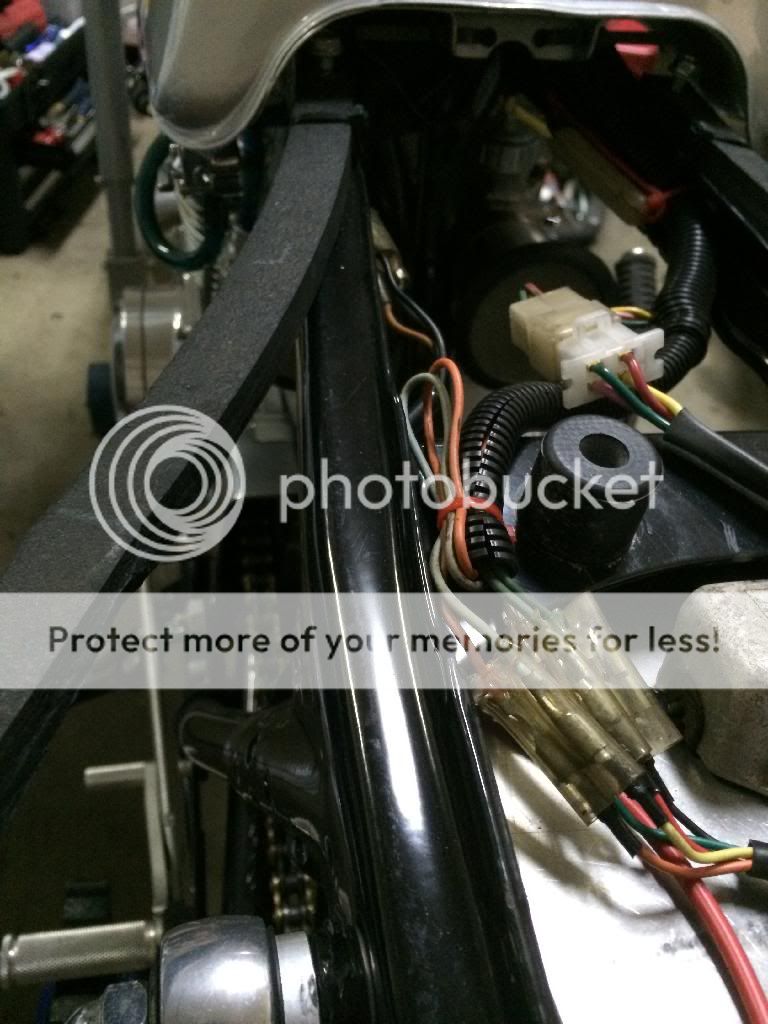
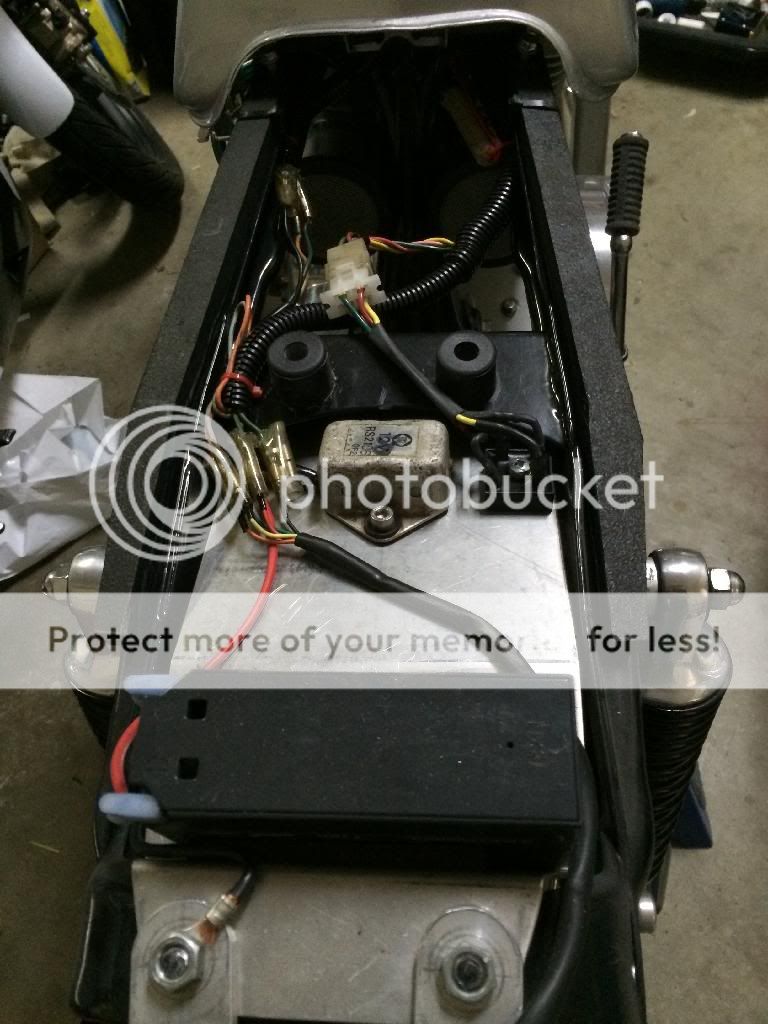
i cut some thick rubber that was from a truck bedliner to fill out the inside angle of the frame along where the seat was... this supports the outside edge of the seat
the contour of the seat was pretty close to the top of the frame once I'd filled the corner with the rubber, but i did have to taper it a bit towards the back
so the seat rides on the rubber edges and the two donuts i put on the bridge across the frame, about where my fat ass lands... in the first pic you can see the load points on the donuts and along the edges... at the front i just have two slots in the seat
that slide under posts to hold it both down and laterally, although the side to side fit is close enough that they're not doing any work in that plane
This site uses cookies to help personalise content, tailor your experience and to keep you logged in if you register.
By continuing to use this site, you are consenting to our use of cookies.

")