Follow along with the video below to see how to install our site as a web app on your home screen.
Note: This feature currently requires accessing the site using the built-in Safari browser.
We noticed you are blocking ads. DO THE TON only works with community supporters. Most are active members of the site with small businesses. Please consider disabling your ad blocking tool and checking out the businesses that help keep our site up and free.
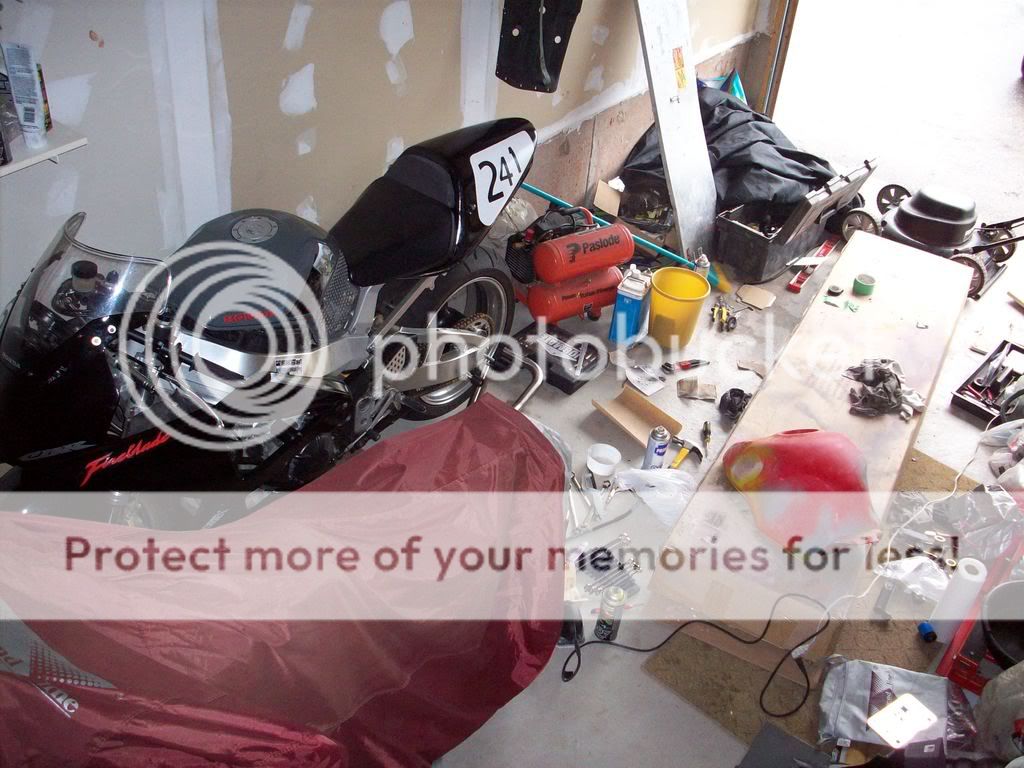
Well, I haven't updated my build thread in quite a while. I've been busy, and it got put on the back burner for a bit. My goal is to have it on the road and all the bugs sorted out by the end of the month, so we'll see how that goes.
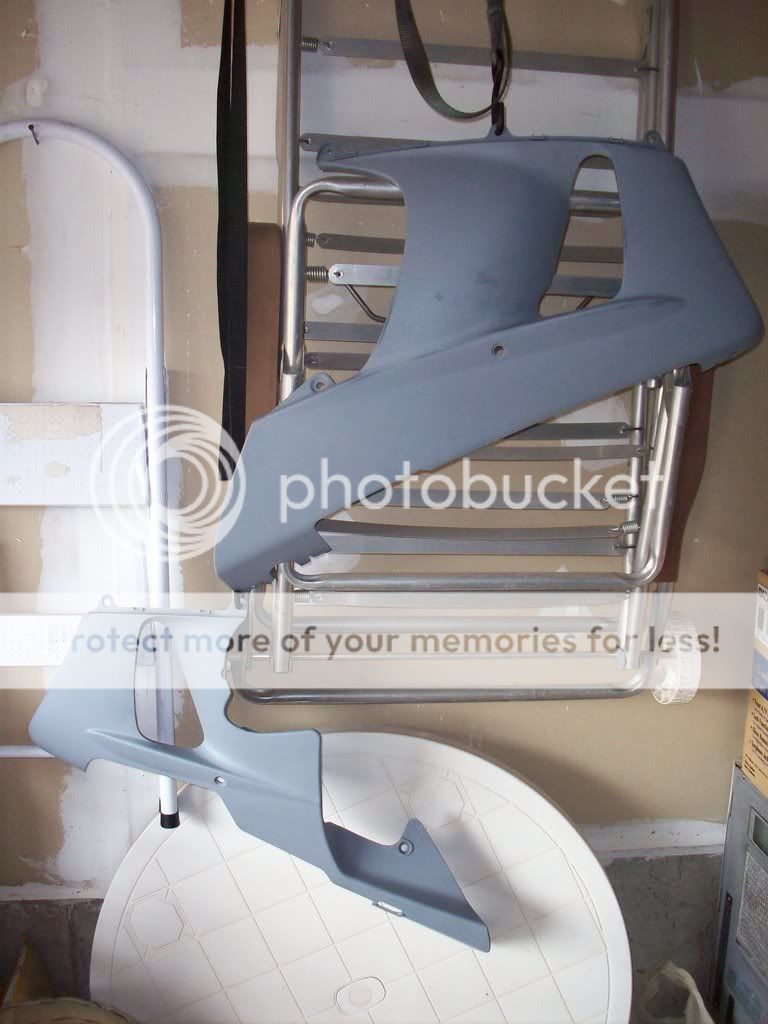
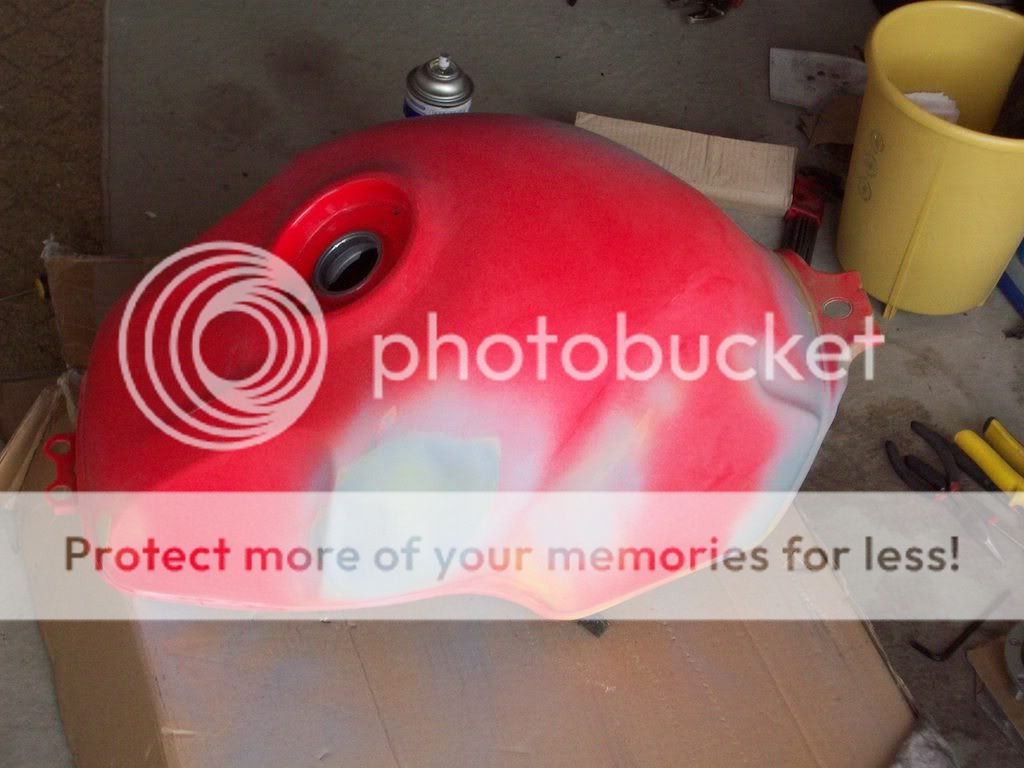
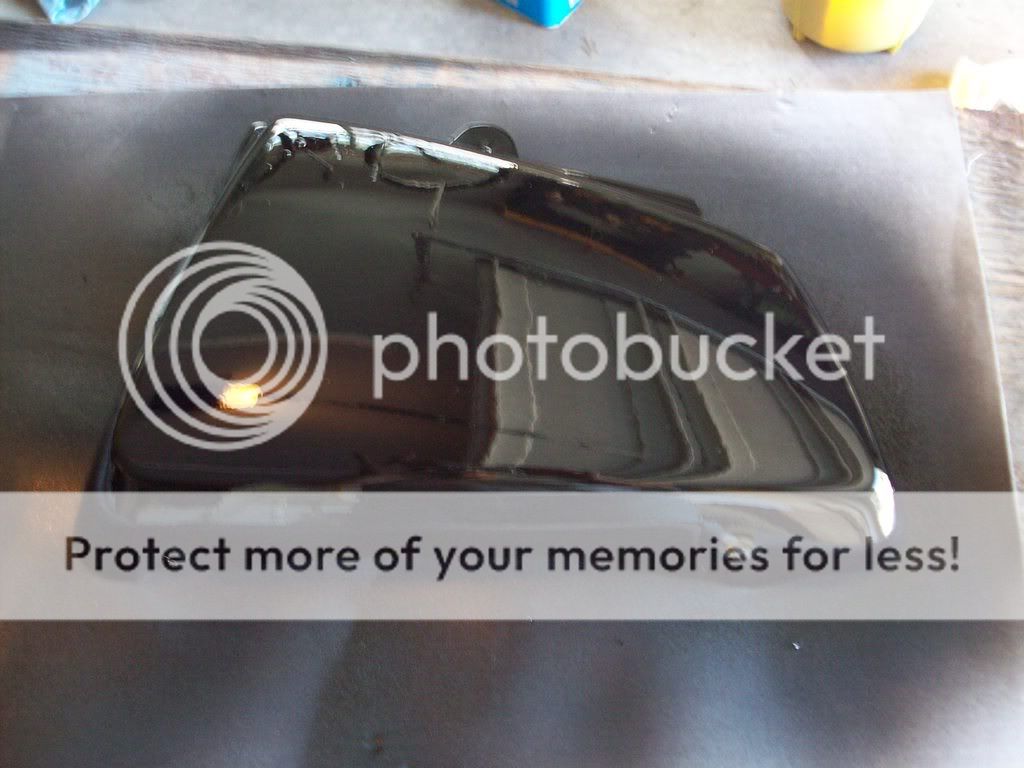
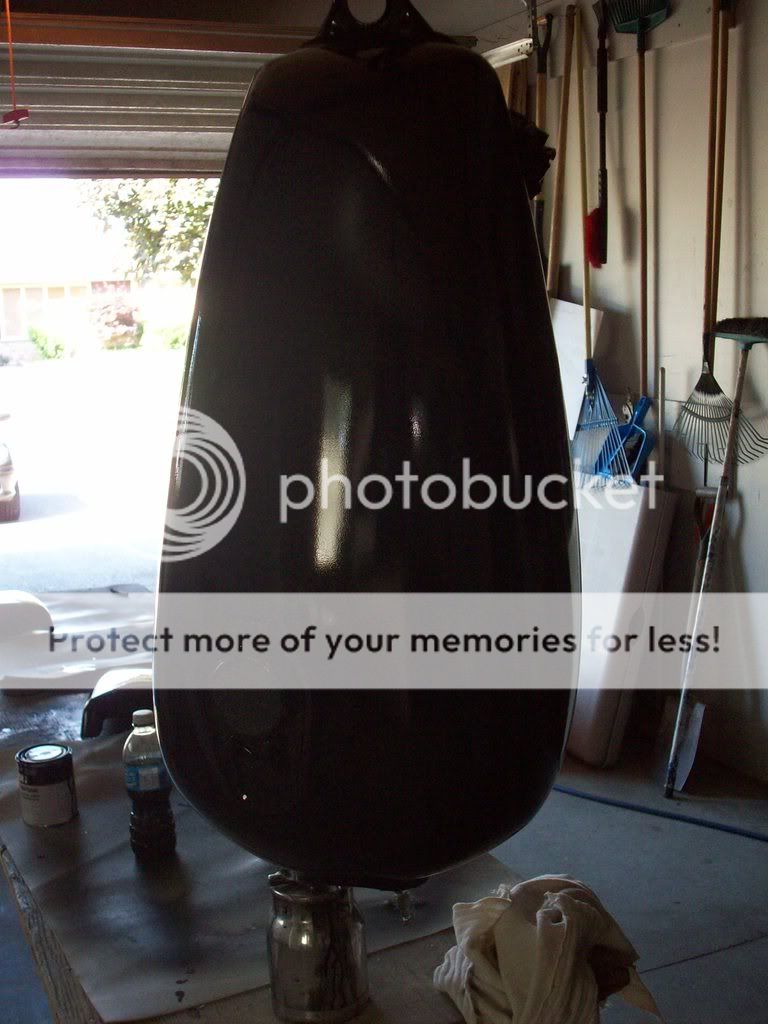
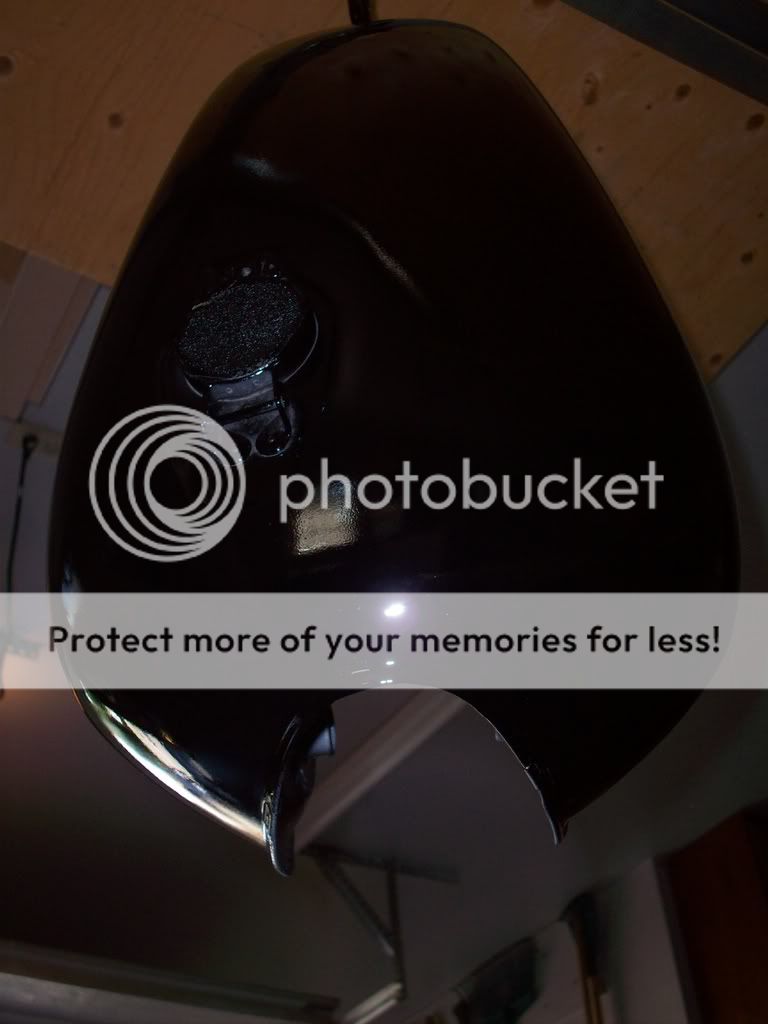
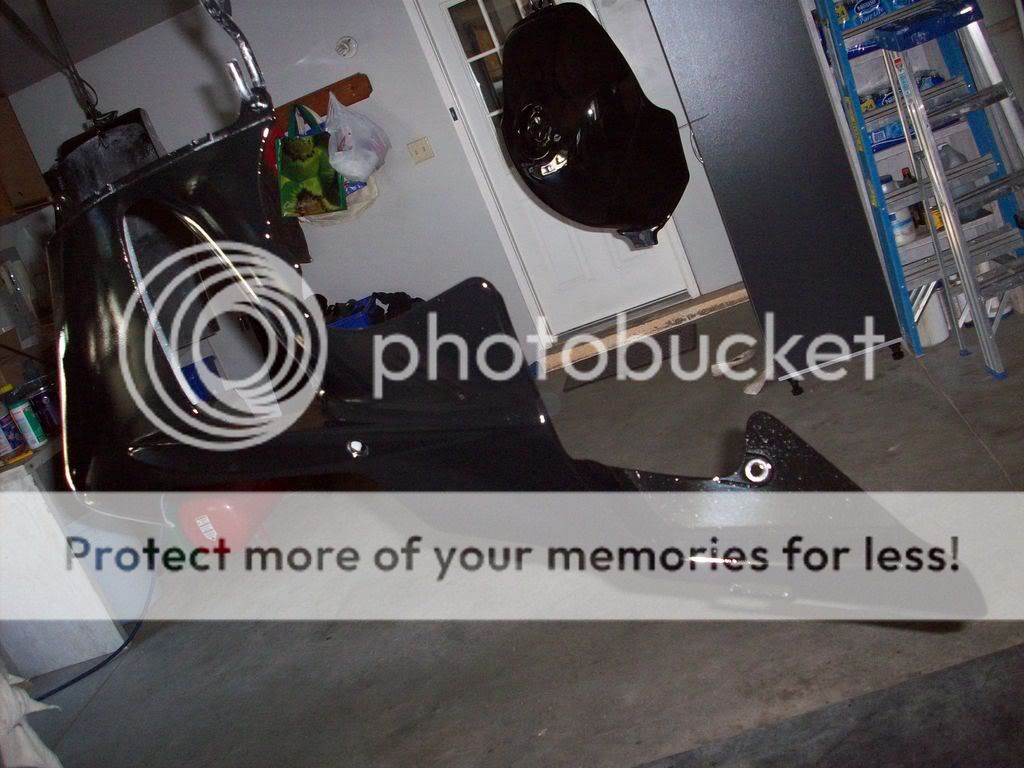
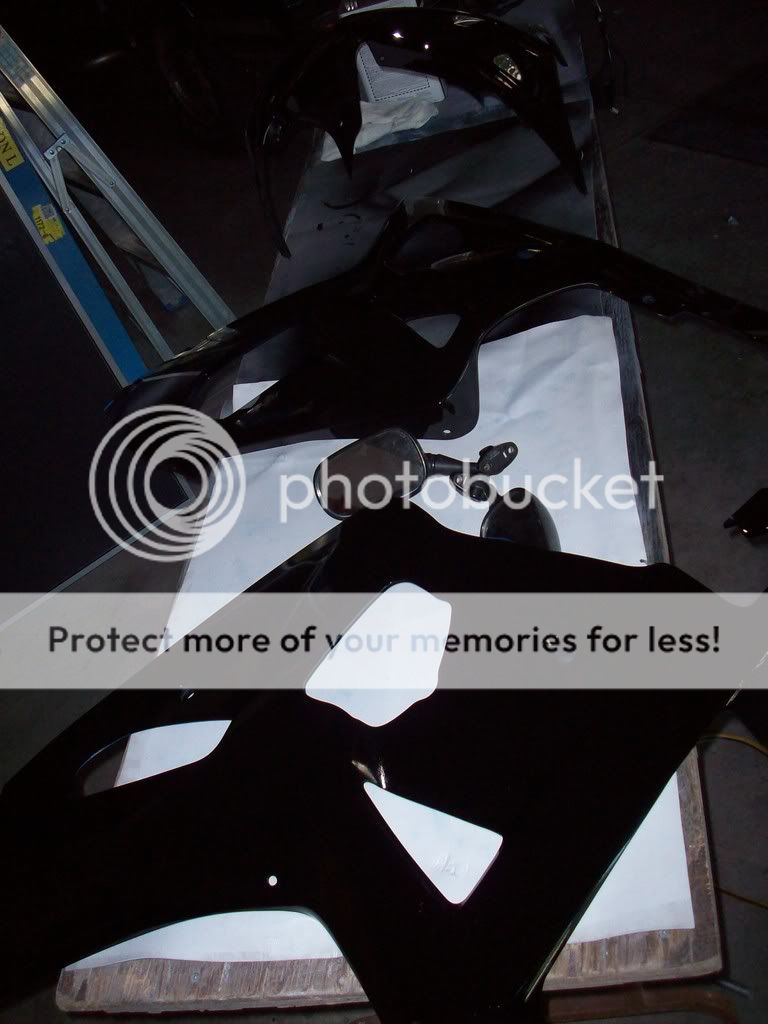
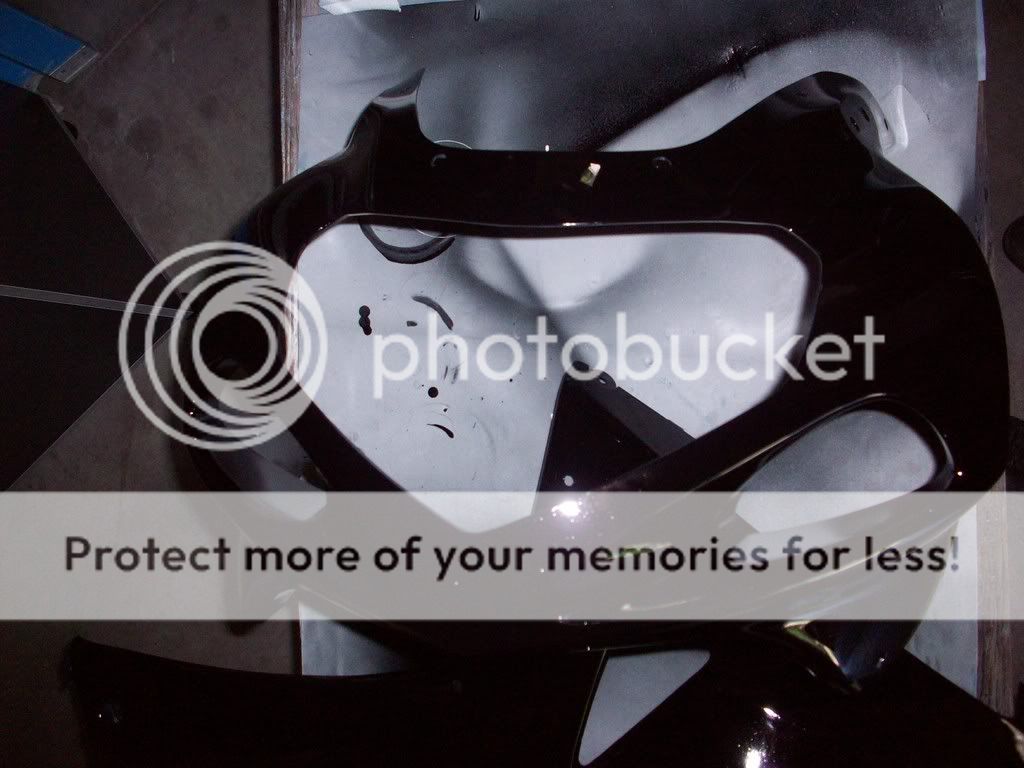
I was helping my buddy get his '81 XS650 up and running, I helped another guy paint his bike, change bent forks, and clean out his fuel injectors. I painted my track tank, my CBR lower fairings, my CB seat,
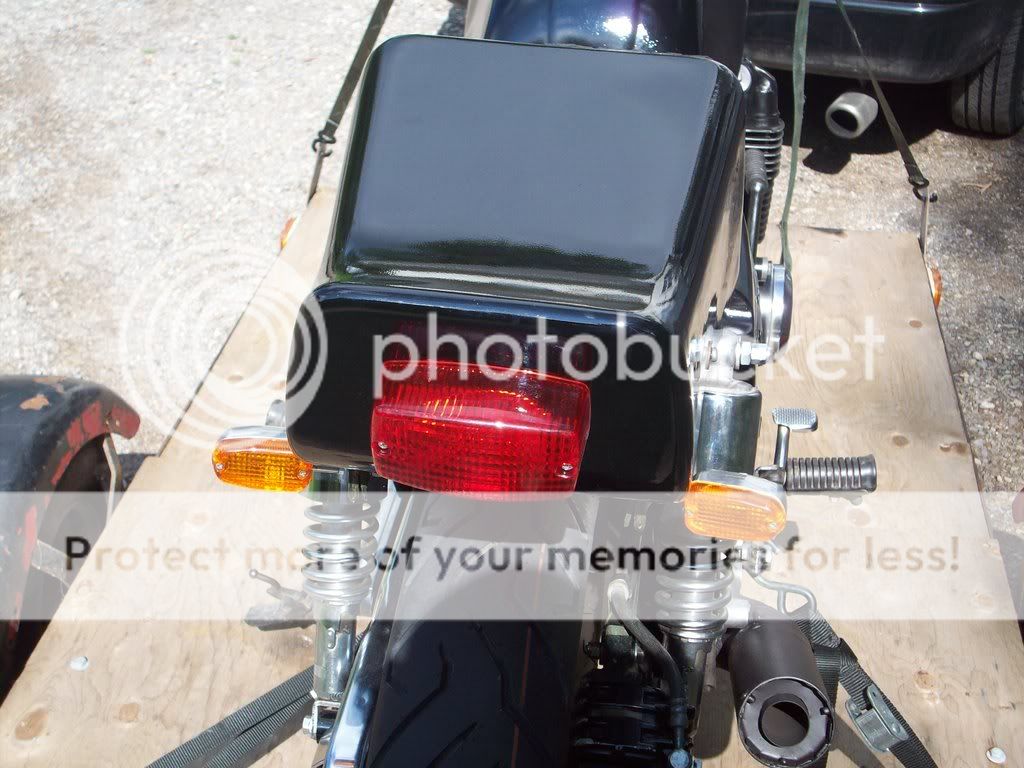
I've painted the seat, and am currently working on the mounts. The signals have been drilled into the rear, but I need to replace the signal relay with an electronic unit. the old one apparently only works at a specific voltage, and the smaller signals don't trip the flasher. a new one is only a couple bucks, so I should have that sorted after tomorrow.
I had to do the fork seals, drop in the progressive springs, mount the new seat, and get it ready for Cert.
It's on the road now, but I still have some bugs to work out. I've got to re-jet the carbs, as it only runs properly with the choke on full, so I'm running really lean.
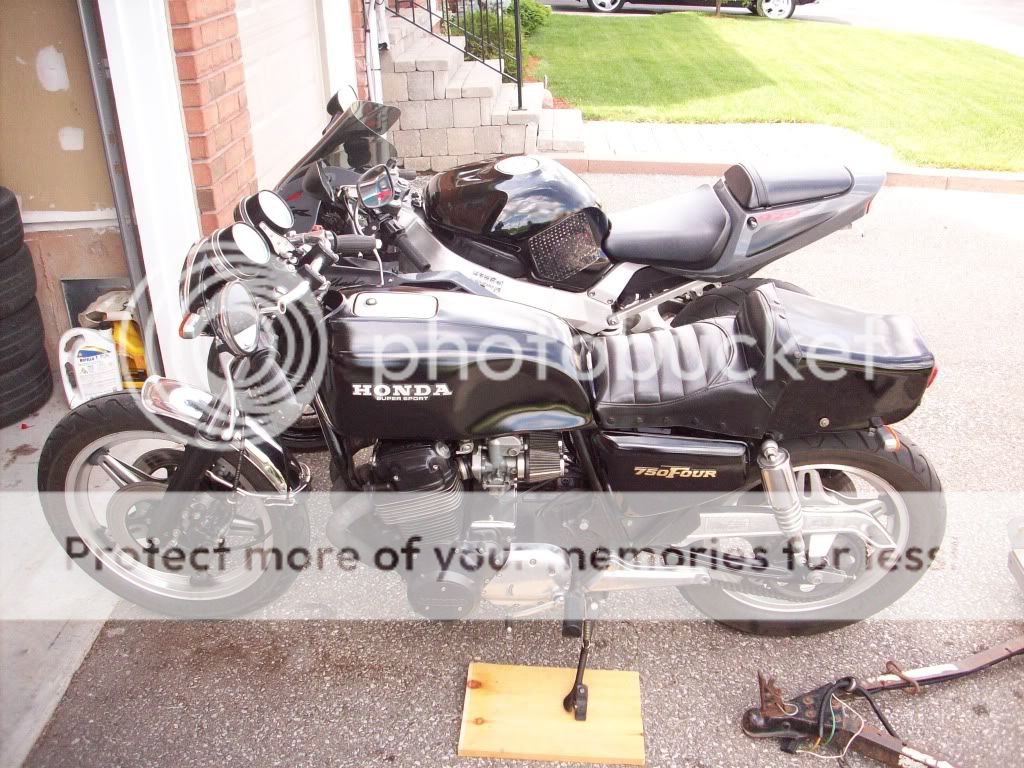
I think I've got to cut off part of the rear passenger peg bracket, and see if I can pull the exhaust up a little higher as well. I ended up grounding out the exhaust when making a right hand turn, and that was before the peg would have touched, so I'm sure it is too far down. The exhaust is off of a mid 70's CB750K, so the mounting may be different than my F.
Noel, I'll have to check the settings you sent to me from your 750 to set up my carbs.
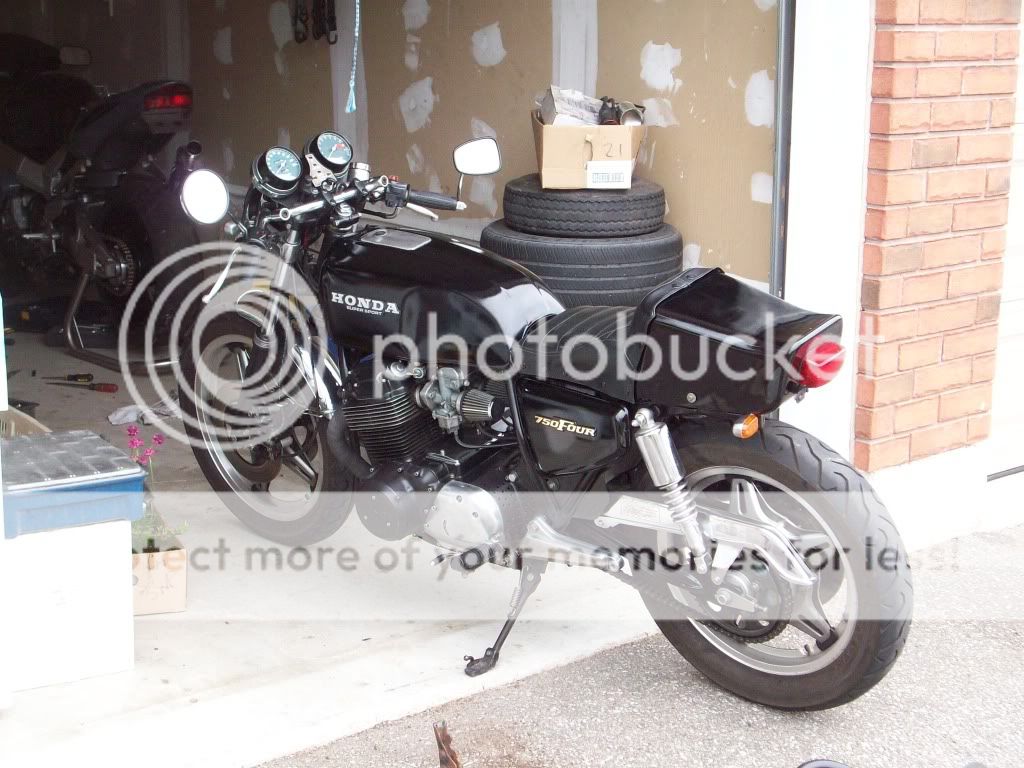
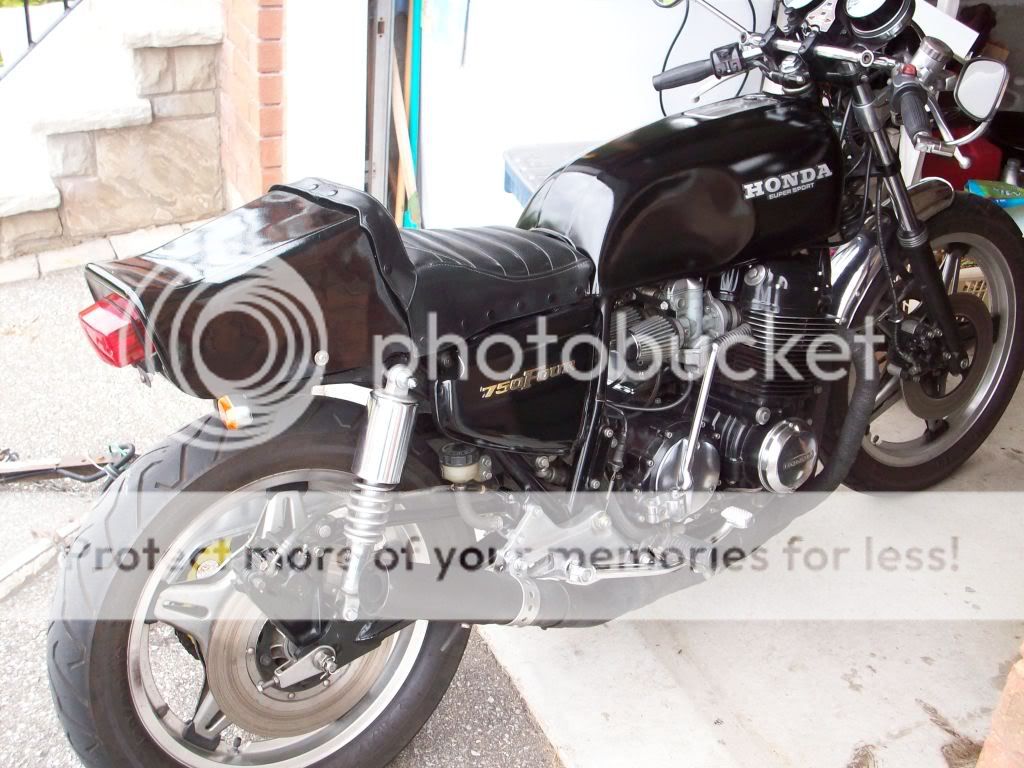
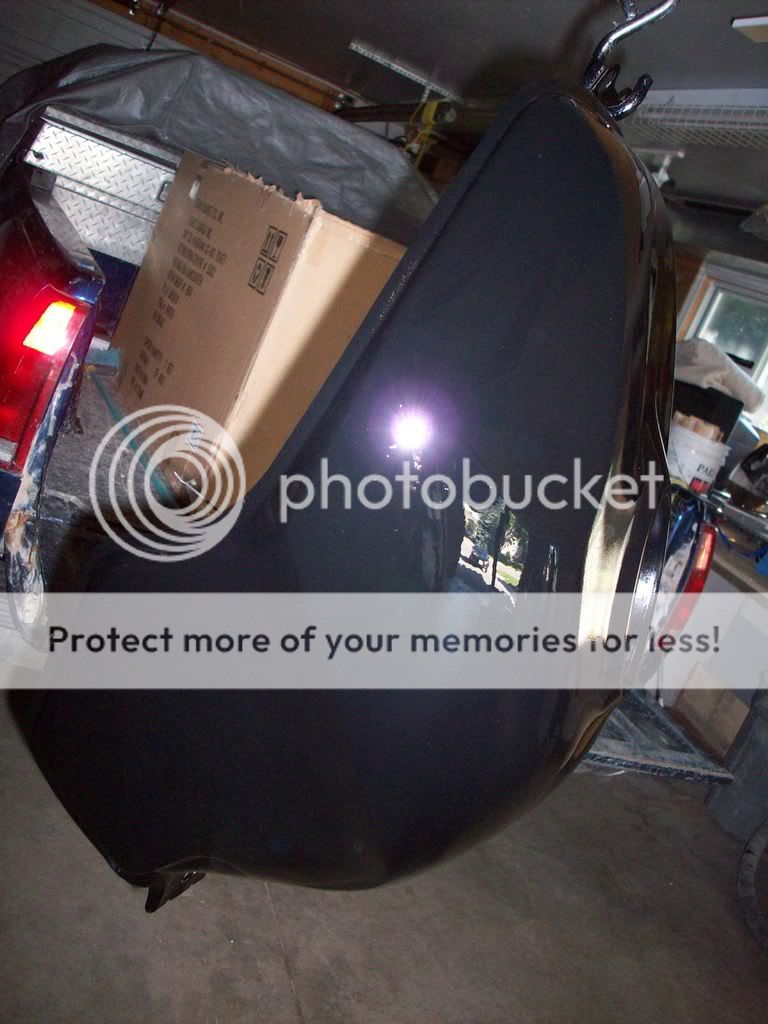
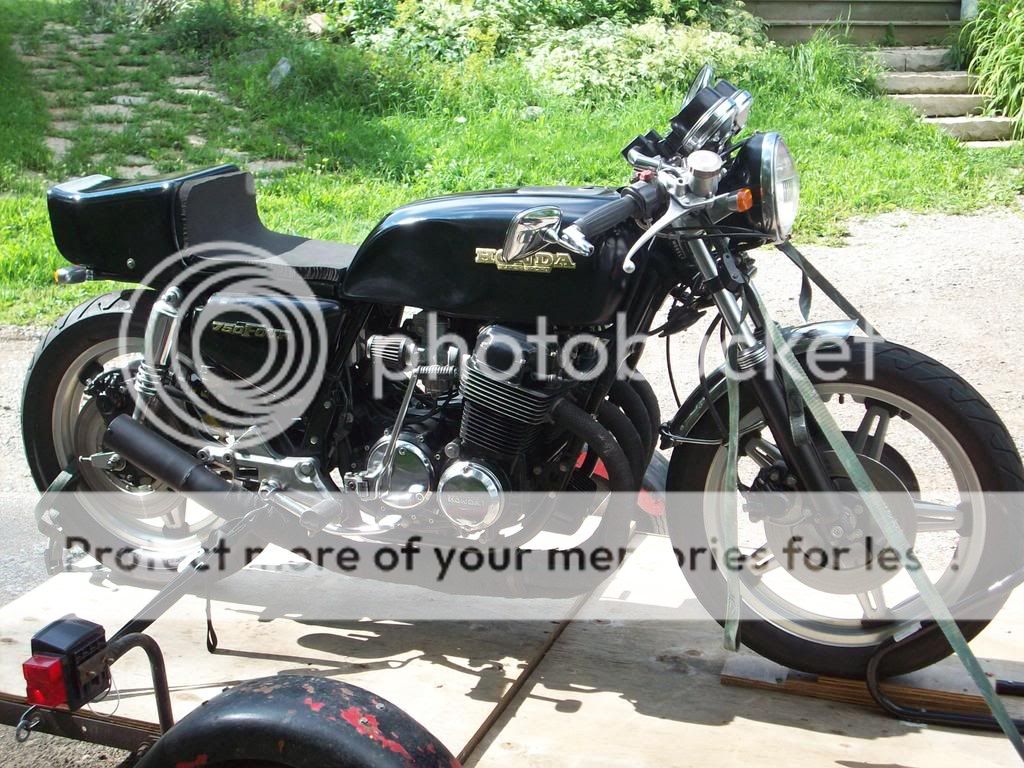
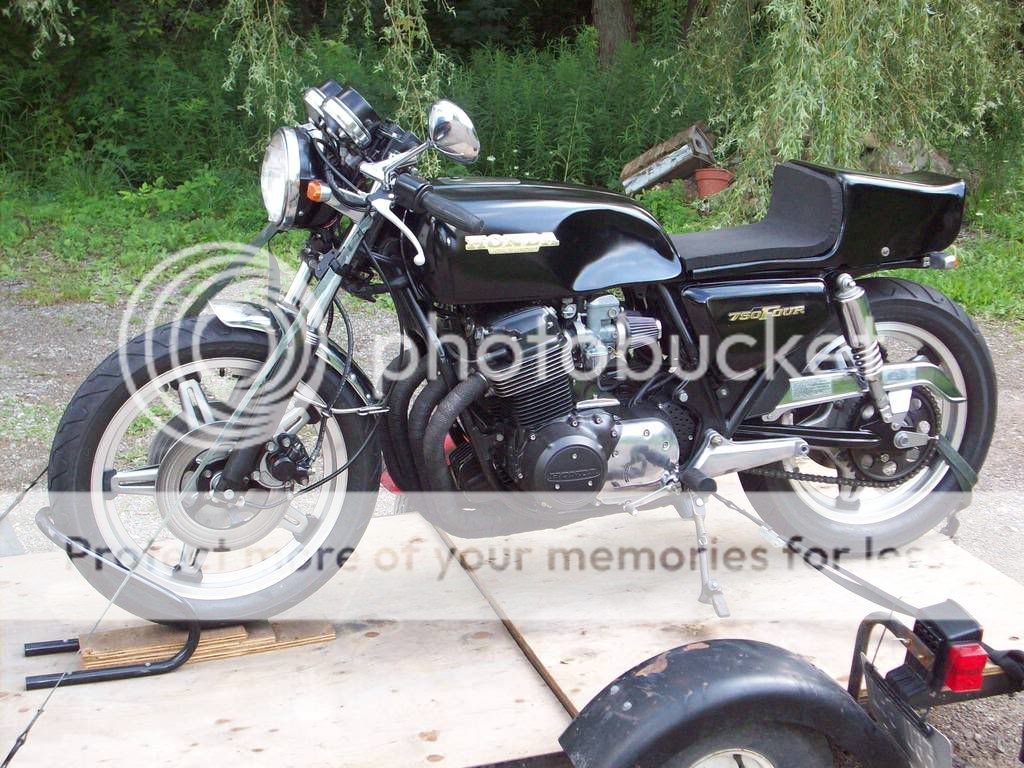
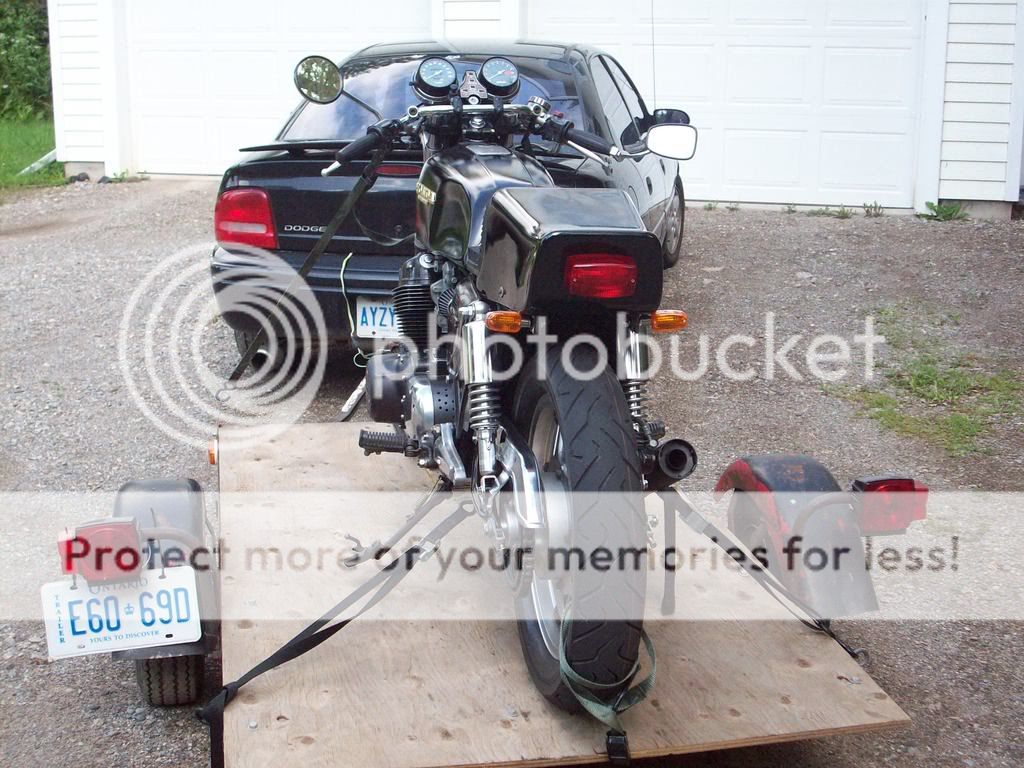
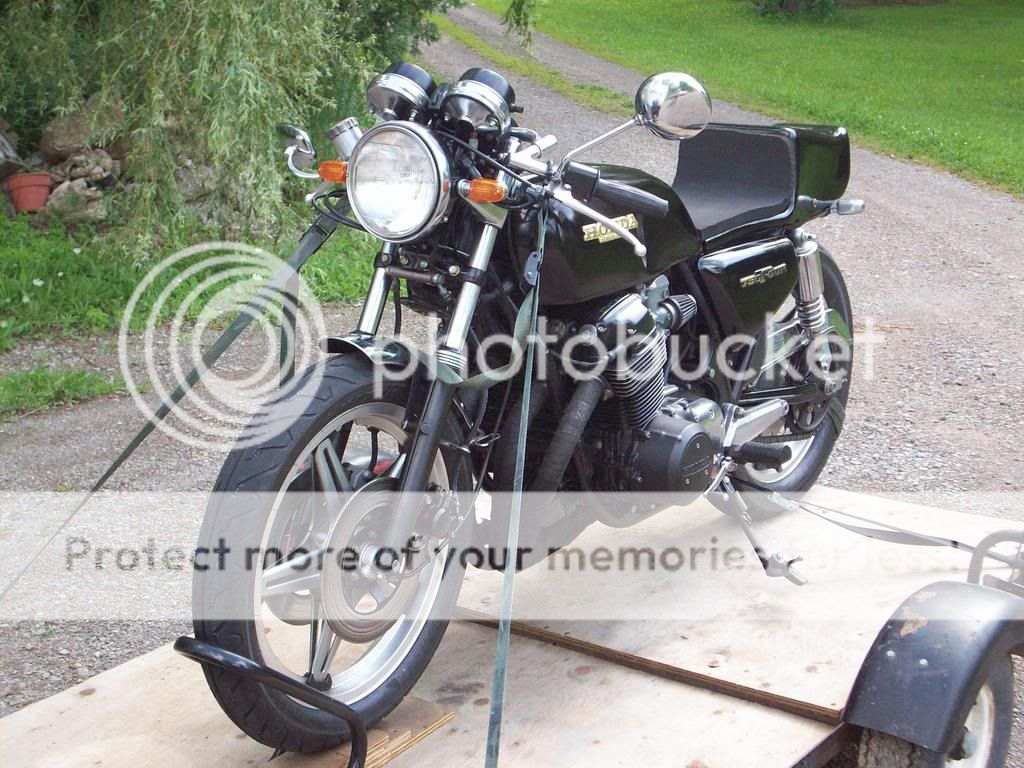
Here's a couple pics of the finished product. I've still got to make a seat cover, but at least it is driveable.
Wow, that is a cool looking bike. Really like how the seat looks, fits in well with the whole bike. I even just like the padding how you have it there now. Just too bad the edges are not smooth, if they were I'd leave it like it is and not even bother covering it.
as long as it's on there, it's better than nothing.
I want to add some more padding, and then I need to sew up the old seat cover to finish it off. It's not so comfortable fight now the way it is, but it's a cafe, not big on comfort
Wow, that is a cool looking bike. Really like how the seat looks, fits in well with the whole bike. I even just like the padding how you have it there now. Just too bad the edges are not smooth, if they were I'd leave it like it is and not even bother covering it.
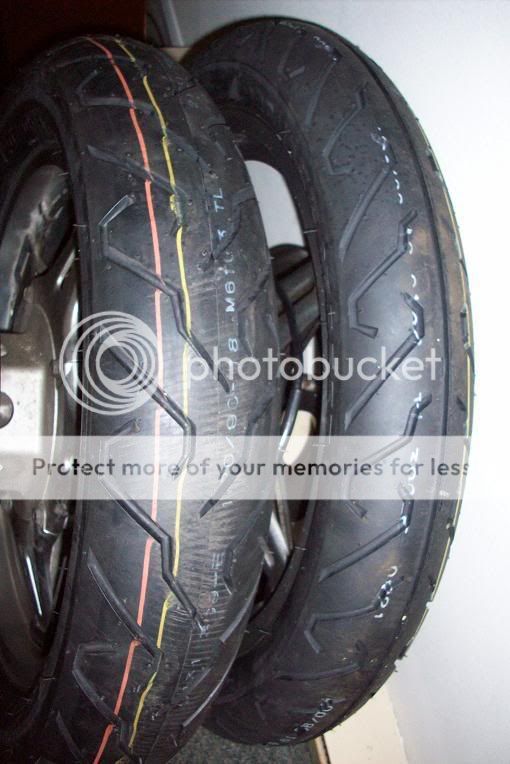
100/90/19 front, 120/80/18 rear (I think) I'd have to check the bike to make sure.
I just finished running a 3/64'' carbide bit through my main jets to bump it up to a 120 main from the stock 105. I have a couple sets of carbs laying around, and figured I'd try and hone out the stock jets instead of buying a whole kit.
I'll swap them shortly and see if my fueling problem goes away.
I've got to throw some new plugs in her too, the last time the bike was registered is more than 10 years ago, so I think I'm about due
man that is looking great! i am not sure if you have painted the wheels at all, but i have used epoxy applience paint on many many things on bikes and it works great! i did the lower forks on my harley in it and it looks just as good as powder and it easy to do! funny thing is I DO POWDERCOATING... just was too lazy to disassemble the front end... if you want any pics just let me know... looking great man!
I checked those tire sizes. It is 100/90/19 & 120/90/18
I had a spare set of carbs from a 78'CB650C, and I removed the 95 main jets and drilled them out. to 1.19mm. Seems to run fine now, still stumbles off the start because of the pressed in pilot jets, but I think I'm going to live with it as is.
JRK5892, it's always good to get some ideas, post up some pics if you can 8)
here are the lower legs on my Harley.... sand down with 400 grit till it is baby but smooth.... then just light layers of paint... be sure you get it done in 1/2 hour.... that is all the tiem you have to work with this paint then you have to wait a week... trust me, if you do not wait the week for it to cure it will peel up and crack and just look like crap! but if you do it right and take your time this stuff is awesome and so so durrable! It is what i shoot frames in when i dont want to pull the motor all the way out to powder...
The bike i am doing now, i am using the white epoxy paint to shoot the rims, then rino liner bed liner to do the spokes and center hubs... gives it a good contrast and texture, really shows off how smooth this paint drys
Before
looks pretty good JRK5892. Seems to me I might have something to add to my winter projects.
I've still got problems making up an exhaust hanger. I think I may have to cut up the aftermarket K exhaust I have and put the baffle underneath the bike. Bloody thing grinds out when I'm making far right turns... I'd at least like the peg to drag before the exhaust does. I make my bikes to be ridden, not babied. This old girl is no trailer queen, and will be thrashed.
Well, time to move on to the next project. I finished the seat cover, just in time to sell it off. At least it went to a good guy. I just couldn't justify having two bikes right now, after having just bought a house.
This site uses cookies to help personalise content, tailor your experience and to keep you logged in if you register.
By continuing to use this site, you are consenting to our use of cookies.


")