Follow along with the video below to see how to install our site as a web app on your home screen.
Note: This feature currently requires accessing the site using the built-in Safari browser.
We noticed you are blocking ads. DO THE TON only works with community supporters. Most are active members of the site with small businesses. Please consider disabling your ad blocking tool and checking out the businesses that help keep our site up and free.
The rear subframe is going to be enclosed. I have some 1.5mm Alu here perfect for the job but wanted to attach it to the subframe with hex head button bolts. Anyone got some tips of how best to achieve this?
I want the Alu panel to be flush with the subframe tube so was thinking of welding on L brackets to the inside of the tube and tapping them. Anyone got any ideas?
Looks like I might have some help welding up the tank, fingers crossed it works out and we can seal it up and I don't have to put a liner in it.
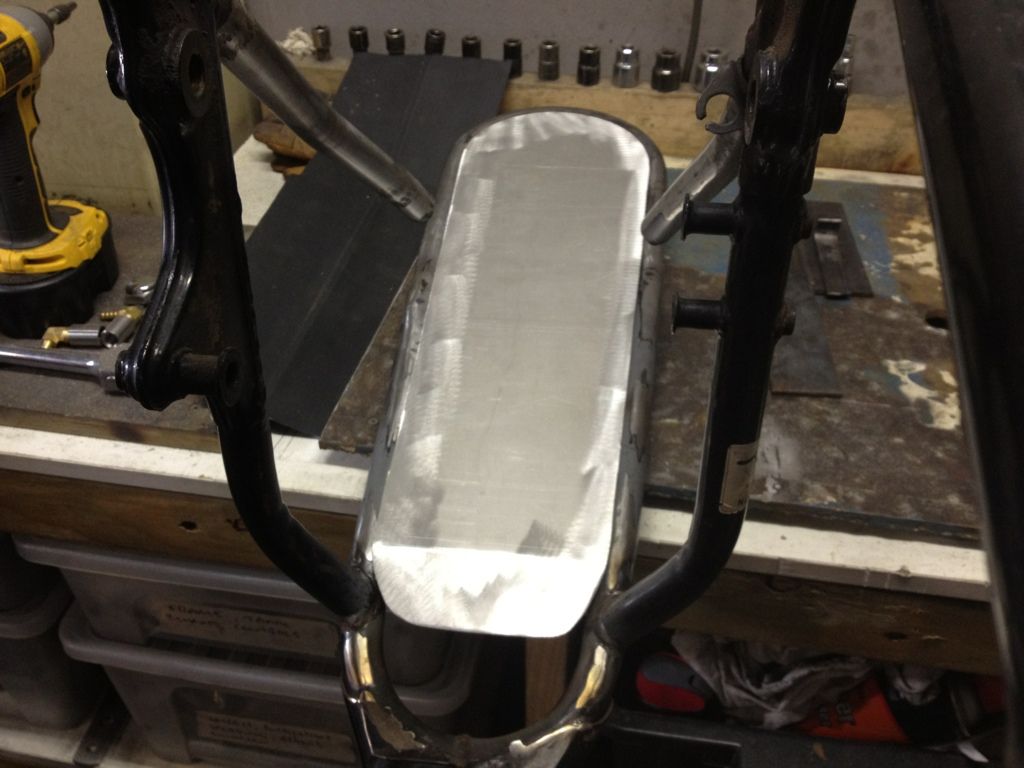
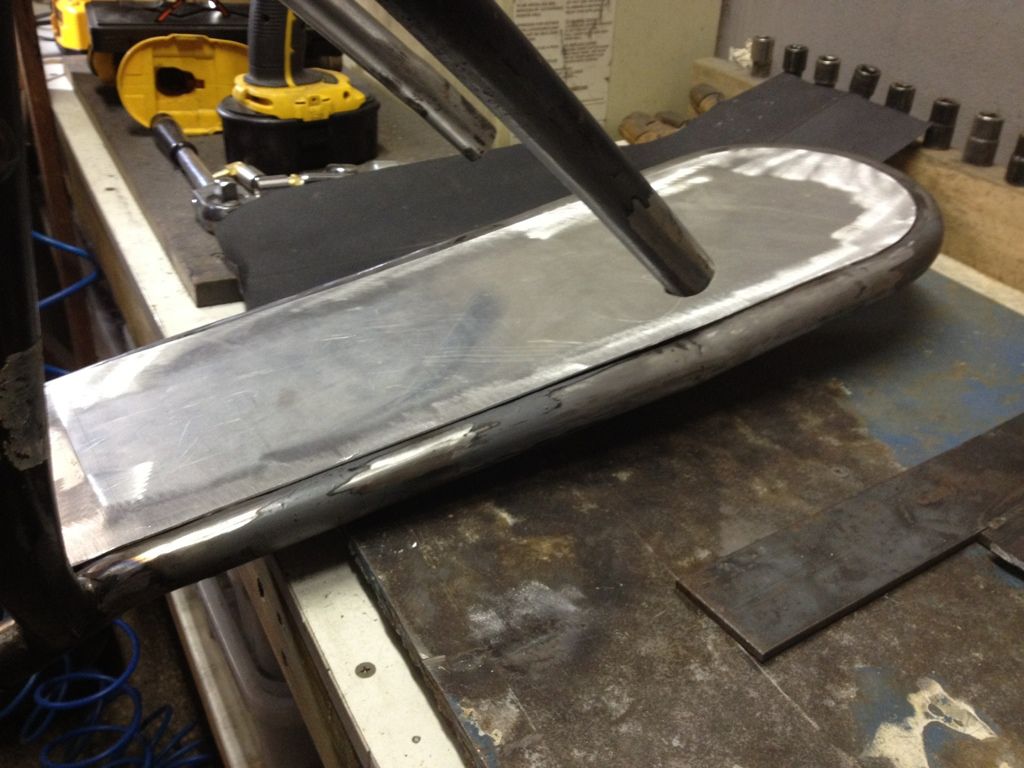
Today I crossed another couple of jobs off the "to do list". First up was a subframe tray, last one was steel and I welded it to the frame rails but it had to be cut off and access was compromised. This time I thought I would make it out of Alu (as I've got some 1.5 mm floating around) and attach it with button hex heads. Will give it a nice industrial look and mean its removeable too. Plan is to paint/PC it black with the rest of the frame:
I haven't worked out how I'm going to mount it yet but think I'm going to buy some 20mm square stock, cut a radius edge 1 side and weld it to the frame rail. This will give me a block to drill and tap.
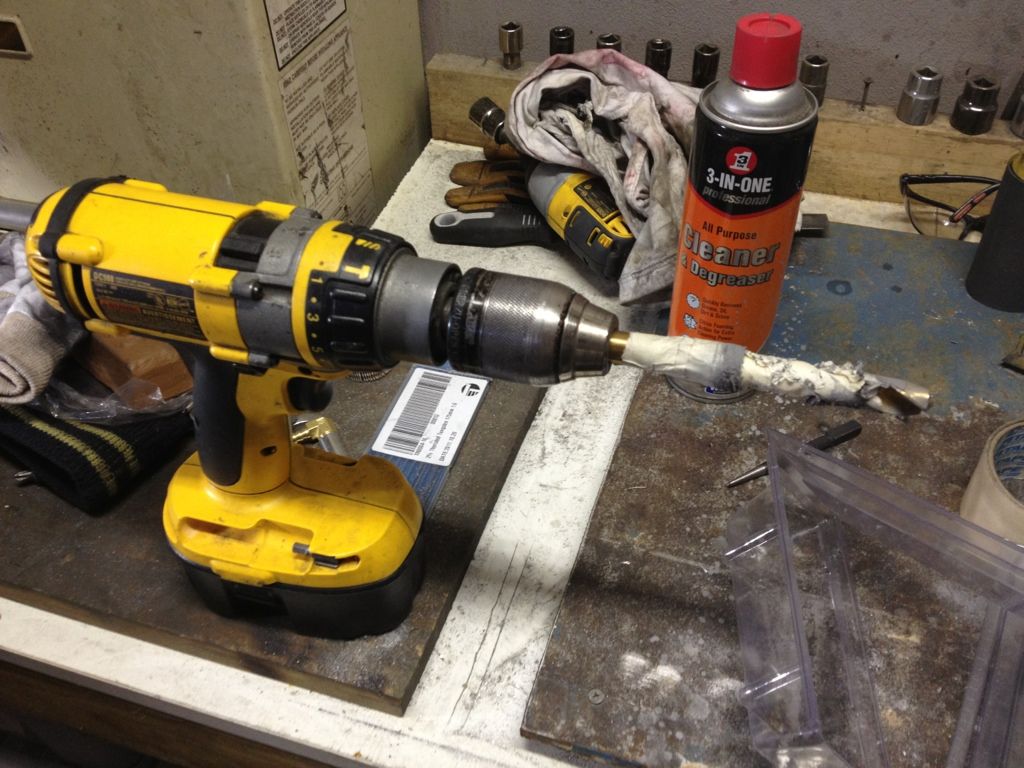
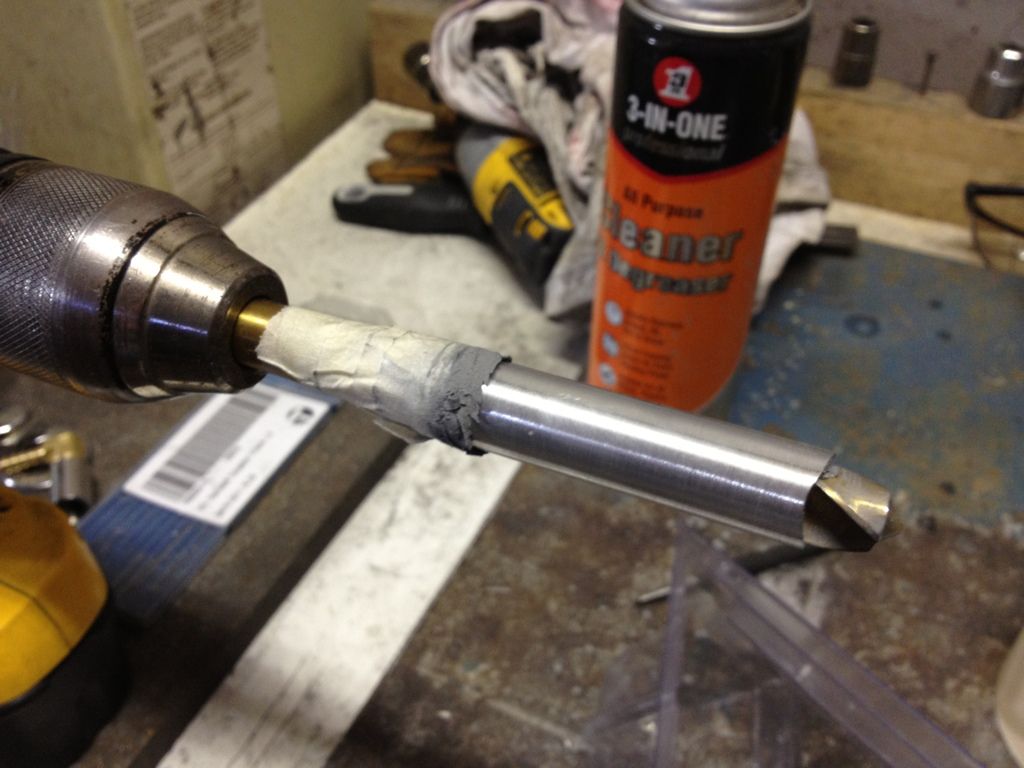
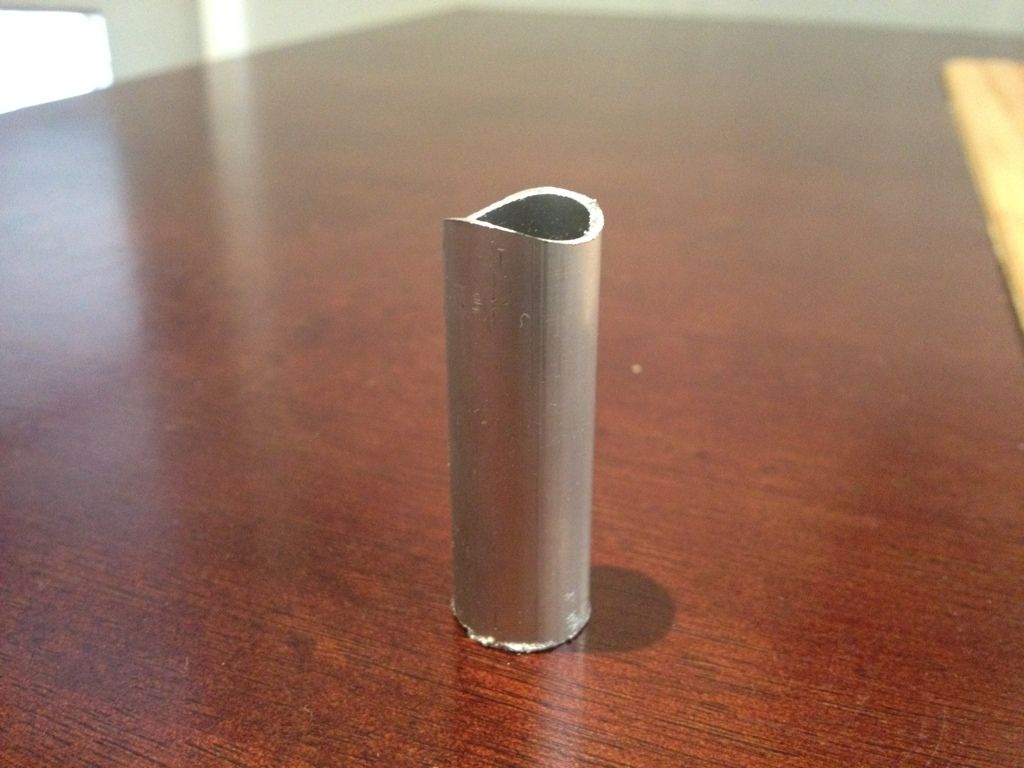
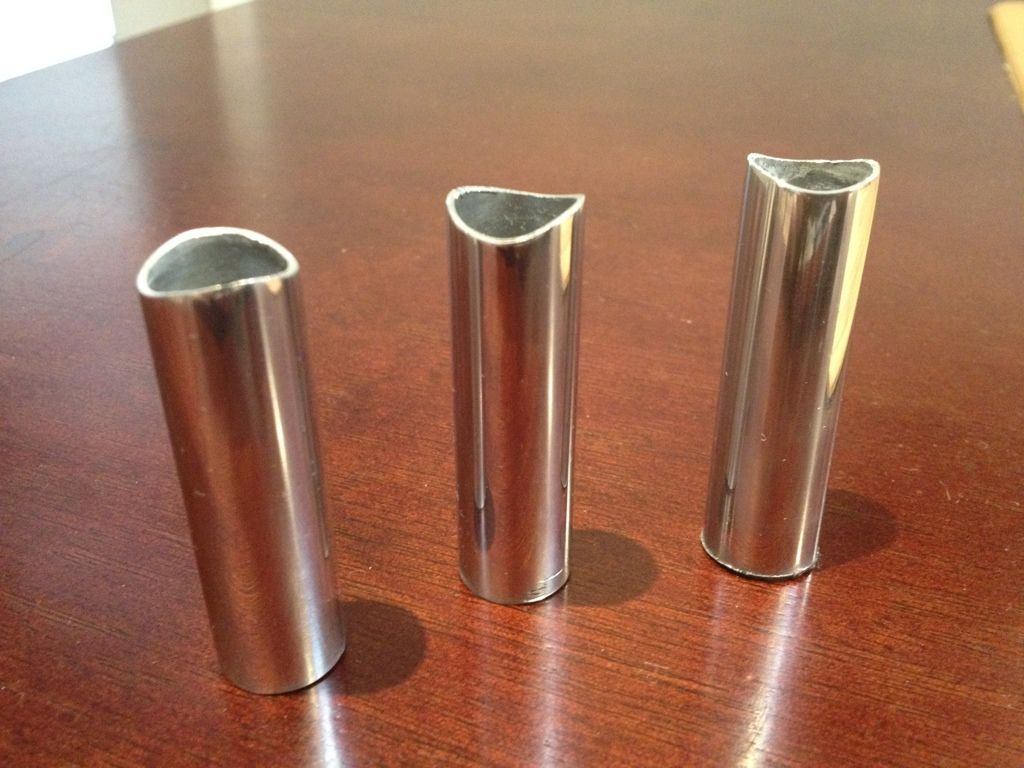
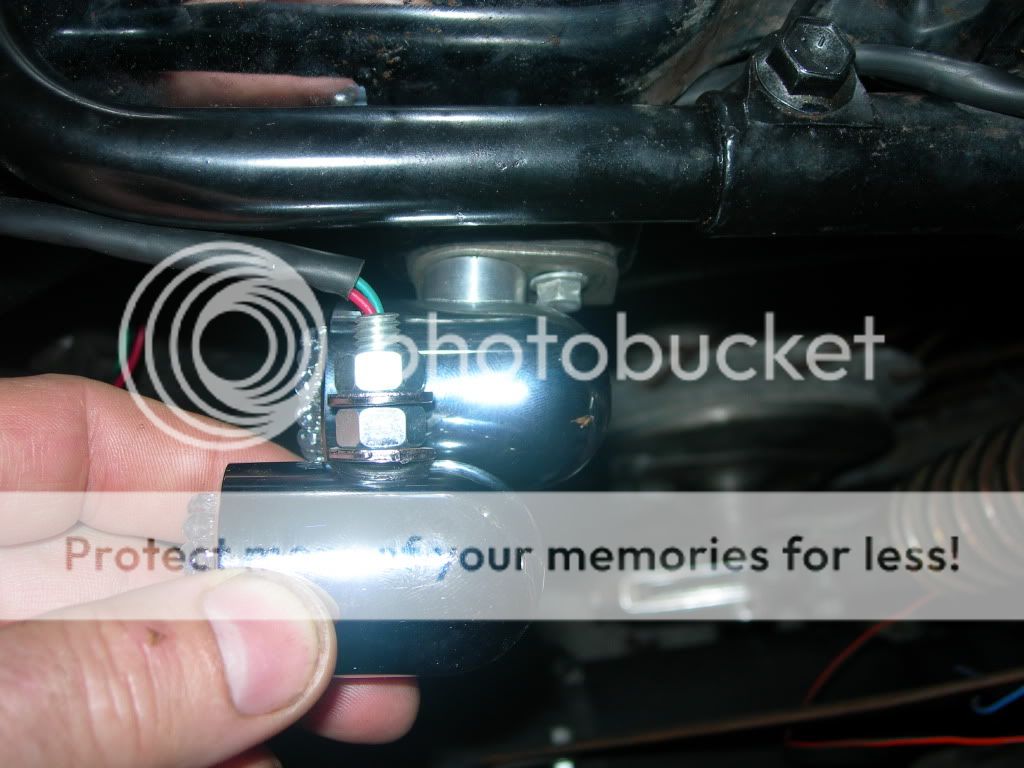
I also started the indicator stalks, pretty pleased as this is 1 job I did today that actually came out how I thought it would
Why stalks? Well the eBay LED signals I bought only had bolts and washers and looked shit. Bought some 16mm Alu tube, cut the end with a 33mm hole saw to get a radius, then whacked it on my DIY lathe to polish them up. Turned out good:
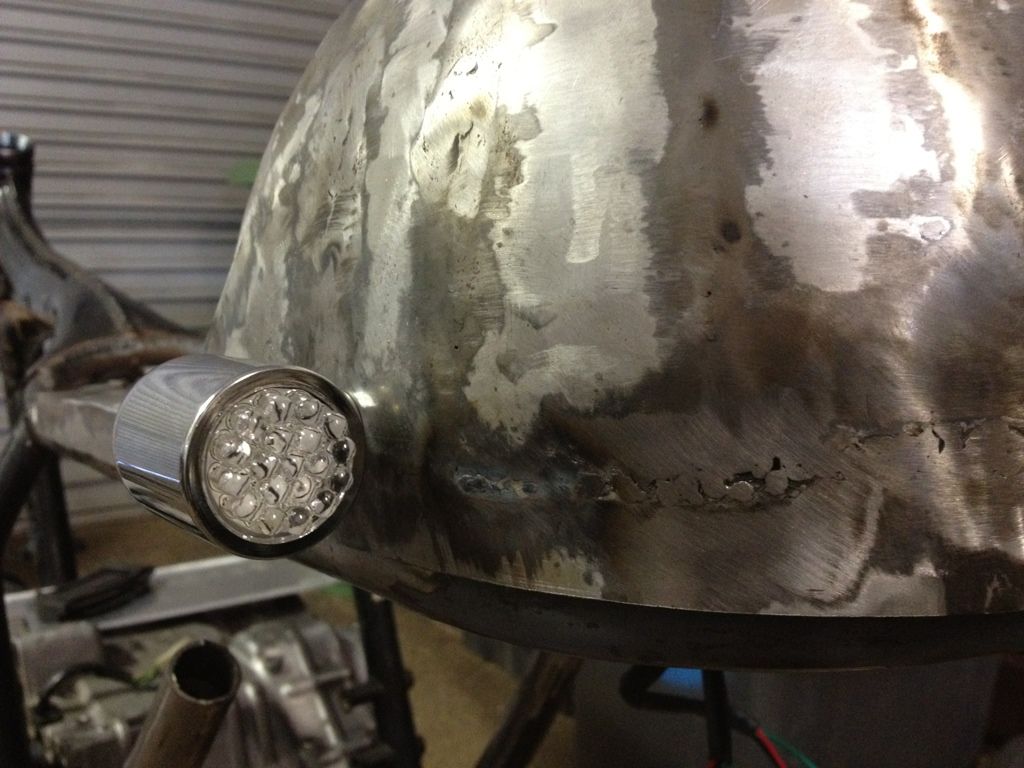
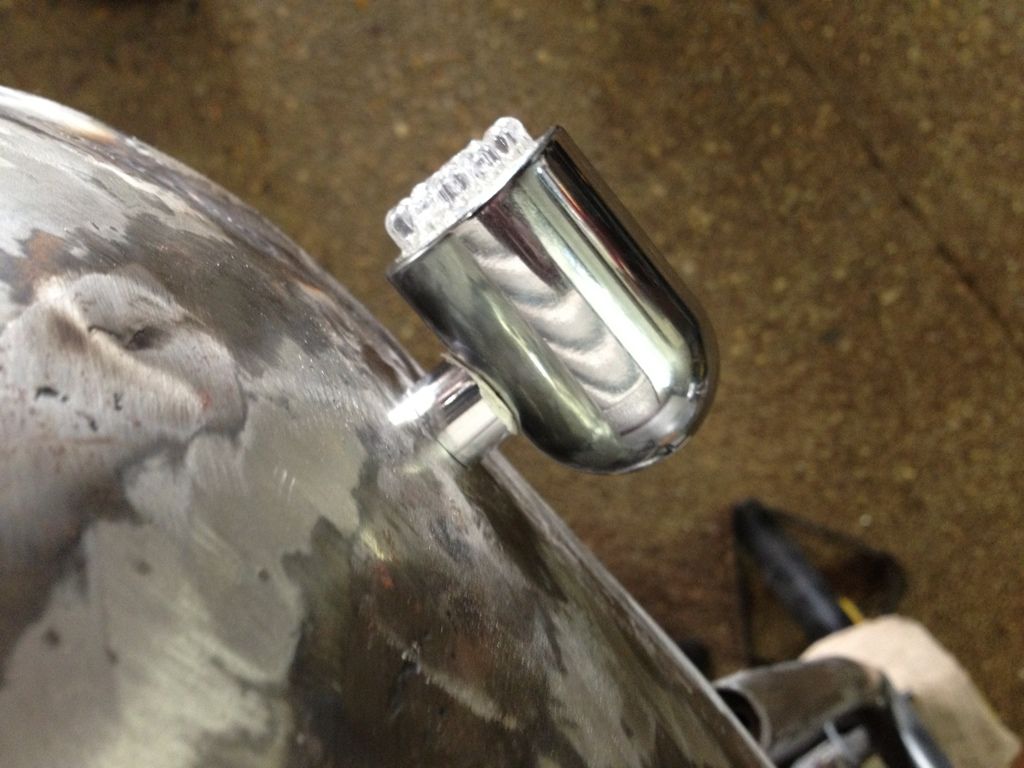
They make thr back end look a bit like a robot but not sure on the options other than not running them and that's not an option as the bike is going to be as legal as possible.
Worst case I don't run these and try something more discrete.
I'm hoping they blend in a bit more when the rear end comes together.
very nice on the turn signals. I think they look outta place because they are "finished" and the rest of the bike is not. Once you get some paint on things and start to wrap things up they should blend nicely!
Ah ha, welcome BC. I hope your right re the signals, just putting the swingarm back on made a difference so hopefully they blend even more when the wheel goes on too.
IMHO you are right Neevo, they look out of place. I think the reason is that they are mounted too high so they stick out (all puns intended). I would leave them until you finish the rear end of the frame and then tack them just under the seat for a less obvious look.
IMHO you are right Neevo, they look out of place. I think the reason is that they are mounted too high so they stick out (all puns intended). I would leave them until you finish the rear end of the frame and then tack them just under the seat for a less obvious look.
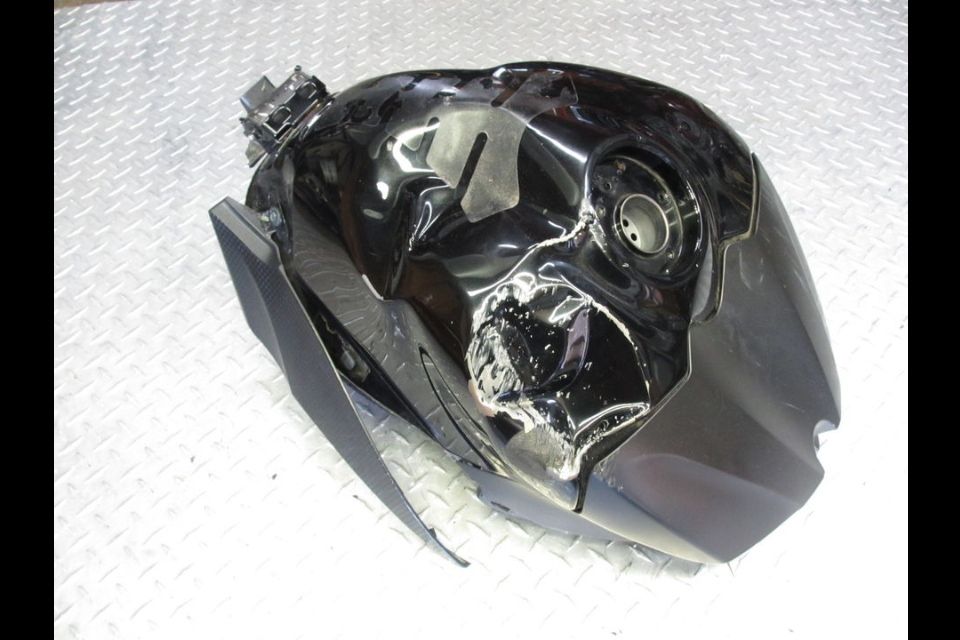
You need the tank it came from. What I have done a couple of times is to buy a badly damaged tank complete with cap and key and cut out the tank mounting ring to weld it into an old style tank.
This was an old style Suzuki tank with tall flip filler cap. I snagged a 2007 GSXR tank that was a piece of junk - and cut teh mounting ring out and then fitted a simple billet cap.
Unfortunately my welding skills leave some room for improvement, so it took a lot of work to get it right. It's not a complicated upgrade, but it takes patience or skill - tick whichever box applies.
Cheers PJ, your opinion is always valued, Teazer I'm 1 step ahead of you with the tank. Bought this 07/08 R1 beauty with a few other goodies from the US of A:
Going to cut the gas cap mount out and weld into the 400's tank:
Fingers crossed I can get it looking as good as yours, but my welding skills are still a bit turd
I've got a buddy here though that is a welding genius that I'm sure could help me out if I get into trouble.
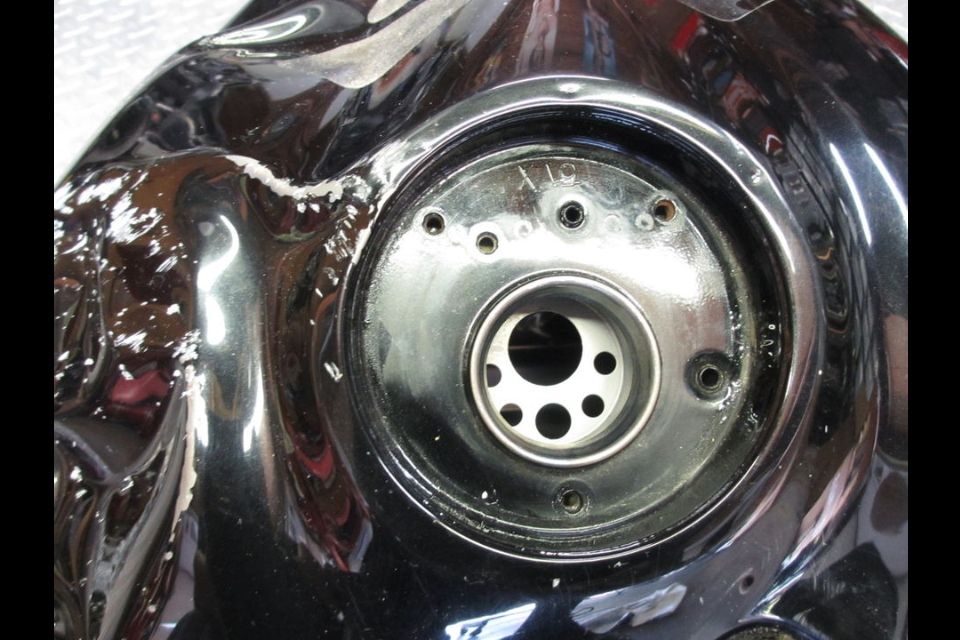
I assume the holes don't go into the tank, I will get a better idea when it's here and cut it up, just trying to work out how it's sealed though so I'm prepared when I cut it. Are you suggesting some of those holes drain through the tank? If so I will make sure I plan for a drain hole/tube on the 400's tank too.
At least 1 will drain through the tank as recess fills up with water when they get blocked.
The drain is probably the dimpled tube on right in pic (it will be on left when tank is on bike - sidestand side )
'Cali' model will also have breather line going to an activated charcoal canister (you'll see a couple of metal lines coming out bottom)
There are also various tubes welded inside for the injection system/pump/return/etc.
Should be easy enough to figure out when you have it in your hands
You should see at least 1 tube going through the tank and out of the bottom. That's the drain that PJ is talking about. That's all you need, but you do have to drill a hole in the floor of the tank to take that tube and weld or braze it up after the filler neck is welded into position. Any surplus holes/tubes can be closed off.
That tank looks similar to the one I bought. I got my first squashed tank from Vic Wreckers many moons ago. They even had a couple where they had cut the filler neck out and dumped the shell.
This site uses cookies to help personalise content, tailor your experience and to keep you logged in if you register.
By continuing to use this site, you are consenting to our use of cookies.

")