
Hoosier Daddy
Earache my eye...
I love the smell of Body Filler in the morning.
I lived in Baulkham (sp?) Hills a million years ago
Hoosier Daddy said:I love the smell of Body Filler in the morning.

ducatiboy said:You're making awesome progress Neevo esp with a little one slowing you down. Keep it up
Kwality said:Looking good Neevo! Closing in on a year and 100 pages for the build and things are more than beginning to take shape. Coming together nicely!
kelvis said:Hey Neevo,
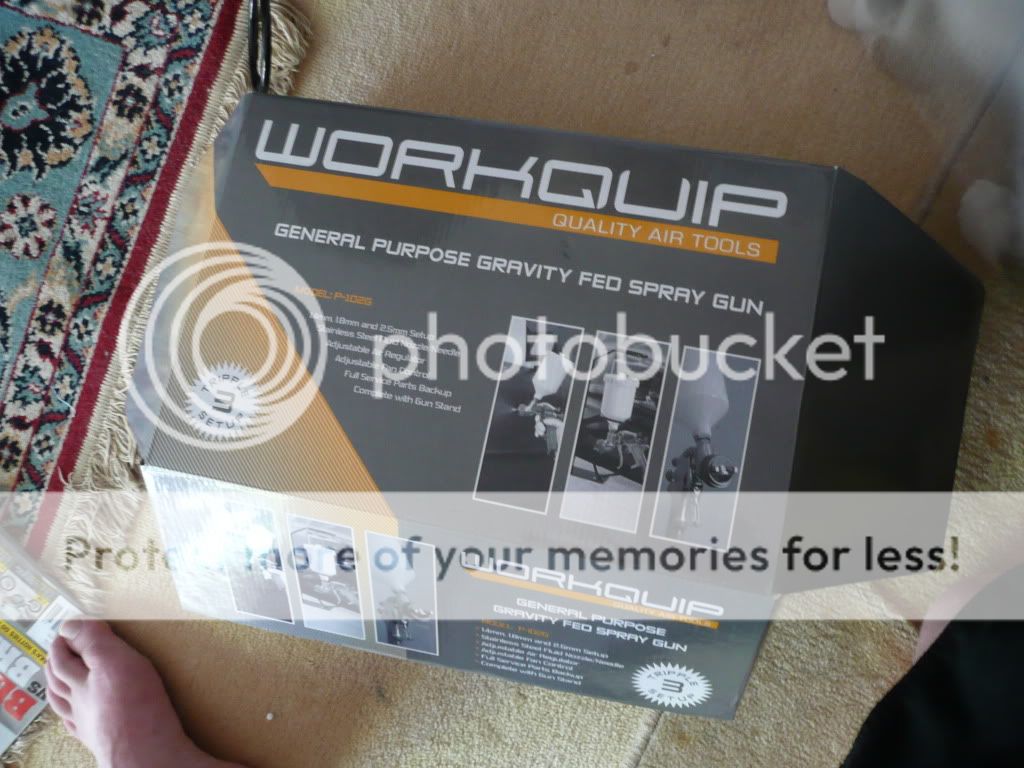
I remember reading a few pages back in your thread that you were thinking of investing in a spray guy and painting the bodywork yourself, thought I'd share this with you:
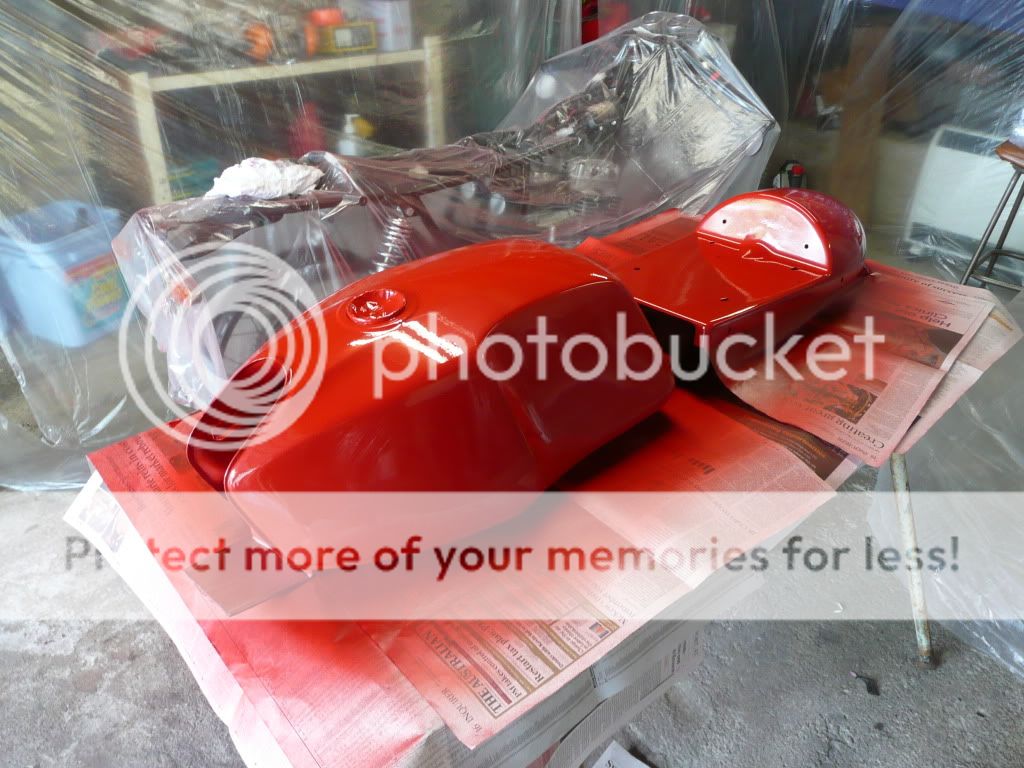
Bought this the other day for $120 (I'm in Tassie) from the local auto paint shop and I must say, for the money, it is awesome! Painted my tank and seat today (only basecoat, pinstripes & clear tomorrow) and I am really impressed with the finish that can be achieved, heaps of adjustability, air pressure, flow rate, pattern size. Give it a shot (pun not intended!)
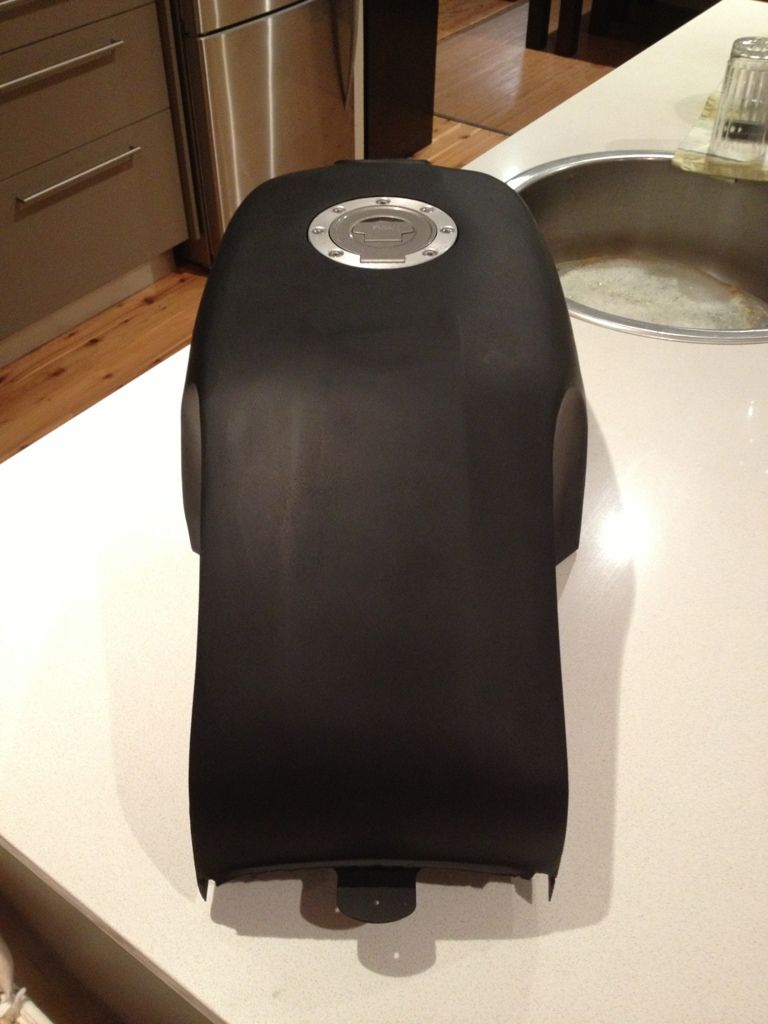
BCBarker said:whats with the little dent in the front left?? Filler primer will not fill that!
crazypj said:Custom painter friend of mine always primers before filling, epoxy primer sticks better to the steel than filler
") Then use a much finer grit to over the final prep before paint. Are you planning to paint it yourself? If you are, you will be happy you took these steps, if you are not then you can probably ask your painter to give it a once over. Should look great. Cant wait to see the fruit of all this lobor.
Then use a much finer grit to over the final prep before paint. Are you planning to paint it yourself? If you are, you will be happy you took these steps, if you are not then you can probably ask your painter to give it a once over. Should look great. Cant wait to see the fruit of all this lobor.BCBarker said:The trace coat is your friend. (High contrast coat of paint on top of primer) it can be cheap paint because you are going to sand it off. I use matte black spray paint over light gray primer.


