Down under, an idiot and a 400F

Sonreir said:
You get out what you put in, mate. :D

Let us know if you have any specific questions.

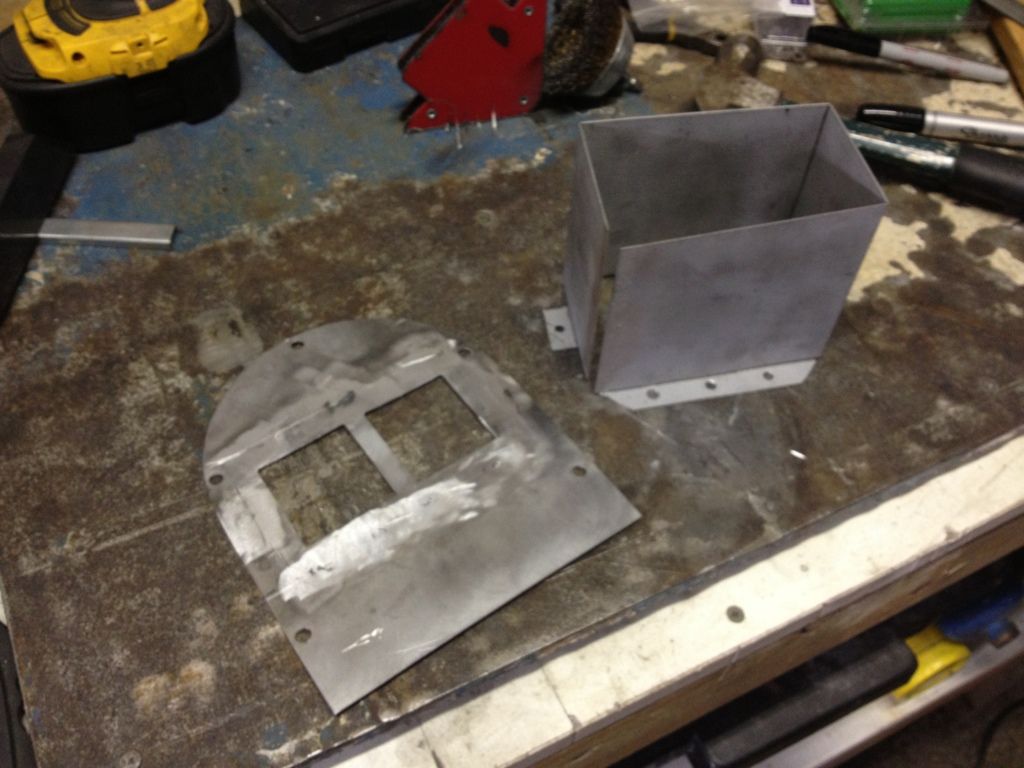
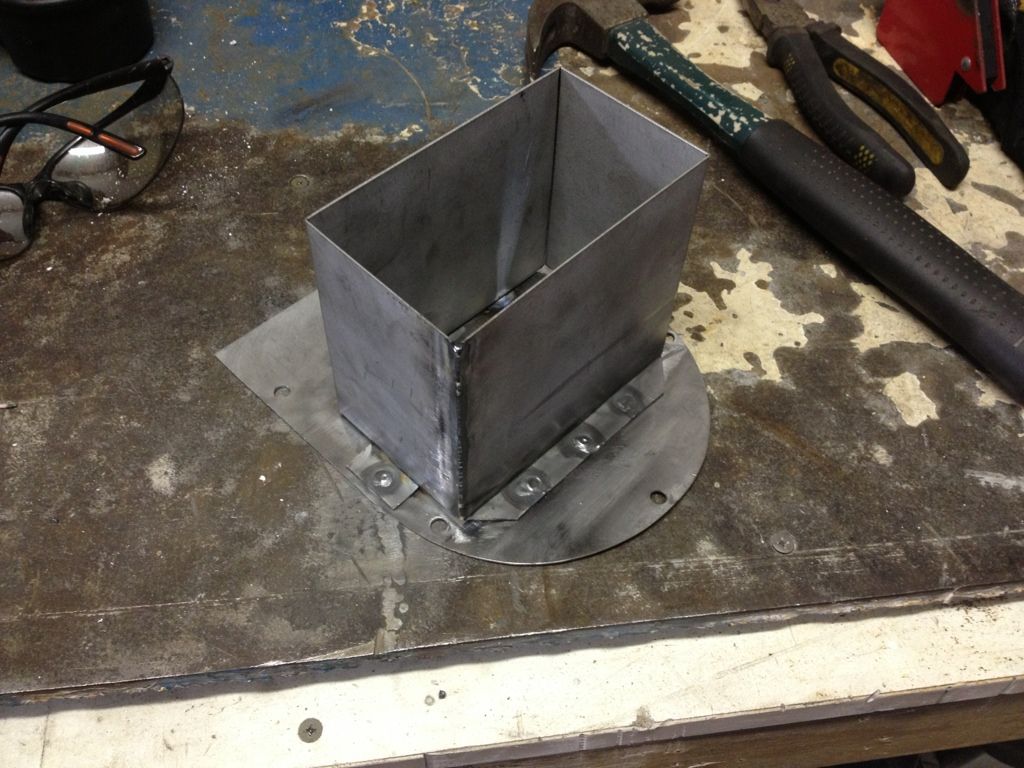
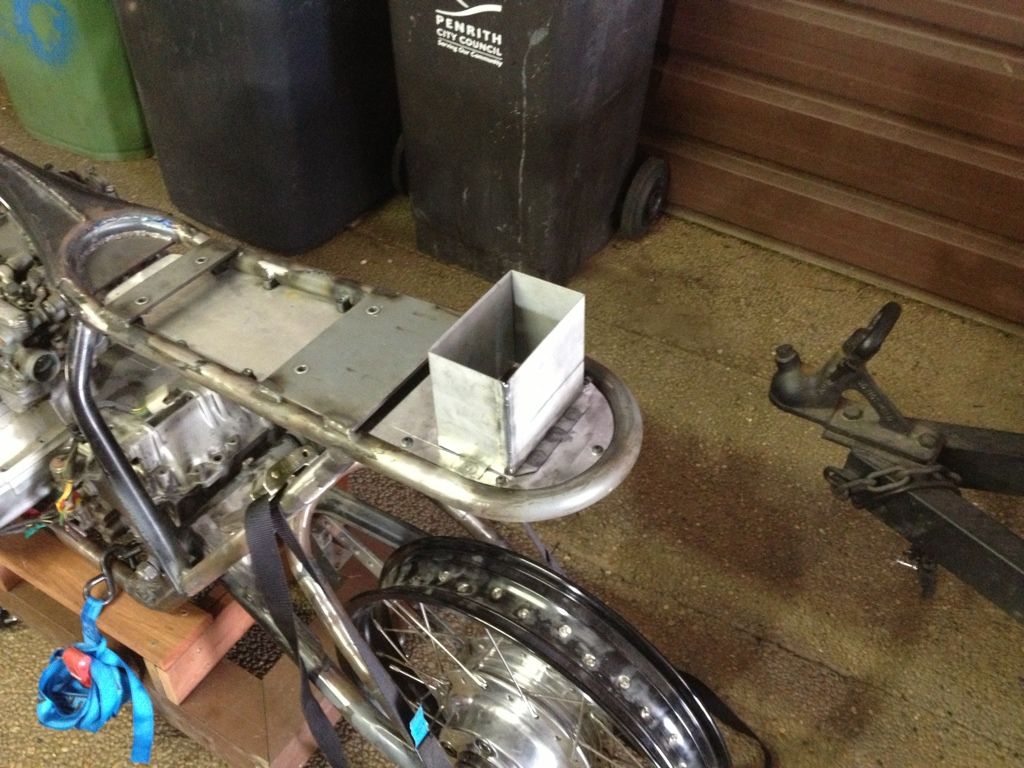
So I put in a glass of white wine and sat here with my laptop and an Excel file, working on the exhaust calculations. All went well but I had to make some assumptions and I had 1 issue which was resolved after using an online ft/in cubed converter.

Assumptions were:

1. CB400F cylinder has 2 pulses per revolution
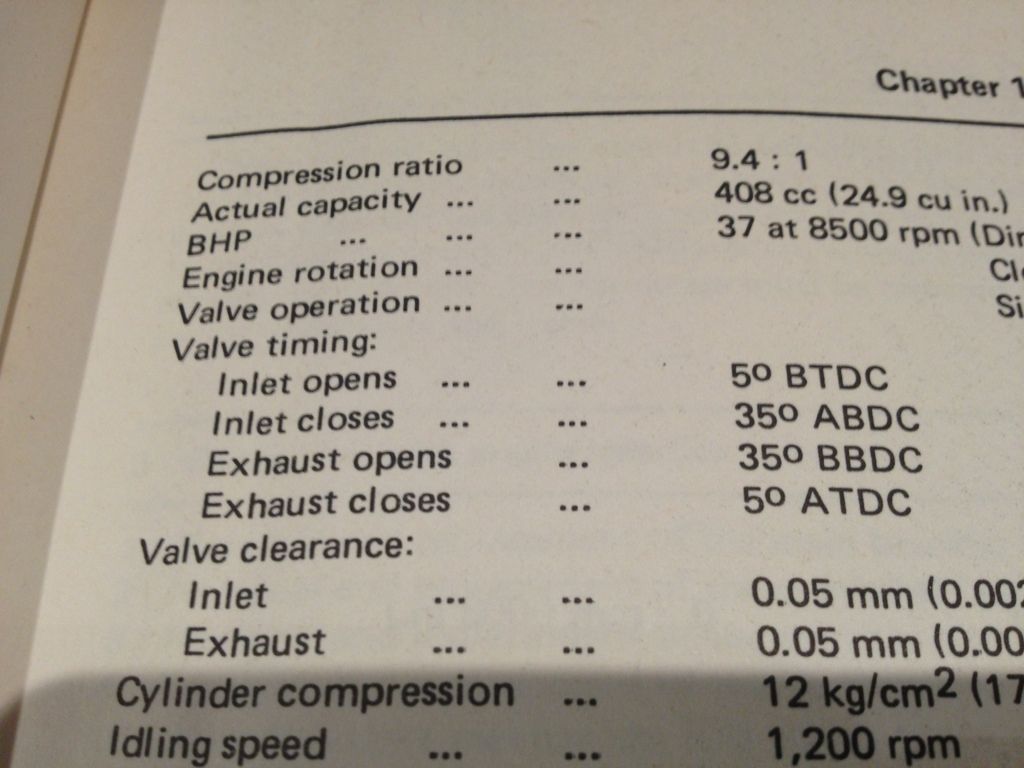
2. No idea what the exhaust port timing is so I just used your calcuations for the moment

I was getting an error when I converted the cubic feet back into cubic inches. The 144 conversion I was using didn't match up and made a diameter of about 2 inches. Used an online converter instead which gave a different number and made the header diameter much more in line with what I thought.

Sonreir would you mind seeing if I have this right? I would assume so as I came out with the following numbers, however for the primary length I neither know the degrees the exhaust opens and I guessed my 400F has a peak RPM of 11,000 also. Here's what I came up with:

Primary Diameter: 1.29"
Primary Length: 15.08" (same as yours as I just used your numbers)
Tailpipe Diameter: 1.44"

Calculations are in the attached (did it in Excel but can only load up .pdf)

Edit: just checked the manual and it looks like the angle for exhaust valve opening is 35•, doesn't change the header length as its less than 15"

39772979-F9AE-40E5-87F4-2C4D6DE222EA-1083-000000920332B191.jpg


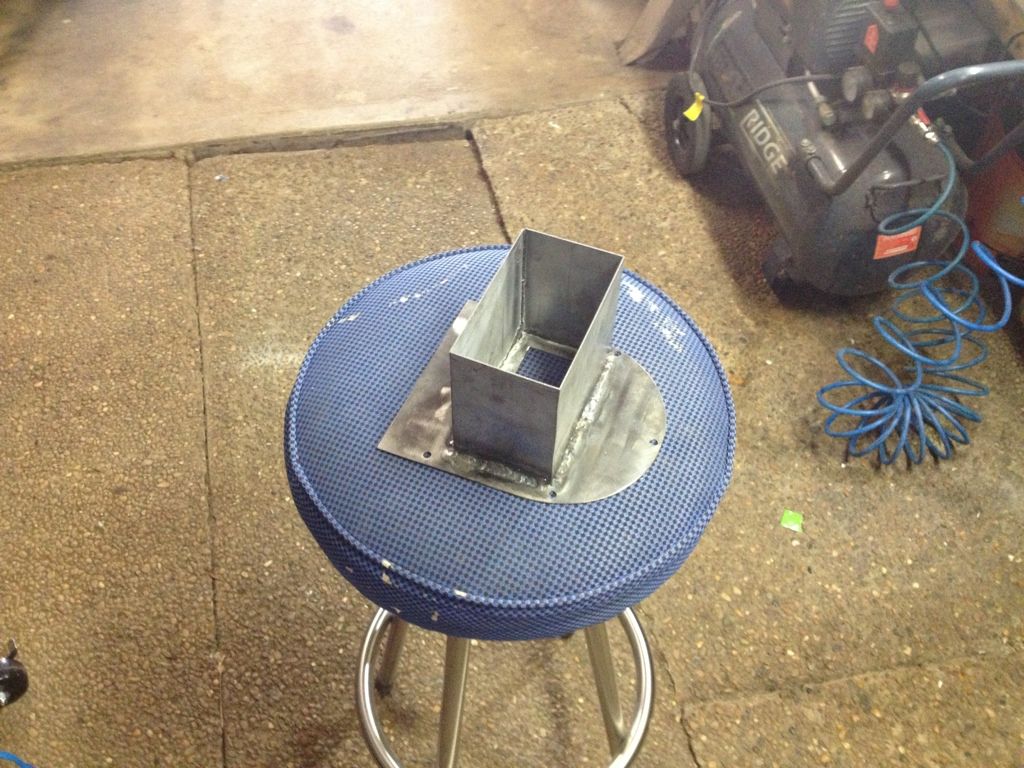
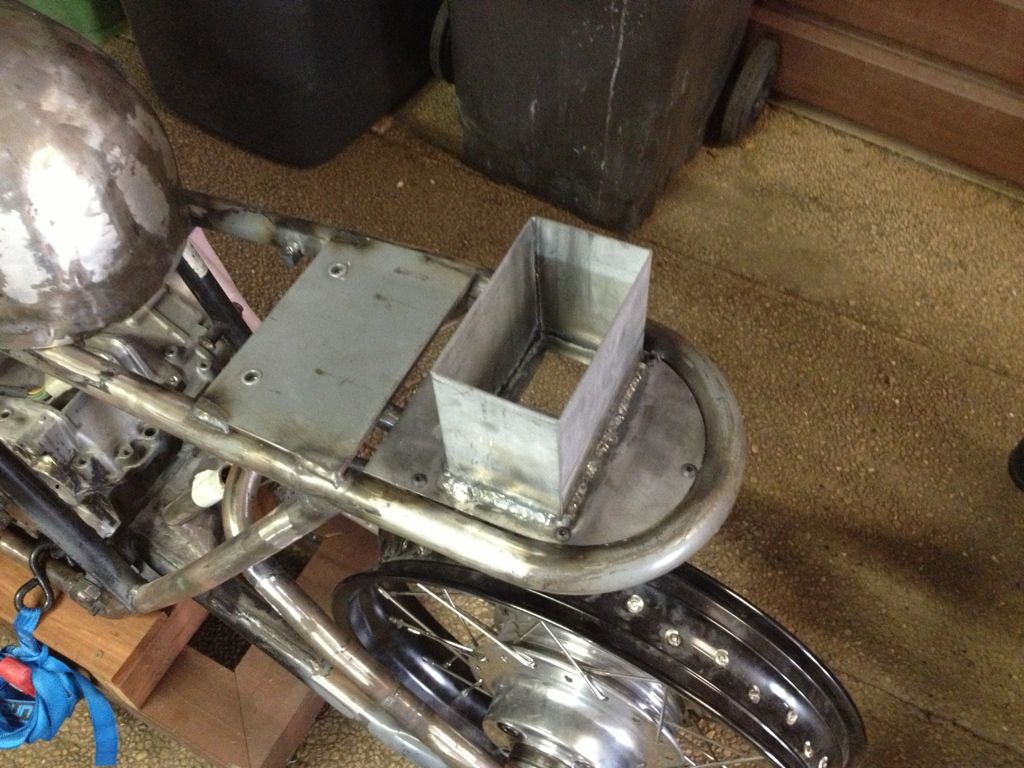
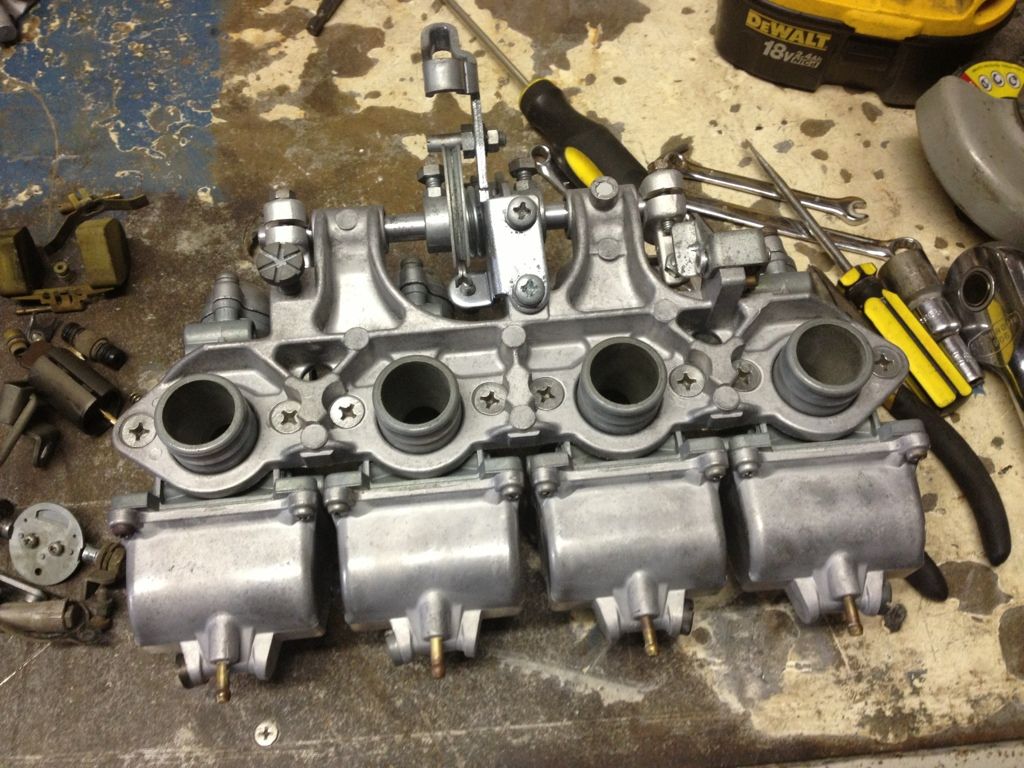
It looks like the exhausts I want to use from Danmoto are 1.5" inlet diameter. Sounds great but I want to use 2. What effects will this have on the bike, is too free flowing exhaust going to cause seriously negative consequences as I doubt I can get seriously smaller given the diameter is fixed.

Definitely want twin exhausts though ;)
 

Attachments

  • CB400F Exhaust Calculations.pdf
    348.3 KB · Views: 212
Each cylinder fires every other revolution and has 180 degree crank.Firing order should be in the manual,, I think it's 1342 or1243? Been up all night, can't sleep again or think straight ::)
At 10,000 rpm you would have 5,000 firing strokes per cyl so your dealing with 20,000 exhaust pulses per min at max rev
 
crazypj said:
At 10,000 rpm you would have 5,000 firing strokes per cyl so your dealing with 20,000 exhaust pulses per min at max rev

Cheers PJ! That makes my exhaust calculations incorrect.

Just reworked them and it has required tailpipe diameter at 2.03", this is good as the 4-1 will go into 2" and the twin 1.5" outlets have a slightly larger area than is required (3.25 sq in vs 3.53 sq in on the twin exhausts).

Sounds like I'm pretty close with the setup I want:

A. 4-1 header (1.25" into 2")
B. 1-2 collector (2" into 1.5")
C. Twin exhaust outlets (1.5")
D. Twin Danmoto mufflers (1.5" inlet, 1.88" core)
 
You'll normally be operating in the 6~8,000 rpm range on the street (or lower) which will mean longer pipes
 
Longer equals lower torque right?

I'm aiming for about 4-5 feet total length but need to see where the mufflers go first. Aiming for them to be out at axel length but raised like a Ducati Monster. Should help with torque curve vs mega shorties.
 
Not exactly. That 35 degrees BBDC is measured at 1mm for checking purposes. The valve will start to lift at more like 60-65 degrees BBDC. BTW the old race kit "811" cam for a CB72 had a 40 degree exhaust opening on specs at least.

I plugged your numbers or at least my interpretation of them into an on line calculator and using cylinder volume it suggested a 1" tailpipe and using 4 times that gas flow to allow for the expanded hot exhaust gases, it came out to 2" diameter.

But let's put all the theory off to one side for a moment. If 1.5" inlet works on a modern 4 cylinder larger capacity motor, it should be fine (if slightly large) for a CB400F with the quiet street baffle insert in place. Keep it simple and stick to one muffler - makes everything easier. (and cheaper)
 
Maybe it's semantics but longer pipe won't mean lower torque just produces max at lower rpm
Valve doesn't flow much at lower than 1mm lift, unless you do some mods, even then it's only 5% or so (just isn't enough time at 10k)
 
crazypj said:
Maybe it's semantics but longer pipe won't mean lower torque just produces max at lower rpm
Valve doesn't flow much at lower than 1mm lift, unless you do some mods, even then it's only 5% or so (just isn't enough time at 10k)

Sorry mate that's what I meant, lowers torque curve a bit.
 
I have a question concerning exhaust, I have similar engine. Can you do a 180 degree turn (if not two) in an exhaust pipe? Or is this terrible for flow? As in making a tight S turn under the engine and frame in order to get longer pipes without putting the muffler out near the wheel? Like a underslung muffler.. (think Buell exhaust)

Sent from my Galaxy Nexus using Tapatalk 2
 
Bought some metal today from my local Metaland. Much cheaper than buying offcuts from a local fab shop however the drawback is the amount you buy, think I should get a few electrics trays/battery boxes out of this (about 400 I think ;):

21DC6F67-E25C-4307-83AF-38CC30343F9C-2048-00000131D65918F6.jpg


Also bought the tube for my swingarm brace (1" for the brace and 22.2mm for the uprights, all 2mm for extra strength) and some Alu flat for my exhaust hangers.
 
neevo said:
Sounds like I'm pretty close with the setup I want:

A. 4-1 header (1.25" into 2")
B. 1-2 collector (2" into 1.5")
C. Twin exhaust outlets (1.5")
D. Twin Danmoto mufflers (1.5" inlet, 1.88" core)

So another change, forced by the collectors available from Meg's (coneeng.com). Turns out the only way to match a 4-1 with a 1-2 that has an exit OD of 1.5" is to use a header dimension of 1.375" (ideal was 1.29").

This ringing any alarm bells?
 
Make a collector the sizes you want, isn't really a major PITA
You've shown you can 'bash tin' with the seat
 
Battery box today. First cut some sheet, scored it with the angle grinder and welded up the corner:

A9FF6F42-3F54-4BCD-BCEF-7DB51CA844A2-770-00000057992E0D3B.jpg


6BFEE0F5-1007-47BF-9ACC-9E684B8E9FB6-770-000000579F2F4778.jpg


Next up I test fitted the base plate:

5CF79ADA-9A28-439E-82B9-25EEE43884A3-770-00000057A44A156F.jpg


Then welded them together, not happy with the job as I had to put too much heat into it and made a mess of the base plate:

09336469-3525-4B04-9A1F-86D78CC69D1E-770-00000057A9749CE8.jpg


I was toying with the idea of redoing it and fate forced my hand when I fitted it up with the seat, I had snuck a few mm on the positioning of the battery box and it fouled the seat hump. Oh well, I will have another go. Here it is in its draft format:

FF7DAE12-595F-4553-B200-50001D70D4D7-770-00000057AFF0F89B.jpg
 
You need to get rear tyre on, remove the bar you have in place of shock and 'guesstimate' shock travel/wheel position
Then drop battery box through plate slightly to get 1/2" or so clearance at max 'bump'
As for collector, I did a development on sheet of card for the 360, it's easy to draw couple of circles the length apart you want then divide
Collector3.jpg


Collector2.jpg
 
crazypj said:
You need to get rear tyre on, remove the bar you have in place of shock and 'guesstimate' shock travel/wheel position
Then drop battery box through plate slightly to get 1/2" or so clearance at max 'bump'

PJ it shouldn't make any difference as I've got a subframe tray under the whole seat area that the tyre would hit first. I've lifted the whole subframe up about 1" to 1.5" which means the tyre shouldn't hit anywhere near the fame rails now.

Battery box has been redone and its worked out nicely, need to get a battery in there to really see what the clearance is like.
 
Thats a pretty big battery box. Can't you just cut that one down a little so it doesn't foul the seat hump and use smaller battery?
 
ducatiboy said:
Thats a pretty big battery box. Can't you just cut that one down a little so it doesn't foul the seat hump and use smaller battery?

It's based on the dimensions of the Ballistic Evo2 8 Cell (114mm x 62mm x 112mm) with a little extra for some foam padding. I'm getting rid of the kickstart lever so need something with some "kick".
 
So the welding on my battery box was eating away at me, it was shithouse to be honest:

1F2AEFA8-E6FB-4EC8-B42D-CCB51DF6F3FD-1673-000000E3E0671249.jpg


C52CCF62-4AC5-406F-9057-770890BBB0CA-1673-000000E3E59F76EF.jpg


EED4ABD7-A63C-43F3-BE54-3D60C97E1739-1673-000000E3EA29FB11.jpg


So I cut the box off and made a new one with tabs to weld it onto the base plate:

4B4DAF68-3619-4E71-86B2-66E895C0E8CE-1673-000000E3F2286936.jpg


Much better:

119546F8-4147-4CED-B41E-0FCA3047ABFF-1673-000000E3F9D7E829.jpg


In the bike:

0E61676B-D999-4460-A454-9F6BFB7FFCE0-1673-000000E3FE34177E.jpg


Next up I thought I would tear into the carbs, stripping them right back ready for vapour blasting and putting new jets etc in:

AB7D1E15-F150-4F30-96AD-B3C5D61C6993-1673-000000E405D16399.jpg


I stripped them completely except for the needle jet (I think that's what its called; the one the needle slides into). Is that able to be pressed out? I assume I will need new ones for the 400F especially with a 466 kit in it (these ones were off a 350F). Also how should I prep them for cleaning?

Should I get them into a ultrasonic bath and then tape up the openings for blasting?

I put the bodies back together for blasting which i thought would work:

8A70A49E-0D95-42A1-A3C0-B8516698E82B-1673-000000E40AE2848A.jpg


Along with the rack:

0A82180D-3ED1-4442-82BE-A9A95E9BCEFE-1673-000000E40F74A03B.jpg
 
I just soda blasted my 400f carbs,
Removed everything and blasted inside and out. (I did this after a good strong carb dip)

149FAFC9-4586-4D11-86E0-52A5DD7F0152-23219-0000048FB7242C48.jpg


5BF150E1-DFBE-4F5C-A8BD-6CE0509BE38E-23219-0000048FAE08CDEA.jpg


38CF1AEB-C9D0-41C7-938D-405AC4F0D7B9-23219-0000048FA7CF5458.jpg


And baking soda is soluble, so after you're done blasting you just soak them in water and all the passages clear out. A little compressed air helps too.

Your battery box looks good.
 
What a coincidence! I was reading through some carb posts trying to find info on jetting and the various needles and stumbled across your post. So before you wrote this I was already out there with the soda blaster making a massive mess ;)

Turned out nice:

B26DC2E6-CC6E-40CF-87D0-E9FDF5AFF4A4-1868-000000FEA7C4AB04.jpg


4359D633-8D9D-4180-95DB-455CBCDBF49F-1868-000000FEAD55C84F.jpg


784805B4-AF16-47AF-A597-06C945EEAB7A-1868-000000FEB1B78C0A.jpg


FEDA07E4-7633-42EC-8D26-41DA0E4A35C6-1868-000000FEB667FE43.jpg


What did you do with the tops/bottoms. They are clean but have corrosion marks that the soda blaster didn't remove.
 
Back
Top Bottom