We noticed you are blocking ads. DO THE TON only works with community supporters. Most are active members of the site with small businesses. Please consider disabling your ad blocking tool and checking out the businesses that help keep our site up and free.
You are using an out of date browser. It may not display this or other websites correctly.
You should upgrade or use an alternative browser.
You should upgrade or use an alternative browser.
First build - CB250N
- Thread starter namnam
- Start date
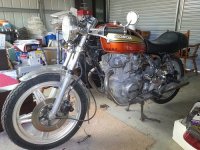
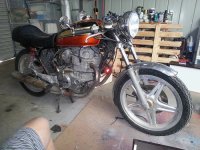

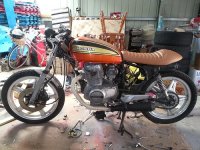
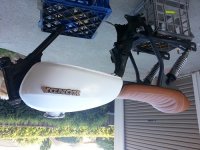
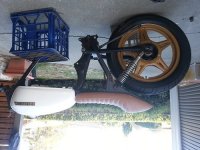
After painting the forks and fender. I ended up doing the tank as well. While I was at it figure I would do the wheels and colour match the tank badges. Here are the mock up pictures. Currently polishing carbs and painting the engine.
Attachments
Yeah I kinda wish I left the tank the way it was. But if worse comes to the worse I guess I can take it to the pro's and get it done over again.Floegstad said:I really like the original colorscheme on that one,but still a Sweet bike Mr.
Keep us posted and Welcome to DDT.
Cheers J.
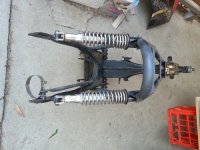
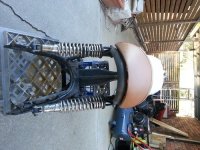
Here are some pics of the frame progress. It is was only tacked in these pics just ot make sure it sat right before we went back and buttoned it all up.
Attachments
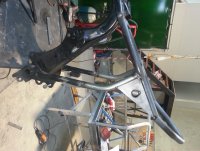
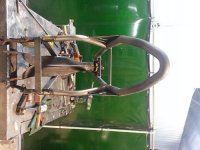
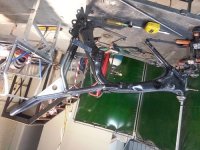
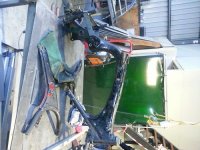
Cant wait to get back. We have had to remove the bend at the end of the seat loop to fit the new tail light as the plans to mount the light I had would have been chewed up by the tire as i had plans to mount the light under the seat.