Follow along with the video below to see how to install our site as a web app on your home screen.
Note: This feature currently requires accessing the site using the built-in Safari browser.
We noticed you are blocking ads. DO THE TON only works with community supporters. Most are active members of the site with small businesses. Please consider disabling your ad blocking tool and checking out the businesses that help keep our site up and free.
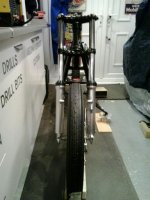
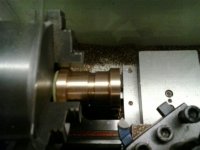
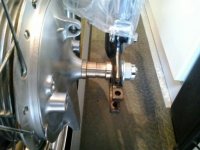
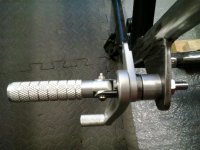
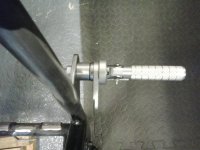
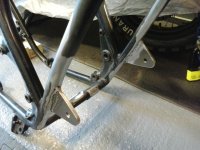
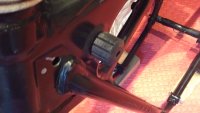
Got the rubber back on rear wheel nice classic tyre shame I nicked the new inner tube when I put it on lucky I had a spare cos a wool sock would have held more air than that tube haha :-[ ;D well got the spacers made up for rear wheel used bronze I had left over from the bushes for the brake side : then turned the original from sprocket side down so it fits inside oil seal to rear hub also the front spacers done so now can dismantle chassis and get frame finished up and off to powder coaters
Nice clean work, attention to detail is remarkable, you gents that have the passion for restoration and replication projects are inspiring for sure... I plan to copy those spacers on a BSA Brass makes more sense and looks nice with other yellow metals on the bike.
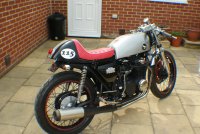
Cheers guys seems a long way off been finished yet :-\ want to keep it going so can get it to the TT for a bit of a ride round haha will be getting frame powder coated hoping to do everything else myself ??? thought ide put up a
few pictures of donor bike that ive ending using for my full on race rep :'(
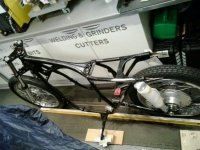
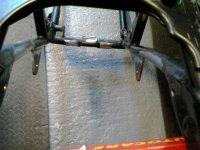
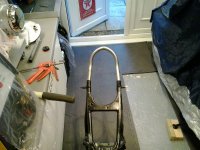
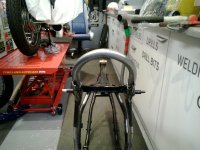
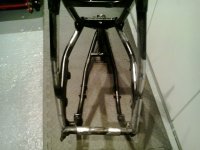
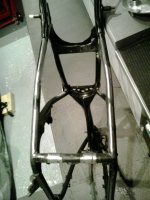
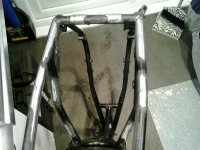
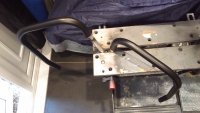
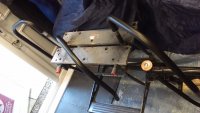
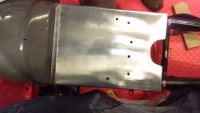
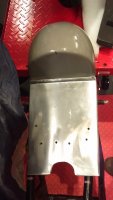
Another quick update at last frame de-tabbed and all grinding done hate that job :-[ went better than expected used the flap wheel more than grinding disk to clean up cuts better than putting grooves in the frame : welded up the rearset brackets and mocked up the pegs and spacers am happy so far got the hoop fitted too, got a nice pile of parts ready for powder coating at last feels like ime getting somewhere haha :-\ heres a few pics of wot ive been doin
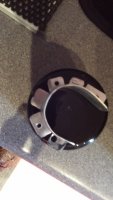
Cheers mate Inspiration indeed won't ever match the speed or skill :-[ but I hope it sounds as cool parts arrived from David silvers ;D so put rear wheel back together looks quite cool 8) another item ticked off "to do list" will update pics asap
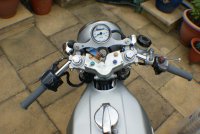
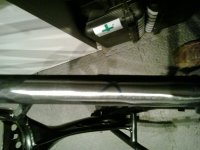
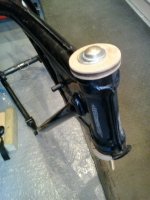
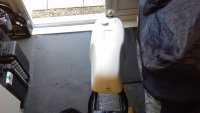
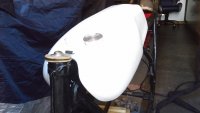
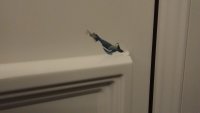
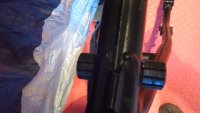
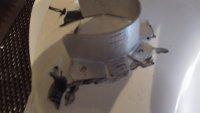
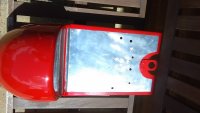
Hi peeps na the world aint flat ??? and I didn't ride off the edge of it : been a while since my last update but got a new phone and finally got it to talk to laptop so I can load pics so this is wots been happening or not :-[ fuel tank finally arrived yeah so I marked out for its fixings & seat unit set up, finished of the welding & grinding not without incident accidently pulled trigger on grinder while tightening disc ??? had to pull wrench out of my workshop door oop's :-[ see pic ,at least it wasn't my ugly mug :-\ also got exhausts all finished up and painted rear wheel is completed & front end started on wiring loom most gonna be stripped out as its a day runner so no lights or indicators started on sewing the seat material but the machine just went phut with a plume of smoke so that's off to the tip here are a few pics to help my burble still hoping to finish ready for the TT or its gonna go there in the back of a van in bits haha ;D
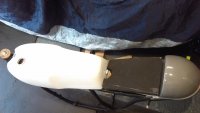
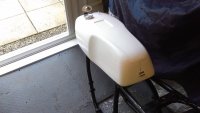
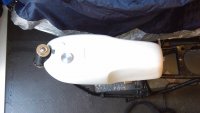
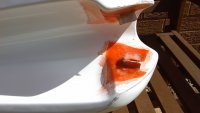
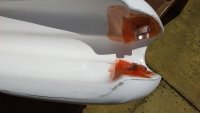
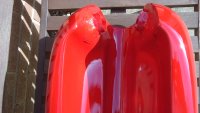
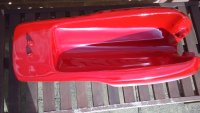
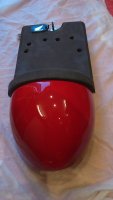
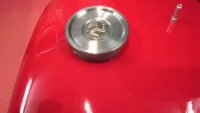
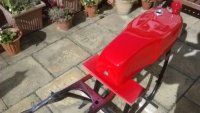
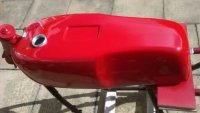
Hi gang progress so slow at the moment : sure its all gonna come together quicker at the final hurdle, :-\ using the original rubber mounts for front end of tank, rolled some 1mm aluminium to fit mounts cut n folded out fixing lugs then marked up tank while on frame, stuck down lugs onto tank then used fibreglass fine mat to bond to tank once dry flatted underneath of tank a layer of etch primer then couple of coats of red topcoat just to the underside the pictures from my phone don't do the colour justice its a deep red in reality heres a couple of pics to show my slow progress :
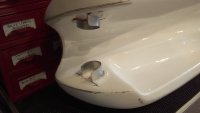
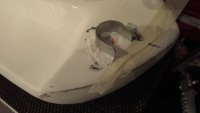
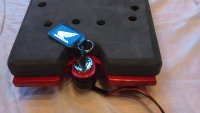
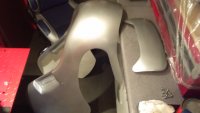
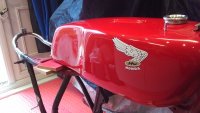
small update ??? moving slowly to finish :-[ hi gang managed to complete seat unit well just got to sew the suede cover extended it with a some flat sheet aluminium drilled out for fixings to frame , found a neat place for ignition between seat n tank yeah finally laid some paint down seat hump completed and first couple of coats onto tank (still cant get the picture colour right on phone but looks better in real life next lay some paint down on the full fairing that's gonna take a few rattle cans heres a few pics to show the slow progress haha
Cheers mate ime trying hard to get her done for the TT :-\ but in reality its gonna have to be the classic TT later in the year : still gonna have a big grin factor when she's done ;D just waiting for some more paint to come so I can finish tank off and start the fairing aint got a spray booth but parts come out pretty good for spraying outside in me yard haha :-[ always feel better when new paint starts been laid and parts been put back together ;D
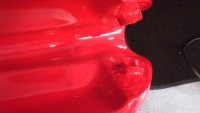
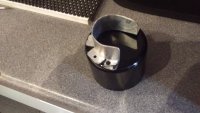
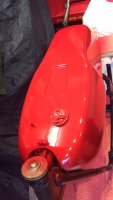
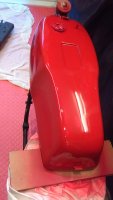
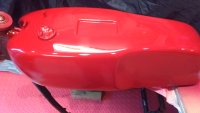
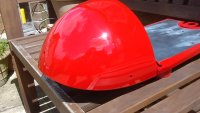
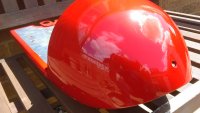
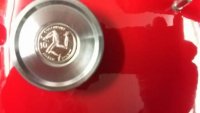
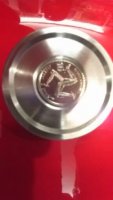
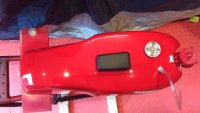
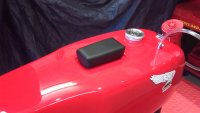
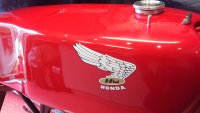
Should change my name to steady eddie :-[ haha at last got my tank painted up six coats of colour and gloss finish got the Honda decals on also a small pad top of the tank to rest ya chin on like the good ole days haa.Took the gas cap n turned a recess in it to take a Isle of Man coin with the famous three legs symbolic of the TT if nothing else looks kinda cool and finally primed fairing n laid first layer of silver paint yeah got a great finish to say ime still using rattle cans in my yard so glad it aint windy now I can see a finish line to this project ;D heres a few pics to show my slow progress still cant get my phone to show the poppin red colour of the tank she damn better in the flesh than these pics ime happy for a change
Awesome - one of my fave bikes of all time (my first bike was a CB750 and I desperately wanted it to look like this, but it was 1995 and I had no clue what I was doing).
Cheers mate must admit ime struggling got a couple of old pics from magazines to use as a reference and odd snaps on the web ime sure its gonna look the part next tough bit gonna be the fairing brackets especially round the front end and cutting the shaped screen
This site uses cookies to help personalise content, tailor your experience and to keep you logged in if you register.
By continuing to use this site, you are consenting to our use of cookies.

") then turned the original from sprocket side down so it fits inside oil seal to rear hub also the front spacers done
then turned the original from sprocket side down so it fits inside oil seal to rear hub also the front spacers done