Hi From Australia CB350

ducatiboy said:
One of the problems with going with my manufactured front guard is that it offers no protection to the fork stanchions leaving them exposed to stone chips etc :p

Good point. Might re look at the standard GSXR fender again then. Good idea re the spacers to lift it a touch.
 
just pick up a clutch cable from dcc right for the bike it's like 15 bux. customizing cables to length is a bitch.
 
Be nice if DCC was just around the corner.

Go to a bike shop and get a screw on ferrule for your clutch cable end. Then shorten the cable and screw the new end on.

Or go to a wreckers with your current cable and see if they have a shorter one.
 
Thanks for the suggestions guys but I ultimately went in a different direction.

After hours and hours of intensive internet searching I found a way of shortening the cable. Read on for the exciting details below:

First I disconnected the cable from the clutch lever end and routed the cable where I wanted it to sit including this bracket on the right coil mount.
DSC_8395.jpg


Then I held the cable up to the clutch lever length adjuster at the right length that I needed. Need to be careful to check the steering at extremes of it's range that the cable will be long enough and won't bind or kink when turning the handlebars. Marked the cutting point with a piece of tape
DSC_8397.jpg


Next remove the cable from the bike and pull the cable inner as far out as it will go (out towards the lever end). Measure the free unsheathed cable length. This is important so don't forget it!
DSC_8399.jpg


Cut the nobbly bit off the end of the cable
DSC_8401.jpg

DSC_8404.jpg


Cut the cable outer. Approx 7-8 inches removed
DSC_8400.jpg

DSC_8402.jpg


I heated up the plastic outer to soften it so I could pull this bit off the end that was going to be discarded to re-use it on new end of the remaining cable
DSC_8405.jpg


Bit of pushing and shoving required to fit it (gently heating the plastic helps) and then nail punched to make sure it stays put
DSC_8408.jpg


So next was to re-attach the nobbly bit onto the new end of the shortened cable. I have read that it is possible to heat the nobbly bit in order to melt the solder and pull the old piece of cable out. I decided to just make my own nobbly bit because I happened to have a piece of steel rod just the right diameter lying around
DSC_8406.jpg


So I cut a piece of rod to the right length and started to drill a hole in it with a very blunt drill bit.
DSC_8410.jpg


Of course the drill bit broke. For anyone following these instructions I would suggest a sharp drill bit
DSC_8411.jpg


Start again. Flatten off one side of the nobbly bit, drill hole, countersink hole
DSC_8412.jpg


Slide you newly made nobbly bit over the end of your cable and measure out your unsheathed length
DSC_8413.jpg


Cut your cable a couple of mm on the other side of the nobbly bit and then splay out the individual fibres of the cable so they are spread out over the countersunk hole
DSC_8414.jpg


Short blast with the mig
DSC_8415.jpg


And check that it fits in your lever. If the blob of weld is too big file it too size
DSC_8416.jpg


And the end result is a beautifully fitting clutch cable nicely hidden under the tank where nobody can see it. Ain't life grand?
 
Other bits and pieces that I have been getting on with...

When the tacho cable exits the back of the tacho it immediately runs into the headlight bucket (ditto the speedo cable) with no room to bend enough to run freely. I have the tacho/speedo and headlight bucket mounted where I want them so moving them is not an option. I decided to drill a hole in the back of the headlight bucket and run the cable through the hole into the bucket and exit where all the electrical wiring exits. A left over rubber grommet from some other part of the bike fits nicely in the hole
DSC_8419.jpg

DSC_8420.jpg


Filed a lot of the body filler off the mudguard to smooth it out
DSC_8392.jpg


Painted with spray filler/undercoat
DSC_8393.jpg


Started sanding down the hills and filling the valleys
DSC_8394.jpg


Another coat of primer and I'm calling it done. Just need to mount it somehow.

So here's a question for you knowledgeable types. My front wheel hub is from a Harley NarrowGlide. It uses the Harley speedo drive. Does anyone know how the ratio of the Harley speedo drive compares to the CB350? Assuming I can get a cable that will fit from Harley drive to Honda speedo, how accurate are my speeds going to be?

OK that's all for now thanks for reading!
 
ducatiboy said:
Peeled off the alfoil...one of these days I'm going to work out how to line the plug with something so the fibreglass part will pop out easily without aluminium foil stuck all over it

Can't remember where I heard this, maybe a DCC video of Herm making a seat, but try Sex wax (for surf boards you juviniles!). Check youtube or the DCC website for the video.
 
Hahahahaha!!!! ;D ;D ;D ;D Sex wax! Of course! Why didn't I think of Sex Wax!! Might even try some KY Jelly too! ;D ;D ;D
 
Thx RG I'll have to check it out when I can get onto a wifi. Didn't mean to soumd like I was dismissing your idea. I'm sure it would work. But it sure does sound funny. Maybe that's the juvenile in me! The reason I use alfoil is that it also protects the underlying plug from getting covered in resin. It's a bugger to peel off though...
 
Haha!! Yes I assumed you would have a sense of humour when
I read your corn signature line!!! ;D ;D ;D
 
So bits and pieces of progress continues...

My banjo bolts for the brakes arrived from Italia...
DSC_8423.jpg


Calipers
DSC_8424.jpg


Ridiculous braking power for such a teeny weeny bike...
DSC_8425.jpg


The advantage of using the front end all from the same bike as the brakes means little things like the bracket holding the brake line to the lower triple clamp fits perfectly. Things that fit perfectly make me happy
DSC_8427.jpg


Sourced a rod and some rod ends. They are both "normal" threads i.e. right hand threads because I don't have a left hand tap. That means adjusting the length of the linkage will be very slightly more time consuming but of no significance really.
DSC_8421.jpg


Drilled a couple of holes and tapped a couple of threads...
DSC_8422.jpg


I needed a bolt with a short unthreaded segment below the head but I didn't have one so I found one with a long unthreaded segment, cut it to size and cut a thread onto it. First attempt, FAIL!!
DSC_8431.jpg


Second attempt did the job. Next up was to assemble the whole gear linkage thing and it fits like a glove (after a bit of minor adjustment)
DSC_8432.jpg


Not sure if the James Boag's Brewery sticker is going to make the final cut...

Now that the gear linkage is fully assembled and fitted I have struck a major stumbling block that so far I have been unable to stumble over. I can't change gears ??? ??? The linkage does it's job and is not binding anywhere. The gear change shaft rotates properly both forward and back but the gearbox stays in neutral. Won't click down into first or up into second. Time for a lunch break and try and sort it out later.
 
Try spinning the back wheel as you're changing gears.

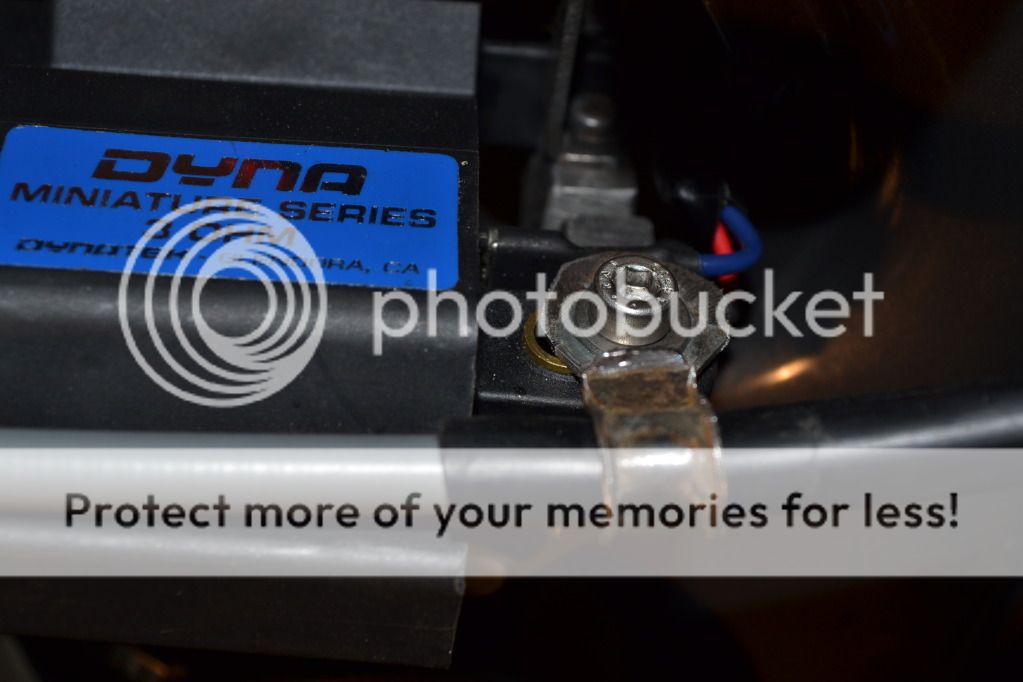
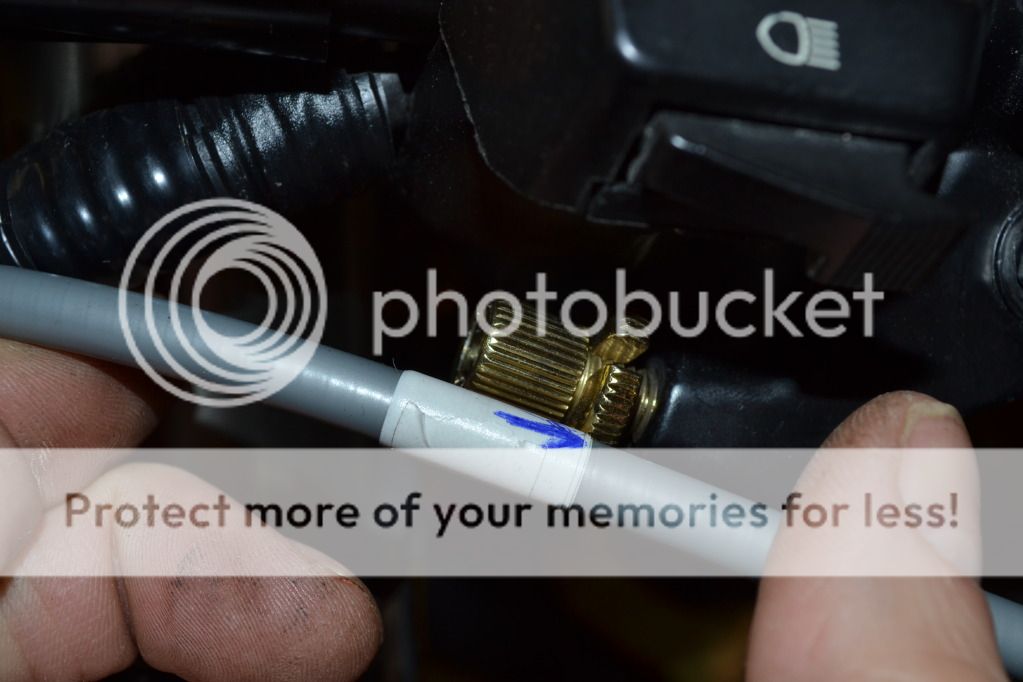
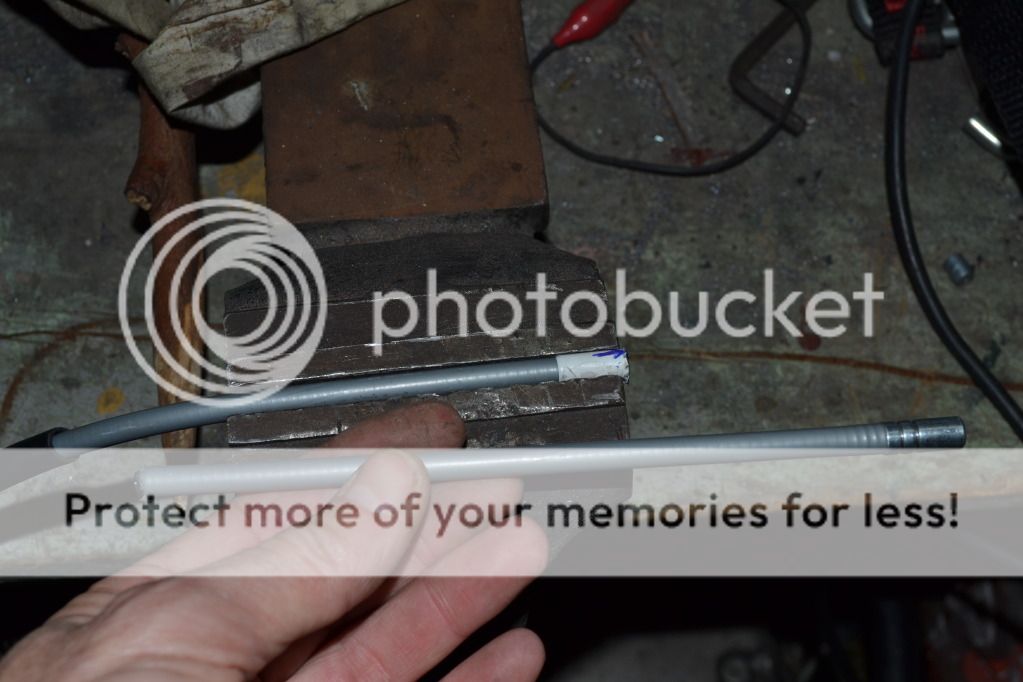
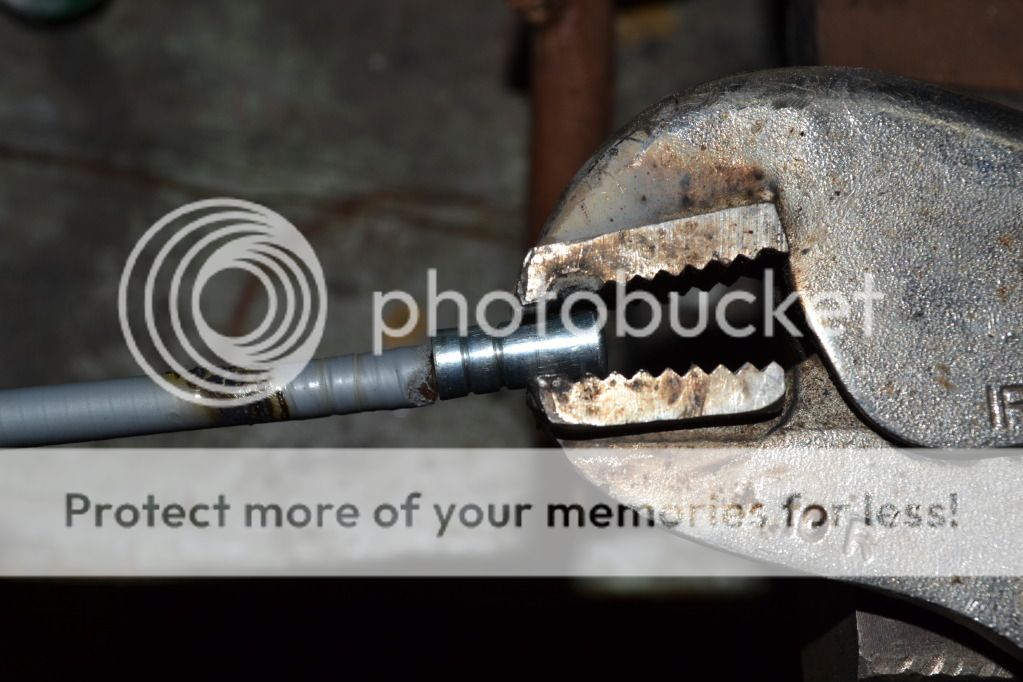
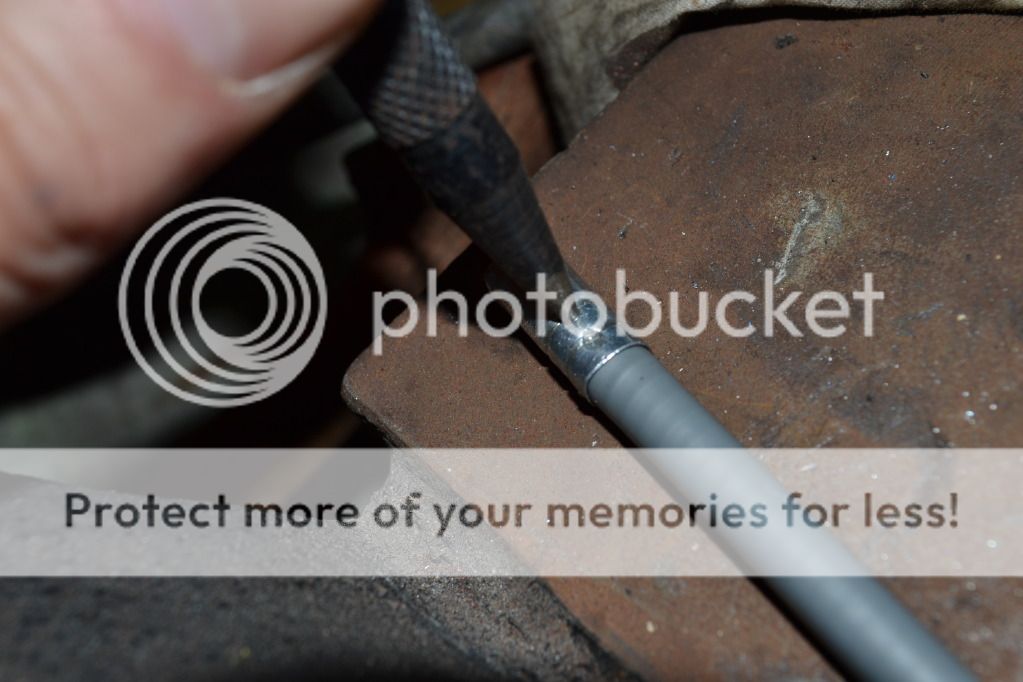
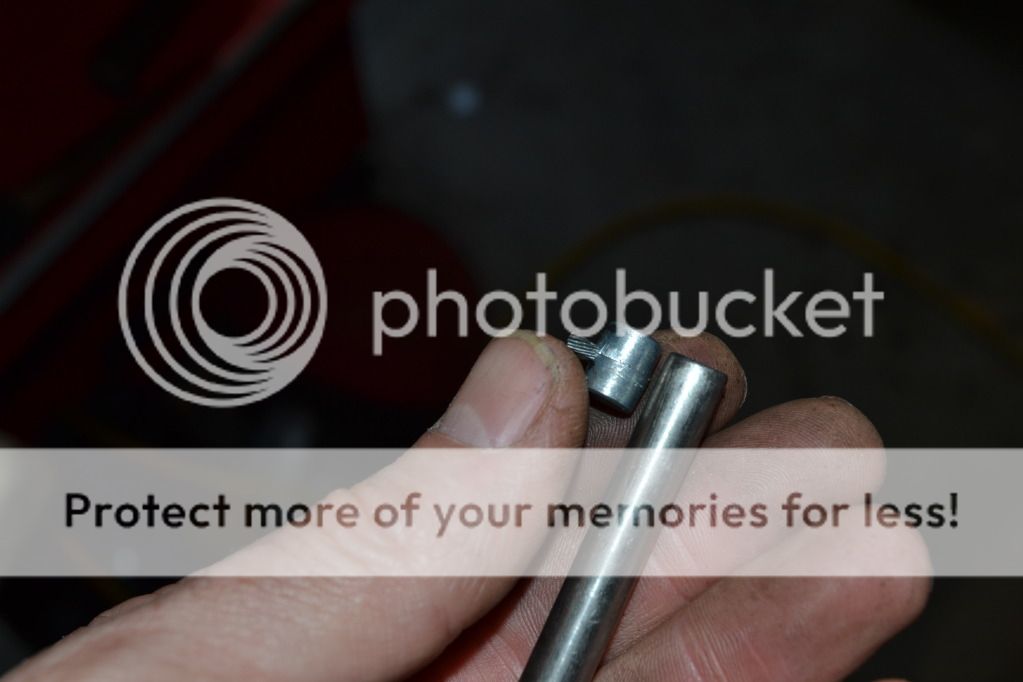
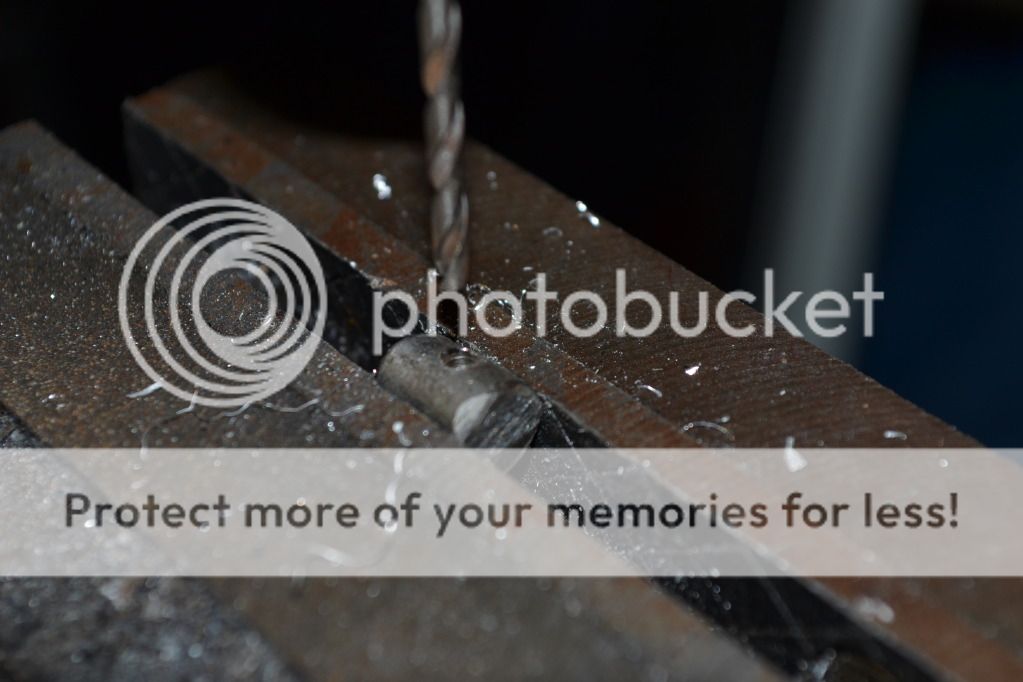
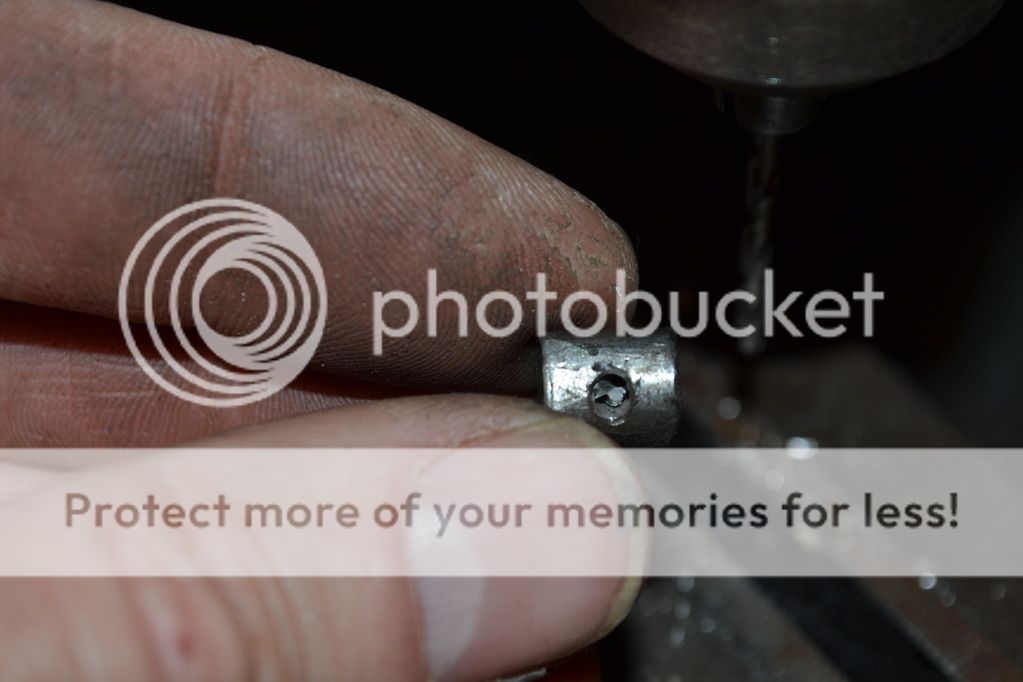
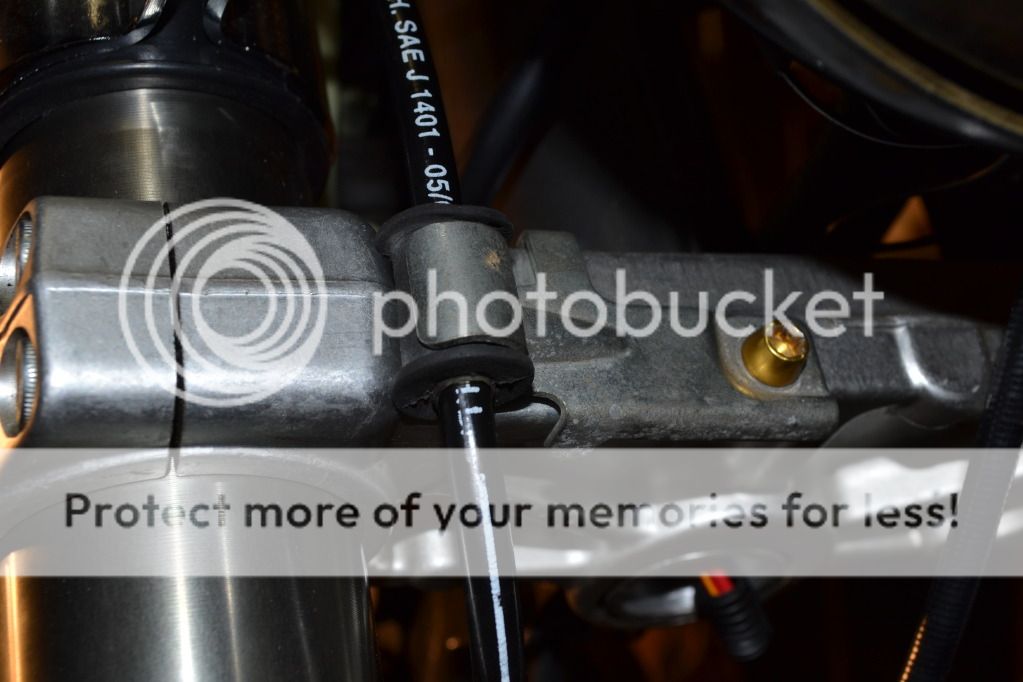
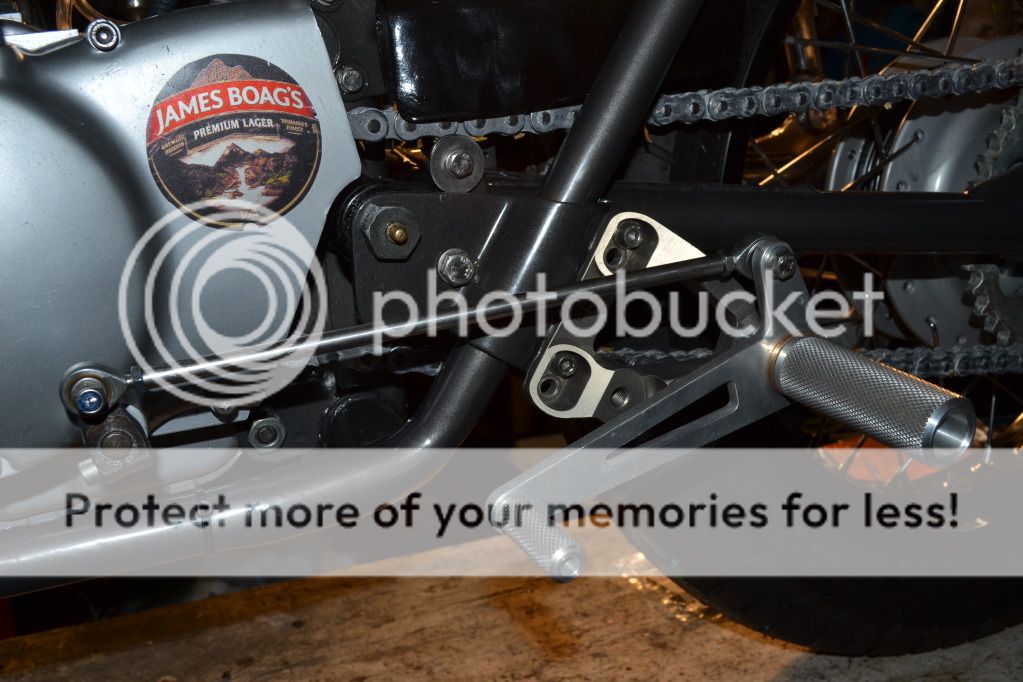
Tried that Hillsy with no luck. The gear change issue is still not resolved and in lieu of knowing what to do about it, I have decided to move on to other things in the hope that when I come back to the gear change mechanism it will have fixed itself. In addition to the gear change, I also have a new thing to fix...my home made shortened clutch cable
DSC_8436.jpg


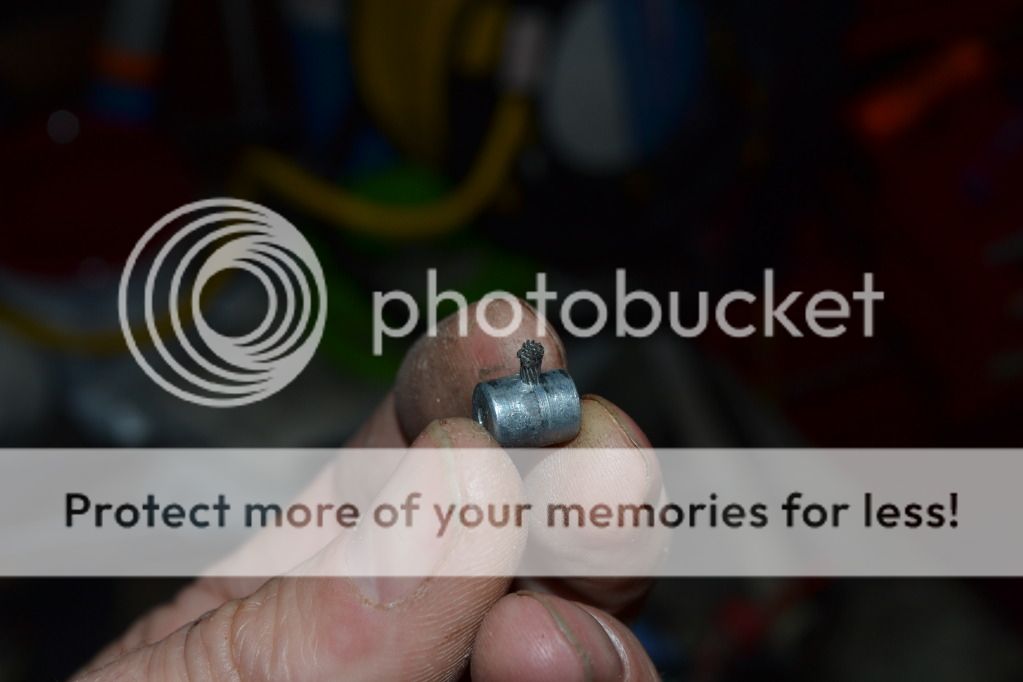
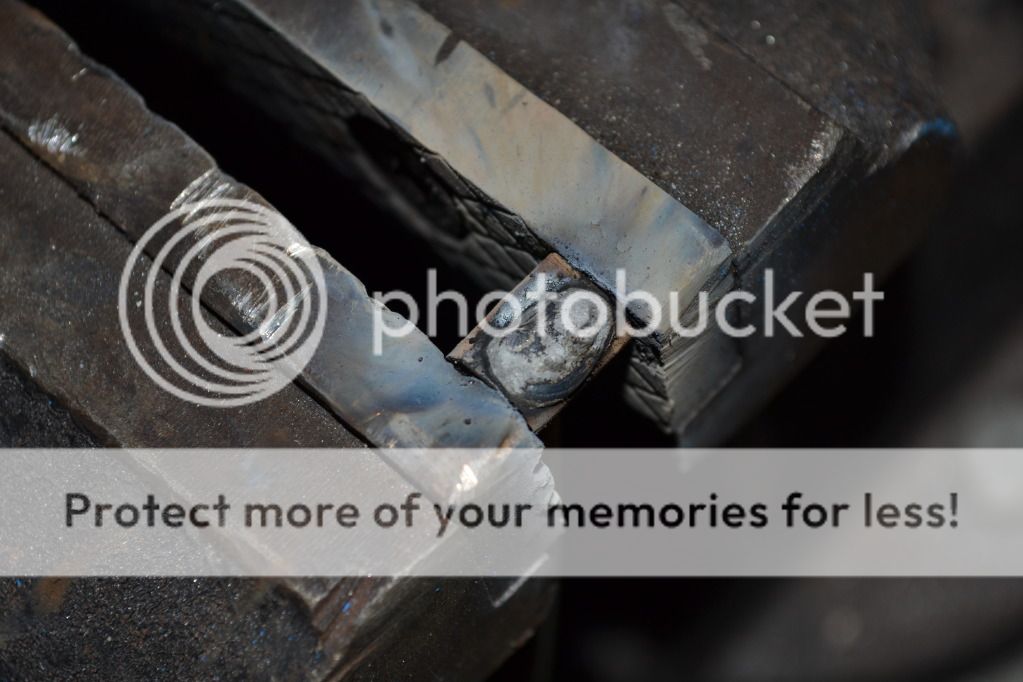
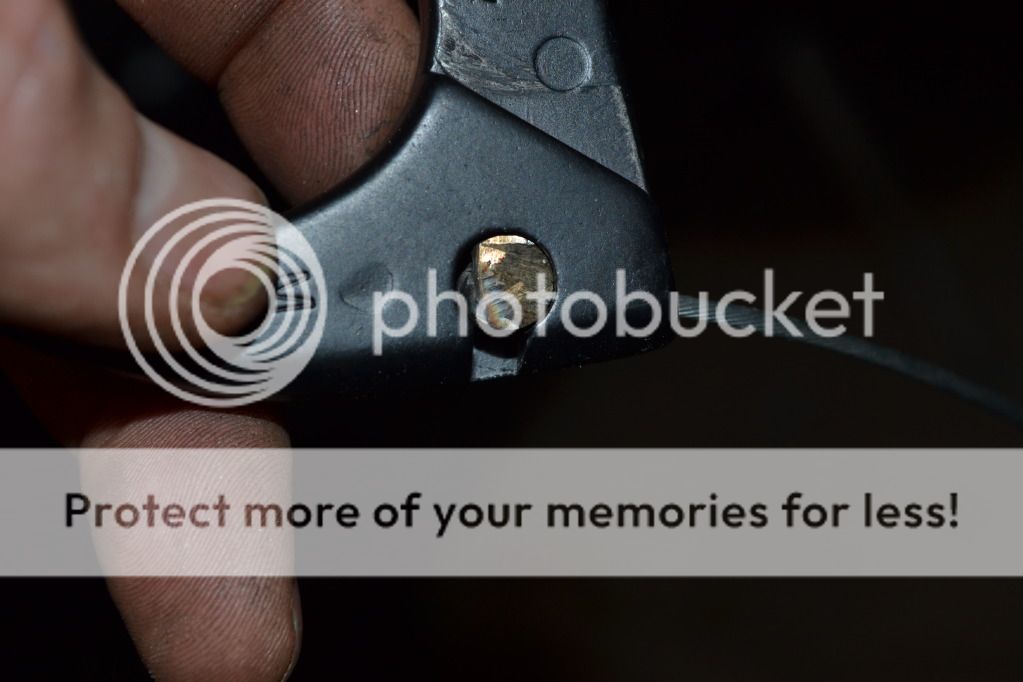
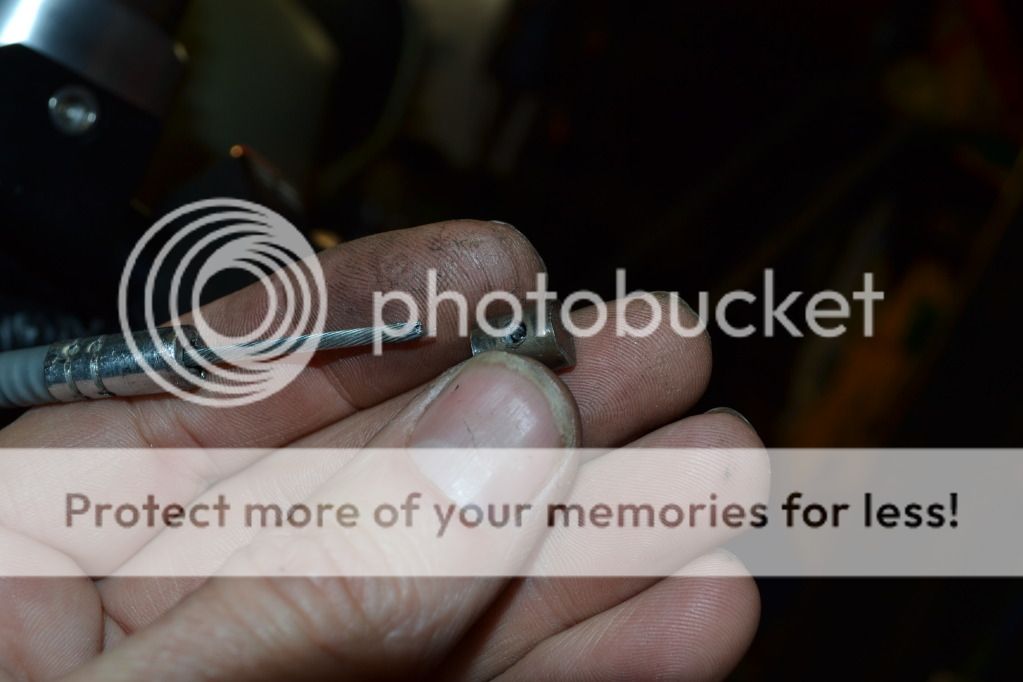
Didn't even make it to the end of the build let alone out of the garage!! If any one is thinking of following my advice on how to shorten a clutch cable you might want to think twice. Looks like welding the nipple onto the cabe with the MIG weakens the cable enough that it snaps with minimal use. No wonder these things are usually soldered instead of welded!! Oh well, one more little job…

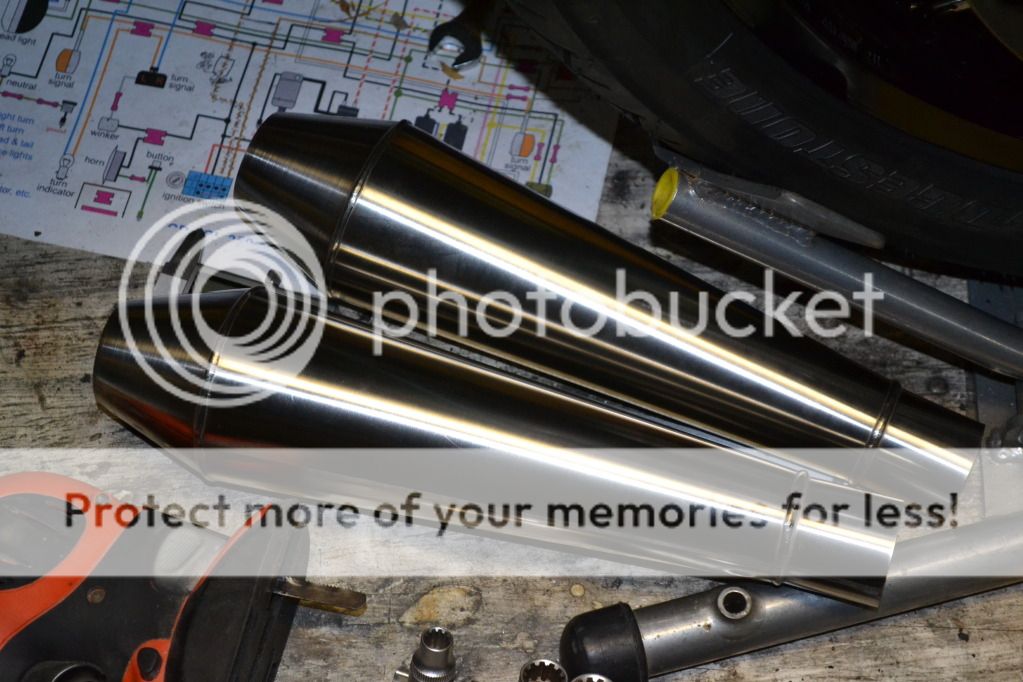
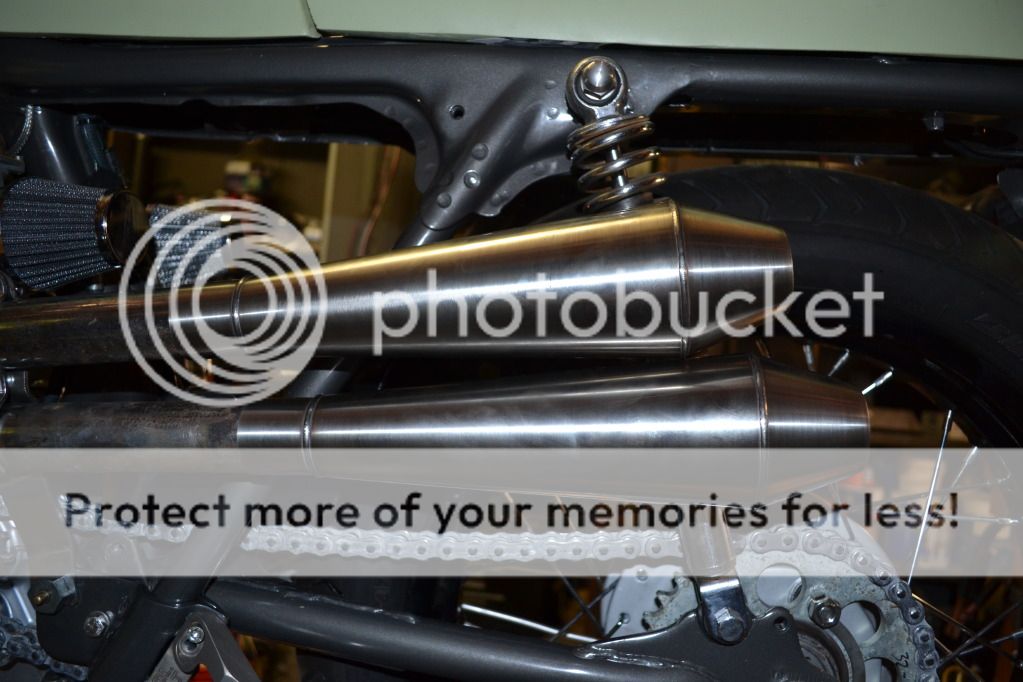
On to more exciting things. Shorty mufflers arrived in the post…
DSC_8502.jpg


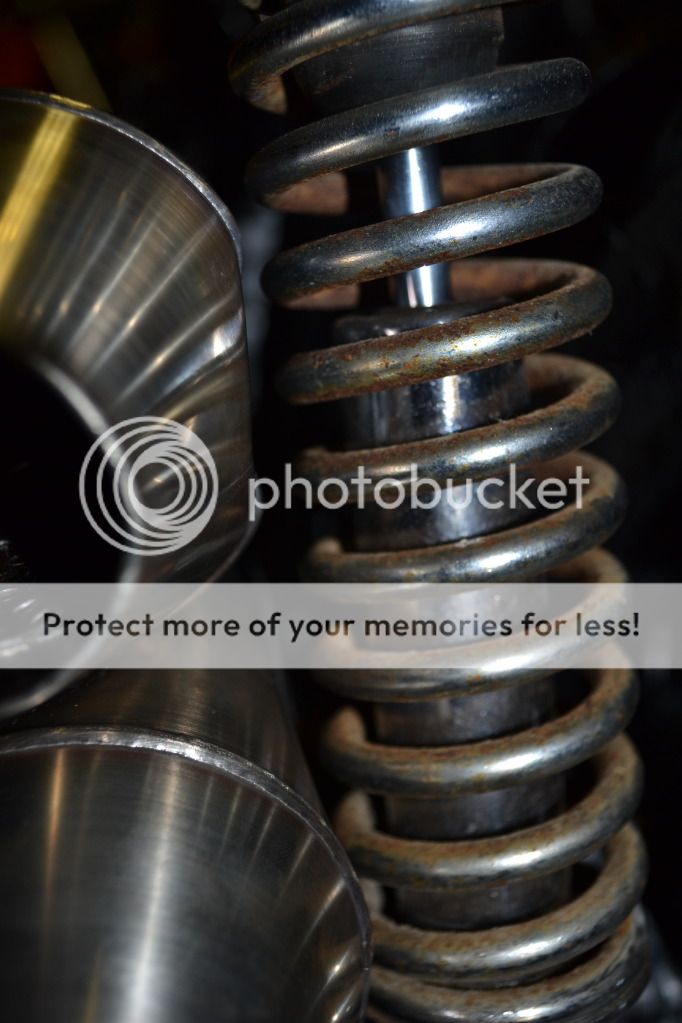
They look great on the bike but there are 2 problems. The first is they don't clear the left side shock
DSC_8507.jpg


The second is the foul on each other because of the flare out from the header pipe
DSC_8506.jpg


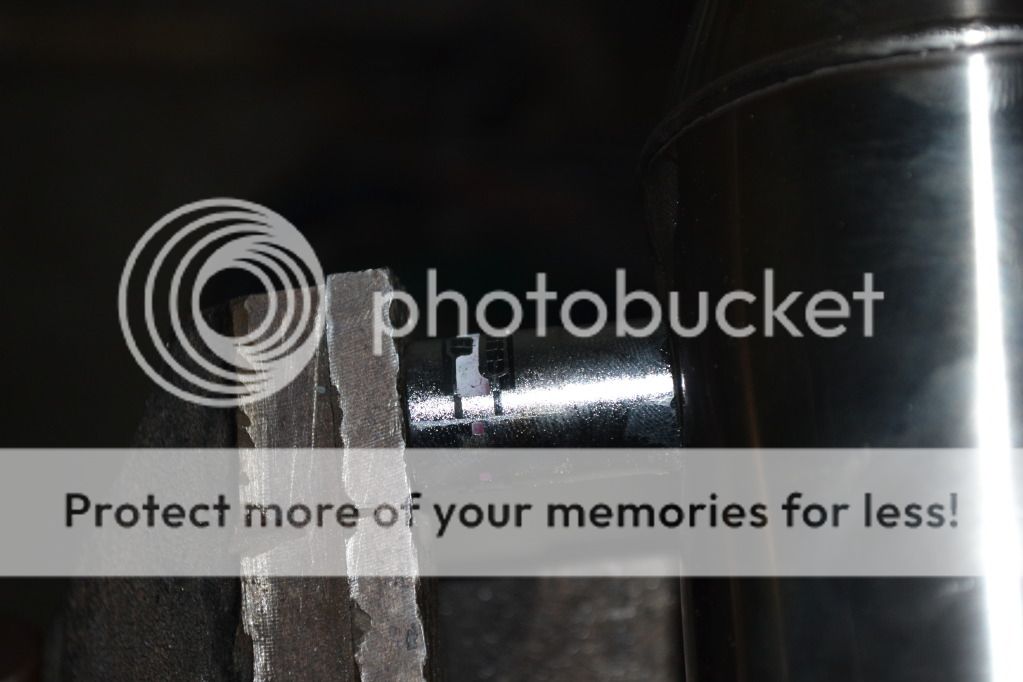
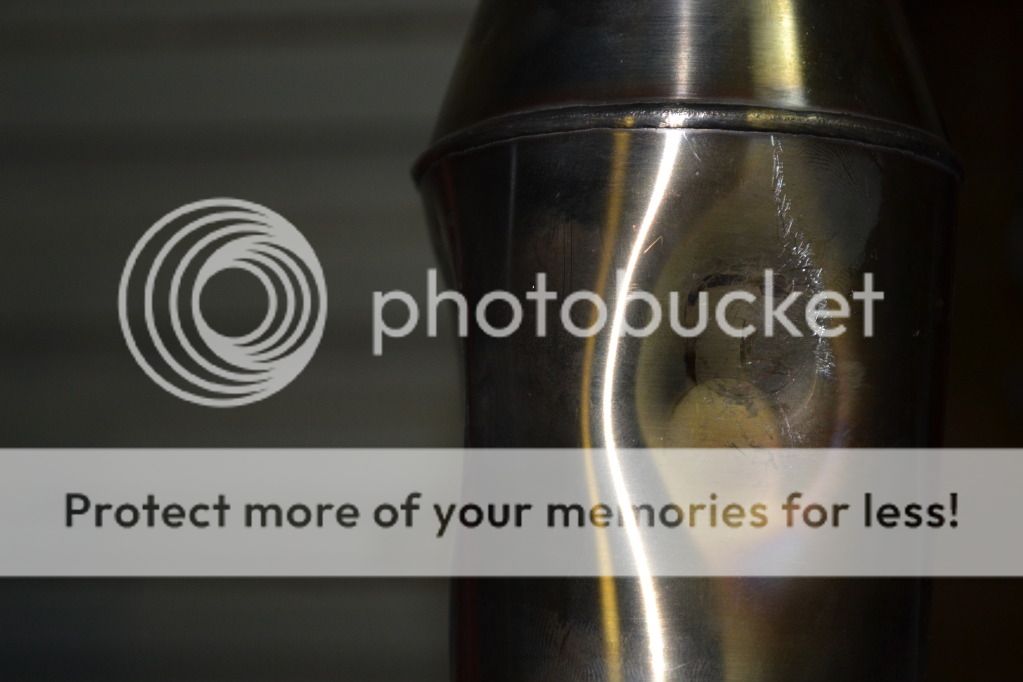
So I marked out where I needed to place a dent and placed the muffler in the vice with a socket wedged into the right spot
DSC_8512.jpg


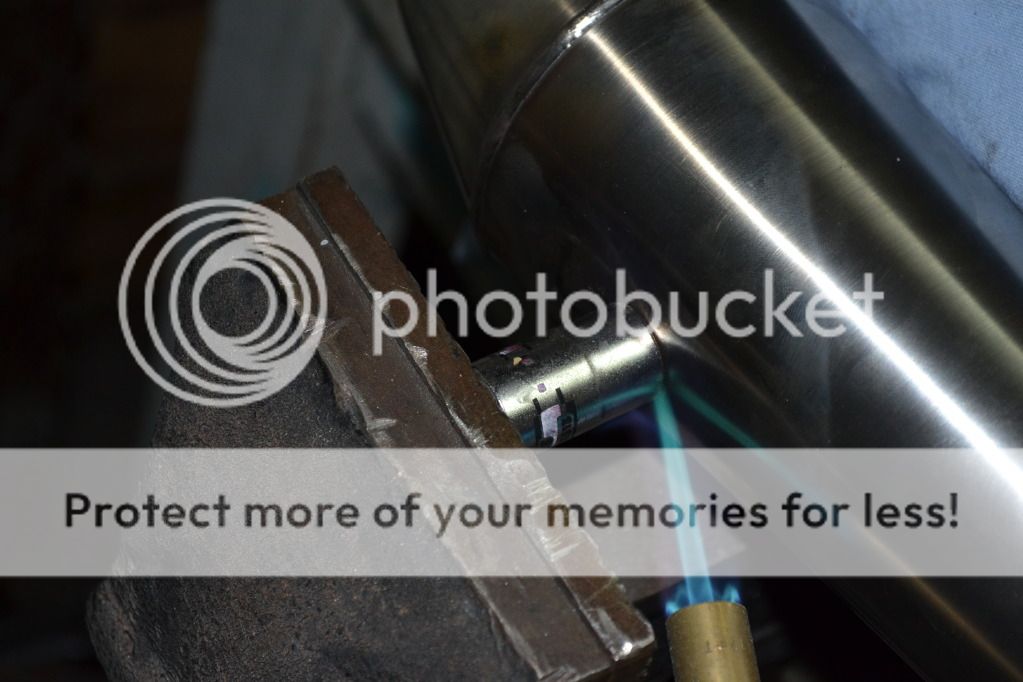
Applied heat and cranked on the vice (gently!!)
DSC_8514.jpg


The end result t make a small divet for the two mufflers to clear each other
DSC_8513.jpg


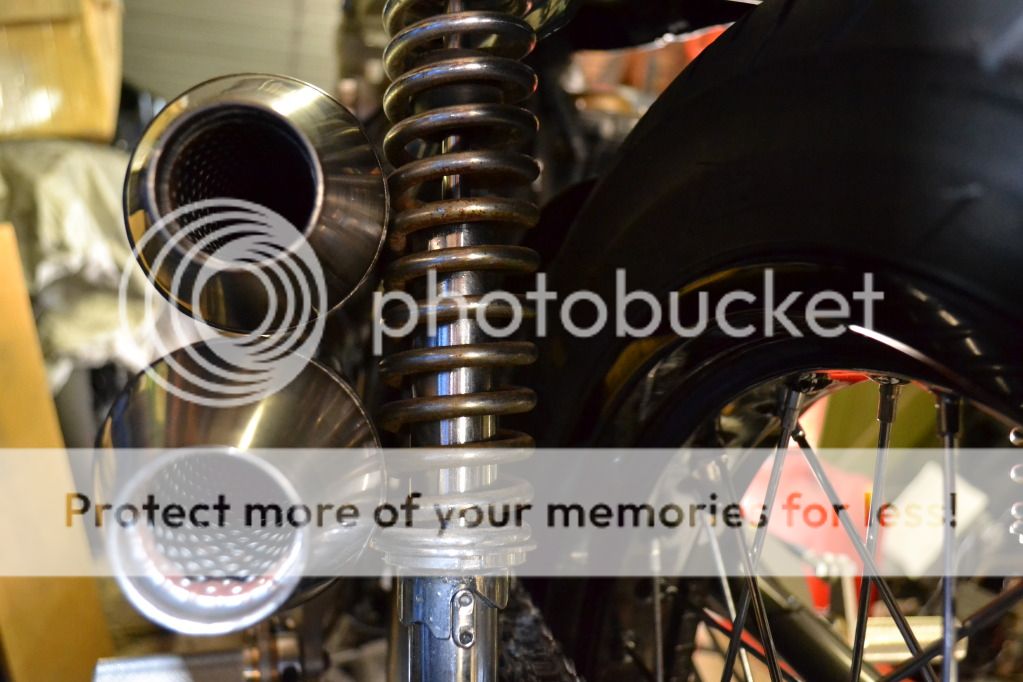
Applied more heat and a gentle bashing with a hammer to get the side dent to clear the shock. Repeat for both mufflers
DSC_8515.jpg


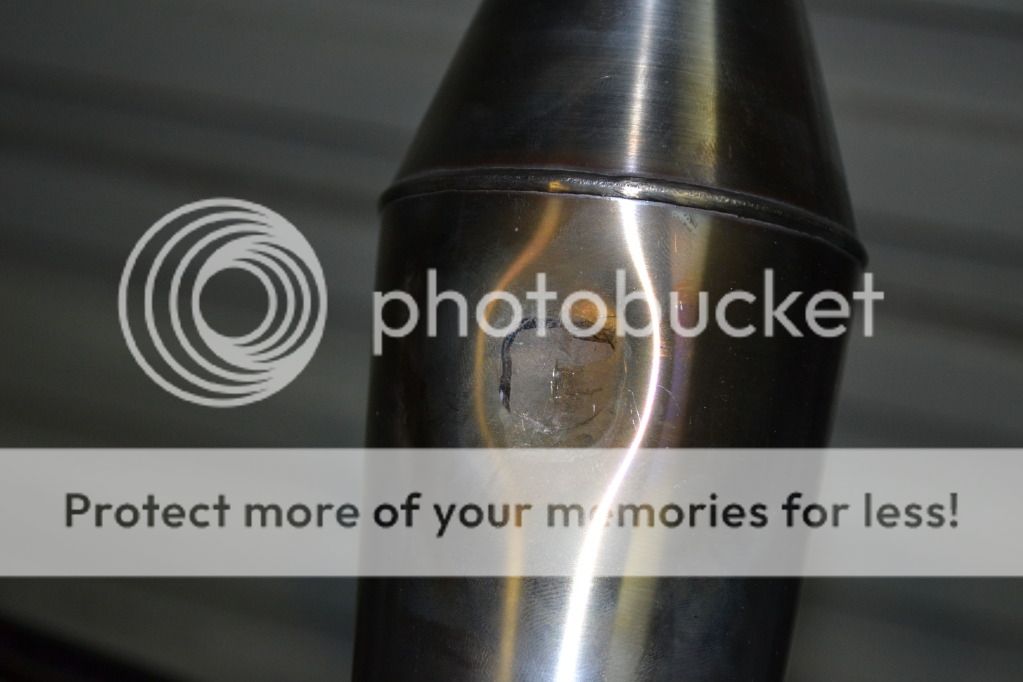
Looks terrible but it now fits and the terrible looking bits are hidden
DSC_8519.jpg

DSC_8520.jpg


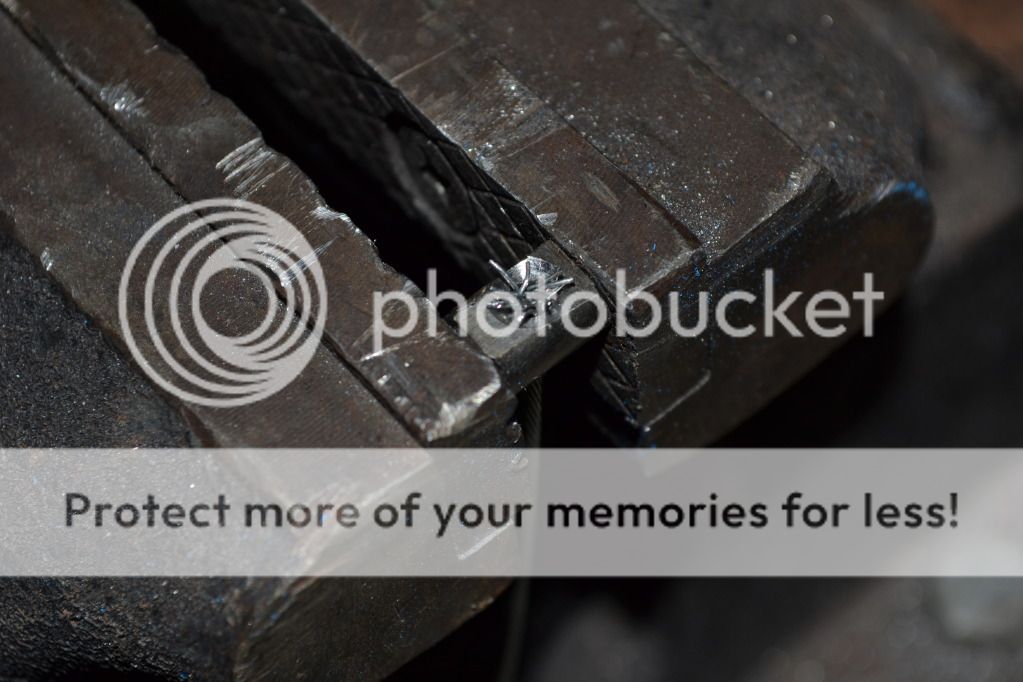
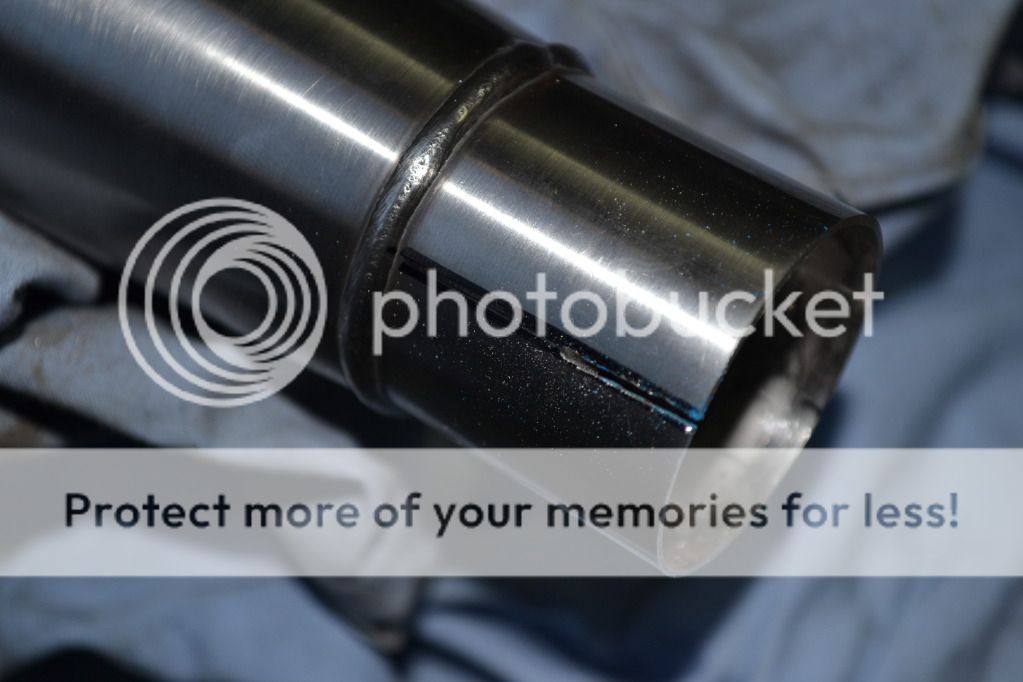
The mufflers will be held on with hose clamps so I had to cut a slot where the muffler joins the header so the hose clamp can compress down tightly onto the header pipe. The slot goes all the way to the weld. It's only halfway in the picture. Also one on the other side of the pipe. I might also put some spring retainers to hold the mufflers on as an added security so there not just held on with hose clamps
DSC_8521.jpg


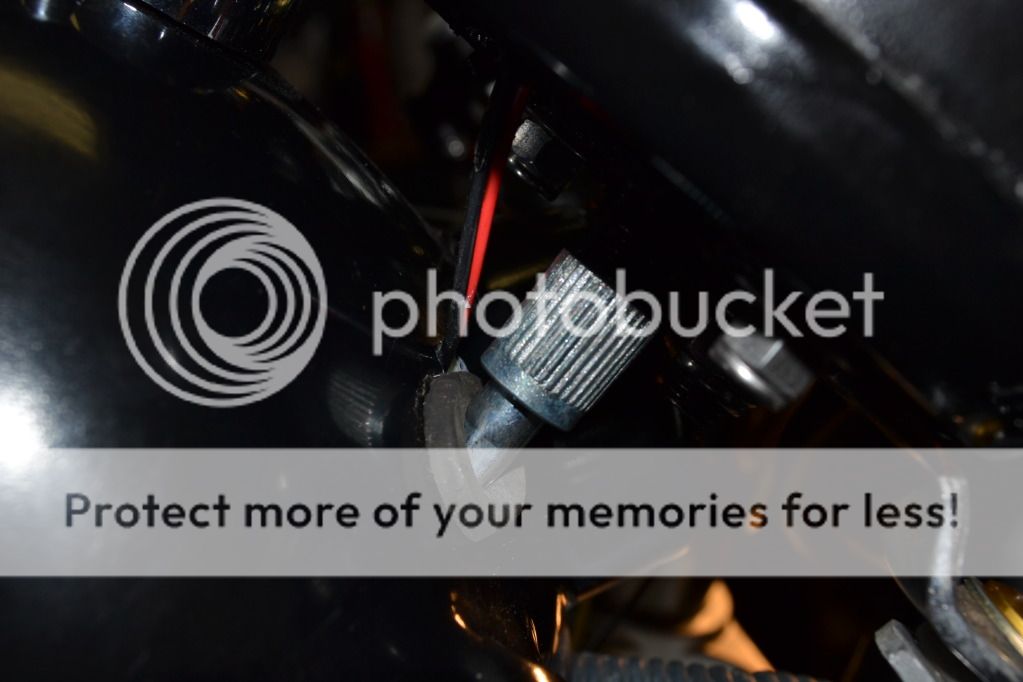
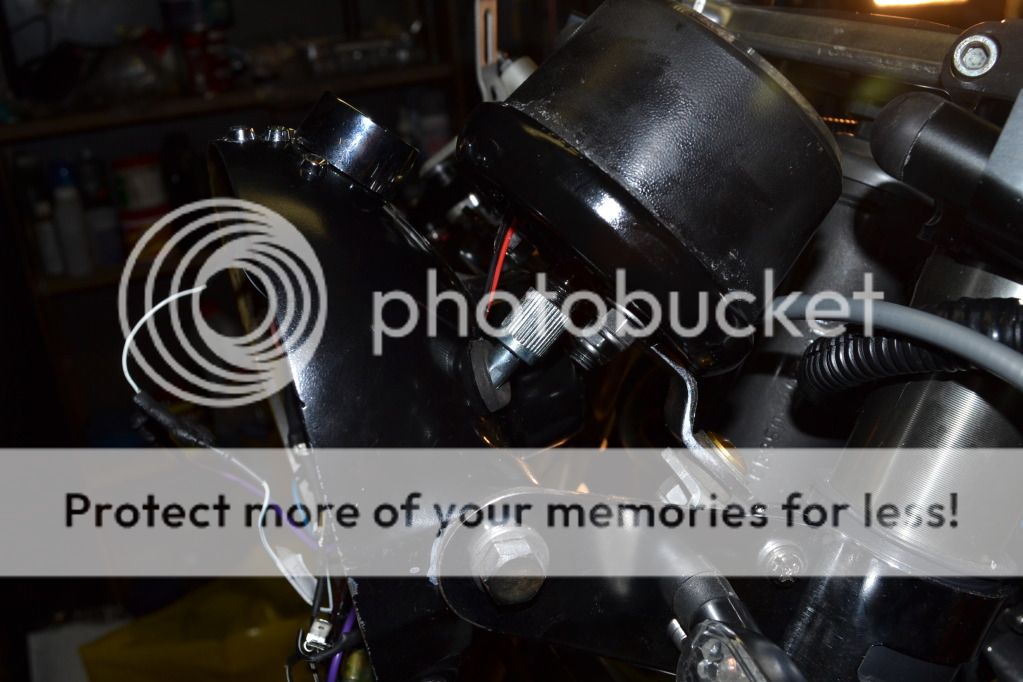
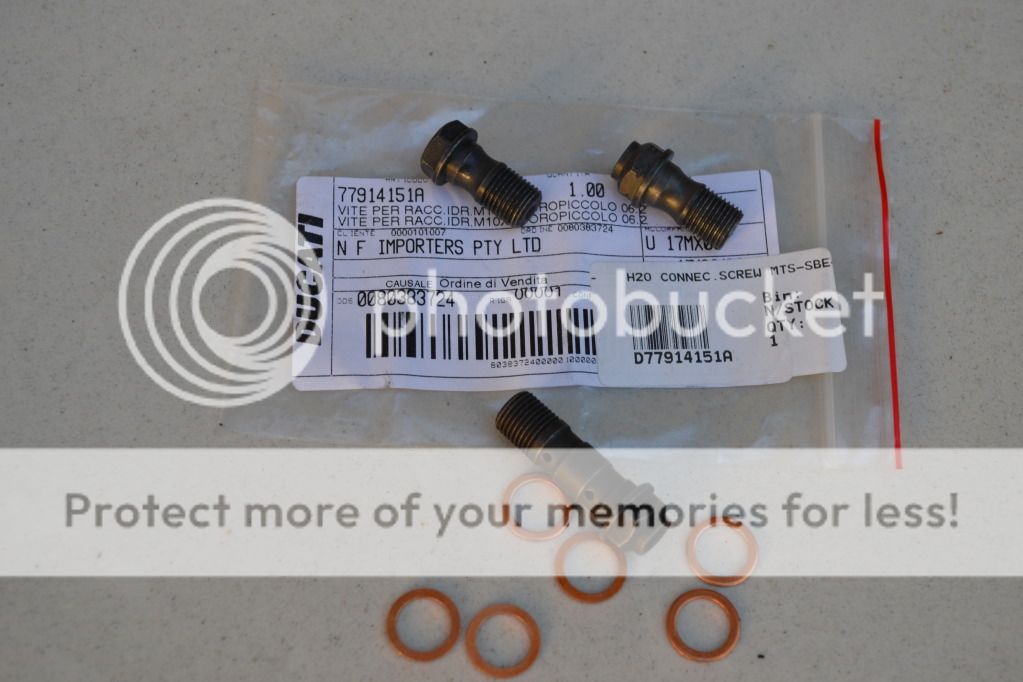
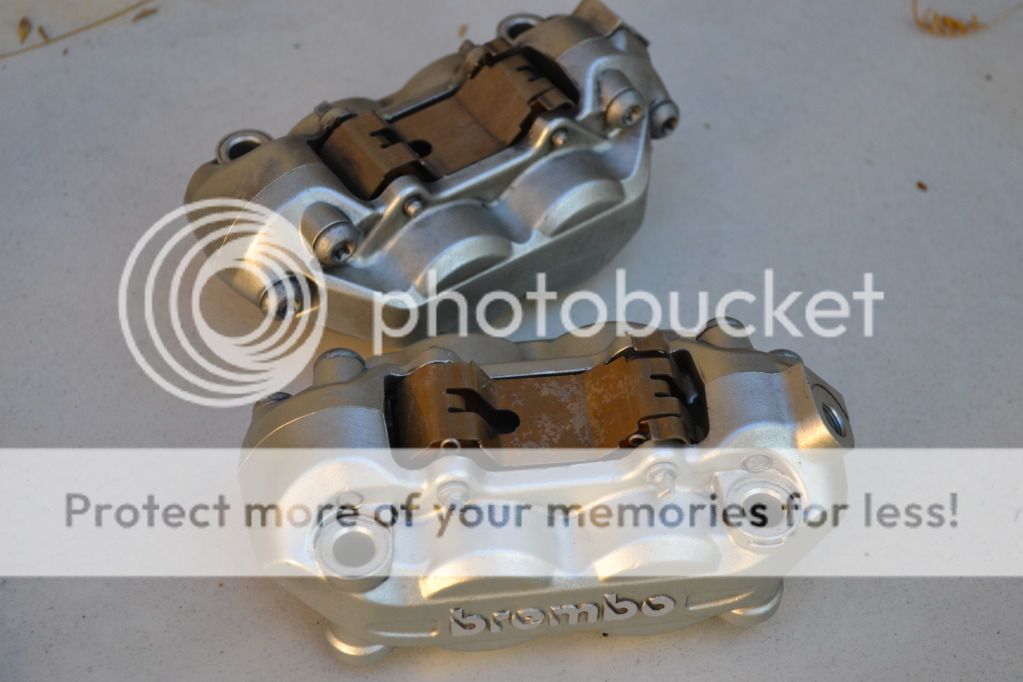
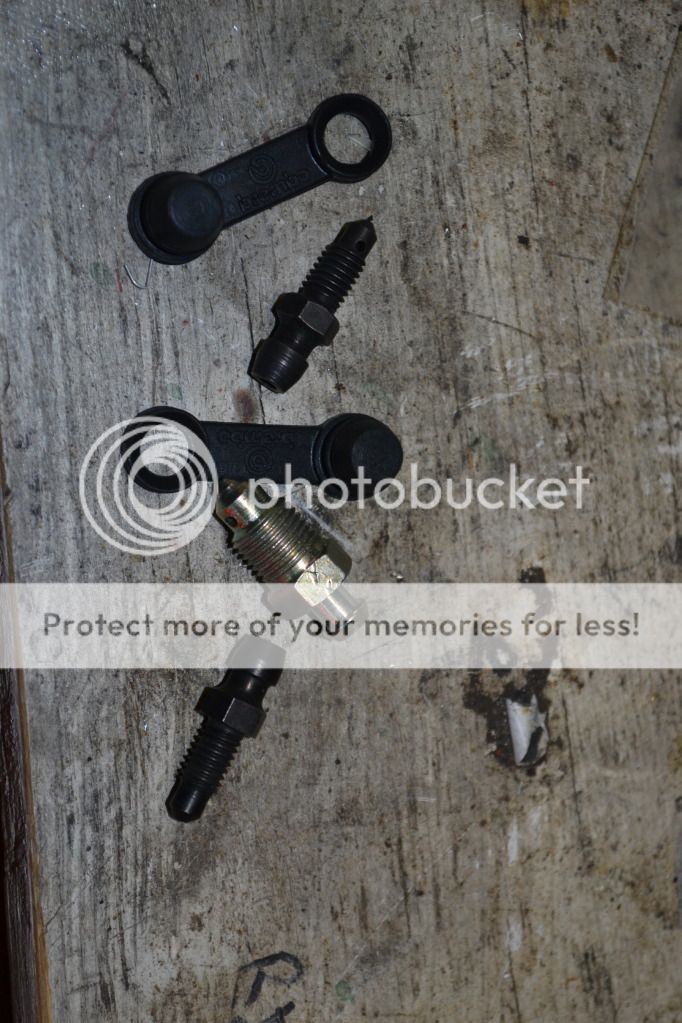
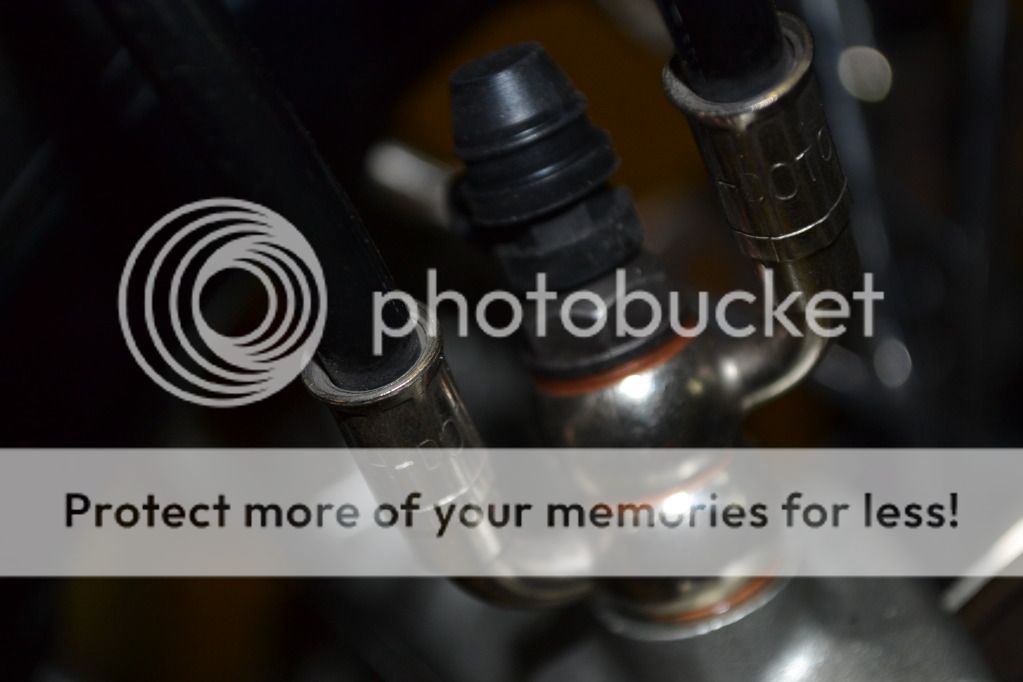
Other bits that I finally got are the banjo bolts and bleed screws for the callipers
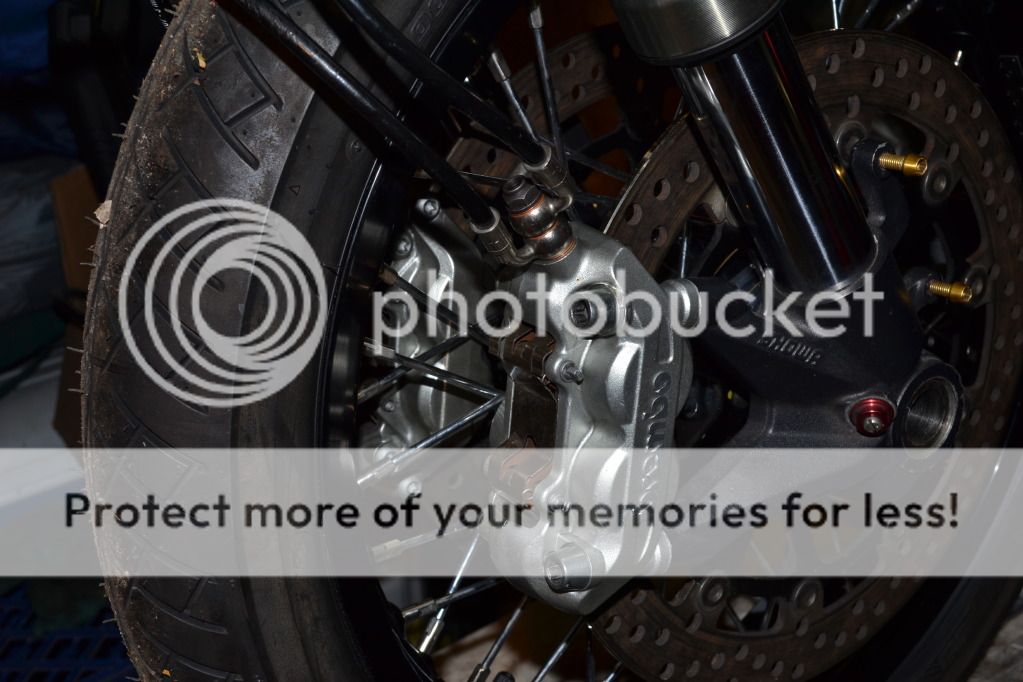
DSC_8503.jpg


All nicely mounted
DSC_8522.jpg


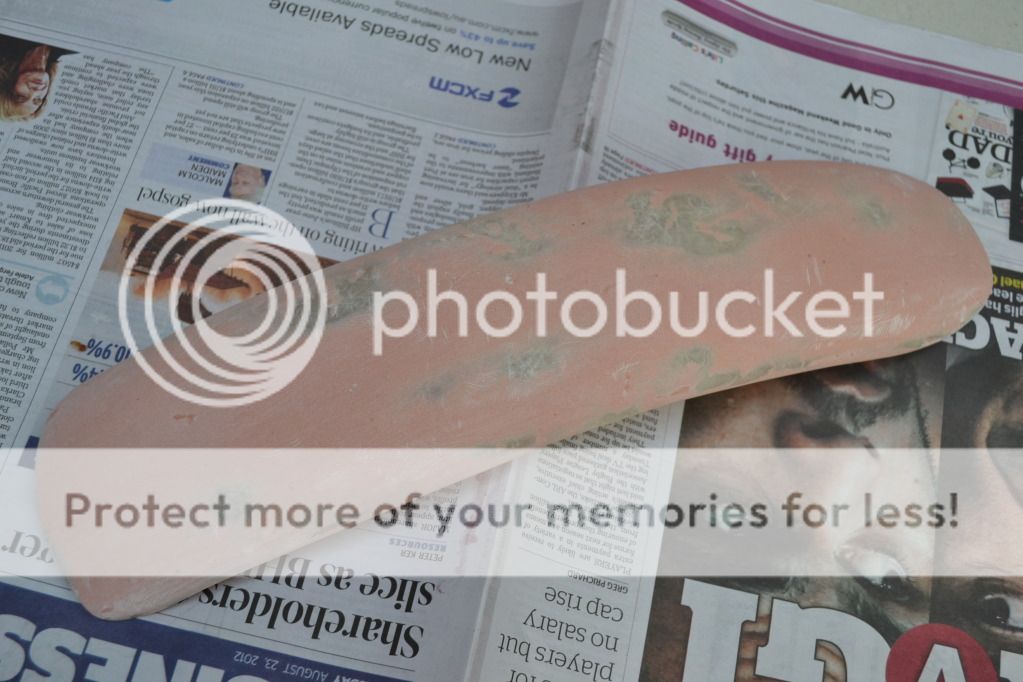
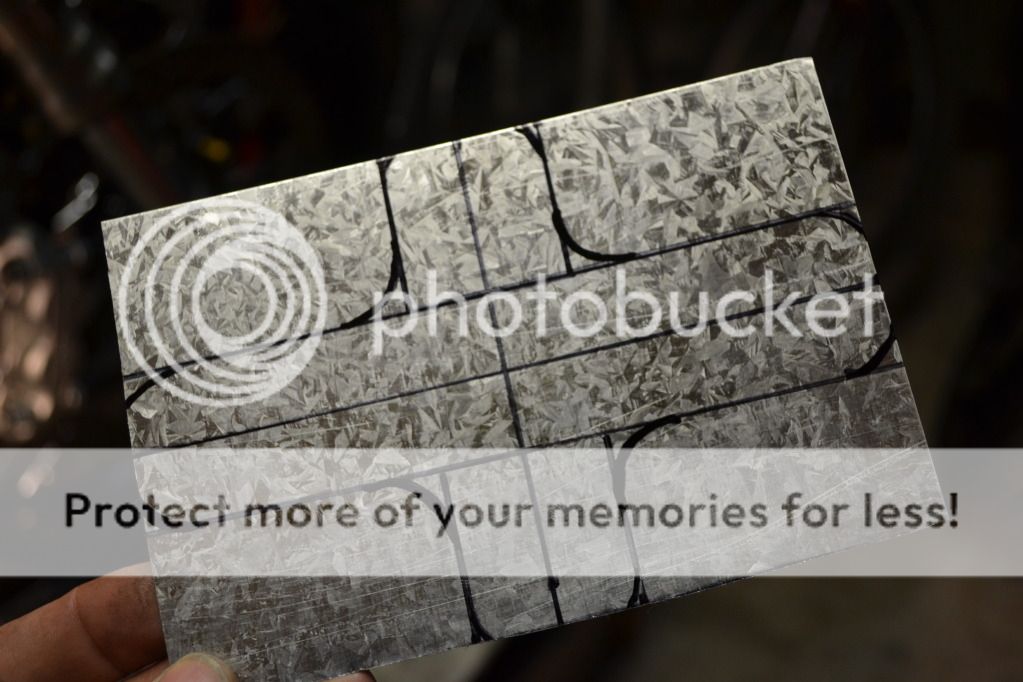
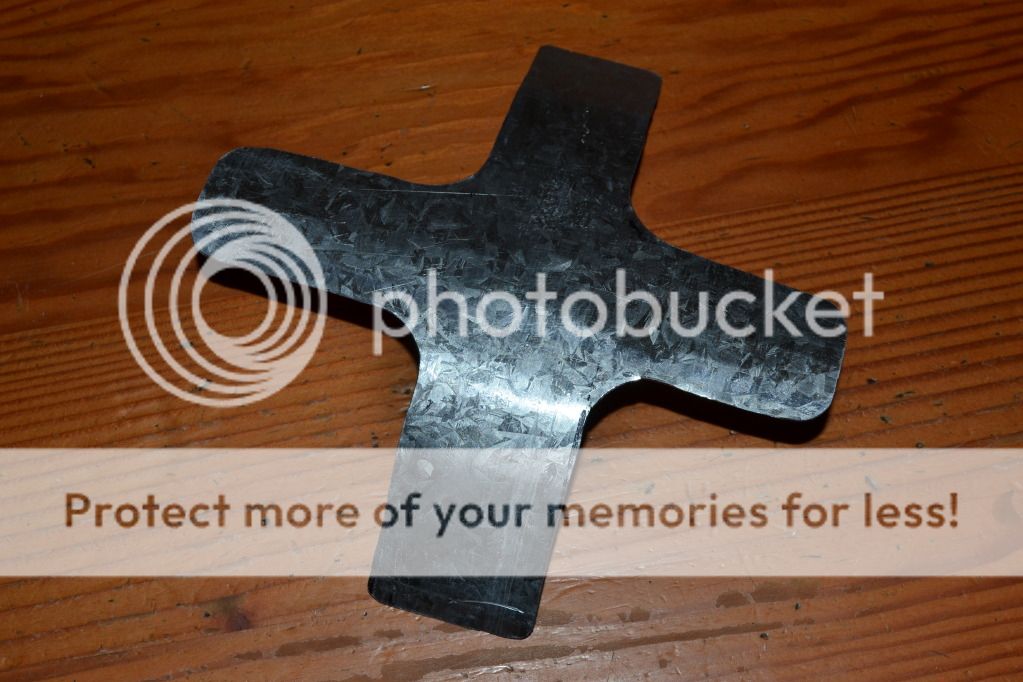
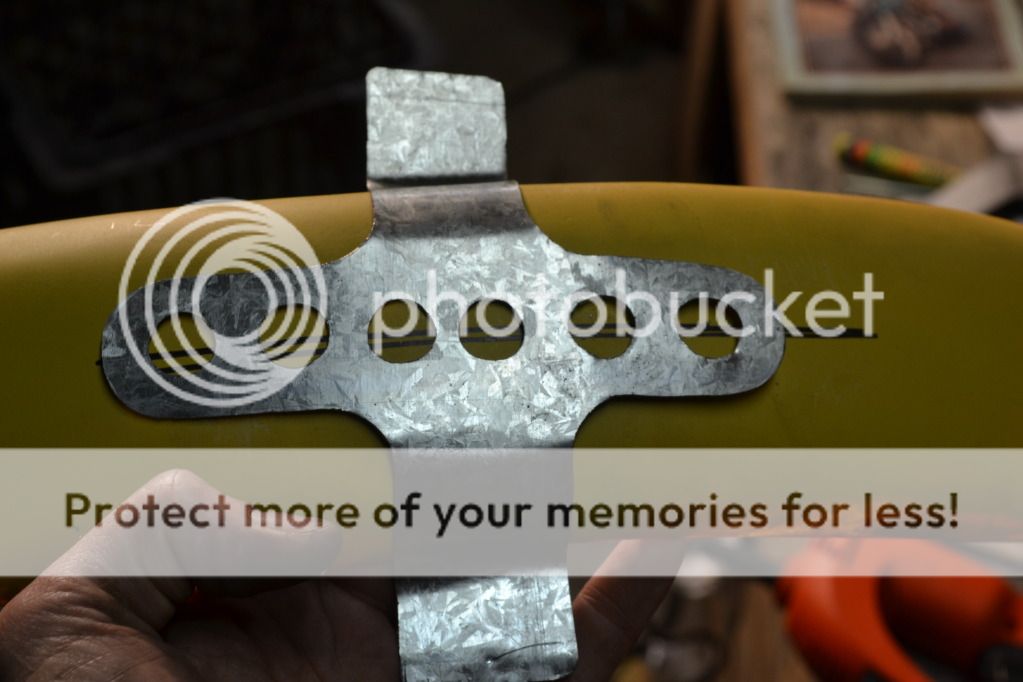
Next up was to fabricate some sort of bracket to hold my homemade front guard on. Thin piece of sheet steel
DSC_8437.jpg


marked out and cut to shape
DSC_8438.jpg

DSC_8499.jpg


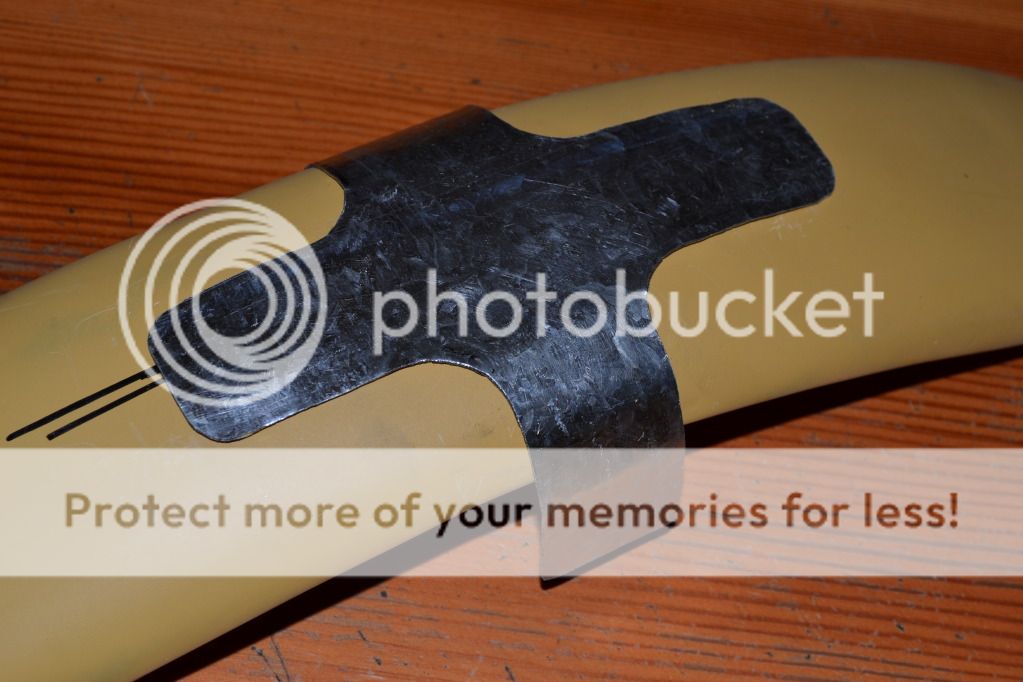
Sort of fits. I'll probably pop rivet the mudguard to the bracket
DSC_8500.jpg

DSC_8501.jpg


I'll get some 51mm hose clamps to hold the bracket to the fork leg. All the edges and the holes in the bracket need to be tidied up to make it presentable. Not sure yet but I may paint the bracket just to make it look a little nicer.

Thanks for reading folks. As usual, progress is at a glacial pace…but slow progress is better than no progress!!
 
Oh wow - didn't realise you tried to MIG the clutch cable :eek: Solder is the only way...as you now know ;D


Mufflers look sweet.
 
I used the same MIG trick on my throttle cable, and that broke too :(

I think DCC has shortened clutch cables that might work for you?

I used MTB parts to make my new custom throttle cables, but I'm not sure if those cables are up to the task of pulling the clutch. Although they are both hand/lever operated so they might be strong enough. Anyway, that's another place to look for custom cable parts. I also have found that bike shops are quite common, so MTB parts are a lot easier to get a hold of than custom motorcycle parts.

Bike's looking great! Can't wait to see the finished product!
 
Soldered cable ends are ideal (assuming you do them right) but if you have a TIG welder you can peen the cable end and then zap it with the torch so it makes a balled end. Be sure to slide the fitting away from the cable end before you hit it with the torch. Don't MIG weld cable ends. As you've learned, that technique doesn't work.
 
Back
Top Bottom