HollywoodMX's xv920/TR1 Cafe super-dupe!

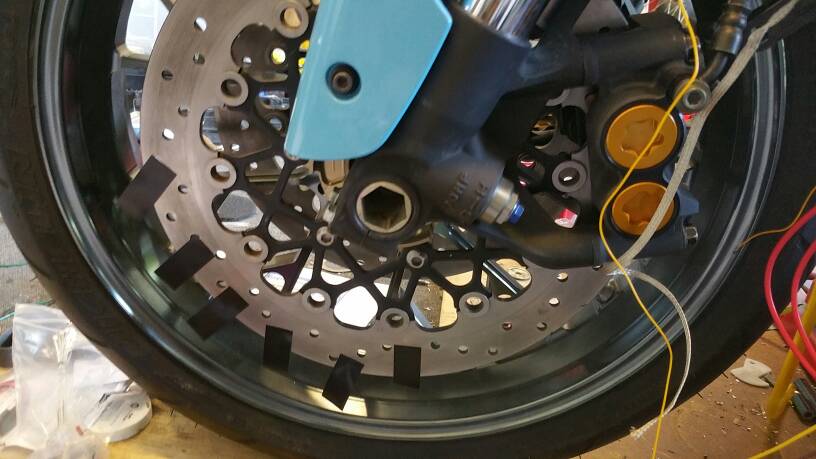
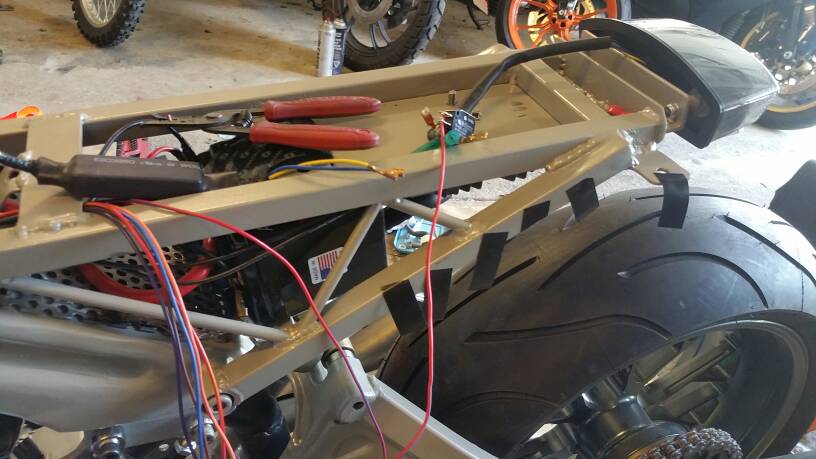
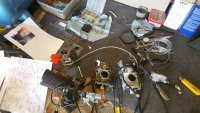
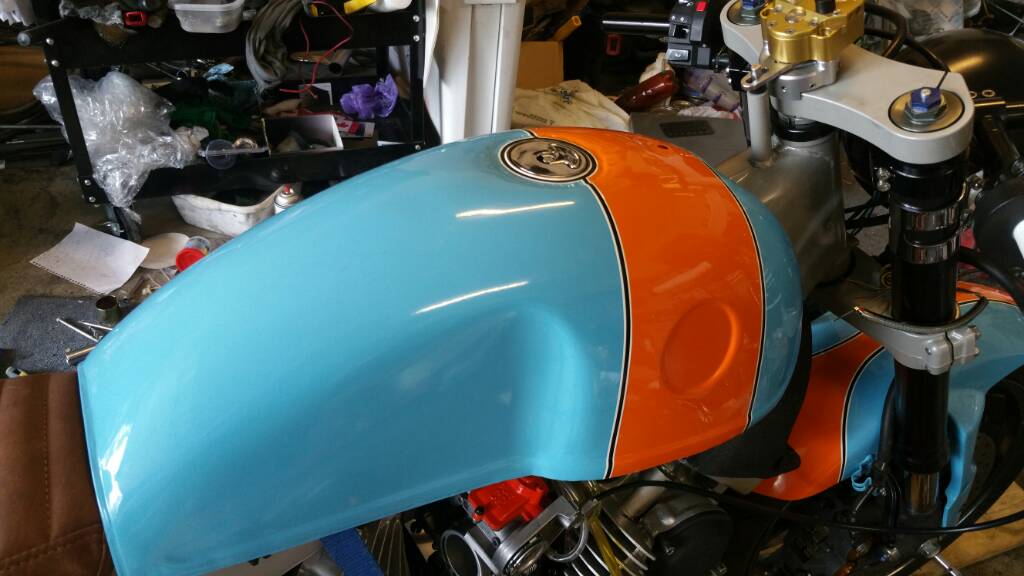
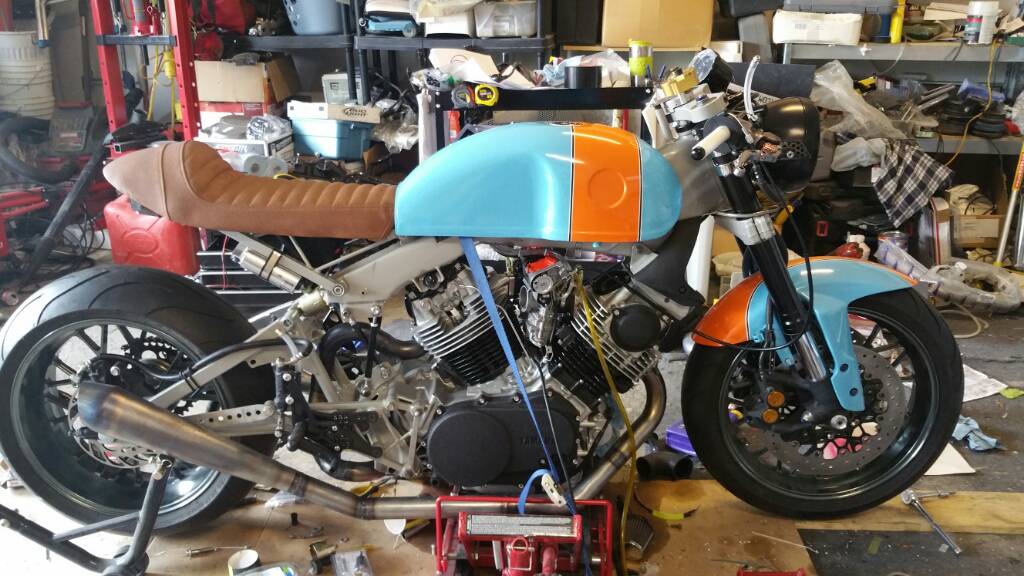
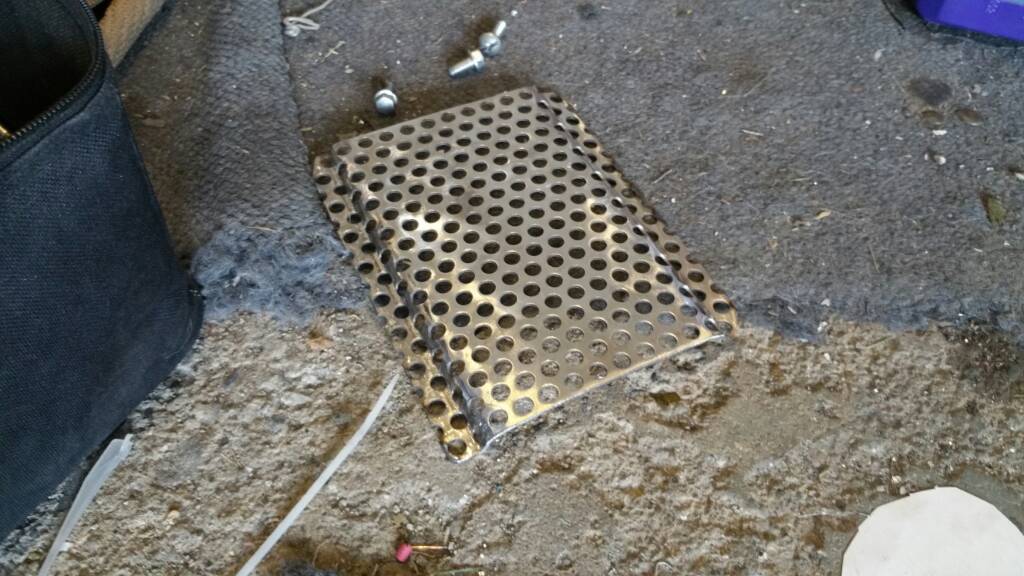
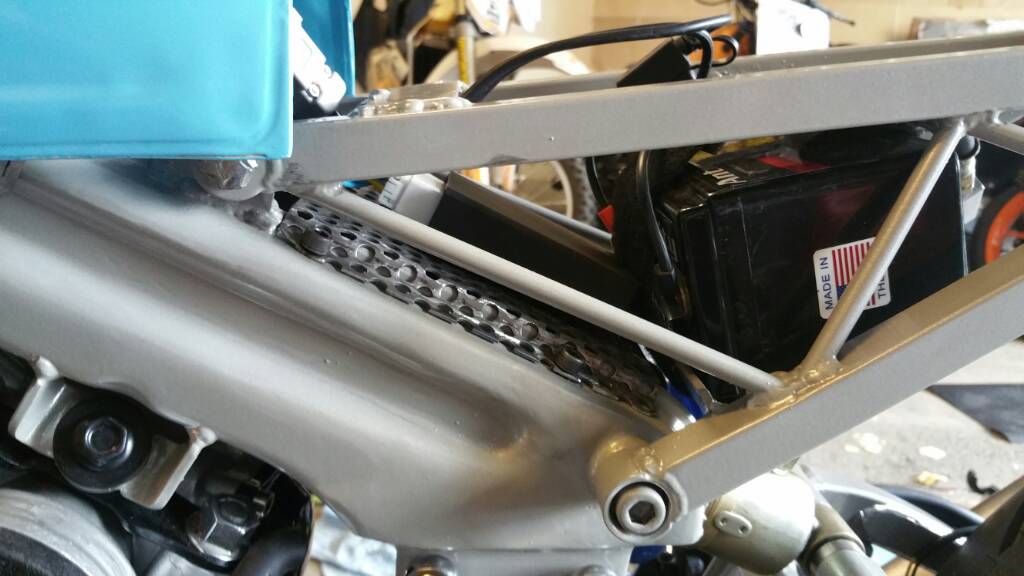
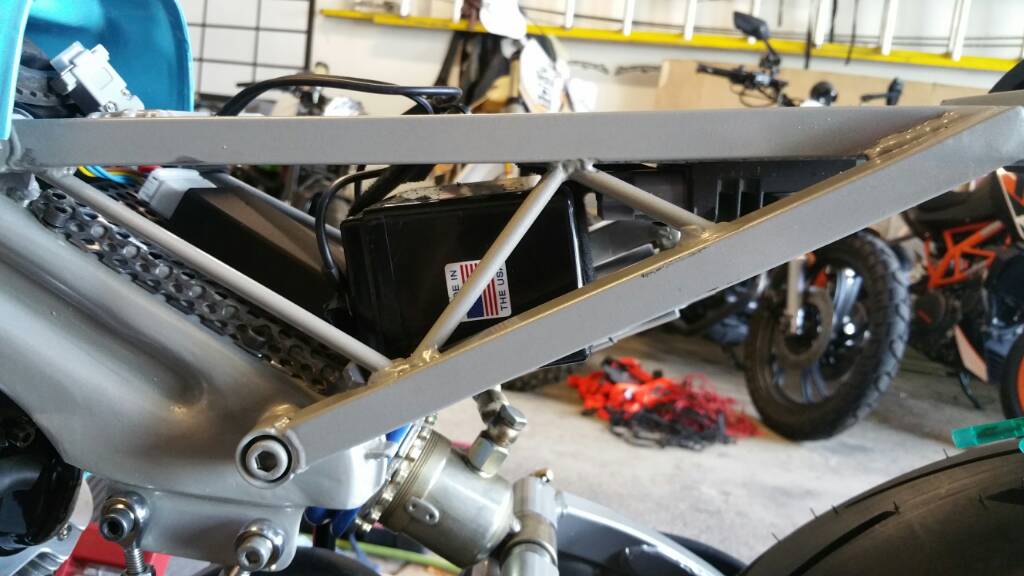
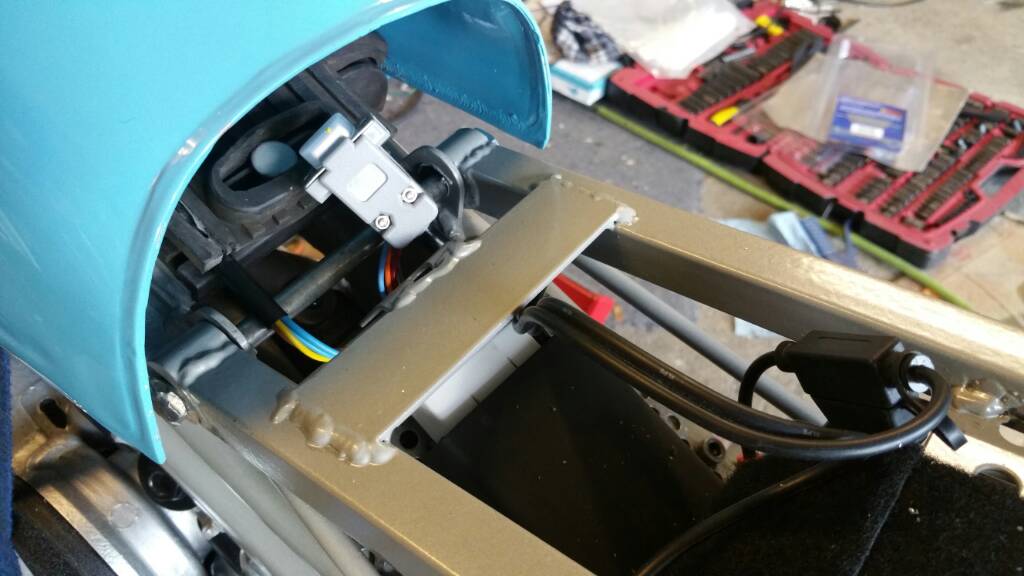
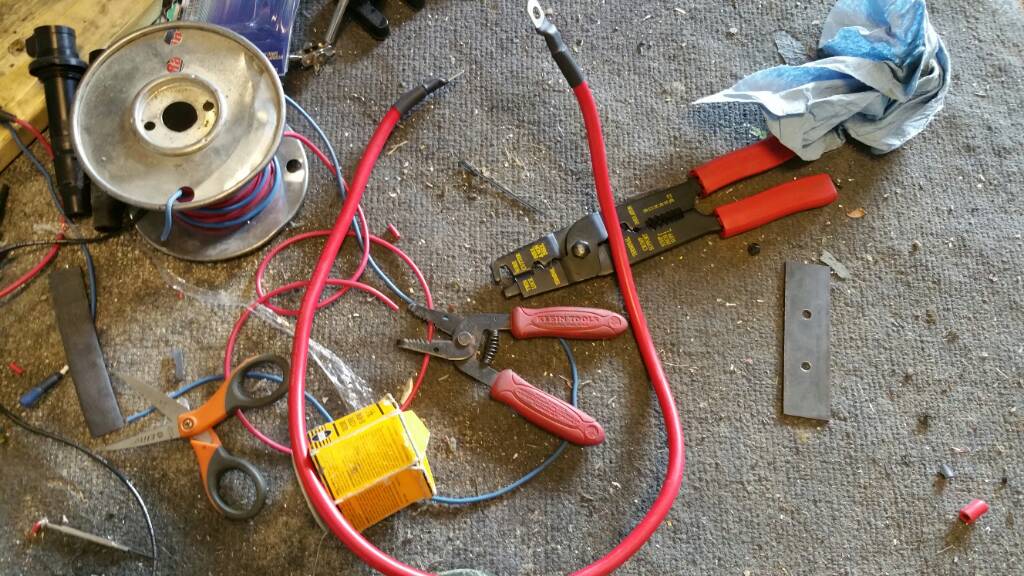
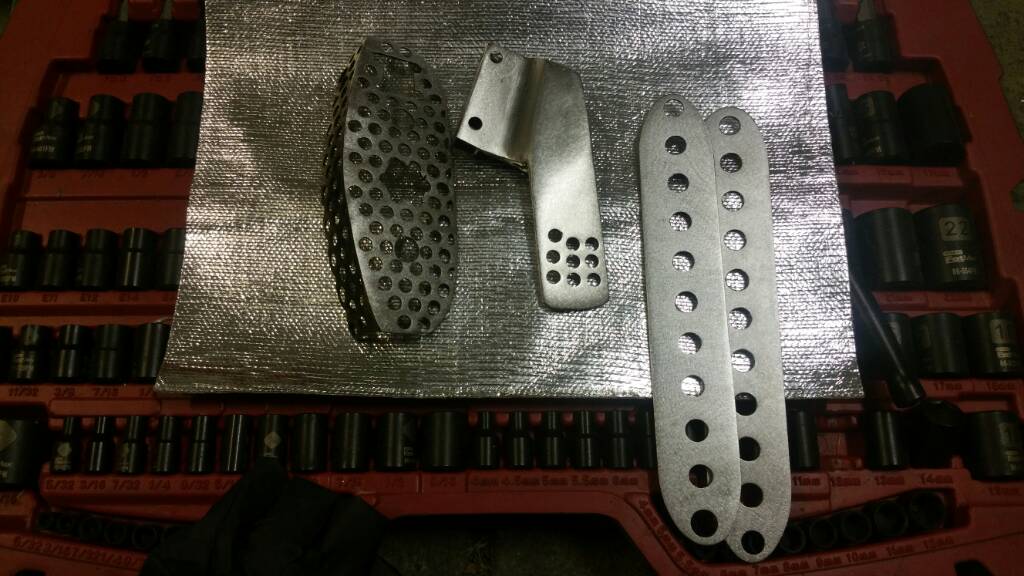
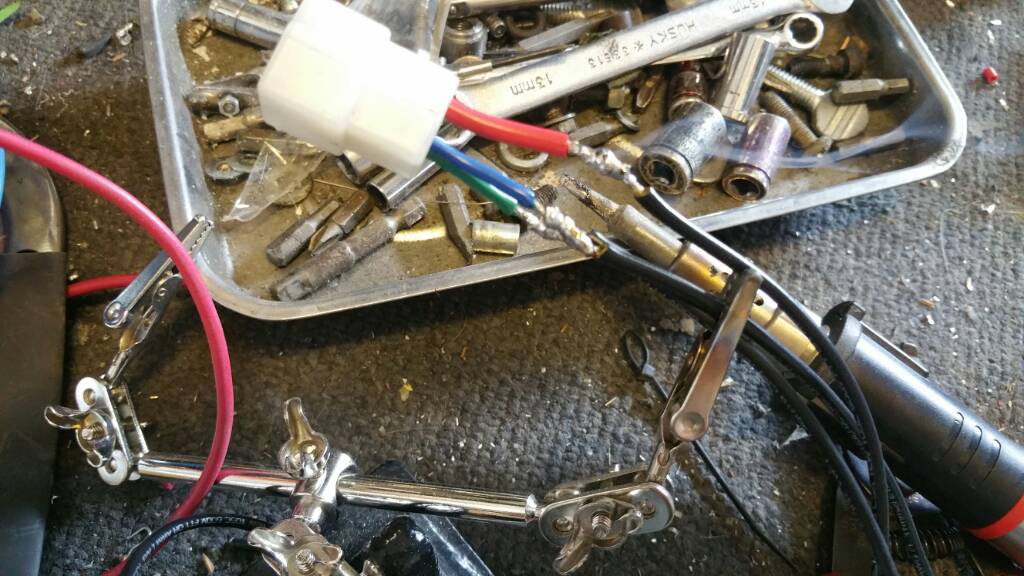
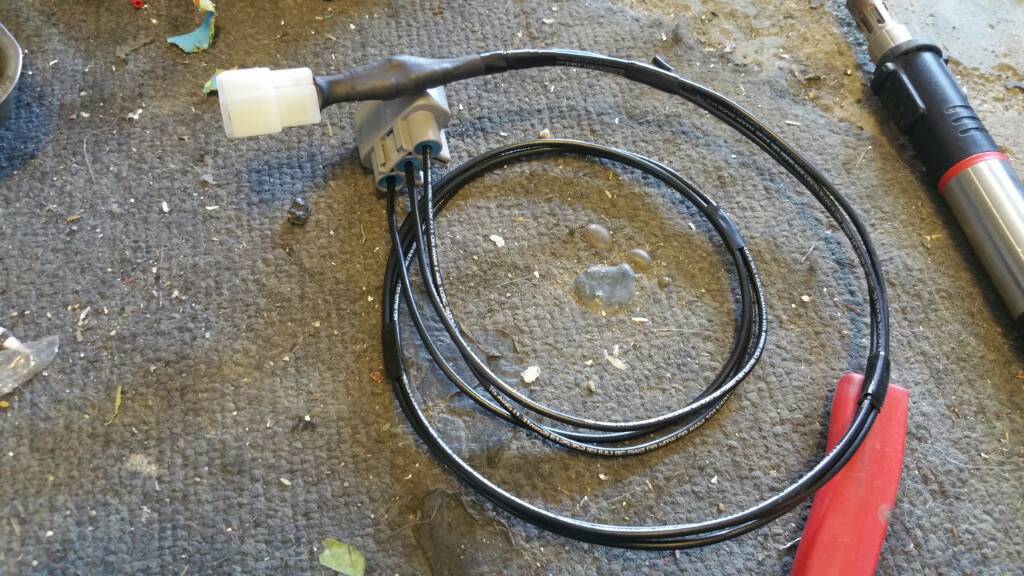
Bunch of random stuff.

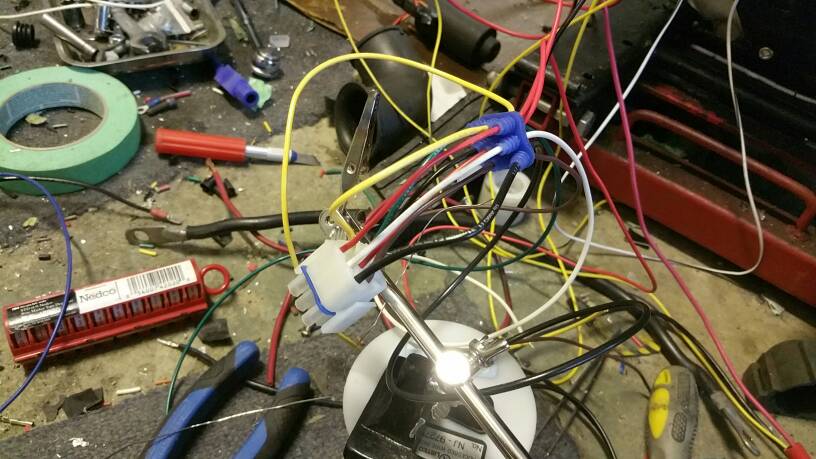
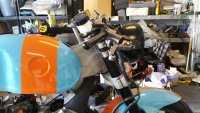
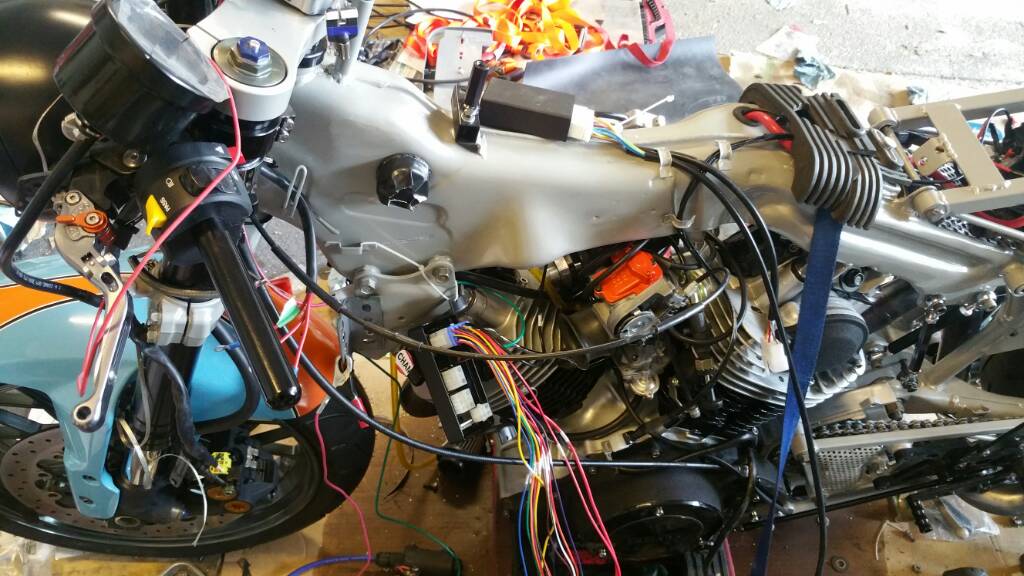
Control panel all tapped and mounted.

Reservoirs done for the brakes.

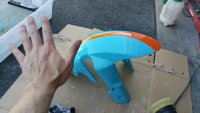
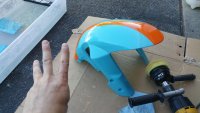
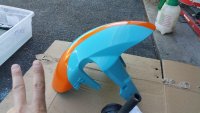
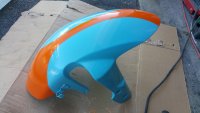
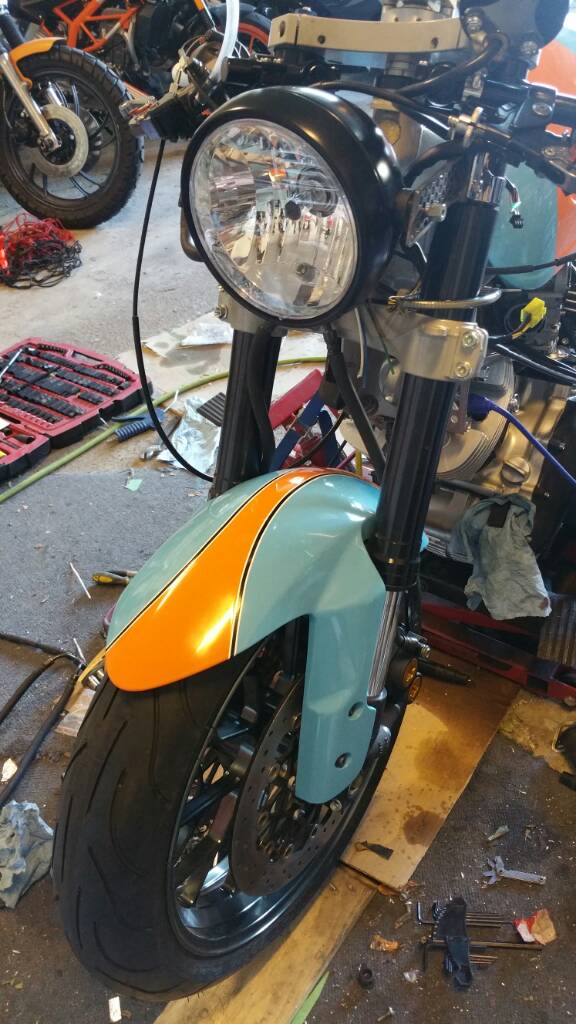
Headlight mount all done.

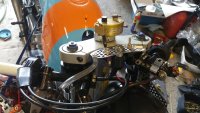
Carb 1 of 2 blasted and rebuilt to a baseline. Swapped hot start cable into a choke.
Carb 2 blasted.
Dual throttle figured out.
Need to figure out a dual choke cable system. I think I have a single choke pull somewhere.

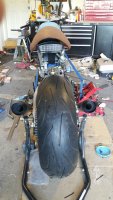
Exhaust done on both sides. I'm really digging it.

I'm getting pretty motivated as things have been progressing well now and I see an end approaching. At least even a first start up approaching!
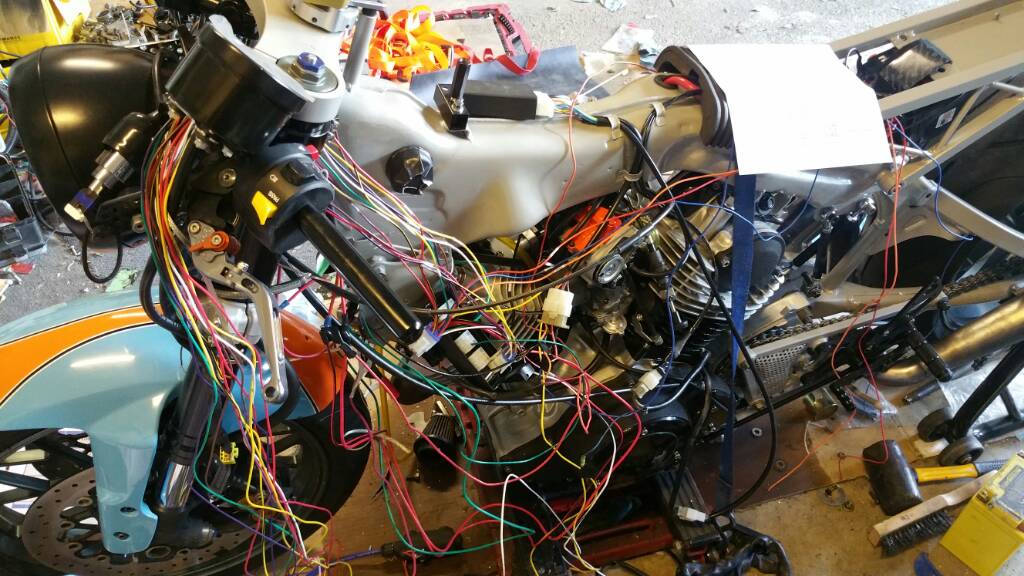
 

Attachments

  • uploadfromtaptalk1436753729716.jpg
    uploadfromtaptalk1436753729716.jpg
    5.2 MB · Views: 294
  • uploadfromtaptalk1436753758365.jpg
    uploadfromtaptalk1436753758365.jpg
    1.9 MB · Views: 293
  • uploadfromtaptalk1436753791610.jpg
    uploadfromtaptalk1436753791610.jpg
    1.8 MB · Views: 300
  • uploadfromtaptalk1436754957493.jpg
    uploadfromtaptalk1436754957493.jpg
    5.7 MB · Views: 301
  • 20150712_202935.jpg
    20150712_202935.jpg
    3 MB · Views: 308
Ya almost had it started. A bunch I'd little things to button up before starting. It will be in the next day or 2.

Both carbs on now but the carbs don't fit with both cable chokes connected. 
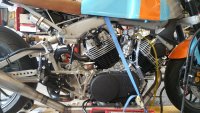
One is on a cable the other I can reach barely. The throttle cables need to be shortened.

It's got oil now. Manifolds all sealed. Harness hooked up (on the floor lol).

Found a problem with the custom chain tensioner, it's not compatible 100 percent. Gonna see what the guy says before I modify it. So I had to modify the fuck out of the stock one to align the carb properly.

These FCR's better be worth it. A LOT of screwing around to make it work. Looking back I wouldn't do it again. The street versions would have been easier but I don't think they would fit. Would hit the cylinders I figure.
 
Oh when I said custom chain tensioner I meant the cam chain tensioner not the drive chain tensioner I made. Talked to the company and they agreed the compatibility isn't correct and they just assumed the fitment based on other Yamaha's. Doh! My modified solution will work I suppose. The funny thing is the 920 tensioner is more robust than the 1100.. The 750 is smaller but that's understandable.

I started planning my wire harness along with my ultima harness. It's going to be pretty straight forward and dare I say "easy" but wiring takes time.. Going to see how much I can get done over the weekend. I think I get it done by Sunday. Worst case I should have a video of it running. .
 
HollywoodMX said:
Worst case I should have a video of it running. .

I've never been this excited to hear a Virago run... this build is coming along superbly.

Best of luck on the harness!
 
Drey6 said:
I've never been this excited to hear a Virago run... this build is coming along superbly.

Best of luck on the harness!
Lol, Ya me too! I have high hopes of bad assness.

Decided to do the wet sanding and polishing instead of the harness today because I wanted to install the brakes and I only wanted to take the fender off once.. 3 levels of sanding. 5 levels of polishing.
 

Attachments

  • uploadfromtaptalk1437270682191.jpg
    uploadfromtaptalk1437270682191.jpg
    5.5 MB · Views: 272
  • uploadfromtaptalk1437270652951.jpg
    uploadfromtaptalk1437270652951.jpg
    1.8 MB · Views: 272
  • uploadfromtaptalk1437270594560.jpg
    uploadfromtaptalk1437270594560.jpg
    1.8 MB · Views: 287
  • uploadfromtaptalk1437270561495.jpg
    uploadfromtaptalk1437270561495.jpg
    4.6 MB · Views: 269
  • uploadfromtaptalk1437270529333.jpg
    uploadfromtaptalk1437270529333.jpg
    1.1 MB · Views: 280
  • uploadfromtaptalk1437270486862.jpg
    uploadfromtaptalk1437270486862.jpg
    7 MB · Views: 271
Tanks turn. This time I show pic one as wet sand and pic 2 as complete Polish.

What's funny is when I read those threads about rattle awesomeness. Sorry no rattle can comes close to a real paint job.


b54a2ff1749945fdf439d37f33501572.jpg


6257acb10ff045ee9650f1f82414219b.jpg


efb01acd6481c3c439f4bbcde909f31a.jpg


41e7a15eac56324ac43ae812ae6774d1.jpg


ff188e2166b3d7027be3d7397782eea0.jpg


511d87c2b14fbf7f67f2fd2dcf7343d4.jpg
 
HollywoodMX said:
Tanks turn. This time I show pic one as wet sand and pic 2 as complete Polish.

What's funny is when I read those threads about rattle awesomeness. Sorry no rattle can comes close to a real paint job.


b54a2ff1749945fdf439d37f33501572.jpg


6257acb10ff045ee9650f1f82414219b.jpg


41e7a15eac56324ac43ae812ae6774d1.jpg


efb01acd6481c3c439f4bbcde909f31a.jpg


ff188e2166b3d7027be3d7397782eea0.jpg


511d87c2b14fbf7f67f2fd2dcf7343d4.jpg
 
Electrical. Takes time and not exciting. Finding where to put what and what wires to run where.

Starting system works and the bike turns over. This bike turn over sound is a lot different than any virago I have heard. It oozes race engine, I'm very excited to hear it run.

64070f04f1b299ede6ff912aaf88bf78.jpg


66ae1d0eadea5c2fc0a9dbbc90996a4e.jpg


e1262f12fbe9eb02d90382c99b403454.jpg


2128cfdae793afa1a0f3a76675b1b47b.jpg


a658f8b74449b6186cfb4dfb071fdaa2.jpg


0893546b429c4a4957ce89725b4c7805.jpg
 
Was on holidays. Back at it now. Stripped and sanded these for the 4th time. I keep messing up the look I want doing some fancy magic with engine clear coat. This weekend should be productive, maybe even a running video but no promises.

7467607b4bfcd9b0dec884baebf011ec.jpg
 
Yay electrical work..

I had some minor issues graphting the Harley based custom harness to Yamaha but I got it figured out. Harley's run ignition power from the kill switch not ignition power. Makes sense just didn't expect it out of the custom harness.

Weeeeeeeeeeeeeeee!

0385192f93dcc63c48a4216a8bc5fe32.jpg


4fb74e2204d24c009dc49e7e90c31830.jpg


bf93eebbfbe0a16807756f0f06239ea5.jpg


b1fb42665e960082e072c4fa4c680cdb.jpg
 
I seem to have a craving for spaghetti. ;)
The biggest bit of help when wiring bikes, especially with mix and match components, is to figure out how each circuit is intended to work, and how the new components may change that, so testing with a volt/ohm meter will help clarify the wiring of the switchgear, take your time, draw out each circuit as you go so you have something for future reference.
Above all, don't trust wire colors when the harness comes from different years or models.

I was wiring up a GL500 with Honda switchgear from a mystery model/year, the wire colors and a number of the wire locations within the connectors were different, some things worked, some didn't, and others would blow the fuse, I had to test out all the wires to confirm their purpose, and move them to the correct location, the idea was to keep the bikes harness as stock as possible so that the wiring diagram would still be usefull, visually seeing how the wires are connected within the switchgear was my only solution to sort out the last few wires that didn't make sense, seeing the physical connections removed all questions.
Some or all that I posted may or may not be redundant information.

I'm watching your build since I'm relitivly sure I'm going to do up an XV myself, possibly next year.
 
J-Man said:
I seem to have a craving for spaghetti. ;)
The biggest bit of help when wiring bikes, especially with mix and match components, is to figure out how each circuit is intended to work, and how the new components may change that, so testing with a volt/ohm meter will help clarify the wiring of the switchgear, take your time, draw out each circuit as you go so you have something for future reference.
Above all, don't trust wire colors when the harness comes from different years or models.

I was wiring up a GL500 with Honda switchgear from a mystery model/year, the wire colors and a number of the wire locations within the connectors were different, some things worked, some didn't, and others would blow the fuse, I had to test out all the wires to confirm their purpose, and move them to the correct location, the idea was to keep the bikes harness as stock as possible so that the wiring diagram would still be usefull, visually seeing how the wires are connected within the switchgear was my only solution to sort out the last few wires that didn't make sense, seeing the physical connections removed all questions.
Some or all that I posted may or may not be redundant information.

I'm watching your build since I'm relitivly sure I'm going to do up an XV myself, possibly next year.
Ya on my other xv which is the exact same bike I did the stock harness simplification so everything is the exact same on this bike. Thing is I'm only using one cut connector off the stock harness on this bike and that's it. Everything is aftermarket or net new.

I'm back from work travelling so this weekend I will make more progress.

Making ground and accessory power buses make these things easier I find for rewiring.
 
Hehehe. When you get done wanna come over and install the Motogadget on my bike? I can pay in good Scotch and Whiskey.

I've been postponing my project because of the very thing you are experiencing. :)
 
XVRacer said:
Hehehe. When you get done wanna come over and install the Motogadget on my bike? I can pay in good Scotch and Whiskey.

I've been postponing my project because of the very thing you are experiencing. :)
Sure! I would say the moto gadget would be even easier. Spring for the m unit and you are laughing.

What sucks is I'm pretty much starting from scratch. I'm using modern sport bike controls, modern regulator, non stock; head light, tail light, signals, guages, speed sensor, brake switches, key ignition, coils, ignition, start button all then making it talk Harley with the custom harness kit, Lol. It's actually not that hard, it's just tedious work. A lot of looking at diagrams then; route, cut, crimp, test, solder....etc.

I do like this better than what I did with the tracker.
 
I tried wiring on modern switchgear and ended up only doing the kill switch, R6. I gave up on the left side and ended up installing a NOS switchgear on that side.

Everyone one I've spoken with says the M-Unit and M-Button is the way to go.
 
XVRacer said:
I tried wiring on modern switchgear and ended up only doing the kill switch, R6. I gave up on the left side and ended up installing a NOS switchgear on that side.

Everyone one I've spoken with says the M-Unit and M-Button is the way to go.
I got the right side working. The left side is next. Ya the m unit is nice with the one wire bus without a doubt. I wish it was cheaper as a package.

Update:

I got the tail light and switch, the guage, kill switch and the ultima custom connector one of two sorted. 91.6% of the all the wiring is done in a mostly temporary fashion. I have learned it's better to do it that way so you don't keep splicing or redoing connections.

I had the bike turning over but I was having a spark issue which drained the battery sorting it out then it got too late. She lopped over for like 3 seconds where she was about to run then the battery was done. Carbs might be too rich in the pilots too.

Now that I'm this close I will spend time on the weekday evenings getting it done. I suppose I better order the rest of the graphics and brake lines.

b93641c5e6fe25fde8702388bb2d27aa.jpg


20ac0f7183bcdc144003421fc1566b0e.jpg


c5c7f8b6bb9fa80201881a5a8420b5ef.jpg
 

Attachments

  • uploadfromtaptalk1439797222691.jpg
    uploadfromtaptalk1439797222691.jpg
    1.9 MB · Views: 349
Back
Top Bottom