Follow along with the video below to see how to install our site as a web app on your home screen.
Note: This feature currently requires accessing the site using the built-in Safari browser.
We noticed you are blocking ads. DO THE TON only works with community supporters. Most are active members of the site with small businesses. Please consider disabling your ad blocking tool and checking out the businesses that help keep our site up and free.
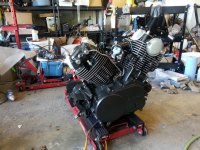
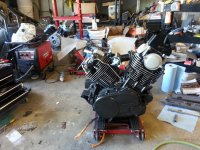
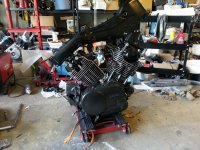
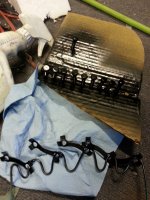
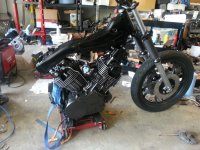
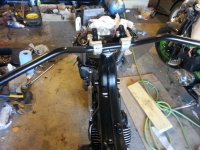
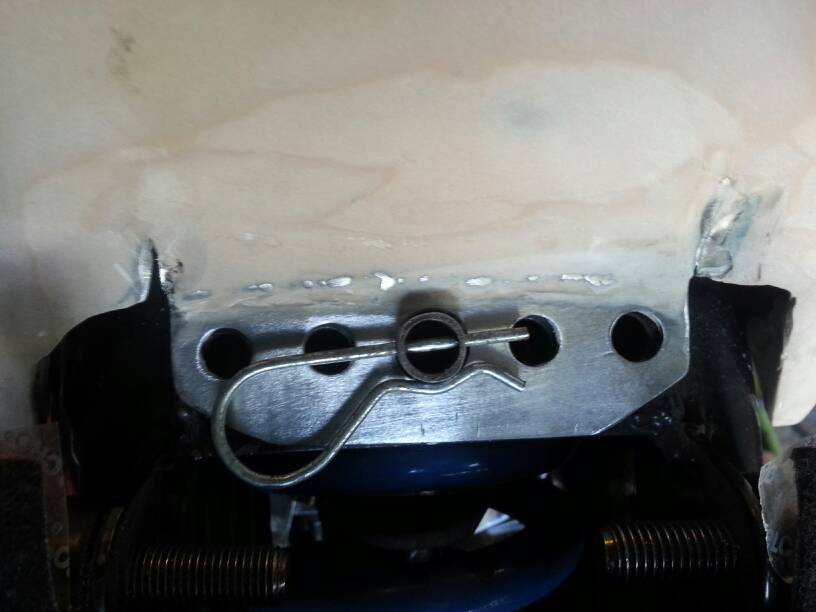
Just so people know what takes long is every bolt has to be cleaned, painted or braised before going back on the bike. Also had to screw around with sanding some powder coat off things, and my custom machined bits for the triumph shock I forgot to ask for press fit so I had to screw with that and I ordered spacers slightly larger as I manually wanted to ensure a super tight fit.
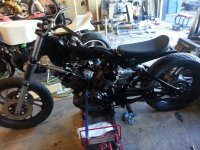
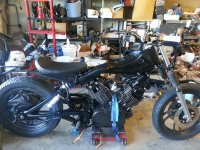
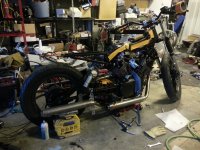
Wholy fawk! Randomly checked on the bike this morning before work.. It tipped over on the stand.. I was crying inside.. Some minor scuffs, im super glad i installed the foot pegs and handle bars.
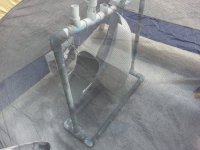
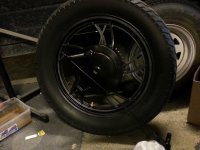
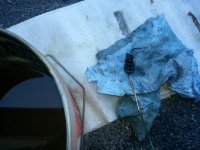
Its a poor mans anodizing kinda. You can heat metal creating a form of anodizing where it turns purple blue. The problem is the metal needs to be super clean and it doesn't anodize evenly like the chemical/electrical process. So what I do is I heat it up beyond the anodizing color change (blue purple) where it goes more of a grey (which is hot) then I throw the bolt in the motor oil, the oil starts boiling around the bolt and creates a chemical bond with the bolt and the bolt becomes braised with oil. It's more scratch resistant compared to anodizing by quite a bit, as the oil bonds with the pores in the metal but it's more susceptible to detergents/degreasers wearing it down over time.
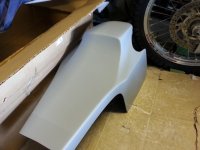
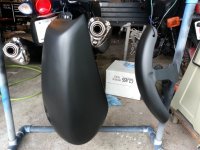
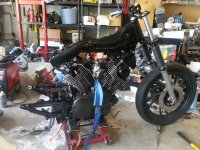
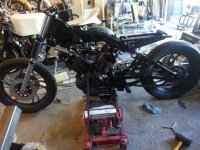
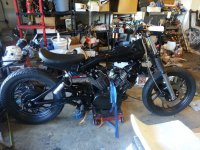
Again yesterday was a more cow bell session. Fender and seat are ready for paint but i had to bondo the tank once more cause i still felt some imperfections i also didnt like the transition at the end 100% so i added more bondo there . Also bolted more bits onto the bike. Made the tank lock and seat mounts too. Started on the exhaust and a chain guard too.
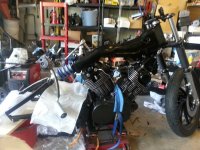
Love this build, everything BUT the exhaust......still a virago with these...
Can`t you find a way to lead them along frame height? Bit of welding might do the trick......
Love this build, everything BUT the exhaust......still a virago with these...
Can`t you find a way to lead them along frame height? Bit of welding might do the trick......
Ya im not a fan either but i sold the stockers so this all i have. All black they will look better. I just need to finish this "quick build" so i can focus on my cafe 920. I was thinking i will order a 2 into 1 and put my own can on it. Or i will order bends again and make something cooler. Again i just need to get this done so gf can get riding and i can focus on my other 2 bikes..
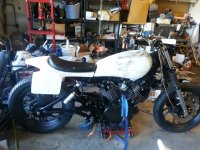
Got as far as I could go for prep and paint. Everything primed. Seat is ready for base thanks to a layer of filler/flexible primer! Man I like that stuff!
Tank needs a bit of sanding. That primer showed some flaws that needed to be fixed but I layed on a 4 layers of primer so I cant sand till tomorrow.
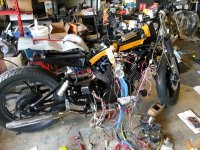
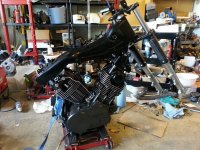
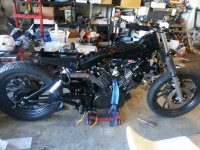
So since I had to wait for the painting to dry I got the bike running. I stole the harness from my cafe since it was simplified already and I bought a custom wiring solution for the cafe. I made a few changes and she runs! I capytured a video but it wasnt that exciting..
I also go the headlight mounts done. Now the hard part of cutting the holes in the number plate..It's going to be hard to get perfect.
This site uses cookies to help personalise content, tailor your experience and to keep you logged in if you register.
By continuing to use this site, you are consenting to our use of cookies.


")