
The Red Wonder
Been Around the Block
What do you guys think...total machine time was about 8 hours for both sets, not too bad. I am super happy with the end result.
Here are the results of the shop day:
Step 1 -
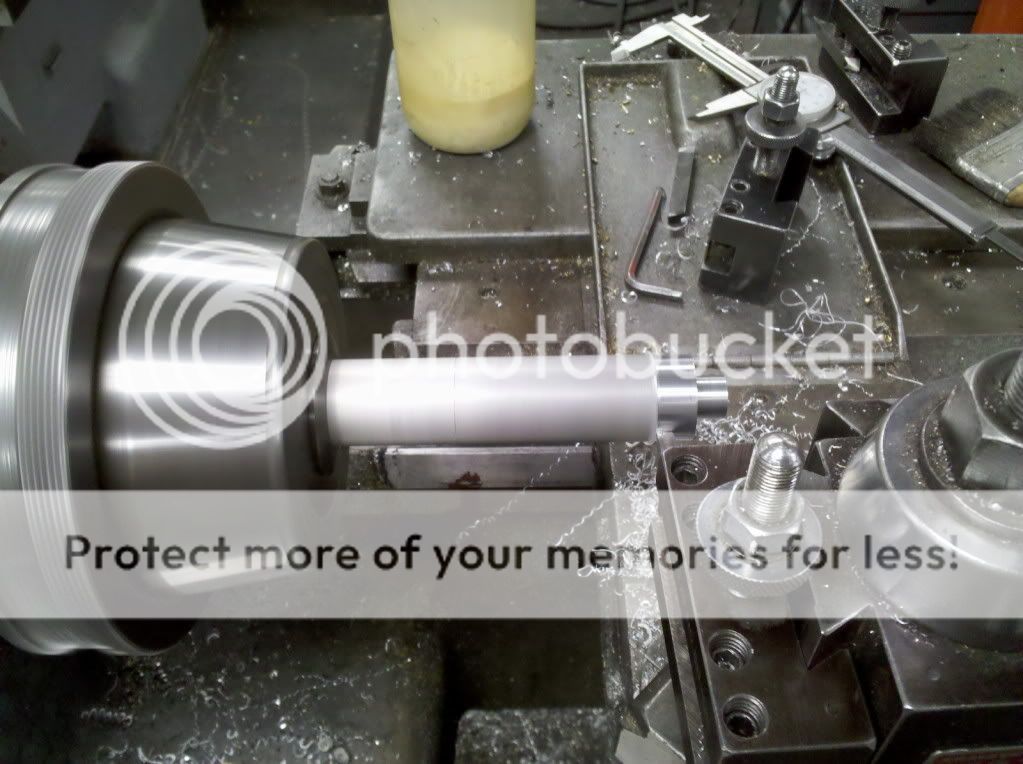
Step 2-
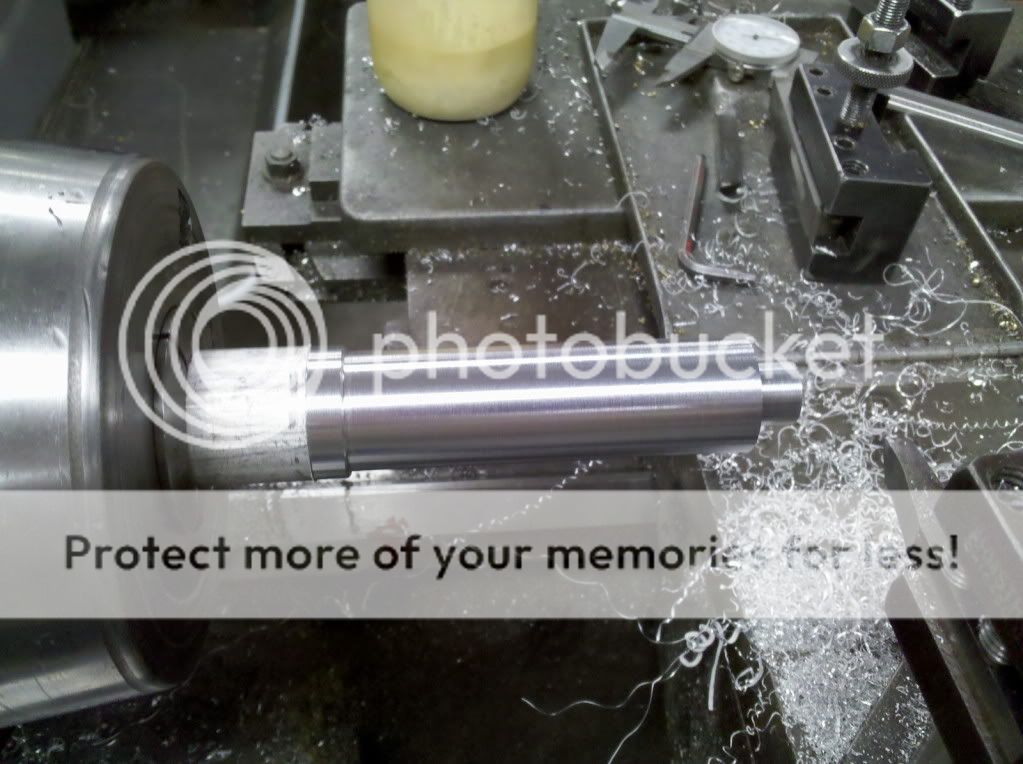
Step 3-
Step 4-
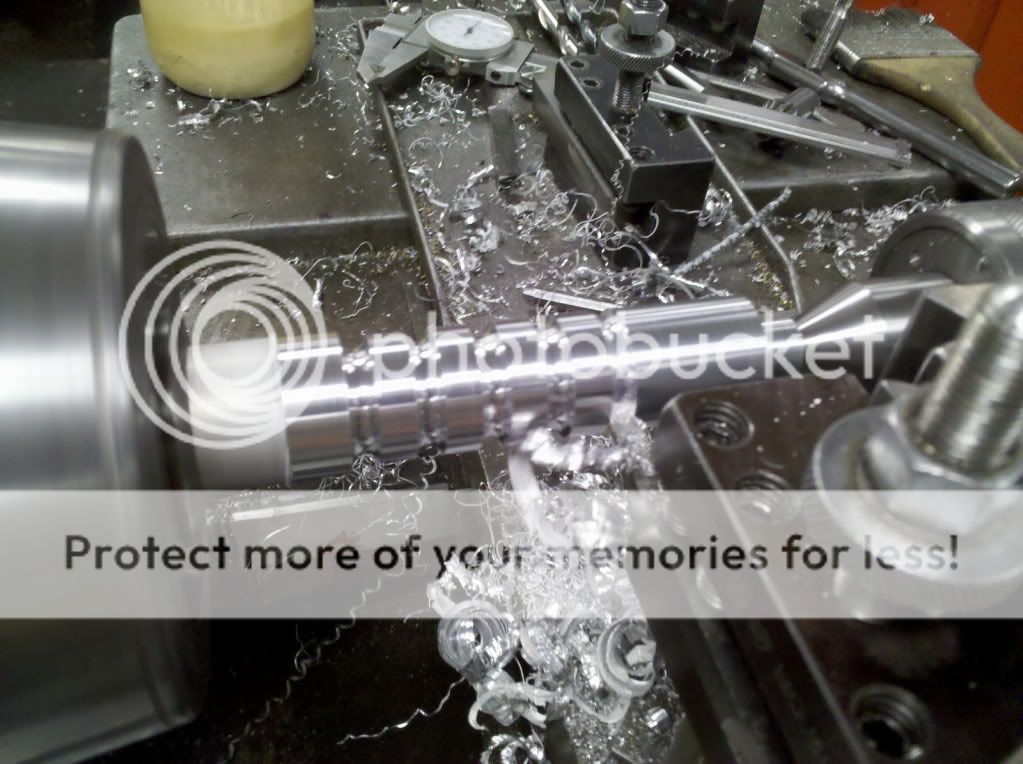
Step 5-
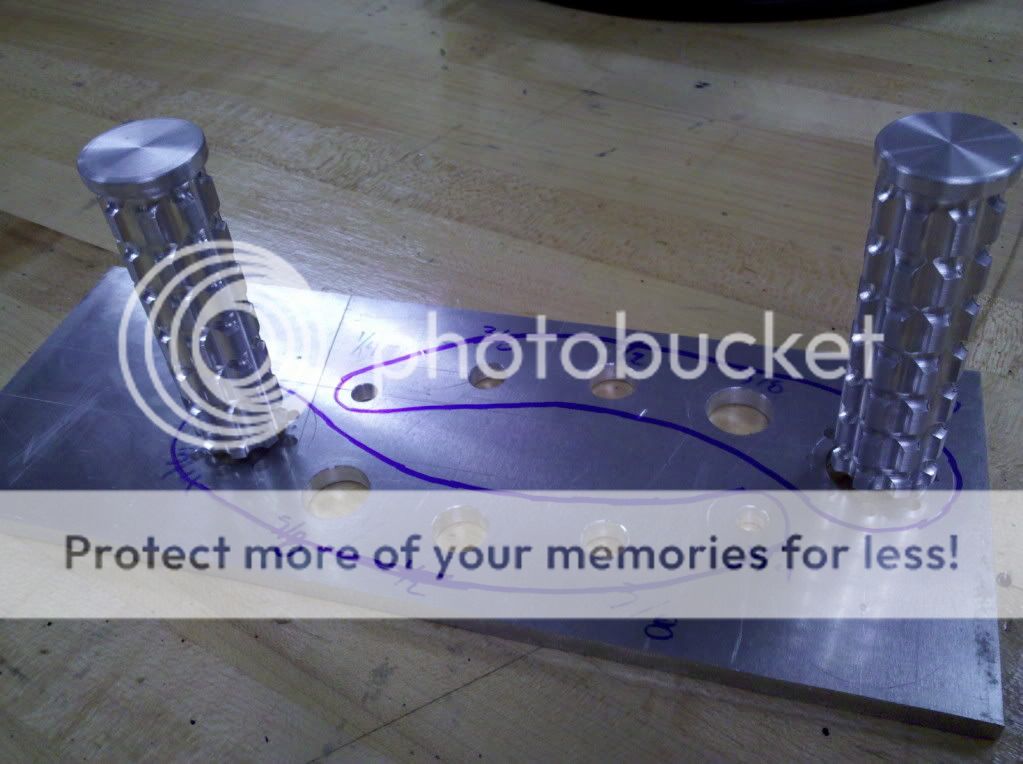
Step 6-
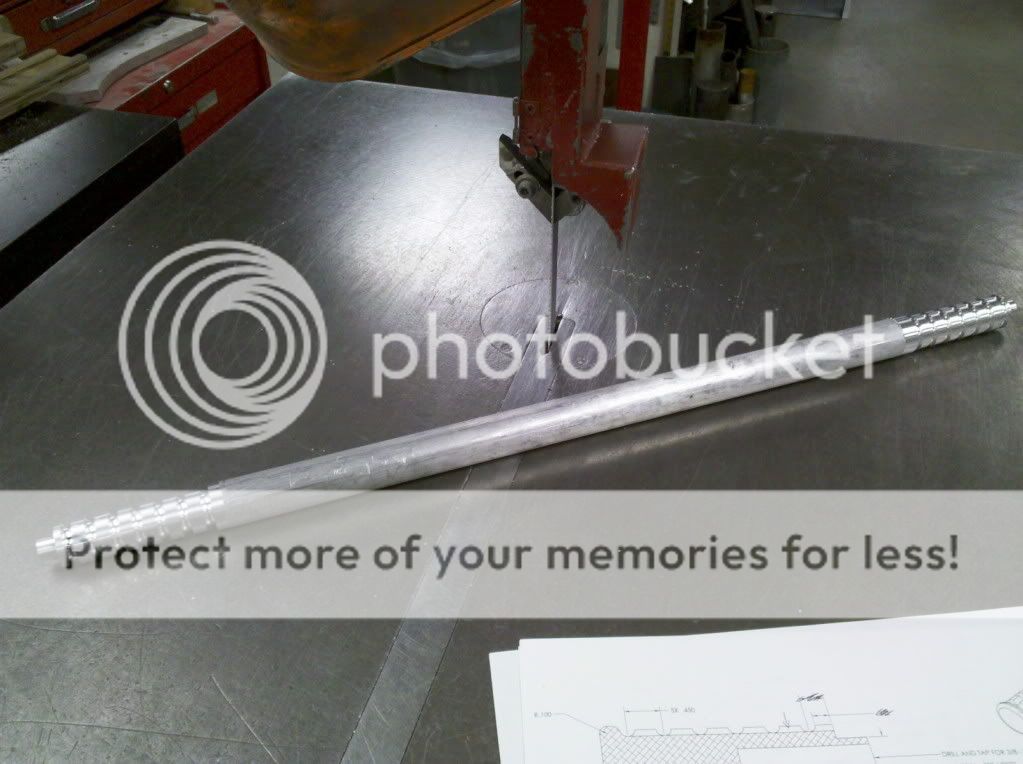
Step 7-
Step 8-

Step 9-
So happy with the results!
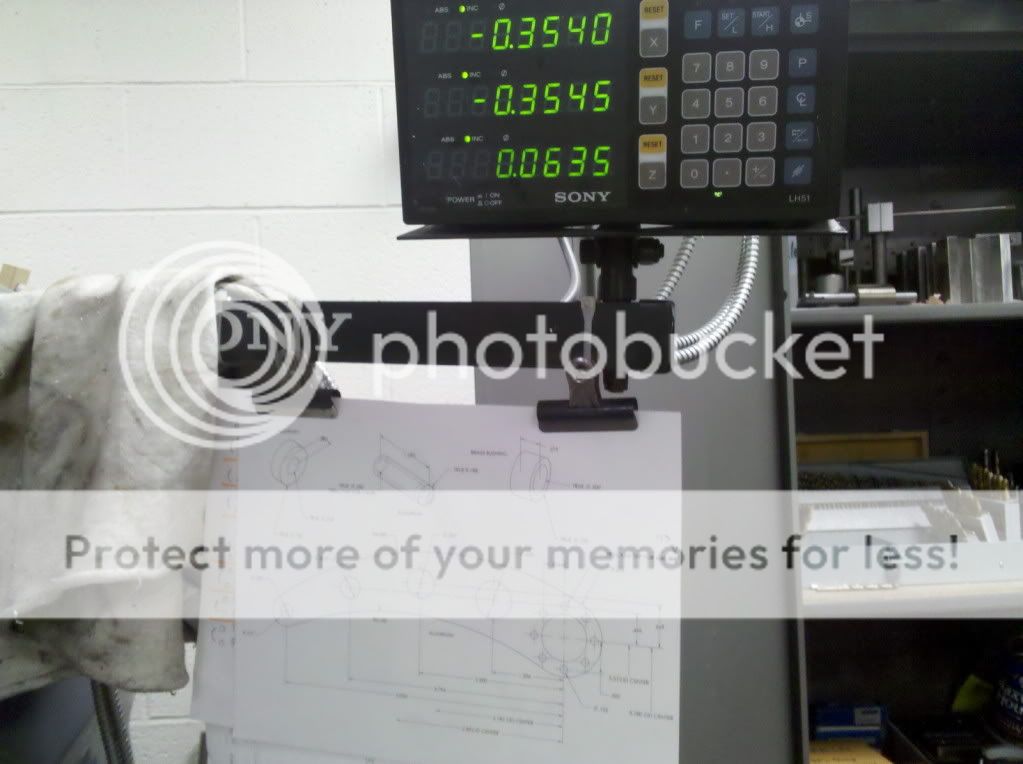
DRO for the win!
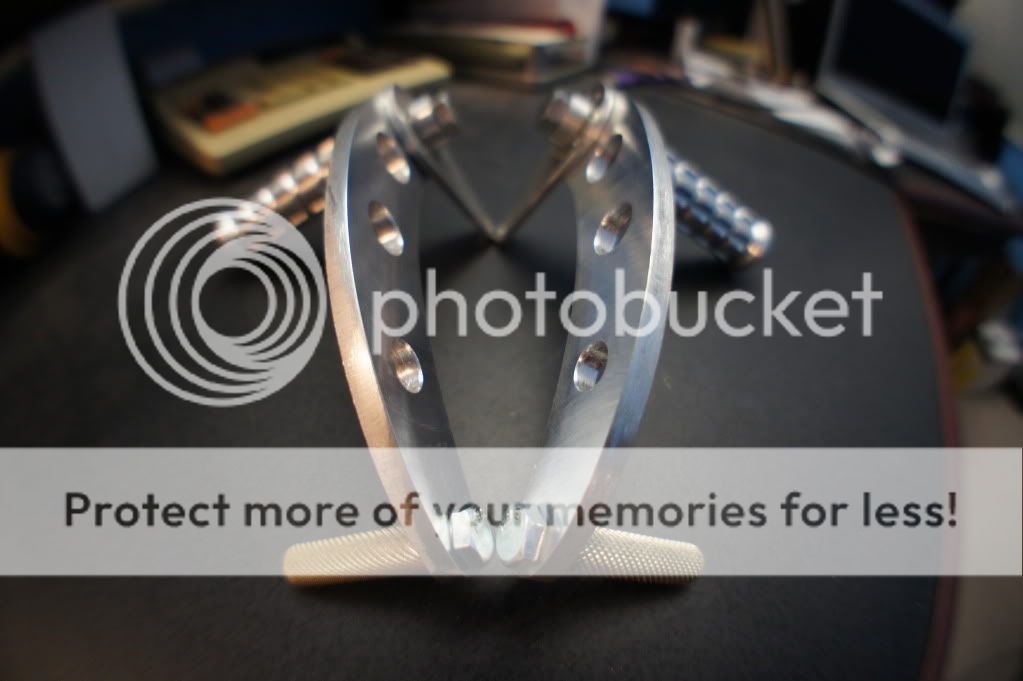
The levers...ran out of day
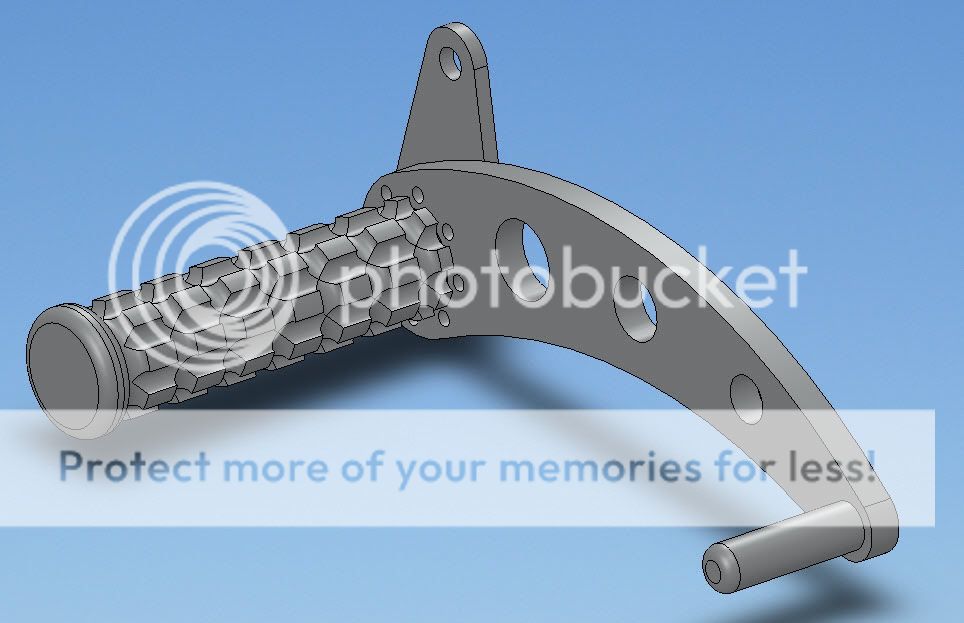
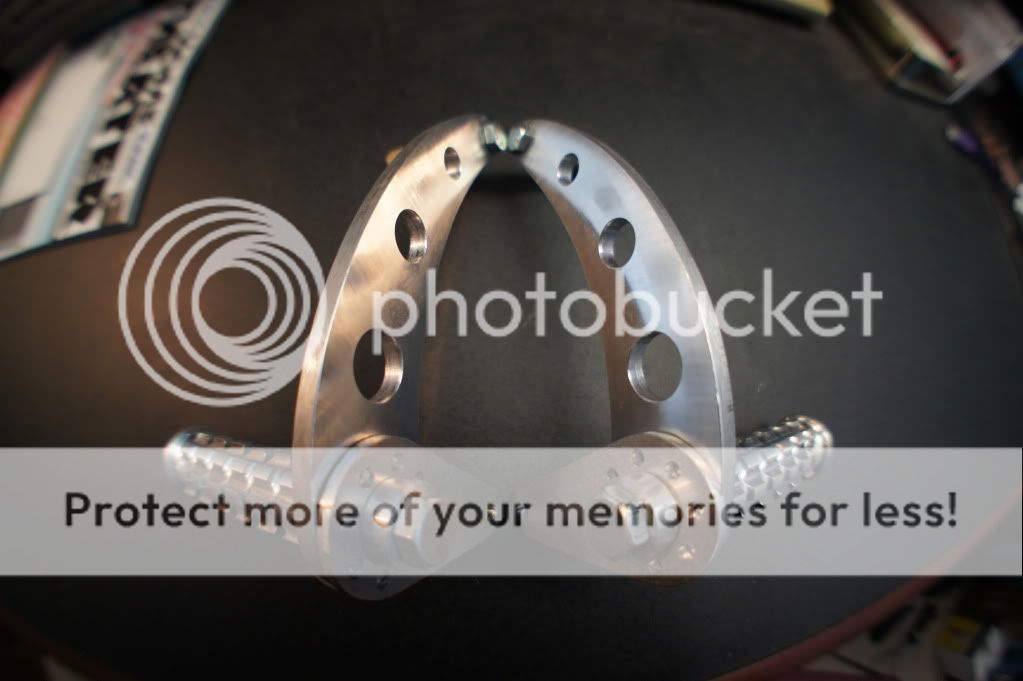
The goal:
The brass toe piece was a last minute addition and I think that its sweet!

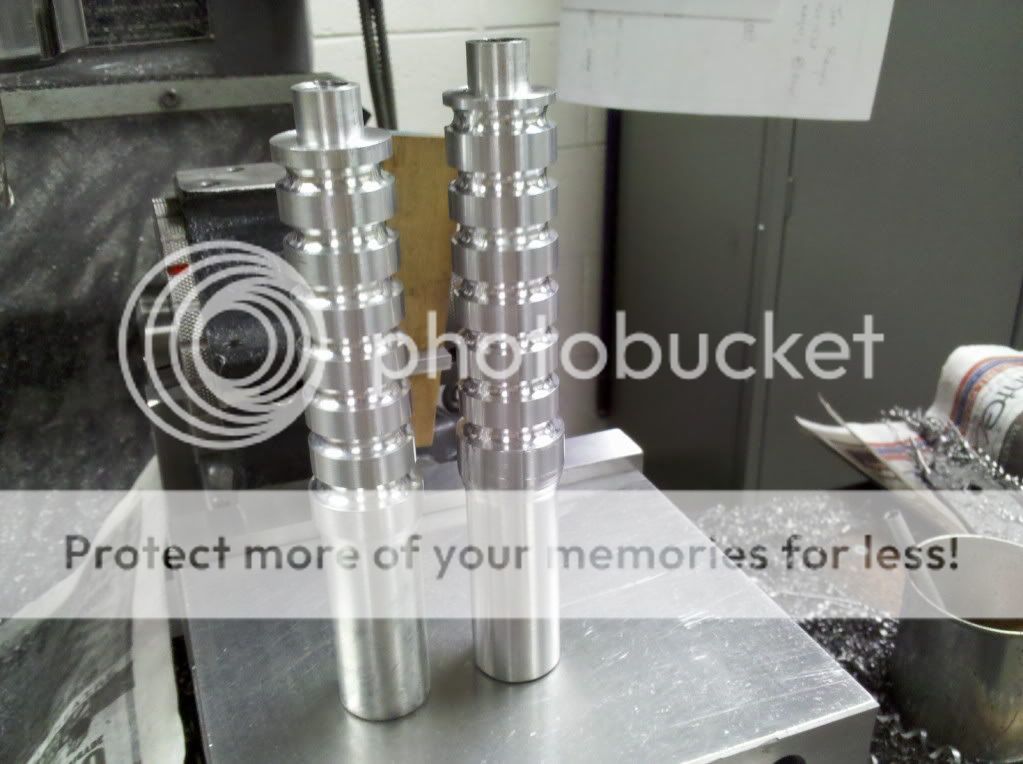
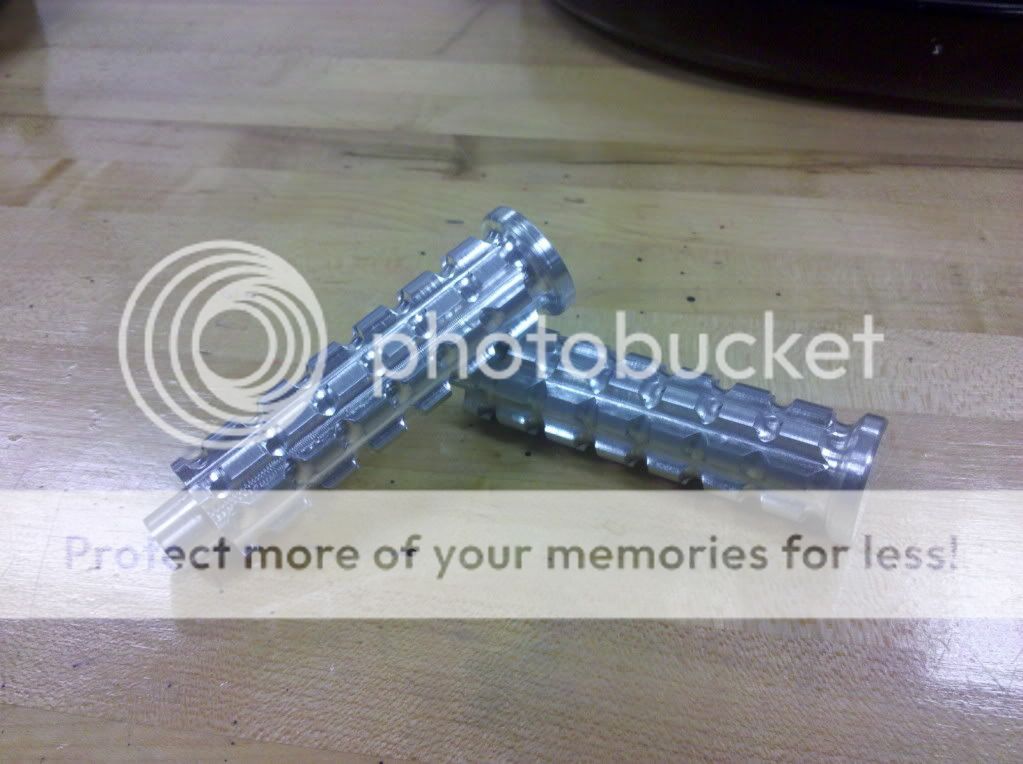
SUUUPER nice surface finish")

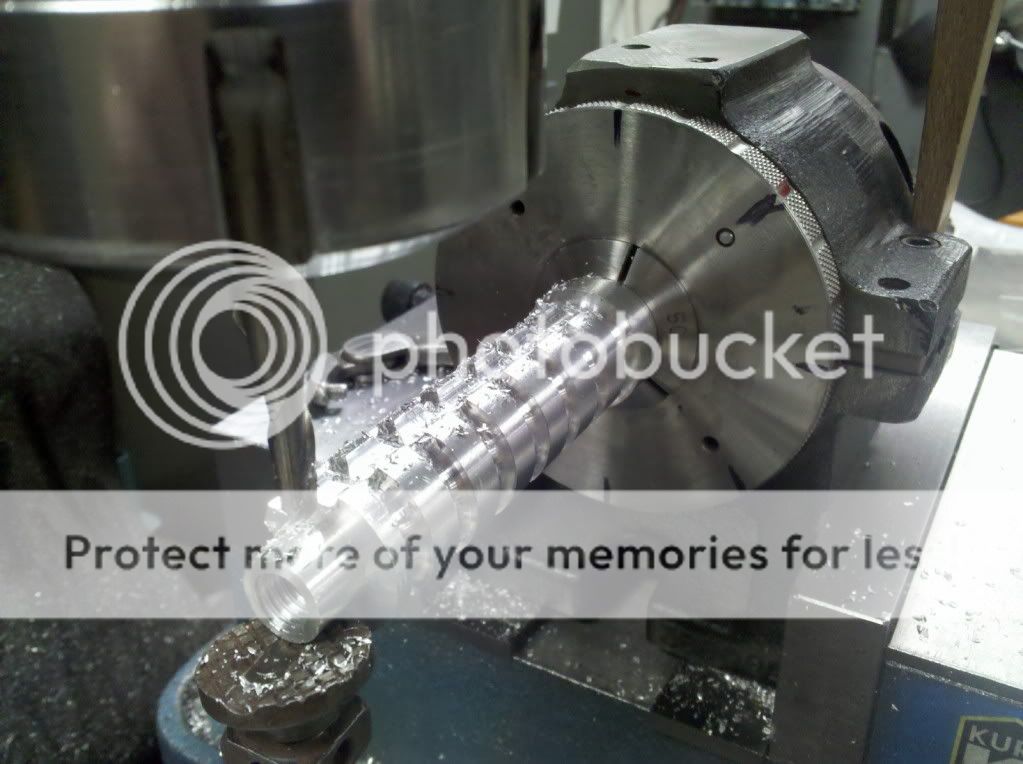
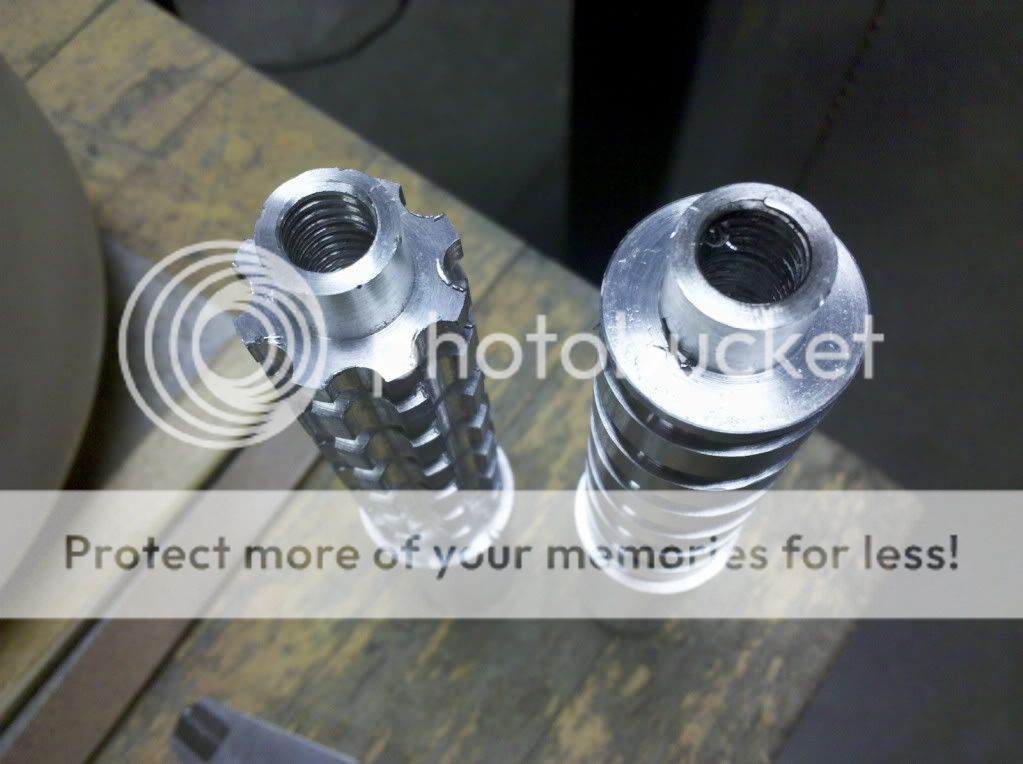
One of the knurling wheels wasn't engaged on the second toe piece so it only cut with one, leaving it a swirl pattern which I kind of like a lot, it seems a little more unique than a typical knurl.

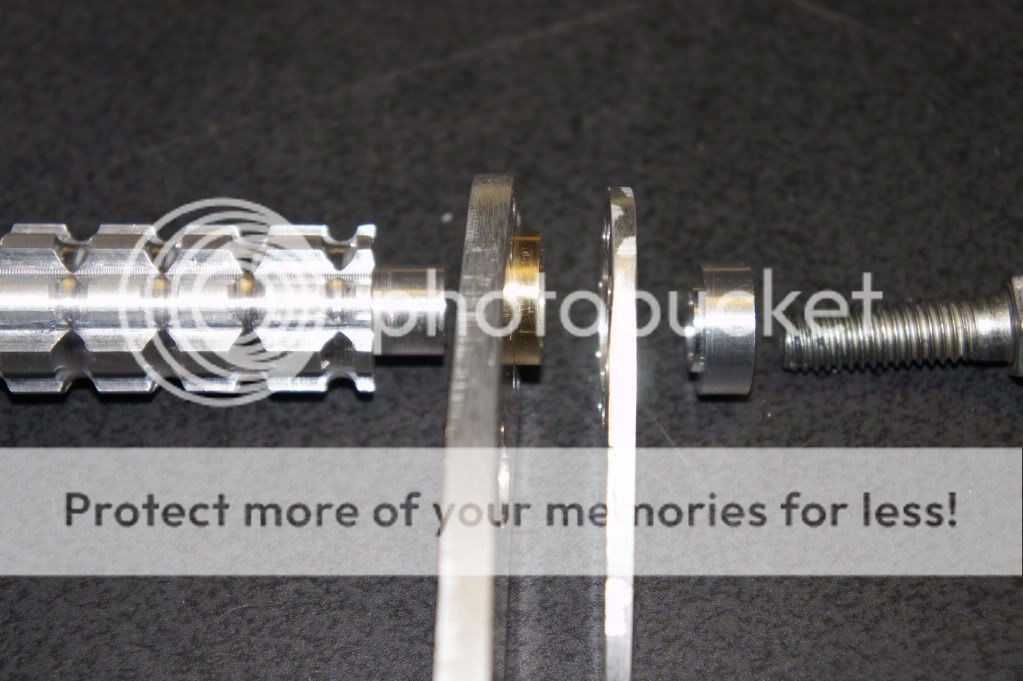
Peg -> Brass insert/ lever arm -> bolt on shifter arm -> spacer -> bolt
The spacer presses up against the face of the peg and has a small step the same OD as the bearing surface on the peg so that the shifter can float around nice and free ;D
Super pleased! Thanks for looking!
Here are the results of the shop day:
Step 1 -
Step 2-
Step 3-
Step 4-
Step 5-
Step 6-
Step 7-
Step 8-
Step 9-
So happy with the results!
DRO for the win!
The levers...ran out of day
The goal:
The brass toe piece was a last minute addition and I think that its sweet!
SUUUPER nice surface finish
One of the knurling wheels wasn't engaged on the second toe piece so it only cut with one, leaving it a swirl pattern which I kind of like a lot, it seems a little more unique than a typical knurl.
Peg -> Brass insert/ lever arm -> bolt on shifter arm -> spacer -> bolt
The spacer presses up against the face of the peg and has a small step the same OD as the bearing surface on the peg so that the shifter can float around nice and free ;D
Super pleased! Thanks for looking!


