Honda CJ250 Twin '78 - Brat/Cafe Build

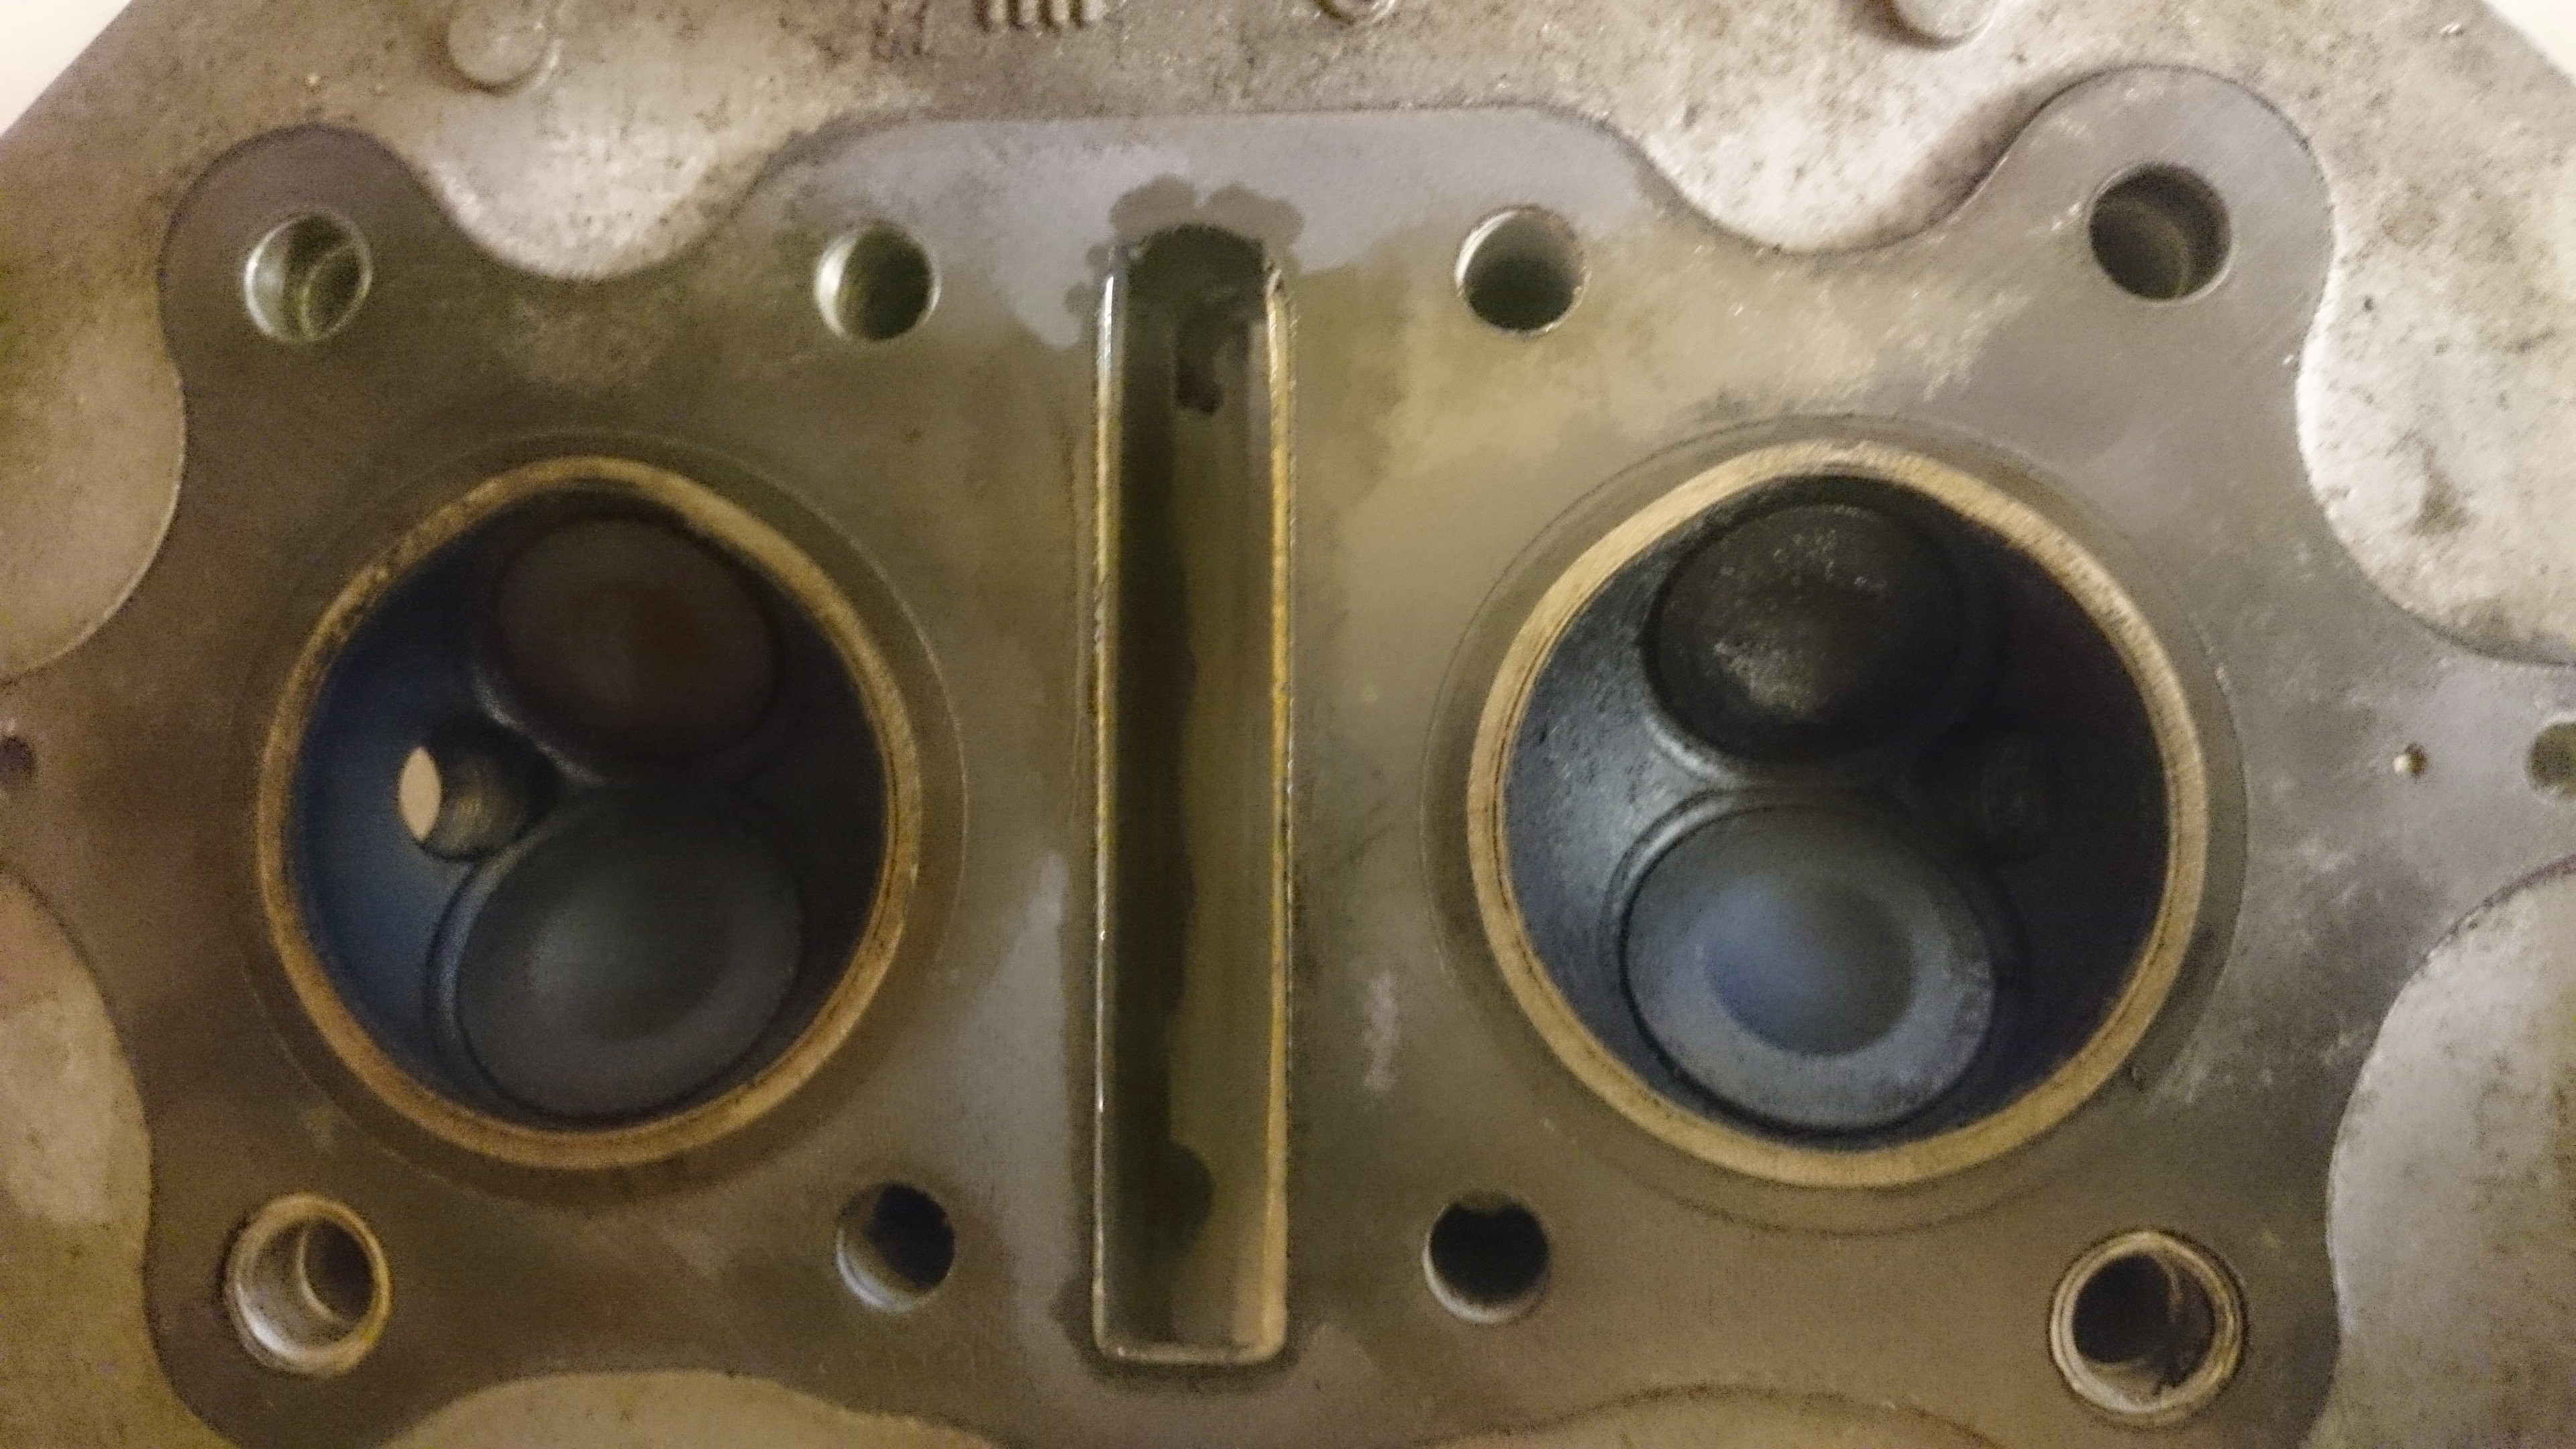
Got to work removing the carbon buildup from the valve faces and ports. Used a good old soft brass wire wheel for most of it and some liberal doses of elbow grease. Removed the valves and cleaned up some of the burnt oil deposits and pitting. All valves appeared in good condition really, they measured up within limits too.

64916-211215124600-1774117.jpeg


64916-221215034559-1777714.jpeg


64916-221215034559-1776732.jpeg


The pistons were a pain in the… :mad:

They were really thick with carbon, took my time making sure none of it fell down between the rings. Basically scraping it off with a razor blade, applying a touch of heat, scraping, heat, scrape……you get the picture. Quite please with the results really.

64916-221215034600-1778920.jpeg


64916-221215034601-17791184.jpeg


Looking better I think.

Obviously whilst I am in there, had a good look at the cam chain tensioner….it looks almost new, no wear at all. ;D
 
Valves lapped, new seals, sprung and seated. Ordered some new rocker arm pivots and a gasket set. Next job….tackle that engine casing! It was quite messy, stripped the paint off the side casings, masked the top of the cylinder head, masked the bolts and generally did as much protecting as I could! Even got the wife in to give me a hand cleaning and degreasing the block.

64916-221215050018-17801747.jpeg


64916-221215050018-178152.jpeg


Looking better already!

64916-221215050019-17821814.jpeg
 
Sonreir said:
Did you do an acetone test on the valves after they went back in?

Was just thinking that I didn't mention that, yeah did a check before and after, all good.


Sent from my iPhone using Tapatalk
 
Sonreir makes a good point, I didn’t mention doing an acetone check once they were put back in. I left it to sit overnight, pleased to say no seepage!

Prepped the main block for painting, and did the acid etch….word of advice WEAR A FRIGGING MASK! That stuff is nastier than a nasty thing made out of nasty stuff. I thought it would be fine to just spray it outside, it wasn’t! Pretty sure it gave me a nosebleed!

Looks kinda milky when it goes on, which is good as it helps you to tell where it has covered.

64916-221215082826-1783352.jpeg


64916-221215082826-17841864.jpeg
 
Top stuff, workshop turned out nice!
One of the few advantages of not having a SO is that I can build in my lounge.
However that also maybe a contributing factor to why I don't have one lol.
Keep it coming :)
 
Engine Painted! Looking very nice and shiny!

64916-221215150945-17852370.jpeg


Before and after just for the hell of it!

64916-221215150946-1786610.jpeg


Cylinder head finished, with valves installed.

64916-221215150952-1787593.jpeg


The whole engine, head gasket installed. The rocker cover is just loosely assembled, need some threebond before I put it back on.

64916-221215150958-1788245.jpeg


and just to show Erskine that I err like a human…a picture to show that I also sometimes work in the house (in this case the kitchen) when her indoors is away!

64916-221215150959-17891788.jpeg
 
Rock and roll! One thing .... Did you keep the lugs you cut off? I'd say it would be worth keeping hold of the seat hinges. Just in case you get bored of our roads banging the crap out of your arse and your missus refusing to ride pillion ..... You can weld them back on and refit a proper seat, like a round backed one from the previous generation.
I know you're quite set on the whole brat bit, which might be fine on the silky smooth gold lined streets in the States, hopping between hipster bars for a half a lager shandy. But on UK roads 10 miles would be more than enough with out a cushion to sit on ;)
 
Don't worry, those bits are in a box awaiting temporary burial in the workshop...

Not caught up fully yet though watch this space...that bare seat pan is going to be transformed into a picture of comfort!


Sent from my iPhone using Tapatalk
 
So with the engine now looking nice, time to put it back in the frame, surprisingly easy to do! The bike is starting to look like a bike again!

64916-231215045650-17902348.jpeg


64916-231215045656-1791669.jpeg


So, onto that seat pan…

I am lucky with where I work, I sit behind a Kawasaki Z1 and Z550 Owner….both restored to award winning standards. Then we also have the UK Champions Class Ferrari Concours 2 time winner, so pretty blessed with contacts….particularly upholstery!

They both have a shared contact who is an aircraft upholsterer, I gave him a ring to enquire about my seat, sent him some pictures and he sent back a set of material samples. He quoted £60!! Awesome!!

A week and a half later and this arrived on my desk! Perfect!

64916-231215045657-17922346.jpeg


64916-231215045657-17932021.jpeg


Test fitted it on the bike….looks really good! Properly impressed with his work!

64916-231215045657-1794878.jpeg


Just out of interest, (I know its not bike related) this is my colleagues Build Thread on Club Scuderia, he’s restoring a crash damaged Ferrari 355 Berlinetta. The standard of work he does would make Ferrari blush, very very high standards indeed!

http://www.clubscuderia.co.uk/forum/showthread.php?55066-F355-Spider-Repair
 
Erskine said:
I look forward to seeing your Parker Knollesque epitomy of plushness lol ;)

Look comfy or what? Its even got that new fangled high density foam, ribbed for pleasure! ;D
 
Back
Top Bottom