Follow along with the video below to see how to install our site as a web app on your home screen.
Note: This feature currently requires accessing the site using the built-in Safari browser.
We noticed you are blocking ads. DO THE TON only works with community supporters. Most are active members of the site with small businesses. Please consider disabling your ad blocking tool and checking out the businesses that help keep our site up and free.
Damn. $50?? I wish i didnt buy a brand new wet cell last year when i bought the bikes. A small dry cell like that is all i need. My GT is kick only as well... On well, something to keep in mind for a later date.
Thanks for showing that battery John, one of the guys over on the GSR forums just had an explosion of an A123 battery pack which has turned some of us off as it's not the first, and the Ballistic one looks like a perfect alternative...
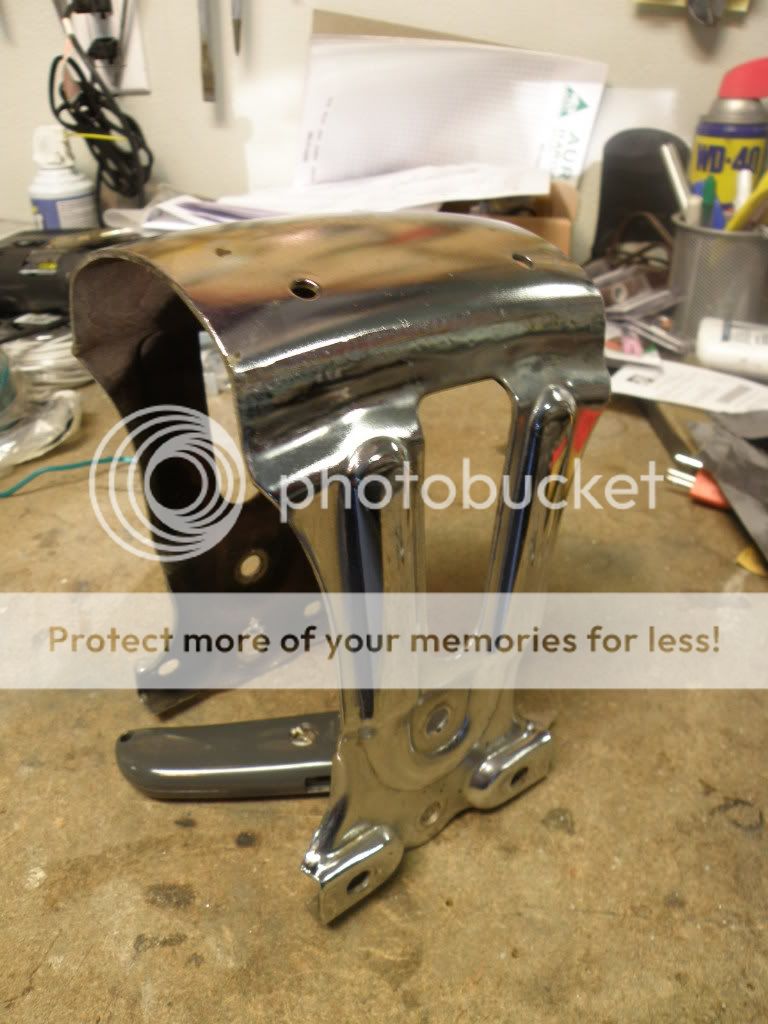
The fork brace / front fender bracket on this bike is kinda clunky. I am going to re-use the same part but if I can cut off the excess stuff that is not needed it will be better.
This is the stock bracket. The fender stays will no longer be used so the attachments at the brackets bottom will be cut off. I am also going to narrow the whole bracket just slightly.
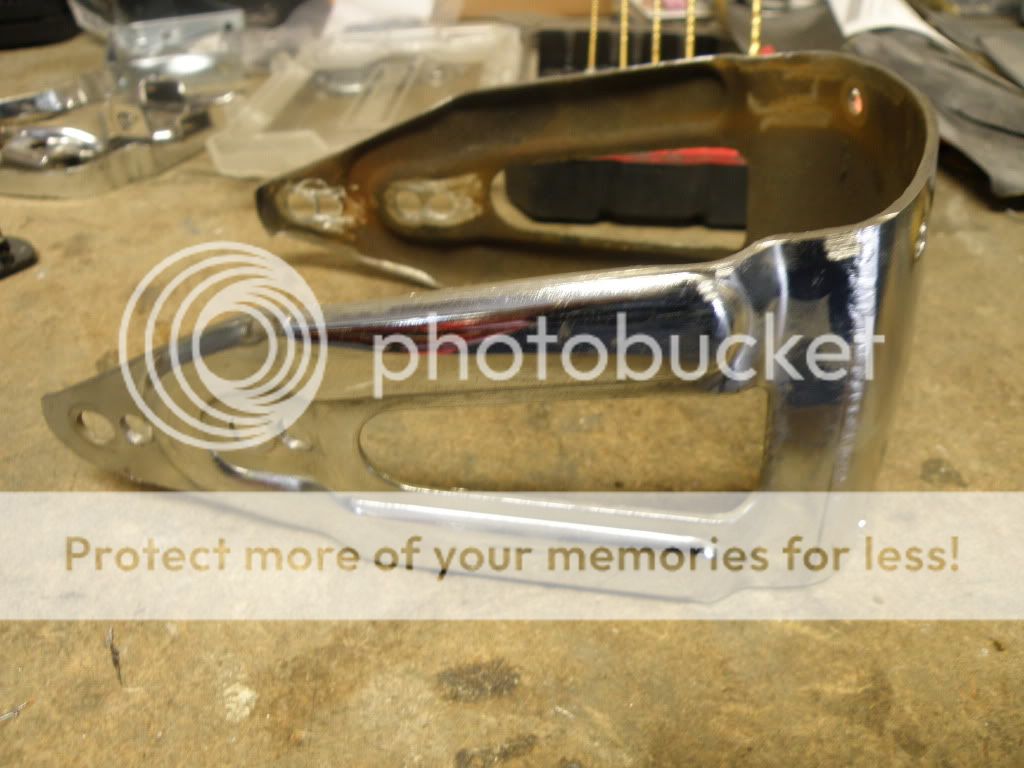
After cutting. A set of new bolt holes have also been drilled to lower the bracket about 1/2" closer to the tire.
Done.
The bracket will need to be re-chromed. I debated with myself about filling in th old bolt holes. I think I will just leave them.
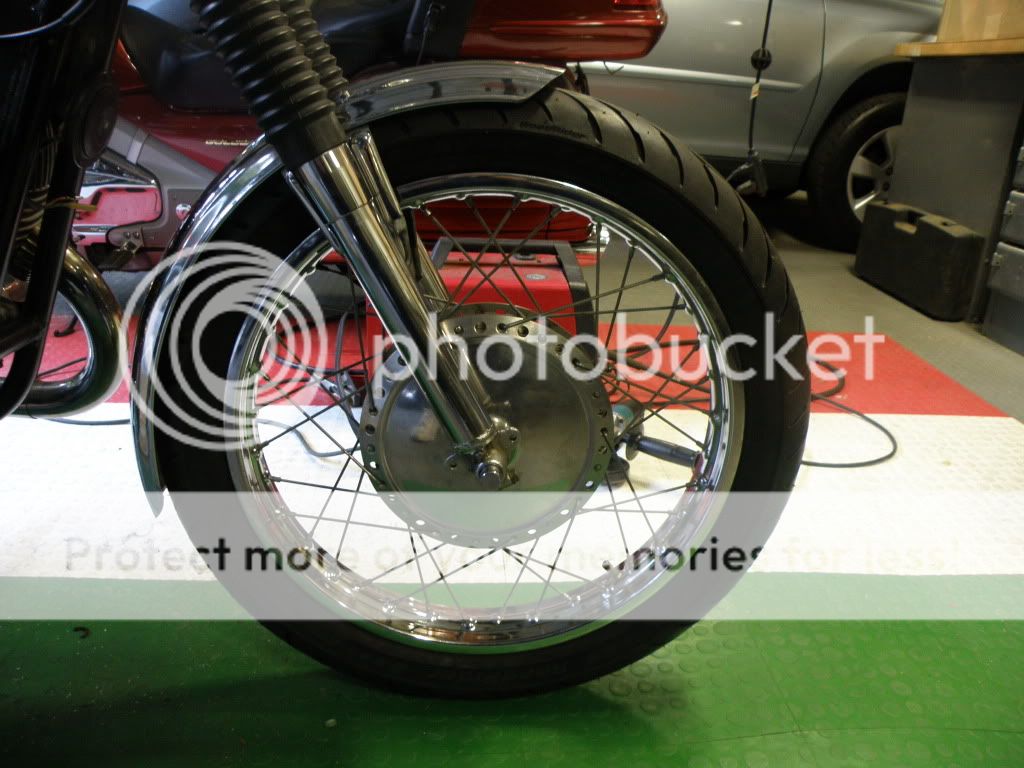
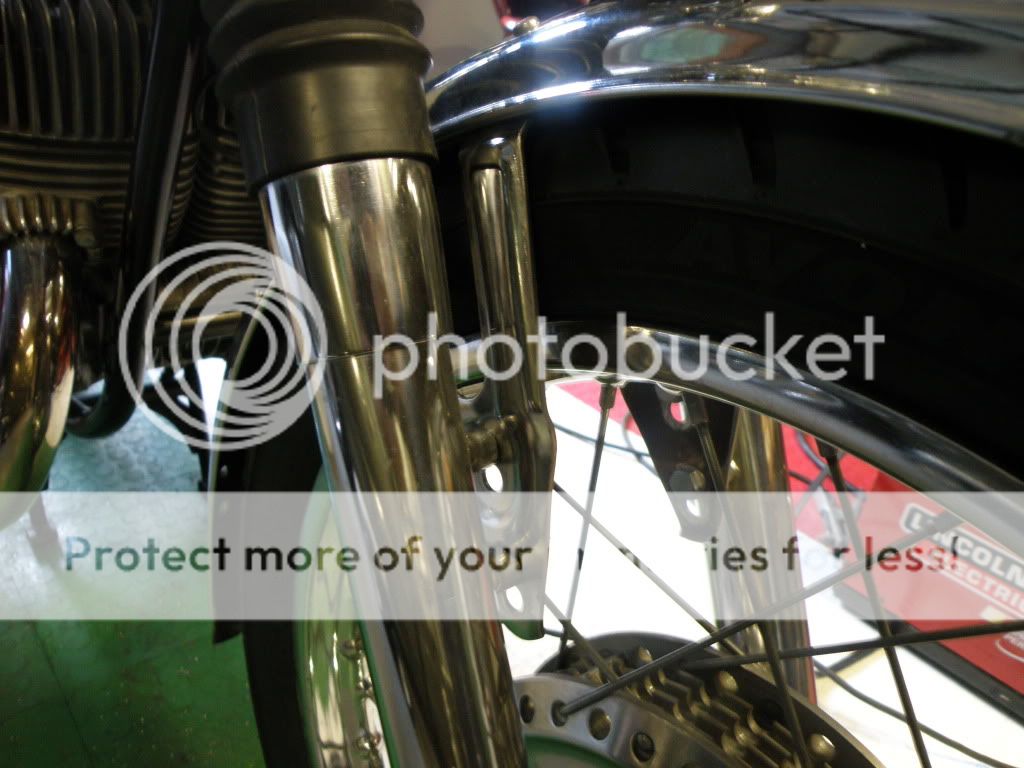
The fender mounting looks much cleaner now that you trimmed the bracket. The small battery that you are using, can it be laid on its side or does it have to be upright?
The fender mounting looks much cleaner now that you trimmed the bracket. The small battery that you are using, can it be laid on its side or does it have to be upright?
Yeah, I'm pretty happy with the front wheel and fender now. The battery is totally sealed and can be mounted in any orientation. The only caution provided concerned not leaving it connected to a charger beyond the point where it is fully charged.
Re: Little Red - '72 Suzuki T500 - Plate and Frame
A small update:
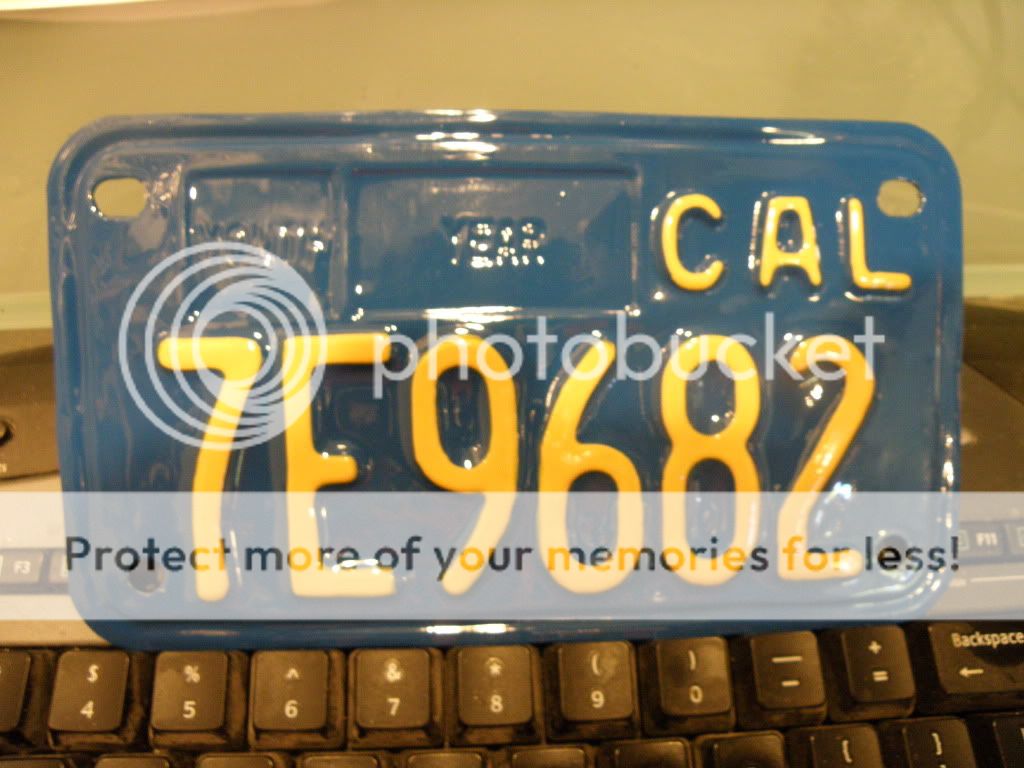
The bike came with an old style 70's California license plate. It was really beat up and I wish I had a shot of the original. The new restored plate is shown below.
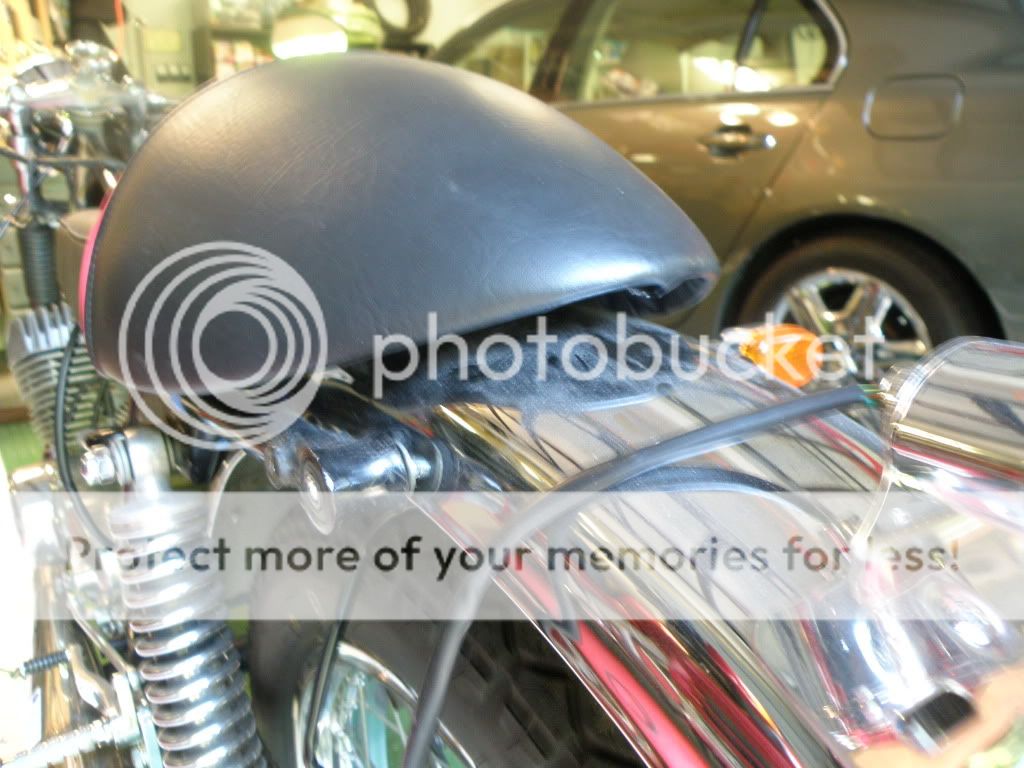
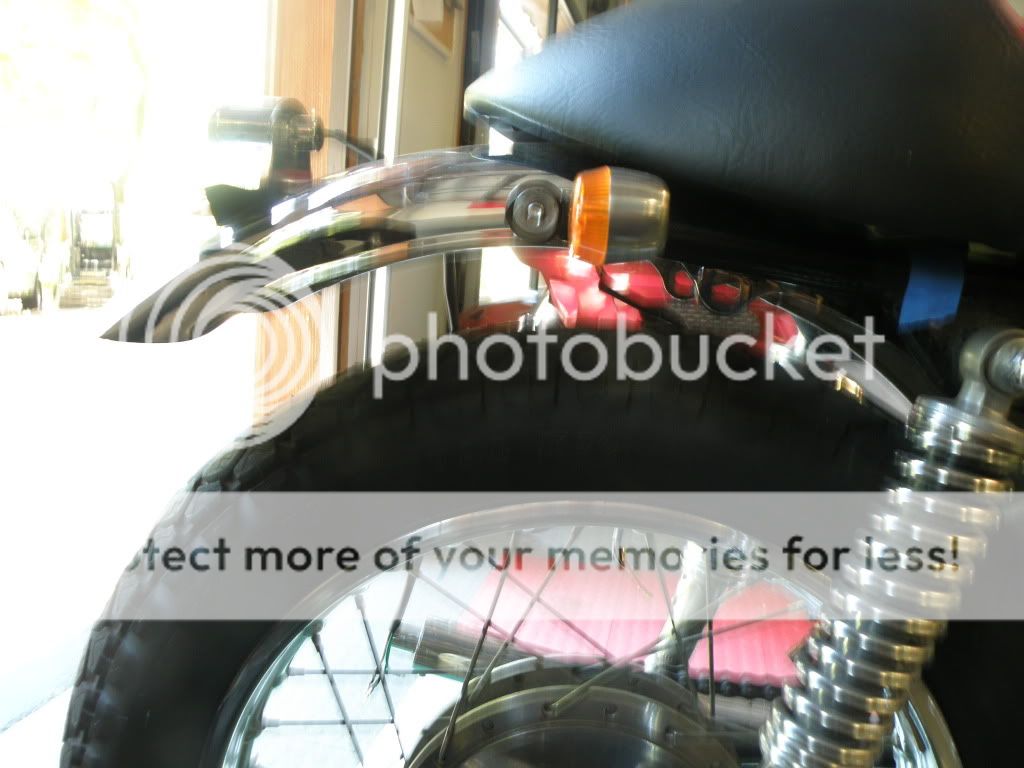
When mounting the seat I raised it off the frame. This has left a gap between the seat and the rear fender. Also the space between the rear tire and the fender seems tight. My plan is to heat and bend the part of the frame behind the rear shock mount so as to raise the rear fender about one inch. I am not quite sure how to get both sides bent exactly the same amount.
Re: Little Red - '72 Suzuki T500 - Plate and Frame
John, that coming together nicely. The simple way to get the ends right is to set up the bike on center stand and run a Level across the swingram. Use shims under one leg of the stand if necessary to get the swingarm deal level side to side. Check the frame top tubes as well but they are sometimes slightly off.
heat one side and bend it to where you want it. Then "come on down to the other side", heat and bend the other side and use the level to check the frame ends side to side. Double check against the swingarm level in case it moved with all that bending.
Re: Little Red - '72 Suzuki T500 - Plate and Frame
teazer said:
John, that coming together nicely. The simple way to get the ends right is to set up the bike on center stand and run a Level across the swingram. Use shims under one leg of the stand if necessary to get the swingarm deal level side to side. Check the frame top tubes as well but they are sometimes slightly off.
heat one side and bend it to where you want it. Then "come on down to the other side", heat and bend the other side and use the level to check the frame ends side to side. Double check against the swingarm level in case it moved with all that bending.
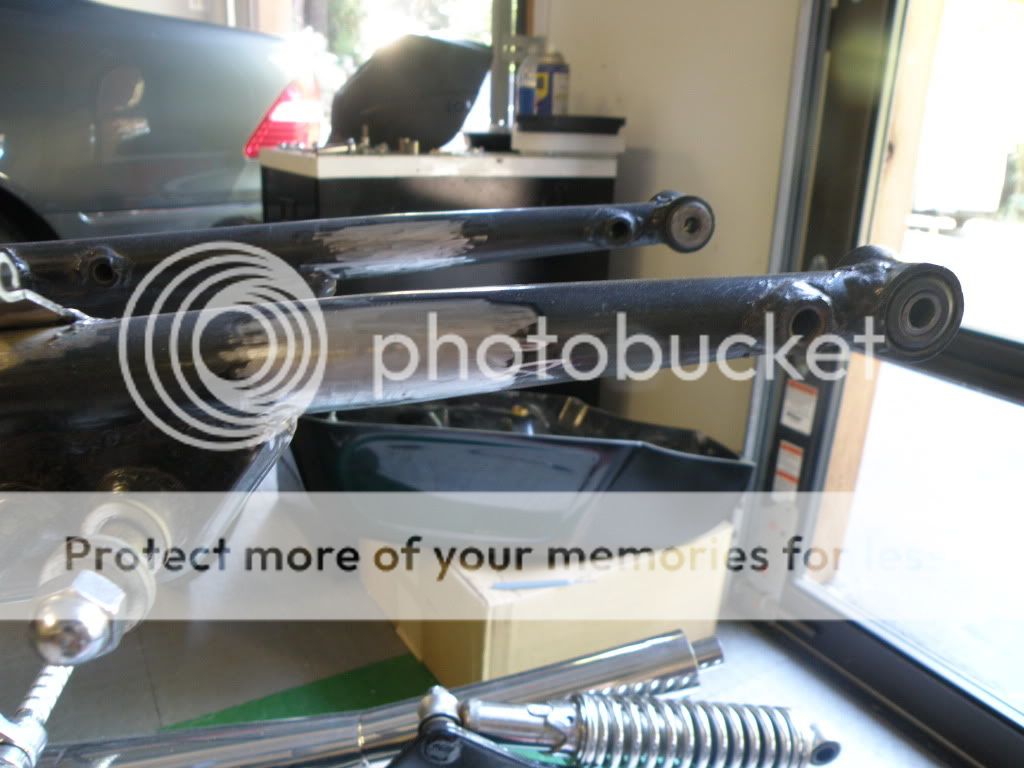
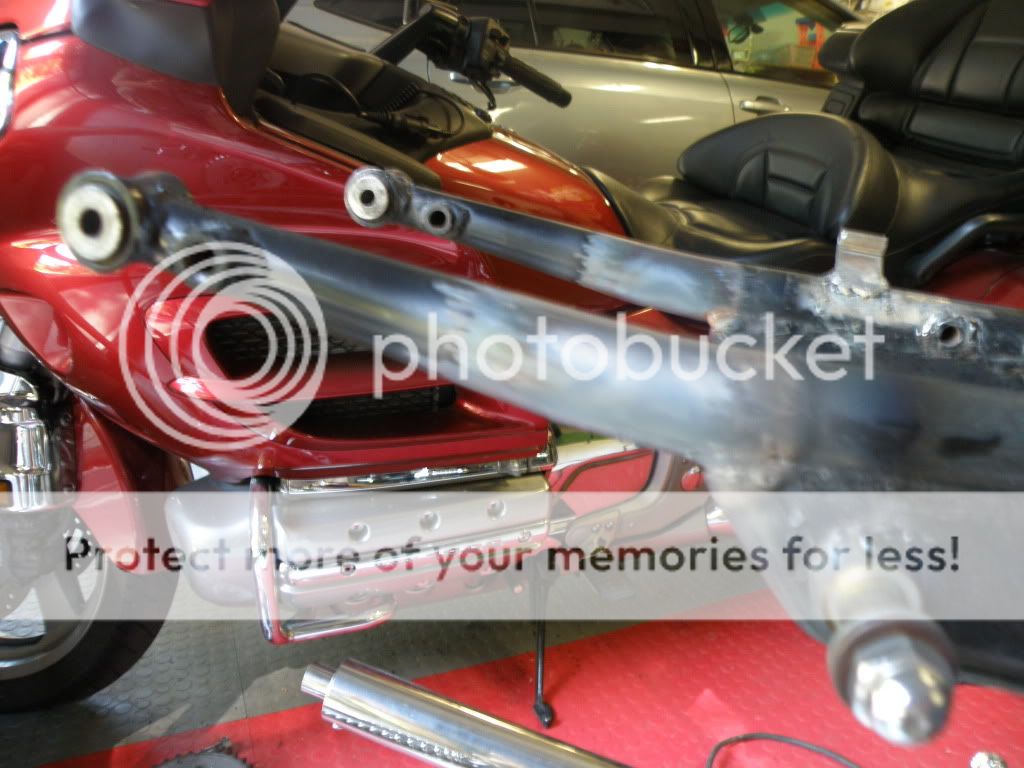
Time to tweek the frame a little as mentioned previously.
To prepare I removed the rear wheel, seat, and fender. I also took the shock absorbers loose from their top mount and removed the paint from the frame in the area where heat would be applied. Ready to start.
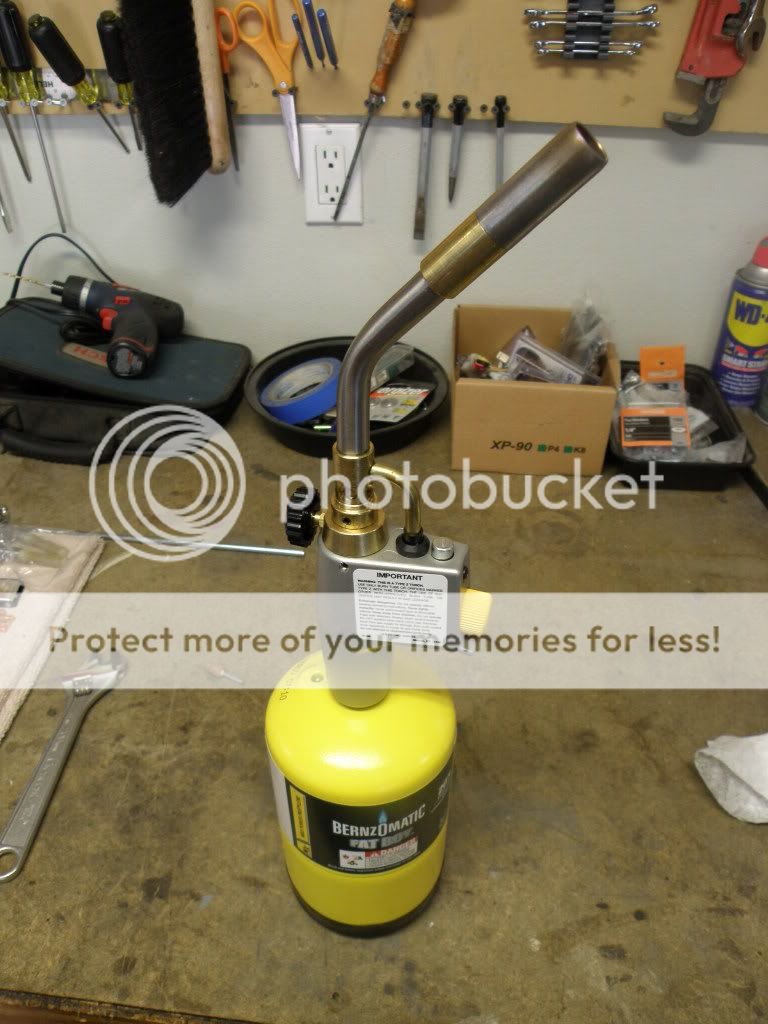
Tools are minimal. I used a level on the frame and the area I am modding. Heat was applied with this torch.
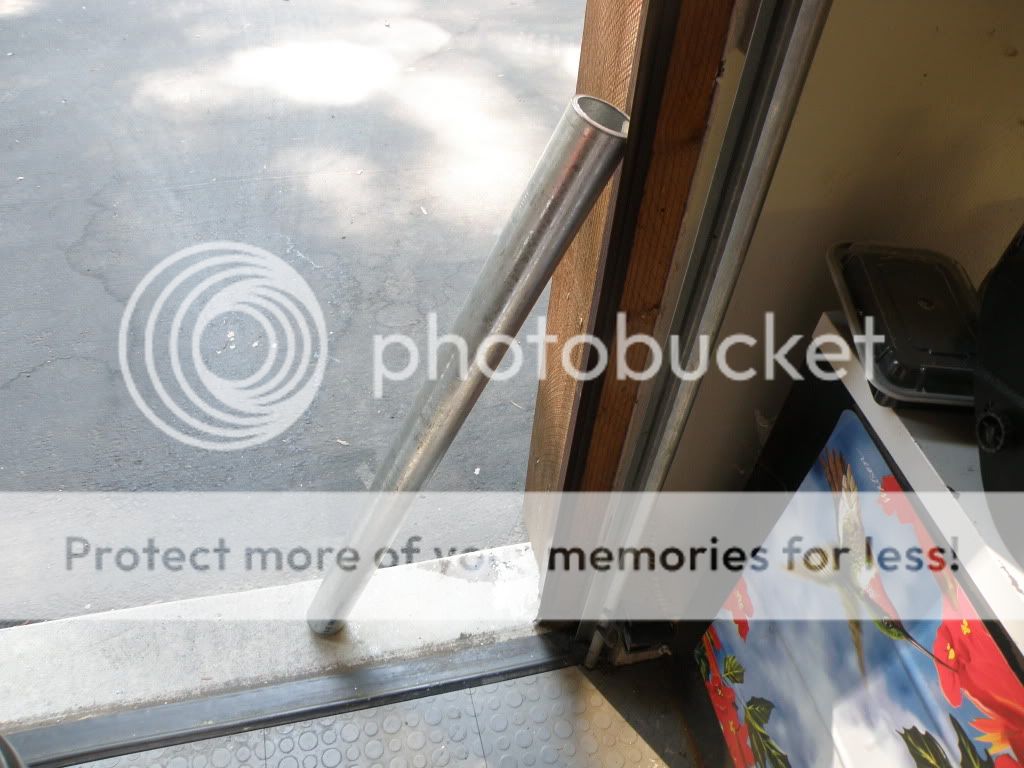
I used a three foot section of heavy wall 2" pipe to actually bend the frame.
First bend made. Near side is one inch higher than far side.
Both side done. Checked frame for overall level at the swing arm and then verified eye holes at end of frame are same level.
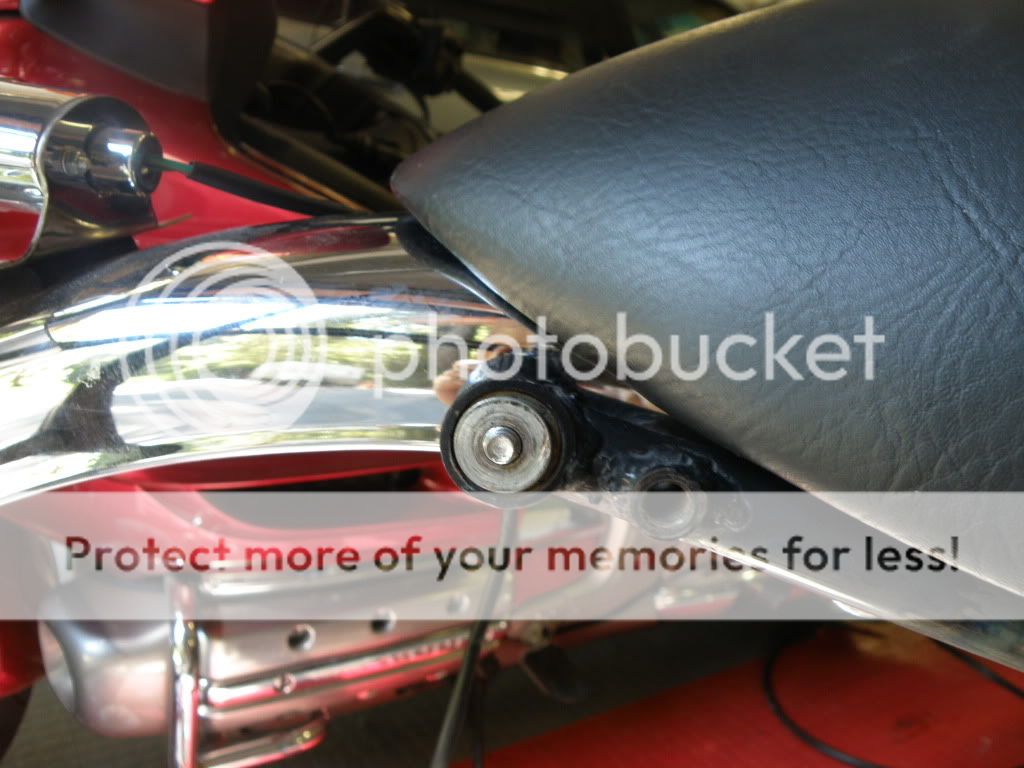
After re-installing the fender and seat it looks like success. Seat and fenfer are slightly different radius so seat hits fender on the left and right side above the bolt and there is just a small gap at center behind the tail light.
Oil tank has now been ordered. I am anxious to see what it will look like.
Re: Little Red - '72 Suzuki T500 - Minor frame tweek
You're doing great work here. Consider it high praise I can't think of one thing I'd do differently. Lol. I did notice a little snafu though, regarding what a voltage regulator does. A rectifier converts a/c to d/c. A regulator keeps voltage at a set level (regulates). Carry on. Lol.
Re: Little Red - '72 Suzuki T500 - Minor frame tweek
two-smoker said:
I did notice a little snafu though, regarding what a voltage regulator does. A rectifier converts a/c to d/c. A regulator keeps voltage at a set level (regulates). Carry on. Lol.
It will not be a closely held secret that I am NOT an electrical expert. I try to get the proper size wire connected to the correct spots and when I turn the key for the first time hope that nothing melts. If lights come on it is even better! ;D
This site uses cookies to help personalise content, tailor your experience and to keep you logged in if you register.
By continuing to use this site, you are consenting to our use of cookies.


")


