DohcBikes said:
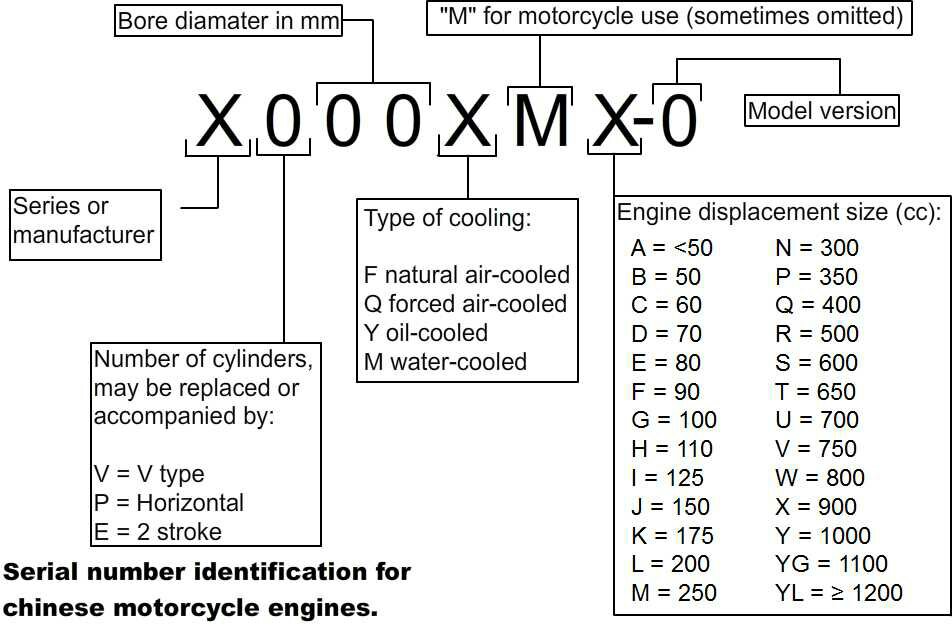
1St off, these engines are not clones.
Lifan is a top quality engine manufacturer. They even supply engines for Some Hondas outside the u.s.
Your engine has the long stroke. This is good.
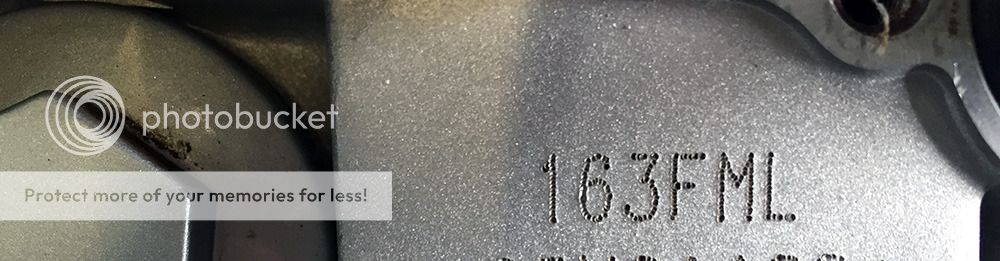
The 163fml bore is 63mm. A 169fml has a 69 mm bore and a shorter stroke.
The 169fml top end is a direct swap. It will increase displacement to 233cc
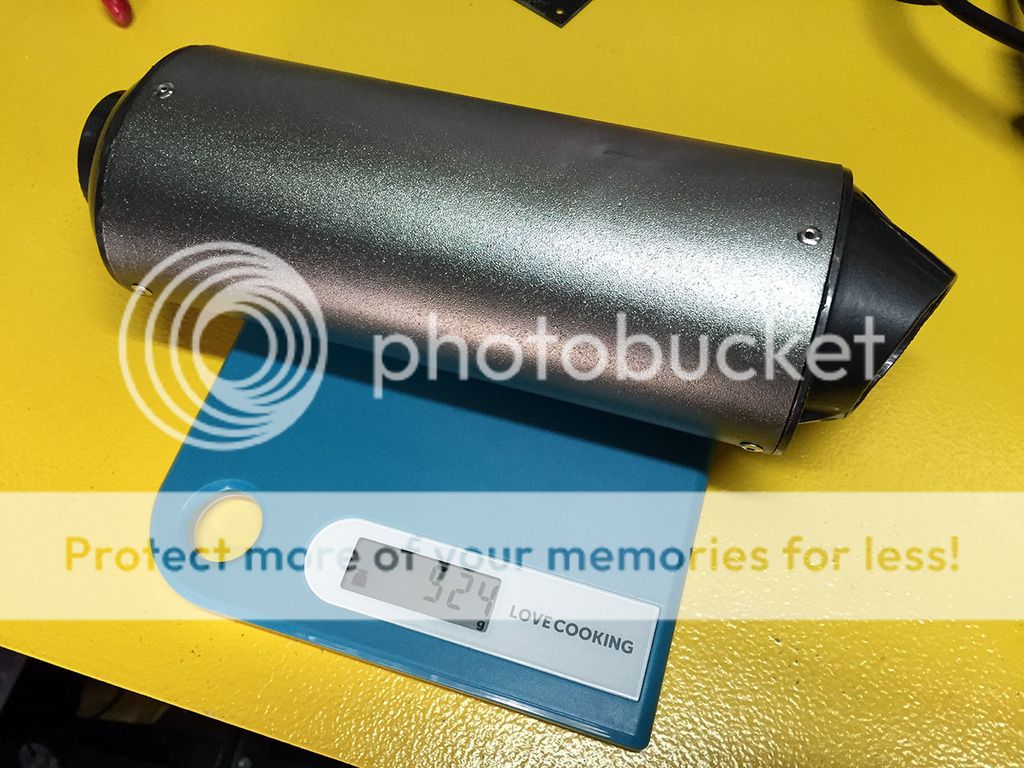
If you go this route, run a 28mm mikuni and a fat head pipe.
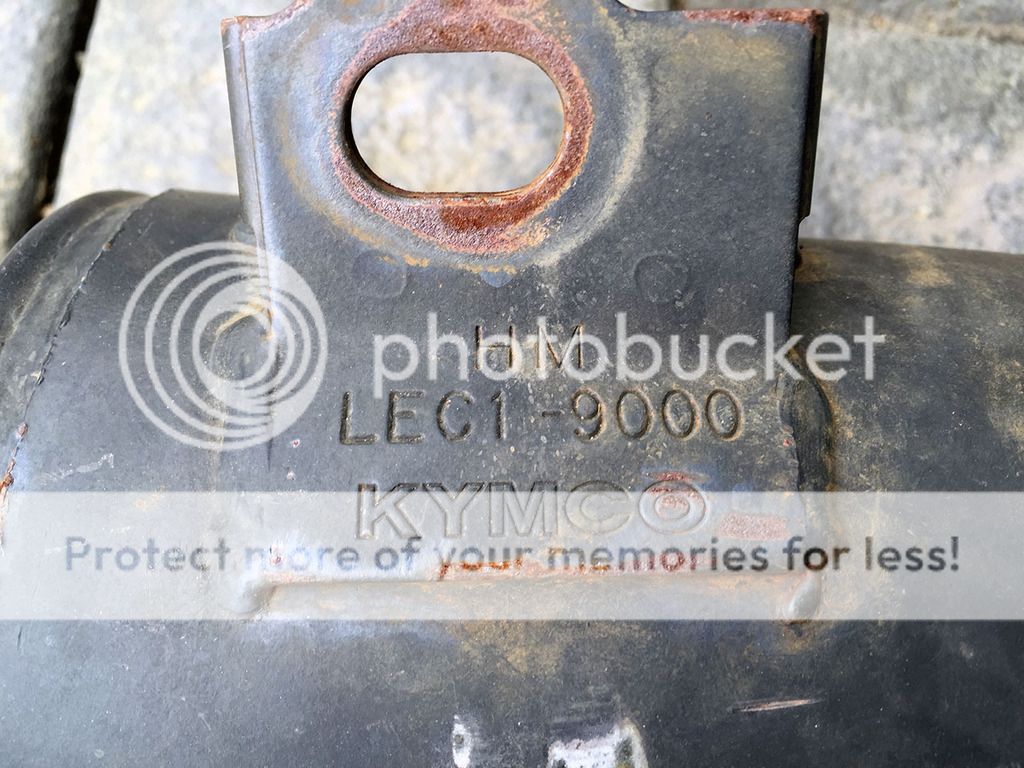
Hah! First time I've heard the name Lifan.
Did a bit of googling and yup, found the exact ATV.
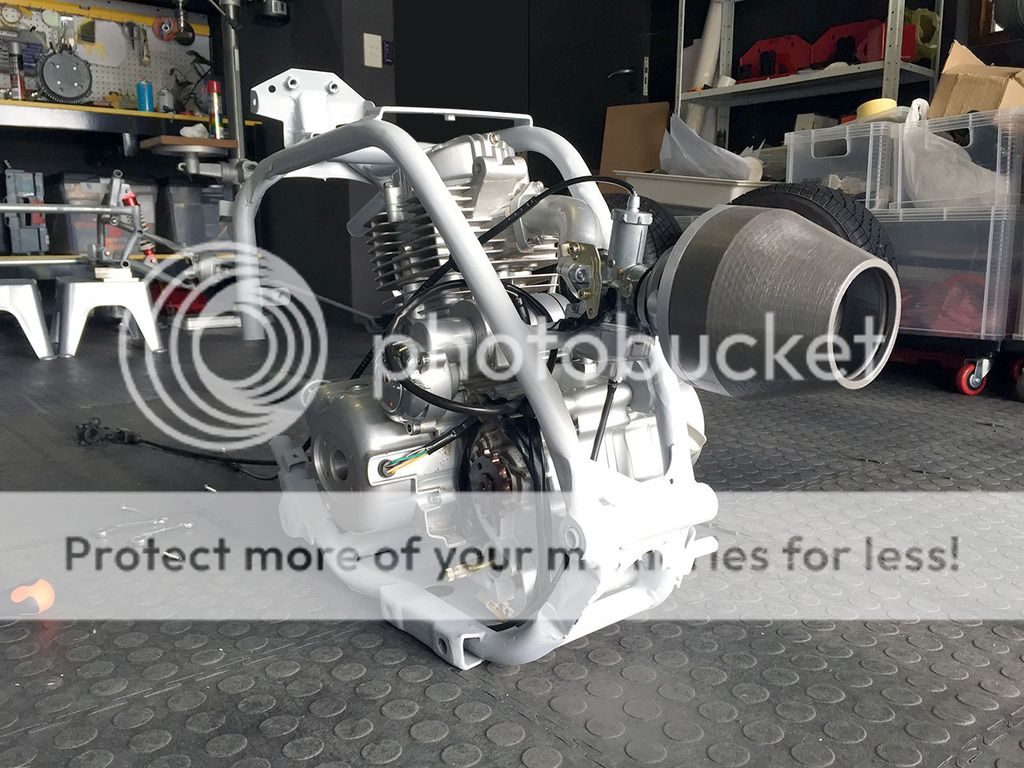
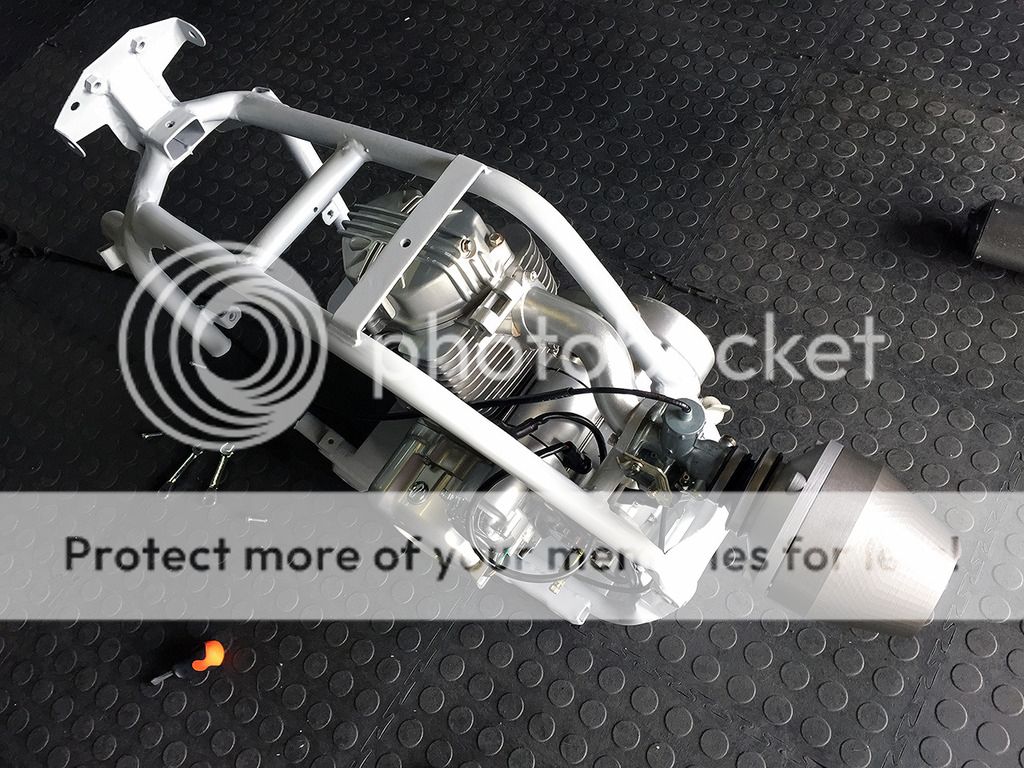
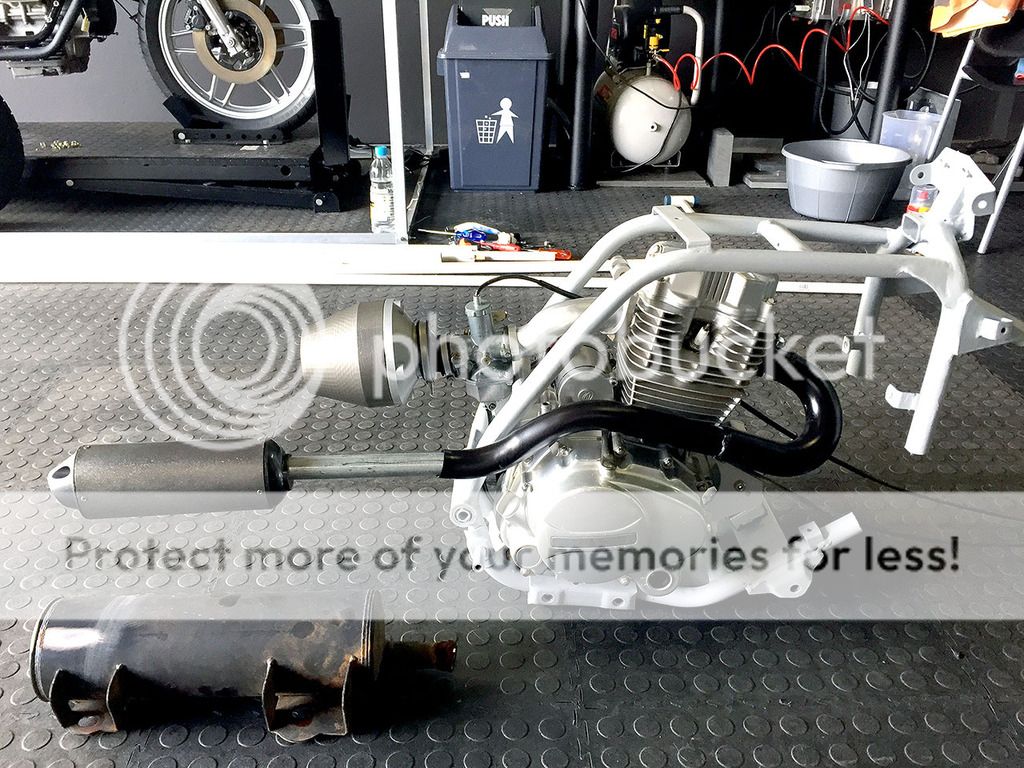
Well I guess I kinda lucked out then, I really wasn't expecting much from this motor, based on its origin.
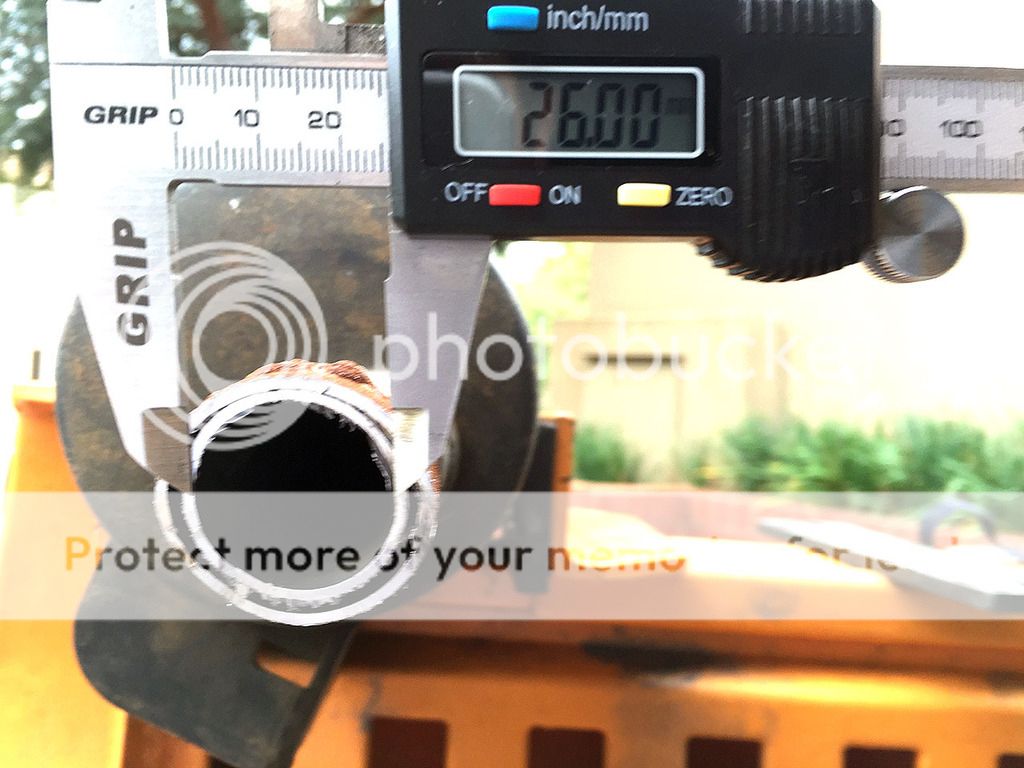
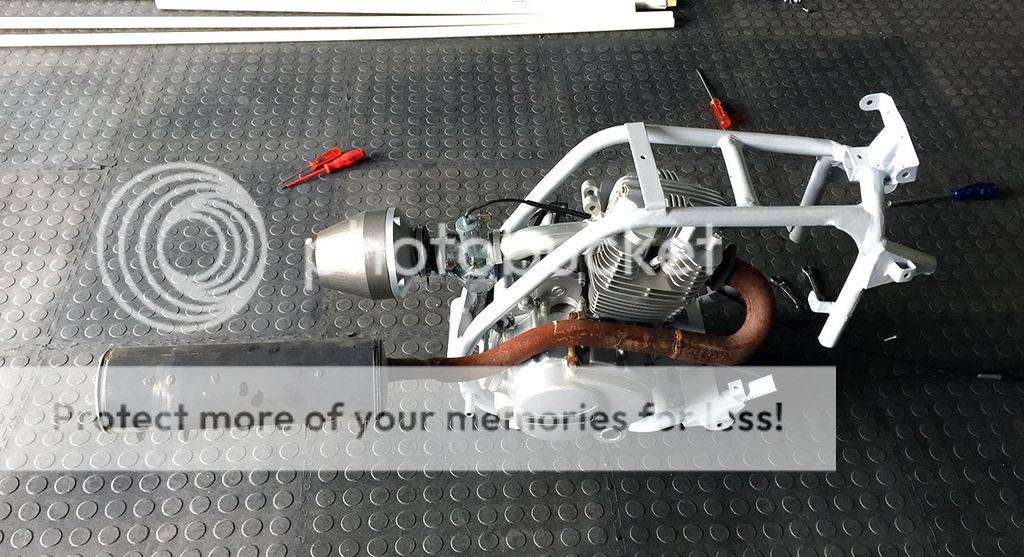
High level, this quad has not been loved by any means. It stood rusting outdoors, yet the spark plug was good, and the oil, which I doubt had been changed for a while (it didn't have rear wheels and the chain was rusted through), was very clean, not 'new' clean, like it had just been filled up for BS reasons , but pretty healthy looking. And all for $30!
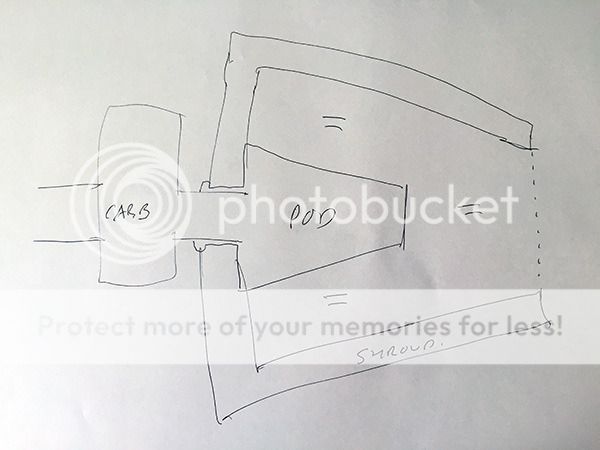
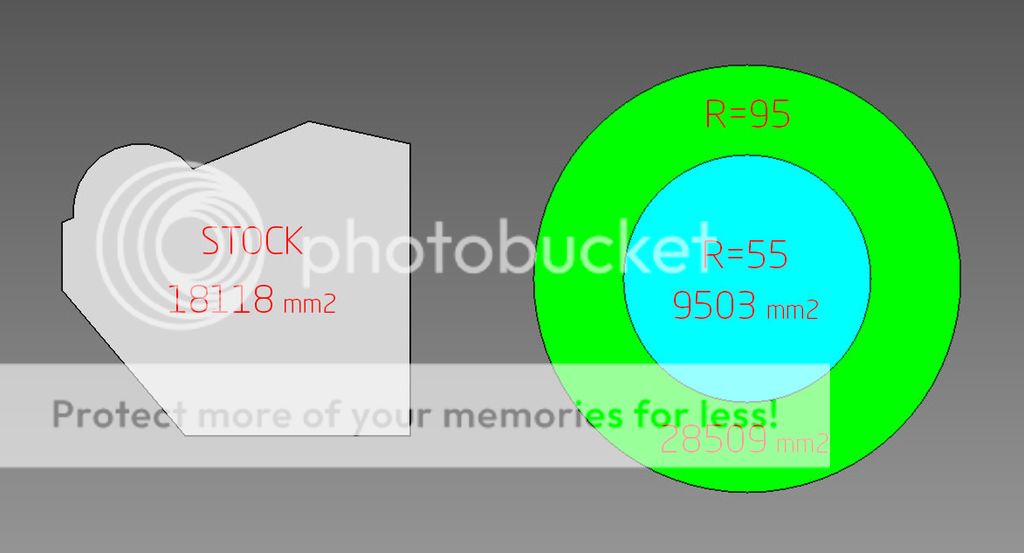
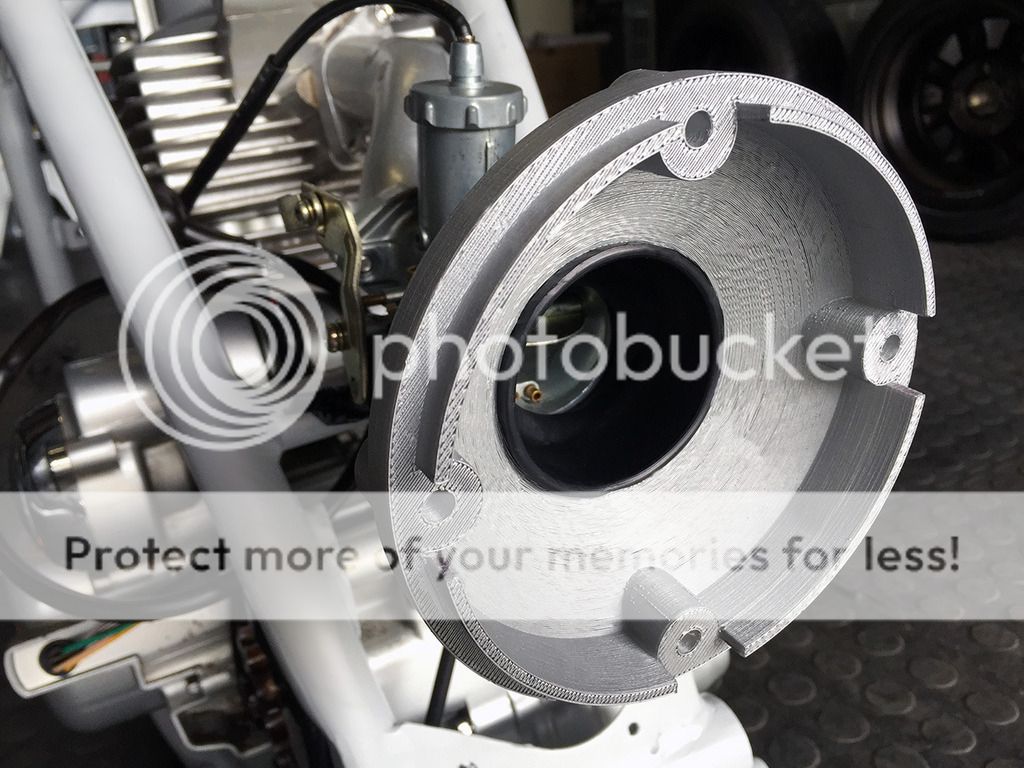
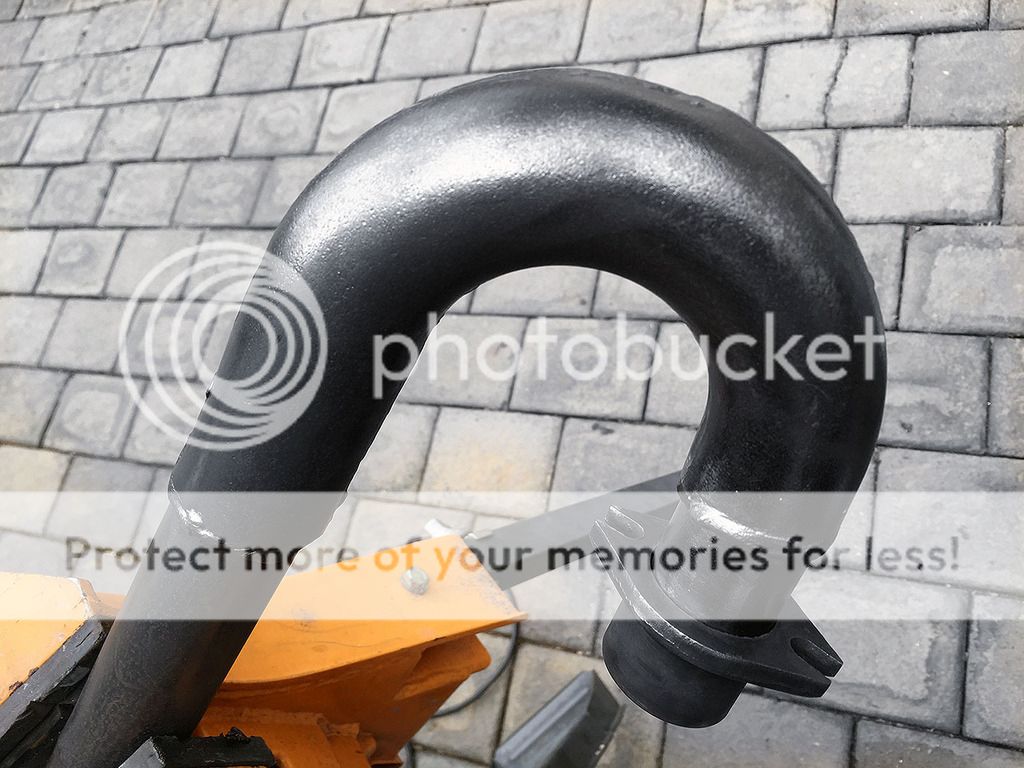
So getting back to "hotting" up this motor  ...
...
At this point I have ZERO idea regarding power to weight obviously.
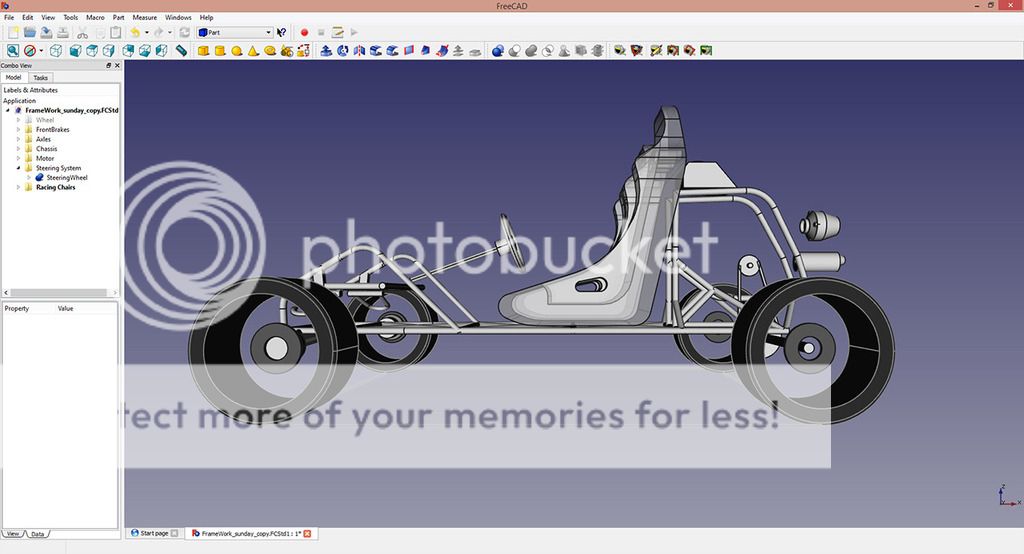
Going back to original objectives: This is a kart for my 8 yr old daughter. It will have to be restricted in some way or another, based on her driving skill level. Its going to have a clutch and a "sequential" shifter. Shes only ever driven karts with throttle and brakes. So its going to be a learning curve for her.
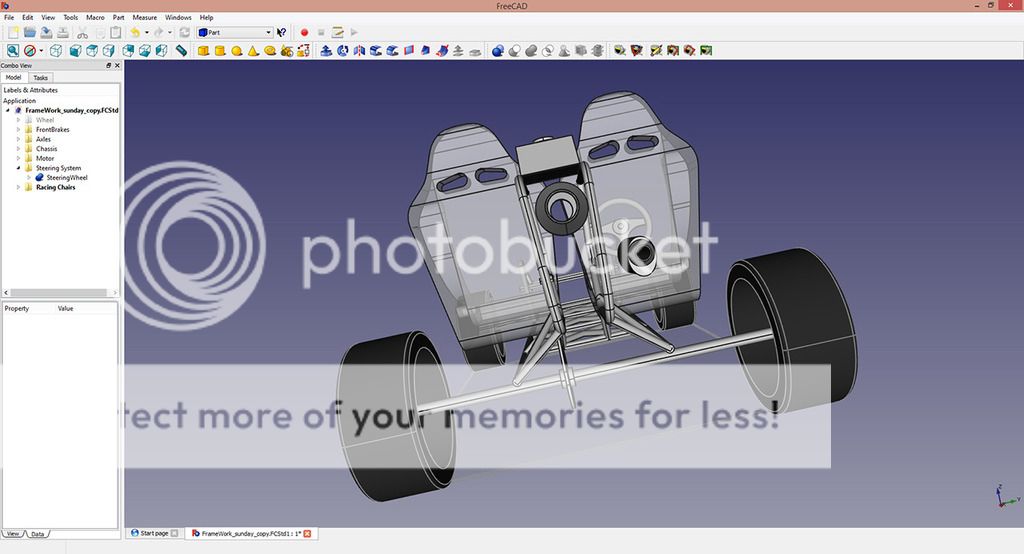
Also, its important for her that it has 2 seats, holding 2 people. Again - more weight.
So, we very well may need to upgrade this little lump, but if not, and performance is "acceptable", then, this is certainly something to iterate on in the future, (which will be fun to do).
The one thing Im REALLY happy to hear, is that this is not a "closed system" for me. ie - no idea what it is, no idea where to get spares, no idea how to make it better.
AND ... that there are guys like DOHC, who have actual experience working on these motors.
:-D