We noticed you are blocking ads. DO THE TON only works with community supporters. Most are active members of the site with small businesses. Please consider disabling your ad blocking tool and checking out the businesses that help keep our site up and free.
You are using an out of date browser. It may not display this or other websites correctly.
You should upgrade or use an alternative browser.
You should upgrade or use an alternative browser.
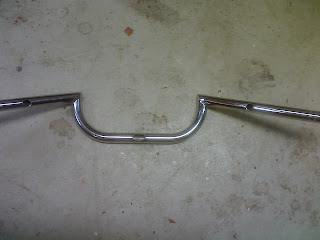
Pre-drilled handlebars?
- Thread starter XXGABEXX
- Start date
I doubt that will ever happen, sorry. Since not only every make, but every bike within each make would have different holes It wouldn't really make sense for an aftermarket company to narrow their market that much, and universal ones would look like swiss cheese.
johnson_steve
Been Around the Block
I've had good luck with a centerpunch, hammer and a drill in the past. Just mark where you want the hole centered and make an indent with the centerpunch and hammer, then drill the hole with a power drill. The indent should locate the drillbit and keep the drill from jumping around.
Flugtechnik
My bike is not transportation, it is a respite
Ugh. I'm going to be doing this next week. Luckily a friend of my dad's has a drill press that I can use. I've used it before to drill holes in tubes, but they were copper. I just took the wiring out of the old bars last night and am dreading trying to get them into the new clubmans, especially around that sharp corner. I plan on putting some new heat shrink tubing over the wires because that 35 year old crap is way too stiff. I might even lube them up before I try to pull them through. If you get yours done before me, hook me up with some good suggestions.
I drilled holes in my clubmans for the wires too. I found it pretty easy I would start by drilling the main hole then use a dremmel to finish. The wires were a real main in the ass but afterwards I read a post that said to lube them up with electricians grease and they just slide right through. But of course, by that time I was already done!
Flugtechnik
My bike is not transportation, it is a respite
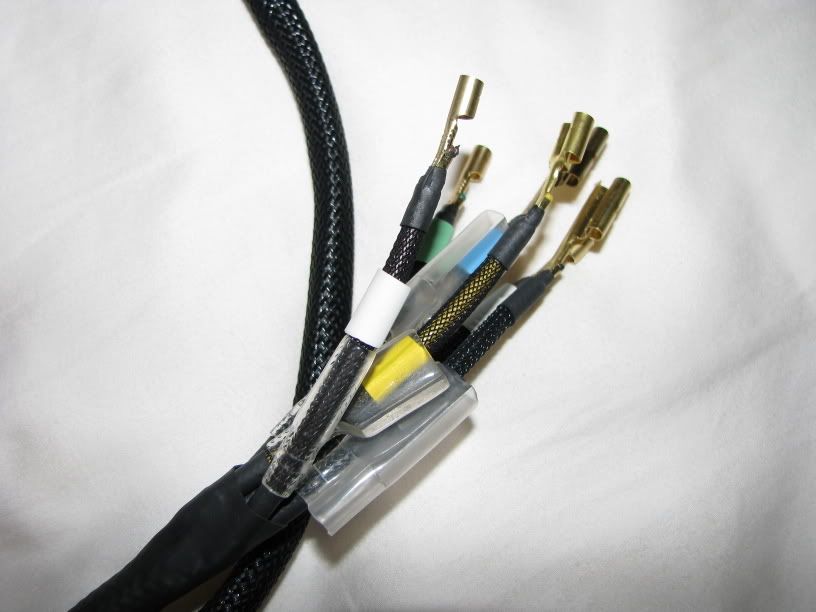
Whoever said they will slide right through is a LIAR! ") Or else they weren't running a 9 wire bundle with bullet connectors on them around the 90° turn of some clubmans.
Or else they weren't running a 9 wire bundle with bullet connectors on them around the 90° turn of some clubmans.
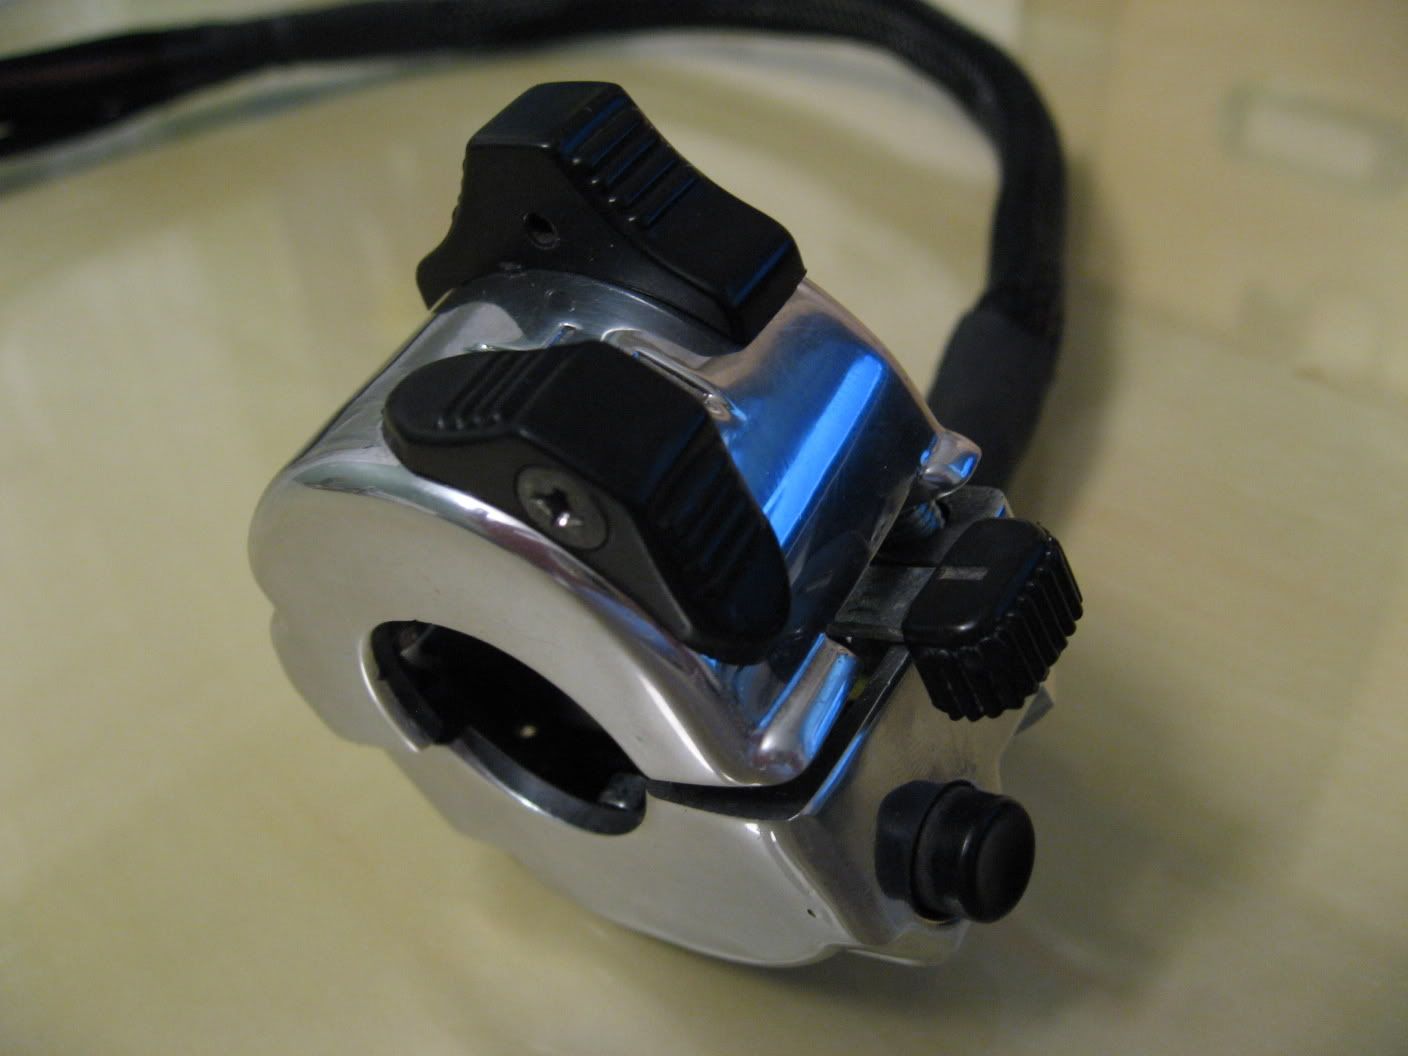
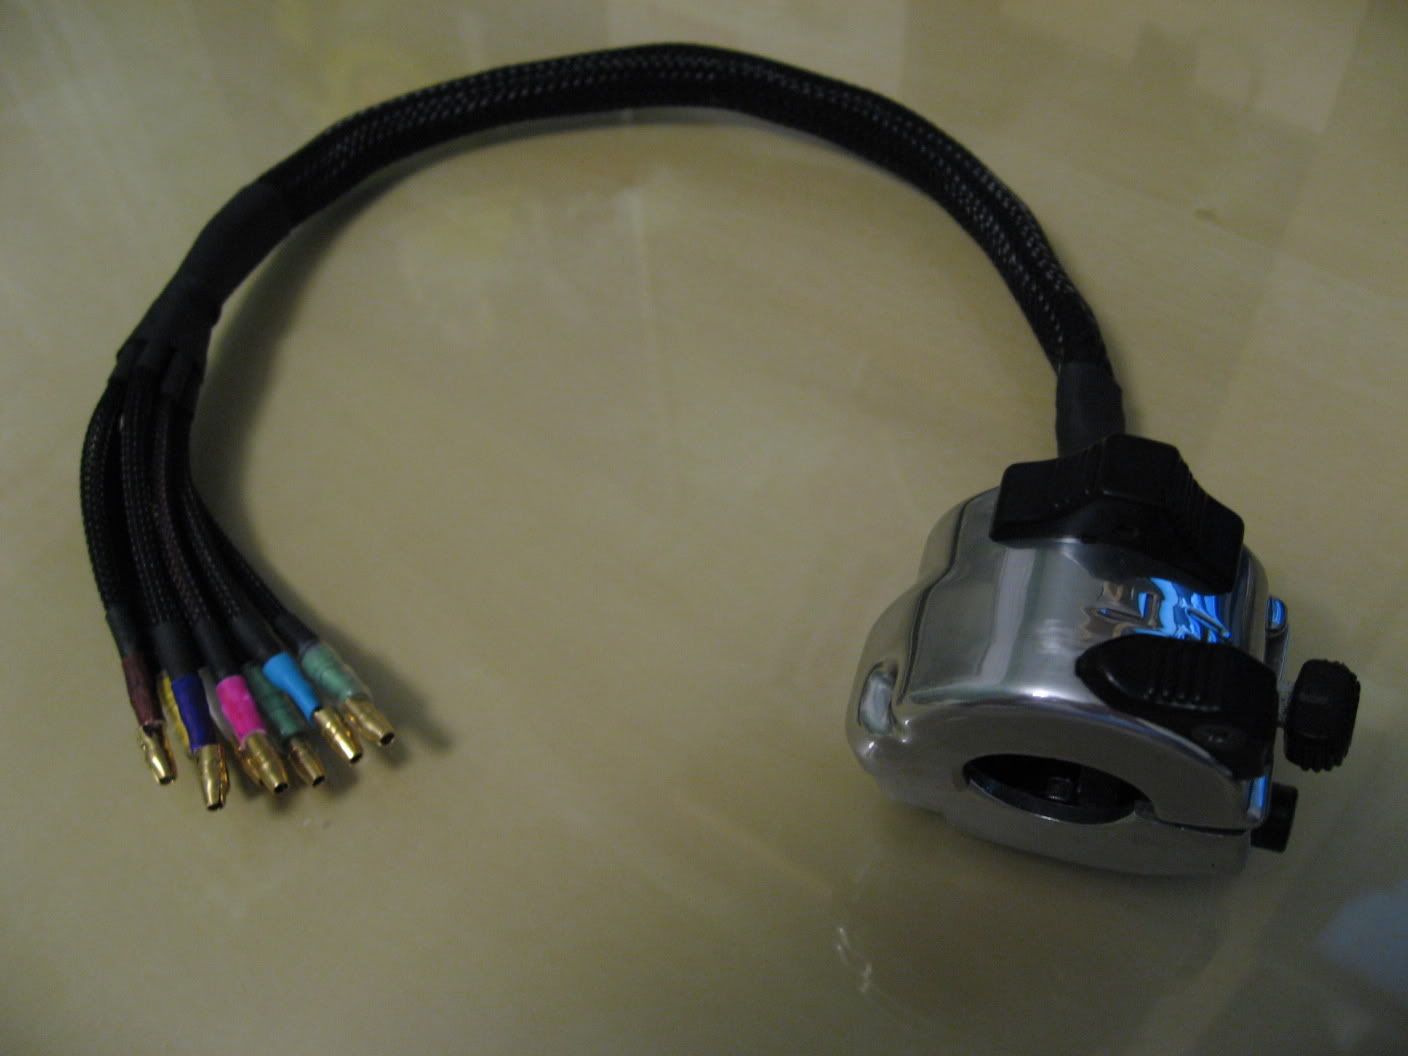
I ended up cutting a square hole in the bars with a cutoff wheel on a dremel. The I used a little grinding bit to turn the holes into ovals. The steel on these $18 bars is actully pretty thick. Thicker than the stock bars (but probably lower grade).
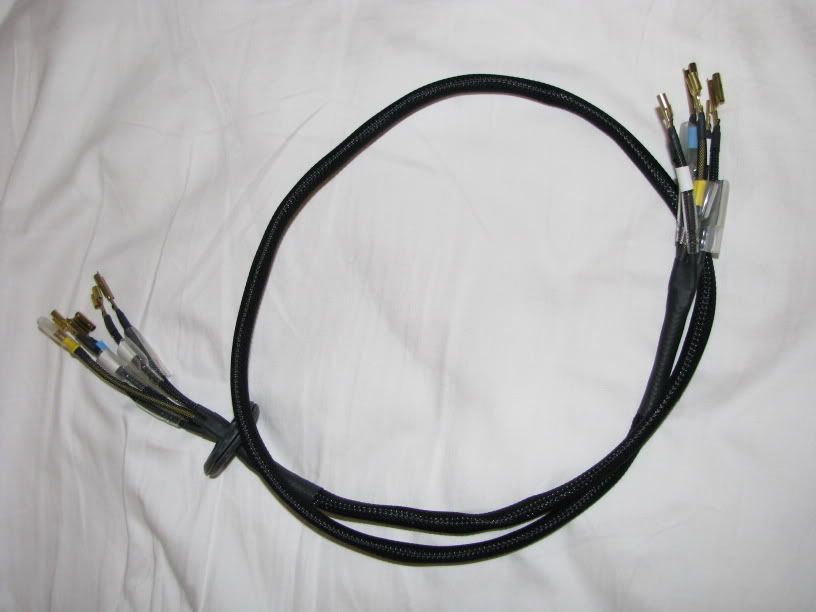
I cut the old hard heat shrink off of the wires and wrapped them with electrical tape. I fished a speaker wire through and then used that to pull the bundles through. The left hand bundle went through fine (only 4 wires). The rights side with the 9 wires was a pain in the "BIG ARSE". It took me 5 tries and 2 dirty martinis to get them through. But I did, and now I get to re-assemble.
I used compressed air to put the left grip back on and it seems to be rock solid.

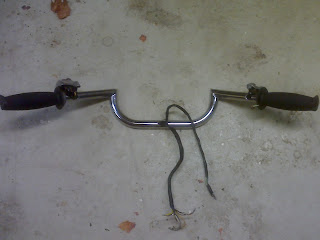
Or else they weren't running a 9 wire bundle with bullet connectors on them around the 90° turn of some clubmans.I ended up cutting a square hole in the bars with a cutoff wheel on a dremel. The I used a little grinding bit to turn the holes into ovals. The steel on these $18 bars is actully pretty thick. Thicker than the stock bars (but probably lower grade).
I cut the old hard heat shrink off of the wires and wrapped them with electrical tape. I fished a speaker wire through and then used that to pull the bundles through. The left hand bundle went through fine (only 4 wires). The rights side with the 9 wires was a pain in the "BIG ARSE". It took me 5 tries and 2 dirty martinis to get them through. But I did, and now I get to re-assemble.
I used compressed air to put the left grip back on and it seems to be rock solid.
Good job - lots of people talk about running wires in clubmans, but I've never seen anyone tackle the job. Have to have the right bars, that's for sure.
Maybe an obvious suggestion, but you should test the wires/switches with a multimeter to make sure everything works and no shorts between wires before bolting it back together.
Might want to put heatshrink on the exposed wires now - electrical tape will get messy over time.
Maybe an obvious suggestion, but you should test the wires/switches with a multimeter to make sure everything works and no shorts between wires before bolting it back together.
Might want to put heatshrink on the exposed wires now - electrical tape will get messy over time.
Flugtechnik
My bike is not transportation, it is a respite
It's probably a good idea to test all the wires, but I'm a little too impatient for that. All off the wires looked good when I took the old heat shrink off them and the electrical tape protected them pretty well. I guess the proof will be when I try to reconnect all of those wires. Unfortunately, I'm colorblind, and the colors of the wires at the connectors are pretty faded. Should be fun.
I do plan on covering them with heat shrink between the bars and the headlight. The electrical tape WILL eventually just fall off. I wanted to cover the entire length in new heat shrink, but I couldn't find long lengths at any local stores/shops. The harley dealer said he had some in his shop but he couldn't sell it to me. A$$hole. I did find a roll at pep boys, but it was pink. I just couldn't do it.
I do plan on covering them with heat shrink between the bars and the headlight. The electrical tape WILL eventually just fall off. I wanted to cover the entire length in new heat shrink, but I couldn't find long lengths at any local stores/shops. The harley dealer said he had some in his shop but he couldn't sell it to me. A$$hole. I did find a roll at pep boys, but it was pink. I just couldn't do it.
i internal wire all my bars... you can get the shrink from harbor freight for like 5 bucks for 5 sizes... works great!
also before you button them up.... you want to make sure on your holes you can pull a cotton ball though and not have the ball get caught at all... if not it will rub though your wires and short you... you will be stuck on the side of the road trying to figure it all out... also when you are clamping down the switch housings on the bars make sure not to crimp and short any of the wires... VERY common
also before you button them up.... you want to make sure on your holes you can pull a cotton ball though and not have the ball get caught at all... if not it will rub though your wires and short you... you will be stuck on the side of the road trying to figure it all out... also when you are clamping down the switch housings on the bars make sure not to crimp and short any of the wires... VERY common
Flugtechnik
My bike is not transportation, it is a respite
I have some heat shrink, but it is in 6 inch pieces. I was looking for long lengths. I'll have to make a run to HF sometime this week to see what they have. I'm also looking for some metric fasteners I have yet to find.
I did deburr the holes, inside and out with sandpaper. Also, the wires have electrical tape and heat shrink on them where they go through the holes and from the bars to the headlight. Just not the whole length.
I hope to have everything back together by this weekend so I can ride when this cold snap is over.
Flugtechnik
My bike is not transportation, it is a respite
Cheater! ;D