We noticed you are blocking ads. DO THE TON only works with community supporters. Most are active members of the site with small businesses. Please consider disabling your ad blocking tool and checking out the businesses that help keep our site up and free.
You are using an out of date browser. It may not display this or other websites correctly.
You should upgrade or use an alternative browser.
You should upgrade or use an alternative browser.
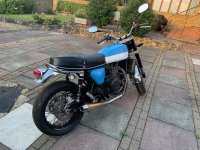
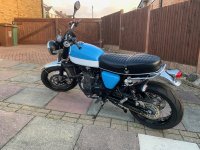
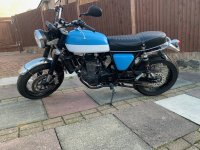
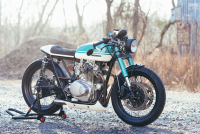
Project CB690 (KTM 690 engine in a CB550f frame)
- Thread starter goodoltup
- Start date
goodoltup
Been Around the Block
Just thinking about getting this registered. I will lay out the facts first, then what I think the next steps are. Please comment if I am wrong or if you have successfully done this before, I'd really like to hear from you.
The facts-
The facts-
- I bought a 2009 KTM 690 SM, with a valid MOT, and registered it in my name
- I put that KTM on SORN
- I bought a 1976 Honda CB550f frame
- The frame has never been registered in the UK, had no plate, V5, or MOT history
- I only have a bill of sale for the frame
- I modified the frame to fit the KTM engine, forks, swingarm, and front and rear wheels
- The bike is now fully built and should comply with all MOT requirements
- I can't use the CB550 vin because I have heavily modified the frame
- I will have to get a Q plate
- The bike will need an MSVA inspection
- Apply to the DVLA for a new vin
- Stamp or affix that vin to the frame
- Schedule an MSVA appointment and pass the test
- Apply for a new Q plate with the DVLA
- Insure the bike with an insurer that does Q plates
goodoltup
Been Around the Block
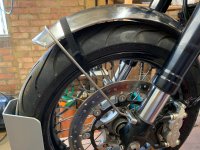
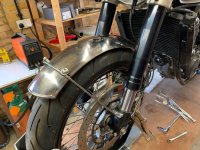
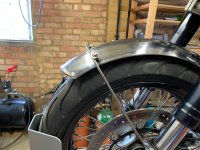
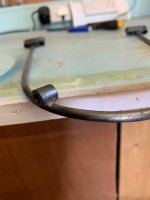
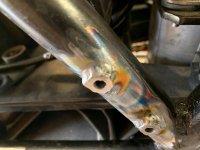
Front fender mount! I made the stay from 6mm bright mild steel, using the 3 in 1 bending and shear tool that I acquired last year. It worked pretty well, but 6mm is definitely at it's top limit. Both stays still need some work and welding. The rear stay has an additional support that attaches to the calliper mount bolt to help steady the whole thing.
Attachments

goodoltup
Been Around the Block
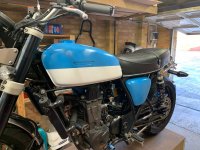
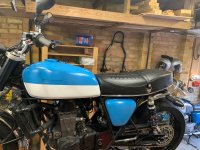
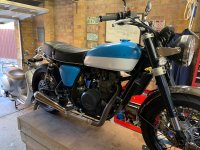
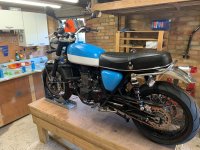
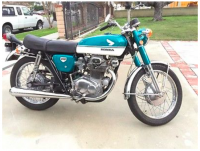
The tank was in bare metal, as you may have noticed, and needed some primer to keep it from rusting. This paint job is to try out proof of concept only, will not be going with spray paint, or these colours necessarily. I was going for the CB350 scheme, see last two pictures. I may try and paint the forks in the body colour as in the last picture, but unsure of that. The paint would have to be masked where it goes in the clamps.
Attachments
goodoltup
Been Around the Block
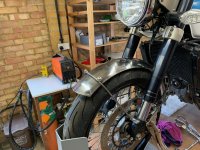
Front fender updates. Some welding has been done on the rear stay, next will be welding the mounts to the stays. Don't mind the underwear in the photos, just a rag. M&S pants make great rags when they wear out.
Attachments
goodoltup
Been Around the Block
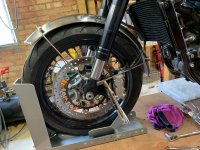
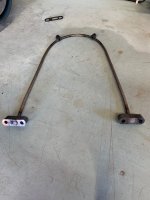
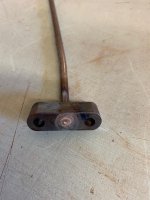
Fender stays all welded up and installed. Tig brazed the cylindrical bosses to the 6mm rod, worked pretty well. As always, the last one you do is better than the first one, so I should have started with the rear stays because they are less visible. Still pretty happy with the result. I will paint the stays for now, but would like to chrome them later.
Attachments

goodoltup
Been Around the Block
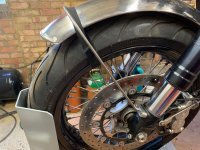
Hi Jimbo,Beautifully fabricated mate, lovely work. These things are subjective of course but I think it would look even better snugged up closer to the tire, but that's just me.
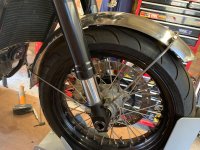
Agreed, but the only fender I could find was for a 17/18" wheel, and it seems to be biased towards the 18" end. I could get it closer but it would look like the picture below, so I kept it off the tire some.
Attachments

brad black
Been Around the Block
cover the honda vin and put the ktm vin on it.
goodoltup
Been Around the Block
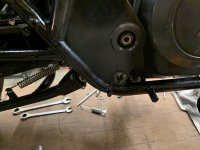
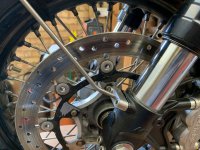
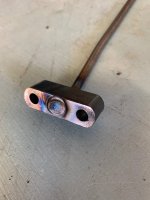
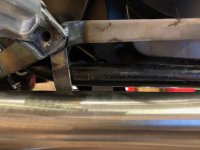
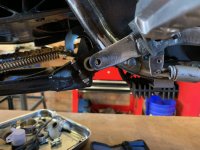
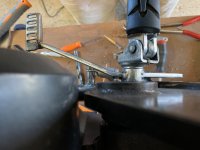
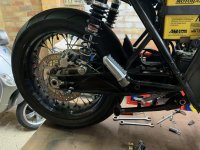
Rear brake pedal. It was a little bit of trouble to find a place for the stop and return spring. I wanted a threaded adjustable stop, but could not really find a place for it so I just made it non-adjustable. I did put two holes for the return spring, the upper one is fine. I will remove the lower one some other time. Note that I had to remove some material from the lever arm to get the pedal to sit at the right height.
Attachments
Last edited:
goodoltup
Been Around the Block
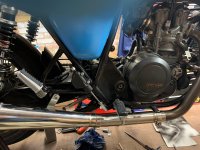
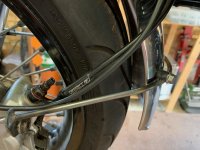
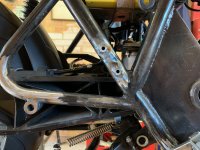
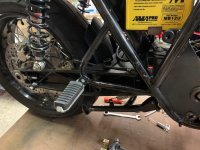
You may recall from earlier that I installed the pass pegs, but then removed them because the location didn't look right. Here they are installed.
Attachments


goodoltup
Been Around the Block
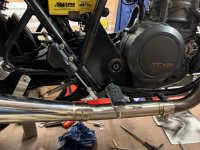
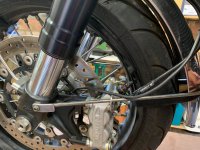
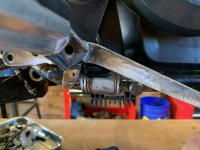
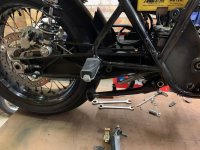
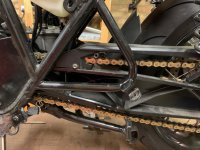
Put some temp paint on it, and finished it up. The rear brake is complete.
The brake action is VERY firm, the pedal barely moves. This is because the lever acting on the master is too long. When I get it out on the road we'll see how it feels, I expect that it will be very touchy. This may need a total rethink when the bike gets torn down for paint.
The brake action is VERY firm, the pedal barely moves. This is because the lever acting on the master is too long. When I get it out on the road we'll see how it feels, I expect that it will be very touchy. This may need a total rethink when the bike gets torn down for paint.