
danish6259
New Member
It's been a while since I last updated this so it's about time I do. I've been getting a good amount of work done and got some paint laid in the last week or so and it's turning out pretty good. Now I just need a new name for this project seeing as I'm finally getting somewhere on it. Suggestions? Now, on to the pics.
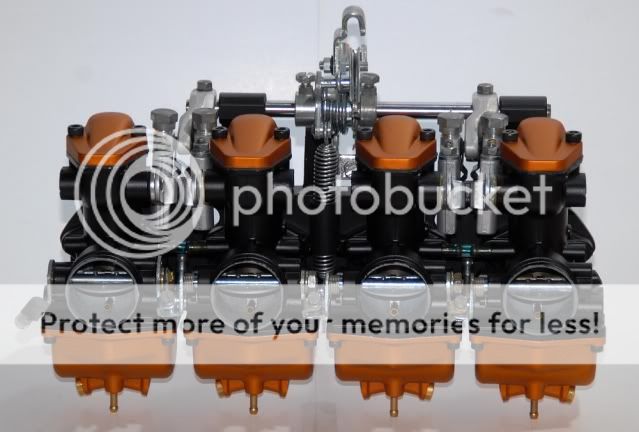
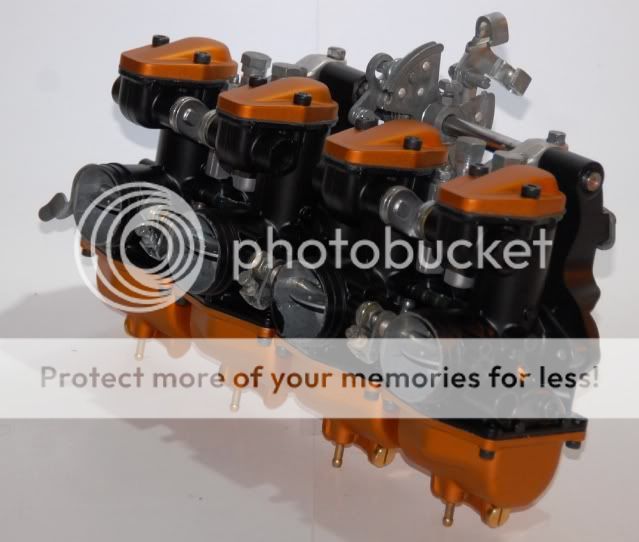
Carbs = complete
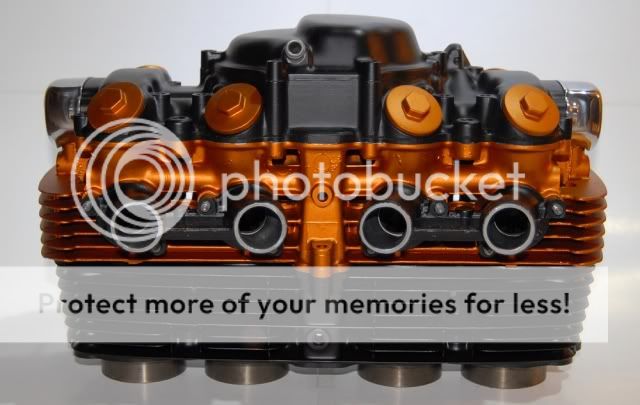
Head is rebuilt
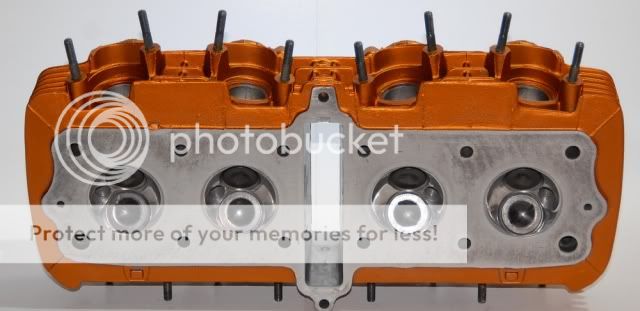
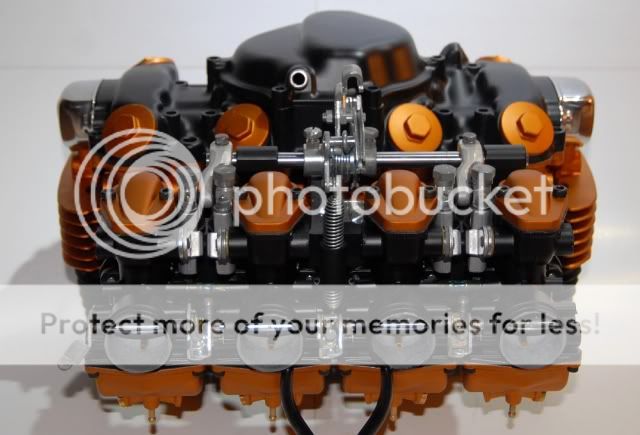
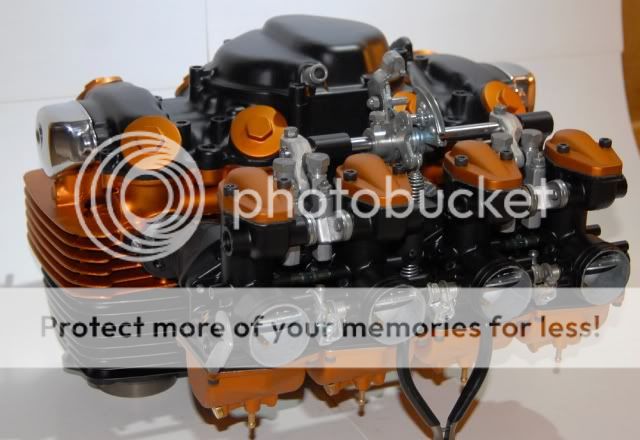
Did some internal polishing and whatnot

Just sitting together right now
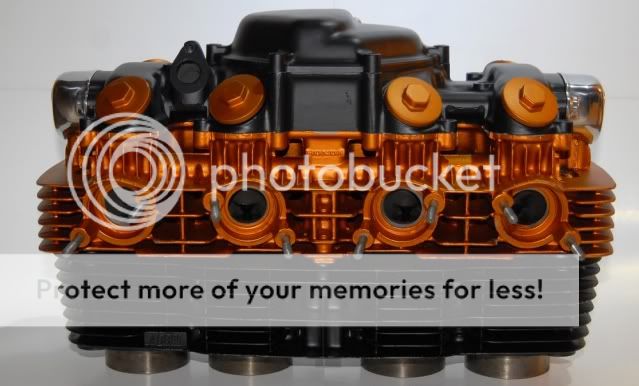
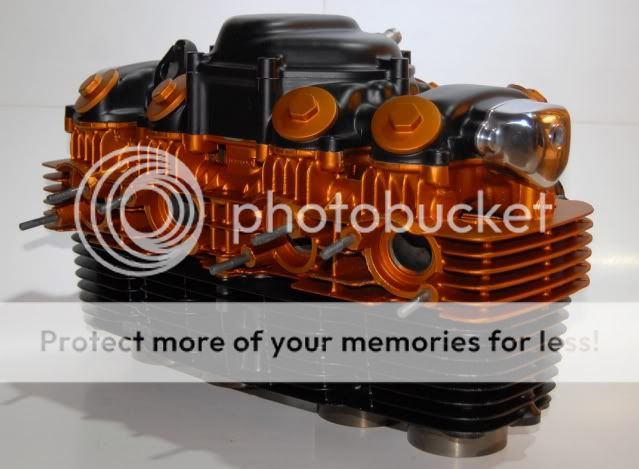
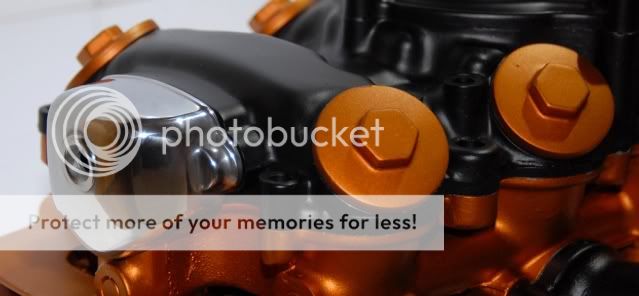
Did some more polishing but have to work out a few rough spots still
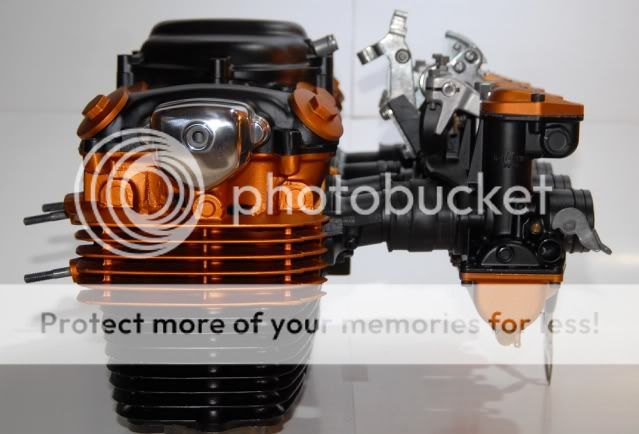
Mocked up with the carbs
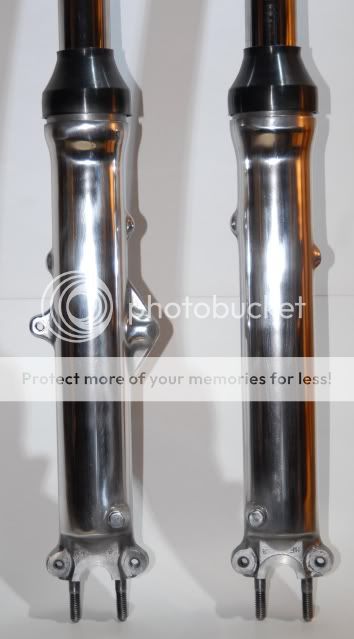
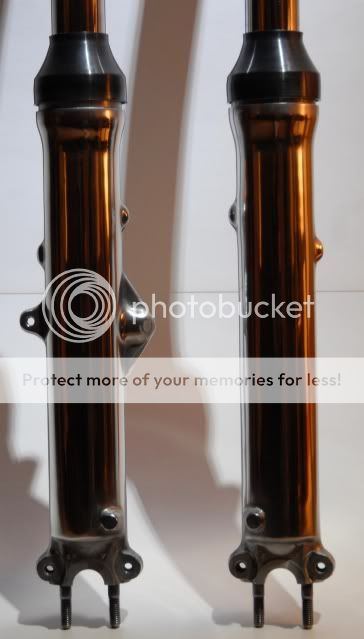
Rebuilt the front forks and installed new seals and dust covers from DCC. It was tough for me to get a good shot of these
Thoughts? Suggestions? Love it, hate it? Let me know what you guys think!!!
Beachcomber - Thanks for that bit of info, I'm not sure if that applies to this engine or not. Also, I'm glad this has some given some motivation to others as well. This is my first bike build and I'm trying to do the best that I can. I can't wait to see you get that 550 build under way and I'm sure it's going to turn out sweet.
Woods - Thanks buddy!!!! I hope that isn't the case because the damage has been done already. I guess I'll find out once I get the bike back on the road and see how she runs. I was thinking of doing the tops of the pistons as well but I haven't attempted that yet. Any suggestions for doing that?
These projects can def go up in price real quick if you're not careful so I've really been watching how much I put into this. I don't want it to turn into my last project car that ended up being a money pit and never got completed.
You're doing some awesome work on that twin so far and I can't wait to see how that turns out.
Boxrules - I'll get some more pictures of that for you in the next day or so. I'll do a full write up of it at the same time so you can make one too. It's worked out really good for me so far and has probably saved me quite a few pennies too.
There is one big issue I'm having with this build.... Does anyone know where to get a full gasket kit for this engine?!?!?!?!? The only luck I've had so far was e-bay but I'm not sure about that. I asked DCC for some help and they can't find one anywhere with all their suppliers. Herm said he might have some luck with a contact over in Japan but said it's going to take a while. Can someone help me out with this???
Carbs = complete
Head is rebuilt
Did some internal polishing and whatnot
Just sitting together right now
Did some more polishing but have to work out a few rough spots still
Mocked up with the carbs
Rebuilt the front forks and installed new seals and dust covers from DCC. It was tough for me to get a good shot of these
Thoughts? Suggestions? Love it, hate it? Let me know what you guys think!!!
Beachcomber - Thanks for that bit of info, I'm not sure if that applies to this engine or not. Also, I'm glad this has some given some motivation to others as well. This is my first bike build and I'm trying to do the best that I can. I can't wait to see you get that 550 build under way and I'm sure it's going to turn out sweet.
Woods - Thanks buddy!!!! I hope that isn't the case because the damage has been done already. I guess I'll find out once I get the bike back on the road and see how she runs. I was thinking of doing the tops of the pistons as well but I haven't attempted that yet. Any suggestions for doing that?
These projects can def go up in price real quick if you're not careful so I've really been watching how much I put into this. I don't want it to turn into my last project car that ended up being a money pit and never got completed.
You're doing some awesome work on that twin so far and I can't wait to see how that turns out.
Boxrules - I'll get some more pictures of that for you in the next day or so. I'll do a full write up of it at the same time so you can make one too. It's worked out really good for me so far and has probably saved me quite a few pennies too.
There is one big issue I'm having with this build.... Does anyone know where to get a full gasket kit for this engine?!?!?!?!? The only luck I've had so far was e-bay but I'm not sure about that. I asked DCC for some help and they can't find one anywhere with all their suppliers. Herm said he might have some luck with a contact over in Japan but said it's going to take a while. Can someone help me out with this???


