
We noticed you are blocking ads. DO THE TON only works with community supporters. Most are active members of the site with small businesses. Please consider disabling your ad blocking tool and checking out the businesses that help keep our site up and free.
You are using an out of date browser. It may not display this or other websites correctly.
You should upgrade or use an alternative browser.
You should upgrade or use an alternative browser.
Project Shinjimei- 73 TX500
- Thread starter two-smoker
- Start date
two-smoker
I reject your reality, and substitute my own!
I do indeed! And so do I!
two-smoker
I reject your reality, and substitute my own!
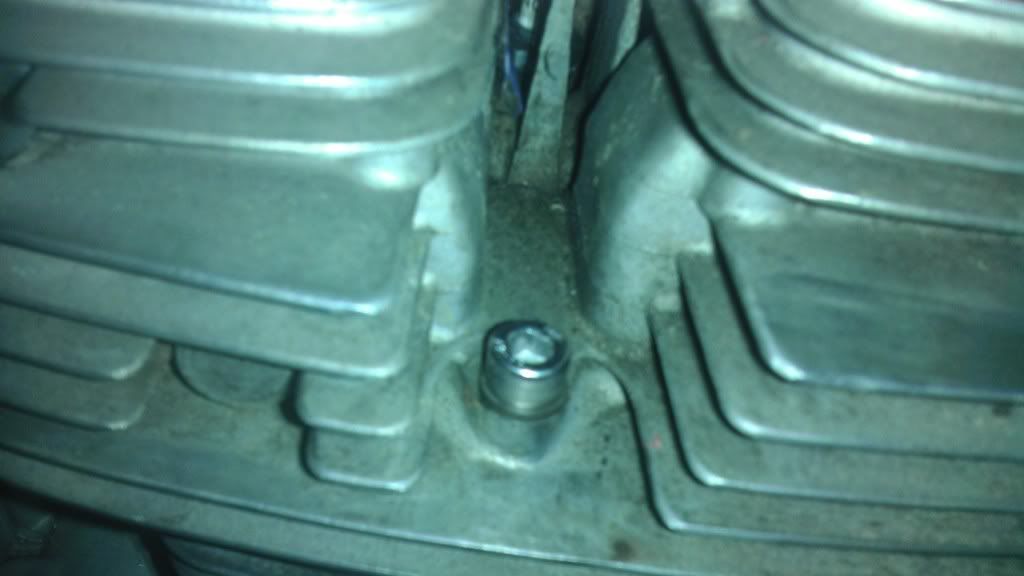
Did a little work on the bike here, today. Started with finishing up the head swap. This bolt here caused one problem.
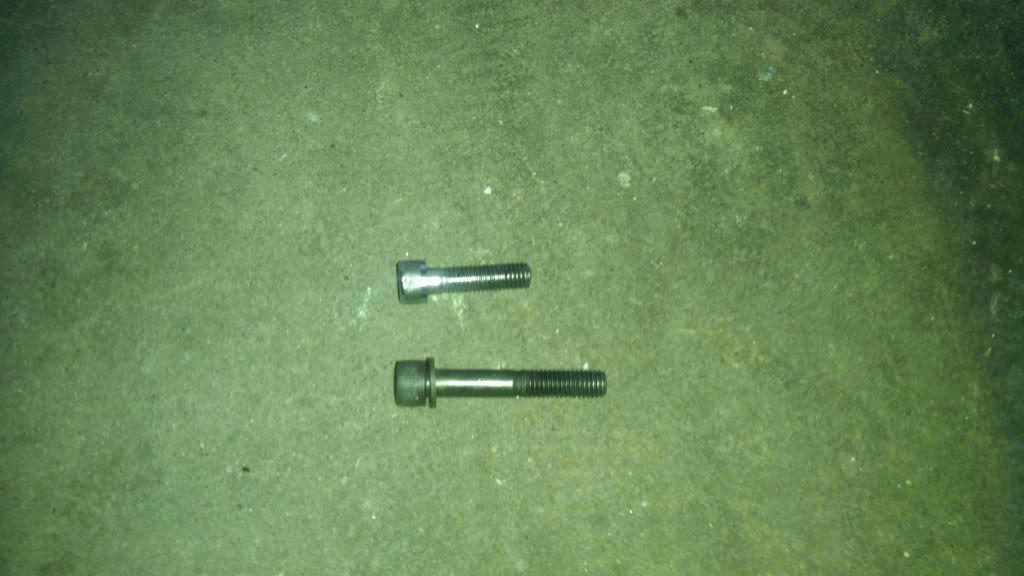
On the top is the original bolt from the old head, which was too short to work with the new head. Bottom is the bolt from a late- model, which is too long to work with the swap. So I made a trip to the hardware store and got one in between.
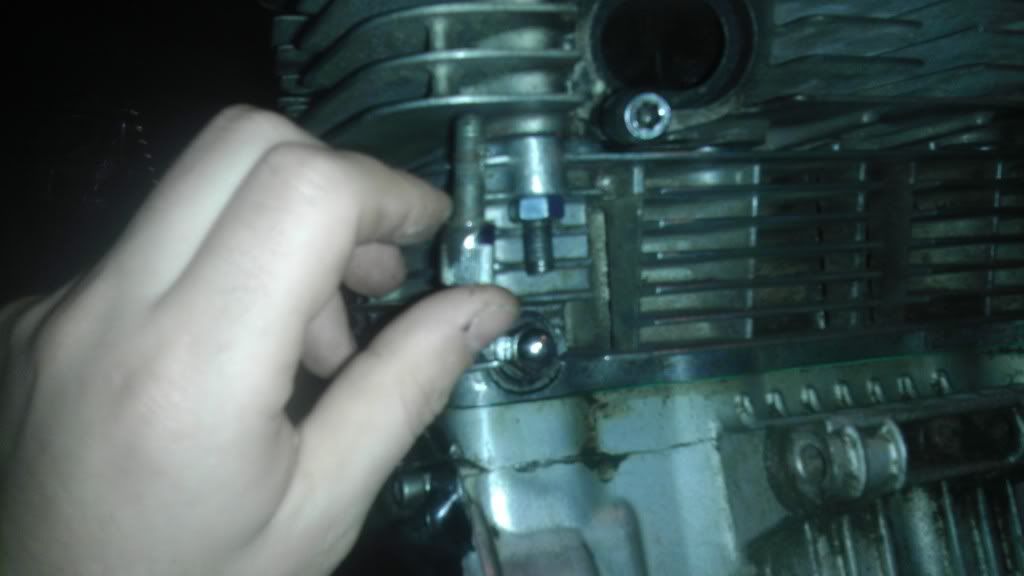
Next issue were these studs on the side by the cam tunnel. Yet again, too long, as the original stud to the left shows. Since I was at the hardware store, anyway, I picked up some regular hex nuts that would torque all the way down.
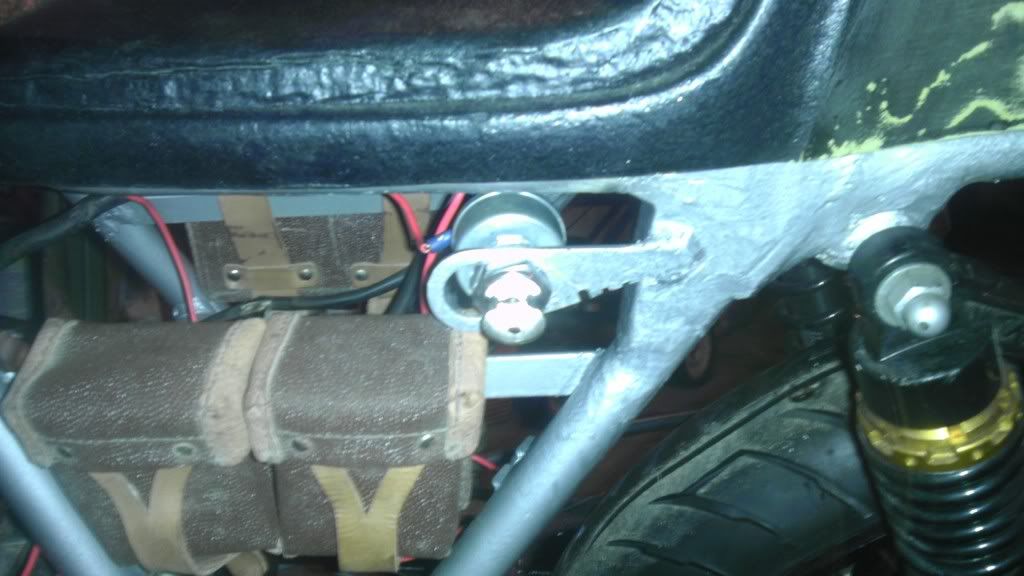
I also decided to finalize my mount for the turn-key ignition switch. It's a piece from the cleaning kit from the same 1939 Mosin-Nagant rifle the side pouches came from.
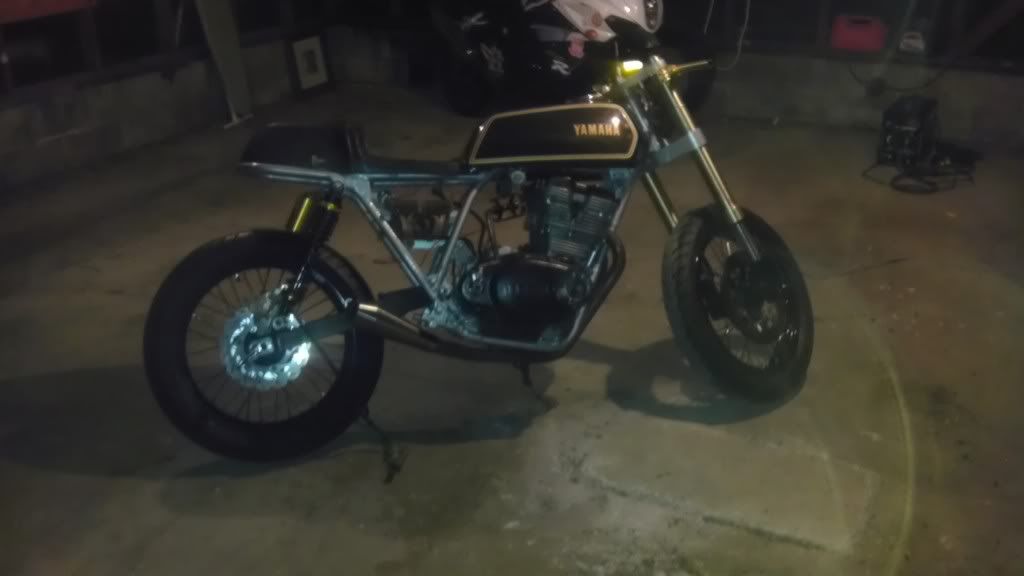
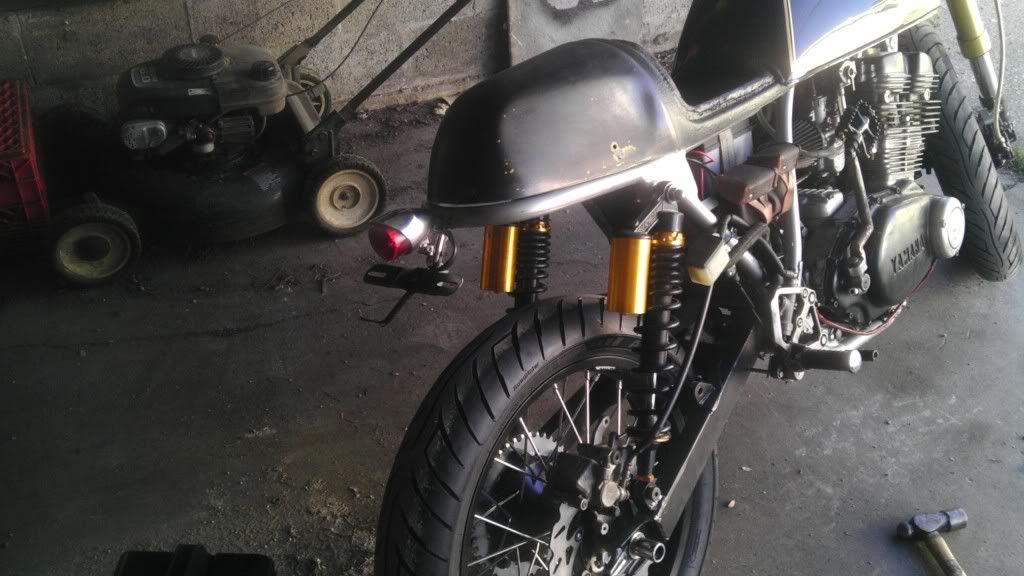
Aaaaaand then the big stuff. Can you tell I'm smiling? This was for exhaust mockup, but then I realized I needed to install the rearsets to nail it down.
So here it is. Rearsets installed, exhaust placement finalized. Digging it! The front wheel spacers are still in limbo, and the rear wheel needs to move about a quarter inch to the left, which was a surprise, but all in all, it's looking fabulous!
two-smoker
I reject your reality, and substitute my own!
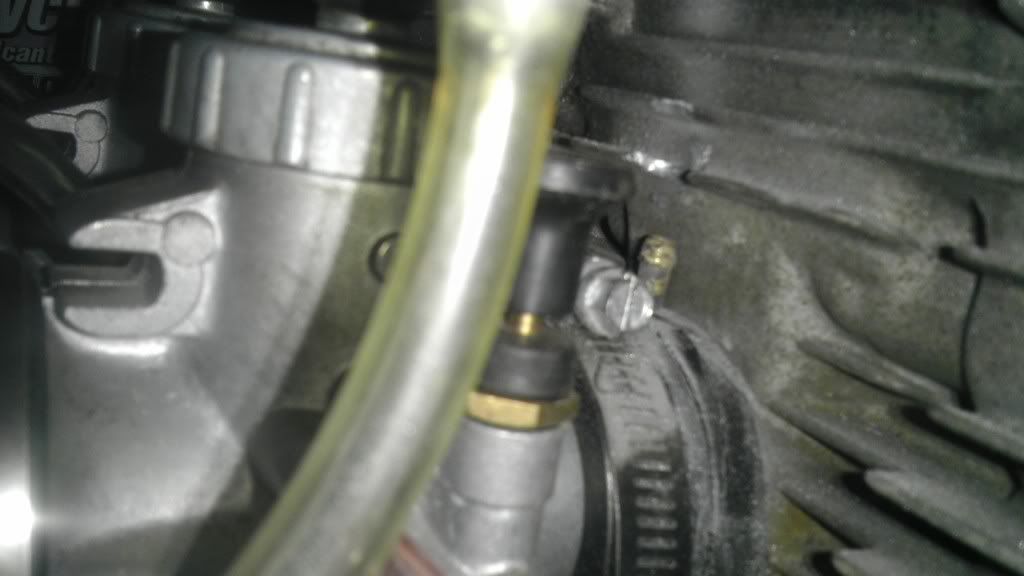
Not a whole lot to report... I bunged on the carbs and manifolds, only to realize my newly-installed petcock vacuum ports pointed right at the fins on the head, so ground out some clearance rather than move the nipples. I figure a little missing fin material is better than trying to move the nipples, or buying new manifolds. Other than that, just trying to work through the wiring harness.... Slowly....
Oh, and trying to figure out what I'm going to do regarding the headlight mounts... I found some that clamp onto the fork tubes, and that would be the easy way, but I kinda want to make my own. The naked Hyosungs use these two holes in the lower tree and have this complicated round-bar structure, but I thought maybe I could simplify the design and do this sort of ram's horn design.... I dunno. I'll figure it out. Not like I'm going to get to ride it this year, anyway.....
two-smoker
I reject your reality, and substitute my own!
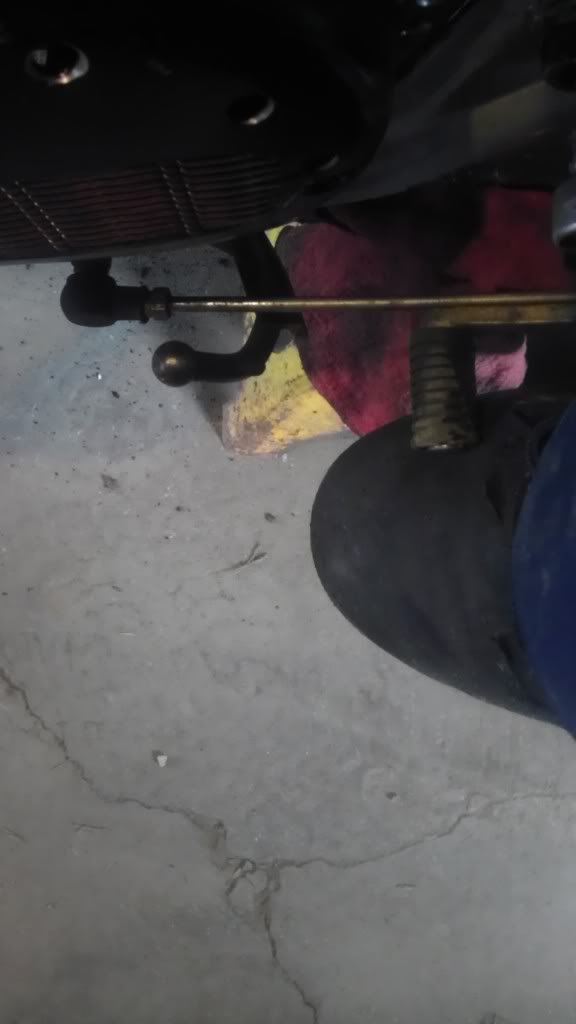
I did a little work this morning before bed... Here shows that I now can shift gear without my foot fouling the sidestand.
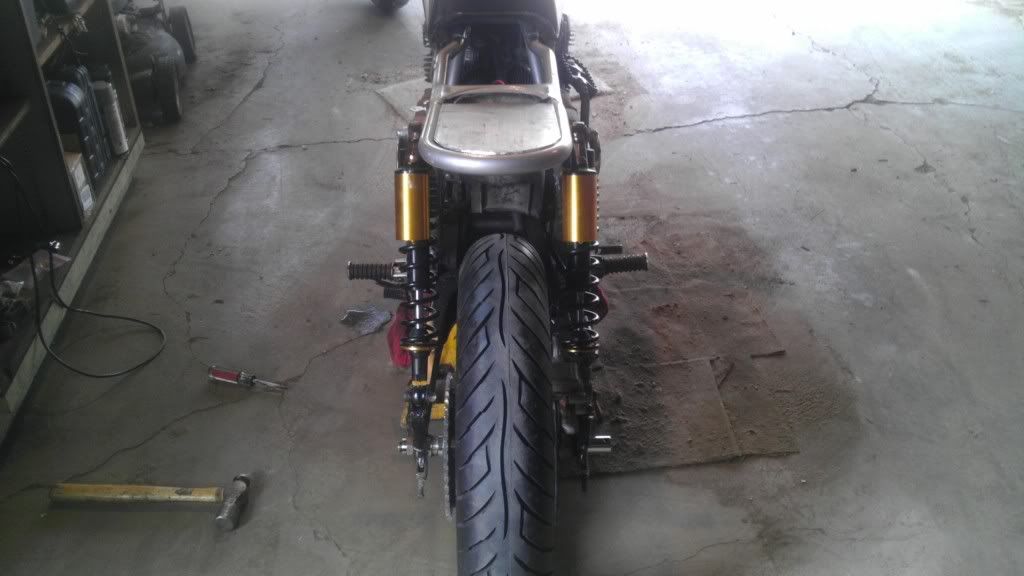
Here you can see I have the rear wheel centered in the frame. (okay, it's offset to the right slightly, but it's close enough....)
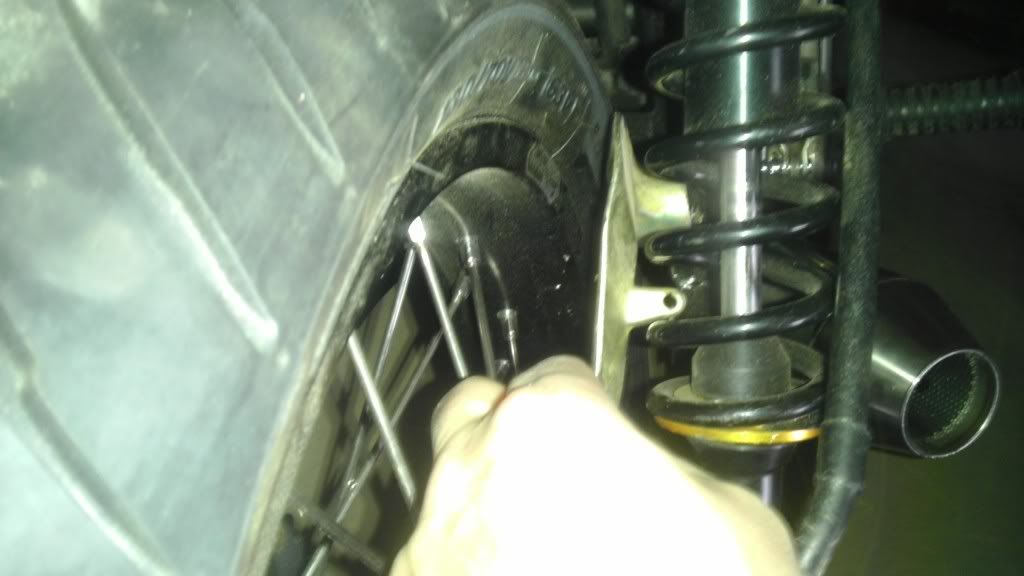
And the reason I say it's close enough is this: here I clamped a straight rod to the outside of the rear sprocket and lined it up with the front sprocket to see how close the alignment between them was. Mayhaps you can see it in this picture, but upon closer inspection.....
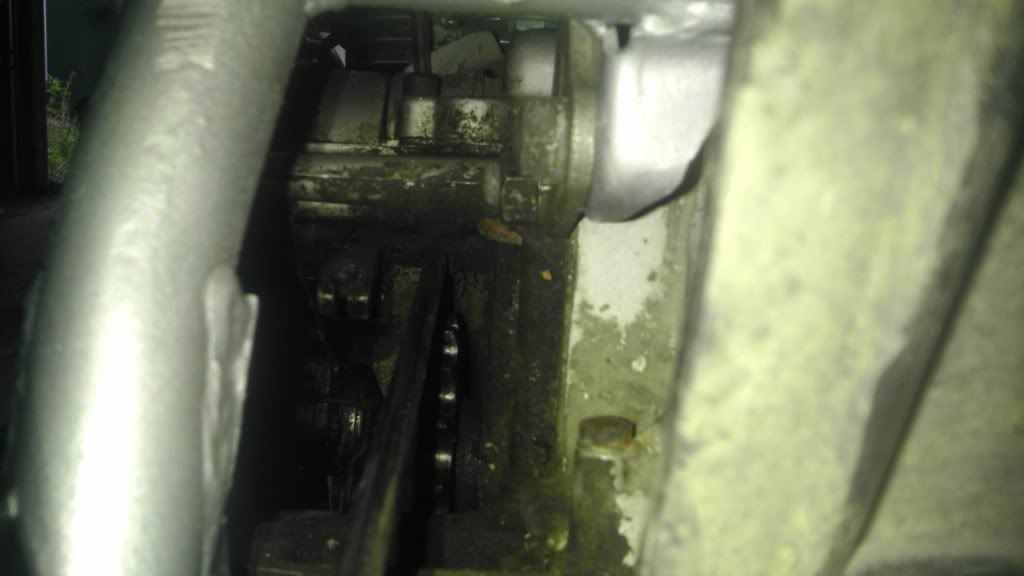
You can see that the rod lines up perfectly. Or, it will once I put the narrower 520 front sprocket on....
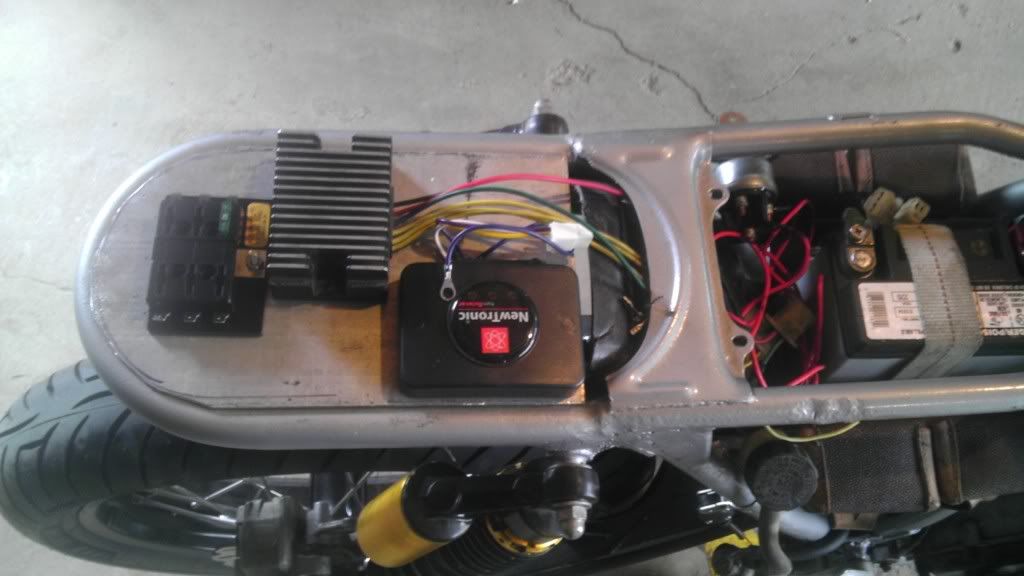
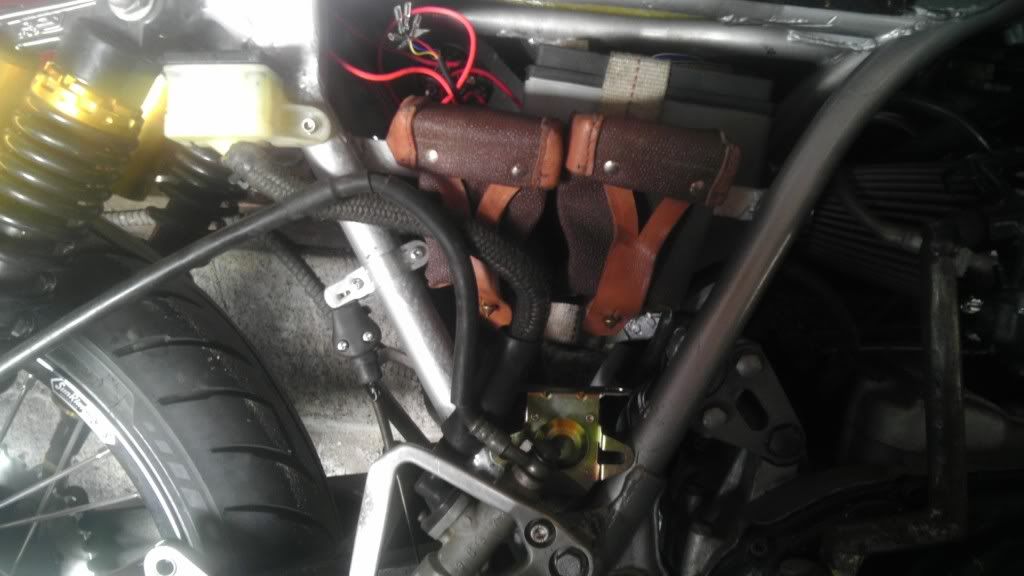
Aaaaand after I got bored with wheels and sprockets, I decided to nail down where my electrics will go. I am still undecided where to mount the new starter solenoid, but here's how the underseat area will look. I like it!
") ) the Newtronics unit ?
) the Newtronics unit ?two-smoker
I reject your reality, and substitute my own!
I think actually I'm going to put it to the side of the battery tray... I'm not using the original style solenoid, it grounds through its body, so I have to mount it somewhere that has a good ground. That aluminum tray is going to be rubber mounted. Plus, it's too big to fit under the seat with all the other stuff. Lol. Besides that, I am trying to get away with using as much of the original battery cables as I can. They won't reach.
two-smoker
I reject your reality, and substitute my own!
Did some little stuff. Burned in my taillight/license plate mount. I'm trying to keep a little of the Ducati flavor from the seat section going.
I also drilled and tapped a place to mount the reservoir for the rear master, and settled where in mounting the starter solenoid. I realize I need to make a custom rear brake hose, and weld on some tabs. I also need to make up some kind of torque arm for the rear caliper. Baby steps.
two-smoker
I reject your reality, and substitute my own!
Funny you say that, Scott- I was on the fence about wether I was going to use a fender or not.
So far, everything seems good regarding the motor, but we'll see what happens once I get the ignition wired up.
So far, everything seems good regarding the motor, but we'll see what happens once I get the ignition wired up.
two-smoker
I reject your reality, and substitute my own!
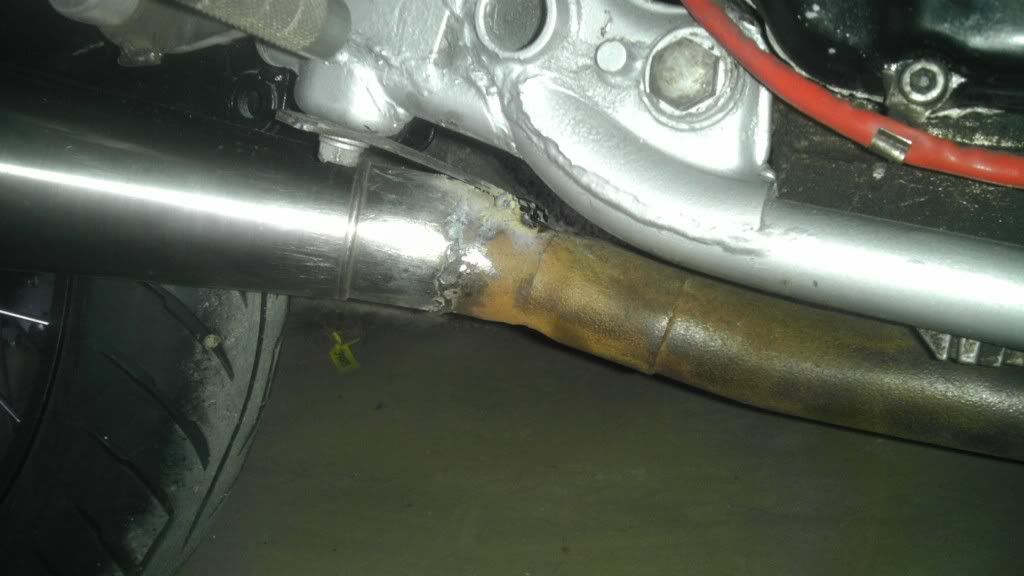
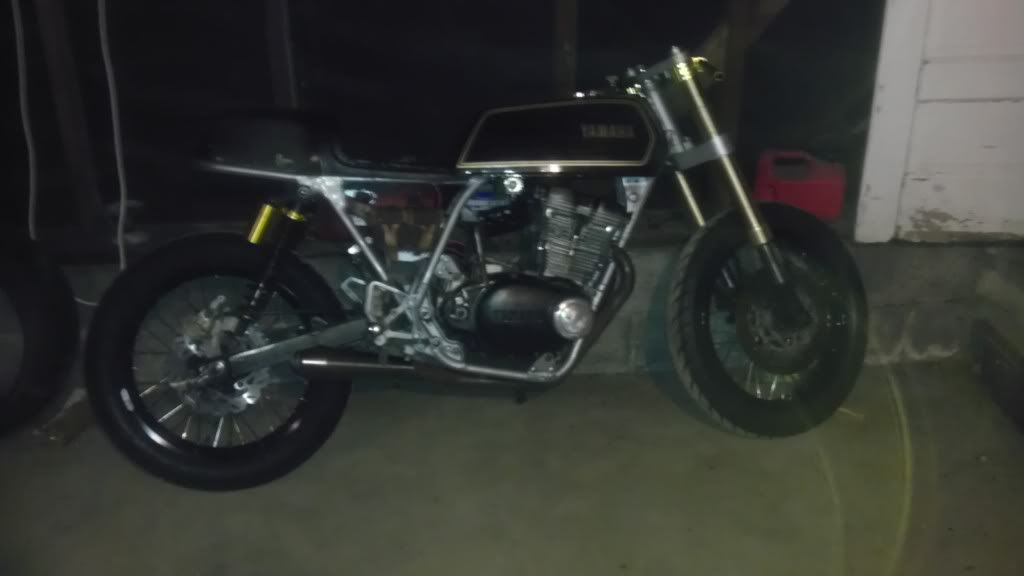
I had the welder out the other day, and decided to finally burn in the exhaust. I welded the muffler all the way around, then made a hangar bracket to use the original exhaust mount on the frame.
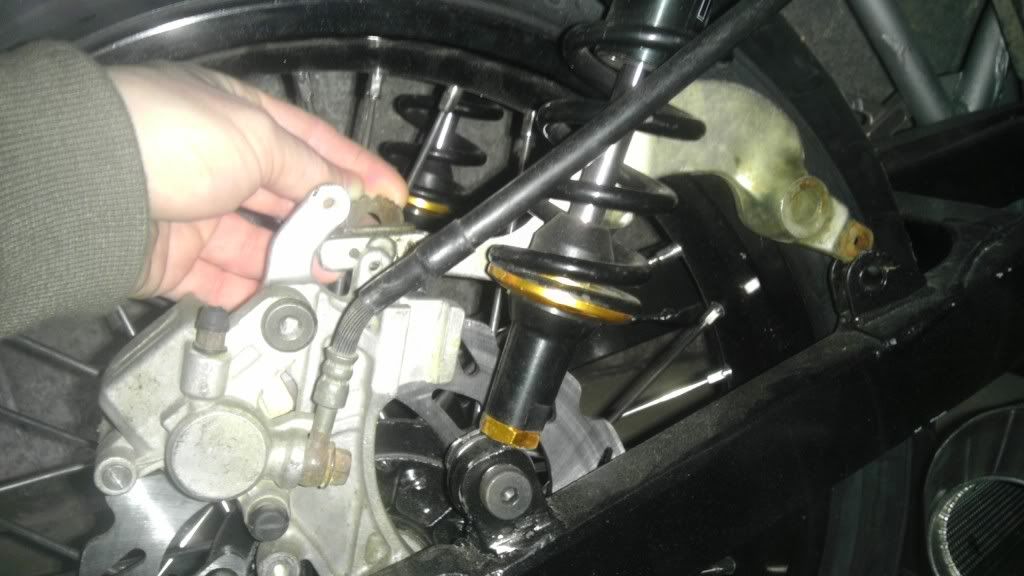
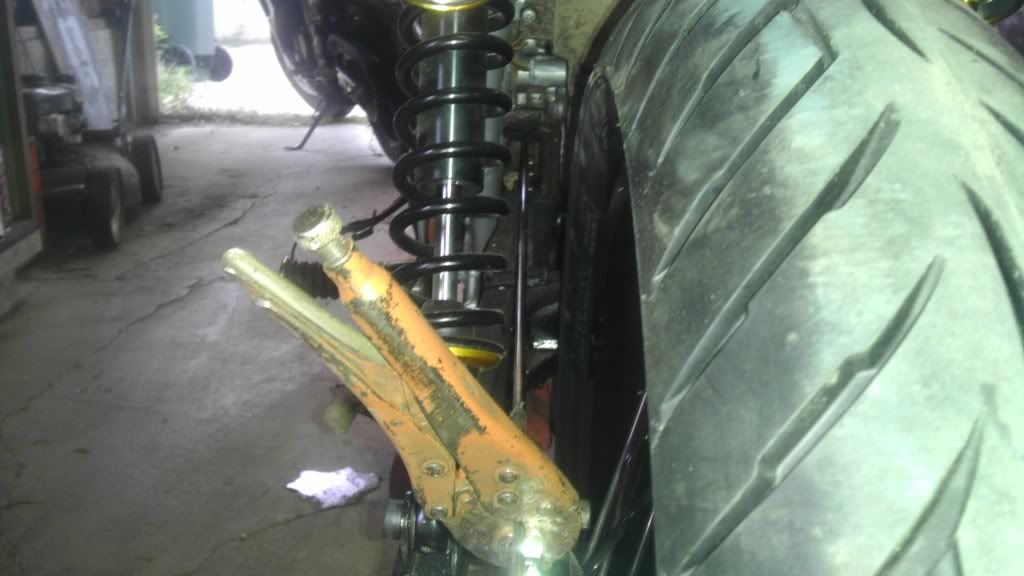
When I finished that I started pondering how I was gonna fab up a rear torque arm, and my eyes fell on the brake pedal that came with the YZ rear brake setup.... If I can't use this, it'll at least make a good pattern. I love the curvature, and it goes around the shock perfectly, minus the little spring tab.
It looks like it's really close to the tire, but I've got 3/4" clearance easy. I suppose I should've gotten a better shot to that effect.....
two-smoker
I reject your reality, and substitute my own!
I haven't abandoned this project, but I had a few obstacles keep me from doing anything meaningful. Biggest would be.... It's FUCKING COLD!! lol. No worries.... New developments to come!
MotorbikeBruno
Over 1,000 Posts
I hear ya on the cold. I'm willing to be patient..I dig this build 8) Look forward to more when it's not insanely cold out!
two-smoker
I reject your reality, and substitute my own!
Holy shit! I did something!
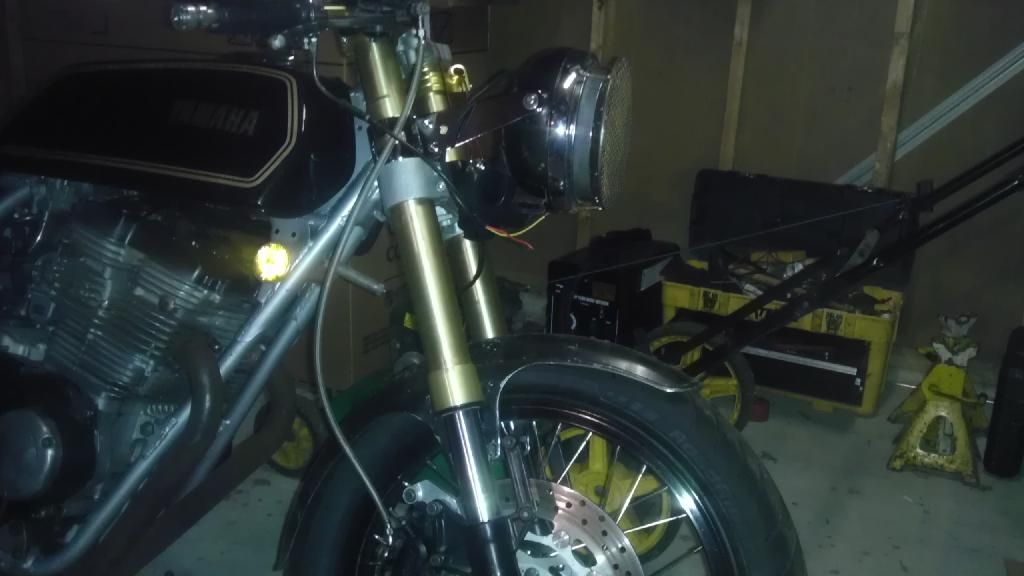
Got some headlight ears off eBay....
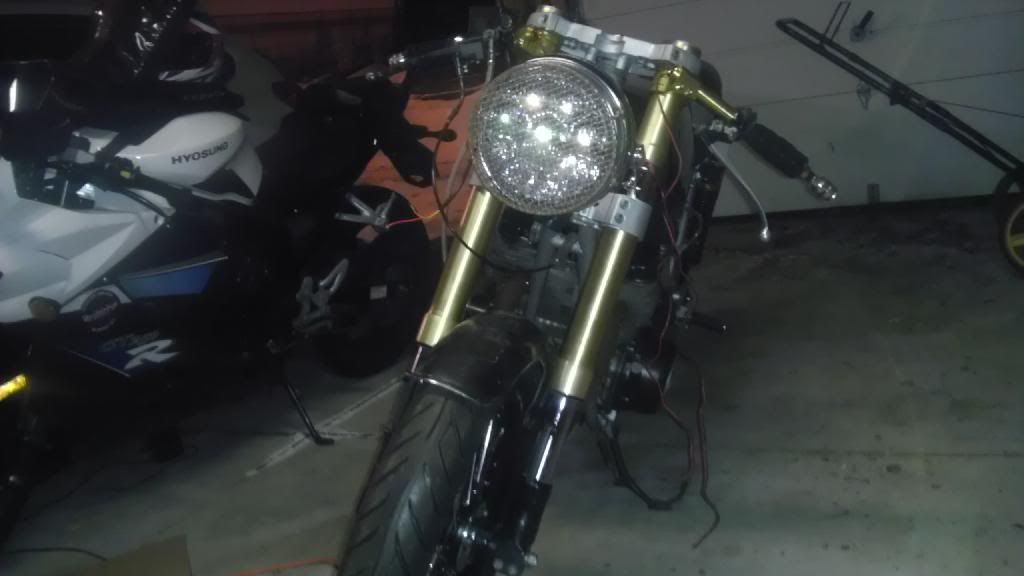
I really like how the LED headlight looks with the inverted front end...
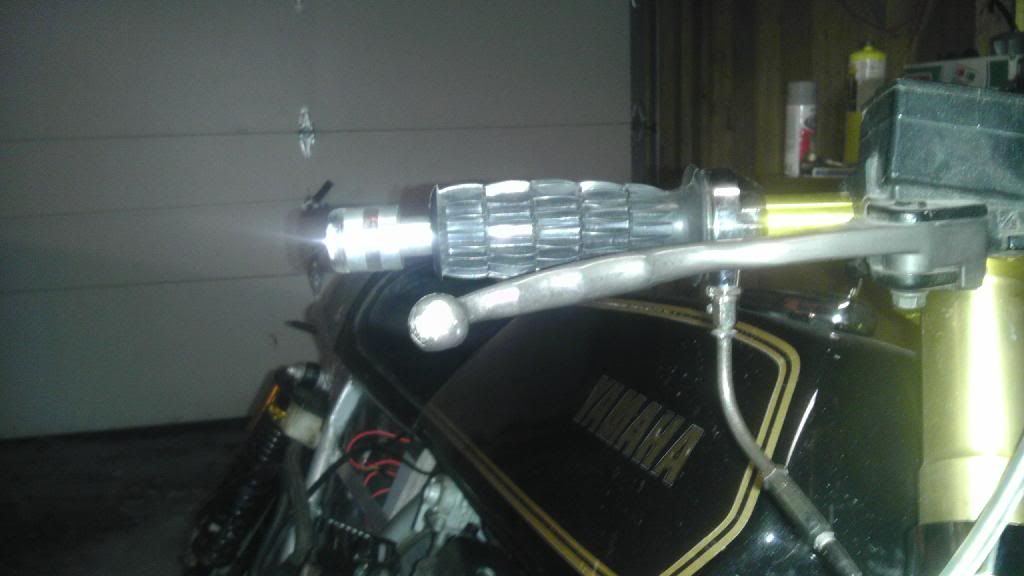
Unfortunately my bar-end signals don't fit the aluminum bars so well.... I'll either have to turn down the body on the signals or ream out the bars.
two-smoker
I reject your reality, and substitute my own!
Oh yeah.... Cold or not, I got work to do... Anyone know what size socket I need for the sprocket nut, BTW?
two-smoker
I reject your reality, and substitute my own!
Huh. I could have sworn I tried a 27 and it was too small.... Guess I'll try again! I suppose I've always got my vernier caliper if I need to measure it... Oh well. Lol.


