Follow along with the video below to see how to install our site as a web app on your home screen.
Note: This feature currently requires accessing the site using the built-in Safari browser.
We noticed you are blocking ads. DO THE TON only works with community supporters. Most are active members of the site with small businesses. Please consider disabling your ad blocking tool and checking out the businesses that help keep our site up and free.
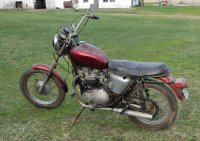
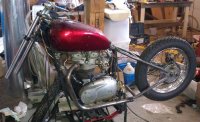
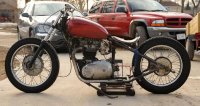
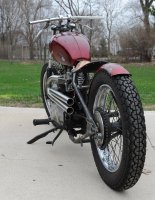
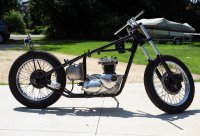
I thought I would post some pictures of a T120 build that I have mostly completed for anyone that may be interested.
Long story short. My older brother passed away a few years ago. Many of my memories of him when I was young are of him bring home all these basket case British bikes and fixing them up. Well, he had left boxes of parts and one mostly complete Triumph on the farm where we grew up. I ended up with the bike stuff as that is all I really wanted. With those parts I am building a bike to remember him by.
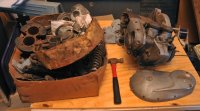
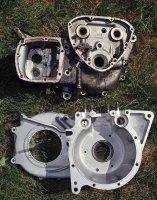
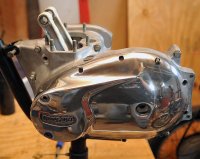
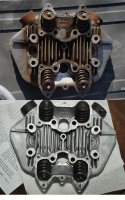
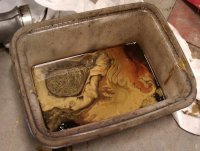
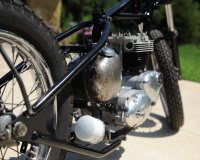
Engine build first. Took it down to the sludge trap (good thing...it was almost full of dirty crap). Soda blasted the cases. New valves bearings, and pistons. I sent out the head and cylinders for machining.
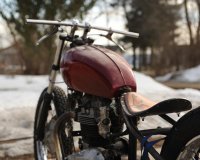
Looks great so far. Whats the drop/stetch on the hard tail?
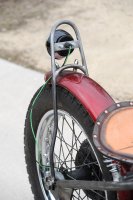
There is an easy mod to dramaticly improve that connie front brake. Simply cut the brake arms and add a 1" long piece of 1/4"X1" flat bar.The added leverage really makes a diffrence. And it does not change the feel at the handle bar. Heres the wheel on my 71 Thunderbolt.
My friend did this to his B50 race bike and can do stoppies with it.
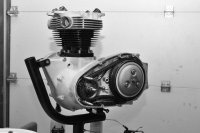
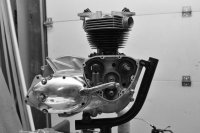
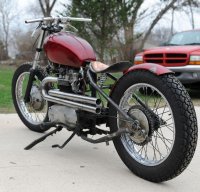
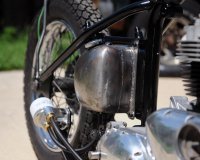
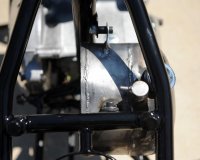
I painted up the frame with two part urethane after I welded all the tabs and such on and started the reassembly with the engine that I built. I had found an oil tank that I liked on ebay from a Triumph Tiger Cub. It looked cool but the capacity was too small so I borrowed an idea from a member of another forum and had an extension welded in the tank to increase the capacity. I cut the back off with a cut off wheel and had a two inch extension welded in. The metal in the tank was so thin I figured I better let a professional weld it up. I'm happy he did. I probably would have burned all kinds of holes in it. Plus, I don't have a TIG.
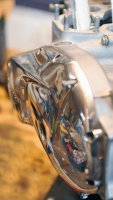
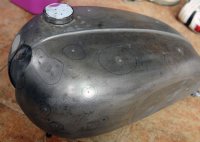
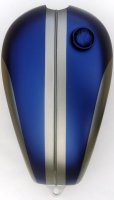
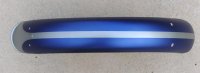
So next I had to paint the tins. PPG base with two part urethane clear. First pic is the tank all stripped clean and circles around all the dents. I always mark the dents so I can find them fast once the bondo is mixed up.
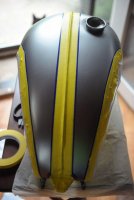
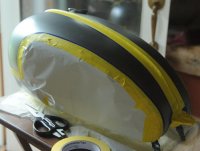
After filler for the dents and may coats of primer block sanded between coats I painted the silver base. Then I masked the silver so I could paint the blue. Picks here are all without clear coat.
This site uses cookies to help personalise content, tailor your experience and to keep you logged in if you register.
By continuing to use this site, you are consenting to our use of cookies.