brainrush
Active Member
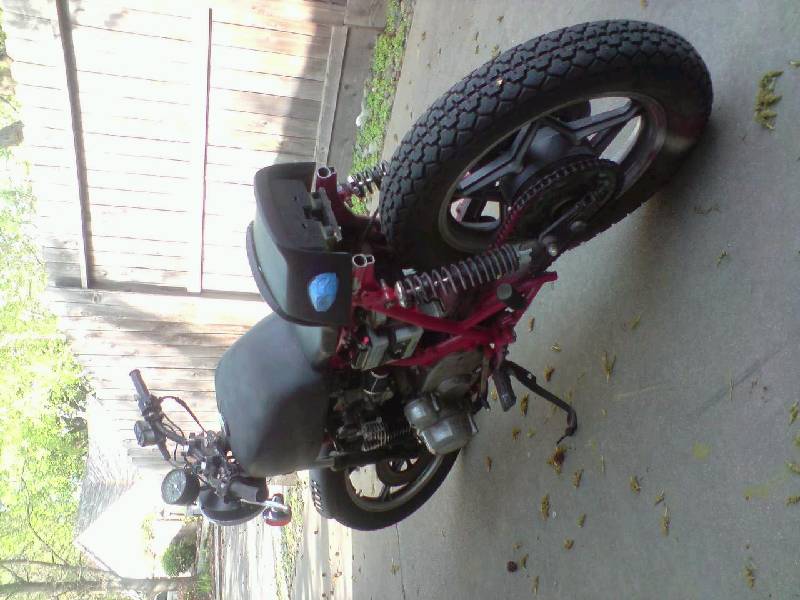
So my bike started off as the "sassy" 1978 Suzuki GS 550 E:

which someone turned into a snot bucket:

Which I am turning into a cafe. Initially planning on spending between $50-$200 on a new seat/pan, I saw what other GS owners were doing and decided to go a similar route, so I made some measurements, made a cardboard cut out, made a mounting plate for the stock duckbill, and tried everything out.
After finalizing the idea on cardboard, I went to the shed where I found some OSB, not the strongest stuff, but it's free, and if I want to I'll upgrade to a proper plywood later, I cut out the shape with a circular saw, sawzall, a wood rasp, and a mouse sander, test fitted it and it fit something like this:

For the seat foam, I decided that I was going to use some mini egg carton foam, but it's a bit too soft, so I went literally across town looking for something like an anti-fatigue mat, shopped around for prices, and on a whim decided to check out OSH, found some felt, almost went for it, before finding sponge rubber padding, the stuff is exactly what I had in mind. at 3/8ths inch thick, 18 inches wide and a couple feet long, for $8, it seemed like a great deal.
And then I met an associate named Barry.
Obviously fed up with the managers, I got talking with him, about how much I needed exactly (I wasn't too sure since I didn't have my template with me. so he gave me an 18"x16" for the price of 1 square foot of the thinnest stuff, $0.53 after taxes!!!
so after cutting out the pieces (using the cardboard template of course) I decided to cut out a couple layers of both materials and play around with different combos to find something that was both thin and comfortable. I settled on (get it!) a sandwich of rubber, eggcrate, rubber for the seat and rubber, eggcrate for the bumpstop.

The original seat had been re-vinyled presumably fairly recently so I decided to reuse that material. when I undid the vinyl, I noticed the previous owner had lowered the seat a little bit, and as my cousin was undoing the stitching from the sides, she said "obviously a guy must have stitched this because its so sloppy"
to which I pointed at the ugly welds along frame and said "too bad he didn't stop at the seat" *zing*
anyways here's a pic:

BTW: that's the air force roundel I'm planning on painting on the bike in the background.
the stock GS duckbill has a bit of a lip to it to create a flush look with the stock seat. That lip had to go:

When I have time (prolly monday night or sometime tuesday) I'm going to be finishing the seat with neodymium magnets to hold on the bumpstop pad, using the stock hinge to hinge the seat and maybe re-use the stock seat lock. obviously I have some hacking to do to the rear subframe.
Oh yeah... 8) sassy. 8)
which someone turned into a snot bucket:
Which I am turning into a cafe. Initially planning on spending between $50-$200 on a new seat/pan, I saw what other GS owners were doing and decided to go a similar route, so I made some measurements, made a cardboard cut out, made a mounting plate for the stock duckbill, and tried everything out.
After finalizing the idea on cardboard, I went to the shed where I found some OSB, not the strongest stuff, but it's free, and if I want to I'll upgrade to a proper plywood later, I cut out the shape with a circular saw, sawzall, a wood rasp, and a mouse sander, test fitted it and it fit something like this:
For the seat foam, I decided that I was going to use some mini egg carton foam, but it's a bit too soft, so I went literally across town looking for something like an anti-fatigue mat, shopped around for prices, and on a whim decided to check out OSH, found some felt, almost went for it, before finding sponge rubber padding, the stuff is exactly what I had in mind. at 3/8ths inch thick, 18 inches wide and a couple feet long, for $8, it seemed like a great deal.
And then I met an associate named Barry.
Obviously fed up with the managers, I got talking with him, about how much I needed exactly (I wasn't too sure since I didn't have my template with me. so he gave me an 18"x16" for the price of 1 square foot of the thinnest stuff, $0.53 after taxes!!!
so after cutting out the pieces (using the cardboard template of course) I decided to cut out a couple layers of both materials and play around with different combos to find something that was both thin and comfortable. I settled on (get it!) a sandwich of rubber, eggcrate, rubber for the seat and rubber, eggcrate for the bumpstop.
The original seat had been re-vinyled presumably fairly recently so I decided to reuse that material. when I undid the vinyl, I noticed the previous owner had lowered the seat a little bit, and as my cousin was undoing the stitching from the sides, she said "obviously a guy must have stitched this because its so sloppy"
to which I pointed at the ugly welds along frame and said "too bad he didn't stop at the seat" *zing*
anyways here's a pic:
BTW: that's the air force roundel I'm planning on painting on the bike in the background.
the stock GS duckbill has a bit of a lip to it to create a flush look with the stock seat. That lip had to go:
When I have time (prolly monday night or sometime tuesday) I'm going to be finishing the seat with neodymium magnets to hold on the bumpstop pad, using the stock hinge to hinge the seat and maybe re-use the stock seat lock. obviously I have some hacking to do to the rear subframe.
Oh yeah... 8) sassy. 8)