"The Parts Pile" A CL350 Cafe from a heap of junk...

Re: The Parts Pile CL350 Cafe

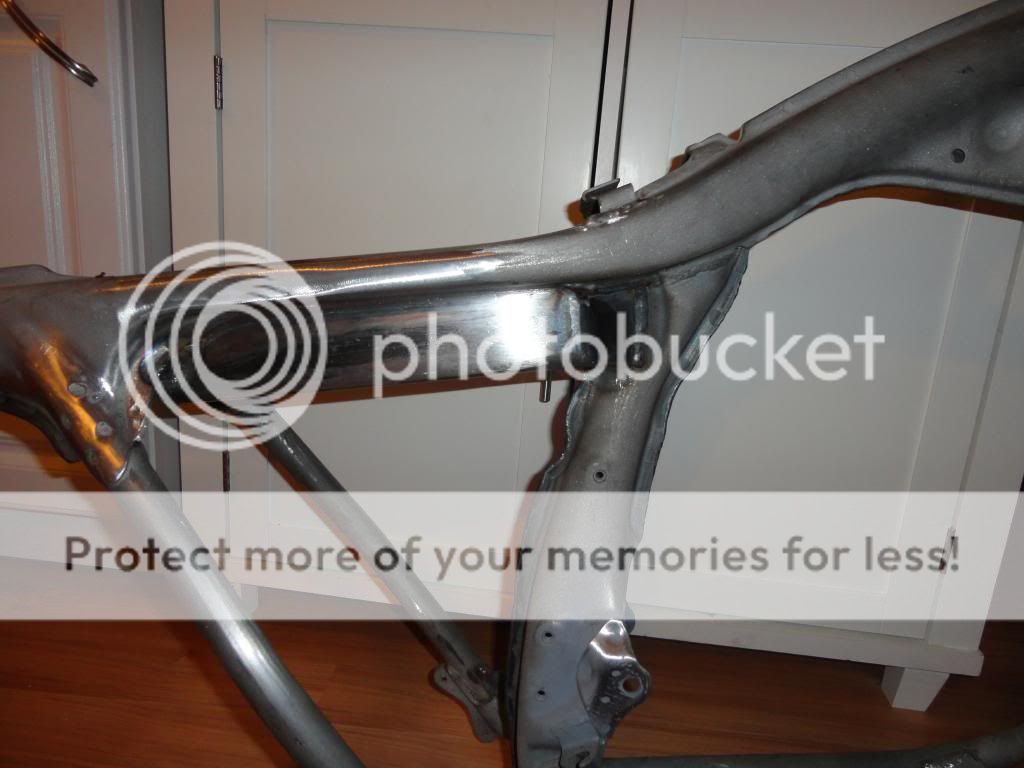
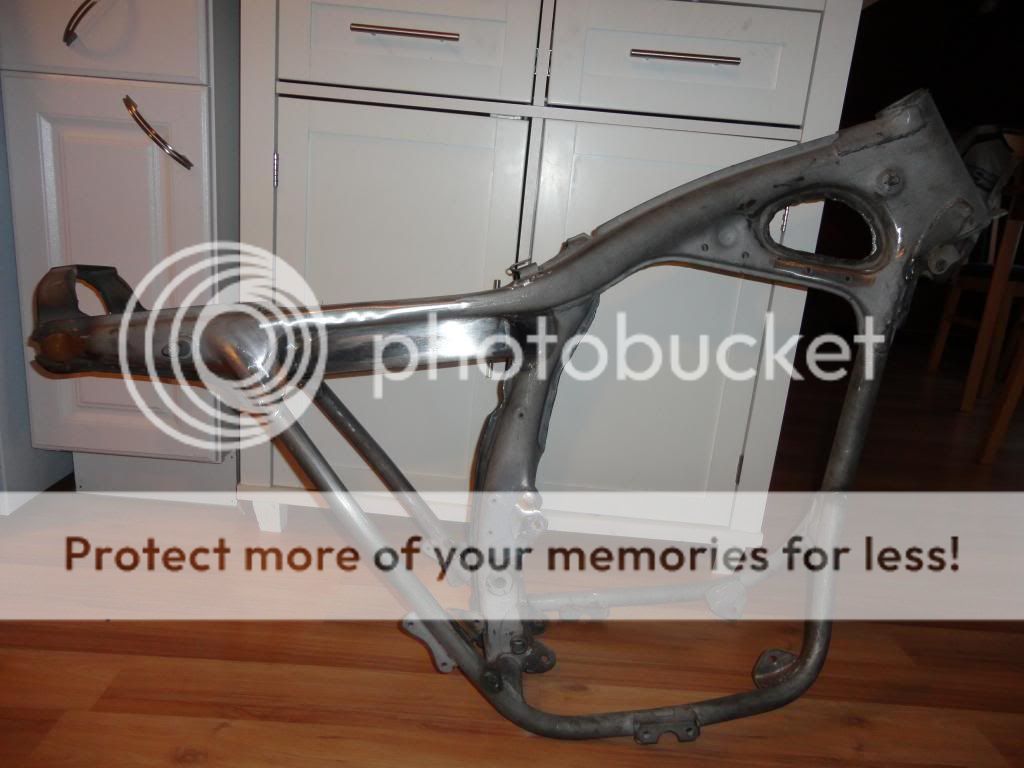
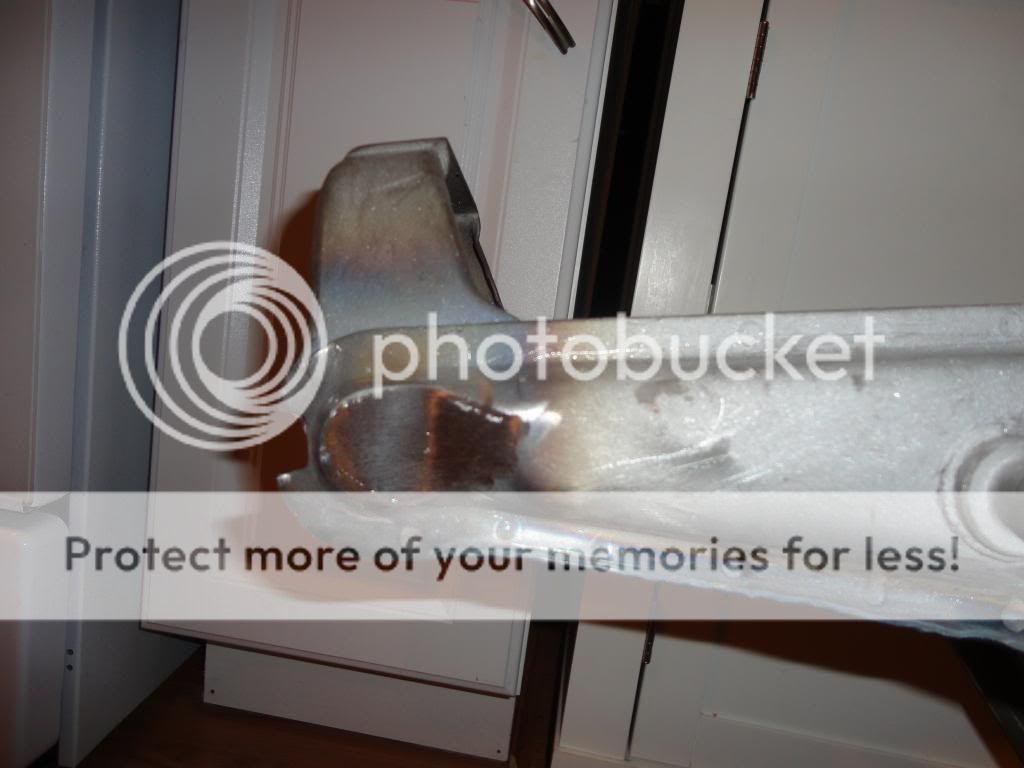
Hey Matt, enjoying your build and the nice progress you are making. I have a 73 CB350 I am working on also. My frame has the exact same crack on the bottom of the down tube. I was thinking it was a there to let water seep out. If you look up near the steering head it looks like that water could get in and go down the down tube. I am going to do the same thing you did, weld it up grinder down. Then grind down the center seam, bend some steel over and weld it down the spine, do the same to the center post. Even thinking about using 3/8 or 1/2 round bar, drilling holes thru the sides of main frame and welding in round bar to stiffen up the frame, making it like a ladder. Would like to hear others opinions on that.
 
Re: The Parts Pile CL350 Cafe

Thanks! So your frame has the same crack!? That's funny, I just assumed that was damage. Now I'm gonna have to flip over
my other CB350 frame when I get home!!
I've seen a couple other people do what you're saying about grinding the seams down first before welding them up. That does look
quite a bit cleaner. Personally, not too sure on the drilling and tubing idea- I am not a frame expert by a long shot, but I don't see the
benefit. What are you looking to do with this bike? If you are planning on really pushing it , like road racing, then some bracing surely
wouldn't hurt. Here is a small snippet from the eurospares website. Just tells what some of the guys who race these bikes recommend.

http://www.eurospares.com/framemod.htm
 
Re: The Parts Pile CL350 Cafe

After one night of unsuccessful struggling, I still had a front rim that was disassembled. The further along I got, the harder it became to fit the next spoke into it's hole. I didn't understand it. I literally tried for hours.

Today I came home from work, and layed out ALL of my inner spokes in the direction they would need to go. Then, I sat the rim over it, and laced up all the inners. It was a cake walk after that. Took about 20 minutes to do the whole wheel. This is how my life goes.... :eek:

Anyhow, I am proud to say that my wheels are both laced up, and ready to be trued. Since I have no equipment to attempt doing this on, I will
be finding someone better equipped than myself to do it for me.

DSC01971_zpsa3545cc8.jpg
 
Re: The Parts Pile CL350 Cafe

Something VERY IMPORTANT that I would like to bring to any future CB350 owner / builder / restorer's attention.
When you pull your old wheel bearings from the rear wheel, take the bearing on the sprocket side, and drive the
small spacer out of it! You will need to transfer this to your new wheel bearing!

I learned this by NOT seeing the spacer, and installing my new bearings without that part in the equation. I couldn't
figure out why the hell the long spacer tube was so loose inside the hub....until I looked at this breakdown of the rear
wheel. VERY easy to miss this thing and throw it away with the bearing, if you don't know about it beforehand. Luckily
I had not taken the recycling out yet, and found it. However, I did end up buying a new set of bearings, in fear that I
may have caused damage to the bearing after removing it. Tough lesson.

Refer to part #8 in this illustration


REARWHEEL_zpsc695f1e1.gif
 
Re: The Parts Pile CL350 Cafe

Thanks for that frame info. I am doing the GSXR fork swap and running 17" Honda CRF230M wheels. So I wanted to stiffen the frame to help with the increase cornering loads that could be generated. It is not going to be a track bike, so I might be over thinking it a bit.
 
Re: The Parts Pile CL350 Cafe

Yeah, for street riding, you'll be just fine with some basic reinforcing. (It would probably be
just fine without any.)
 
Re: The Parts Pile CL350 Cafe

DSC01972_zps4f07127f.jpg

DSC01979_zps119caed6.jpg


My wheels have been trued. A couple of things to note on my using of the "Mikes XS" aluminum rims...

1. The wheels weren't all that straight out of the box. They are trued, but took some extra attention.

2. The stock length spokes that I used almost all ended up protruding from the nipples when tightened up.
I am going to grind them down, not a huge deal.

3. The spokes on the rear wheel had a tendency to pull to one side of the nipple when tightened up.
This should not pose any problems, but it makes me think that the angles must be a bit different than they are originally.

All in all, I am happy with how they turned out, considering the low cost of the components I used.

I used the shouldered aluminum rims from the Mikes XS website. 1.85" front and 2.15" rear - $90.00 each
The spokes are standard nickel plated reproductions, found on Ebay for about $45.00 a set
 
Re: The Parts Pile CL350 Cafe

DSC01976_zps9db60119.jpg


60 grit sanding drums on a dremel tool still make for fast grinding of protruding spoke ends, and makes
it much easier to avoid damaging the surrounding wheel, versus using a grinder.
 
Re: The Parts Pile CL350 Cafe

DSC01974_zps8a28f0dd.jpg


I rebuilt my forks the other day. What a miraculous improvement over the rusted to shit, bent to shit set
that I started with. The lowers are bead blasted, and look great. The tubes are luckily in very good shape.
I put a new set of piston rings on the dampers, (surprisingly still available from Honda) a new set of seals, new
damper bolts (the ones that go in from the bottom) and a set of new fork caps (also surprisingly still available, and cheap!)

A word of advice on the fork damper bolts... Sometimes you can get them to do what you want when the fork is fully
assembled, as the spring creates sufficient pressure on the damper to keep it from spinning as you turn the bolt. I had
one that I was able to do by hand, but the other one wanted to spin. Some guys swear by sticking a broomstick inside
the fork to hold the damper in place. I have always had the best luck with using an impact gun. It makes this operation SO
much easier. Don't forget to put some threadlocker back on these bolts first!
 
Re: The Parts Pile CL350 Cafe

Nice work on the rims and forks! I got sent the wrong spokes for my Cognito hub for my rim, no wonder it wouldn't lace up! Hopefully next week I will get the correct ones and I can finally lace mine up.
 
Re: The Parts Pile CL350 Cafe

DSC01986_zpsa10d86f0.jpg


OKAY! Got my frame back today, for the second time. The original job that was done on the battery box was...
pretty much horse shit. I found a different shop to do the work this time around. I had him fill in the front part of
the battery box, to the center post of the frame. MUCH better.
 
Re: The Parts Pile CL350 Cafe

DSC01987_zpsaee10040.jpg


I figured I'd also have the original fender mount holes welded up, as I am not going to be using them.
I will most likely fashion some sort of rear fender / splash shield, but not in the factory style.
I am very happy with the results here!
 
Re: The Parts Pile CL350 Cafe

Nice work on the rims and forks! I got sent the wrong spokes for my Cognito hub for my rim, no wonder it wouldn't lace up! Hopefully next week I will get the correct ones and I can finally lace mine up.

Thanks Dave- So far so good, except one really dumb-ass mistake that I made. When I mounted my tires, I got done and then
realized that I put a couple of scratches and little dings in the shoulder of one side of the rear wheel. Not sure how, but maaaan. I was
pissed. Gotta be more careful next time. :-\

Yes, that rim lacing business is quite specific stuff. I imagine when you start creating Frankenstein wheels, finding the correct spokes
has to be tough, and pricey! That's why I didn't get too crazy with mine. Best of luck!
 
Back
Top Bottom