Follow along with the video below to see how to install our site as a web app on your home screen.
Note: This feature currently requires accessing the site using the built-in Safari browser.
We noticed you are blocking ads. DO THE TON only works with community supporters. Most are active members of the site with small businesses. Please consider disabling your ad blocking tool and checking out the businesses that help keep our site up and free.
Re: My XS650 project - update July 20 - Much nicer pics of the powdercoating up!
Next step is getting the steering head modified
The stem on the later model trees is just too tall. Have to have it taken out of the lower tree, shortened and then reinstalled. Not a big deal but a nuisance and unexpected.
Waiting on some parts from Mikesxs, and also picking up the wheels I'm using next week. Won't be back at it till Aug 10 or so but then I should be full-speed.
Actually, the real next step is finishing the engine off - just need to put on the rocker cover and clean it up a bit more. Then back into the frame, but I want to lower the frame over the engine to put it in so the frame needs to be pretty bare to do that. Once the engine is in, swingarm, steering head, forks, clipons, headlight brackets, rear wheel, front wheel, and then it's rolling.
Re: My XS650 project - update July 20 - Much nicer pics of the powdercoating up!
So Adam, the same guy/shop who did the fine welding on my frame is now in possession of my triple tree.
He's removing, shortening and re-welding in my stem to the lower tree to match the stock stem. I'm also having them polish up the upper tree - should be pretty spanky when done and a much better job than I could manage in my garage. I might just have to cut the alloy rims from the hubs and have them polished and then re-lace with stainless spokes one day too
This mod will now allow me to finish the steering head installation, provided I can figure out how to get the race for the lower bearing into the frame. Got the top one in no prob, as it sits proud of the frame so easy to tap in with a block of wood. The lower race is recessed into the steering tube though, so you really need the right sized drift or whatever.
Re: My XS650 project - update July 20 - Much nicer pics of the powdercoating up!
Can't wait to see this thing completed, gonna be awesome. And honestly, how many times have you already stradled it and made a "vroom" noise!!! Just ribbin ya, that is an xs650 done right...
Re: My XS650 project - update July 20 - Much nicer pics of the powdercoating up!
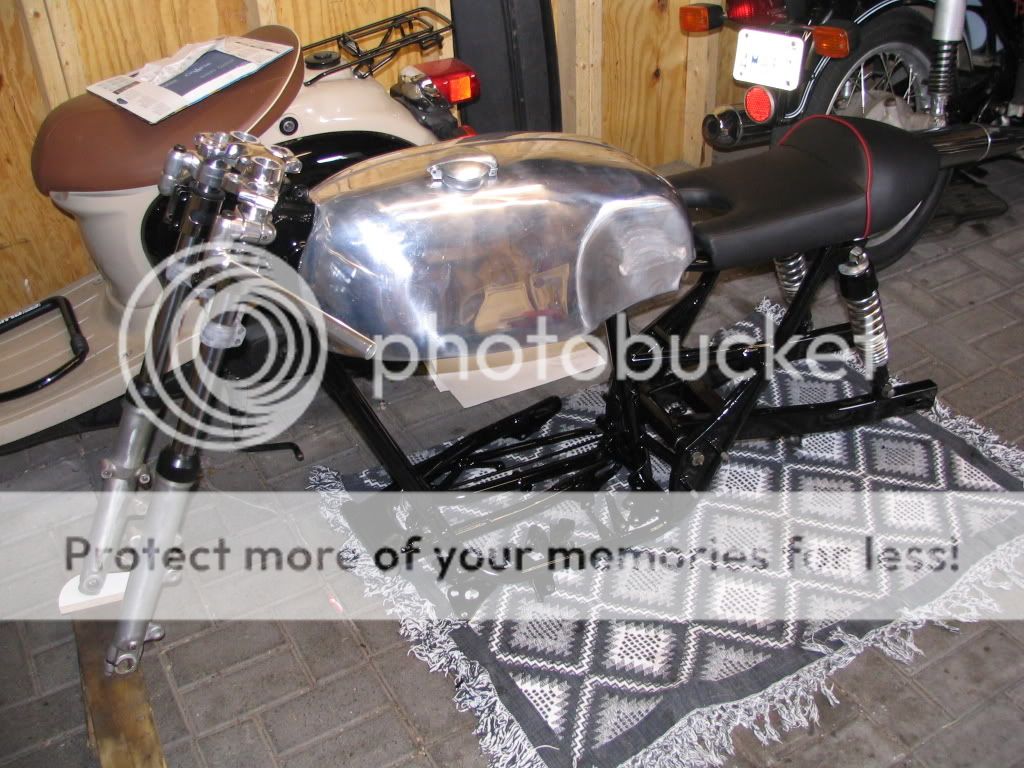
I've stradled it to be sure - needed to make sure there was enough room for the ol' caboose.
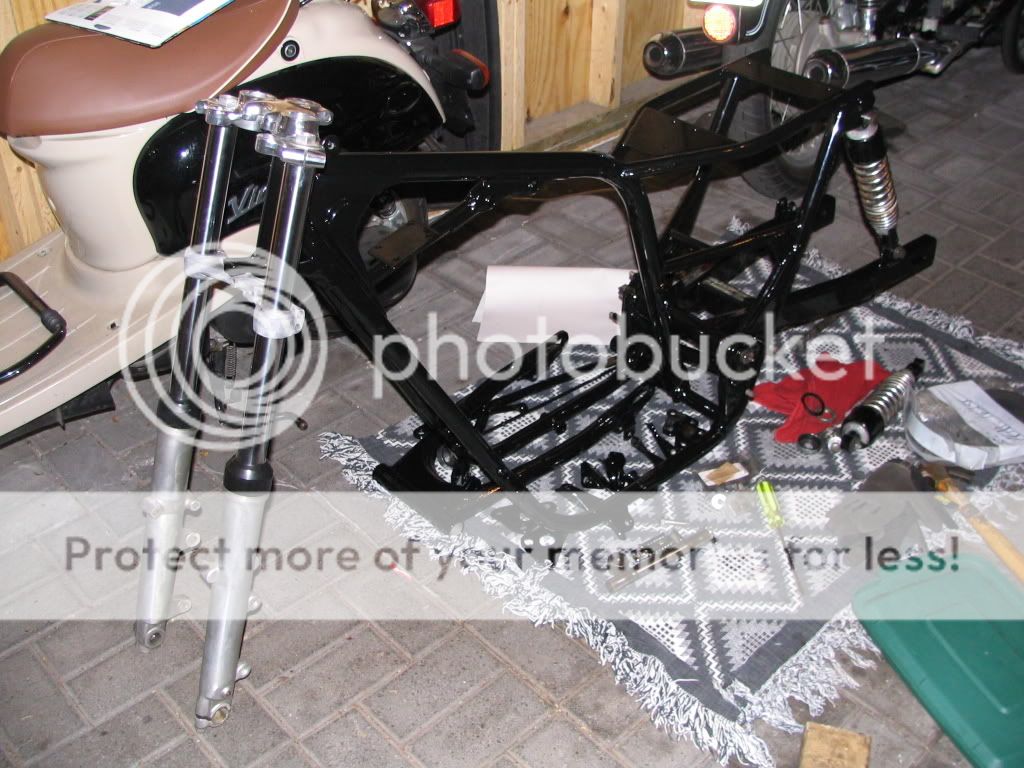
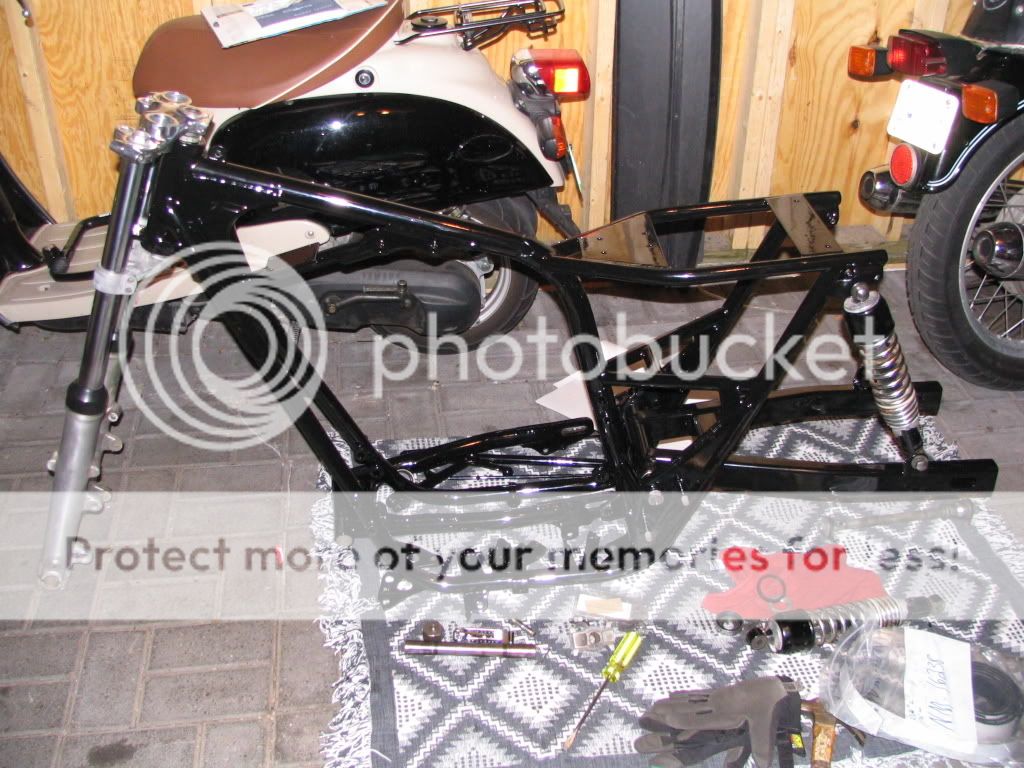
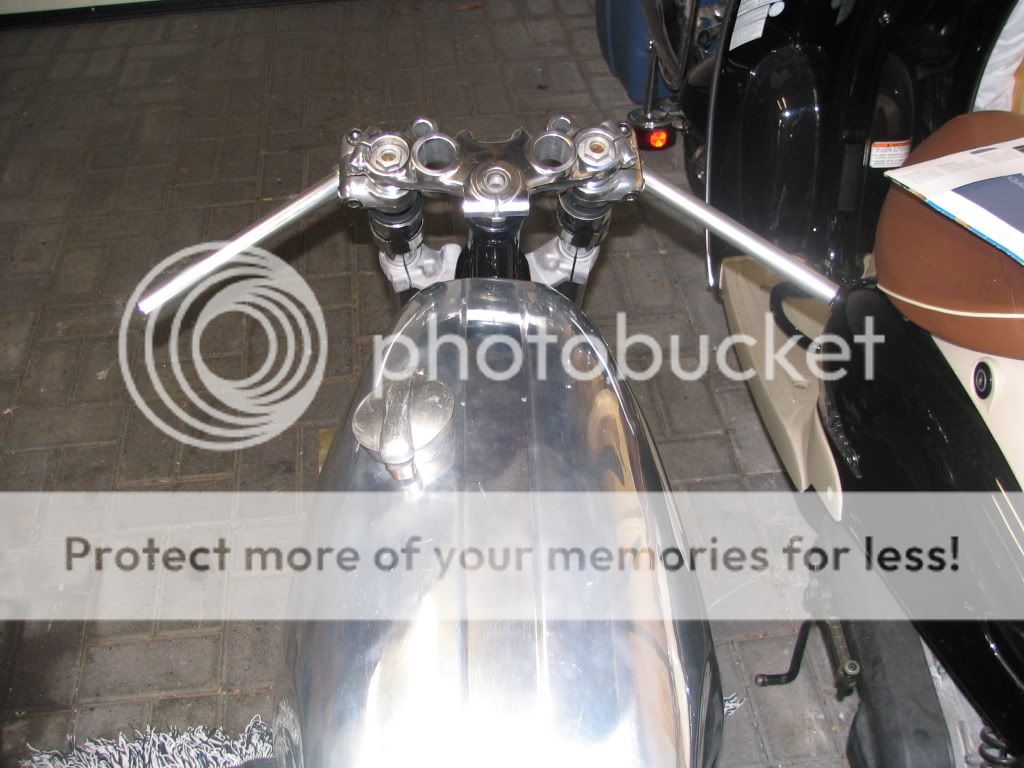
Here are the latest pics - couldn't resist sliding the forks in (and wanted of course to make sure everything fit well. This thing is gonna sure look purty. Hope it runs 1/2 as well as it looks.
Re: My XS650 project - update July 20 - Much nicer pics of the powdercoating up!
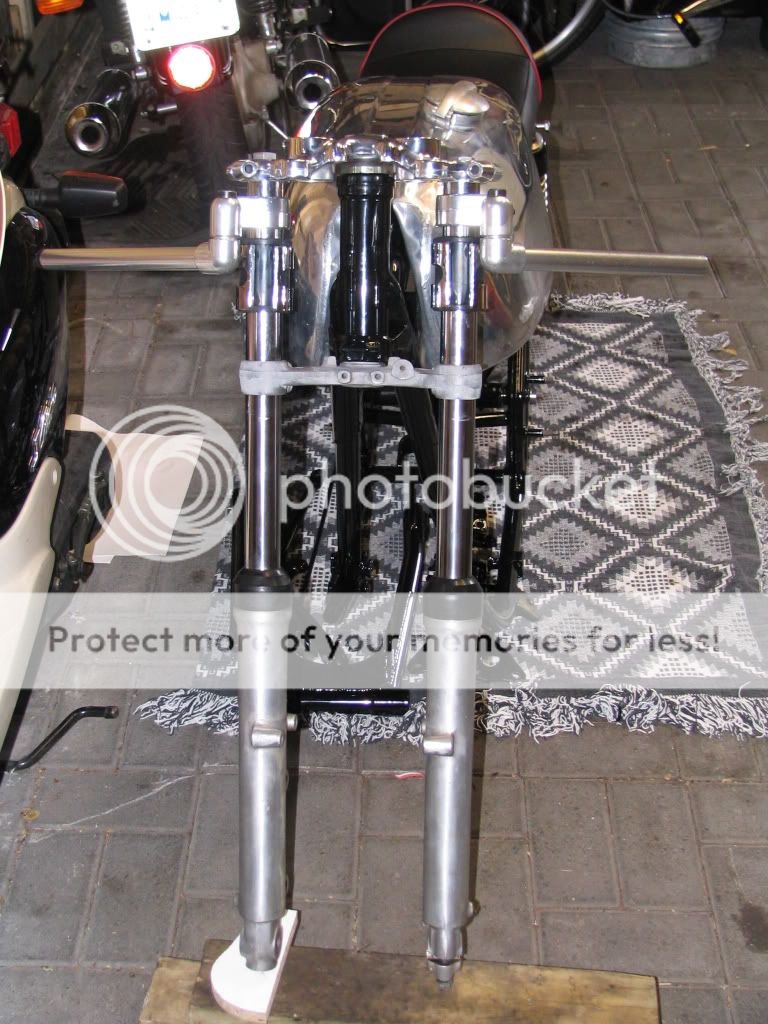
Later in August I'll be taking the forks apart, replacing the seals most likely, and taking the lowers into AC's shop for polishing
At some point in the future I'll take the wheels apart, polish the rims and hubs and relace with stainless spokes. Not this time around - that can always be done another time. I do want to ride this thing sometime this fall.
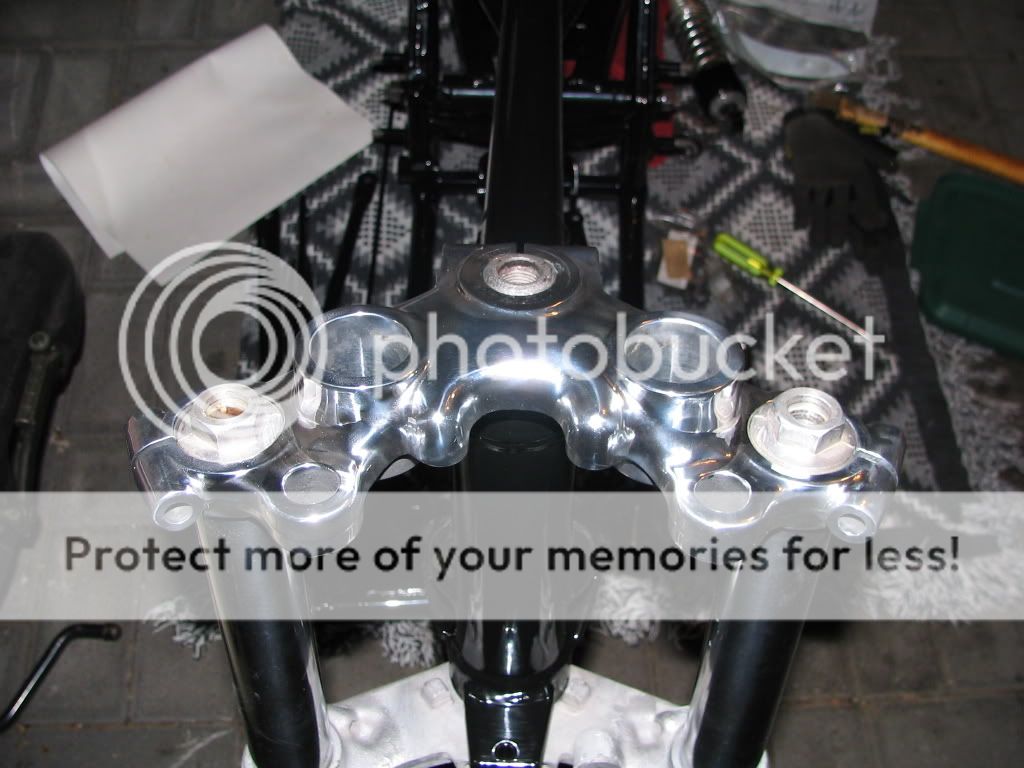
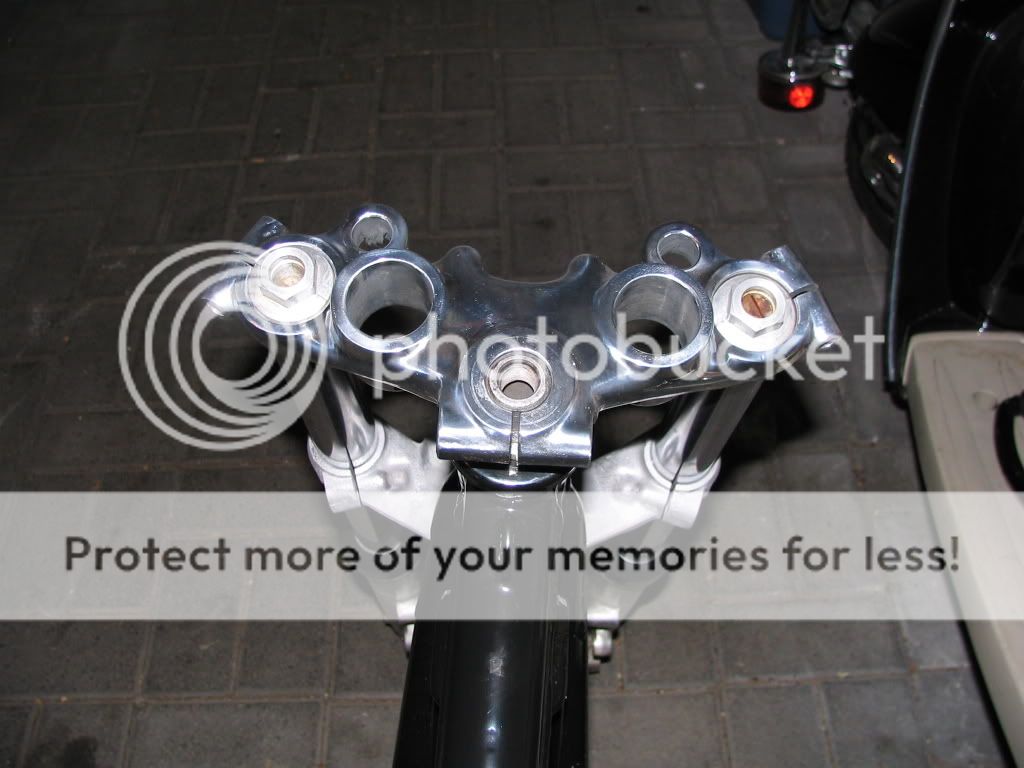
I think the nuts on top of the fork tube might look good powdered black. There's another big bolt that goes right into the steering tube - ordered a new one from Yamaha. Might powder it too.
I have no idea what year the forks are from - if anyone recognizes the tops let me know.
Re: My XS650 project - update July 23 - FINALLY the steering head seems to fit!
Sorry, can't help with the trivia, but this may be of interest to you
http://cgi.ebay.com/ebaymotors/Yamaha-XS-650-Brake-Master-Upgrade-Brembo-XS650_W0QQcmdZViewItemQQcategoryZ35592QQihZ004QQitemZ140141261219QQrdZ1
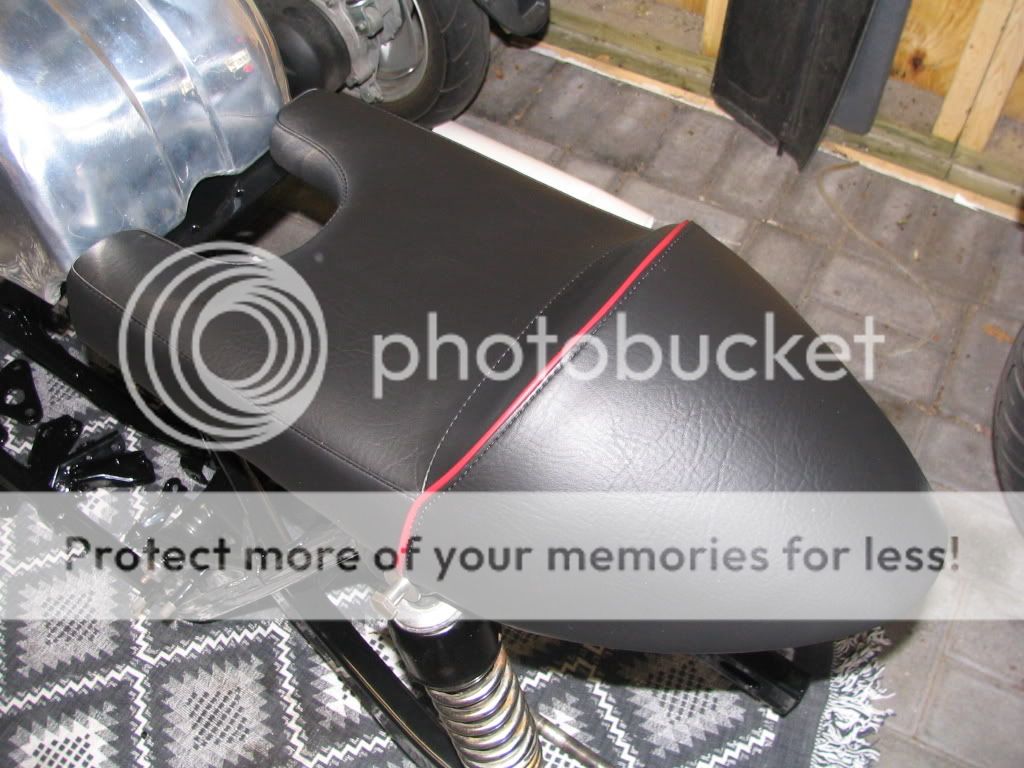
Re: My XS650 project - update July 24 - My seat arrived! PICS!
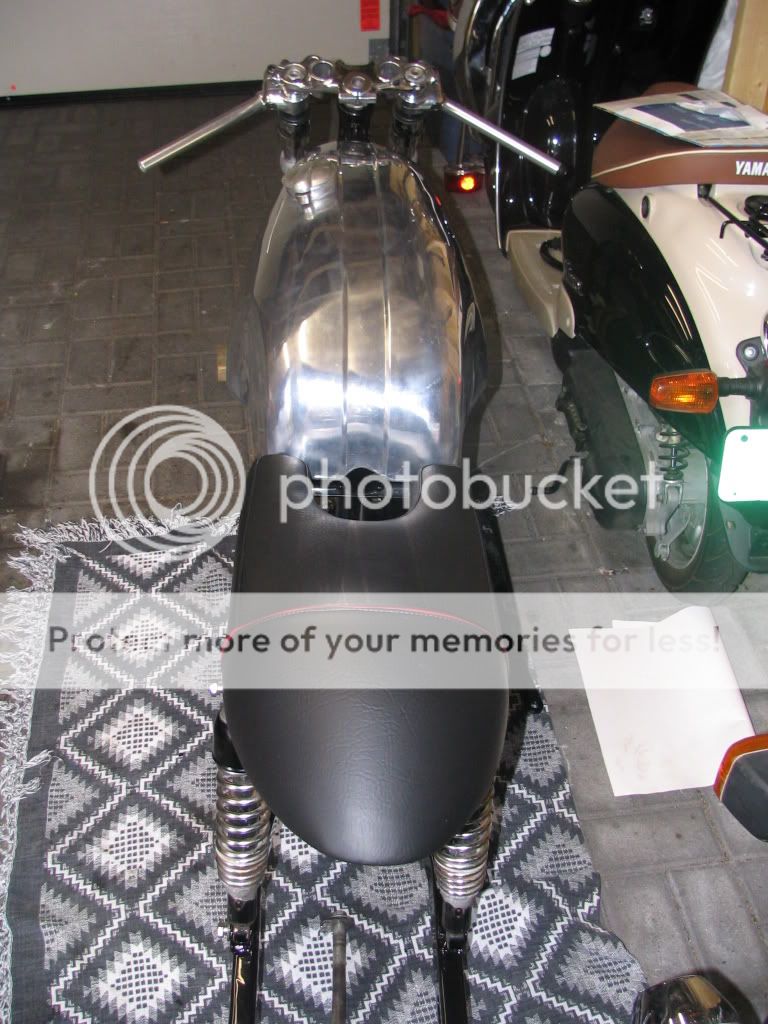
Well you know I couldn't wait too long before seeing how the seat fit. WAY better than OJ's glove. Like it was made for the bike really. Couldn't fit any better - exactly the right width and length. Just need to work out some rubber cushions about 1/2 inch thick to seat it on the frame rails without ruining the finish on the frame and some simple brackets to hold it down at the back end.
Just so you know how particular I am, the reason I bought the petcocks I did is they have little red vinyl coated levers, matching the red piping on the seat Aside from that the rest of the bike will be black and alloy.
Re: My XS650 project - update July 24 - My seat arrived! PICS!
On the Norton/Triumph combo this sort of seat would be normally found on, there is an external oil tank mounted below the seat, and the cut out is where the filler cap would be - typically a smaller version of the Monza style cap that's on my tank (the cap will be coming with some other bits for polishing in a month or so )
I like the look of it as well, vs. a straight across cut. The seat is available in either version. For me, it also provides ample clearance for the toggle bracket that will clamp the stainless steel strap that stretches across the tank lengthwise to hold it down (with 1/2 inch padding between it and the tank).
Re: My XS650 project - update July 24 - My seat arrived! PICS!
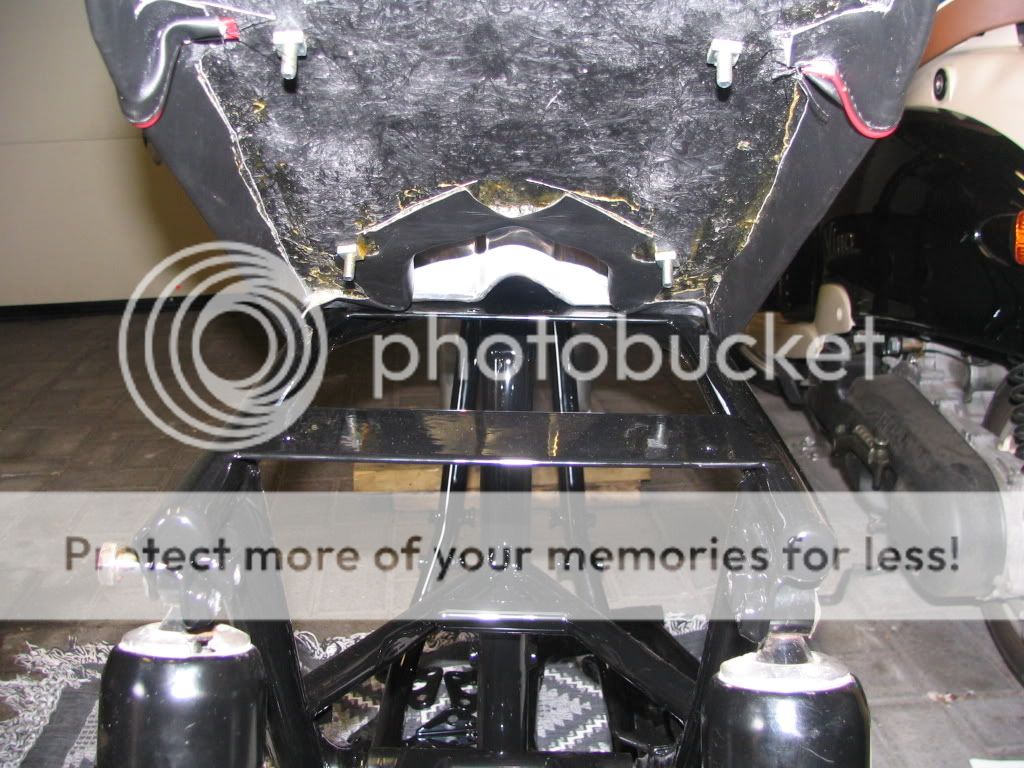
One other thing I might be coming to you for AC is an aluminum tray with about 1.5 inch tall walls welded around it - an open box basically to fit below the seat, to hold some electronic bits.
I'll be working out the dimensions of that once I start wiring the bike and determine where things like rectifier/regulator, starter relay, flasher relay, small gel batteries, fuses etc. are going to go. Idea is to hide it all under the seating area in a shallow alloy box just protruding a bit below the frame rails, hanging from those two plates.
The seat will be raised about 0.5 - 0.75 inches off the frame with some rubber bushings or the like providing a bit more room under there as well. In hindsight I should have located the rear plate a bit back. I wasn't sure I'd be ordering the seat when I had the welding done, as I was planning on making my own. This is why things get mocked up before paint etc. is done
You're going to regret that come fall/spring... I can gear up all I want for a cold ride but I have yet figured out a way to keep the boys warm... I don't even go near Tracey for at least an hour after I get home... WAY too much shrinkage ;D
This site uses cookies to help personalise content, tailor your experience and to keep you logged in if you register.
By continuing to use this site, you are consenting to our use of cookies.