Follow along with the video below to see how to install our site as a web app on your home screen.
Note: This feature currently requires accessing the site using the built-in Safari browser.
We noticed you are blocking ads. DO THE TON only works with community supporters. Most are active members of the site with small businesses. Please consider disabling your ad blocking tool and checking out the businesses that help keep our site up and free.
Love it, love it, love it. I'm bummed that I've been too busy over the past two weeks to lend a hand. Not to jinx it, but this is en route to being one of the most well-implemented CM400T conversions I've seen so far. Very nice fiberglass work. Not bad for a first bike, Court. Not bad at all. No pressure, though.
You're gonna be my go-to expert when it comes time to clean the tank on my 1979 KZ750B brat tracker project.
Regarding paint....we can explore other options, if you'd like. I'm glad you are so fond of my initial concept, but if you'd like to consider more styles, I'm happy to sketch some up. What other (if any) color palletes are you interested in? I do like the blue / white though. I just worry that if not applied super well, with a high-gloss, metallic finish, that shade of blue may appear a tad dark.
Here's a reference image of those colors paired together:
I wasn't sure what color to go with until I got the new tank in and I want to stick with blue and I really dig the huge wings. There are lots of bikes running period-correct decals that look really good but I like that concept you came up with the best so far. It's different and looks sharp. I'm still up in the air on the numbers on the tail, though. I might print them on paper and see that they look like on the bike before deciding. Good call on the metal flake, though. I've seen some metallic jobs that haven't turned out so good from the rattle can and I don't really want to buy Darrell an HPLV gun if I don't have to.
I thought, for sure, fresh_c would jump on DTT tonight and write up tonight's accomplishments, but if he's not.....I'm gonna. Who knows when the last time this thing was fired. Maybe sometime in the mid 90's. But after a quick oil change, the newly cleaned carbs were re-mounted, a fresh set of plugs installed, and a Chevy coil was mounted up (and after a little ignition switch wiring related head scratching), this little twin roared to life with minimal effort.
Thanks for coming through with those cold Lone Stars, frech_c. They were well deserved tonight.
All, I know the owner has some new pics to share with a few recent minor progessions, so stay tuned.
Congrats! Definitely not an ugly duckling anymore!
Have you decided on colors yet? I'd keep things dark... not black... but maybe a royal blue, maroon, or even a deep purple. I'm a fan of gold on bikes though... so, are you going for 'race' or 'ride' with the look?
I've been finishing up my last semester of grad school so I haven't had a lot of time to work lately, but I'll show you what I've managed. I'm still thinking a dark blue for the color with silver or slightly off-white wings. There is a good looking Ford on the cover of the June Hot Rod magazine that is a nice shade of blue. They say it is "Phantom Blue," which is supposed to be a stock paint color for 1938 Fords but I can't find the color anywhere. Anyone else know or heard of it?
I found a manual for the CM400 (and CB400) bikes online for free. This is easily the best part I've acquired thus far. I printed it out on campus and had it bound at the Fedex store for $5.49. Here in the link to the book. http://www.mediafire.com/?cnkmdznfjgz
I found the wiring diagram to the 1980 CM400T in the back of the book and printed it on size D paper. I'm going through the entire harness since the p/o decided it a good idea to add auxiliary lights and hacked the ever living hell of a lot of wires. While I'm at it I'm removing the turn signal wires from the harness to simplifying things.
Here is the front fender lowered about 3/8 of an inch. There is room to go another 3/8" lower but I would hate if it rubbed while driving.
I got some Emgo Shorty mufflers and mounted them up. They should be able to pull straight off so I'll weld everything up once I have access to a welder. They sound pretty good IMO and won't piss the neighbors too much as compared to drag pipes.
Hallin and I got the chrome beer cans off the rear shocks with a pair of wrenches and some brute force. They are a little rusty but look good enough for now. I'll think about replacing in the future but no need right now.
And here is the Chevy coil I'll be running. Pretty simple instal; cut the stock wires and plug them into the new coil. Money. I'll try to get it mounted this week and post pics.
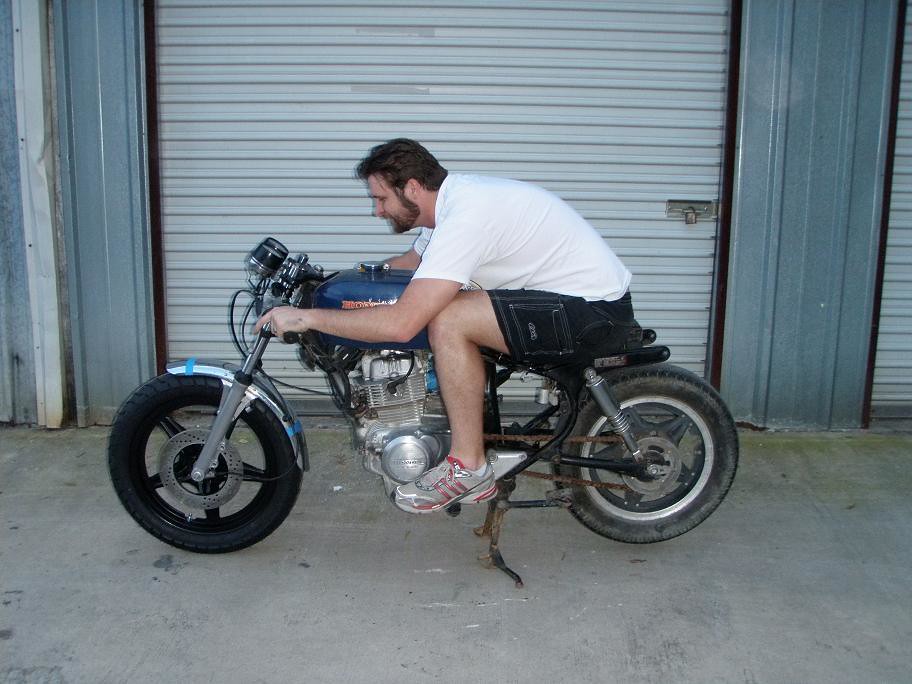
....to keep everyone entertained while we wait for the OP to post up again, here's a funny pic of me on this bike, which shows that if you're 6'3", and 220+ lbs, you shouldn't ride a small bike. Luckily, the owner is more appropriately framed for this bike.
It's been a while since I last posted because I haven't done anything (on the bike, that is)! I've graduated and moved in with the g/f since I posted last. Yes, I moved into a real house which means I finally have a real garage and a real work bench. No more building in the storage unit across the parking lot from my old apartment. Needless to say, I'm super excited about having a dedicated work space. I did get a little work done this weekend so I'll share.
First are updates from the Chevy coil install. The stock wires on my stock unit were pretty jacked so I went this route since it is cheap to do and provides solid results. In total, I've got $29.50 invested and that includes shipping. To do this, you will need a C849 coil, generic spark plug wires, two male blade terminals, and the mounting bracket of your choice. To install simply clip off the two wires going to the stock coil, crimp on the blade connectors, and insert them into the C849 coil. Then it's vroom vroom! My girlfriend says I'm like Frank from Old School when I start the bike in the garage. "Yeah, thanks. Took the restrictor plate off to give the Red Dragon a little more juice. But it's not exactly street legal, so keep it on the down low." Anyway, below are pics of my setup. These are the two coils side by side.
The bracket I made.
The holes provide clearance for the terminals.
Here is the setup mounted to the stock holes.
Wires.
And with the tank. It tucks up nice and runs great.
I also started on an electronics tray to go under the seat. It's .125" aluminum that I cut out with my jig saw and formed in the vise. To keep the vise jaws from marring up the finish, I clamped the sheet metal between two 1x4s and struck the piece with a dead blow and 2x4. The stock fuse block had been melted in a couple of places so I replaced it. Hopefully when I went through the harness I fixed whatever was wrong. ??? The fit is a tongue in the front and a interference fit in the rear. I'll probably add a bolt on the rear portion when I'm finished since there is a spot for one on the frame.
Finally are some pics of my idiot lights. The stock unit was a bit too bulky to work with this bike and I wanted to keep the high beam indicator, oil pressure warning, and neutral light. I found some medium sized LED indicator lights on eBay for cheap so I'm taking a chance with them. The sell claims they are IP65 rated so they should survive the dust and occasional rain. To be honest, they are so cheap with one goes out I'll probably just replace it. The first bracket I tried was from .125" aluminum and it fell apart during fabrication. The second bracket is out of .25" aluminum and works much better. When I went through the wiring on the bike, I was able to remove some extra length of the colors I needed, so the wires I used are factory correct.
Here's a before pic for reference.
I'm getting a welder next weekend so hopefully seat mounting details will be the next updates.
....to keep everyone entertained while we wait for the OP to post up again, here's a funny pic of me on this bike, which shows that if you're 6'3", and 220+ lbs, you shouldn't ride a small bike. Luckily, the owner is more appropriately framed for this bike.
Happy now, Honky Kong? When are you going to post up your KZ build? Oh yeah, bring over those tanks you want cleaned this week and I'll get started on the electrolysis.
Looking good. My build thread can now be linked from my signature line.
Suggestion for the idiot light panel. Sand that thing dull, paint it black, or risk it becoming a sun mirror on a clear day in the Texas summer. I love the look of raw aluminum, but while working with my seatpan yesterday in the bright sun, I was getting UV baked from two directions. Maybe on such a small surface area like your panel, it won't be an issue though.
Long time no post. I made a bunch of progress and I forgot the camera on some of it, but let's get you up to speed.
Exhaust is now welded, wrapped, painted, and mounted. I'm running Emgo Shorty mufflers welded to the stock pipes. The stock pipes were pretty rusty so I wire wheeled them and shot with high temp primer, wrapped them with fiberglass tape, and shot the tape with more high temp primer and high temp black paint. I needed new exhaust studs and found the correct size via McMaster.
I spent a couple hours moving the rear wiring to the electronics tray area and shortening/lengthening leads. The starter relay still needs to be mounted, but it's a lot cleaner than it was. While shopping for the exhaust stubs, I found some rubber gasket that will fit over that edge of the front of the tray nicely and keep the wiring from being rubbed through. I'll add some photos of that once it goes on. You can see the rear frame I built to hold the tail section. It's a very simple design made from 1" square tubing, 18 gauge thickness. I still need a battery and the stock unit is going to be a tab too tall to fit so I'll thinking a new battery is in order.
Some other miscellaneous things...new chain and shortened throttle cables (kinda). My LBS was out of the screw-on cable ends so I can't finish those up until Friday.
Looking good dude. I've got shorties just clamped onto my stock headers on a cm450c. I'm getting the glass wrap soon but hadn't considered priming/painting the pipes and wrap. Looks great, but what advantage do you get from the primer and paint? Durability? Additional heat shielding?
I'm not sure on the front fender. It's kinda ratty right now so I need to do something to it. Again, another case of this bike turning out nicer than originally planned. My plan (as of now) is to get everything road worthy and ride it through the summer while tinkering on what I like and don't like. (Rear sets? Transplant the peg mounts off a CB and go with reverse shifting?) Then, I'll tear everything down for paint and whatnot in the fall/winter at which time I'm thinking rechrome with satin chrome.
As far as the painted wraps go, it's mostly cosmetic. All the photos I see of bikes that really get a lot of use end up with gray wraps. The black wraps seem to fade and the white wraps discolor. I figure by painting the wraps, they will stay black longer and I can always shoot them again next year. There might be some durability added since the paint almost acts like a glue for the wraps. Just remember to wrap from the mufflers up to get the overlap correct
Those pipes turned out really nice. I was thinking of doing almost the same thing with mine except welding a little extra piping on the end of the headers to move those shortys back a bit. Right now I've just got some beat up random mufflers on mine that the previous owner threw in with my bike because he was running straight pipes.
My project got a little side tracked once I was able to ride it. I'm trying to work on a new seat but this heat wave in the Northeast has been keeping me out of my garage.
Are you still planning on cutting some sections of perforated sheetmetal to fill the small triangular wedge shaped area beneath the seat, and hide your electrical bits?
Are you still planning on cutting some sections of perforated sheetmetal to fill the small triangular wedge shaped area beneath the seat, and hide your electrical bits?
I made a sample today just to see what it would look like. This one didn't turn out like I had planned so I will try again this next week. The material is something like .050" aluminum, but it's pretty damn hard to cut with shears. I started with a cardboard template and I will add some kind of formation to the finished pieces to add shape and rigidity. I would have a mounted sample but my M4 tap decided to break off in the frame. F@$%! I drilled around the tap but I haven't welded the hole up yet.
The bike was missing a engine mount when I got it, so I fabbed one from .125" cold rolled.
Those pipes turned out really nice. I was thinking of doing almost the same thing with mine except welding a little extra piping on the end of the headers to move those shortys back a bit. Right now I've just got some beat up random mufflers on mine that the previous owner threw in with my bike because he was running straight pipes.
My project got a little side tracked once I was able to ride it. I'm trying to work on a new seat but this heat wave in the Northeast has been keeping me out of my garage.
Thanks. They were super nasty (rusted, holes in the mufflers) before adding the wraps so I needed to do something and a complete replacement was out of the budget. The position they're at is about as short as I would go; I think they would still look good moved back 3-4 inches. It's pretty loud with the shorty pipes, but not enough to really piss the 'hood off and I wouldn't want it to be any louder.
Heat wave? Come on down to Texas for a week, then we'll talk about the heat. But seriously, the temps have made it to where I would rather drink inside rather than the garage.
This site uses cookies to help personalise content, tailor your experience and to keep you logged in if you register.
By continuing to use this site, you are consenting to our use of cookies.

")