Follow along with the video below to see how to install our site as a web app on your home screen.
Note: This feature currently requires accessing the site using the built-in Safari browser.
We noticed you are blocking ads. DO THE TON only works with community supporters. Most are active members of the site with small businesses. Please consider disabling your ad blocking tool and checking out the businesses that help keep our site up and free.
I just started my cafe racer project. I always wanted to do a project and I saw some pictures from the yamaha virago 750 that I loved. Such a cool bike with a nice size Vtwin. So I started looking for so cheap stuff and found out this bike at craigslist.
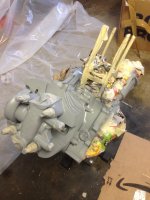
The bike is a 1982 Virago and it was not running, the electrical part was completely shredded and I was not sure what was happening under the engine. But still I decided to trust the guy and I bought it .
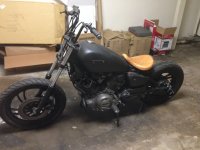
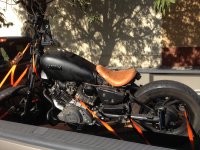
He tried to do a bobber out of it.
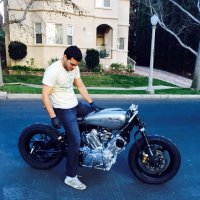
Bike is in place, time to work
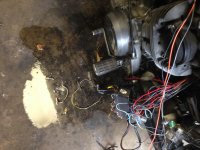
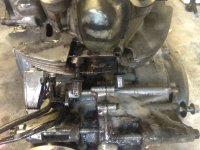
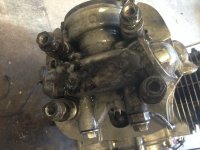
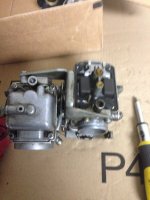
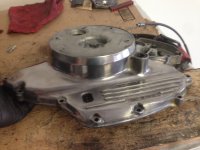
Although the bike was not running, I decided to disassemble it and start to work on the cleaning of the bike. I will be doing all the disassembly, cleaning, polishing and then giving a good change of oil and filter on it. The carbs are probably very nasty too, so I will be working on getting them clean. Later I will figure the electric issue, let's see how it goes.
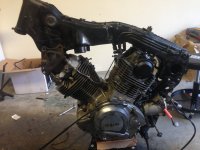
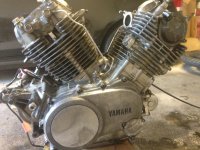
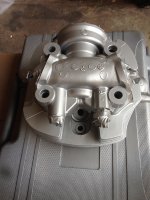
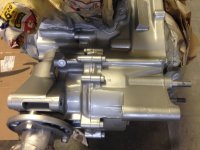
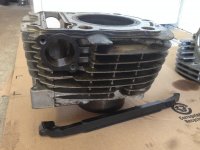
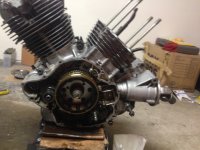
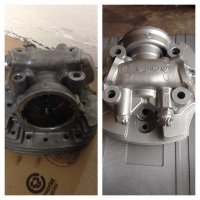
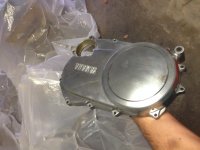
I spent almost a month cleaning the engine. It looked terrible.
I degreased it, cleaned, wheel brushed. Primmed and painted. Now it looks amazingly beautiful. Demanded so much patience but i think it pays off.
btw I used engine enamel for all the work and it is trully amazing. Have had some metal parts falling in the engine, as well as gas, and the ink continues there as if in the day it was painted.
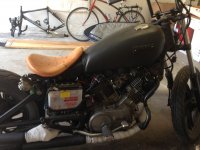
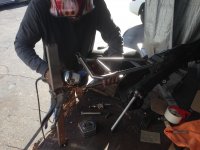
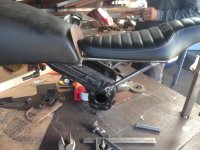
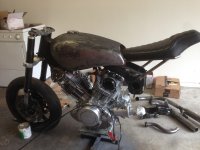
I bought a seat from Bitwell that i really liked. It is actually a seat for a harley, but i just think it will fit this project perfectly. Then i ran to the welder to fabricate the seat frame. At last we start actually building stuff!!
The guy doing the welding work is just amazing. We were designing and problem solving for hours and he did it so perfectly. If you want a good welder in LA Robert is the guy. His shop stays in venice and his price is very reasonable for the quality.
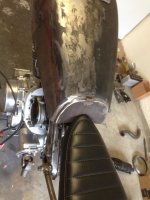
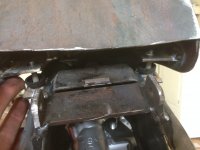
I decided to keep the virago tank but to raise it from the frame. Therefore I have to make and weld brackets under the tank and on the frame, close the tanks and allocate the new battery under the tank. A lot fabrication to do, but Robert rocked it again.
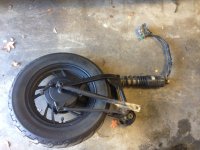
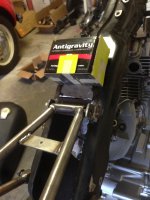
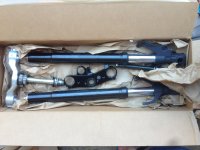
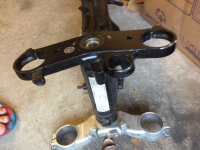
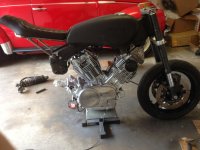
I am putting a 2002 yamaha r1 front in the bike that i bought on ebay. I did the front swap that i found more feasible.
The issue is that the r1 bearing steam is too short and we have to either replace it or increase it. I decided to increase it by cutting it into half, threading the inside of it (it is hollow inside) and put a threaded rod with nuts spacing it in 2 inches.
Threading was a bitch since i didn't find an effective way to hold the beam as i was threading it.
I also bough new tires, Meltzers 880. The bike starts to look awesome already.
Interesting idea on lengthening the stem! Bikes looking great so far, but please tell me you're ditching that rear wheel at some point? No matter how nice these bikes turn out, I always feel like they fall short if the wheels aren't swapped out. I just hate those stock ones haha. Just my .02 though.
Unfortunately, I am not going to change the rear wheels man. I saw some builds that the owner did that and apparently is extremely difficult to find a hub that fits the rest of the swing arm structure. I decided to spend the money in other stuff like the tires, front end, new front wheel, etc..
This site uses cookies to help personalise content, tailor your experience and to keep you logged in if you register.
By continuing to use this site, you are consenting to our use of cookies.