
We noticed you are blocking ads. DO THE TON only works with community supporters. Most are active members of the site with small businesses. Please consider disabling your ad blocking tool and checking out the businesses that help keep our site up and free.
You are using an out of date browser. It may not display this or other websites correctly.
You should upgrade or use an alternative browser.
You should upgrade or use an alternative browser.
"Dago" Resurrecting a 350F gently
- Thread starter ronnie
- Start date
ronnie
Calm down and sail on
Re: Re: "Dago" Resurrecting a 350F gently
Sent from my HTC6500LVW using Tapatalk
Hahaha!..... Ass.Big Rich said:That's a pretty big gap between the tank and seat...... hell, I don't even see the seat.
Sent from my HTC6500LVW using Tapatalk
ronnie
Calm down and sail on
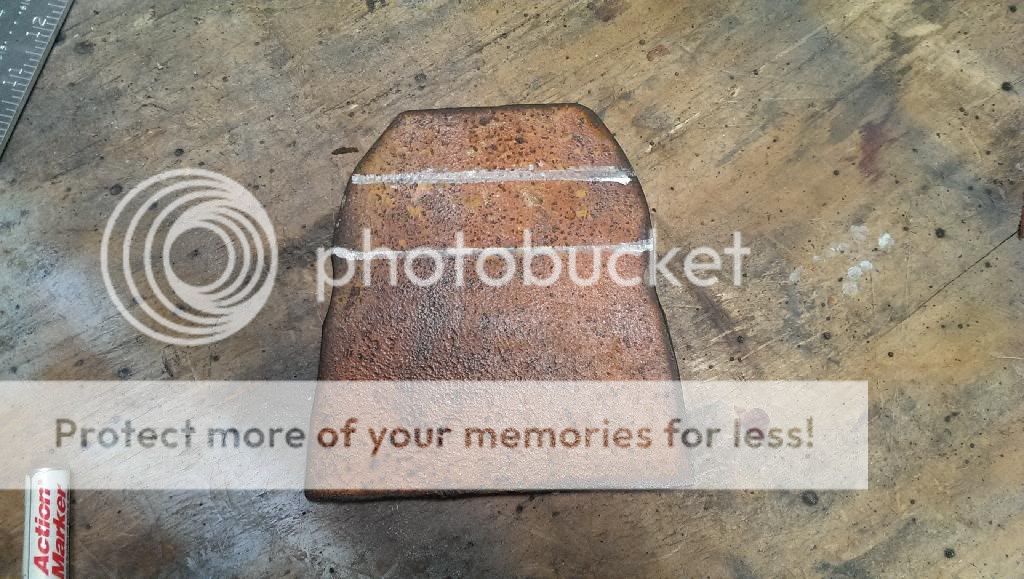
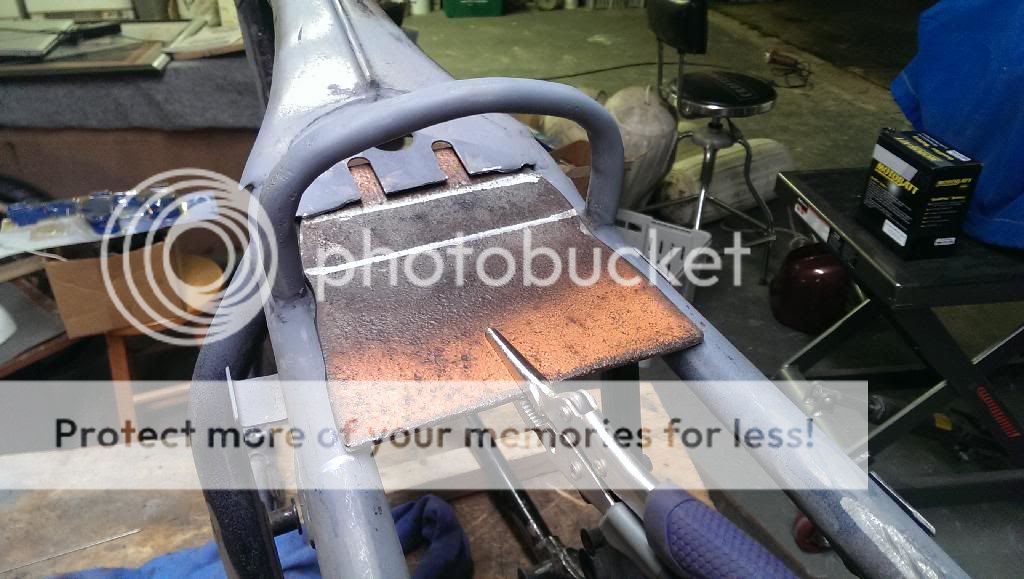
Did a little more work tonight on the frame.. Cut a piece of sheet steel for the cross brace under the tank and front of the seat. I'll be able to put the "J" bolt on to secure the tank to the frame. The seat will have its own securing method later on.
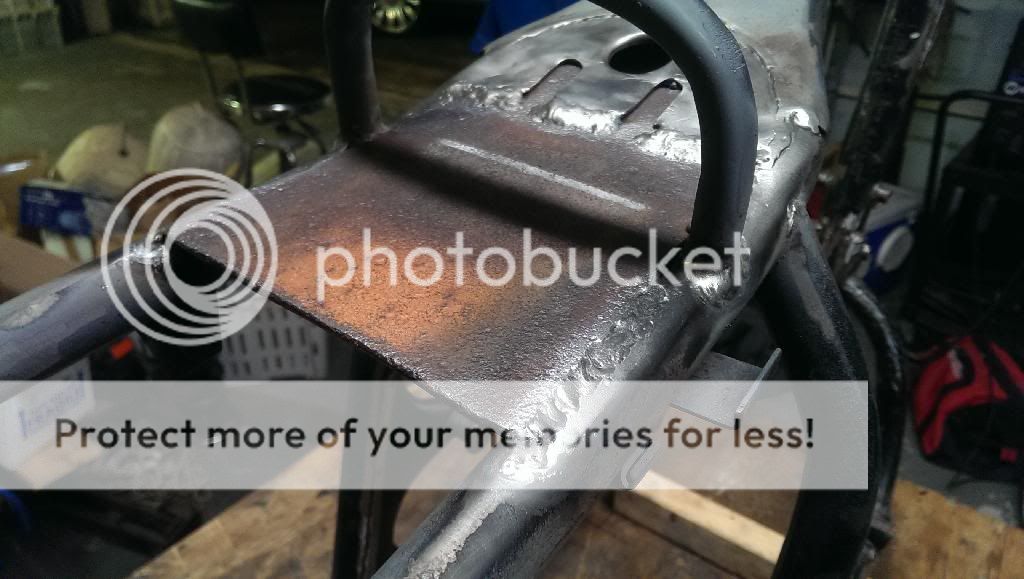
I hope tomorrow night I can bend and weld the seat hoop on. Need to fit the seat first so I know how long I can make it though. It's coming along nicely now, hoping to have the frame rolling next week again so I can put the engine in to mock up where to put my rear sets.. All in due time.
Enjoy the pictures...

Sent from my HTC6500LVW using Tapatalk
I hope tomorrow night I can bend and weld the seat hoop on. Need to fit the seat first so I know how long I can make it though. It's coming along nicely now, hoping to have the frame rolling next week again so I can put the engine in to mock up where to put my rear sets.. All in due time.
Enjoy the pictures...


Sent from my HTC6500LVW using Tapatalk
haircuttergirl
Over 1,000 Posts
Are you done yet? ")
ronnie
Calm down and sail on
Re: Re: "Dago" Resurrecting a 350F gently
Sent from my HTC6500LVW using Tapatalk
Not yet! Getting closer though!haircuttergirl said:Are you done yet?
Sent from my HTC6500LVW using Tapatalk
CB350f Cafe
Been Around the Block
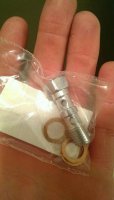
I was just wondering if you ever got that banjo bolt mounted. I can't figure out if I'm just supposed to put a closed nut on the other end or what. I figured it was just a direct replacement for that hunky pressure switch, well at least that's what z1enterprises claims.
ronnie
Calm down and sail on
Re: "Dago" Resurrecting a 350F gently
Sent from my HTC6500LVW using Tapatalk
Yea, I had to order a new one as the threads were not right. But it just bolts into the brake lever MC.GoshenCafe said:I was just wondering if you ever got that banjo bolt mounted. I can't figure out if I'm just supposed to put a closed nut on the other end or what. I figured it was just a direct replacement for that hunky pressure switch, well at least that's what z1enterprises claims.
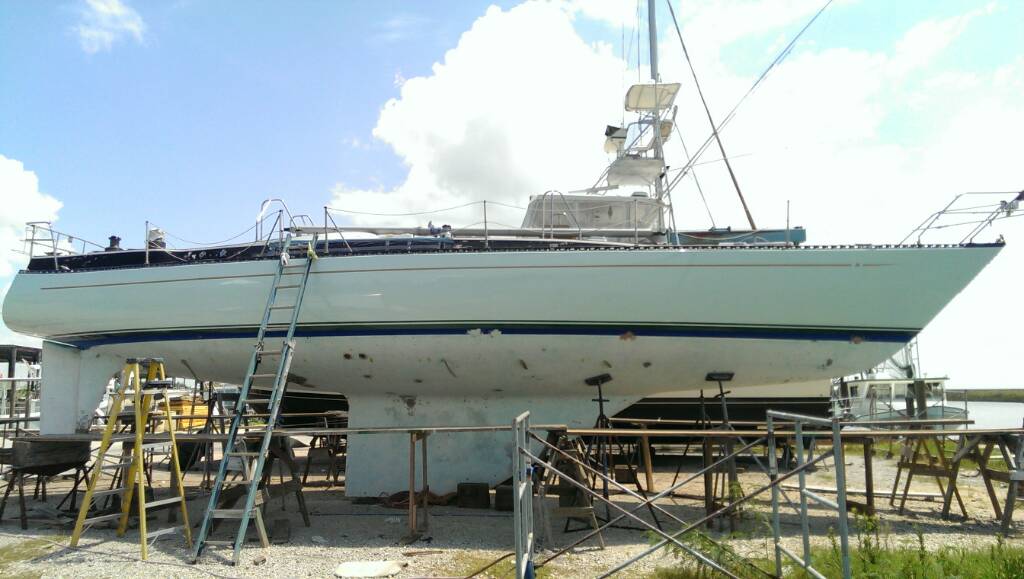
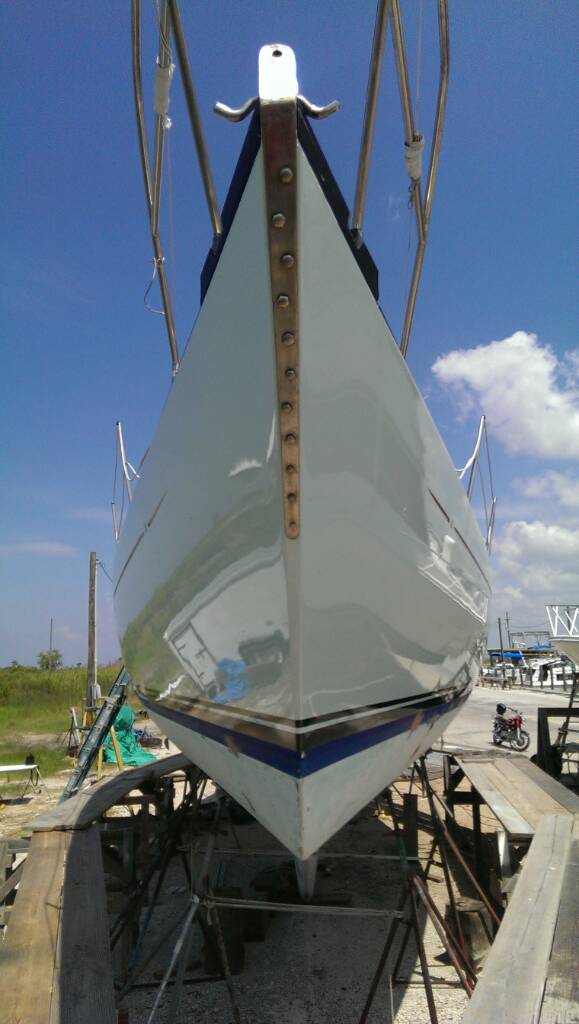
Thanks man, I actually have nothing to report unfortunately.. O bought a sailboat in Jan which will be my home and I have been refitting that since. This project is on the back burner for the time being. Not only that but my folks sold their business so our shop and garage at the house is cluttered to the max, plus my sailboat stuff.. Just not good timing, as they say life!Caf'd Out said:Just read through it all. Nice work Ronnie. Updates? GO, GO, GO!!
Sent from my HTC6500LVW using Tapatalk

ronnie
Calm down and sail on
Re: "Dago" Resurrecting a 350F gently
Sent from my HTC6500LVW using Tapatalk
Haha! Yea, you right!Big Rich said:Good to hear you're alive and well Ronnie.
But you need to get your priorities straight! People live on motorcycles too..... haha.
Sent from my HTC6500LVW using Tapatalk
ronnie
Calm down and sail on
Re: "Dago" Resurrecting a 350F gently
I fully intend to finish her when we get a house and garage. I had to clean up my area at my folks shop so my dad can rebuild some old Farmall tractors.
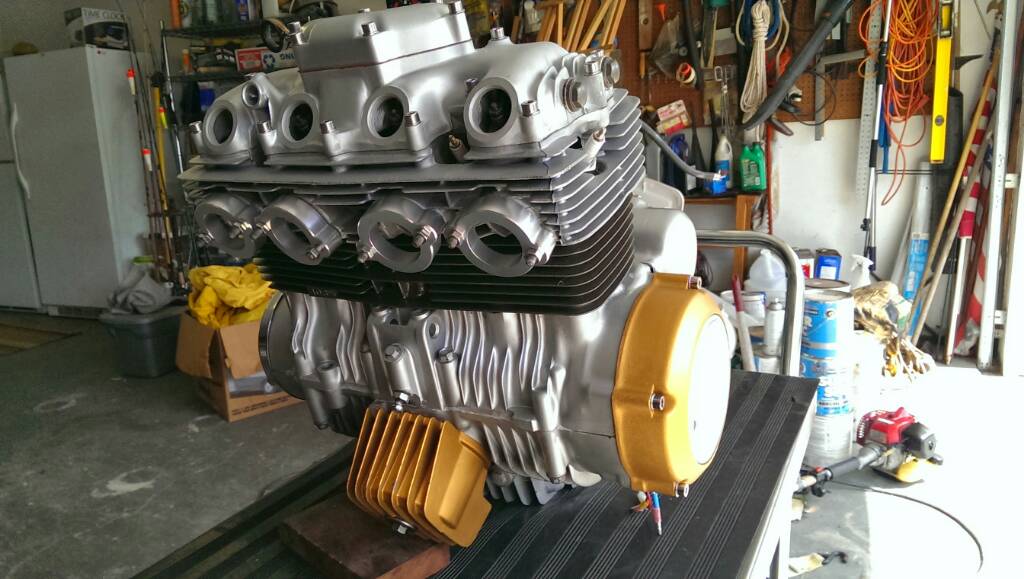
I'll post some pictures of the engine when I finally add some oil to it and build a stand to put in my room to look pretty
I'll be back on here, someone has to keep you degenerates in line. Wink
See more @ redemptiverepair.com
Nope, she's in storage until I get to the next part of my life on terra firma. My fiancee and I are moving on the boat and sailing around until we decide to stop.1fasgsxr said:Did you ever finish the bike??
I fully intend to finish her when we get a house and garage. I had to clean up my area at my folks shop so my dad can rebuild some old Farmall tractors.
I'll post some pictures of the engine when I finally add some oil to it and build a stand to put in my room to look pretty
I'll be back on here, someone has to keep you degenerates in line. Wink
See more @ redemptiverepair.com
Flugtechnik
My bike is not transportation, it is a respite
Glad to see you are still afloat. Enjoy your life! We'll see you when you get back.
ronnie
Calm down and sail on
Hello again everyone!
Well due to the virus our sailboat is in in the Bahamas and we can’t fly back to her. That said I’ve got some time to try to get the project back on the table to hopefully get it put together. I’m having a hard time remembering exactly where I left off and unpacking totes with all the parts and pieces isn’t helping. I decided to start on the front end and try to get the rotors and calipers mounted but I’m having trouble with that.
If you don’t remember, I have a 350f frame, 400f engine that’s been bored to 460ish with a upgraded cam(still trying to remember which one I ordered), 94 Suzuki GSX600 Katana forks with Racetech internals and katana calipers, CBR900 rotors, and other such items.
Issue I’m having is the cbr900 rotors are rubbing both on the spikes and on the OD of the rotors. I know I need a spacer between the hub and the rotors(to which I can only get a maximum of .25”). But not sure how to solve the rotor OD rubbing on the underside of the caliper. Can I just file the caliper down some or should I turn the rotor OD down?
Hope everyone has and is doing well. Excited to start back up on this bike again.
Nice to see this start back up.
ronnie
Calm down and sail on
Nice to see this start back up.
Yea, it’s definitely cool to see everything I had planned for it when I boxed it up!
Sent from my iPhone using Tapatalk
ronnie
Calm down and sail on
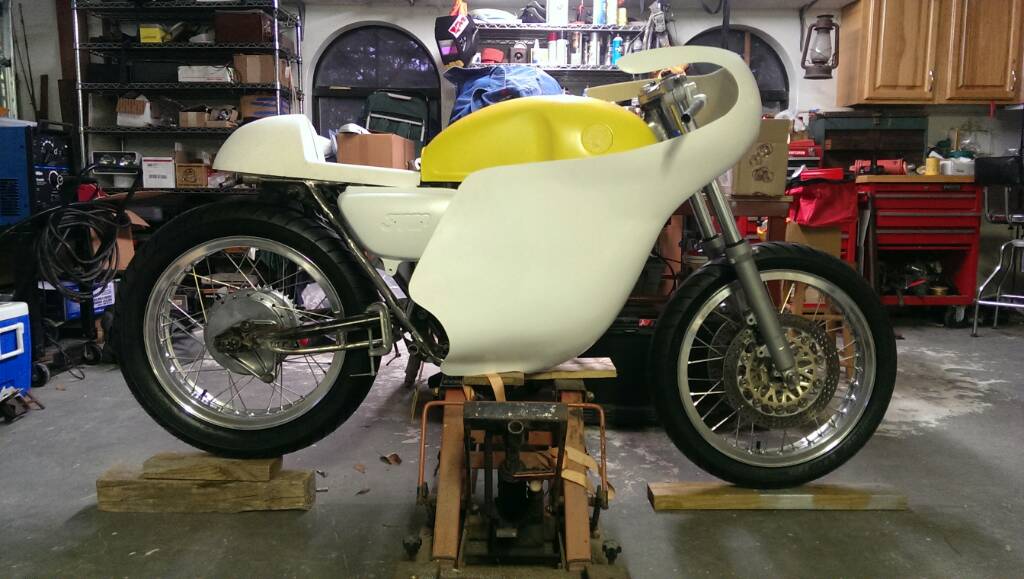
So I did some work on the bike today. Put the clip ons on the forks and mounted the break and clutch levers and the two switches. Threw the yss rear shocks on to hold the swing arm in place. From there I mounted the engine into the frame which was a total PItA. Reason was is because I’m using a lift stand and I forgot the oil pan hangs lower than the bottom of the frame. So it was engine in then out, put the frame on blocks, motor in the out, frame on higher blocks. Finally, got the engine in the frame (definitely going to need some engine paint touch ups). Honda definitely shoe horns these engines in there or I just don’t know the proper technique!
I pulled the plugs and checked the clearances on all the valve tappets then got a battery to turn the engine over. All good and hearing it crank over is definitely good motivation! I mounted the tank and got a good idea of where I will put the rear sets. Just need to make some brackets to weld on.
Tomorrow I’ll try to make up the brackets and weld them to the frame. I may also weld a bung on the bottom of the tank to be able to hold it down to the frame. I definitely have enough room under the tank for a hidden kill switch which is nice. Maybe even a small tool bag but won’t really know until I run wires and such. Still need to figure out my front end brakes issues but that will have to wait until next week when I can call our machinist.


Sent from my iPhone using Tapatalk
I pulled the plugs and checked the clearances on all the valve tappets then got a battery to turn the engine over. All good and hearing it crank over is definitely good motivation! I mounted the tank and got a good idea of where I will put the rear sets. Just need to make some brackets to weld on.
Tomorrow I’ll try to make up the brackets and weld them to the frame. I may also weld a bung on the bottom of the tank to be able to hold it down to the frame. I definitely have enough room under the tank for a hidden kill switch which is nice. Maybe even a small tool bag but won’t really know until I run wires and such. Still need to figure out my front end brakes issues but that will have to wait until next week when I can call our machinist.
Sent from my iPhone using Tapatalk


