spurlock
New Member
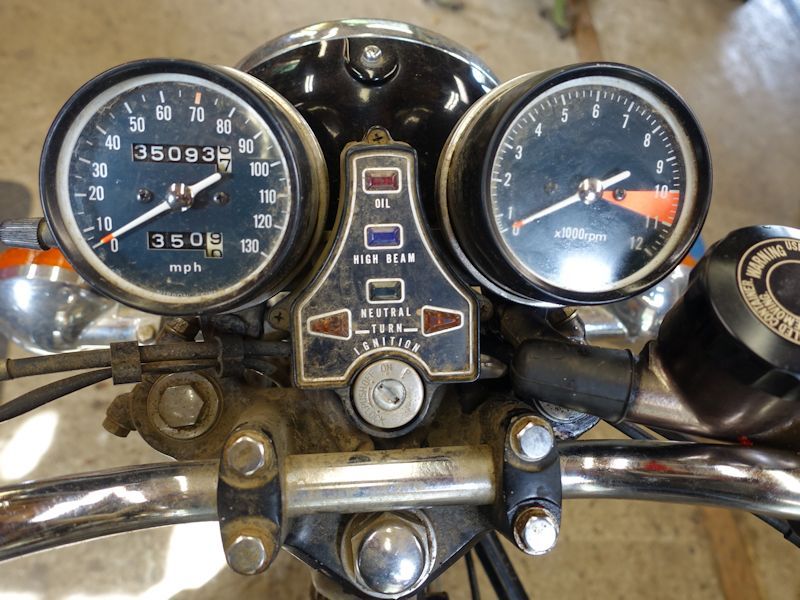
Back in 1976 I was wrenching at a Honda shop in Davis, California and a '75 CB400F came in for its second crash repair with only 1,200 miles on the clock. The rider was a reckless kid and his parents wisely pressed to sell the bike back to the shop to save their son from himself. Bayard, a good buddy of mine, bought the bike from the shop and proceeded to ride it for the next 25 years, accumulating 35,000 miles. He quit riding at some point, as did I, and for the last 15 years or so the bike has been sitting unused in the front room/indoor shop of his house.
Fast forward to a couple of years ago and I attended a local vintage motorcycle show with Bayard and another old riding buddy and I got the bug again. I soon bought and restored my CB125, two GB500's and my XL250. Since then, while on rides I've stopped off regularly at my pal Bayard's place to chew the fat and talk about the old days, how we both started out on C110's, graduated to S90's, 305 Super Hawks, his CB450 Black Bomber and so on. During each visit I would walk past his dusty, dormant 400F and have the urge to grab some wrenches and polish and whip it back into shape. Bayard was on board with the idea so I brought the bike into my shop a few weeks ago and got started.
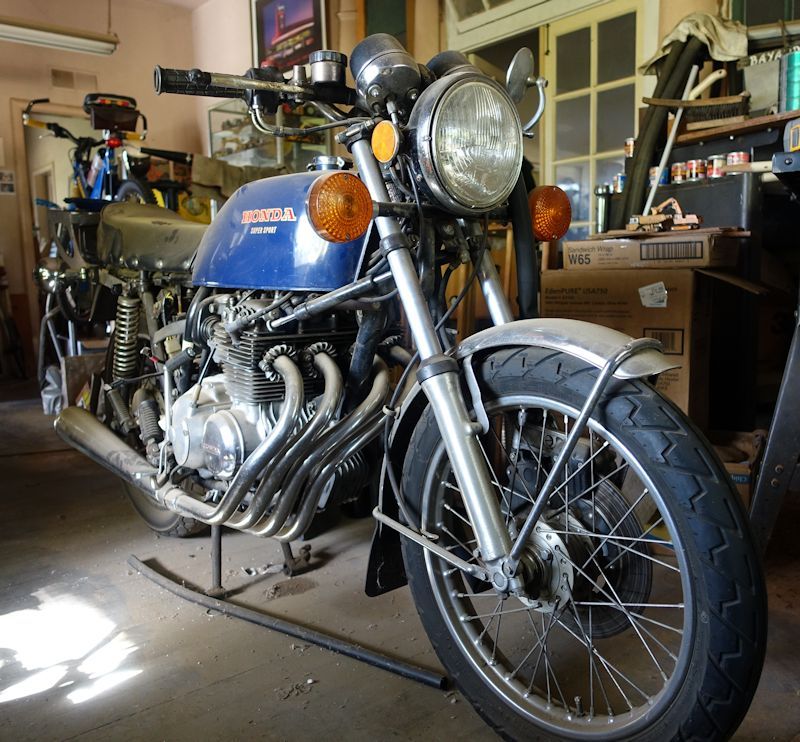
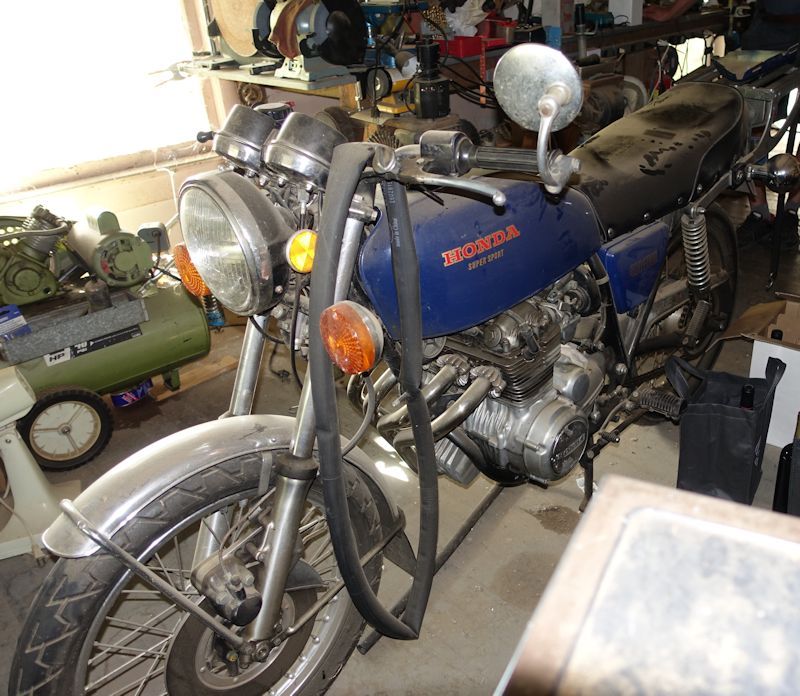
Being only a two owner bike and always stored indoors makes this a dream project. Its only problems were lots of oil leaks, slipping clutch, and lots of tarnish and dirt. So step one was doing a thorough cleaning prior to top end tear down to fix the oil leaks. Some before pictures:

As I mentioned, the original owner had crashed twice. I did an insurance repair the first time, but Bayard bought the bike as-is after the second crash. The damage was fairly minor, slight scratches on the exhaust and this nasty scrape on the alternator case and cover plate.
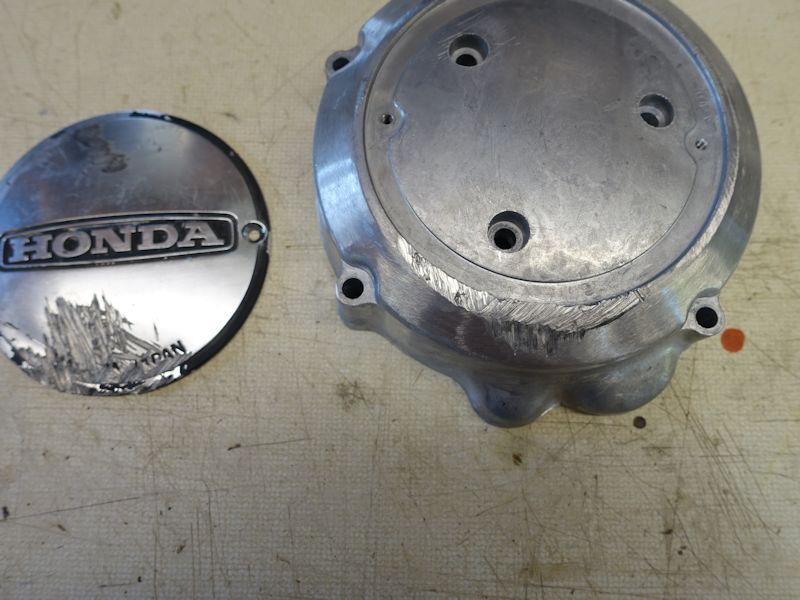
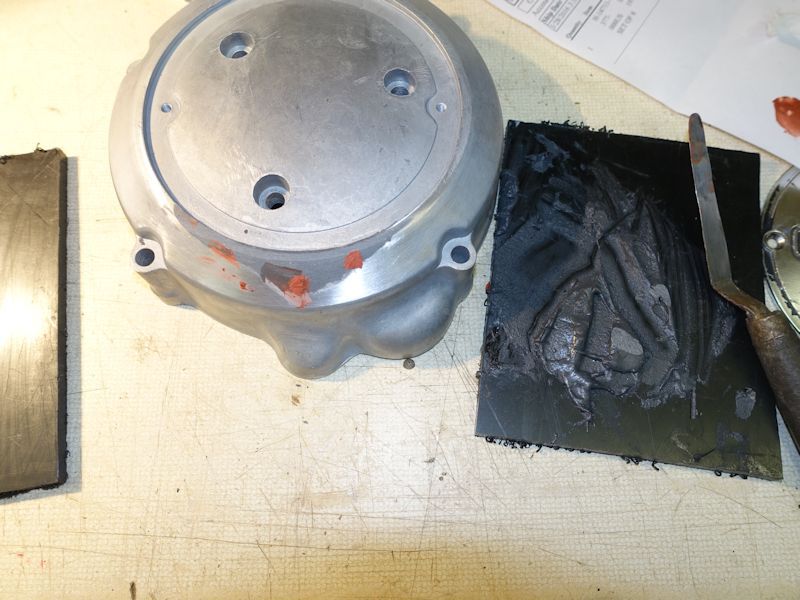
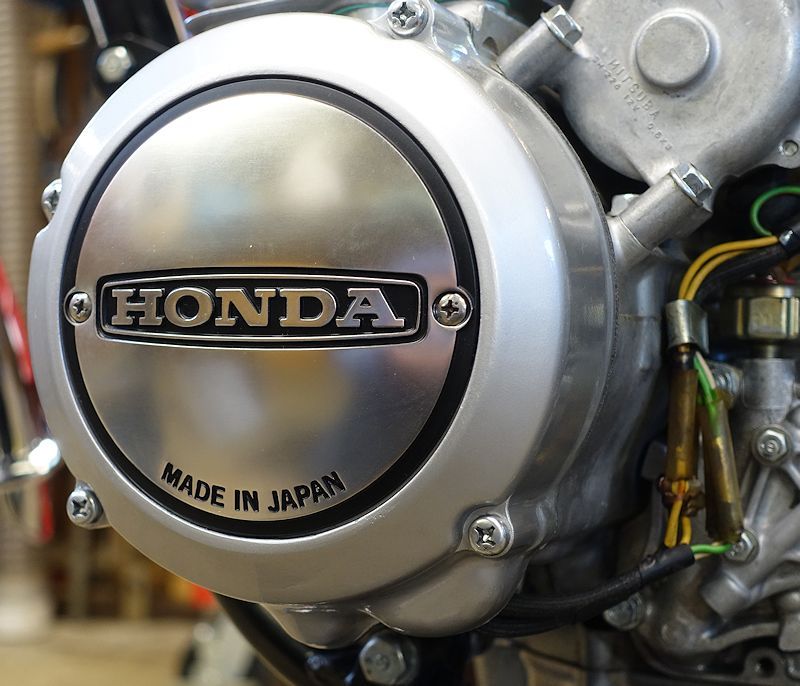
The case was originally painted silver with a clear coat, so I did an epoxy fill on the case and repainted. We obtained a NOS cover plate from David Silver and one major scar was fixed.
The engine was in good shape, but with 35K miles I went ahead and freshened it up with a light hone and new rings. Amazingly the piston-to-cylinder clearance was still well within spec at .001". Bayard changes his oil religiously. I sent the head out to have valve seats ground for new valves. I replaced the cam chain and clutch discs, along with all O-rings and gaskets. Meanwhile lots of cleaning, soda or glass bead blasting, painting, and buffing was bringing out the eye candy in this wonderful bike.
The forks got new seals, buffing and clear coat. Master cylinder and caliper got new seals, paint and brake lines.
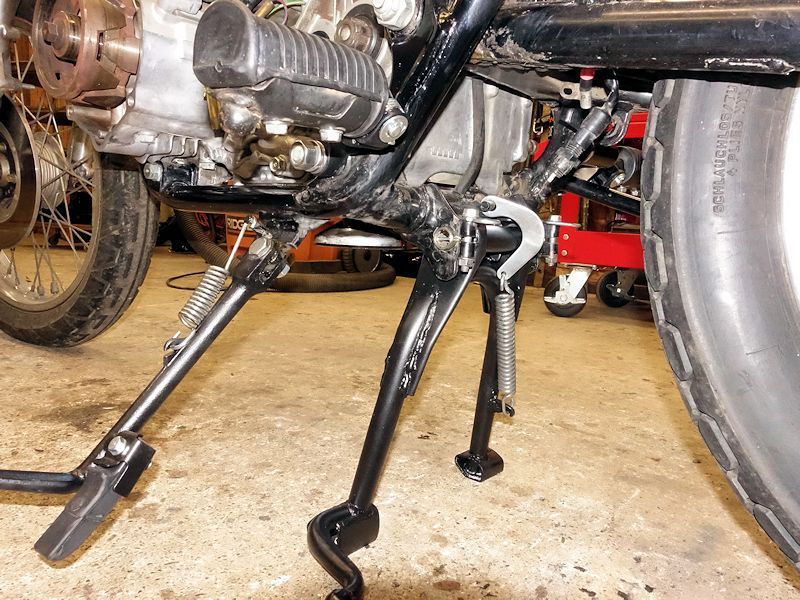
Center and side stands got painting and hardware polish and clear coat.
The frame only needed minor touch up and polishing.
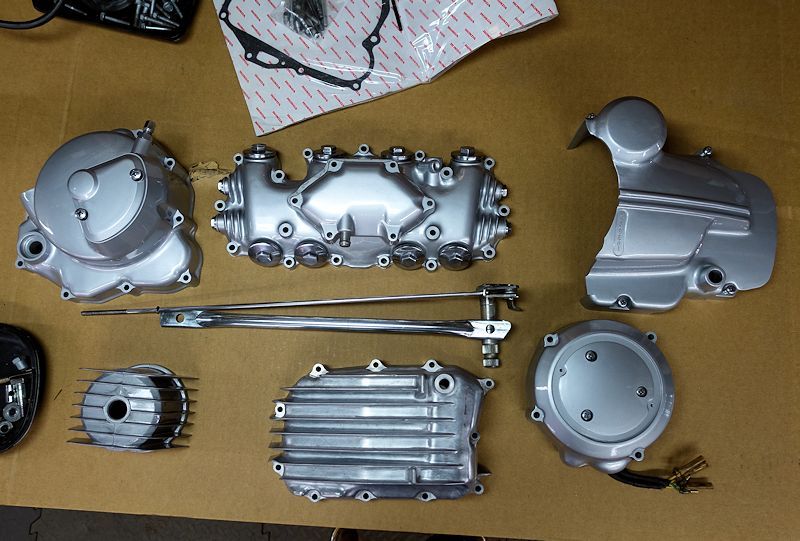
Engine covers got new silver paint and a coat of catalyzed clear coat. For clear coat on the hubs, engine cases and fork lowers I used Spray Max 2K Clear Gloss. It's a spray can with a button on the bottom to puncture a hardener reservoir. Once punctured, you have a few days to use the product. Around $20 per rattle can, but it is really tough and fuel/oil resistant. For other hardware I use Dupli-Color 1636 clear.
The front hub got buffed and clear coated, and relaced with new spokes.

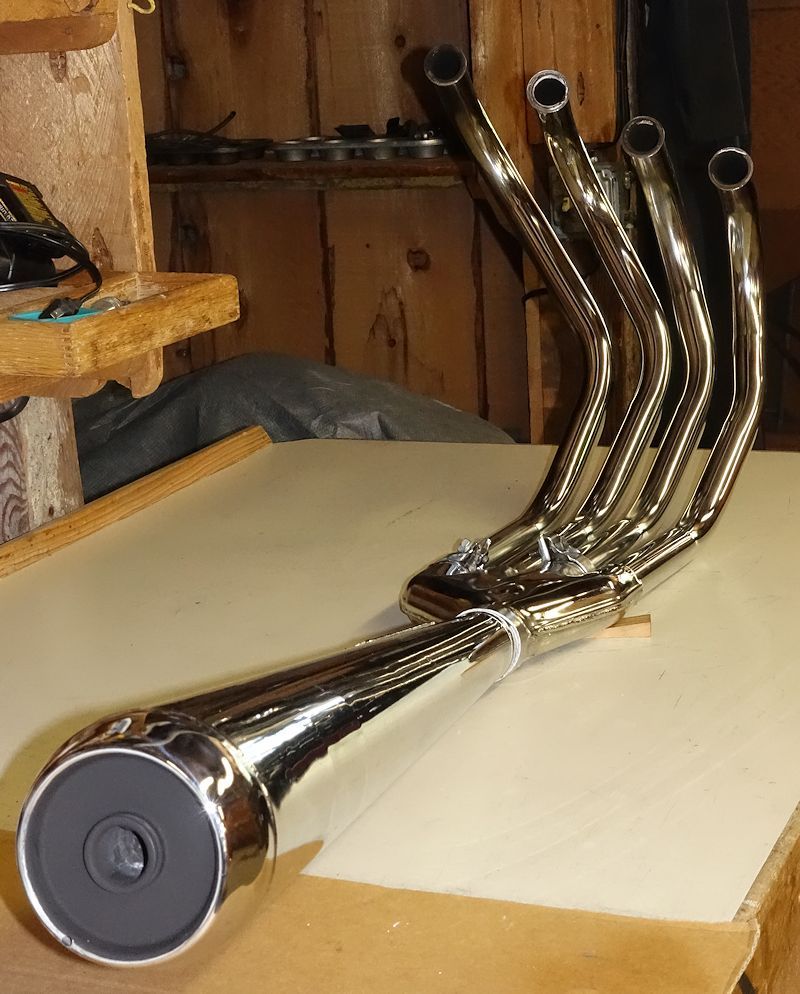
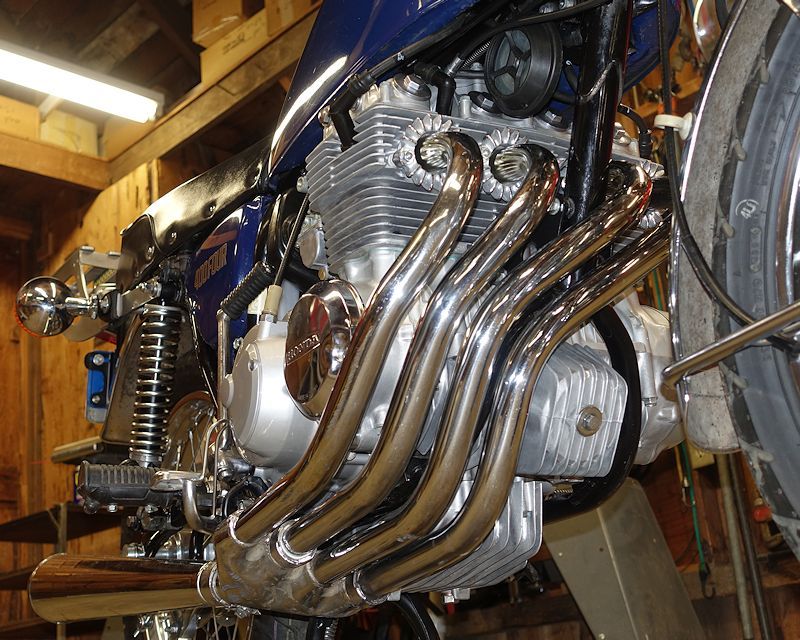
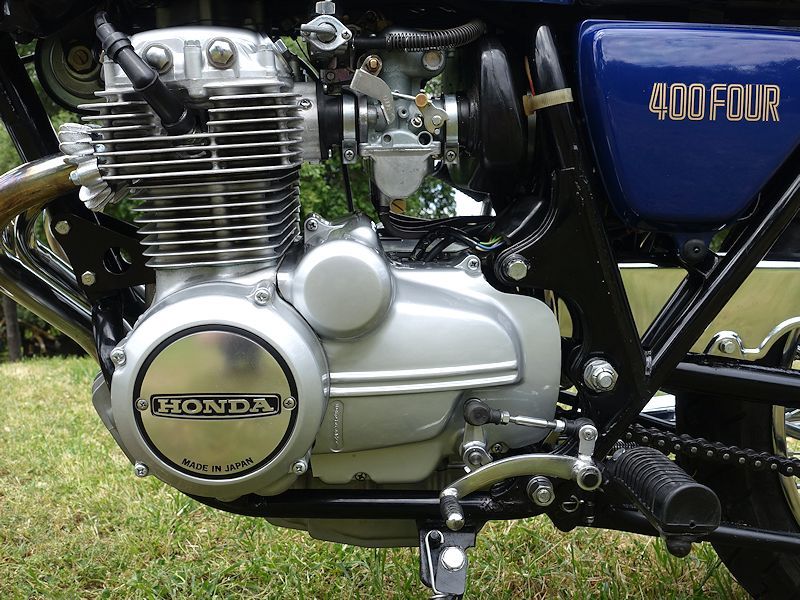
After buffing I decided that yes, this has got to be the world's sexiest exhaust system.
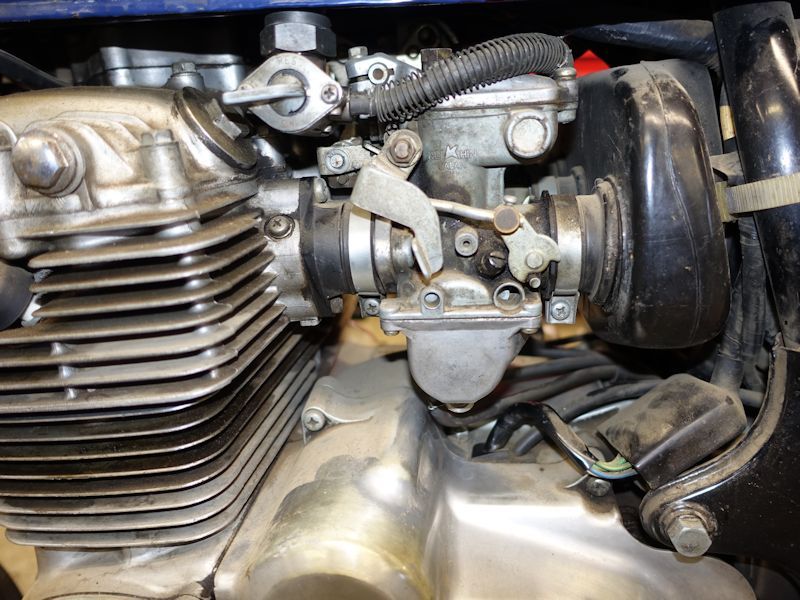
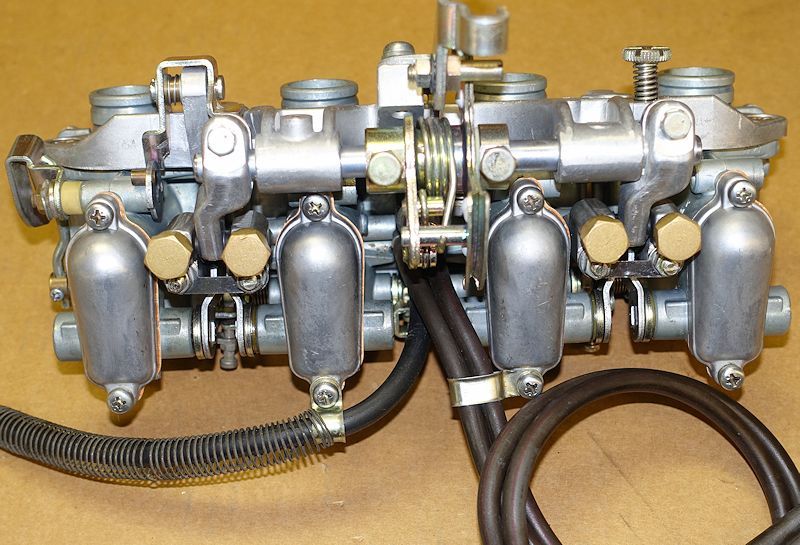
I cleaned the carbs and replaced all O-rings. Still to do were cylinder head install, then replacement of swing arm bushings, rear wheel rebuild, and rebuild of the old aftermarket Koni shocks.
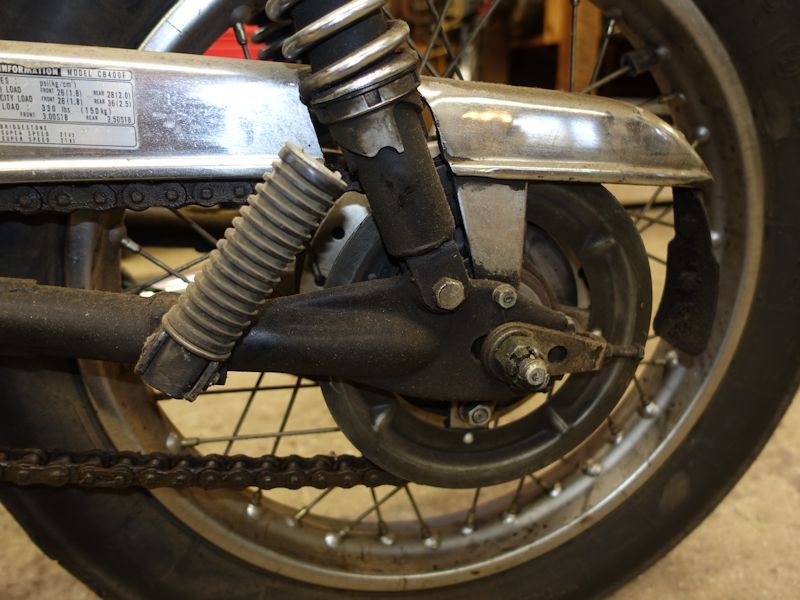
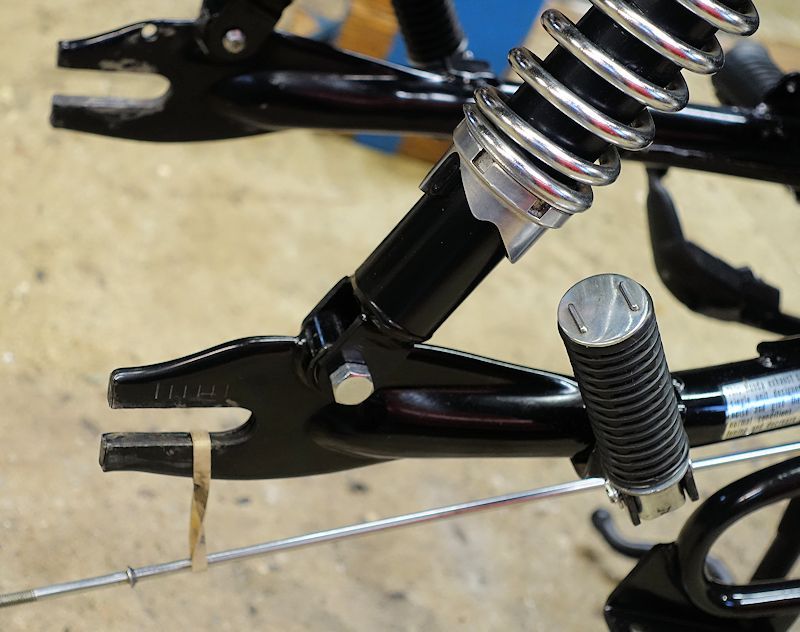
After replacing swing arm bushings and rebuilding and painting the old Koni's, the swing arm went back on.
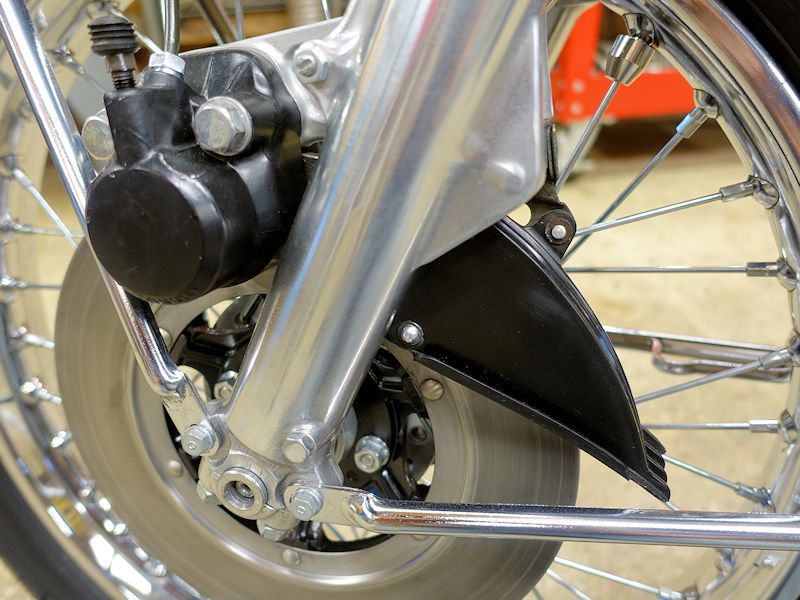
The newly respoked front wheel went back on, along with the rebuilt caliper.
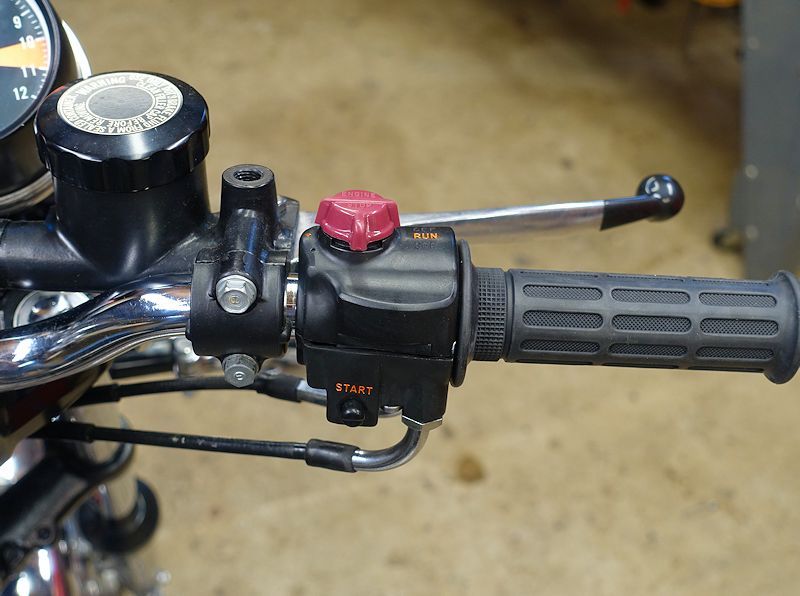
The rebuilt master cylinder was filled and bled, and a NOS right switch assembly and grips in place, the bars were ready for new Triumph style bar end mirrors.
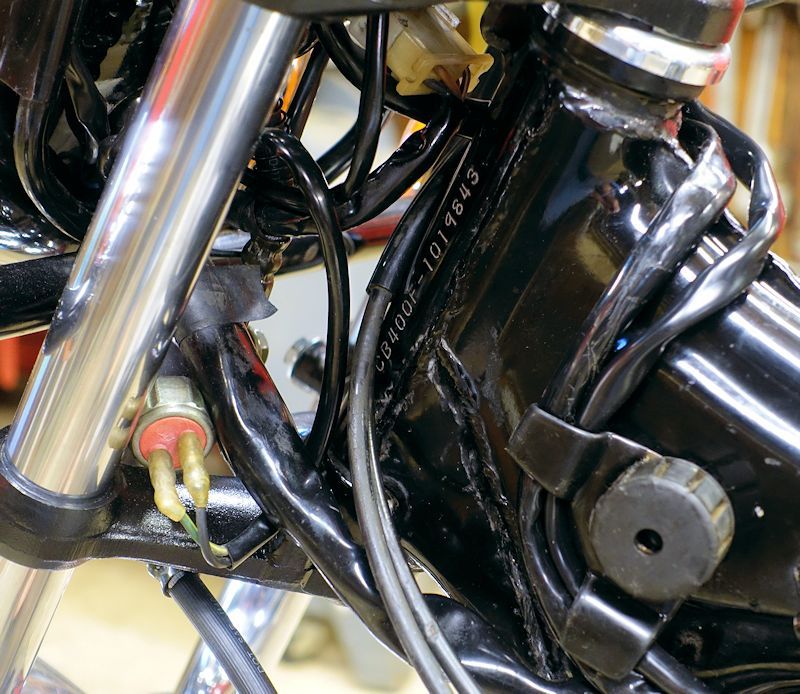
All wiring connections were cleaned and tightened, and circuits tested.
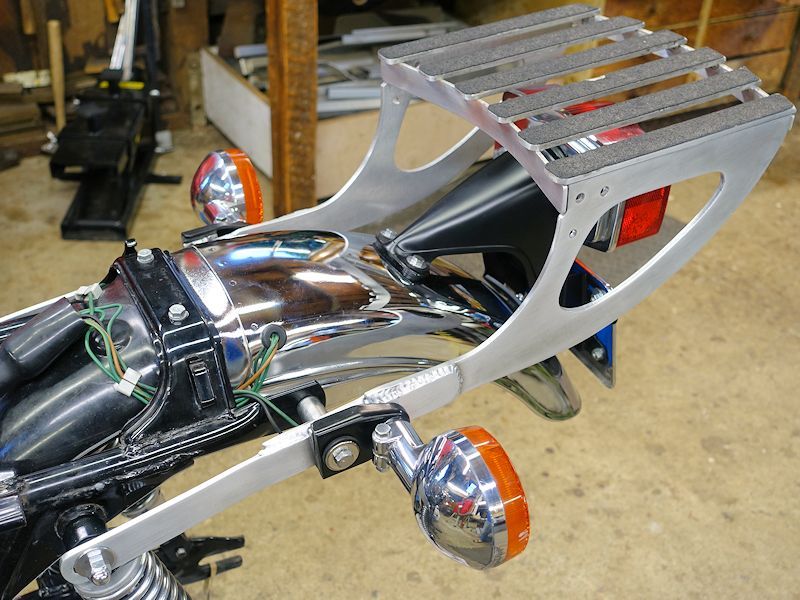
This bike has a very cool aluminum Rock Factory rack. We used to install them at the Honda shop back in the '70's. Pricey but good looking and very light weight. This one was fairly scarred up so rather than the original buffed finish I took a Scotchbrite pad to it for a brushed aluminum look, followed by a clear coat. The taillight bracket was rusty chrome, so I sanded it and sprayed it semi-gloss black.
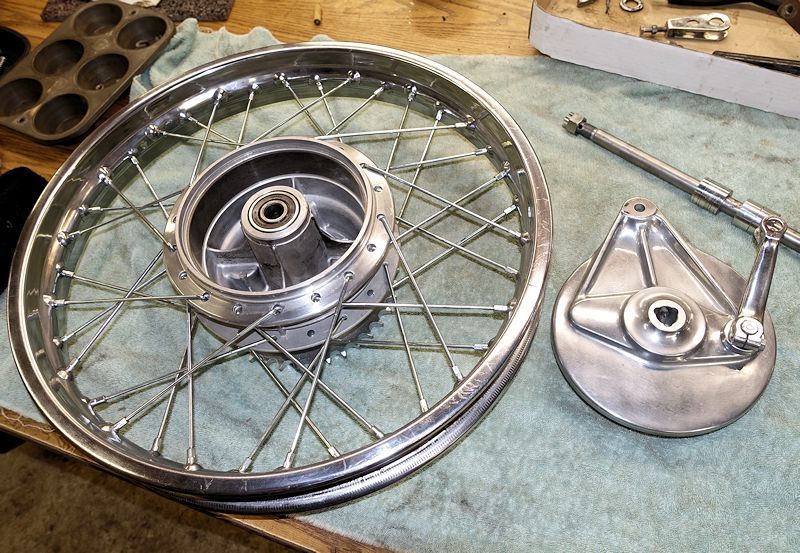
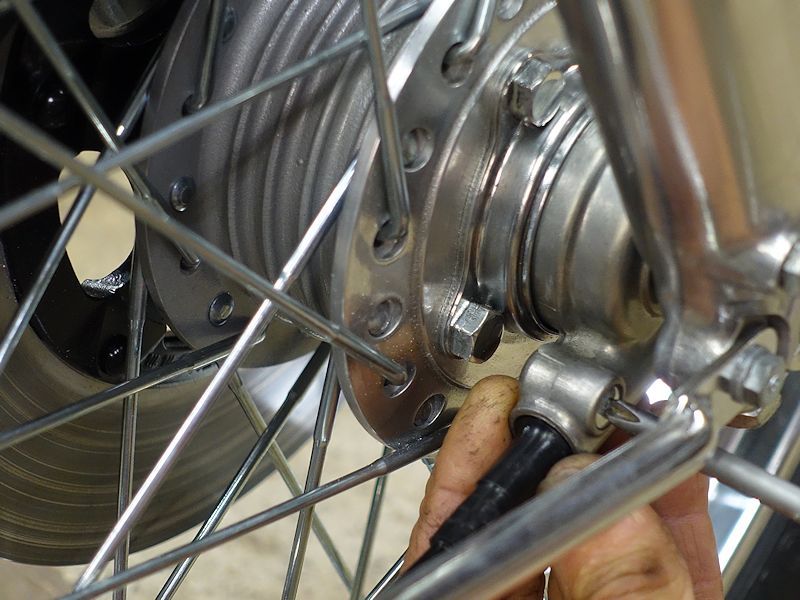
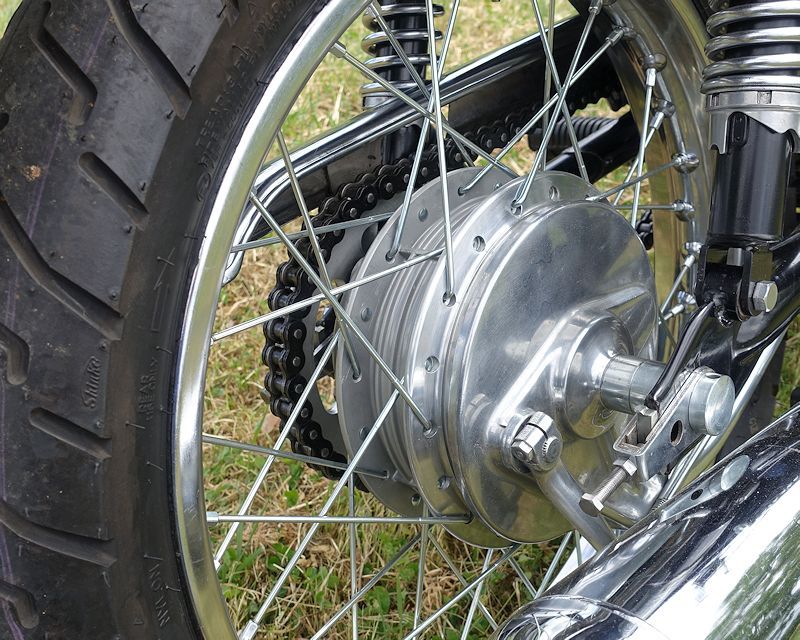
I buffed and clear coated the rear hub and brake panel, buffed the rim and laced it back up with new nickel plated spokes.
The carbs got a thorough cleaning inside and out, and all new O-rings.
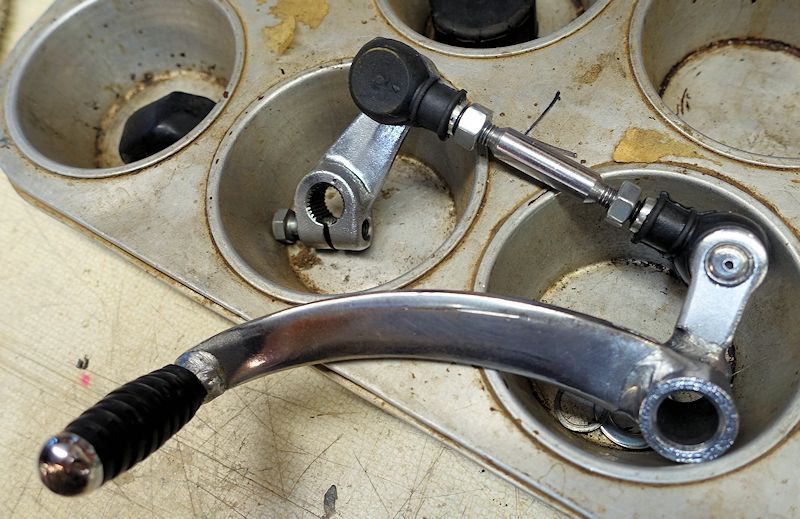
The shift lever and its very cool heim joint linkage got new rubber boots.
Excited to get the cylinder head back the next day, I spent the evening out in the shop prepping and finishing up whatever other assembly I could do. With 35,000 miles on the clock I wanted to replace the cam chain, but did not want to split the crankcases to do it. But David Silver sells a rivet-type master link, allowing replacement by breaking the old chain and the new chain, then riveting back together. As it turns out the old chain showed less elongation than I had expected for the mileage, another testament to the value of the owner's frequent oil changes.
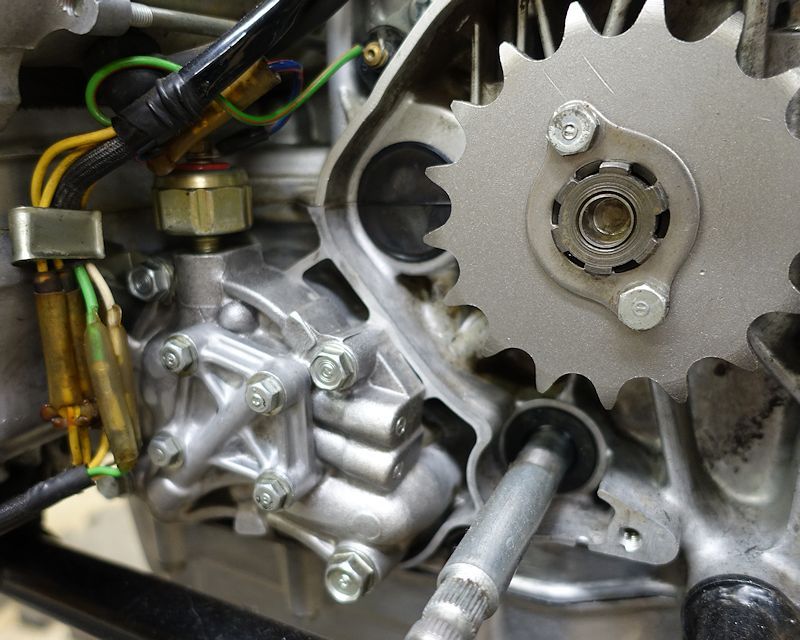
I installed new countershaft and rear sprockets to go with the new chain on hand. The oil pump got tear down for inspection and all new O-rings since it was one of the major leaks.
The ignition advance got disassembled, cleaned and lubed, and I installed and static timed new points.

All cables got cleaned outside and lubed inside.
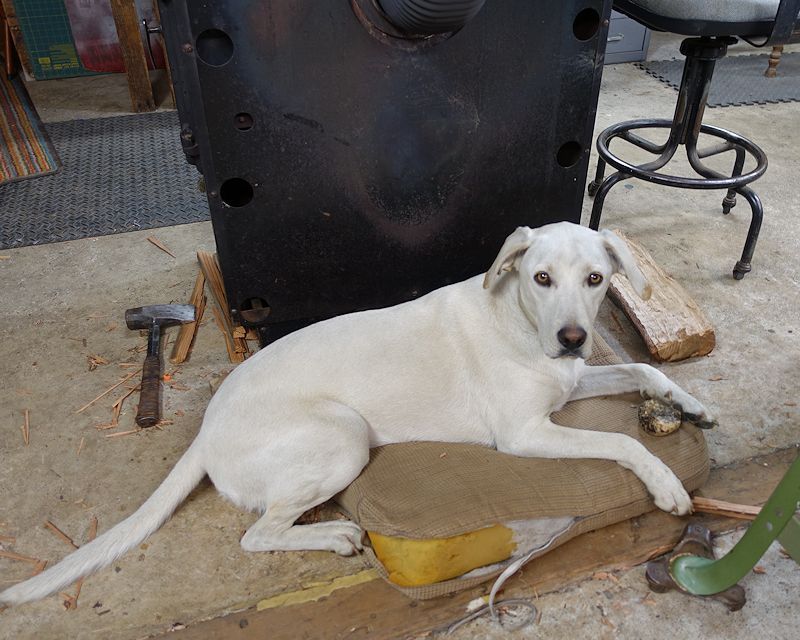
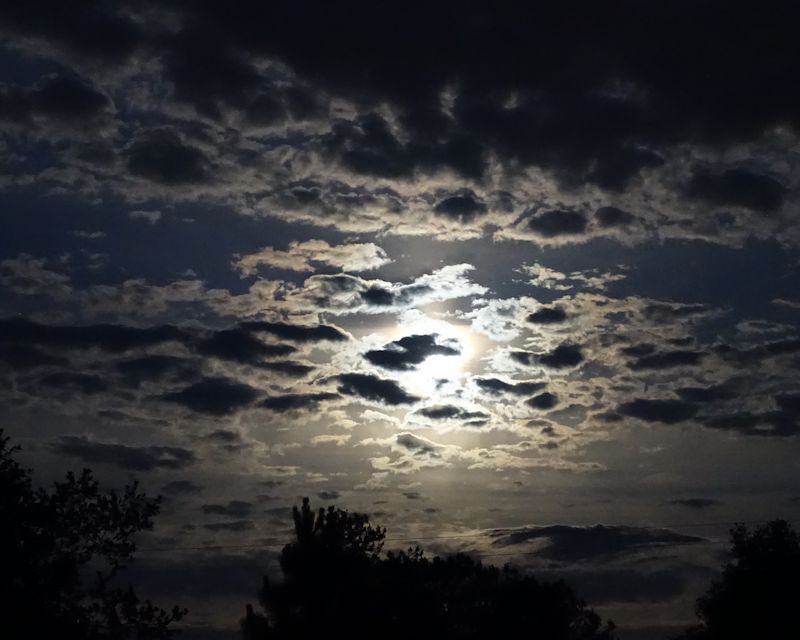
Had to stop and pet the shop mascot, then stepped outside to watch the full moon behind fluffy clouds. Rain was forecast for the next day so that would make for a perfect shop day to install the head.
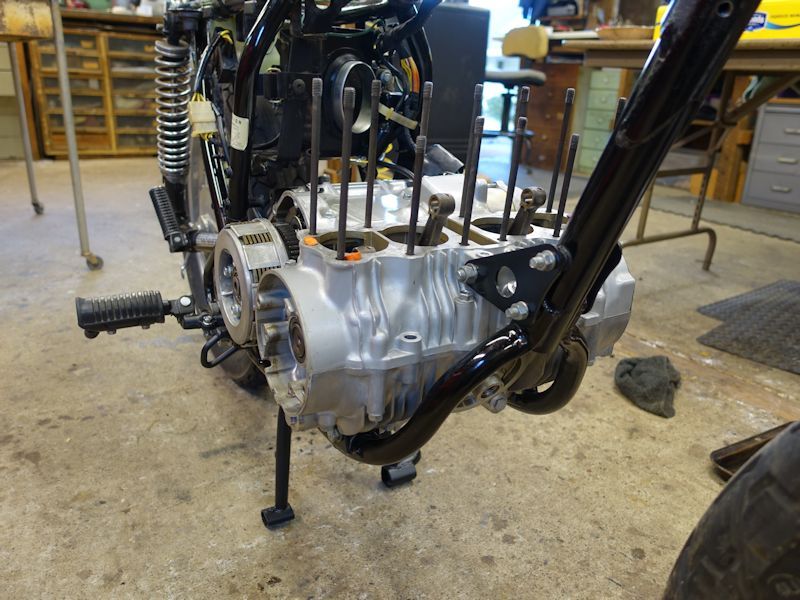
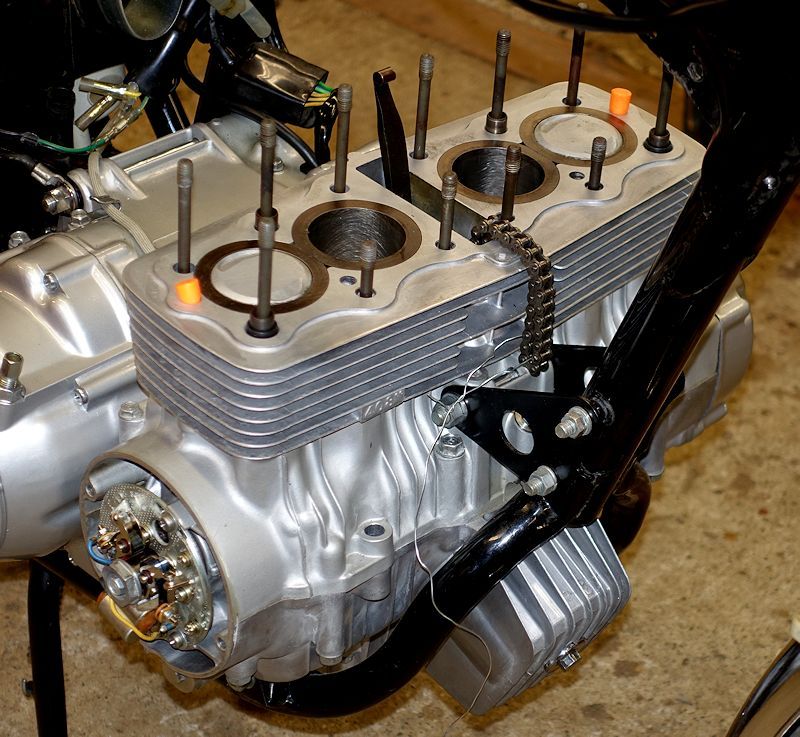
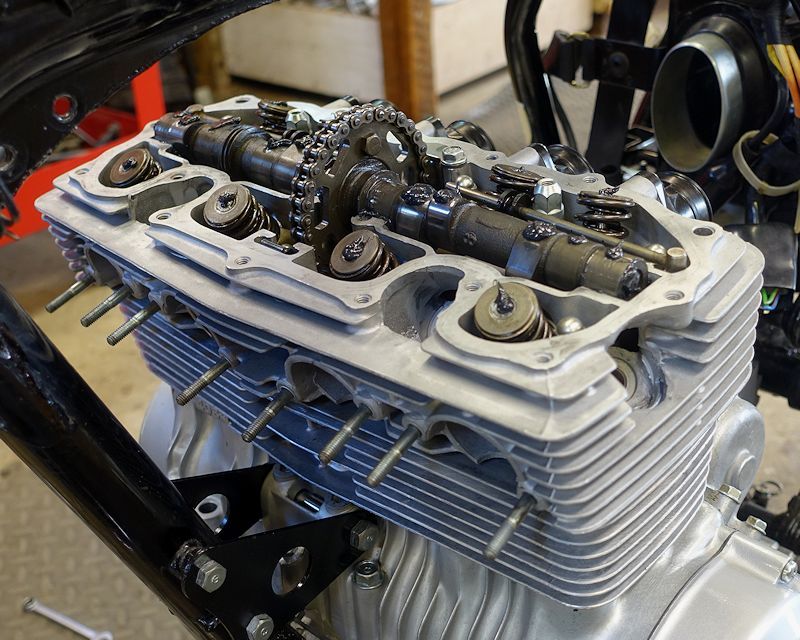
My buddy brought the head over the next day, and after leak testing we installed the valves and torqued it down. Here the cam is in and we're ready to crank the starter to confirm oil pumping to the top end. Two steel tubes running parallel to the cam have small holes that squirt oil directly on each cam lobe. As well, the cam lobes dip into an oil bath with each revolution.
Last thing for the day was bolting on the cylinder head cover and calling it a day. The engine was looking like the little jewel it is.
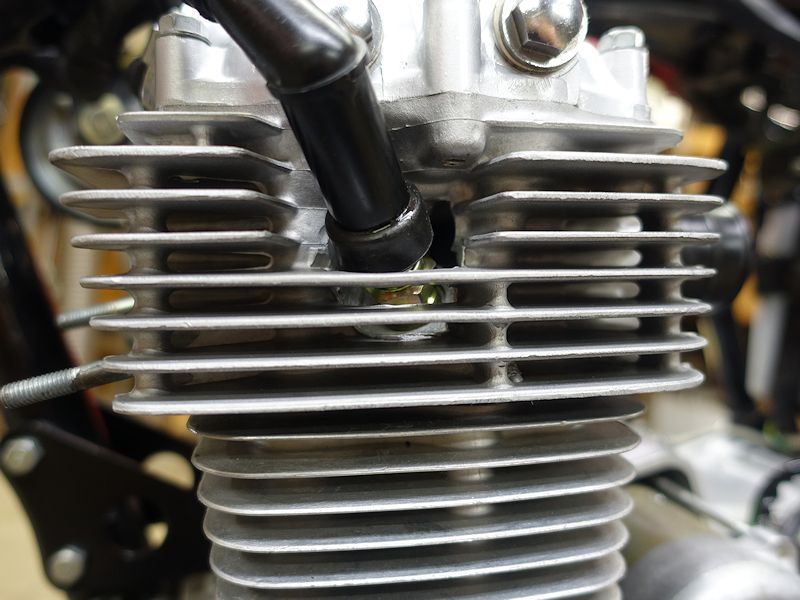
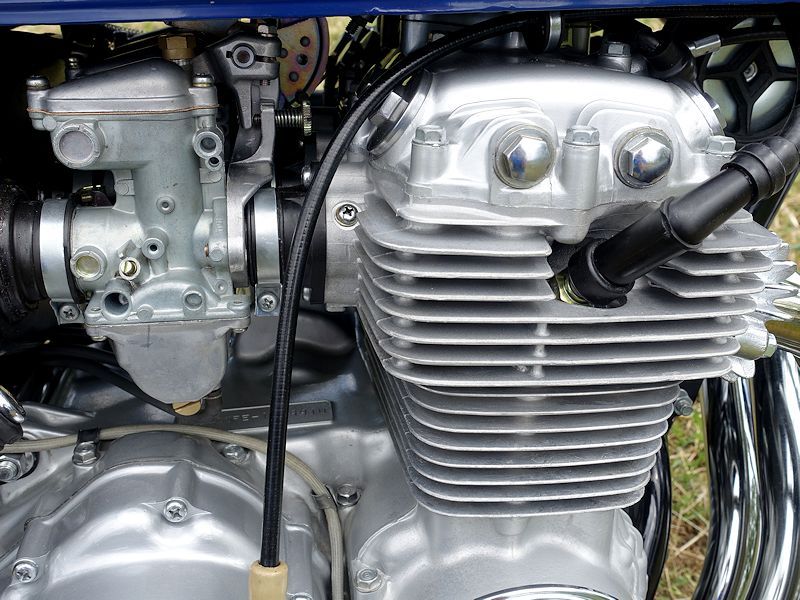
Next morning the coils went back on. The plug caps had been cleaned inside and out and a thin coat of dielectric grease applied to the insides and wire connections. Is it just me, or are cooling fins just a beautiful feature of air cooled engines?
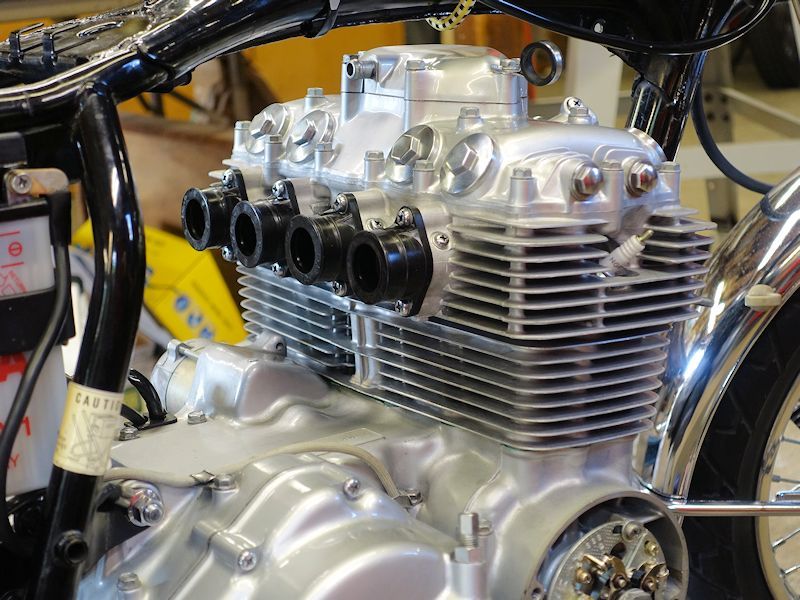
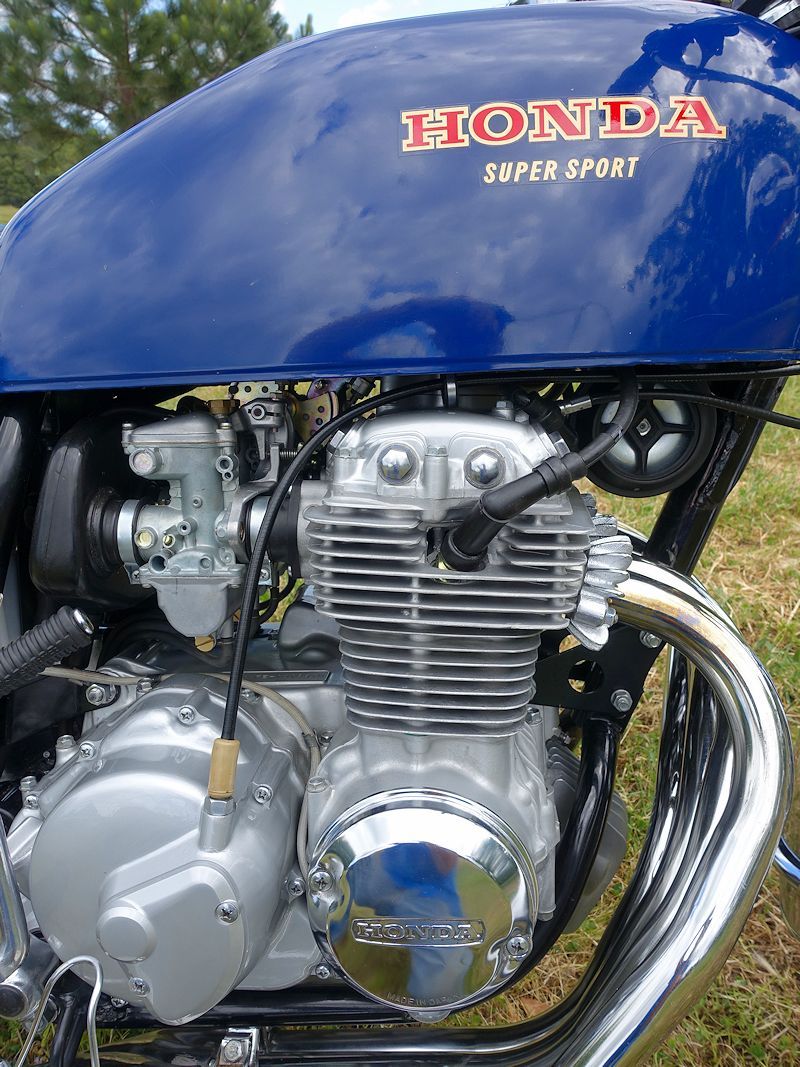
By the end of the day the bike was complete - valves and cam chain adjusted, carbs installed and synced, timing set, and that gorgeous exhaust system installed.
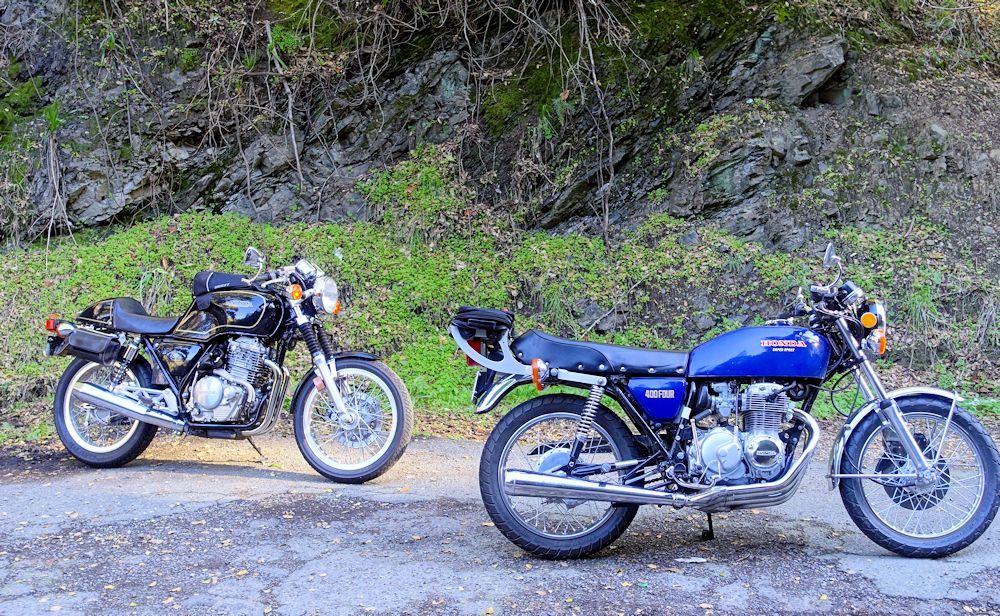
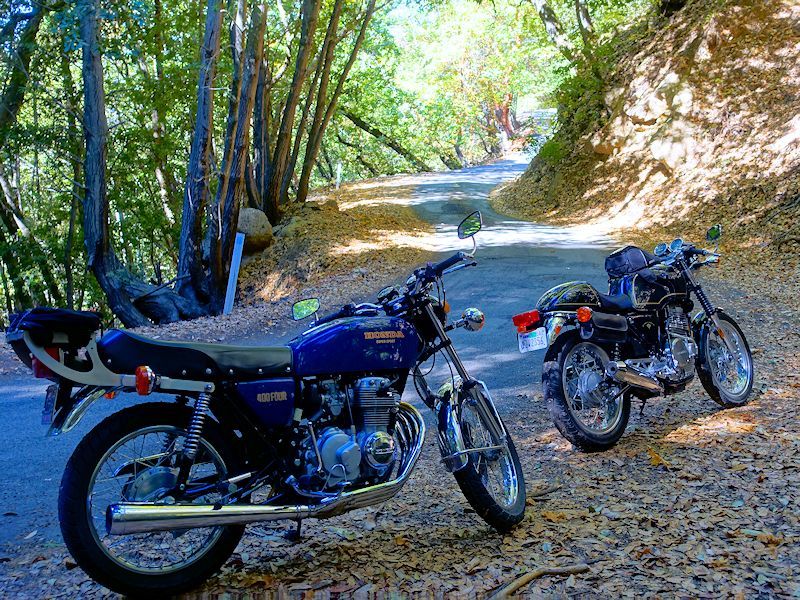
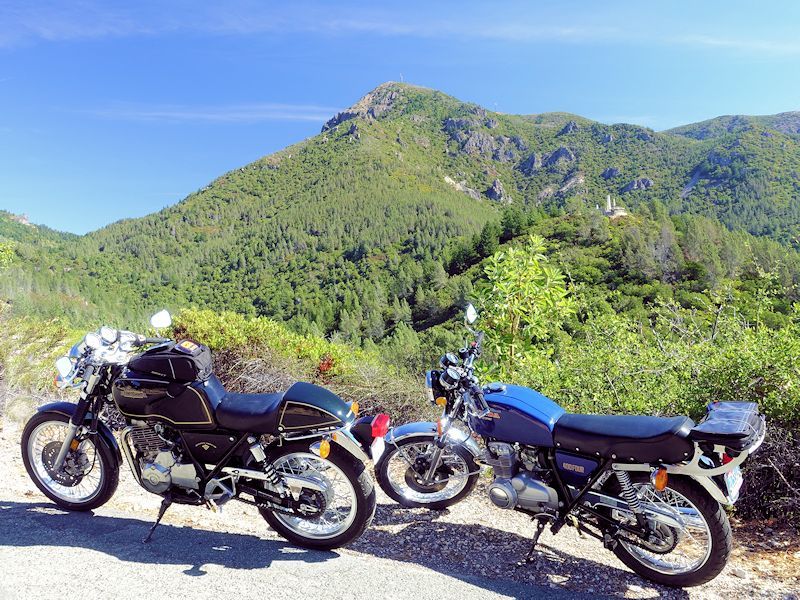
Then of course it was test ride time! The bike is just an absolute joy to ride. It runs like a top and has rock solid handling and electric motor smoothness.
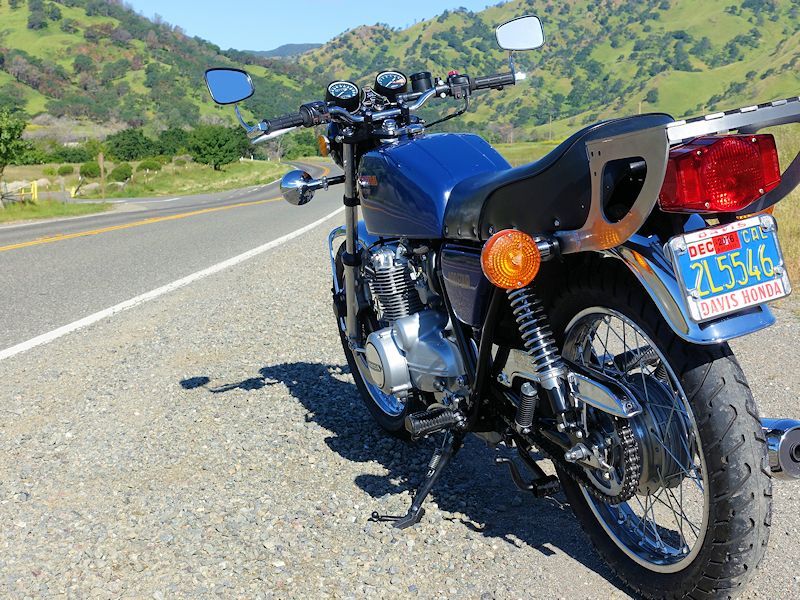
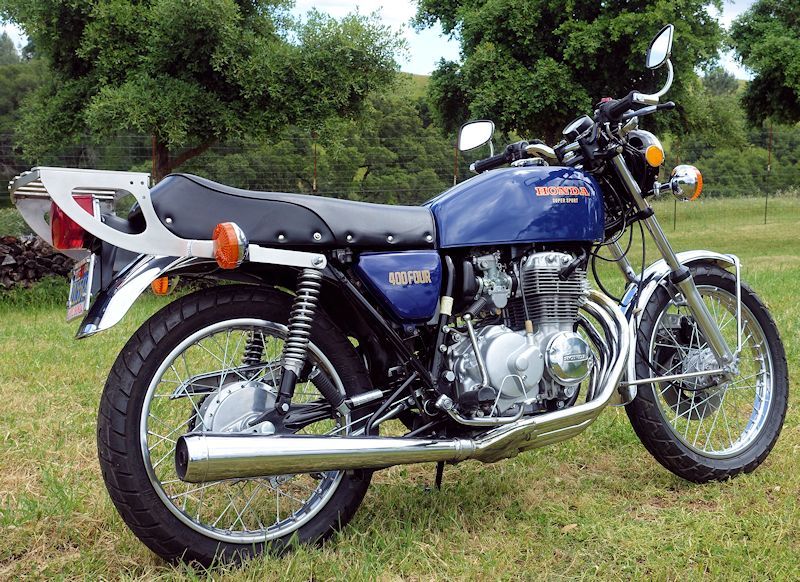
A few more glamour shots:
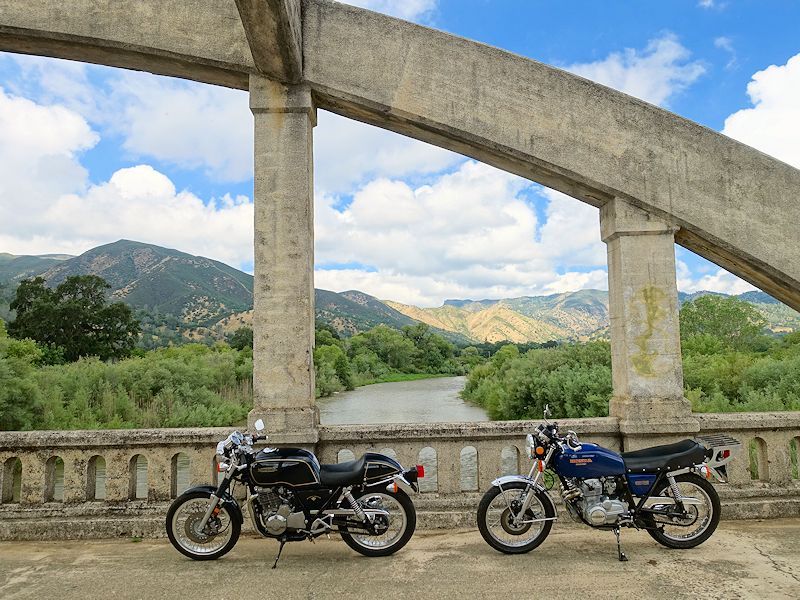
This was a fun and very satisfying project. I did a few shakedown rides and followup tuning before reluctantly handing the key back to my buddy, the bikes owner. Since then we have been hitting the road for some nice rides, two old friends on our vintage bikes, just like the old days but for all the grey hair.
-Bill
Fast forward to a couple of years ago and I attended a local vintage motorcycle show with Bayard and another old riding buddy and I got the bug again. I soon bought and restored my CB125, two GB500's and my XL250. Since then, while on rides I've stopped off regularly at my pal Bayard's place to chew the fat and talk about the old days, how we both started out on C110's, graduated to S90's, 305 Super Hawks, his CB450 Black Bomber and so on. During each visit I would walk past his dusty, dormant 400F and have the urge to grab some wrenches and polish and whip it back into shape. Bayard was on board with the idea so I brought the bike into my shop a few weeks ago and got started.
Being only a two owner bike and always stored indoors makes this a dream project. Its only problems were lots of oil leaks, slipping clutch, and lots of tarnish and dirt. So step one was doing a thorough cleaning prior to top end tear down to fix the oil leaks. Some before pictures:
As I mentioned, the original owner had crashed twice. I did an insurance repair the first time, but Bayard bought the bike as-is after the second crash. The damage was fairly minor, slight scratches on the exhaust and this nasty scrape on the alternator case and cover plate.
The case was originally painted silver with a clear coat, so I did an epoxy fill on the case and repainted. We obtained a NOS cover plate from David Silver and one major scar was fixed.
The engine was in good shape, but with 35K miles I went ahead and freshened it up with a light hone and new rings. Amazingly the piston-to-cylinder clearance was still well within spec at .001". Bayard changes his oil religiously. I sent the head out to have valve seats ground for new valves. I replaced the cam chain and clutch discs, along with all O-rings and gaskets. Meanwhile lots of cleaning, soda or glass bead blasting, painting, and buffing was bringing out the eye candy in this wonderful bike.
The forks got new seals, buffing and clear coat. Master cylinder and caliper got new seals, paint and brake lines.
Center and side stands got painting and hardware polish and clear coat.
The frame only needed minor touch up and polishing.
Engine covers got new silver paint and a coat of catalyzed clear coat. For clear coat on the hubs, engine cases and fork lowers I used Spray Max 2K Clear Gloss. It's a spray can with a button on the bottom to puncture a hardener reservoir. Once punctured, you have a few days to use the product. Around $20 per rattle can, but it is really tough and fuel/oil resistant. For other hardware I use Dupli-Color 1636 clear.
The front hub got buffed and clear coated, and relaced with new spokes.
After buffing I decided that yes, this has got to be the world's sexiest exhaust system.
I cleaned the carbs and replaced all O-rings. Still to do were cylinder head install, then replacement of swing arm bushings, rear wheel rebuild, and rebuild of the old aftermarket Koni shocks.
After replacing swing arm bushings and rebuilding and painting the old Koni's, the swing arm went back on.
The newly respoked front wheel went back on, along with the rebuilt caliper.
The rebuilt master cylinder was filled and bled, and a NOS right switch assembly and grips in place, the bars were ready for new Triumph style bar end mirrors.
All wiring connections were cleaned and tightened, and circuits tested.
This bike has a very cool aluminum Rock Factory rack. We used to install them at the Honda shop back in the '70's. Pricey but good looking and very light weight. This one was fairly scarred up so rather than the original buffed finish I took a Scotchbrite pad to it for a brushed aluminum look, followed by a clear coat. The taillight bracket was rusty chrome, so I sanded it and sprayed it semi-gloss black.
I buffed and clear coated the rear hub and brake panel, buffed the rim and laced it back up with new nickel plated spokes.
The carbs got a thorough cleaning inside and out, and all new O-rings.
The shift lever and its very cool heim joint linkage got new rubber boots.
Excited to get the cylinder head back the next day, I spent the evening out in the shop prepping and finishing up whatever other assembly I could do. With 35,000 miles on the clock I wanted to replace the cam chain, but did not want to split the crankcases to do it. But David Silver sells a rivet-type master link, allowing replacement by breaking the old chain and the new chain, then riveting back together. As it turns out the old chain showed less elongation than I had expected for the mileage, another testament to the value of the owner's frequent oil changes.
I installed new countershaft and rear sprockets to go with the new chain on hand. The oil pump got tear down for inspection and all new O-rings since it was one of the major leaks.
The ignition advance got disassembled, cleaned and lubed, and I installed and static timed new points.
All cables got cleaned outside and lubed inside.
Had to stop and pet the shop mascot, then stepped outside to watch the full moon behind fluffy clouds. Rain was forecast for the next day so that would make for a perfect shop day to install the head.
My buddy brought the head over the next day, and after leak testing we installed the valves and torqued it down. Here the cam is in and we're ready to crank the starter to confirm oil pumping to the top end. Two steel tubes running parallel to the cam have small holes that squirt oil directly on each cam lobe. As well, the cam lobes dip into an oil bath with each revolution.
Last thing for the day was bolting on the cylinder head cover and calling it a day. The engine was looking like the little jewel it is.
Next morning the coils went back on. The plug caps had been cleaned inside and out and a thin coat of dielectric grease applied to the insides and wire connections. Is it just me, or are cooling fins just a beautiful feature of air cooled engines?
By the end of the day the bike was complete - valves and cam chain adjusted, carbs installed and synced, timing set, and that gorgeous exhaust system installed.
Then of course it was test ride time! The bike is just an absolute joy to ride. It runs like a top and has rock solid handling and electric motor smoothness.
A few more glamour shots:
This was a fun and very satisfying project. I did a few shakedown rides and followup tuning before reluctantly handing the key back to my buddy, the bikes owner. Since then we have been hitting the road for some nice rides, two old friends on our vintage bikes, just like the old days but for all the grey hair.
-Bill