jeffasaurus2
Active Member
Long time lurking. Lately I've been asking a load of questions to the other guys with GS450 builds happening so I figured it's about time I contributed something.
Picked up this beauty two years ago with a bunch of extra parts and even a second engine.
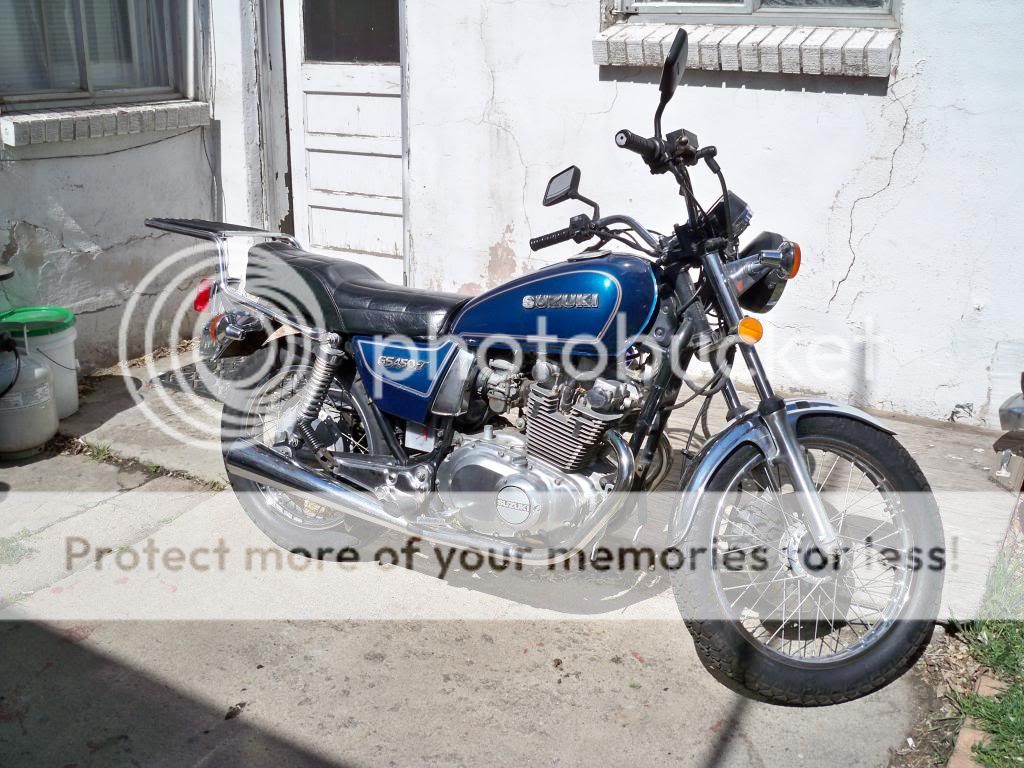
Pretty gnarly, this is even after I removed some things (Cruiser pegs clamped to the front frame)
Had the pleasure to repair years of half-assed maintenance. Rebuilt carbs, replaced o-rings (including the rtv silicone ones for the intake), a couple cables, the works.
Took it on a ride or two, got some fun in,

Then I tore into it. No garage means living room motorcycles! I shortened the rear fender and swapped out the enormous taillight. Rebuilt the forks with Progressive springs, replaced and rebuilt brakes, new tires, new wheel bearings, new chain and sprockets, and chased some oil leaks.

And that's how its been for the last year.

One reliable lady, only let me down once and a new battery fixed that.
A blast, but soon I came across this.

The fabled E/S Model tank, for a reasonable price!
A local guy had one from his p.o. and didn't really care to do the modification work to fit it. The interior was a bit of a mess, I treated it with a POR15 kit and it took care of that issue.
So after riding until mid-December, thanks to our wonky 60 degree 'winter', I finally decided to start some major modifications to clean it up. The fun began!

Ideas, definitely not that seat.
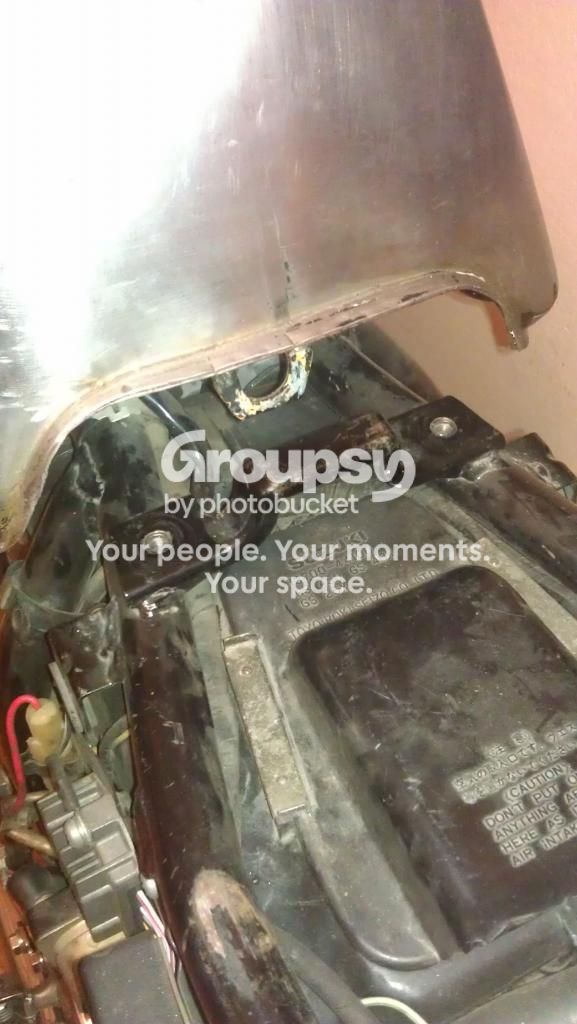
I chopped up the front of the frame and made the front mounts for the new tank.

The rear of the tank will have a bracket, that is yet to be made, utilizing the existing frame mounting points.
I was debating what to do with the gauges, I really liked the idea of the stock ones but they were so large I couldnt do it. I wanted to do the mini gauges that are often used but read some so-so reviews of their durability so figured I'd spring for something fancy.
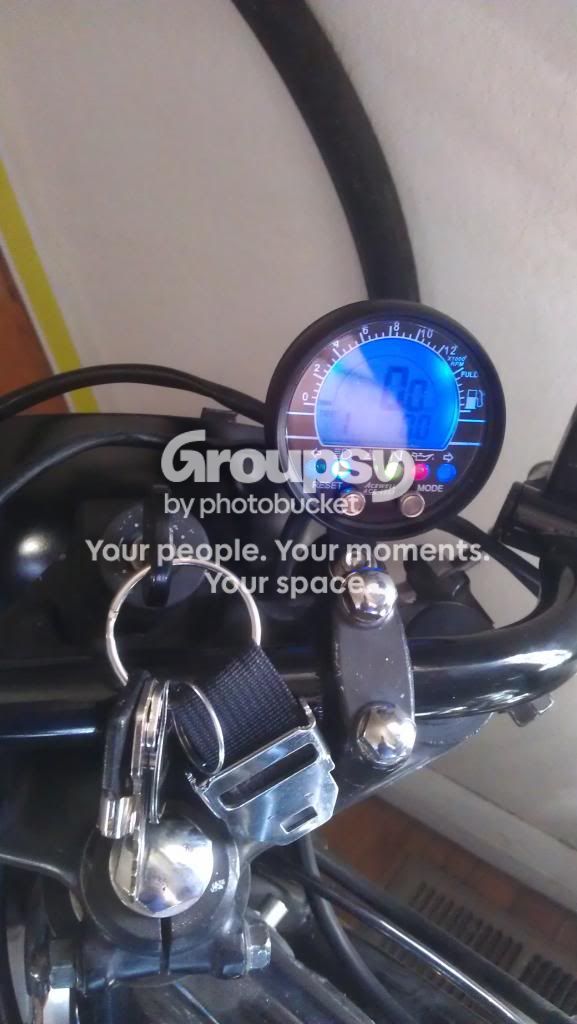
Acewell! Haven't had a chance to use it on the road yet but everything lights up!
After taking everything off the front end and cleaning it up it looked a bit exposed. Then I remembered I had seen a fella on one of the forums that wound up using what was chopped from his fender as a fairing. I gave it a shot, I think it turned out pretty stinkin' sweet.
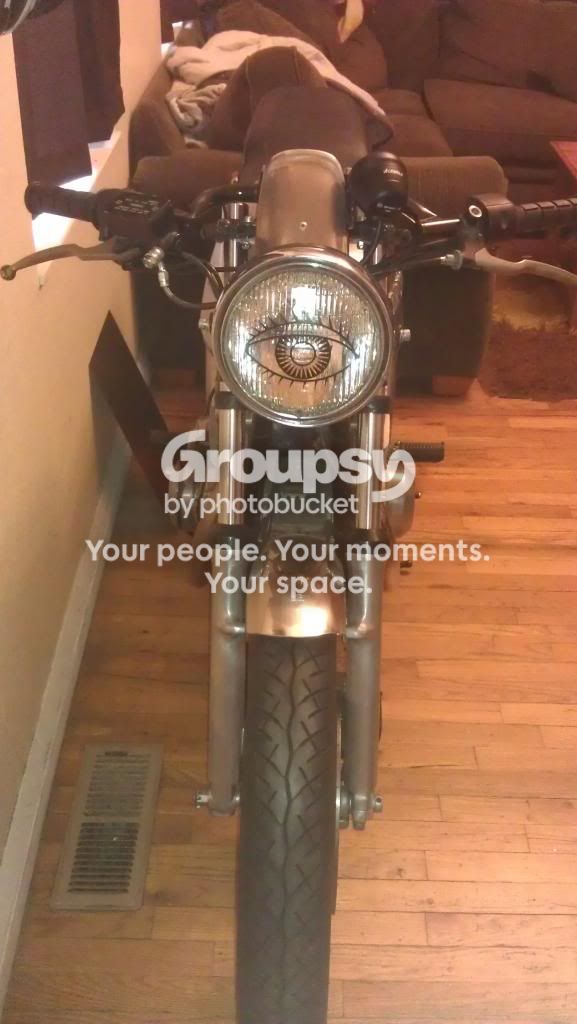
Eye see you!
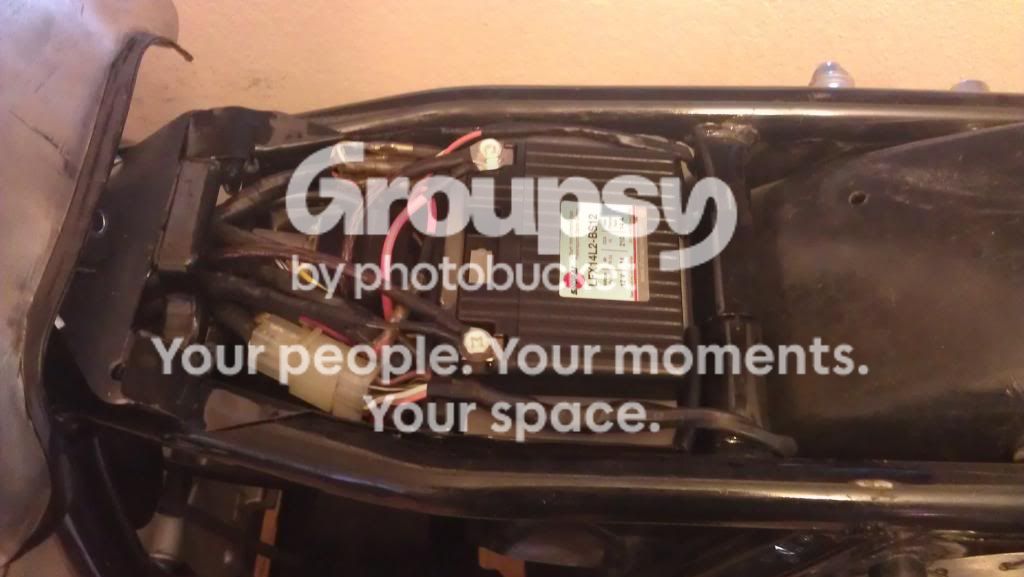
Then I took a look at the 'triangle'. I had really wanted to keep the stock air box but, saw no way that I could feel the bike was proper with that brick stuffed in there; So I went all out. I created a small under seat electronics tray, ordered some K&N pod filters, and decided on a much smaller Li-Ion battery.
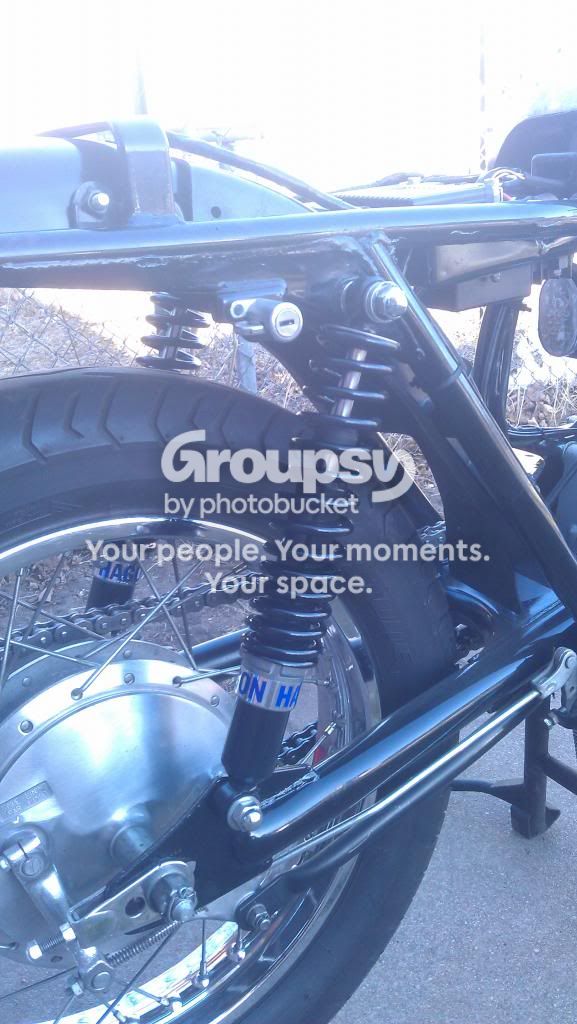
To do all this I found it easier to remove the rear wheel, and while doing so I decided to remove the swing arm and take a look at the bearings. Good thing I did, One was literally concreted solid. So after waiting nearly two weeks for correct bearings I was able to reassemble half the bike.
The engine had a noticeable, yet slight, oil leak coming from it, and I needed to check the valves anyway, so I ordered nearly all the outer gaskets that I could change. Even a new oil pan as my previous one had a half stripped drain hole...courtesy of myself. Still waiting on those. Soon!
I even braved shortening my clutch cable via this video https://www.youtube.com/watch?v=axGTa0SvXjE&feature=player_embedded
Its just as solid as before but sits comfortably under my tank now.

A far cry from it's original form, and looking so nice!
So now it waits, on parts mostly. I'm still waiting for some of those engine gaskets, I'm getting my exhaust sorted out tomorrow, should be pretty rad. Still have a tank mounting bracket to finish, and of course...jetting! Should have some more news soon. Thanks, Jeff
Picked up this beauty two years ago with a bunch of extra parts and even a second engine.
Pretty gnarly, this is even after I removed some things (Cruiser pegs clamped to the front frame)
Had the pleasure to repair years of half-assed maintenance. Rebuilt carbs, replaced o-rings (including the rtv silicone ones for the intake), a couple cables, the works.
Took it on a ride or two, got some fun in,
Then I tore into it. No garage means living room motorcycles! I shortened the rear fender and swapped out the enormous taillight. Rebuilt the forks with Progressive springs, replaced and rebuilt brakes, new tires, new wheel bearings, new chain and sprockets, and chased some oil leaks.
And that's how its been for the last year.
One reliable lady, only let me down once and a new battery fixed that.
A blast, but soon I came across this.
The fabled E/S Model tank, for a reasonable price!
A local guy had one from his p.o. and didn't really care to do the modification work to fit it. The interior was a bit of a mess, I treated it with a POR15 kit and it took care of that issue.
So after riding until mid-December, thanks to our wonky 60 degree 'winter', I finally decided to start some major modifications to clean it up. The fun began!
Ideas, definitely not that seat.
I chopped up the front of the frame and made the front mounts for the new tank.
The rear of the tank will have a bracket, that is yet to be made, utilizing the existing frame mounting points.
I was debating what to do with the gauges, I really liked the idea of the stock ones but they were so large I couldnt do it. I wanted to do the mini gauges that are often used but read some so-so reviews of their durability so figured I'd spring for something fancy.
Acewell! Haven't had a chance to use it on the road yet but everything lights up!
After taking everything off the front end and cleaning it up it looked a bit exposed. Then I remembered I had seen a fella on one of the forums that wound up using what was chopped from his fender as a fairing. I gave it a shot, I think it turned out pretty stinkin' sweet.
Eye see you!
Then I took a look at the 'triangle'. I had really wanted to keep the stock air box but, saw no way that I could feel the bike was proper with that brick stuffed in there; So I went all out. I created a small under seat electronics tray, ordered some K&N pod filters, and decided on a much smaller Li-Ion battery.
To do all this I found it easier to remove the rear wheel, and while doing so I decided to remove the swing arm and take a look at the bearings. Good thing I did, One was literally concreted solid. So after waiting nearly two weeks for correct bearings I was able to reassemble half the bike.
The engine had a noticeable, yet slight, oil leak coming from it, and I needed to check the valves anyway, so I ordered nearly all the outer gaskets that I could change. Even a new oil pan as my previous one had a half stripped drain hole...courtesy of myself. Still waiting on those. Soon!
I even braved shortening my clutch cable via this video https://www.youtube.com/watch?v=axGTa0SvXjE&feature=player_embedded
Its just as solid as before but sits comfortably under my tank now.
A far cry from it's original form, and looking so nice!
So now it waits, on parts mostly. I'm still waiting for some of those engine gaskets, I'm getting my exhaust sorted out tomorrow, should be pretty rad. Still have a tank mounting bracket to finish, and of course...jetting! Should have some more news soon. Thanks, Jeff