
Just finished my CB360!
Thanks to everyone on this board and Hondatwins. I found the answers to almost every problem during this build by searching these sites! I will try and note the problems and solutions to add another search result for people in the future.
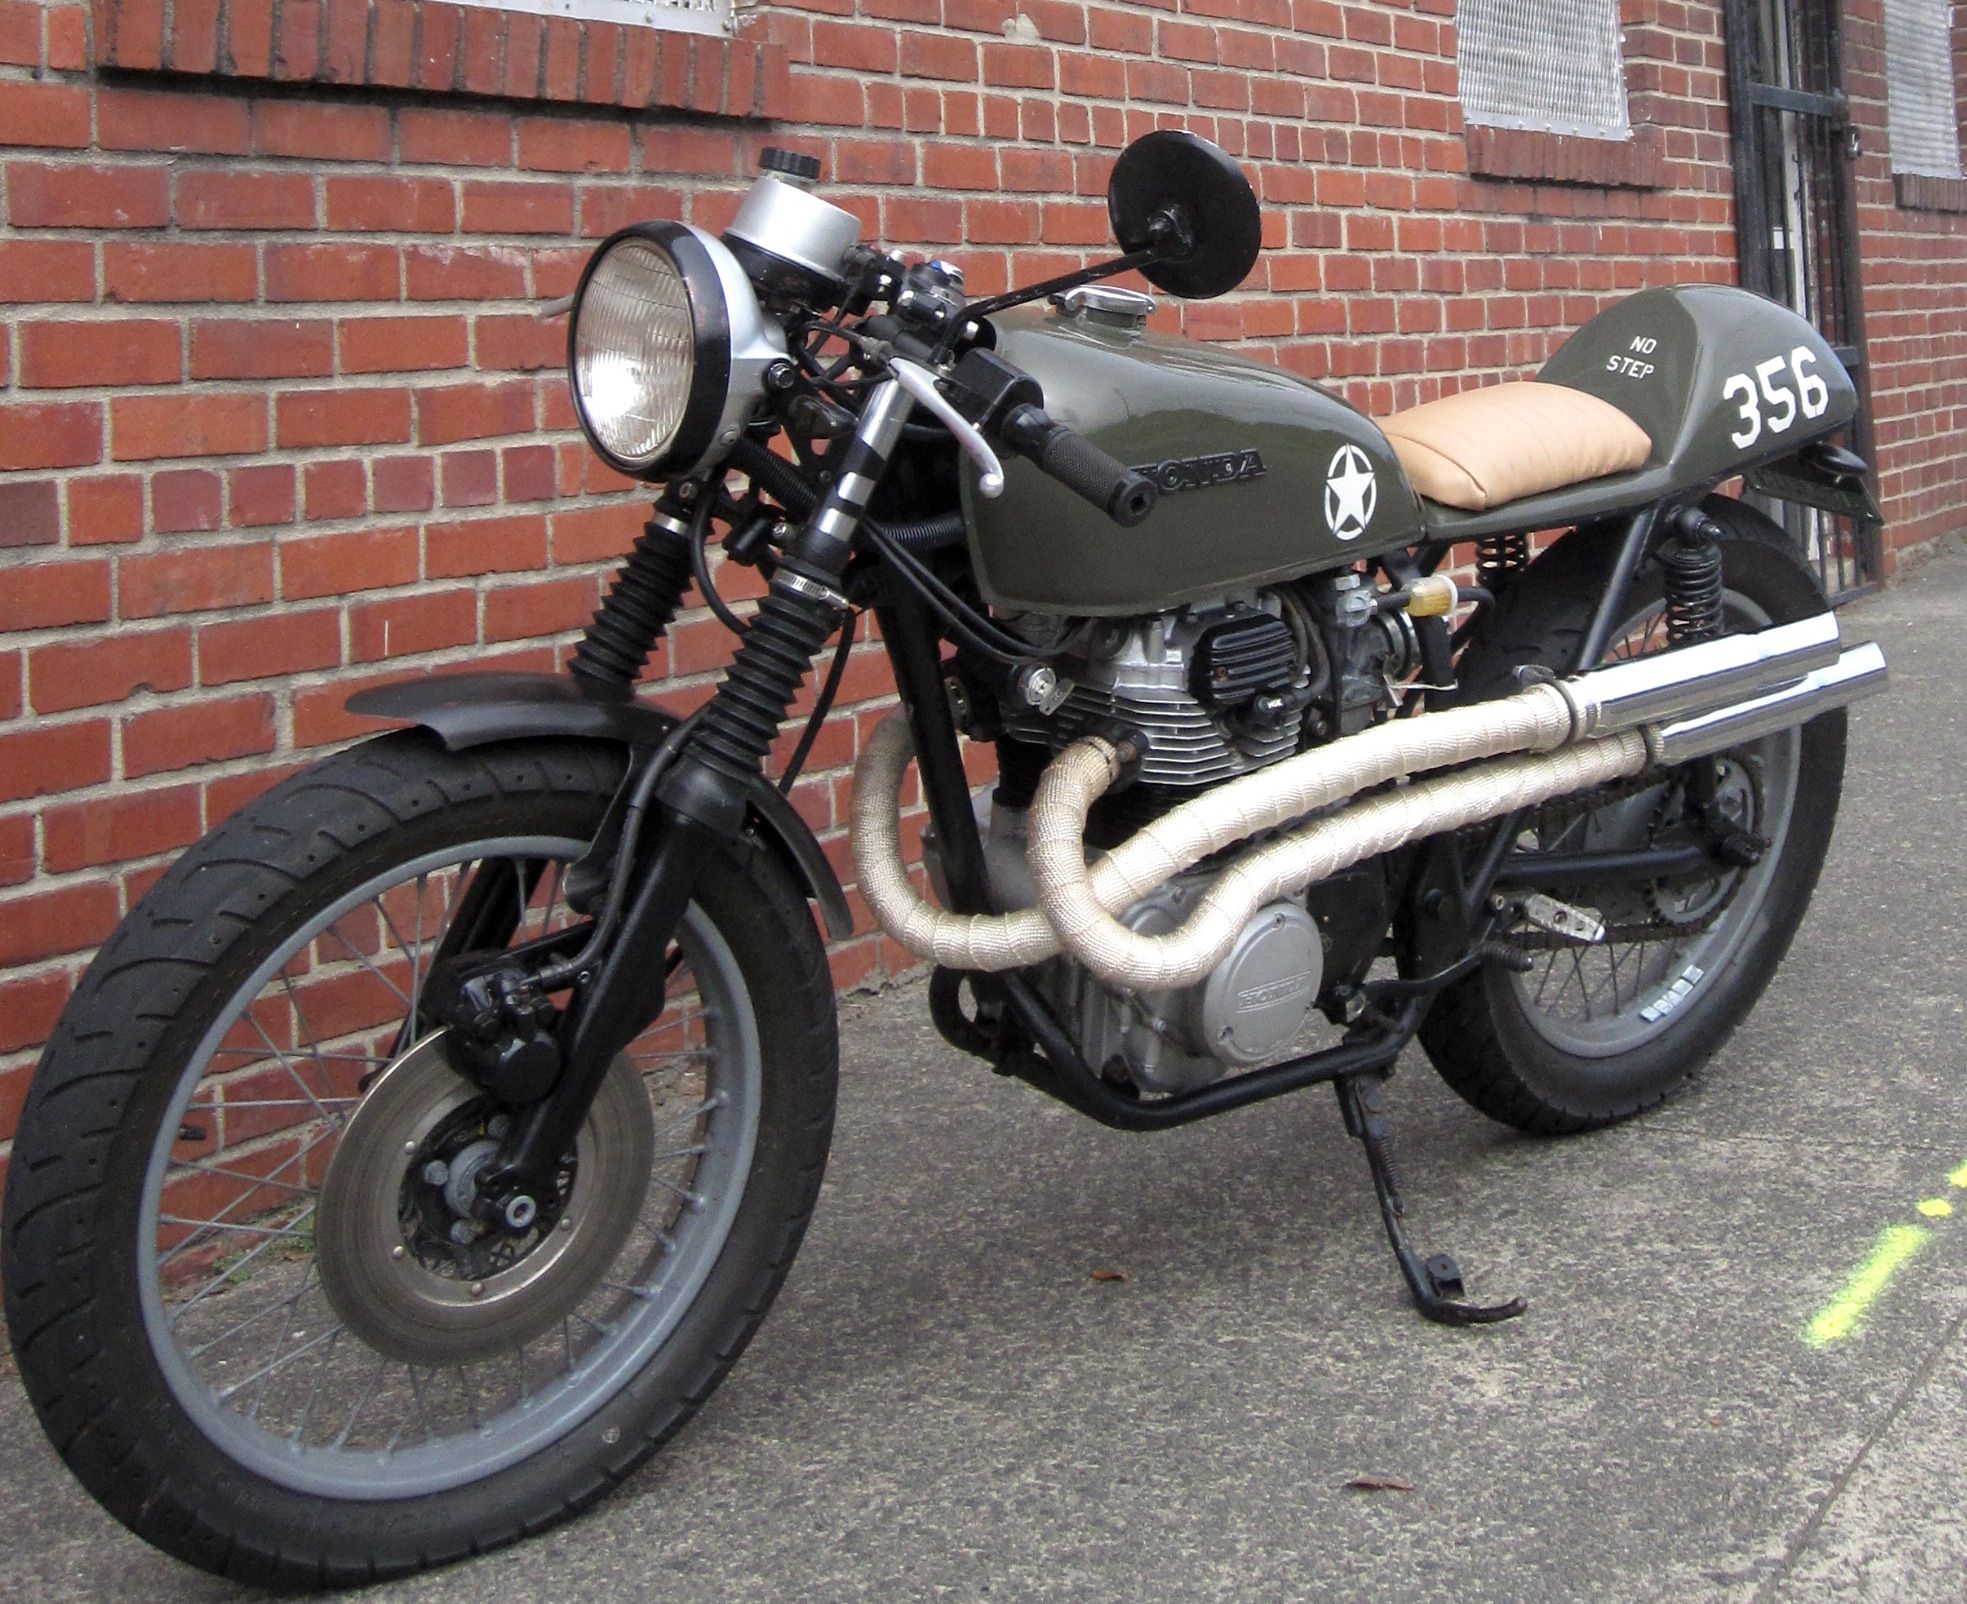
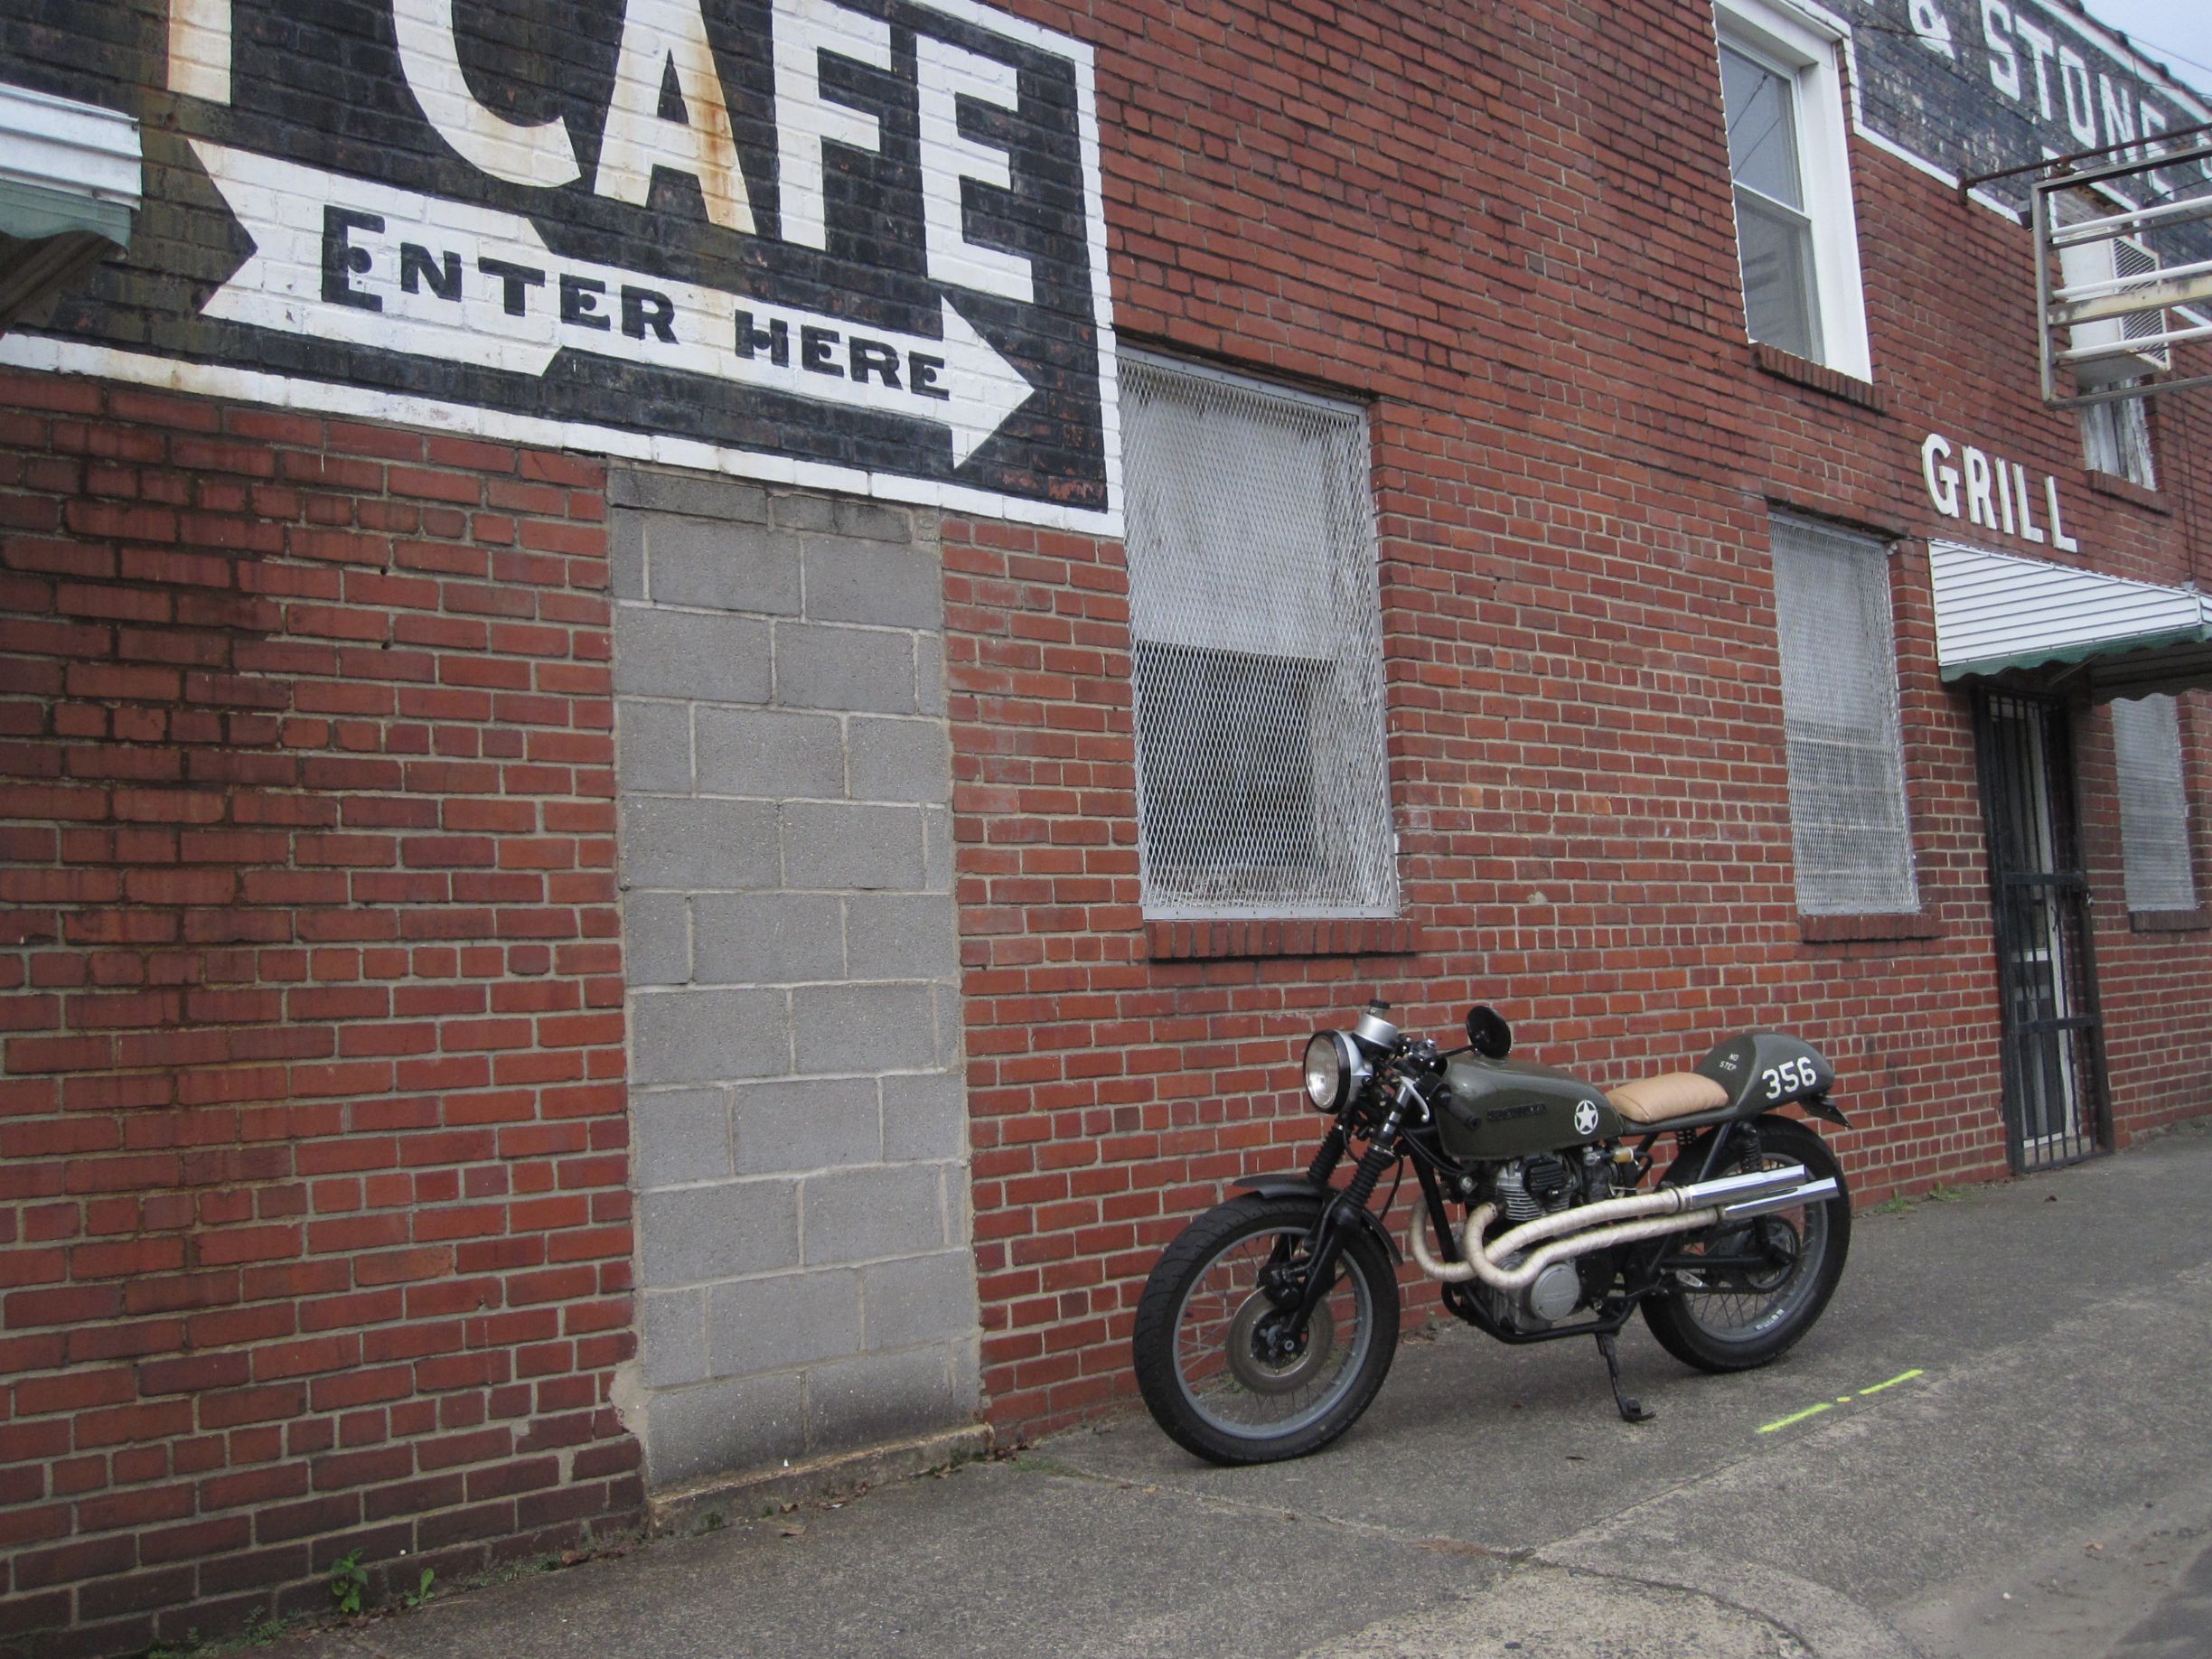
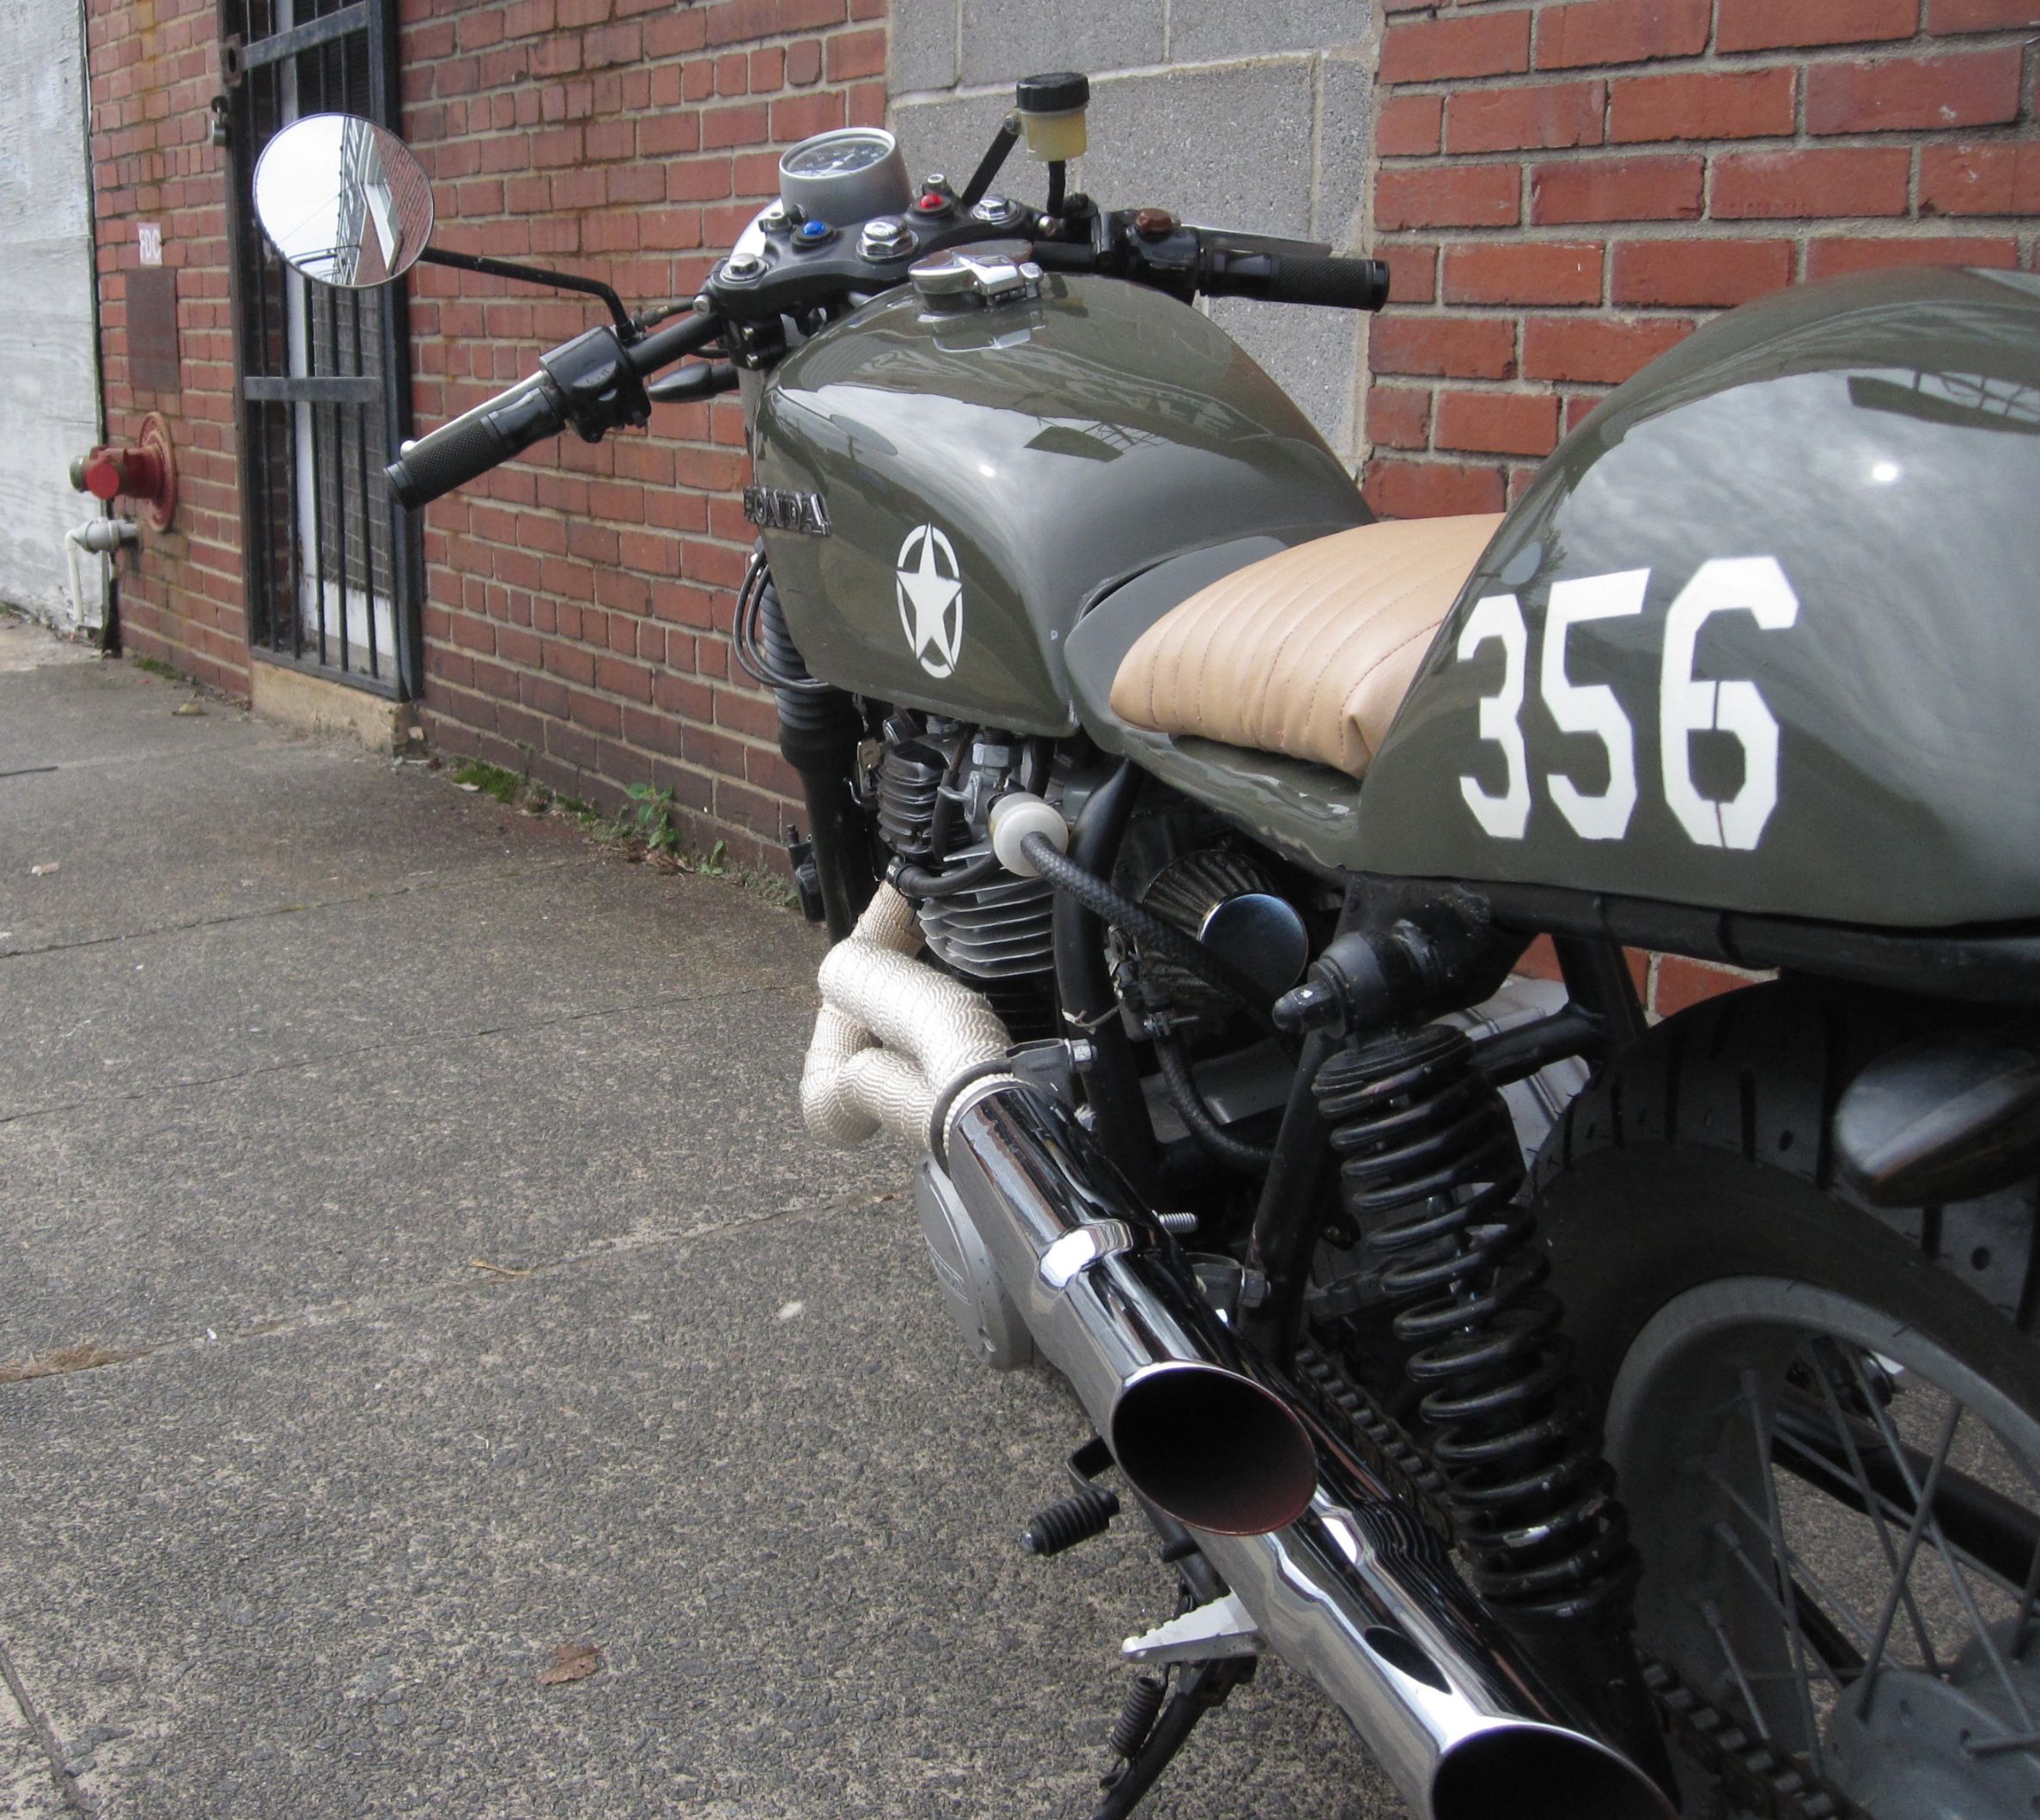
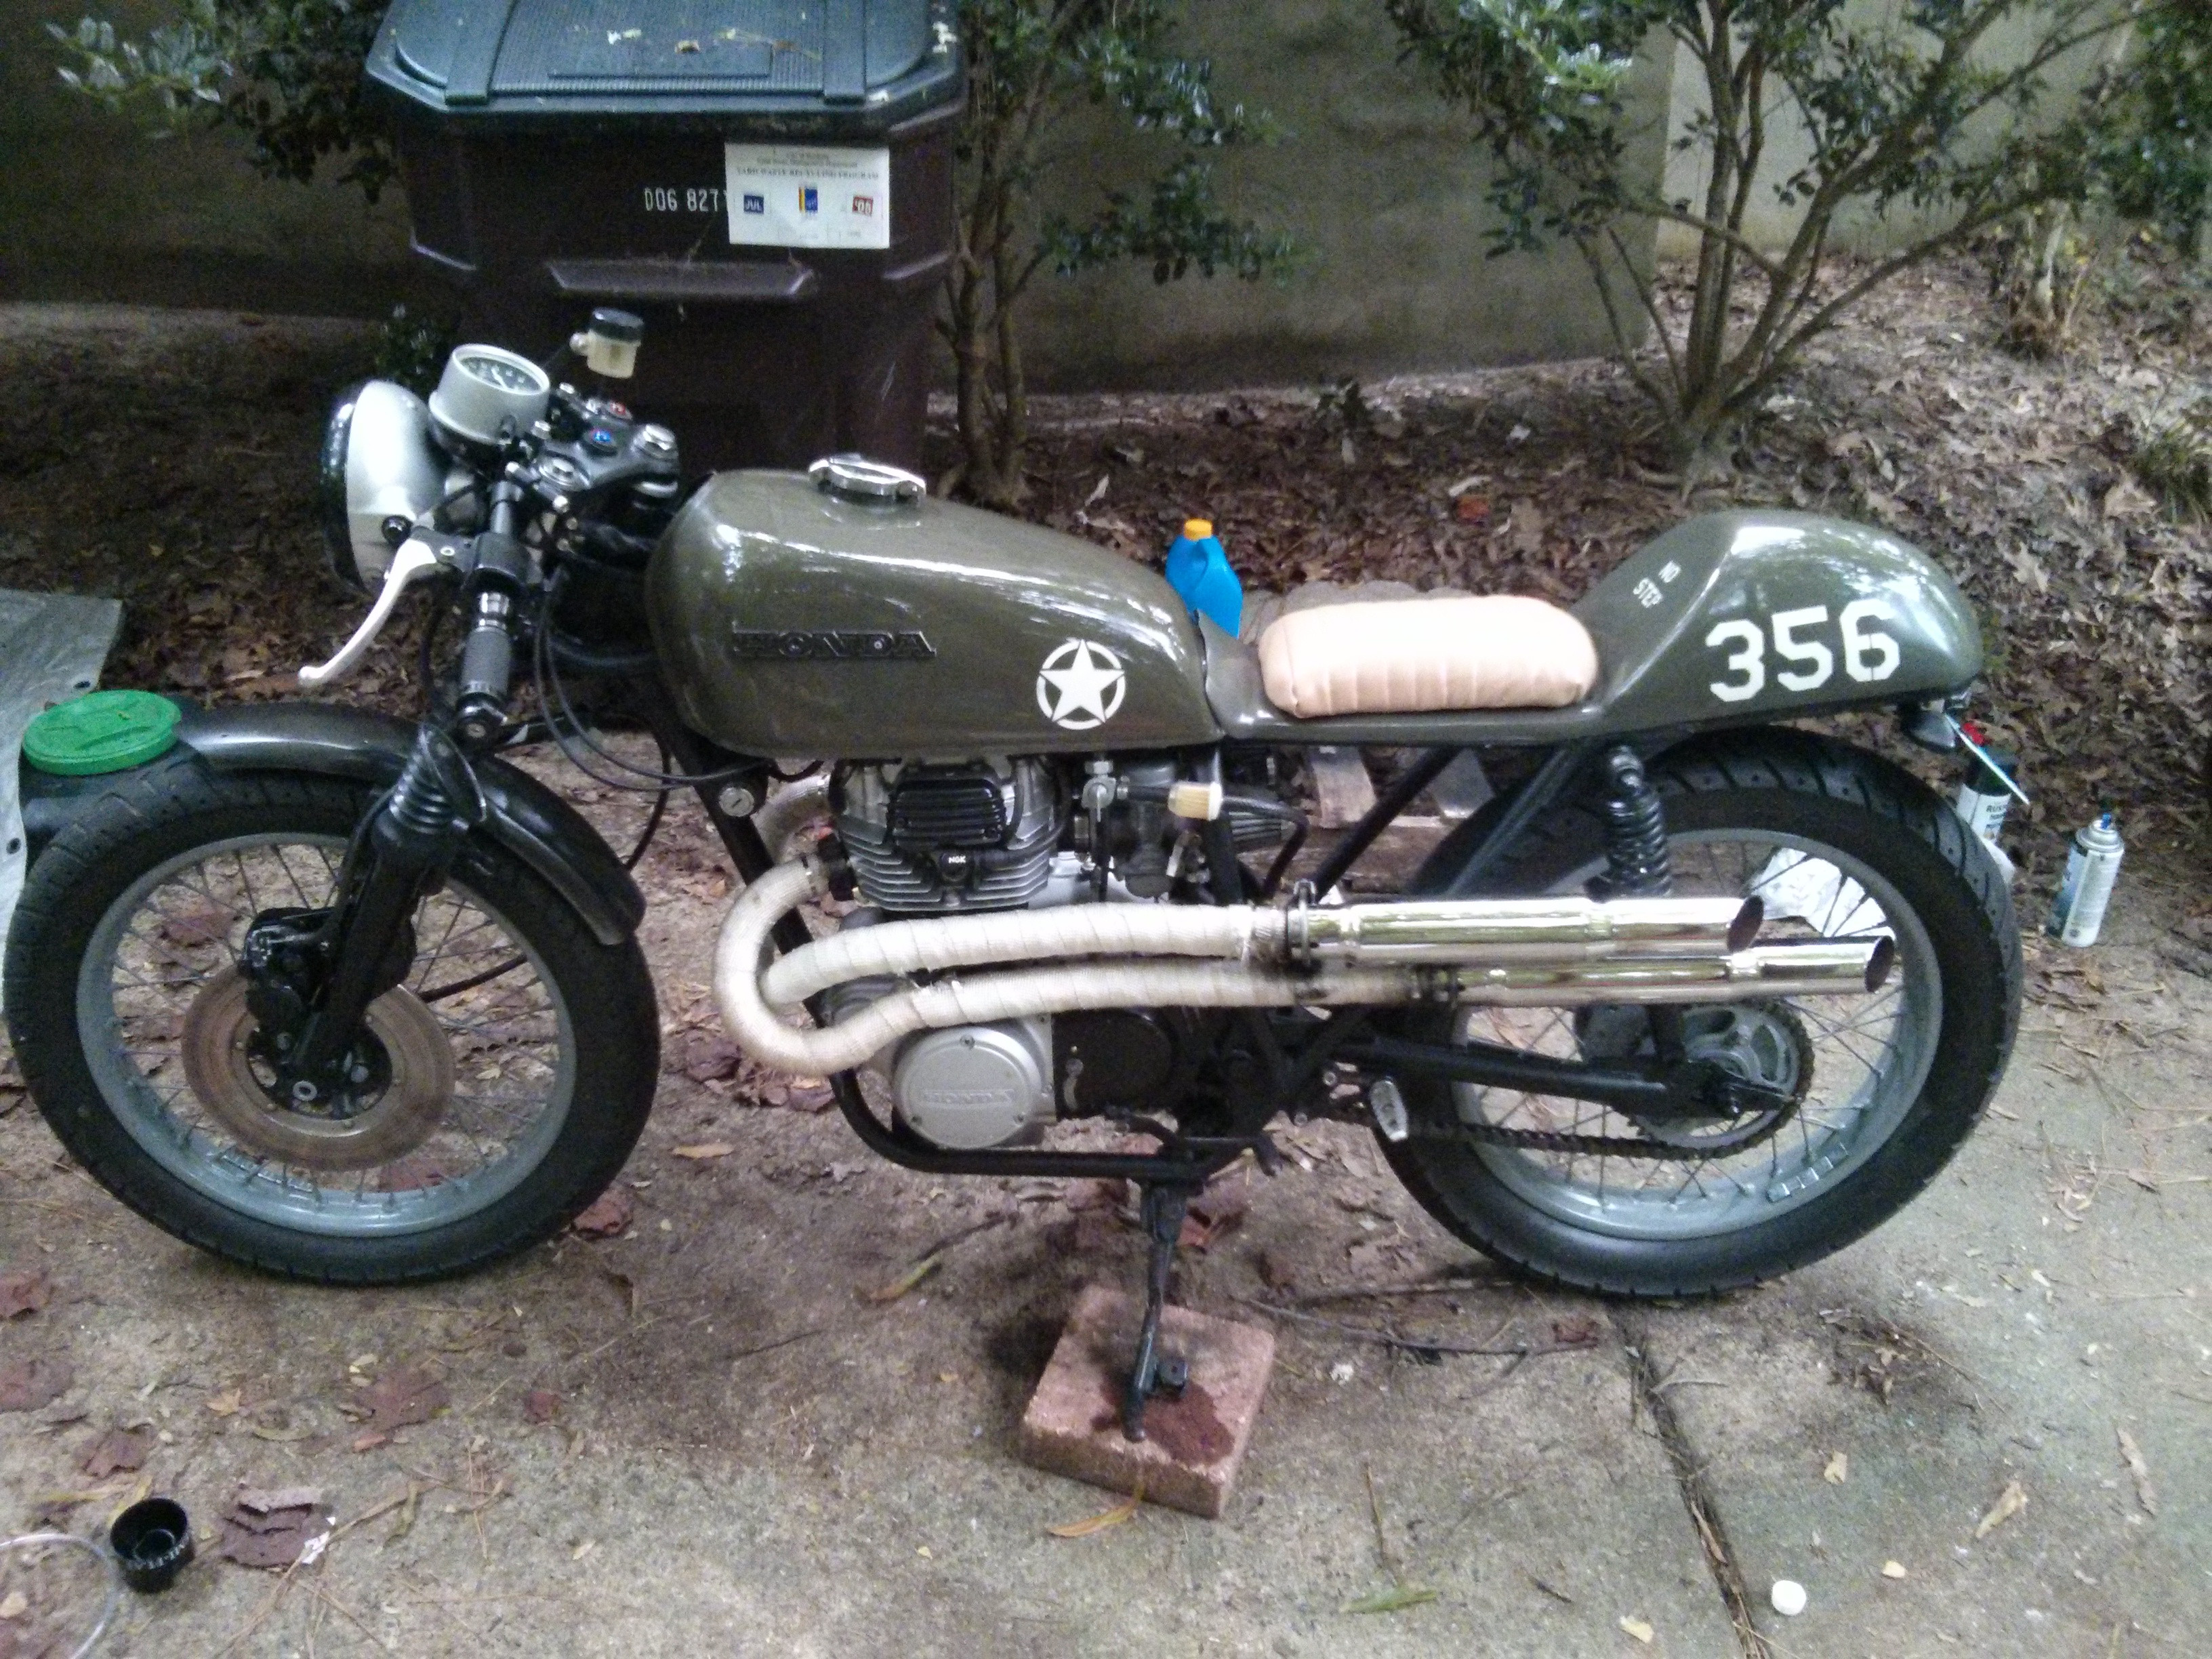
Without further ado, here is the finished bike:
On with the build!
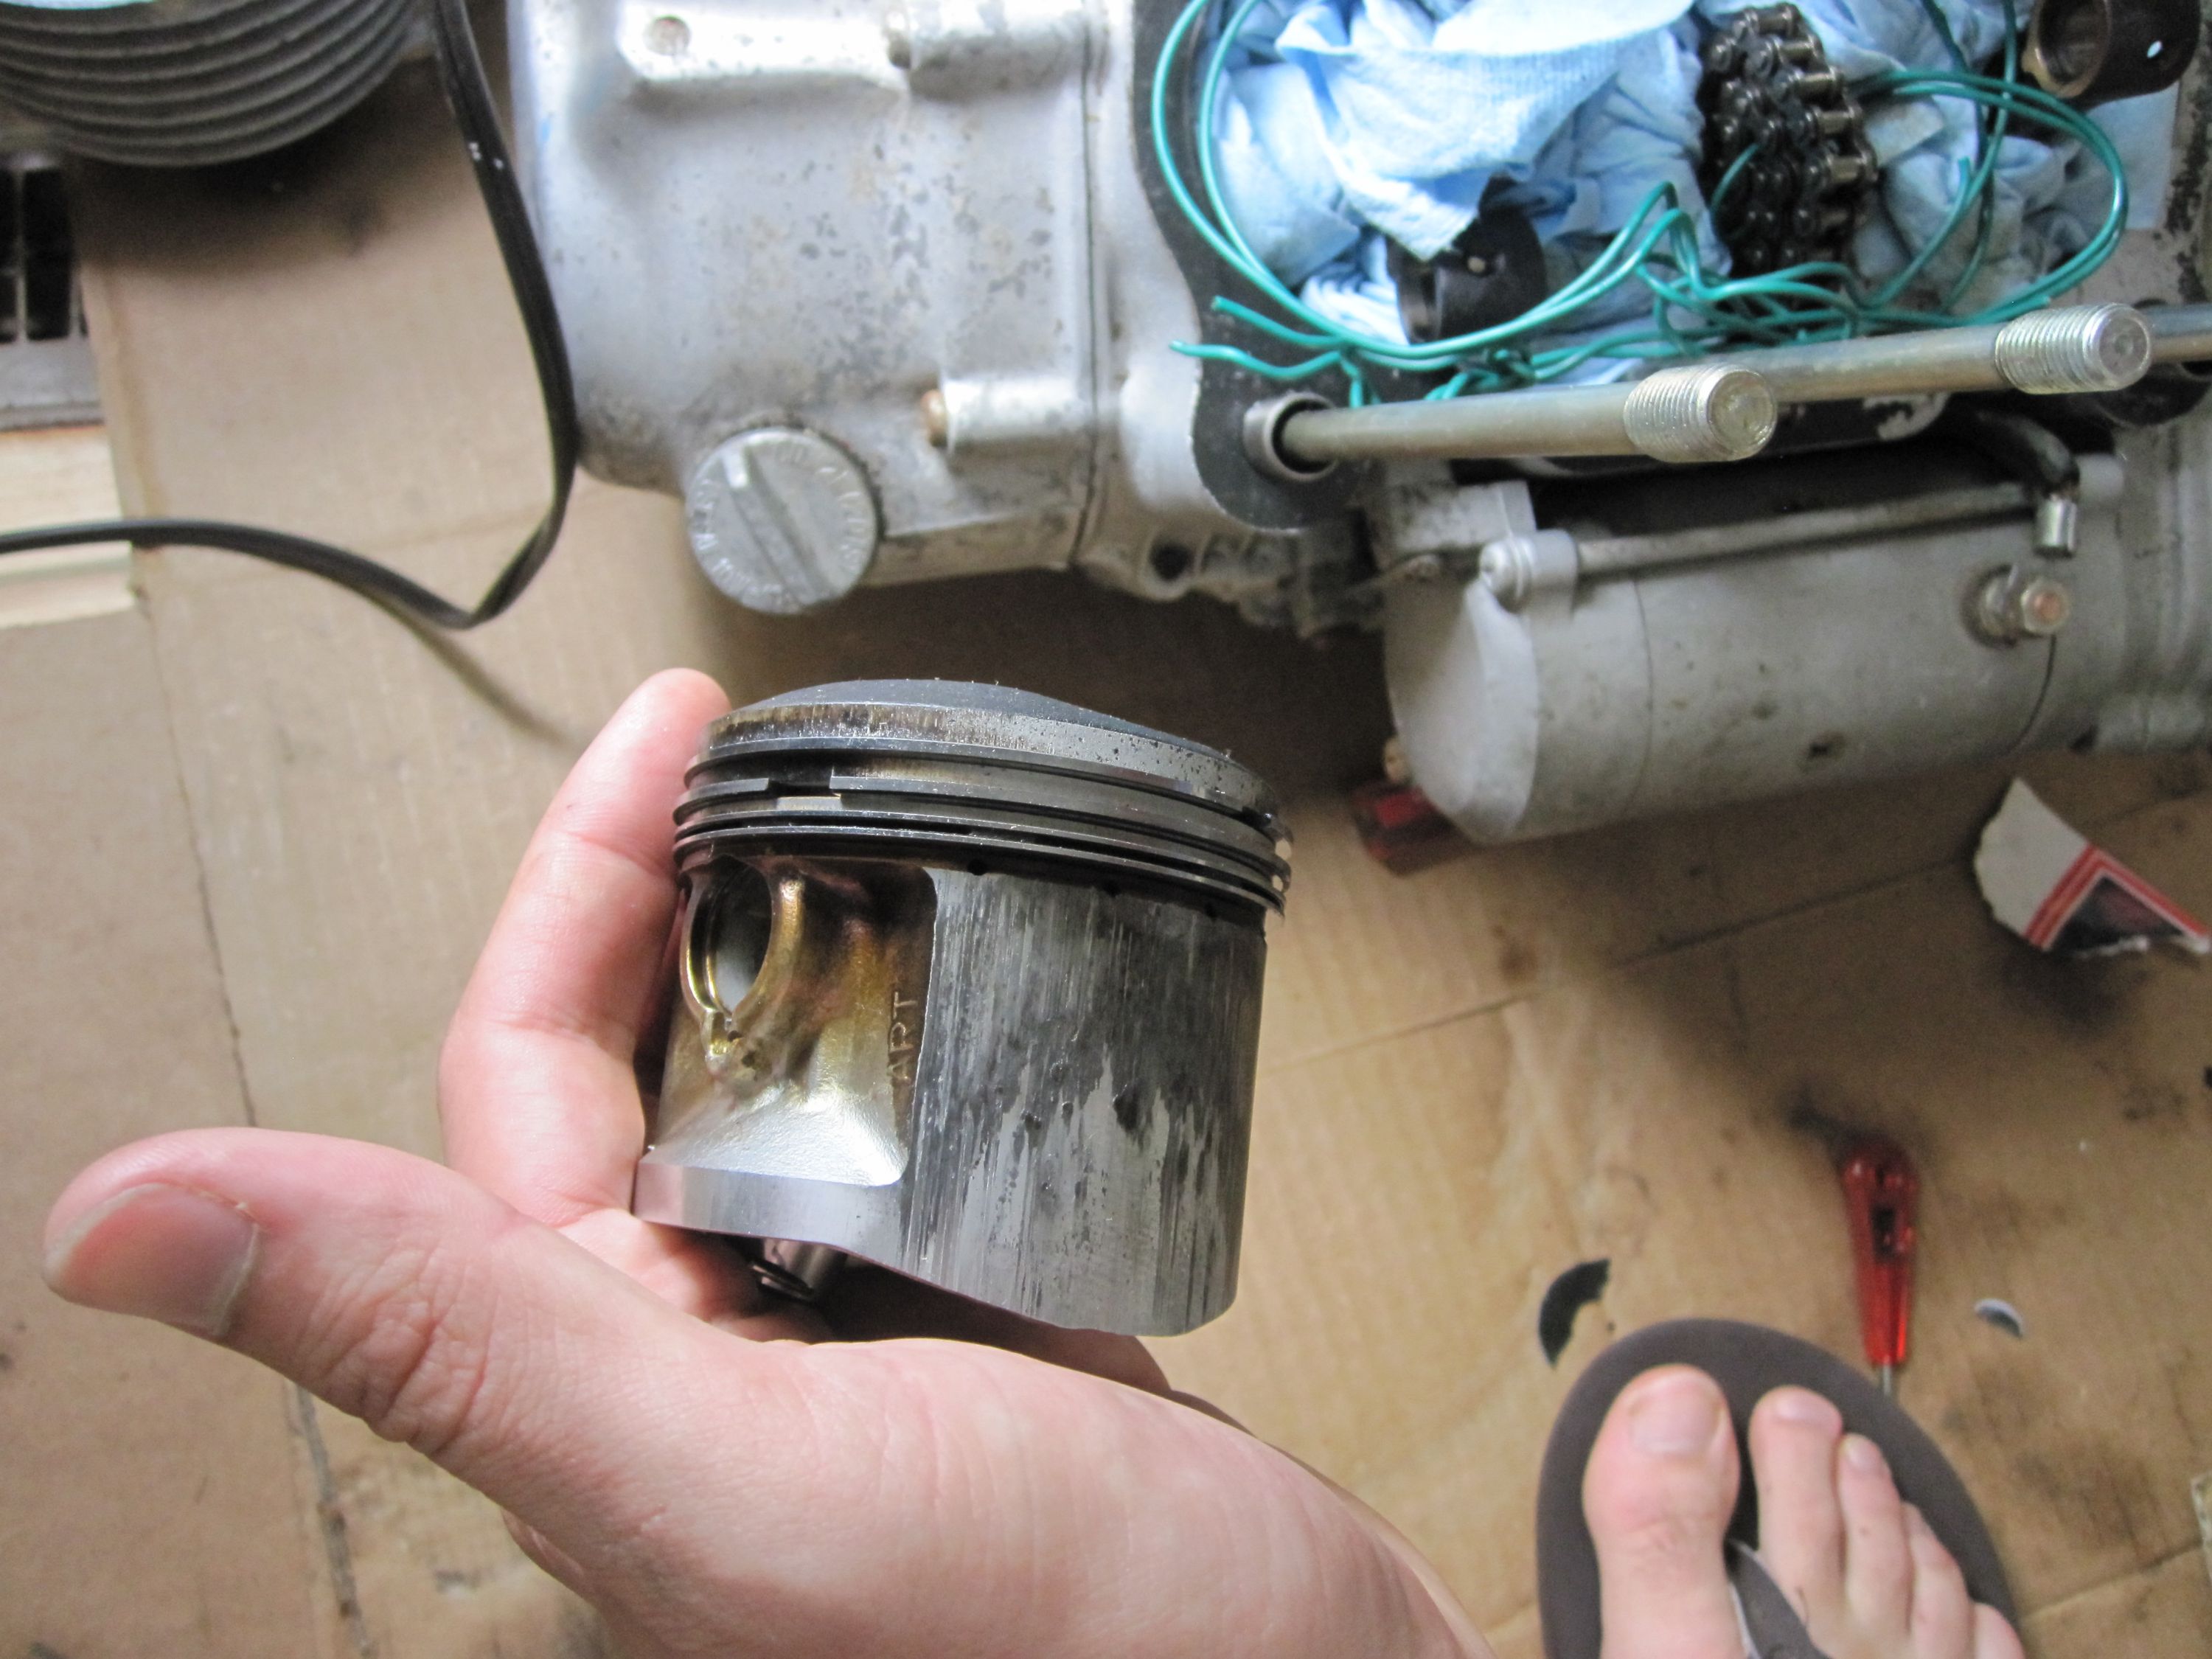
Started out running very poorly. Compression test showed low compression on the left side that improved when I added oil. So it most likely needed new piston rings. This was confirmed when I saw the left piston; the black marks are where it was blowing by the rings.
It also scored the cylinder well pretty well:
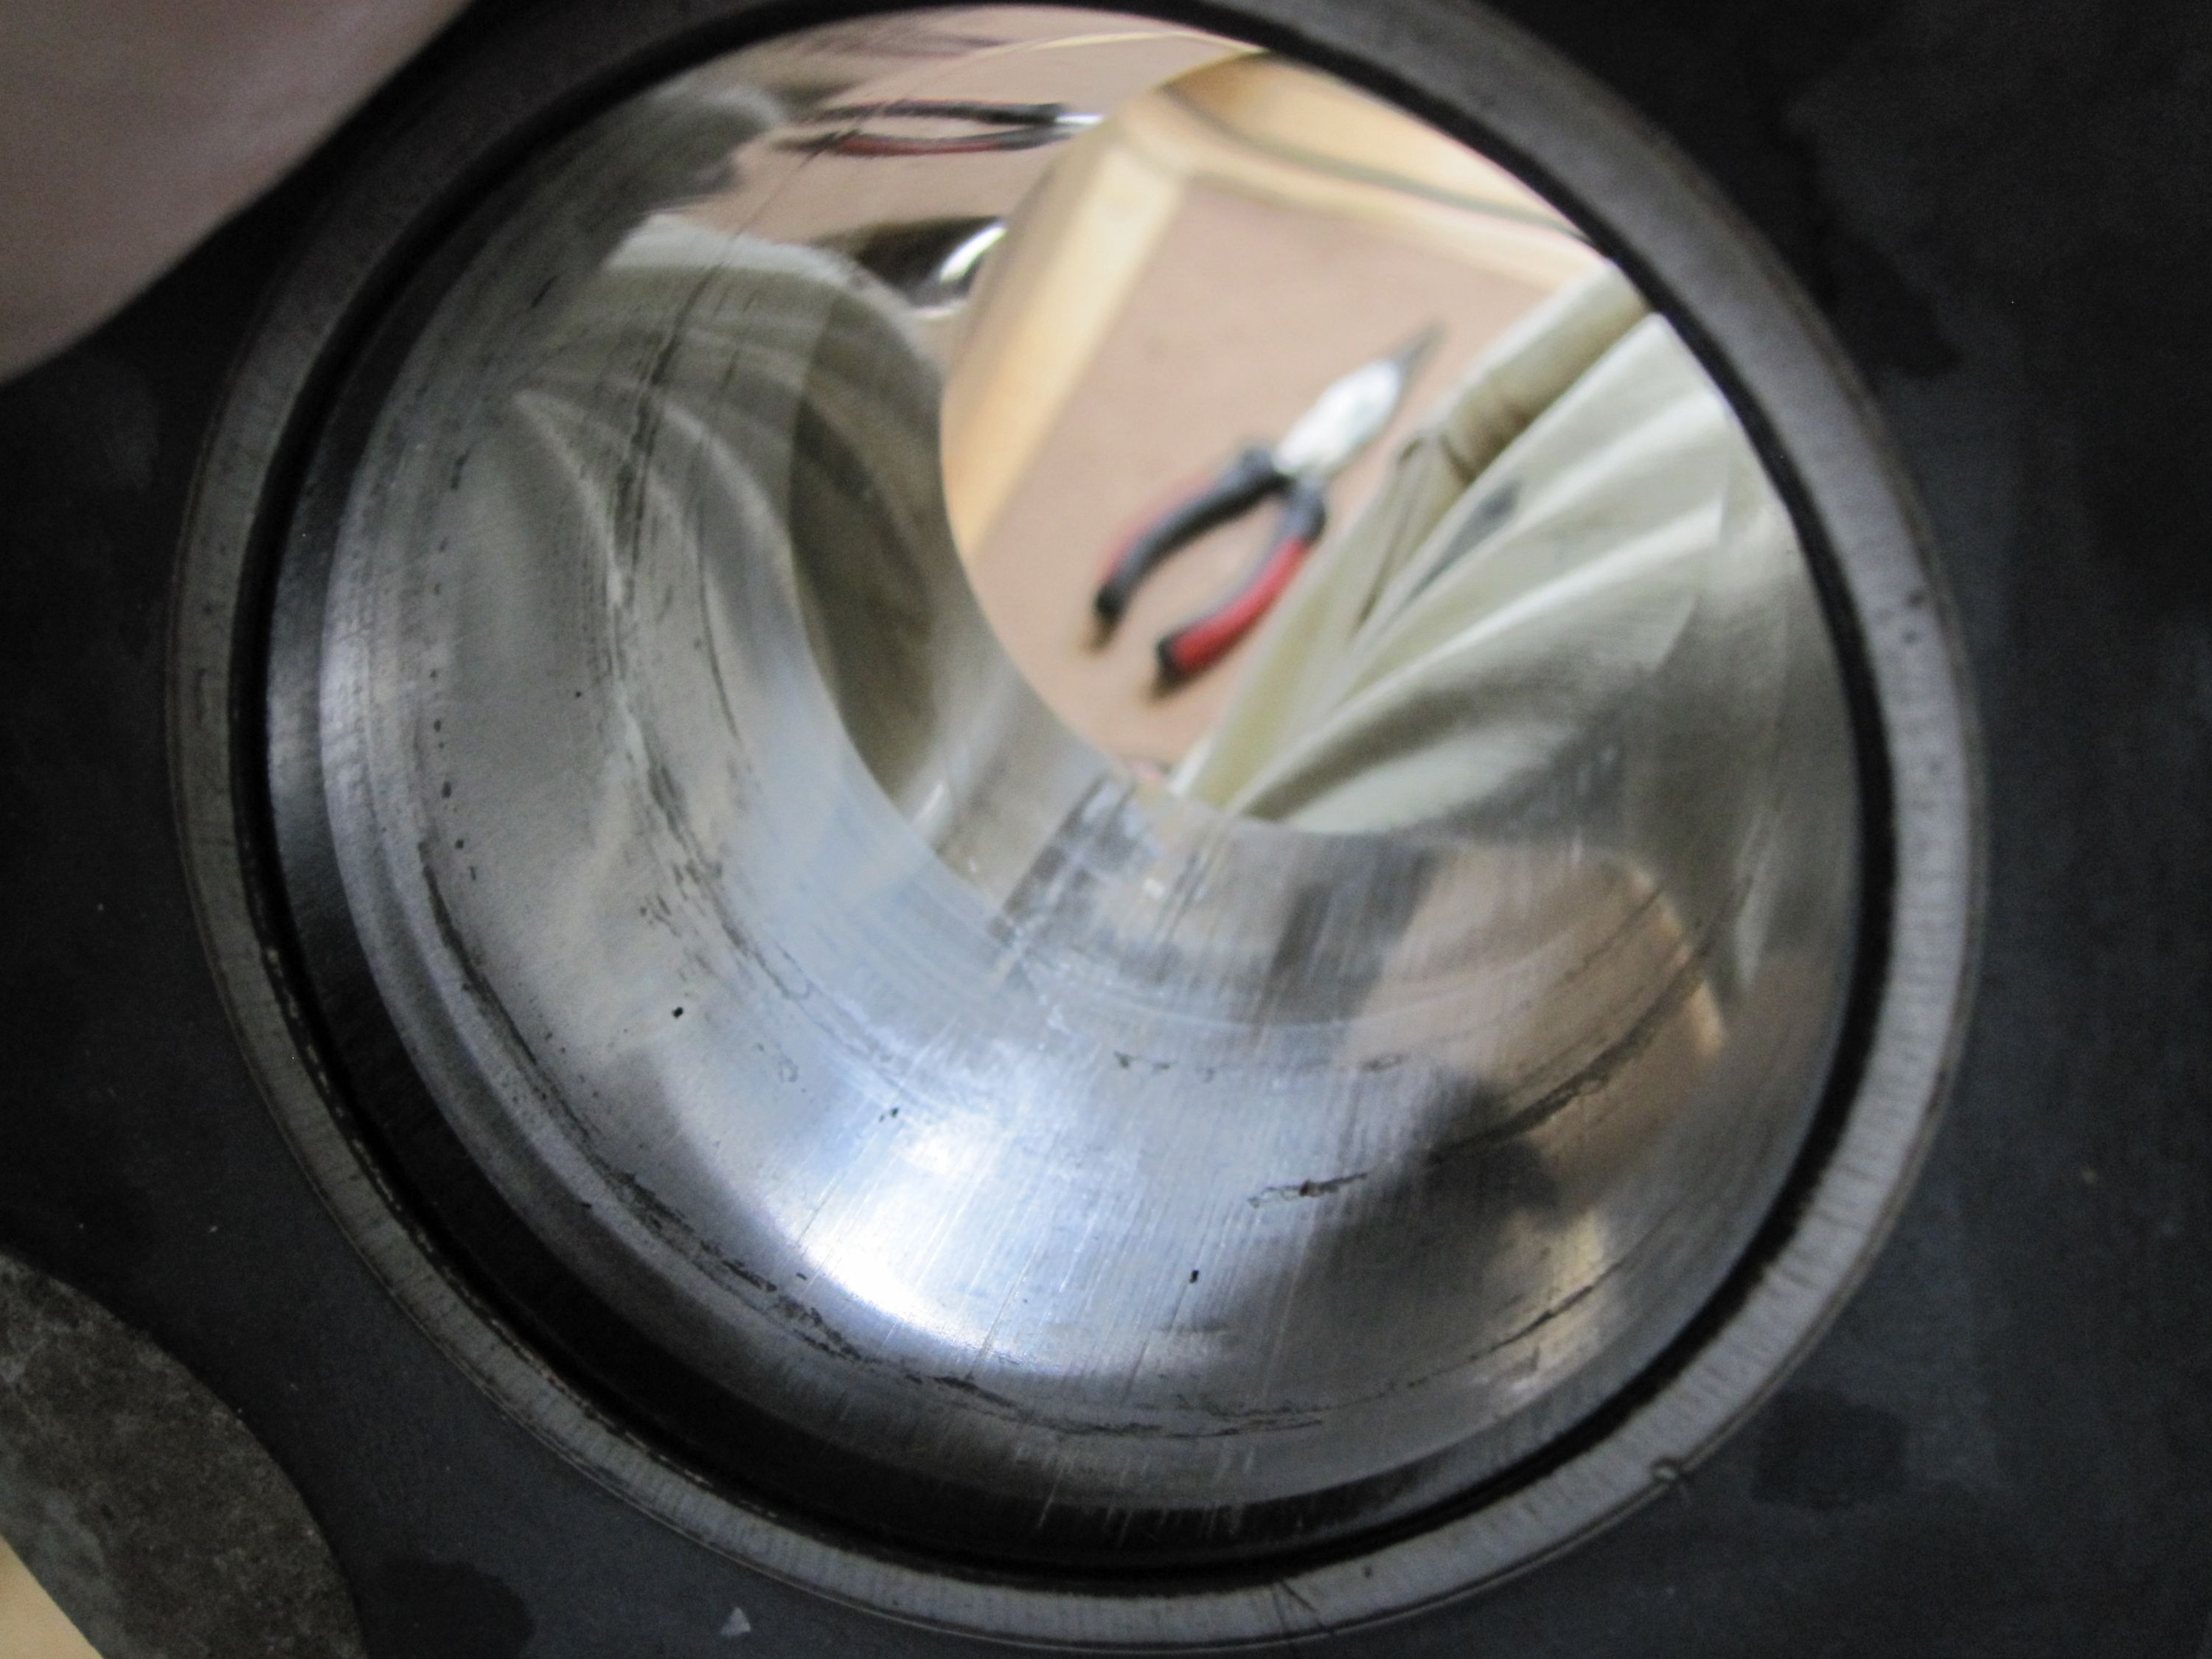
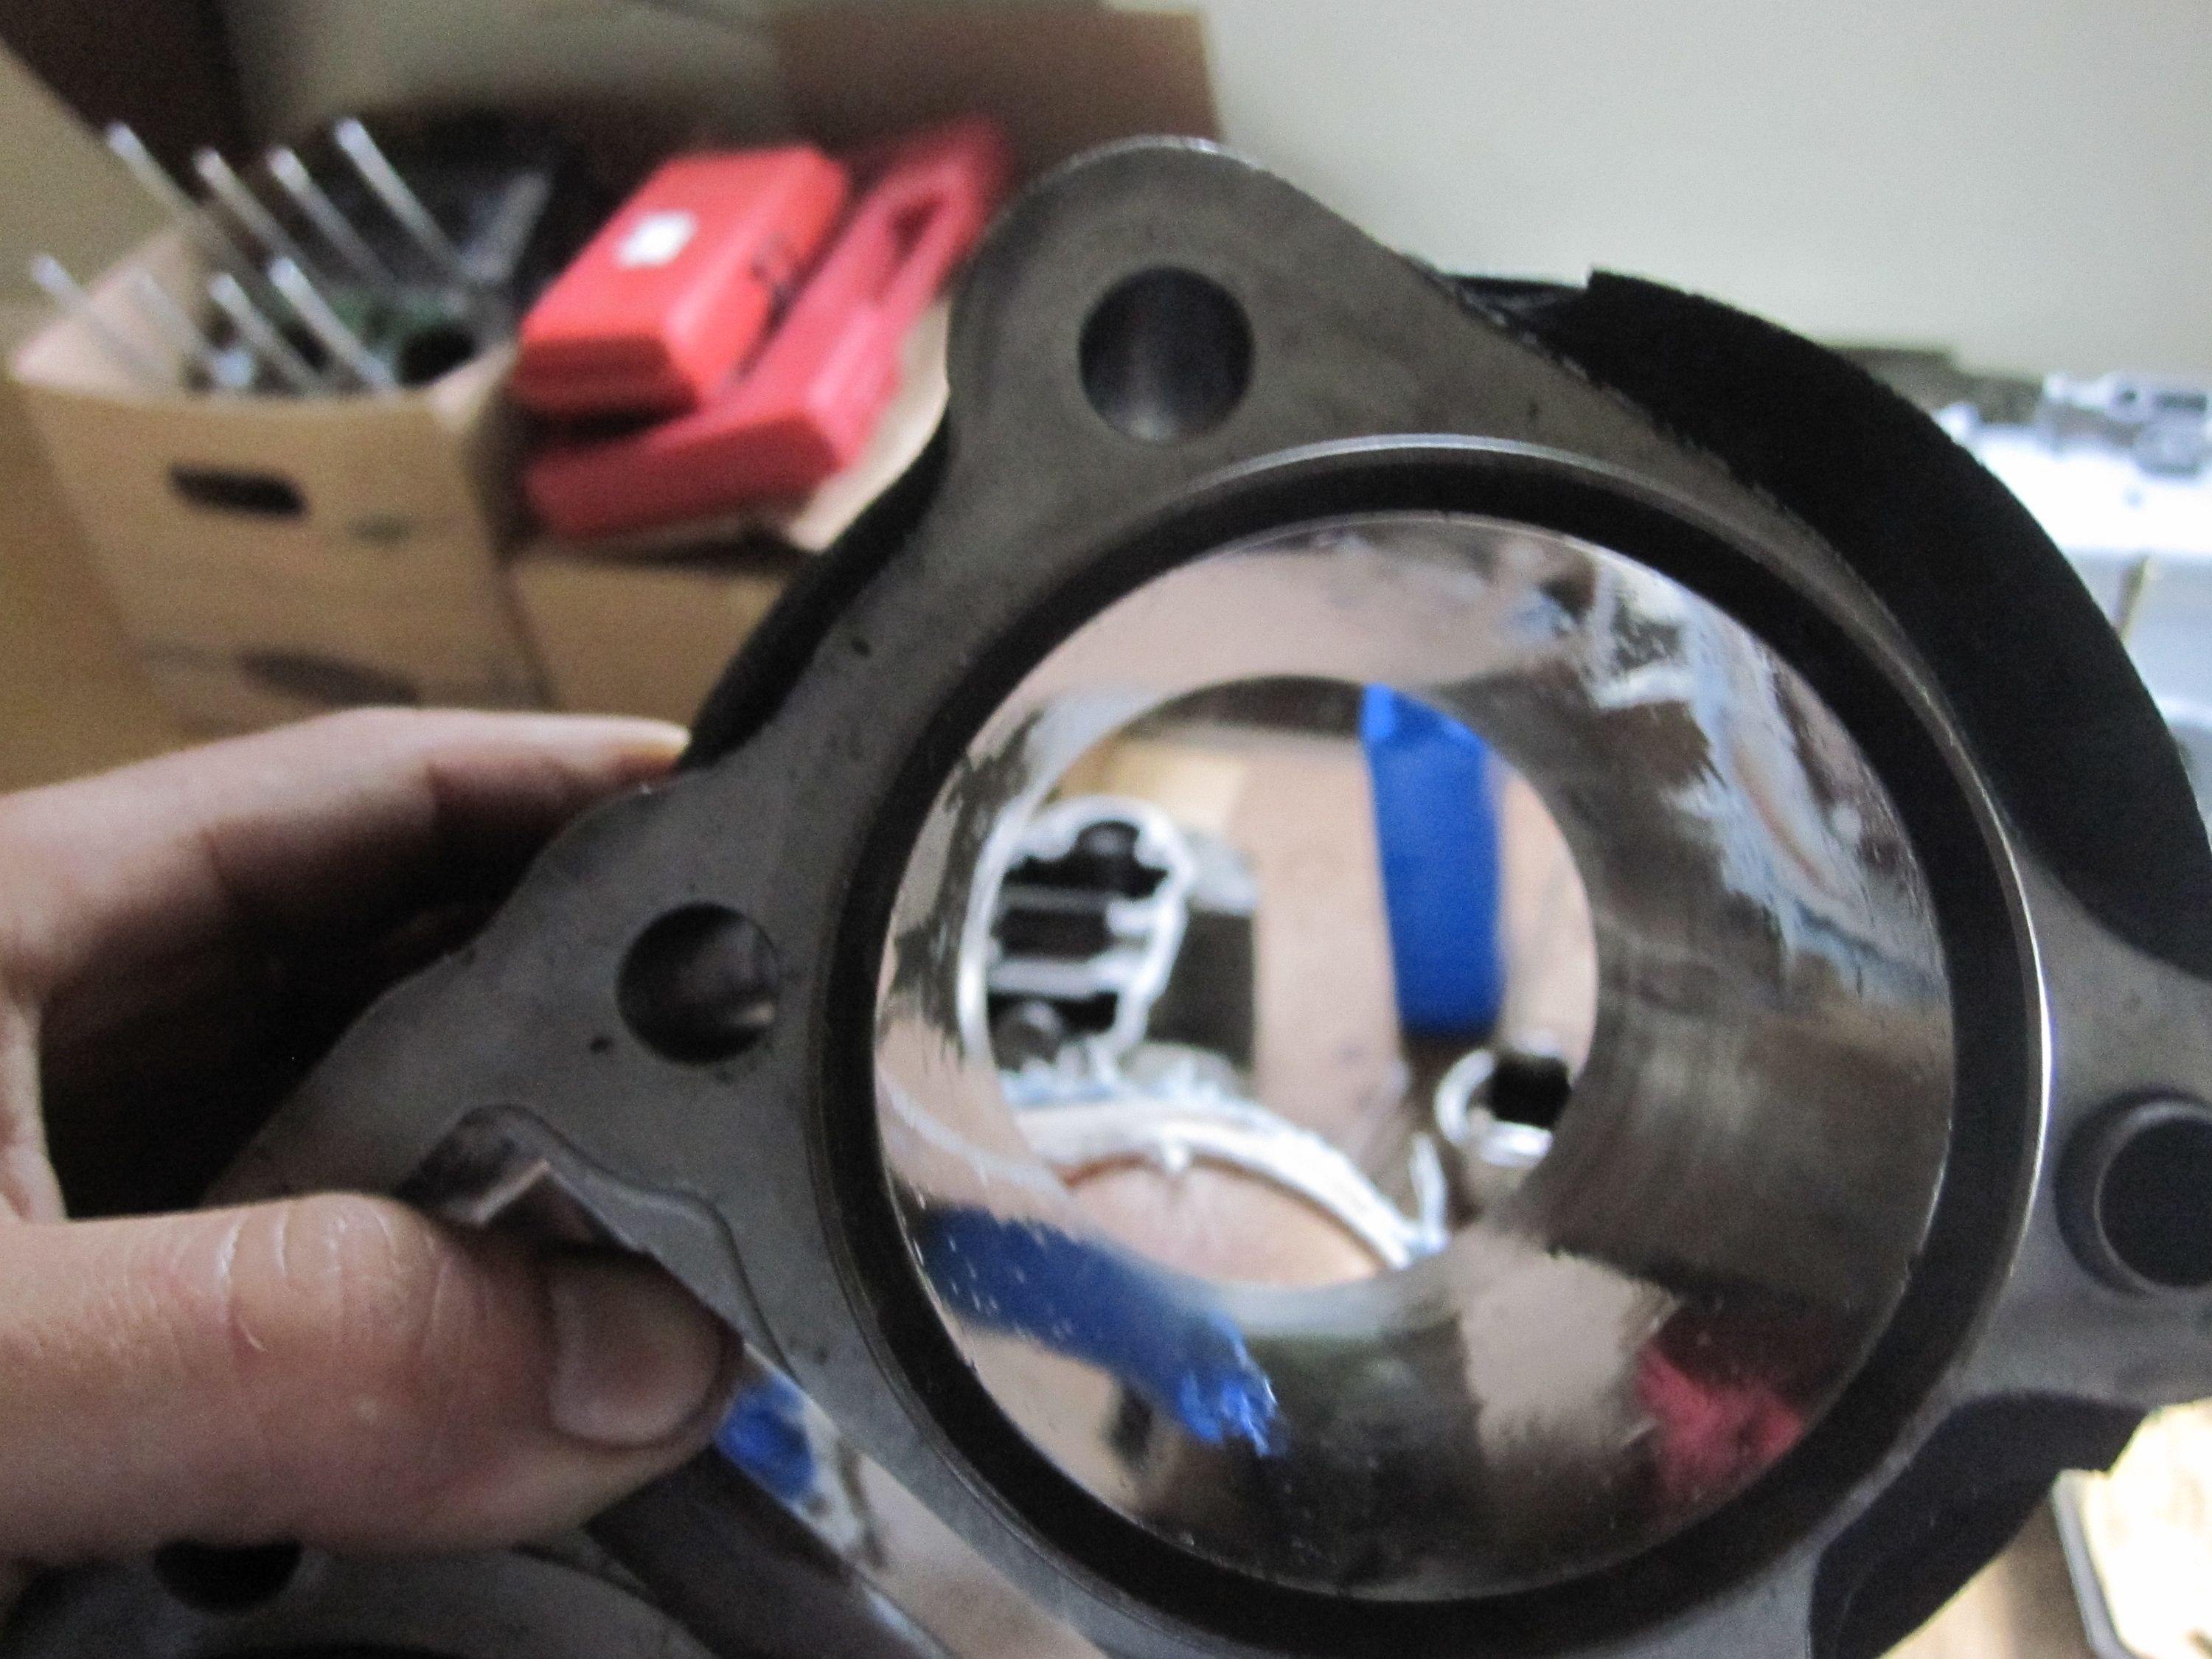
First, I had to handle the cylinder to determine if I could get the scratches out. Honed them with a stone hone from autozone's tool loan program. Then measured the diameters at top, middle and bottom. I was still within spec for stock size pistons so all I had to do was order new rings. Added wrist pins since they were cheap.
Cleaned up cylinder:
Painted the engine and installed the new rings on the pistons and the pistons into the cylinder. I practiced installing rings with the old ones since they're brittle and easy to break...
The best way I found to set the rings was to install the ringed pistons onto the rods (don't forget to plug the cylinders and cam chain opening so you don't drop the wrist circlip into the crank), then offset the pistons by an inch and have a friend lower the cylinder down bit by bit. Align the rings in their offset 270 degrees or whatever and compress each wring with your fingers to guide it into the skirt. Once that piston is on you can do the same for the other. There's ring tools available but I didn't see how they'd be much help.
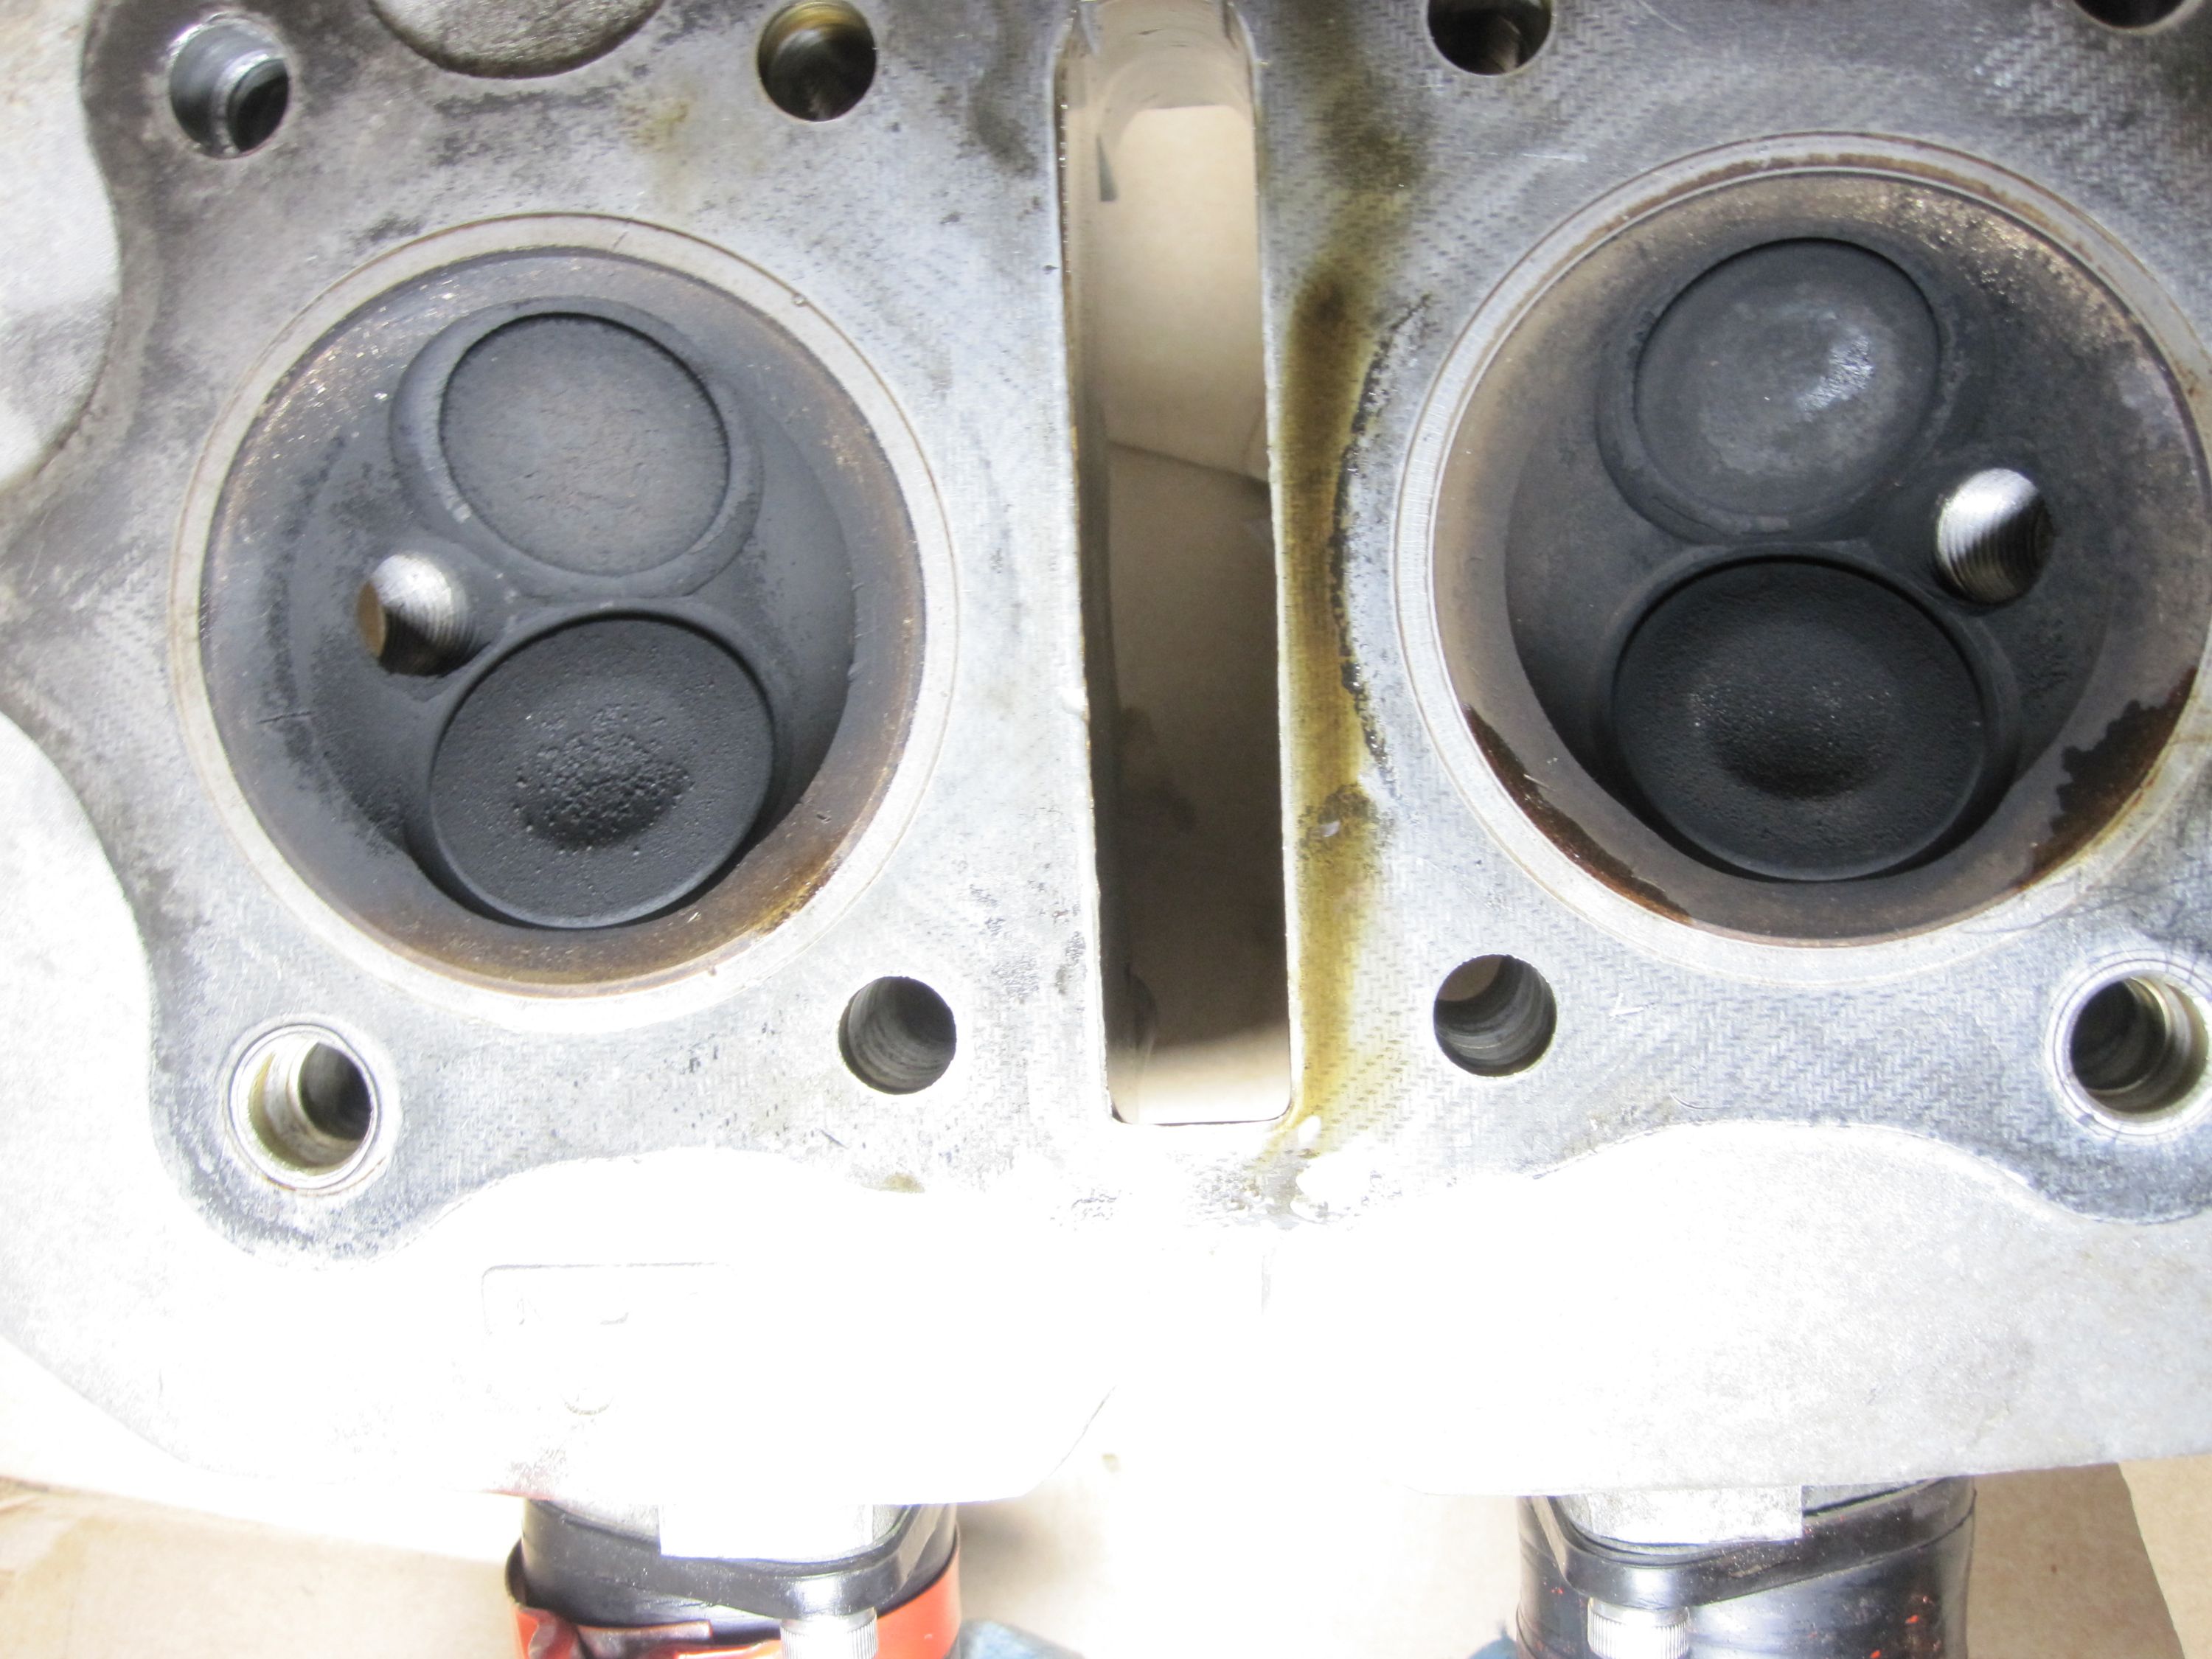
Next it was onto valves, mine were pretty gunked up:
Cleaned them with a polishing brush on the dremmel:
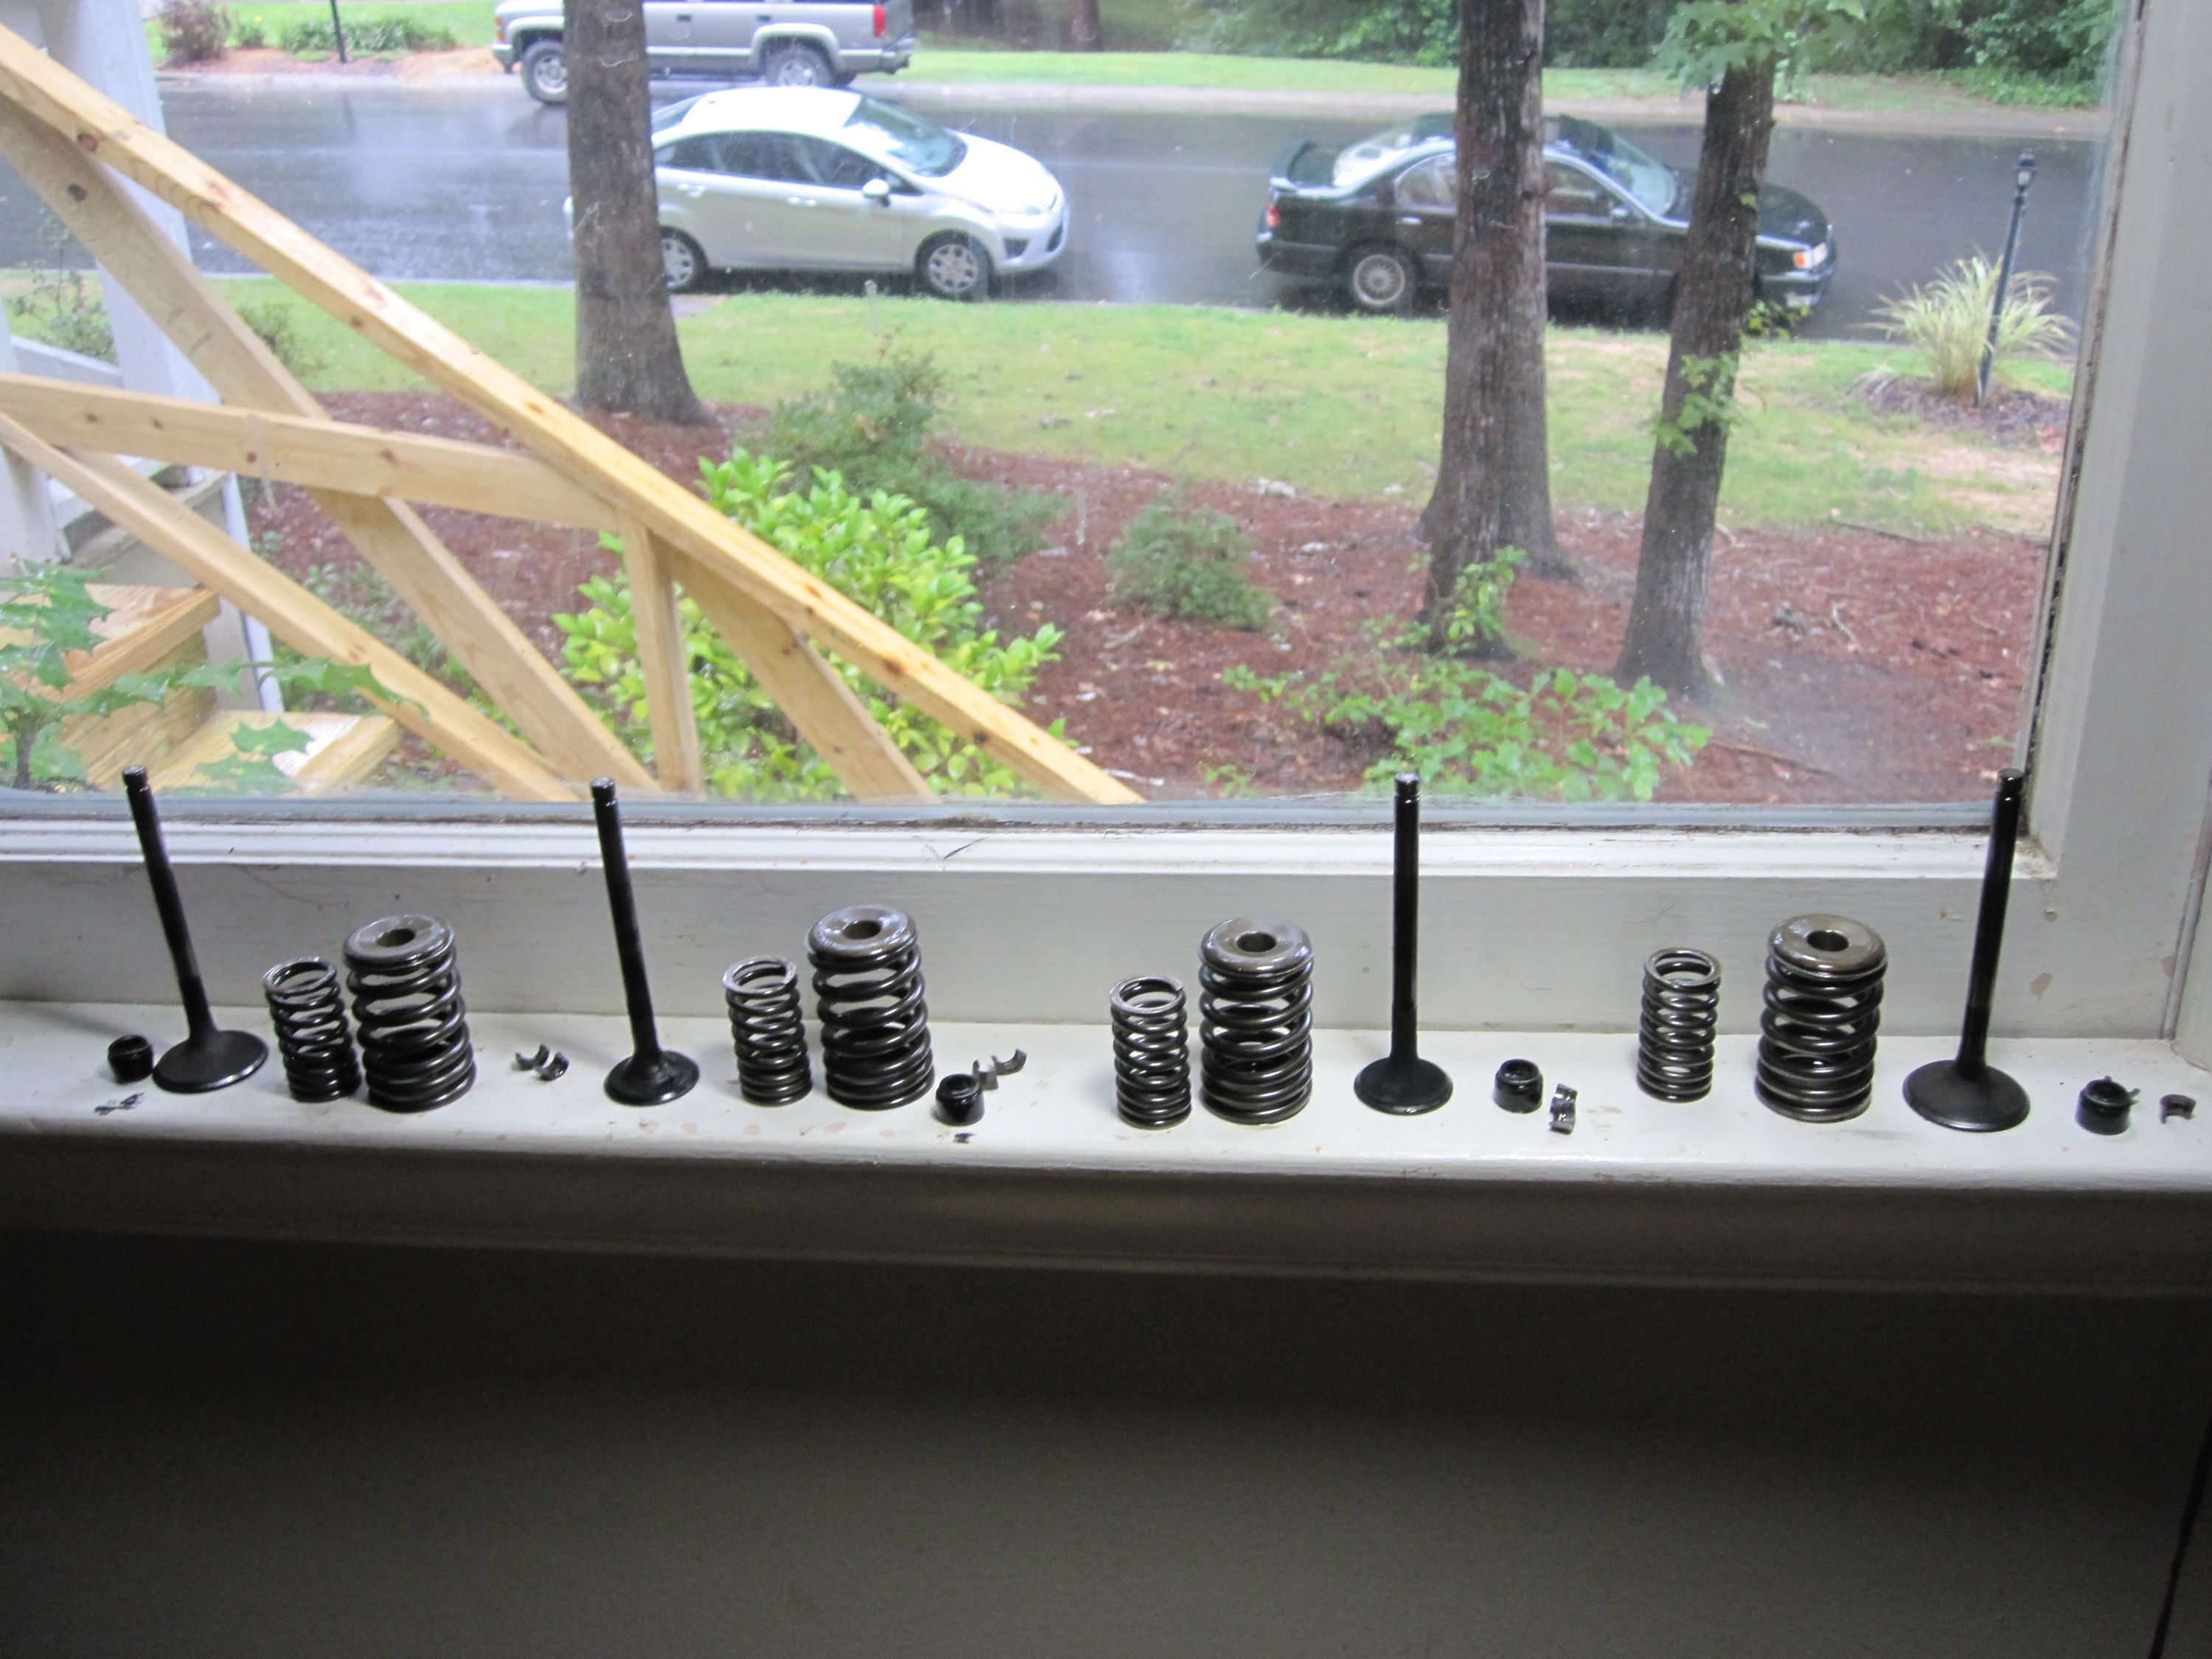
Lapped them in and tested for leaks by pouring acetone in the upside down combustion chamber and looking for leaks in the ports. This was tedious and took for freaking ever to get them so they didnt leak. Use a very light hand with the lapping tool.
I seriously need a garage, (my girlfriend was patient but annoyed):
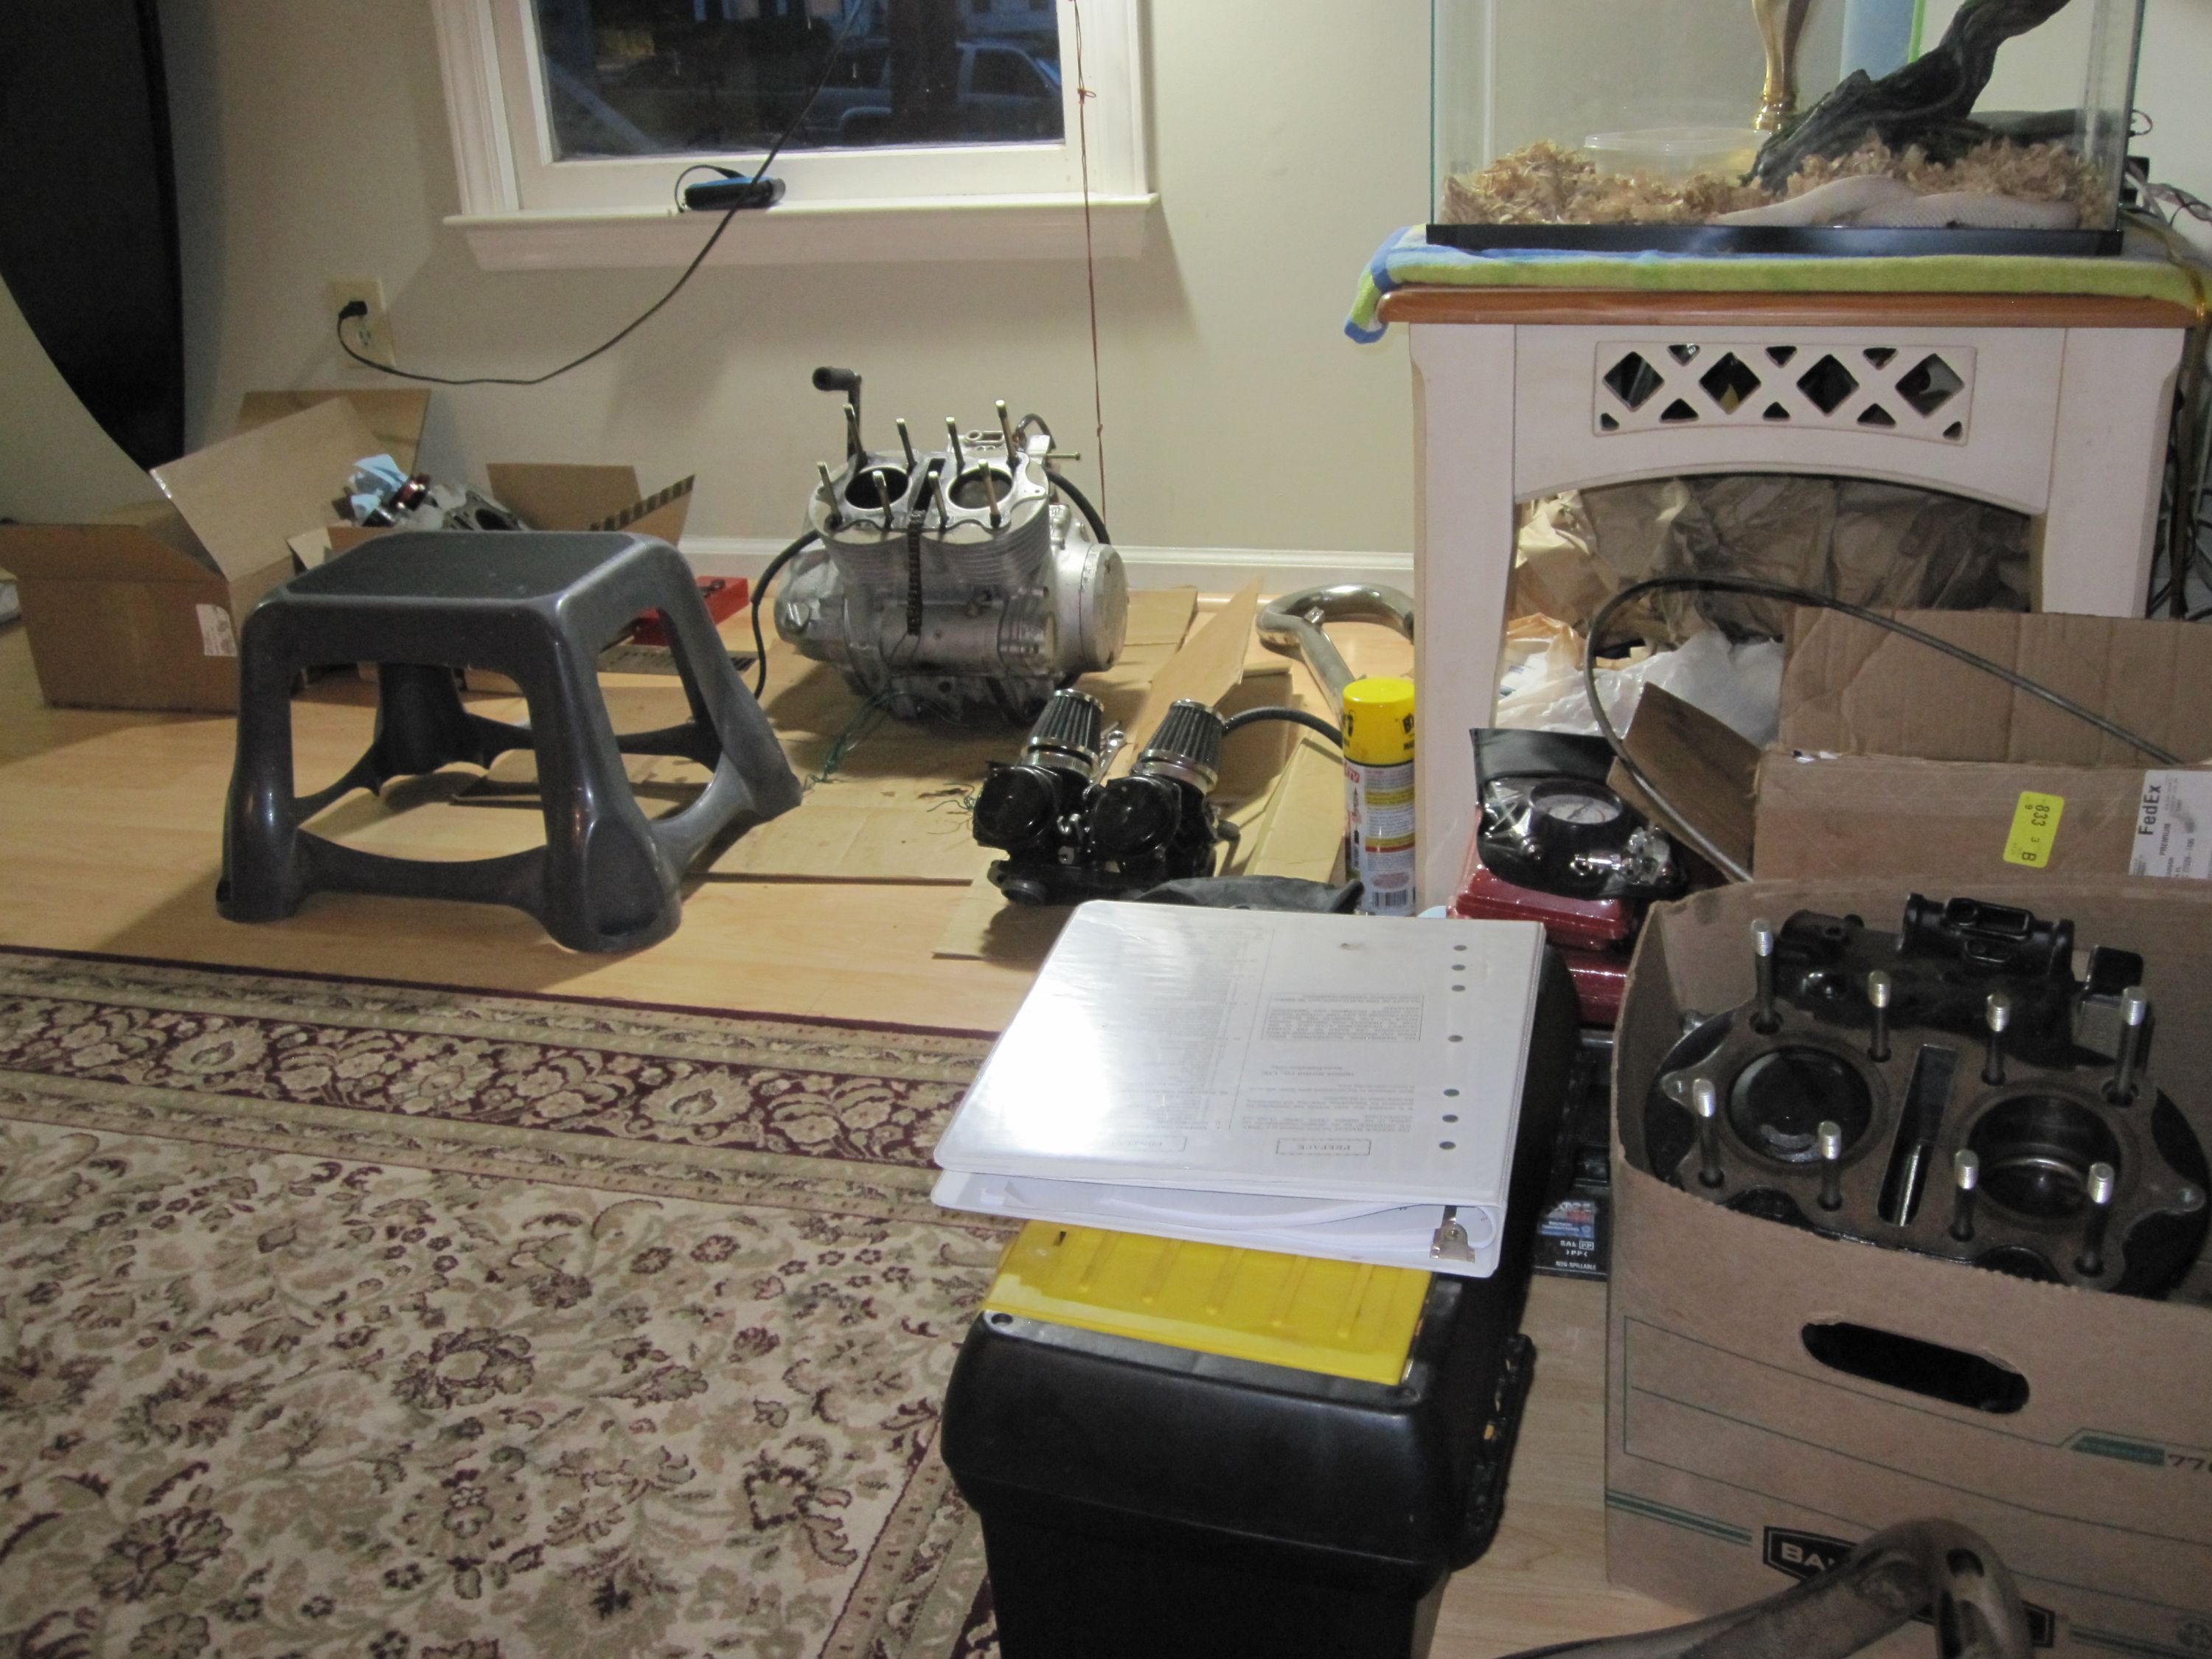
For whatever reason I changed the cam chain because I'm always paranoid of a cam chain failure that will wreck the whole engine. If you decide to do this, buy at least two master links. I made one too stiff by pressing the side plate on too tightly and the other I riveted too tight (yes I used three)... I can't remember how many links I needed but it was hard to find the right size chain for the 360. I bought one size up and broke out the extra links (don't forget the master adds a link).
Put the engine back together, gapped the valves to the ridiculously tight specs they ask for, replaced all seals and torqued everything down.
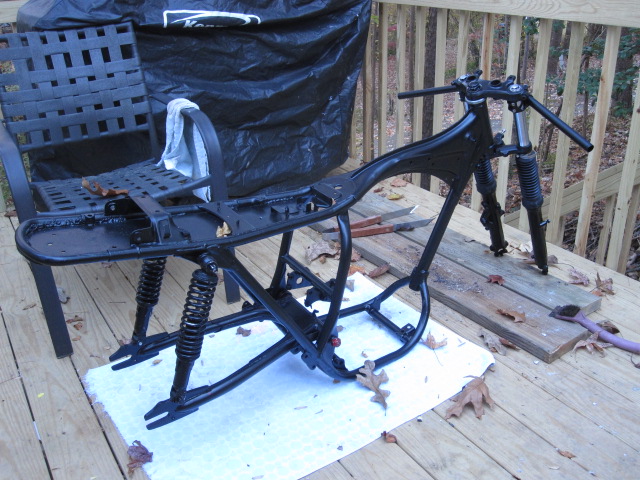
Painted the frame, (spray paint sucks but I couldn't afford powder coating), prepped as well as a could and used krylon primer and semi flat black enamel. The dreaded swing arm bushing looked fine so I didn't bother buying brass ones (might regret this later?).
This is partially reassmbled with clip ons and gaiters added:
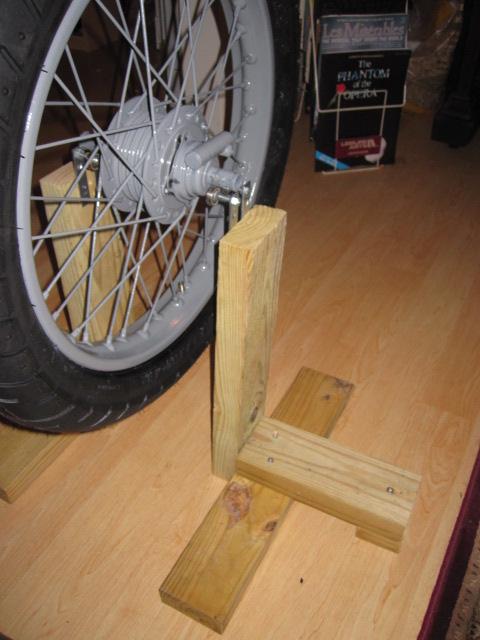
Painted the rims, got new rubber and balanced the wheels (on my 5$ balancing stand):
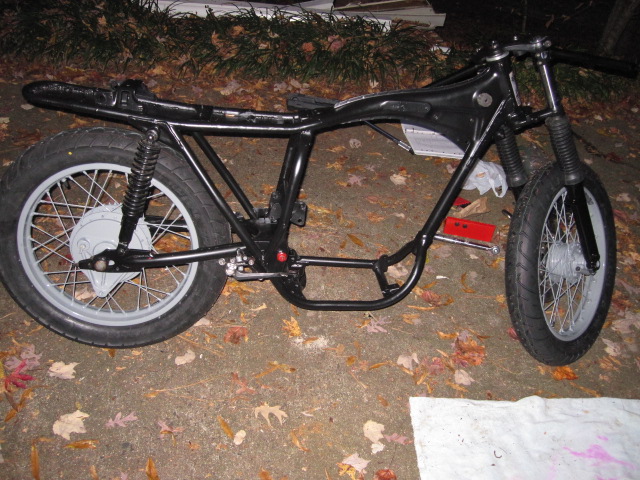
Rolling frame!:
Re-assembled, worked on the electrics. Got rid of the tach, rigged up the speedo lower, and wired the neutral light and turn signal lights into the holes in the tree (pushed an LED into the rubber plug thingies).
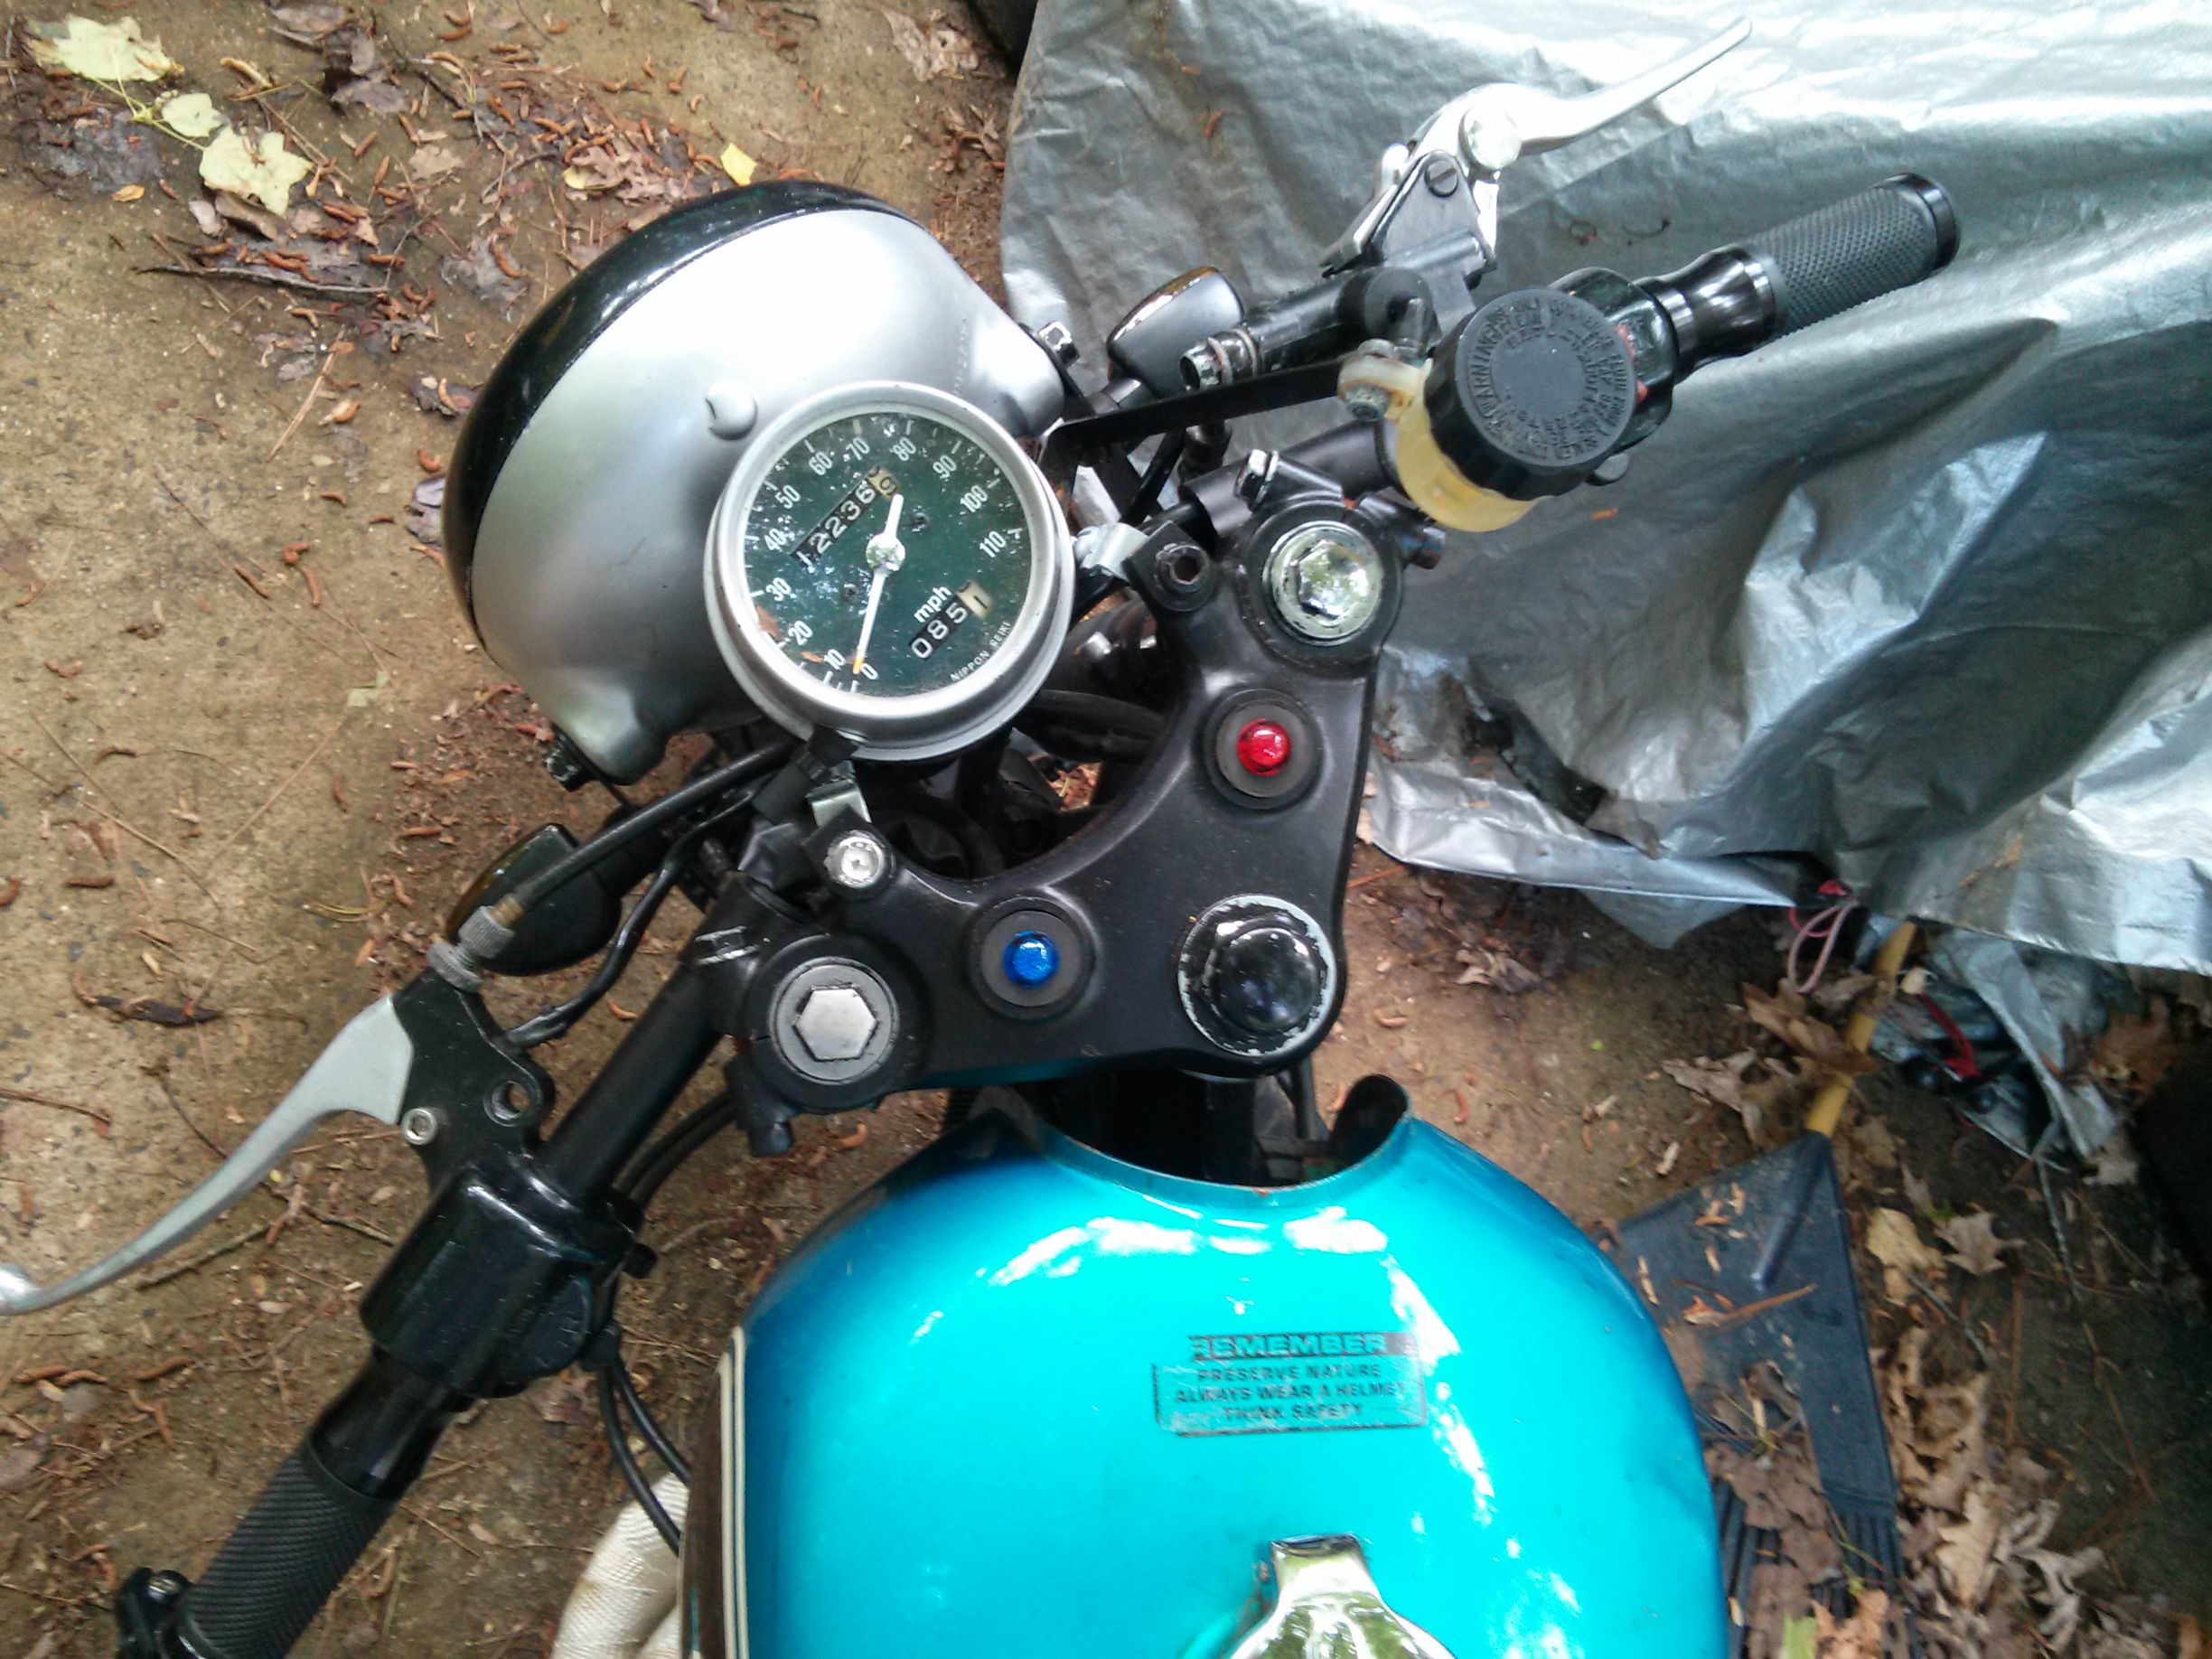
After some carb work, new points and timing it ran! Once I had it running the way I wanted I started with the cosmetics.
Made a foam positive of the seat in place by gluing a bunch of floral foam blocks down and cutting it/ shaping it down. I used an old trick from shaping surfboards, hold a big blue piece of posterboard behind the shape to see if you're staying symmetric, It's really easy to notice humps or wierd spots when you eliminate your background. After I was satisfied I masked the whole thing and slobbered on car wax as a release agent. Then I laid three layers of fiberglass cloth and resined it all on. The cloth comes out smoother in the end but isnt as strong as the mat. I'd probably use the mat next time since you end up sanding the whole thing down anyway.
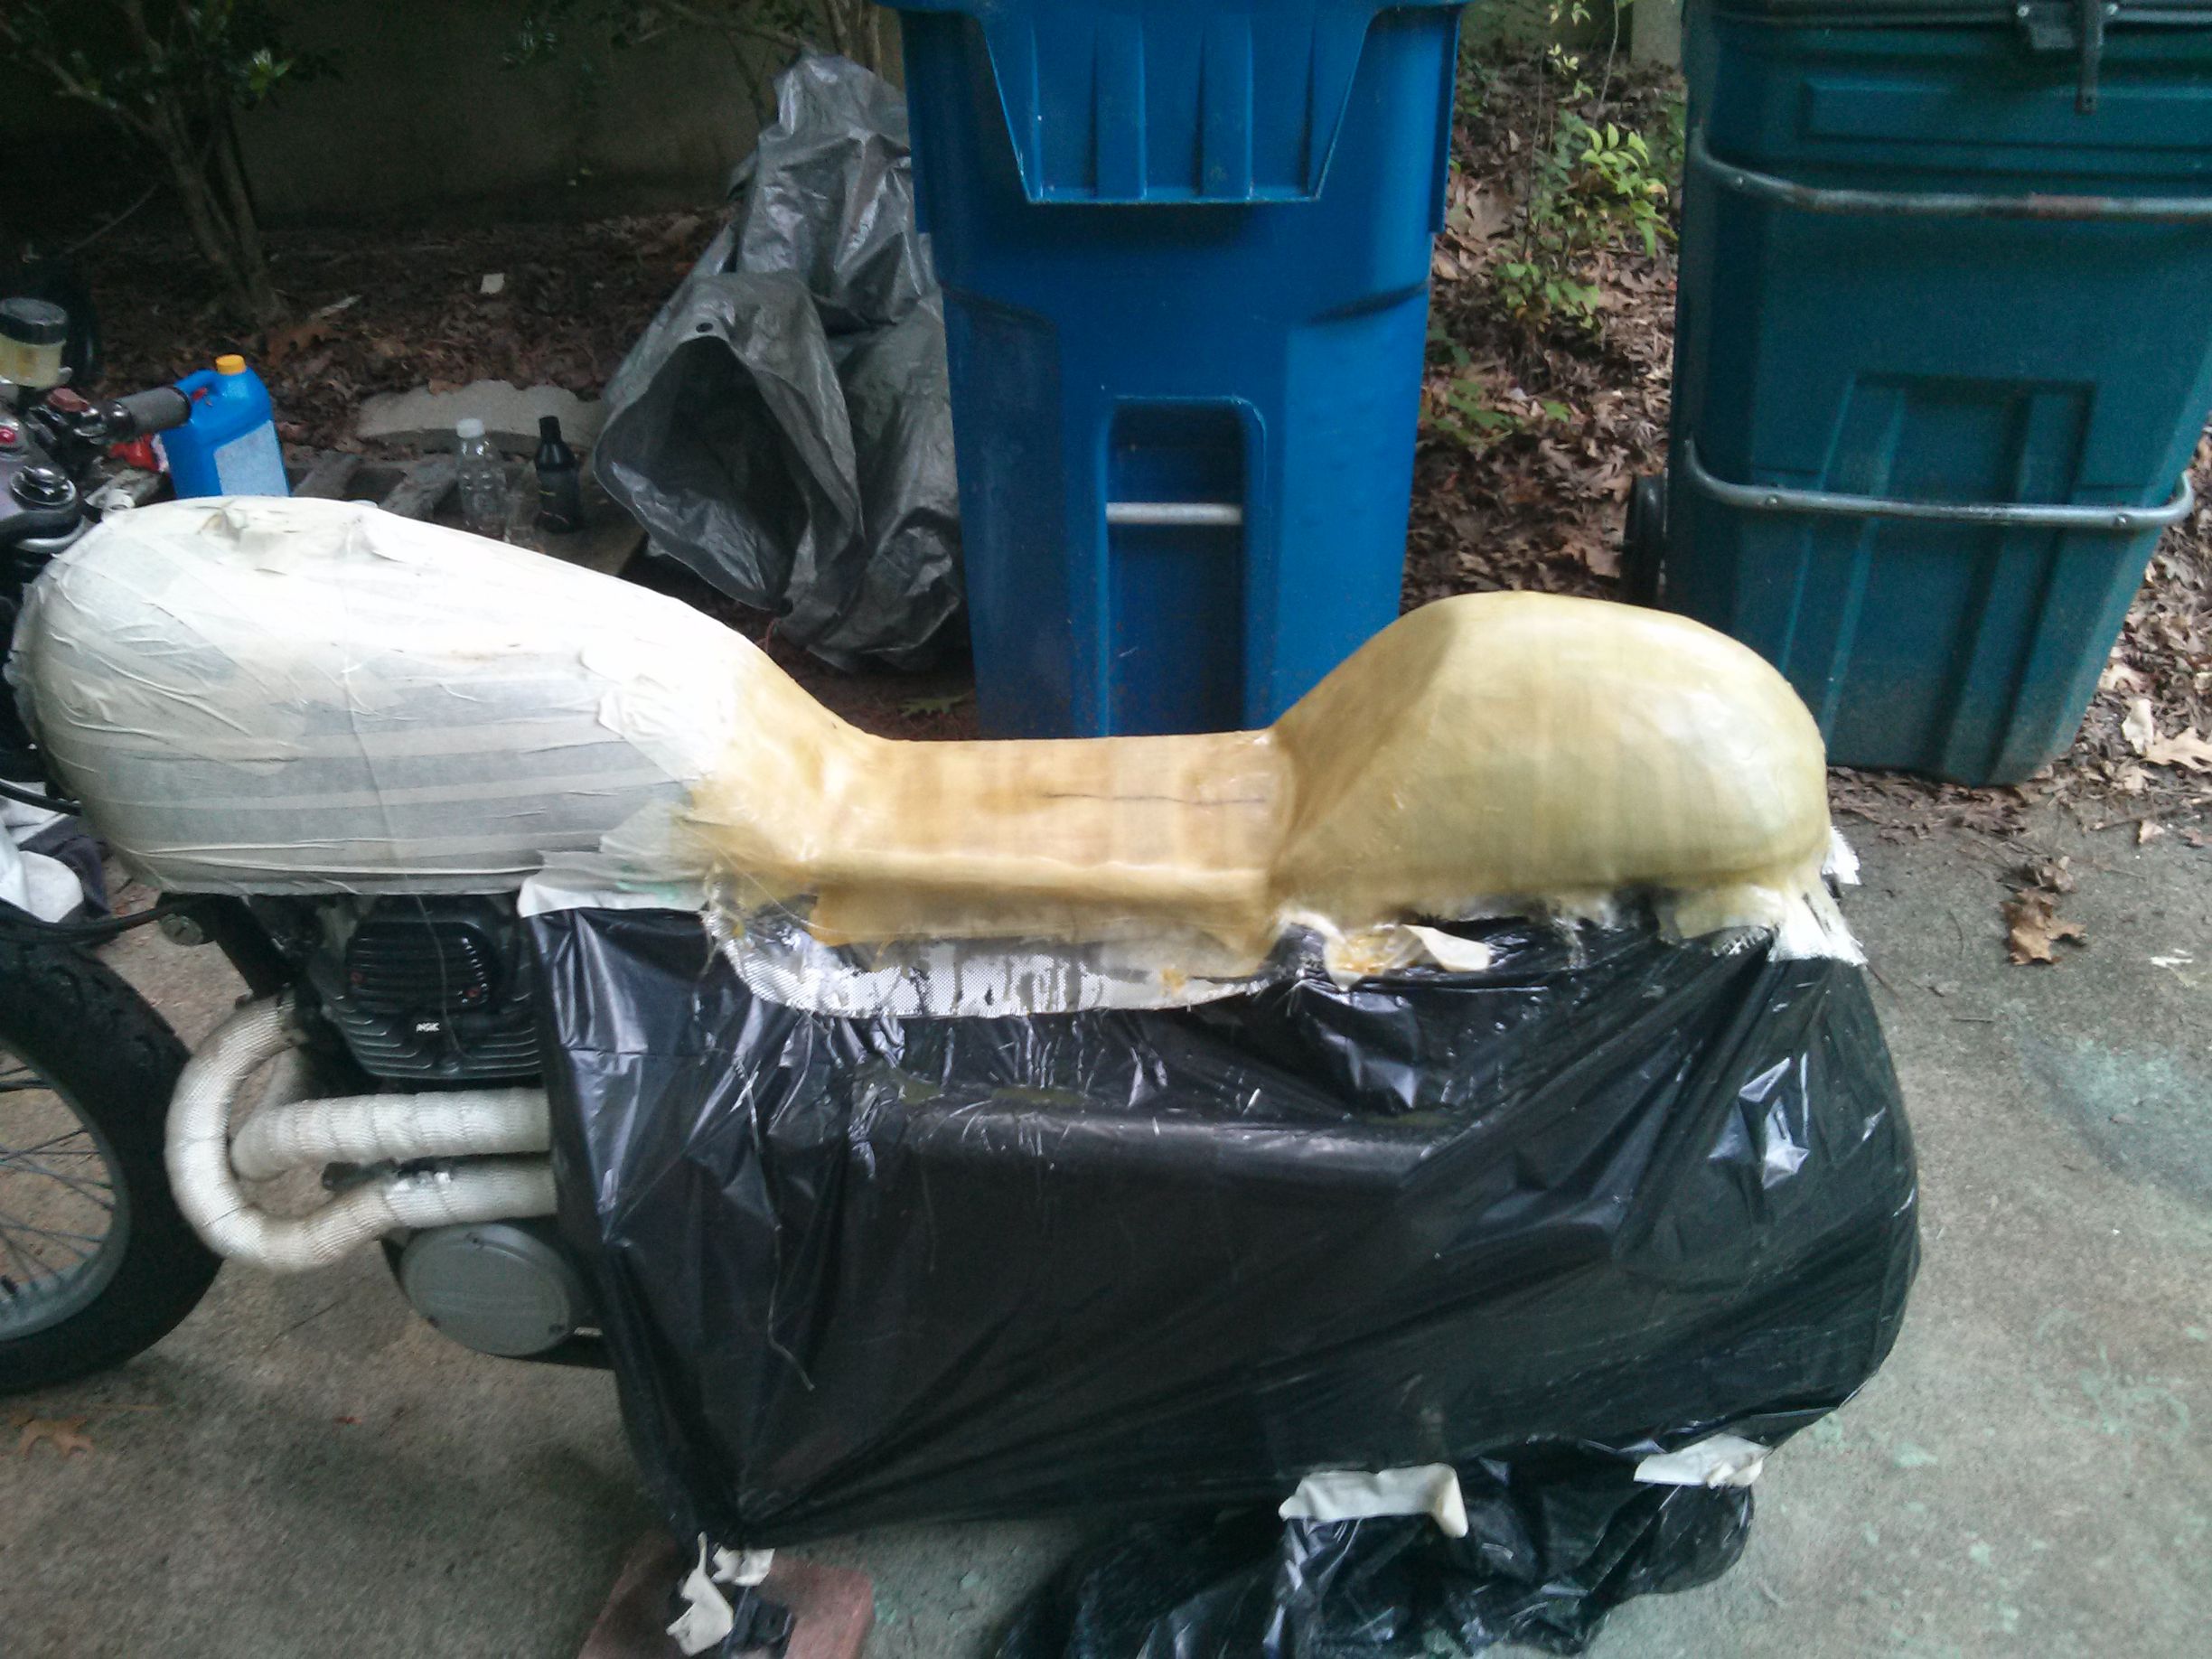
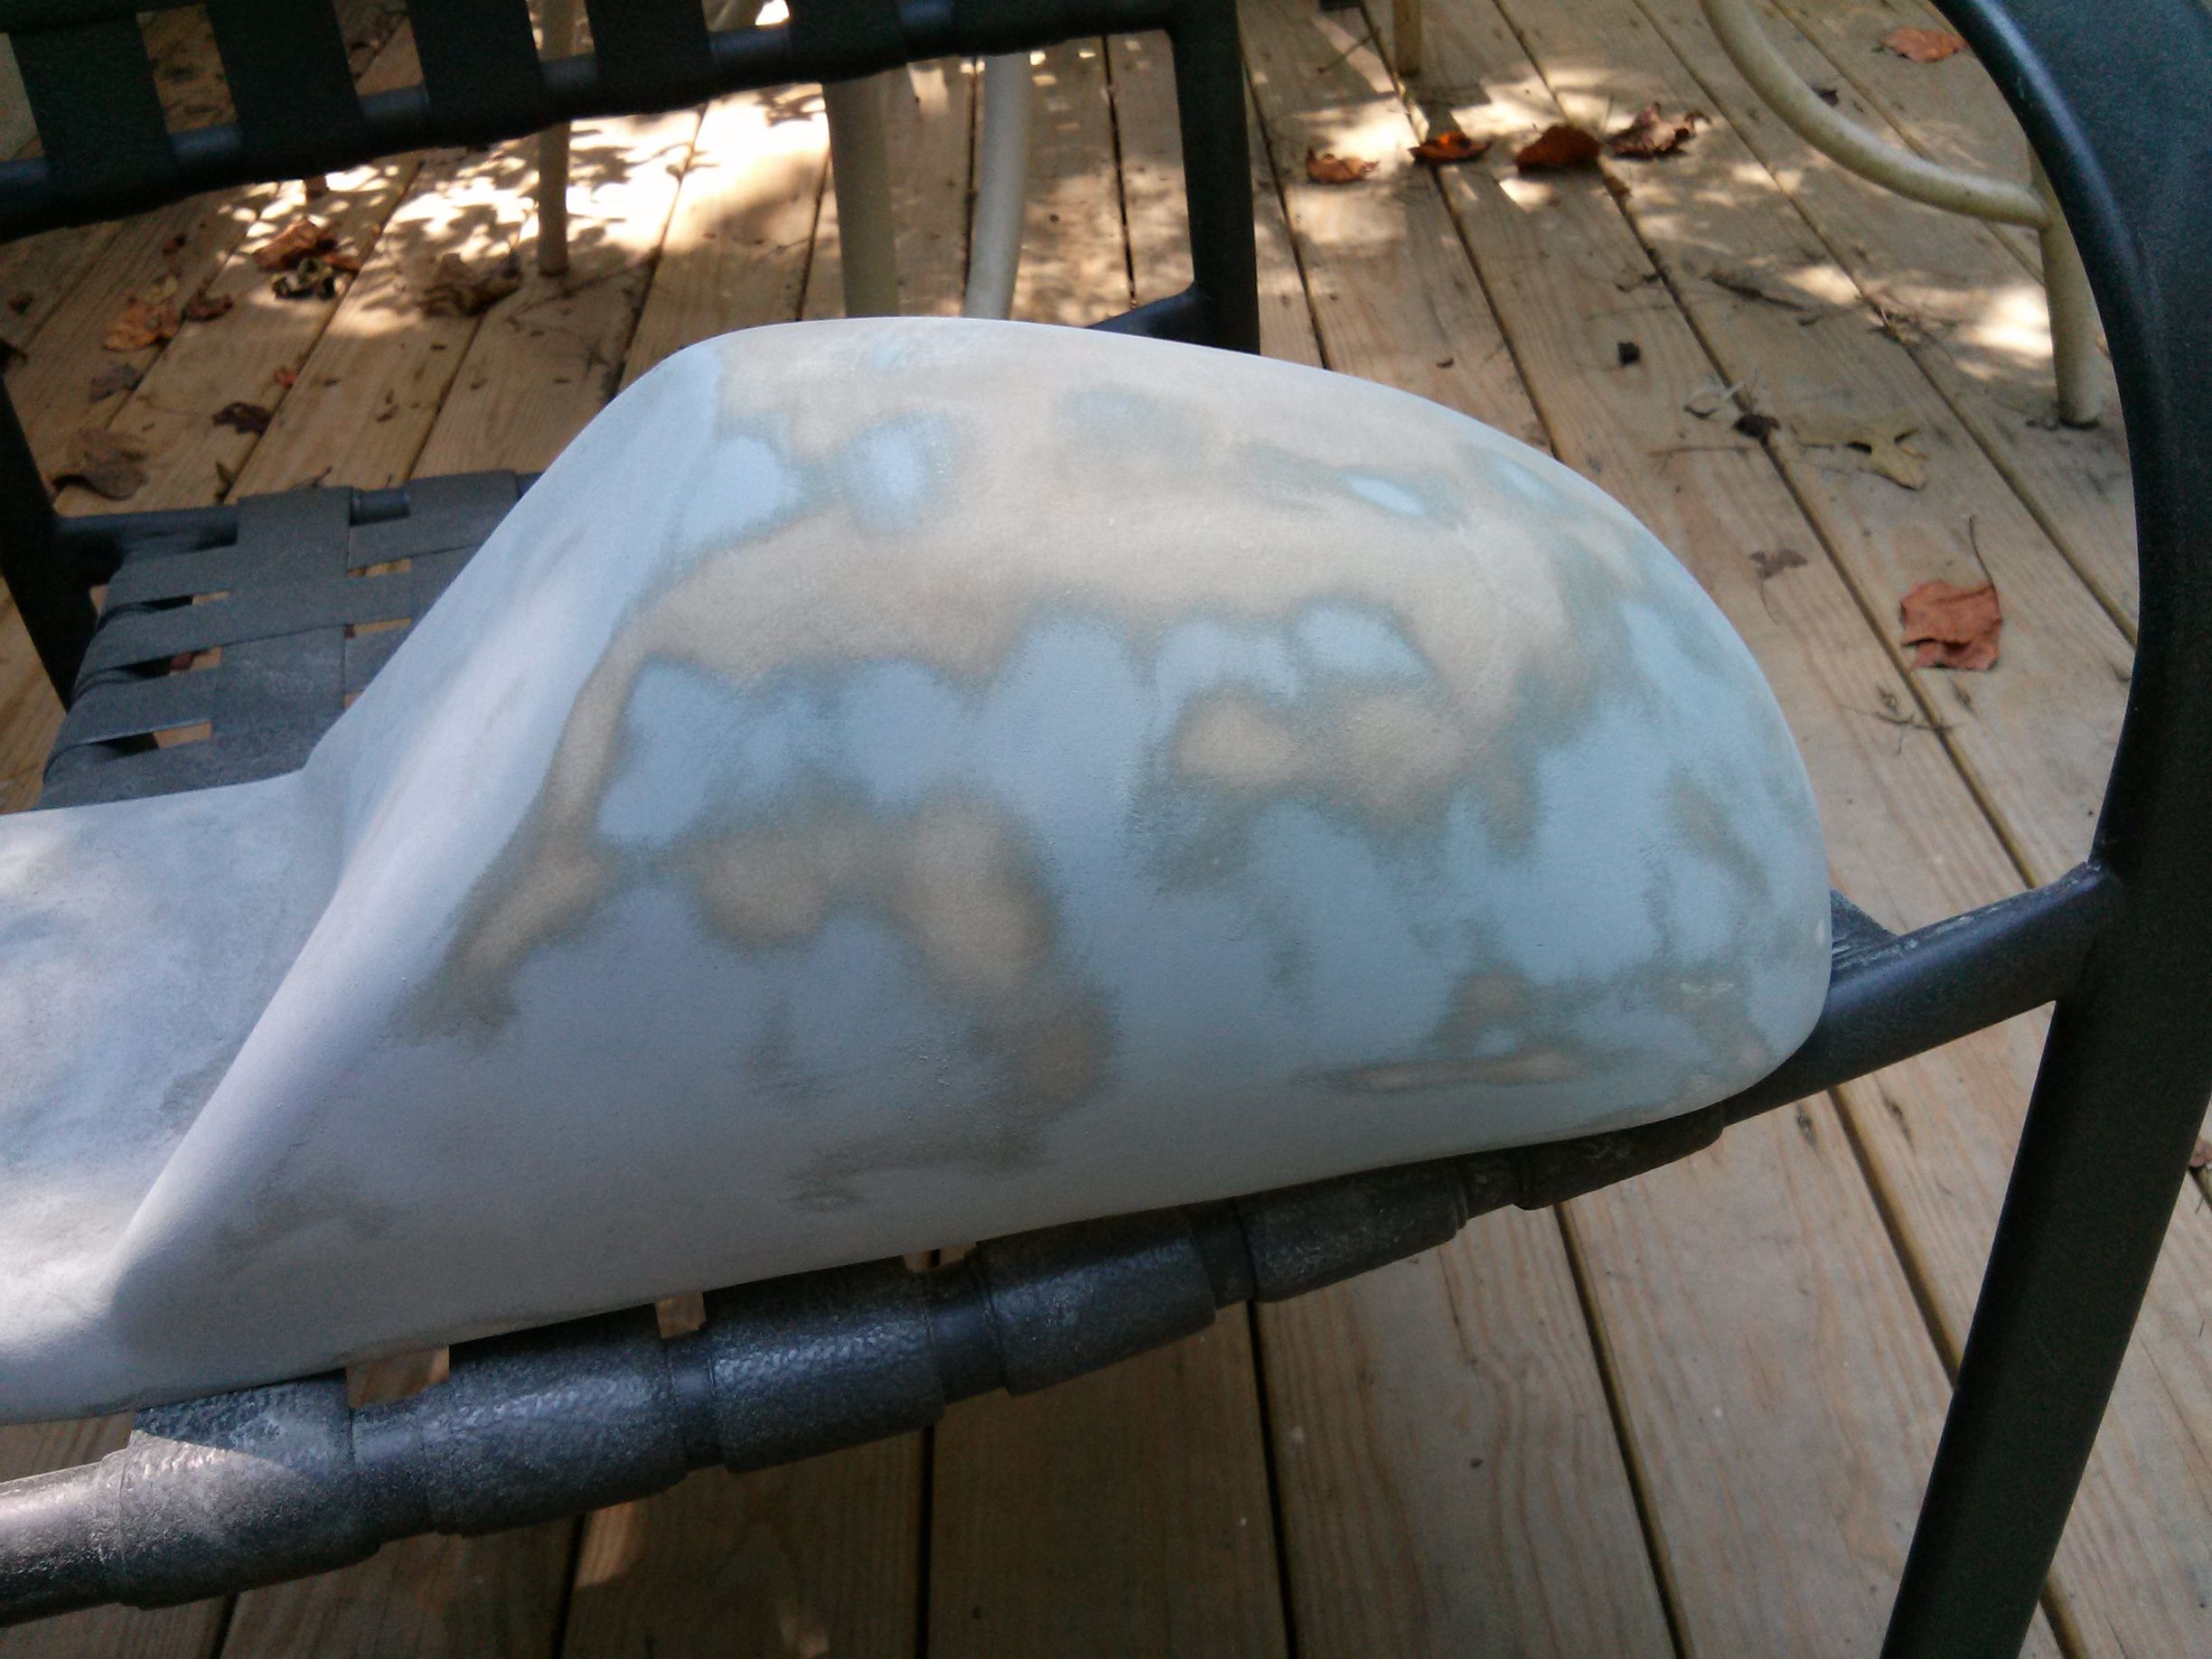
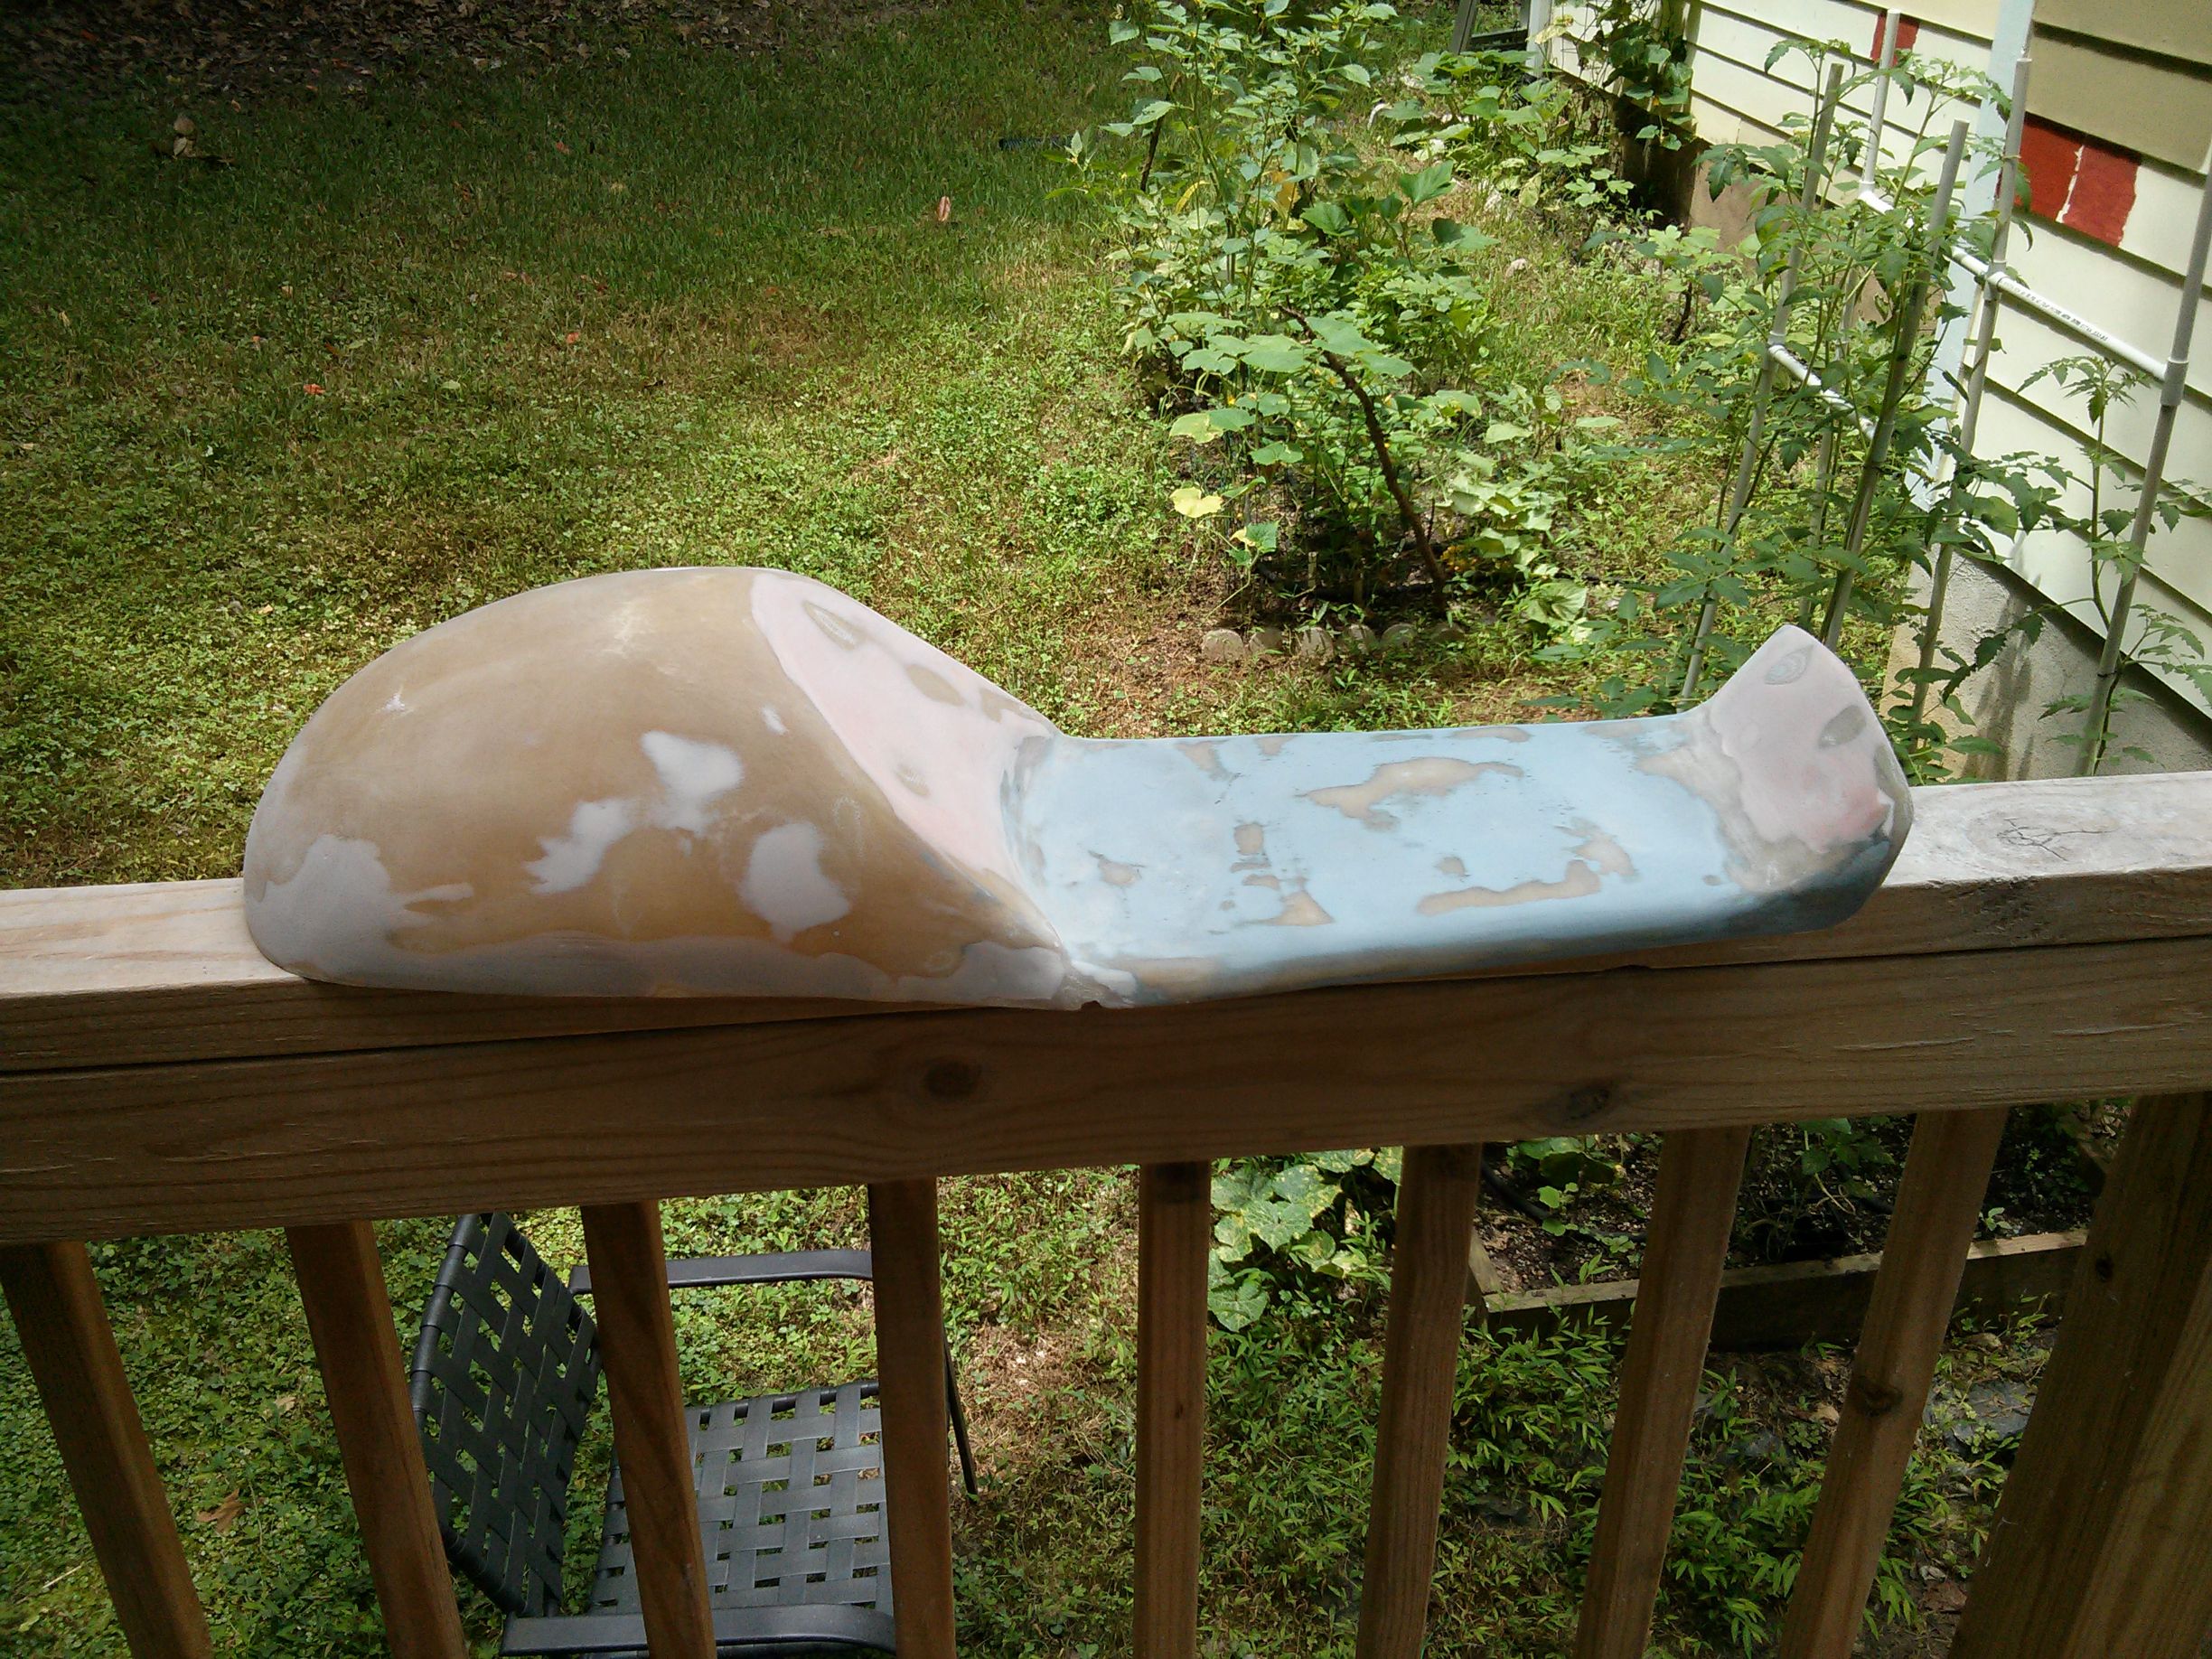
Not surprisingly it comes out lumpy as hell. Sprayed a guide coat (cheap primer) and started sanding with the palm sander. The guide coat will get sanded off the high spots and stay in the low spots. I then filled in these low spots with bondo and repeated. It took three guide coats until it came out smooth.
Guide coat:
Filled and finished:
Time for the seat. The seat pan is basic sheet metal. To make the seat pad, I used marine vinyl. To get the ribs, you put the vinyl face down, glue on three layers of batting, then glue on a piece of fabric that has your lines drawn onto it (polyester is better because its not stretchy). Sew along the lines keeping the fabric taught, this will puff out the vinyl on the other side.
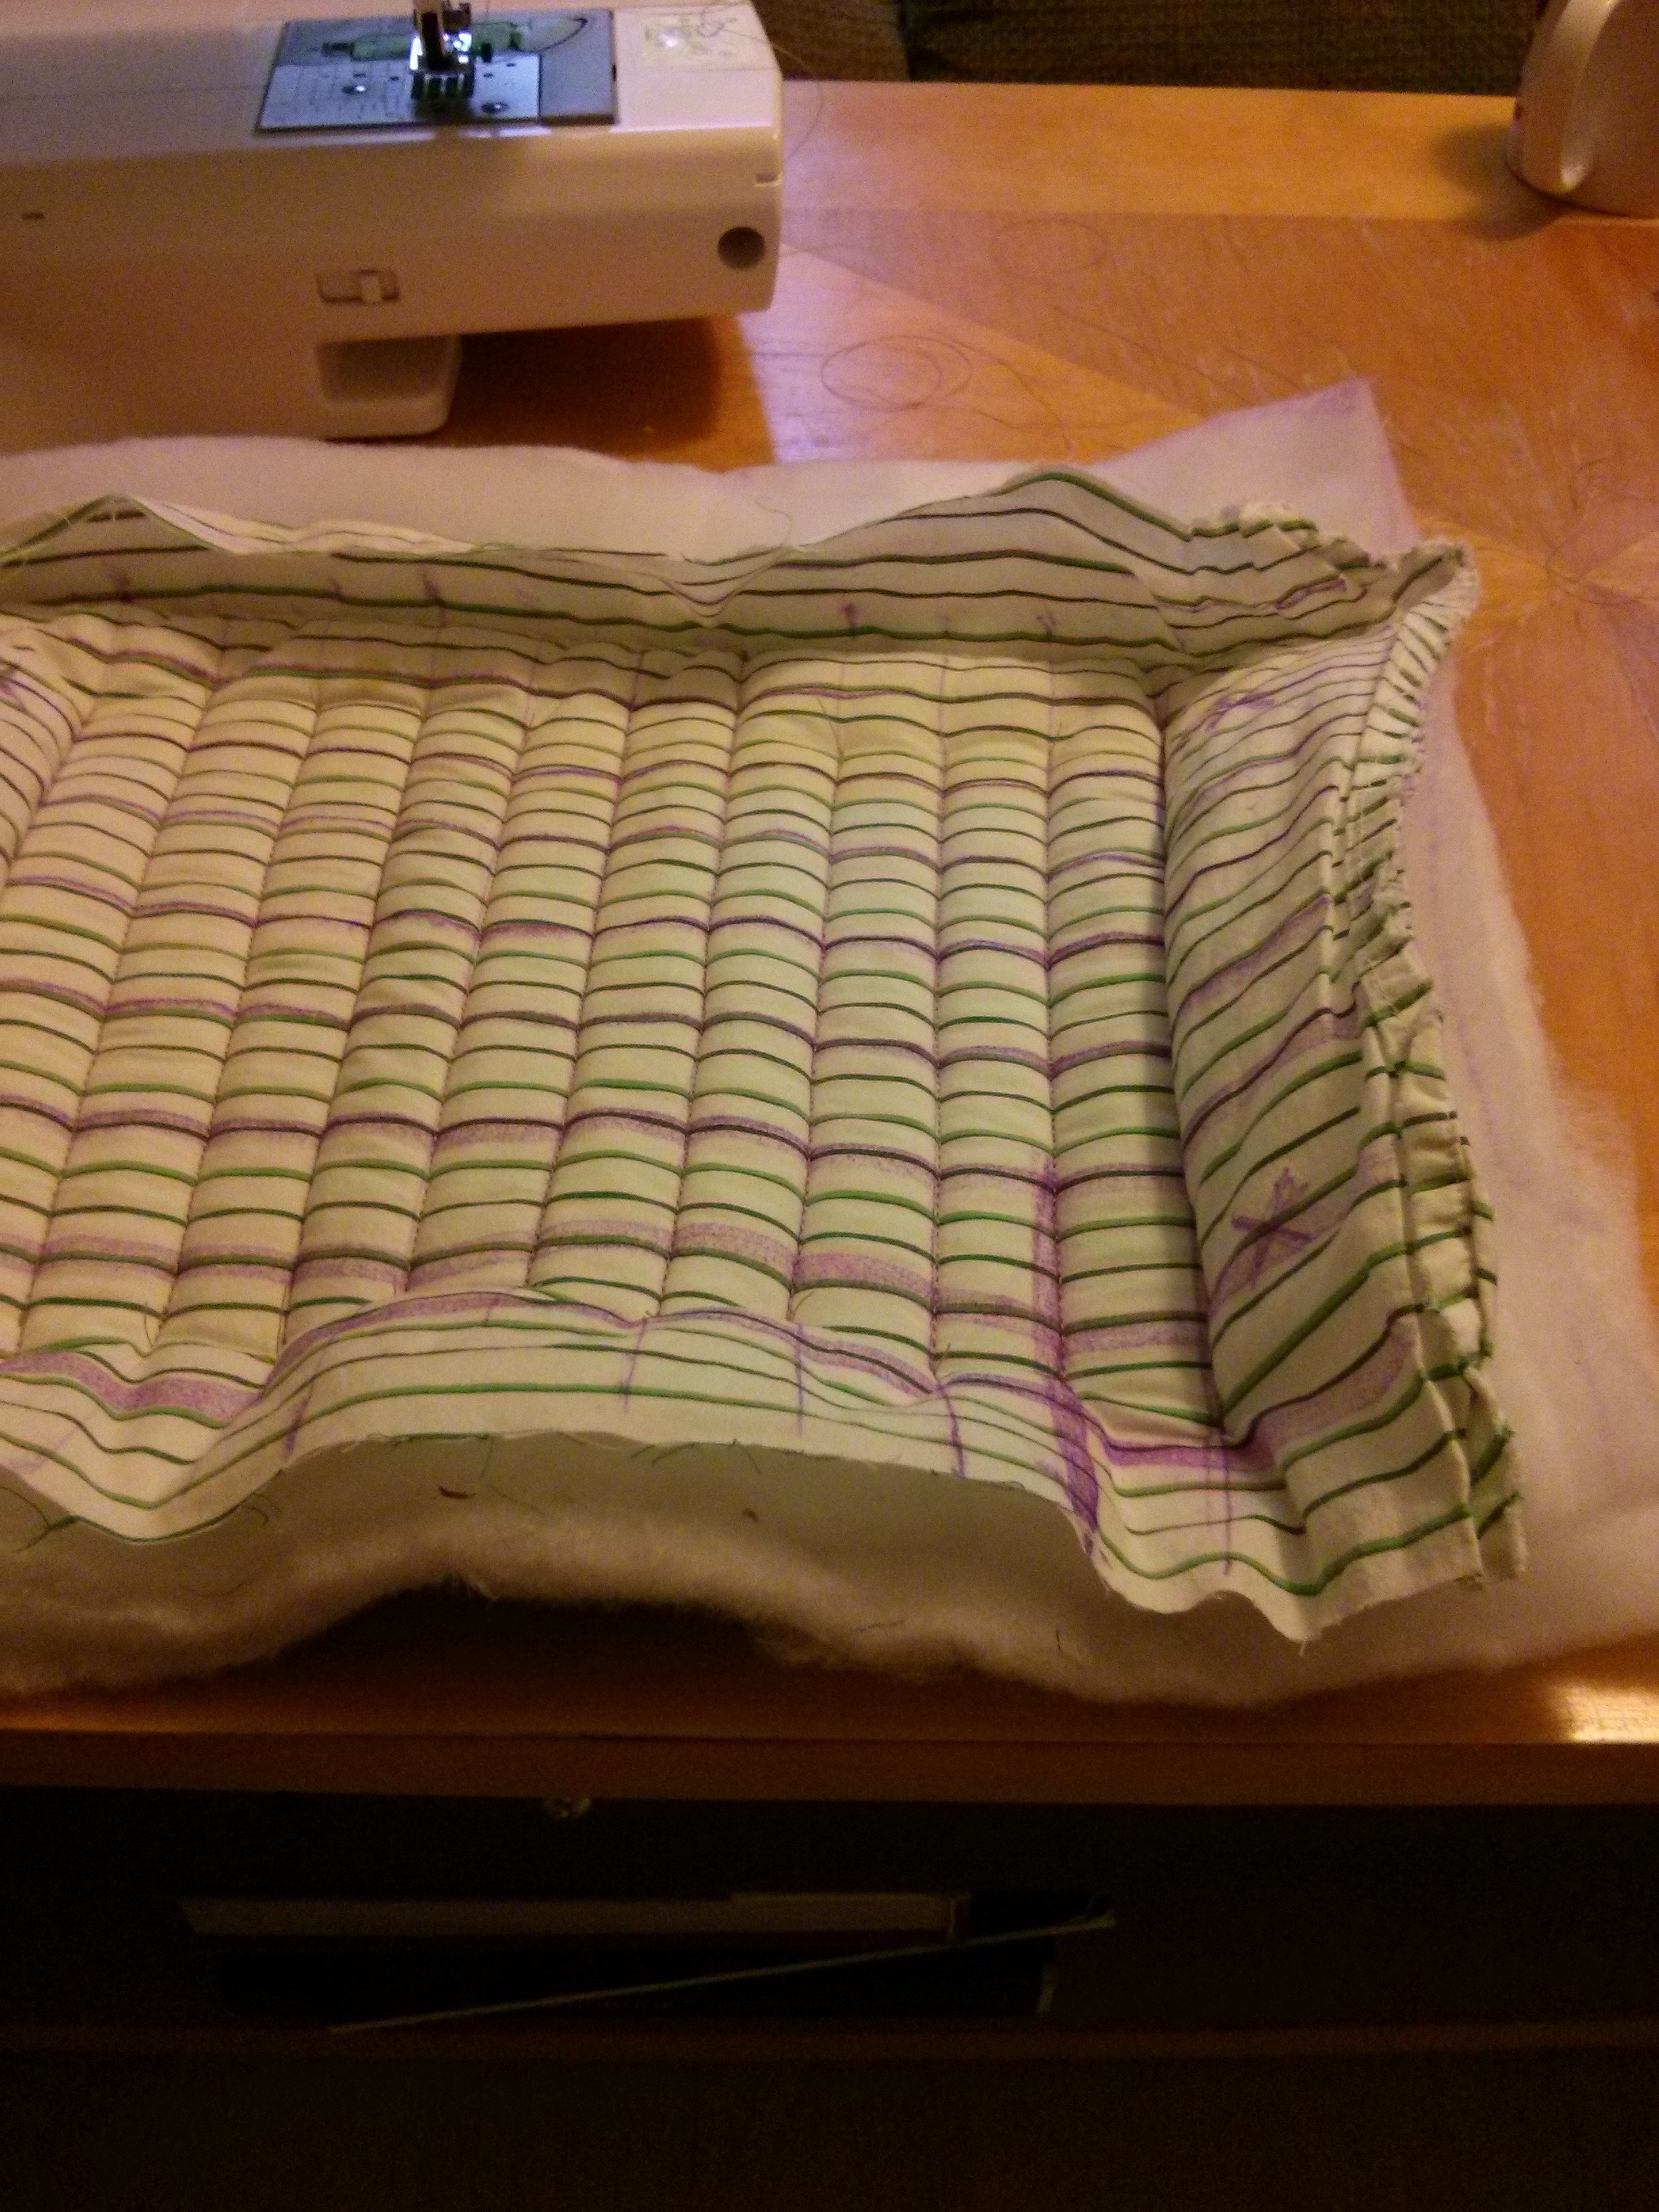
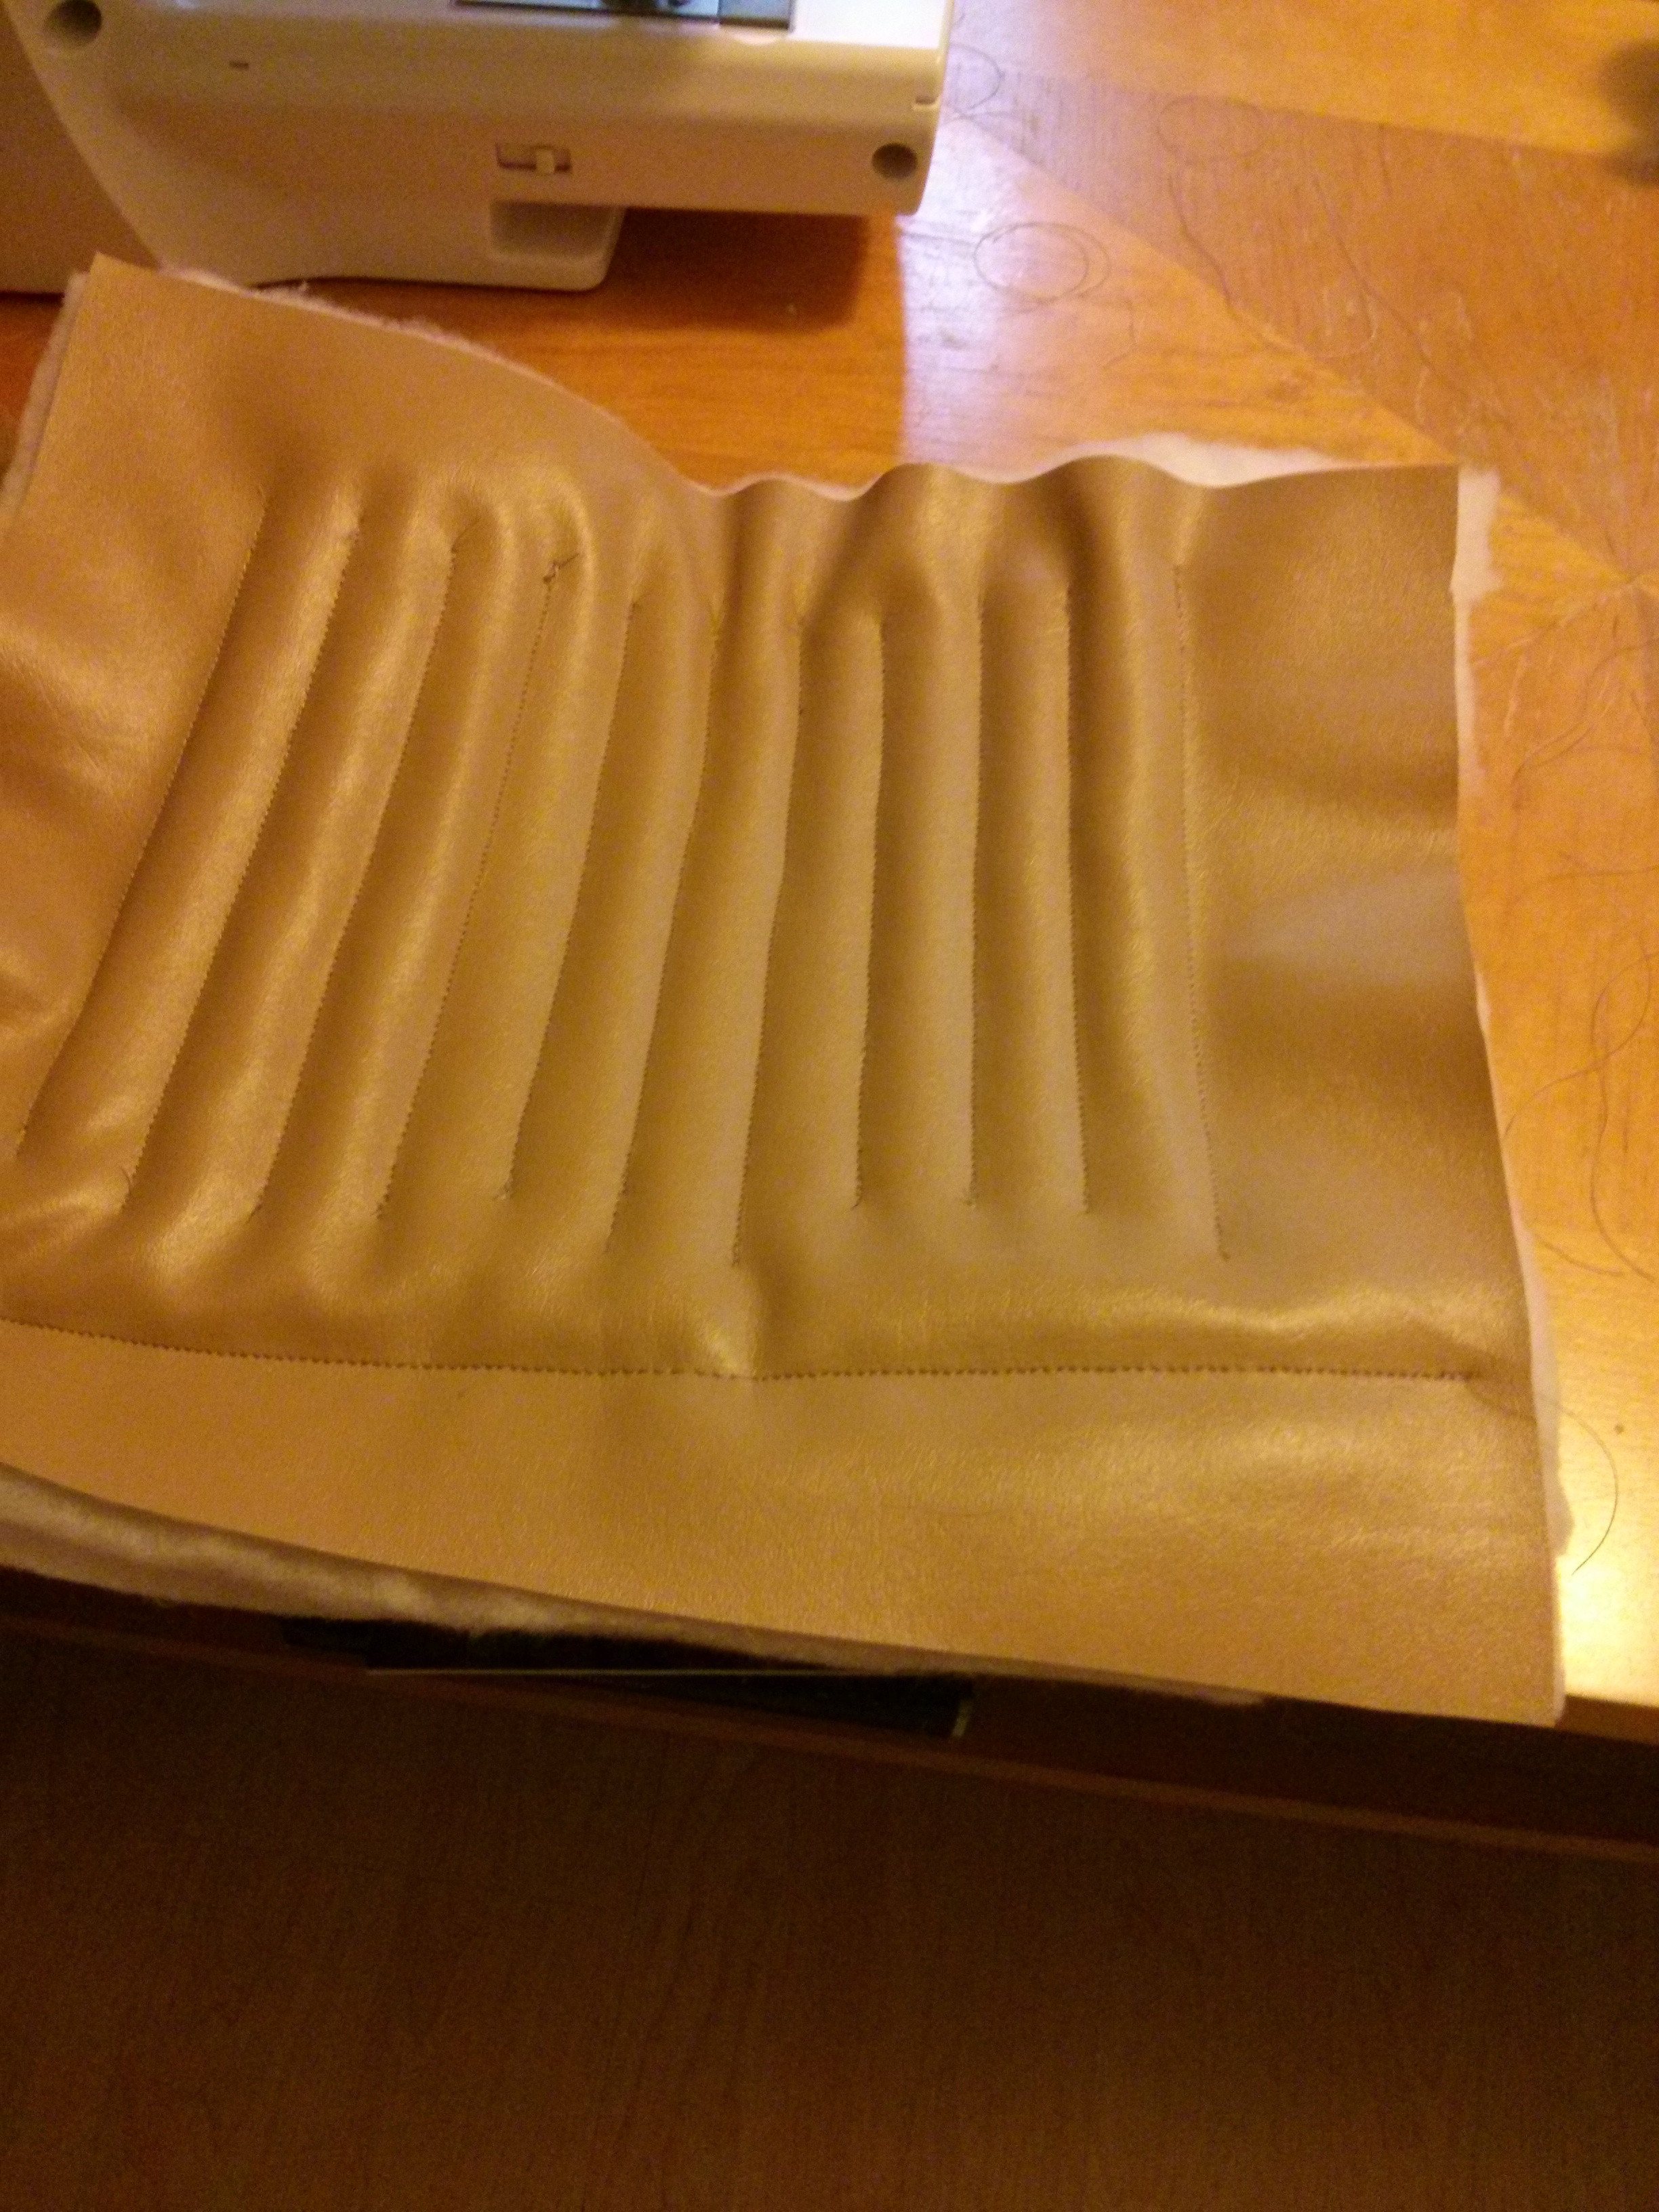
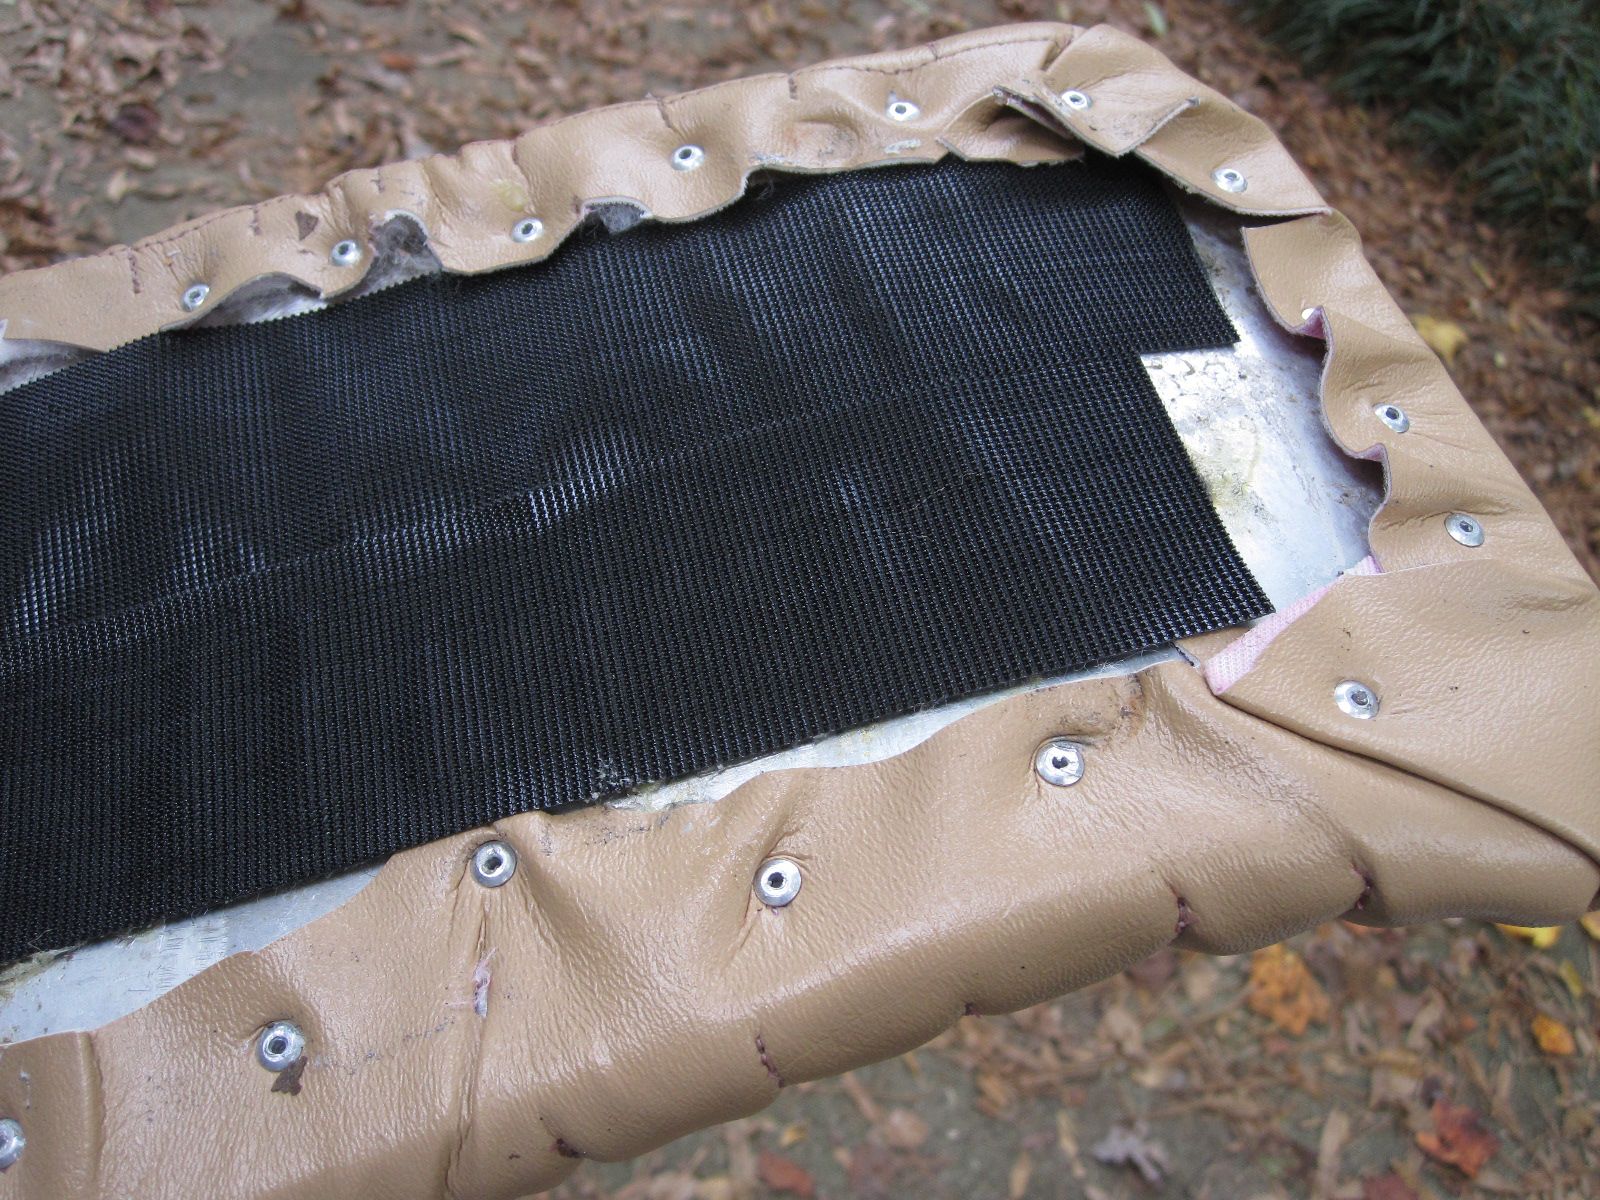
I then stretched this over two inches of high density foam and riveted it to the pan. I pre- drilled the seat pan and would ream a hole in the vinyl to match once it was all stretched. Spring clamps help hold everything while you make the little folds to get the rounded parts neat.
Time for paint! It is possible to get a decent paint job with rattle cans. I should warn everyone that it is super time consuming.
I used this protocol: http://www.bayarearidersforum.com/forums/showthread.php?t=264901
And the end of this protocol for polishing the clear coat: http://www.chuckhawks.com/harley_paintin.htm
Apparently clear coat is very bad for you, wear all the protective stuff.
Polishing the clear is VERY satisfying:
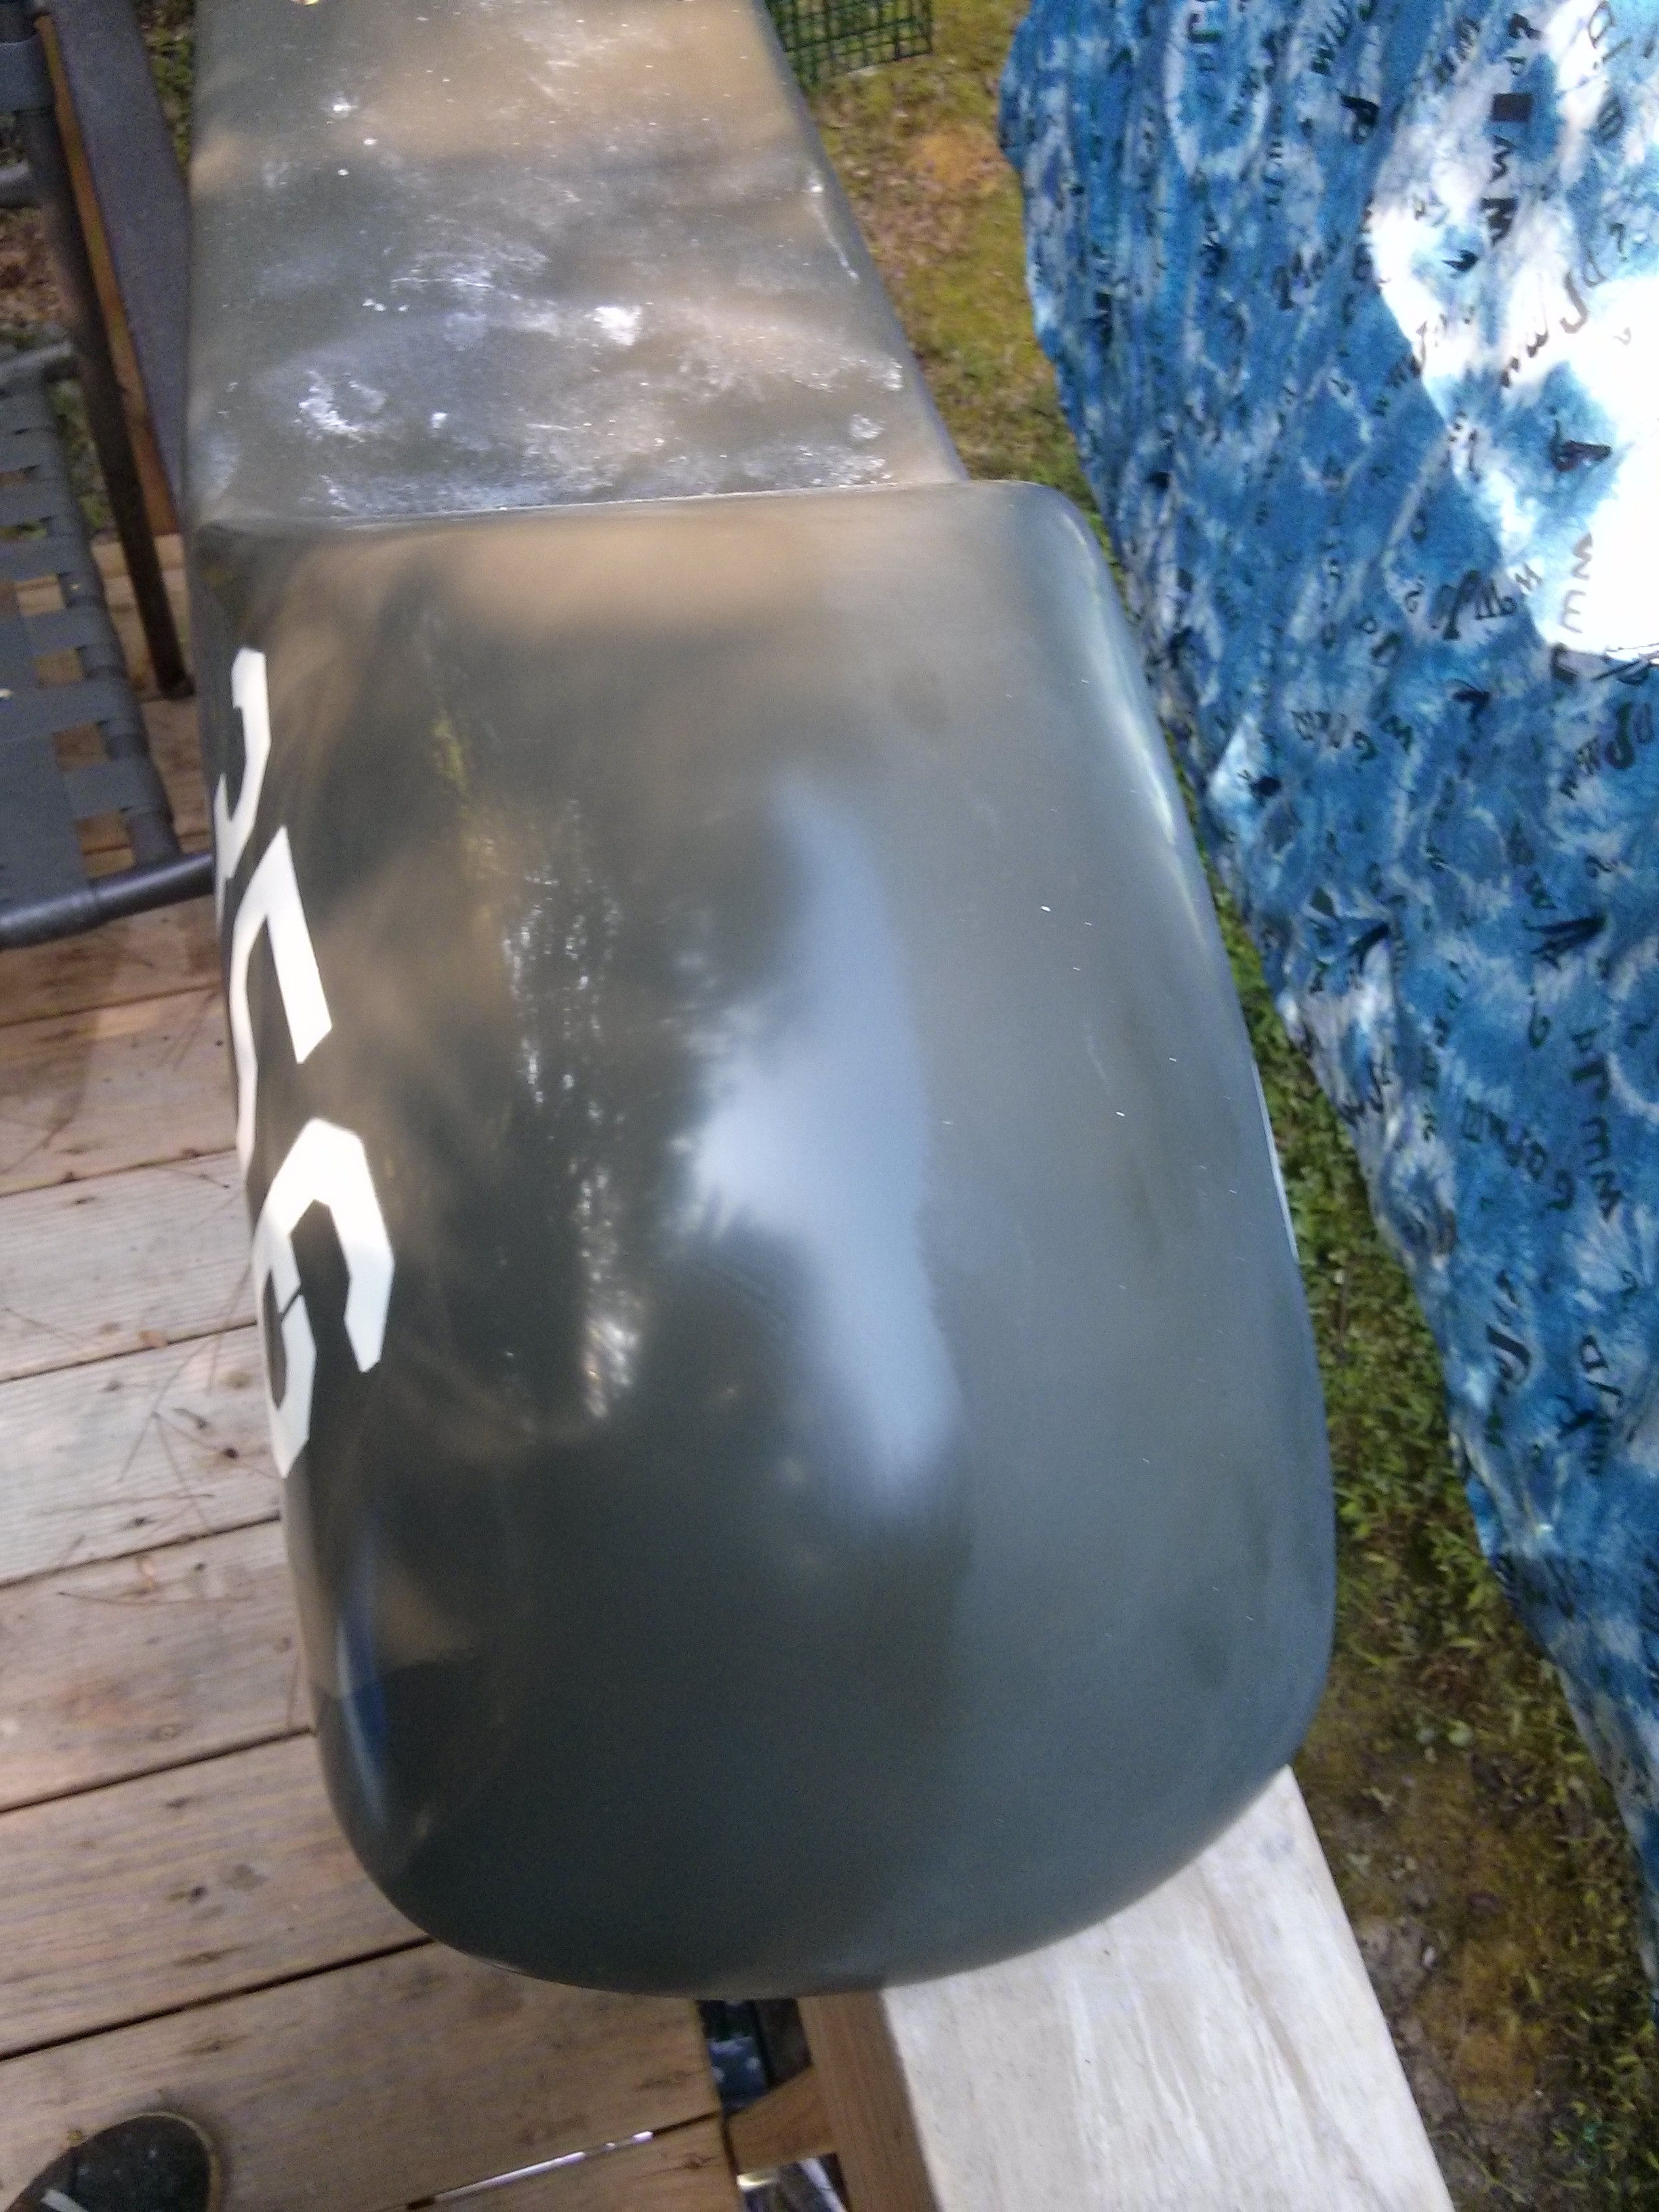
Waited until all the painting and polishing was done to de-rust the tank. I tried electrolysis, wasn't impressed... I ended up using evaporust, a chemical that chelates oxidized metal. It worked VERY well and was very easy. Afterwards, rinsed the tank, dried it with acetone and immediately filled with gas to prevent flash rust.
I cleaned (wire wheel on the drill), painted and wrapped the pipes. I added 4" insert baffles and slip ons from dime city.
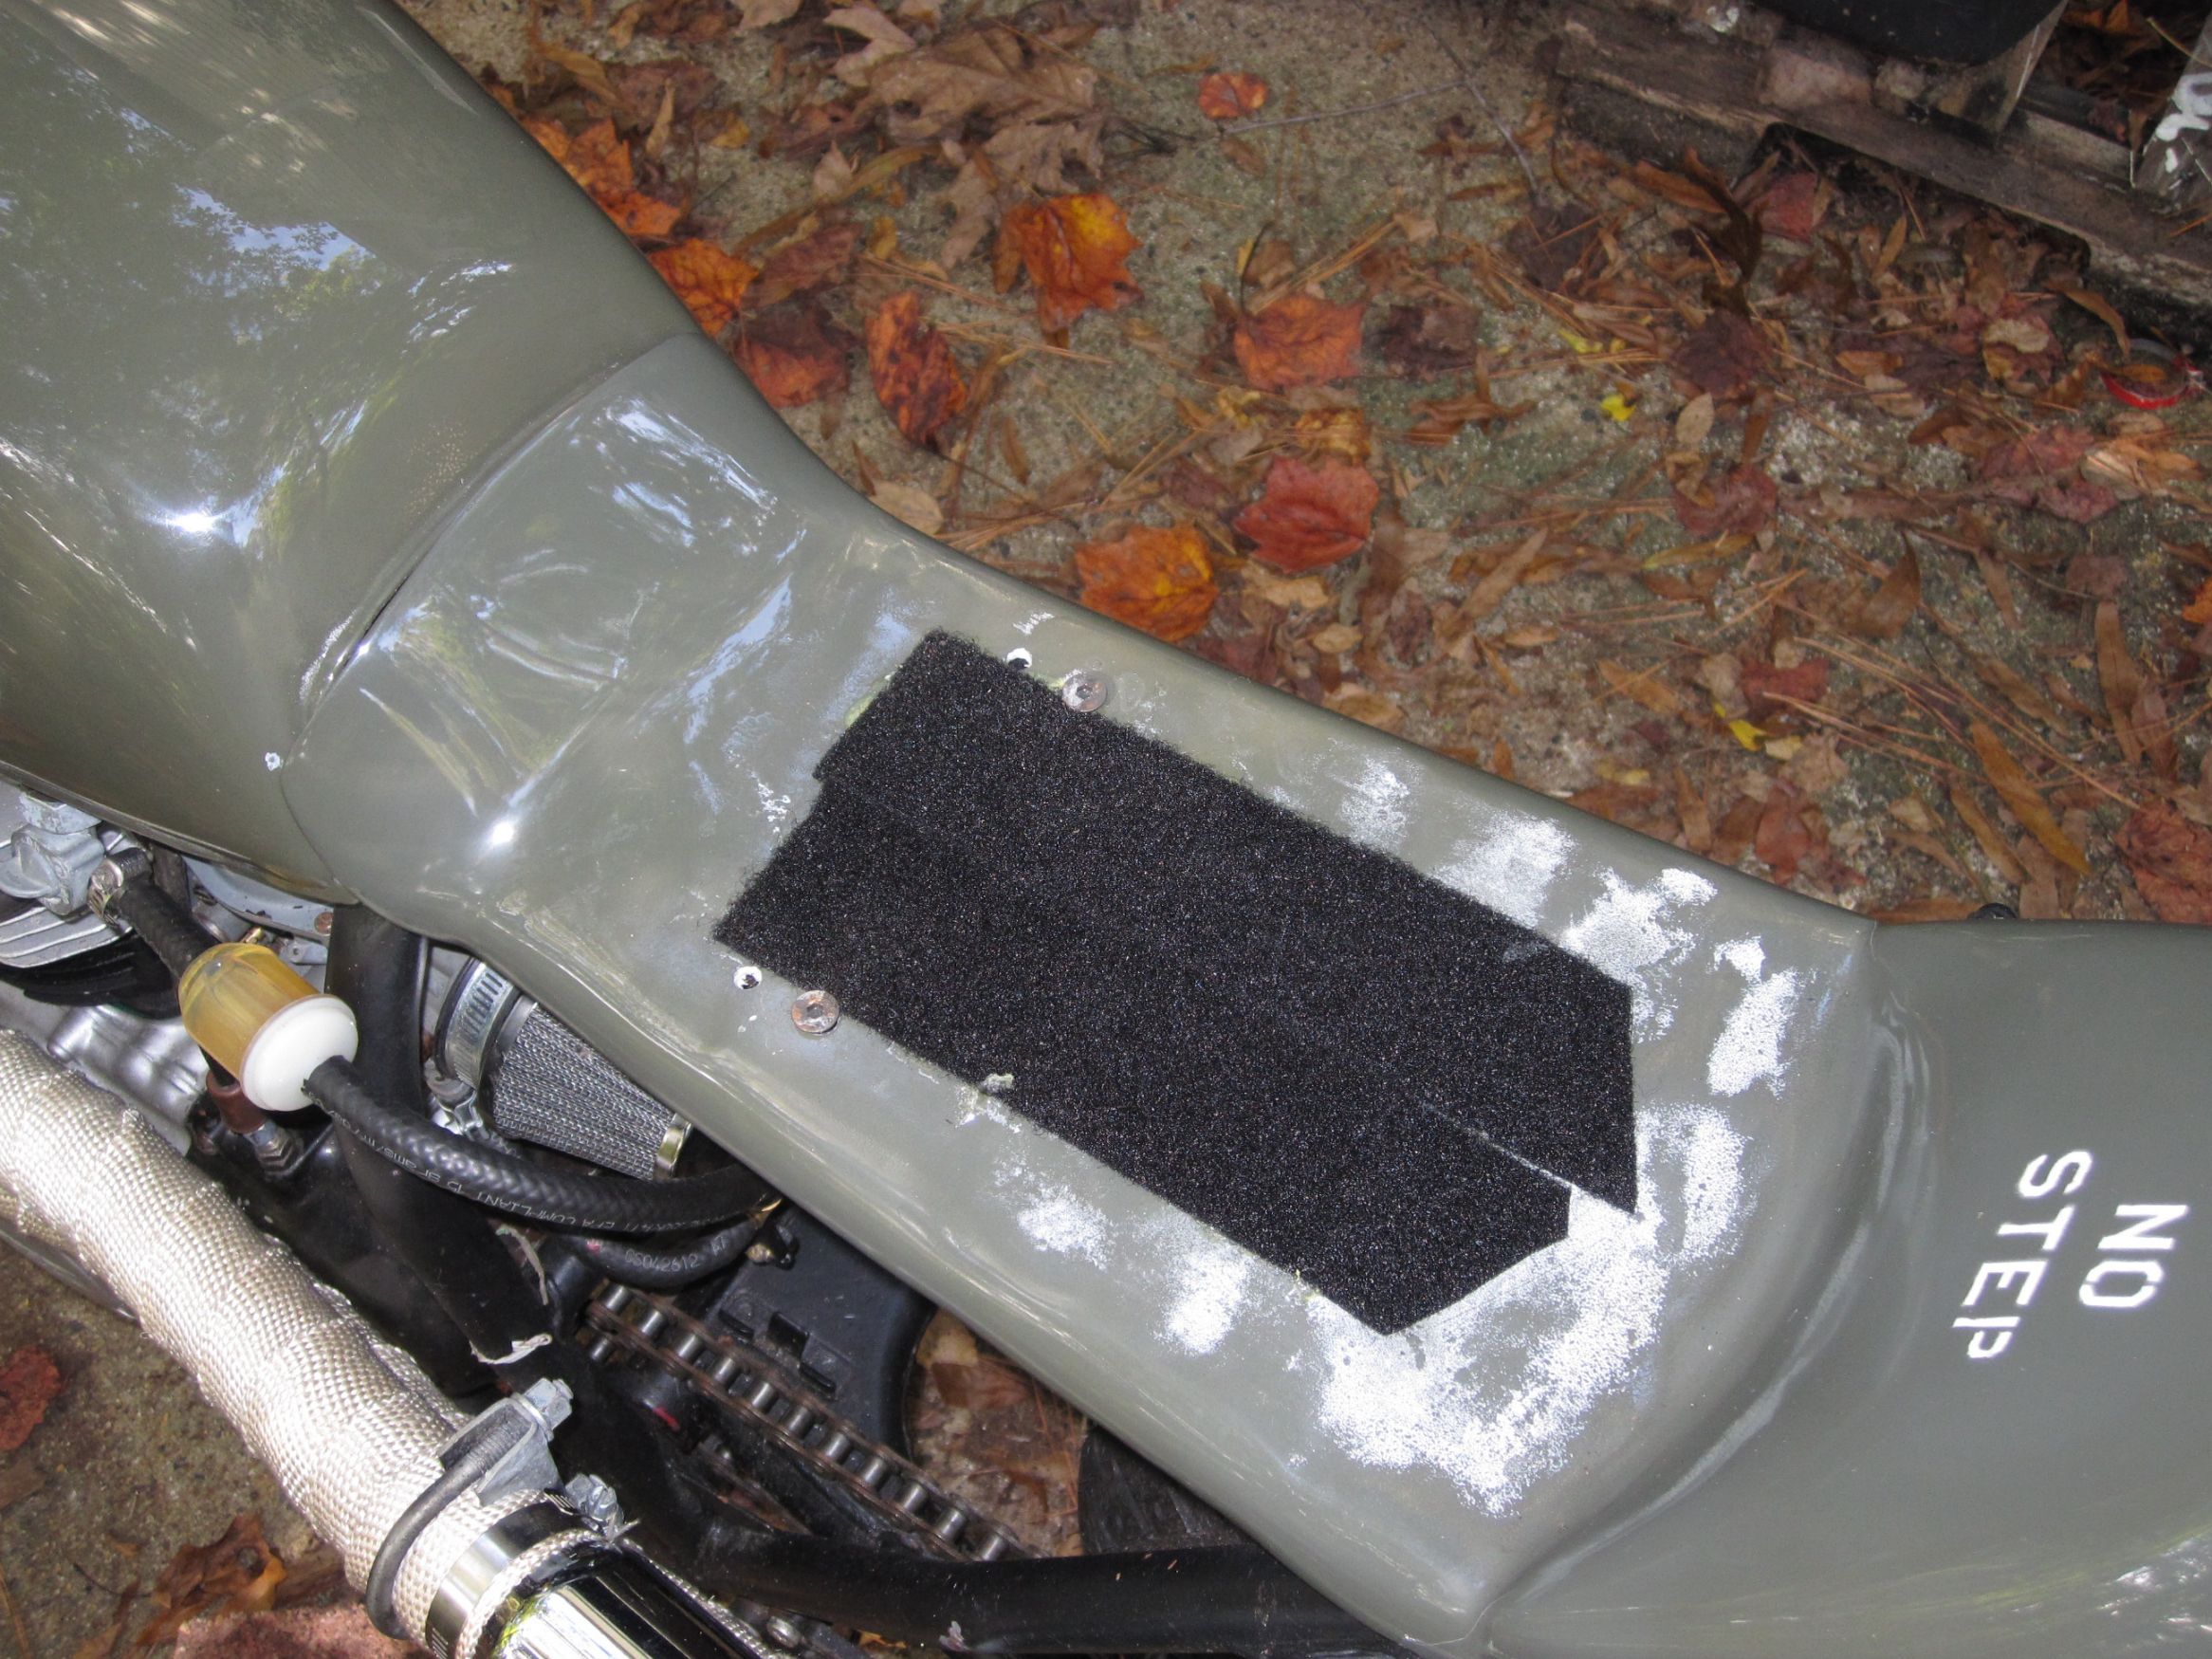
Last part was attaching the seat to the pan. I used velcro:
All back together!
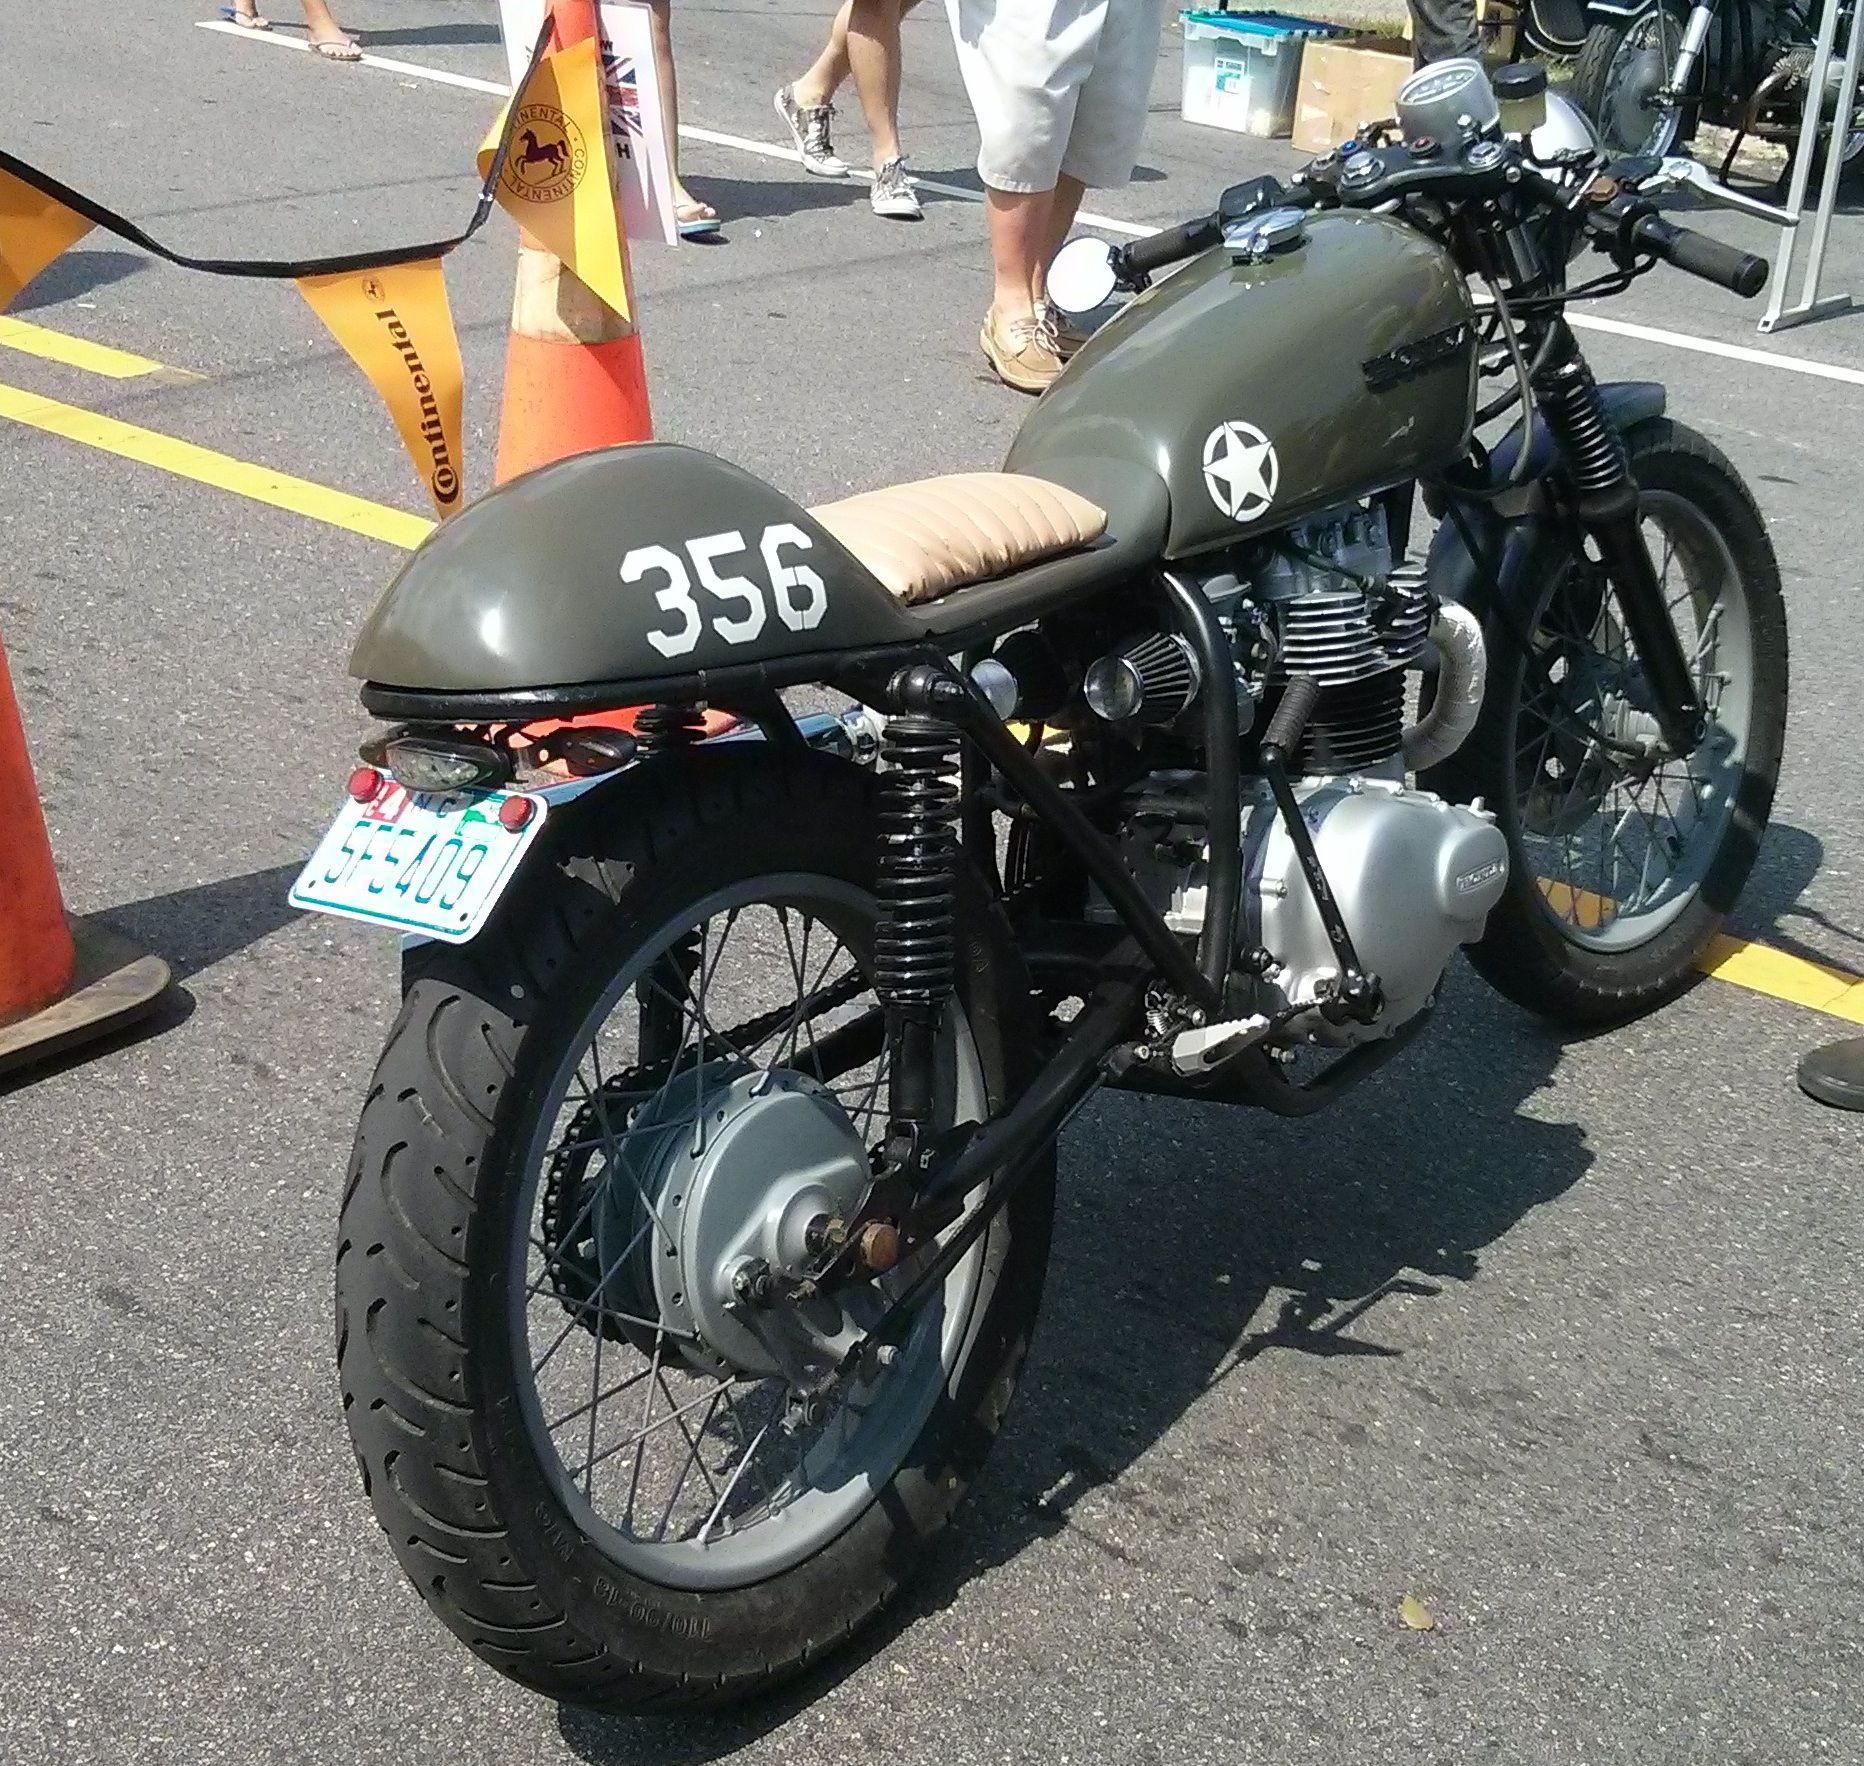
Thanks to everyone on this board and Hondatwins. I found the answers to almost every problem during this build by searching these sites! I will try and note the problems and solutions to add another search result for people in the future.
Without further ado, here is the finished bike:
On with the build!
Started out running very poorly. Compression test showed low compression on the left side that improved when I added oil. So it most likely needed new piston rings. This was confirmed when I saw the left piston; the black marks are where it was blowing by the rings.
It also scored the cylinder well pretty well:
First, I had to handle the cylinder to determine if I could get the scratches out. Honed them with a stone hone from autozone's tool loan program. Then measured the diameters at top, middle and bottom. I was still within spec for stock size pistons so all I had to do was order new rings. Added wrist pins since they were cheap.
Cleaned up cylinder:
Painted the engine and installed the new rings on the pistons and the pistons into the cylinder. I practiced installing rings with the old ones since they're brittle and easy to break...
The best way I found to set the rings was to install the ringed pistons onto the rods (don't forget to plug the cylinders and cam chain opening so you don't drop the wrist circlip into the crank), then offset the pistons by an inch and have a friend lower the cylinder down bit by bit. Align the rings in their offset 270 degrees or whatever and compress each wring with your fingers to guide it into the skirt. Once that piston is on you can do the same for the other. There's ring tools available but I didn't see how they'd be much help.
Next it was onto valves, mine were pretty gunked up:
Cleaned them with a polishing brush on the dremmel:
Lapped them in and tested for leaks by pouring acetone in the upside down combustion chamber and looking for leaks in the ports. This was tedious and took for freaking ever to get them so they didnt leak. Use a very light hand with the lapping tool.
I seriously need a garage, (my girlfriend was patient but annoyed):
For whatever reason I changed the cam chain because I'm always paranoid of a cam chain failure that will wreck the whole engine. If you decide to do this, buy at least two master links. I made one too stiff by pressing the side plate on too tightly and the other I riveted too tight (yes I used three)... I can't remember how many links I needed but it was hard to find the right size chain for the 360. I bought one size up and broke out the extra links (don't forget the master adds a link).
Put the engine back together, gapped the valves to the ridiculously tight specs they ask for, replaced all seals and torqued everything down.
Painted the frame, (spray paint sucks but I couldn't afford powder coating), prepped as well as a could and used krylon primer and semi flat black enamel. The dreaded swing arm bushing looked fine so I didn't bother buying brass ones (might regret this later?).
This is partially reassmbled with clip ons and gaiters added:
Painted the rims, got new rubber and balanced the wheels (on my 5$ balancing stand):
Rolling frame!:
Re-assembled, worked on the electrics. Got rid of the tach, rigged up the speedo lower, and wired the neutral light and turn signal lights into the holes in the tree (pushed an LED into the rubber plug thingies).
After some carb work, new points and timing it ran! Once I had it running the way I wanted I started with the cosmetics.
Made a foam positive of the seat in place by gluing a bunch of floral foam blocks down and cutting it/ shaping it down. I used an old trick from shaping surfboards, hold a big blue piece of posterboard behind the shape to see if you're staying symmetric, It's really easy to notice humps or wierd spots when you eliminate your background. After I was satisfied I masked the whole thing and slobbered on car wax as a release agent. Then I laid three layers of fiberglass cloth and resined it all on. The cloth comes out smoother in the end but isnt as strong as the mat. I'd probably use the mat next time since you end up sanding the whole thing down anyway.
Not surprisingly it comes out lumpy as hell. Sprayed a guide coat (cheap primer) and started sanding with the palm sander. The guide coat will get sanded off the high spots and stay in the low spots. I then filled in these low spots with bondo and repeated. It took three guide coats until it came out smooth.
Guide coat:
Filled and finished:
Time for the seat. The seat pan is basic sheet metal. To make the seat pad, I used marine vinyl. To get the ribs, you put the vinyl face down, glue on three layers of batting, then glue on a piece of fabric that has your lines drawn onto it (polyester is better because its not stretchy). Sew along the lines keeping the fabric taught, this will puff out the vinyl on the other side.
I then stretched this over two inches of high density foam and riveted it to the pan. I pre- drilled the seat pan and would ream a hole in the vinyl to match once it was all stretched. Spring clamps help hold everything while you make the little folds to get the rounded parts neat.
Time for paint! It is possible to get a decent paint job with rattle cans. I should warn everyone that it is super time consuming.
I used this protocol: http://www.bayarearidersforum.com/forums/showthread.php?t=264901
And the end of this protocol for polishing the clear coat: http://www.chuckhawks.com/harley_paintin.htm
Apparently clear coat is very bad for you, wear all the protective stuff.
Polishing the clear is VERY satisfying:
Waited until all the painting and polishing was done to de-rust the tank. I tried electrolysis, wasn't impressed... I ended up using evaporust, a chemical that chelates oxidized metal. It worked VERY well and was very easy. Afterwards, rinsed the tank, dried it with acetone and immediately filled with gas to prevent flash rust.
I cleaned (wire wheel on the drill), painted and wrapped the pipes. I added 4" insert baffles and slip ons from dime city.
Last part was attaching the seat to the pan. I used velcro:
All back together!
