College Build 78 cb550

StrangeXJ86

Active Member
StrangeXJ86 said:
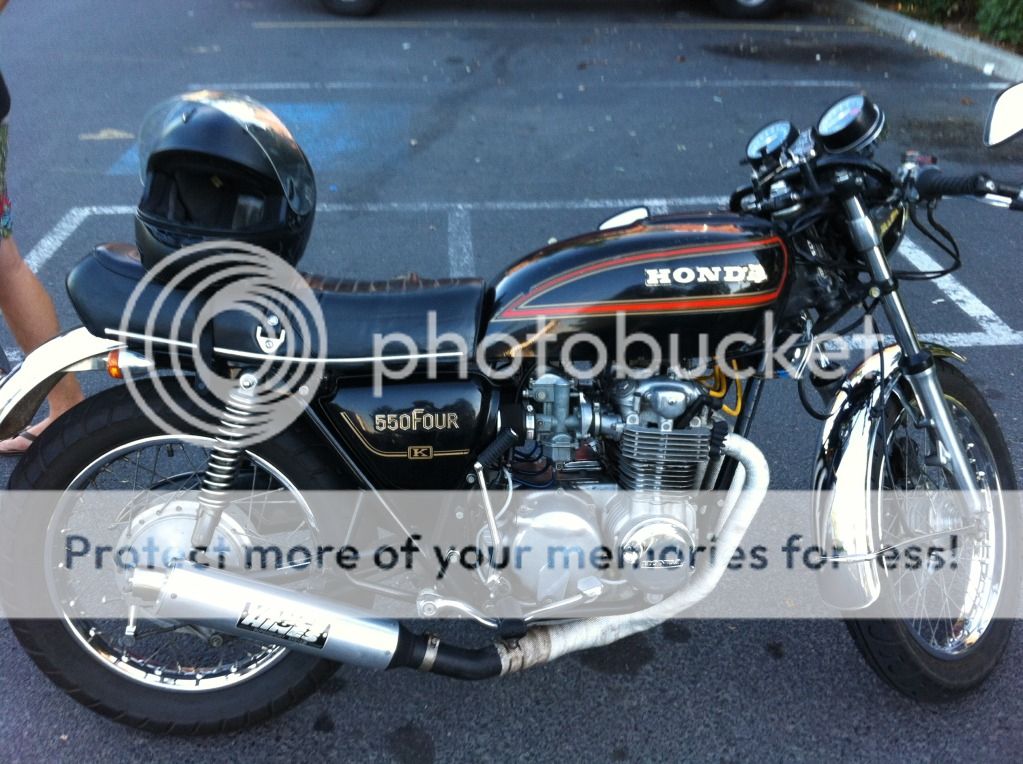
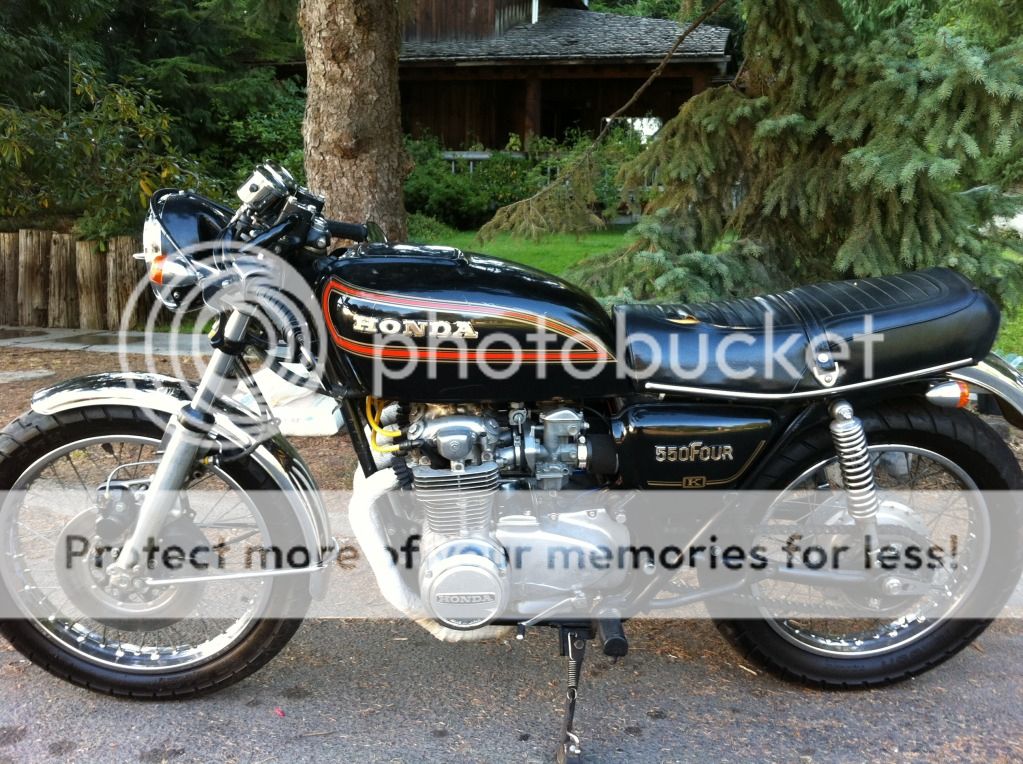
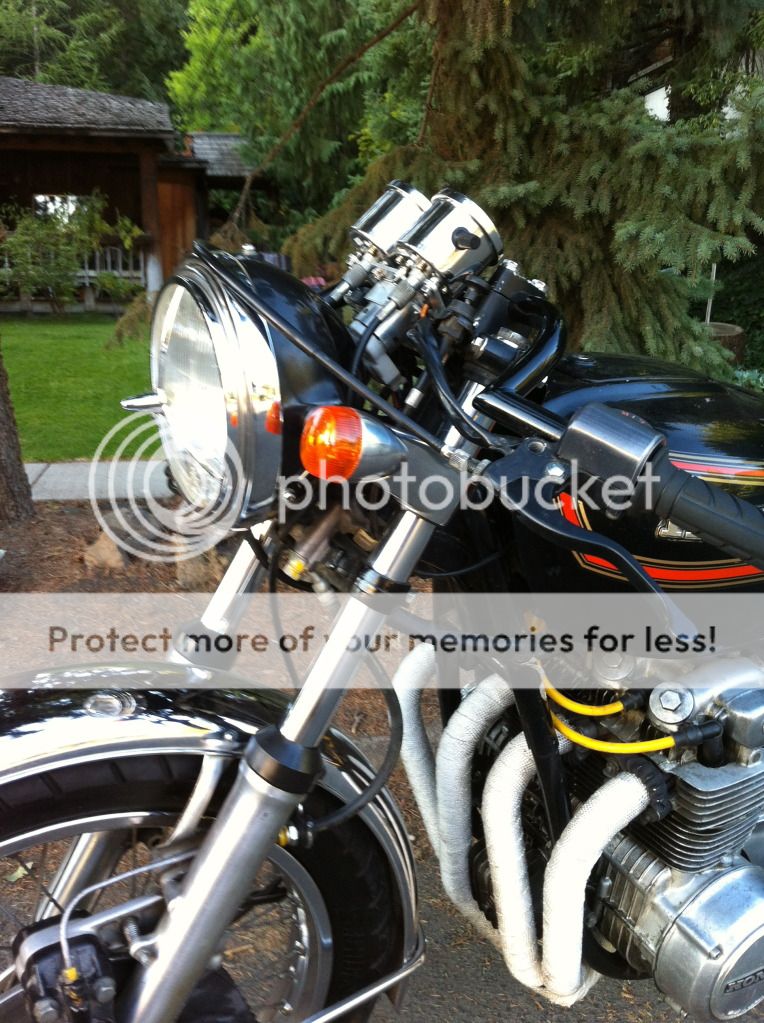
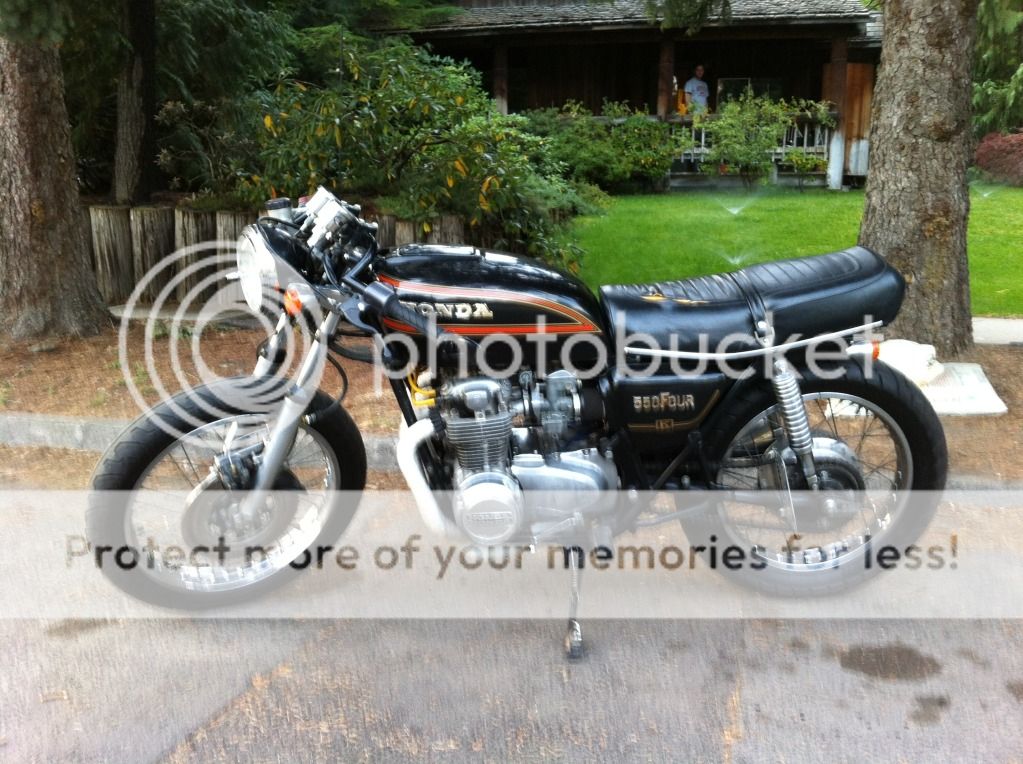
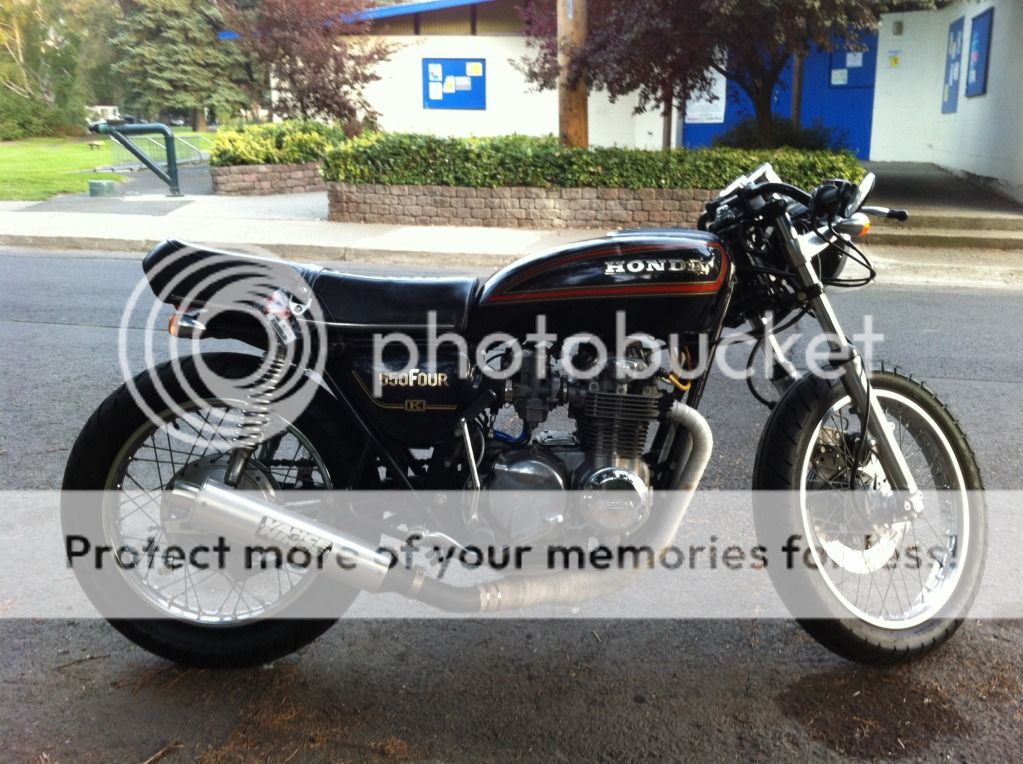
hey guys, new to the forum, just picked up my first bike a few weeks ago; a 1978 cb550. The PO had done quite a bit of work to it. New wrapped headers into vance &hines exhaust. new aluminum side markers, headlight, handle grips, clubman handle bars, end mirrors, new ignition and upgraded coil system. valve's redon 500miles ago. timing chain replaced, etc. etc.

Anyways, i'm super excited to finally have a potential cafe racer, looking forward to making this a nice winter project.

I'm having a little trouble navigating through this forum (i'm used to r3vlimited for bmw e30's) on my usual forums there was a search option where you could search in the specific thread section you were viewing. Anything like that on here? it seems like you can only do a generic google or forum search that doesnt really work.

You might have seen this thread over on SOHC, but i wanted to post here as well.

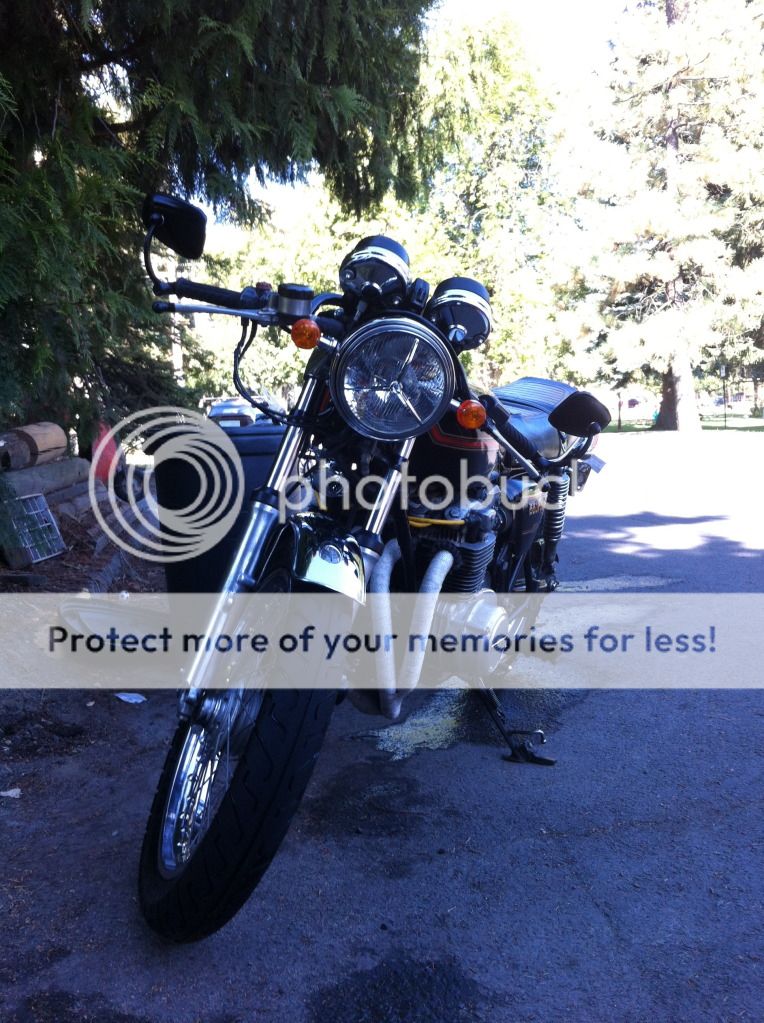
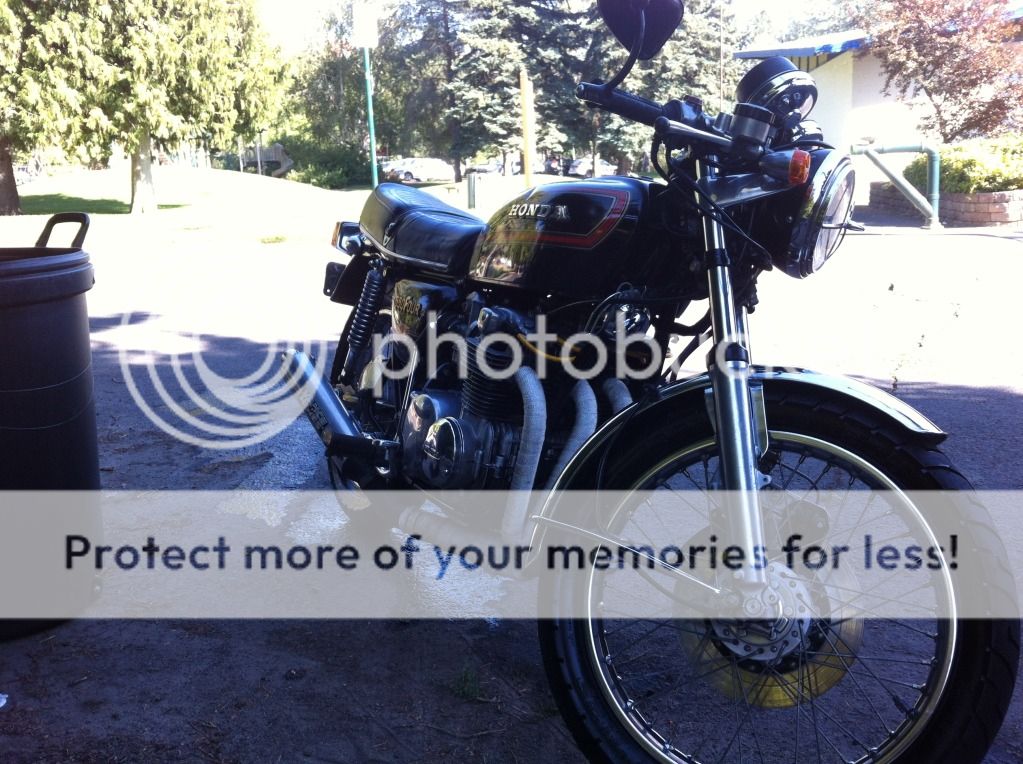
anyways here's a few pics of my "new" bike.

IMG_0850.jpg

IMG_0854.jpg
IMG_0855.jpg


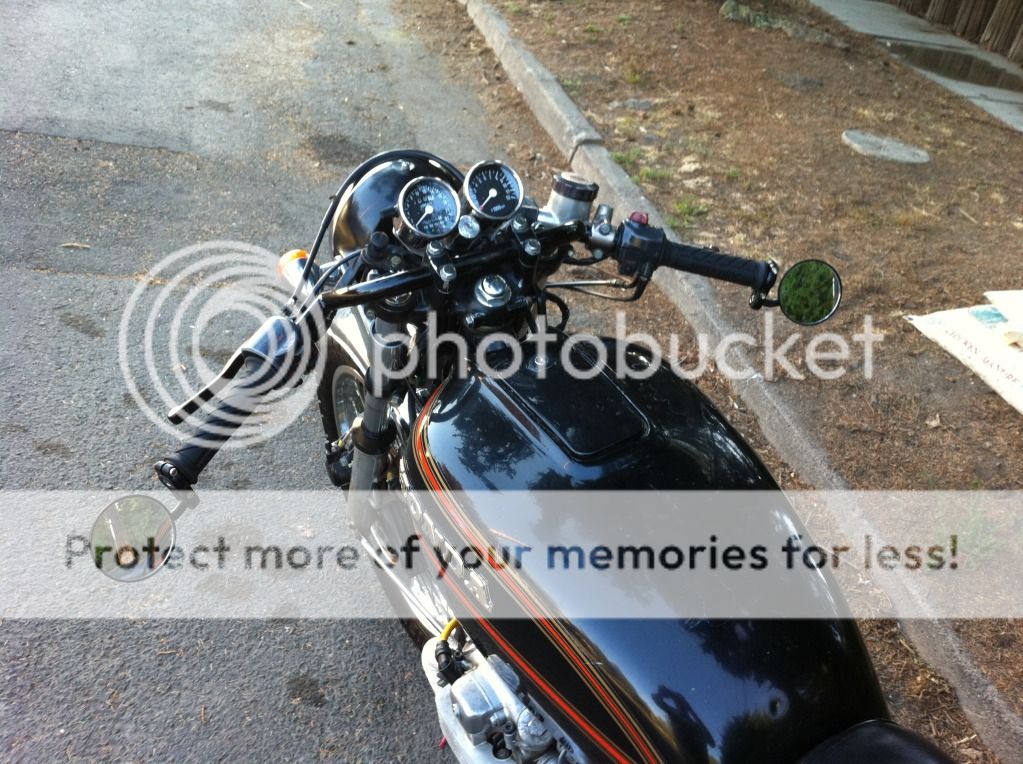
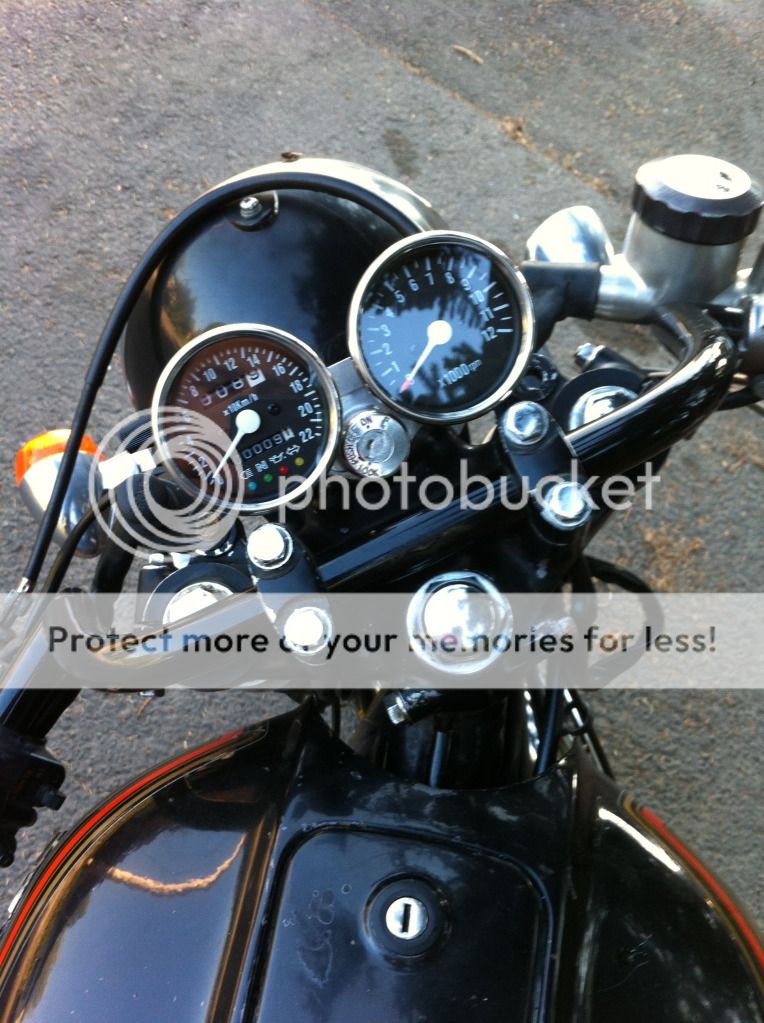
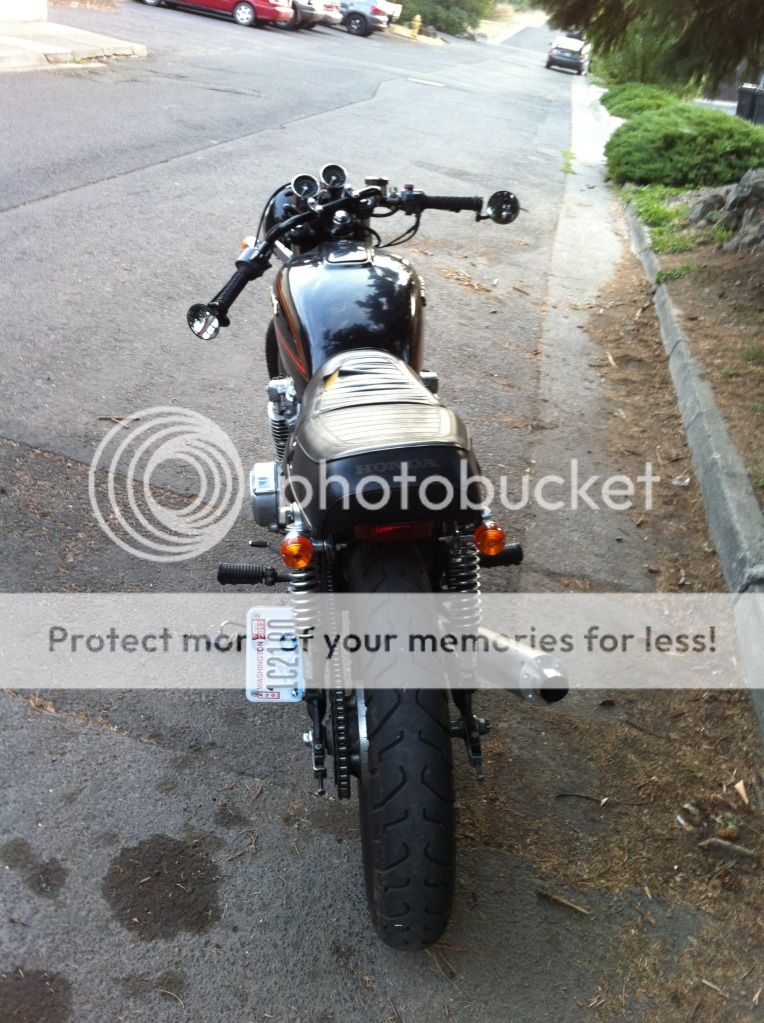
finished up a few additions to the bike yesterday. mini gauges with indicator lights and smaller bar end mirrors. let me know what you think.

the tank, seat, and rear sets are next

IMG_0868-1.jpg
IMG_0867-1.jpg
IMG_0869-1.jpg
IMG_0870.jpg


Quick Update:

i took off both fenders and wired in a litle brake light underneath the seat. I'm happy with the outcome, especially since it was only $5 at Shucks.

Here's some pics for you guys.

IMG_0910.jpg
IMG_0909.jpg
IMG_0911.jpg
 
Good looking bike!

Is that two tachs? Never seen an abbreviated speedo before....
 
Nice bike dude. I too am building on a college budget. At a quick glance, it would be wise to install some sort of fork support. I am telling you first because there are others on this site that are good at pointing out the lack of fork support, and they wont be very polite about it. With that being said, all you have to do is pop/drill the rivets off of the fender that you took off and put the bracket back on with the bolts back into the forks. Follow me?
 
the speedo is in kilometers. And thanks for the suggestion with the front fork. I'm cutting the original one up and making it smaller.

Here't the progress in the past week or so..

IMG_1370_zpsea0623dc.jpg


stripped the frame to bare metal. Took forever! Used aircraft stripper and steel wool. Going to be black oxidizing it this week.

IMG_1380_zpsc941571c.jpg


fabbed up a rear fender out of 16 gauge sheet metal.

IMG_1391_zps6749a5a3.jpg


welded on little tabs so the fender is removable.
IMG_1392_zps5b530715.jpg


IMG_1389_zps70623f4c.jpg
 
Whattup fellow Washingtonian. Where are you located?

Cool ride! Looking to see what happens from here. Do you ever hit up Backfire moto in the warmer months?
 
also made a small piece for that middle section, so it is all covered. Complete engine gasket, fork seals and bearings came yesterday so i will be rebuilding the engine this week too.
 
sphynx88 said:
Whattup fellow Washingtonian. Where are you located?

Cool ride! Looking to see what happens from here. Do you ever hit up Backfire moto in the warmer months?

Thanks! I live in Seattle mainly but 'm over in Pullman going to school right now. What is Backfire moto? Never heard of it.
 
Backfire is a big Cafe/Vintage/Rat Motorcycle, scooter, moped night in Ballard. It's something like every 3rd Wednesday during most months. Definitely check it out when you are back on the west side.
 
yeah i definitely will. Im excited to finish the bike and get it over to the west side. Bought it up in spokane in september and its been in Pullman ever since.
 
thanks! There will be a lot of updates this week. Hopefully I'll be able to get to some copper plating for some accents but we'll see.
 
UPDATE: Frame is officially done. Couple coats of InstaBlack using the room temperature black oxide process and a coating of Boeshield T-9 Corrosion Protection and Rust prevention.

All tabs were mig welded, 16 gauge sheet metal cut with a plasma cutter and fine tuned with a bench grinder and hand grinder. The rear fender portion is one continuous piece from rear trailing arm up to the new seat loop.

here's a quick teaser for the shop I have complete access to. WSU's Metal fabrication and engineering lab shop. Loaded with industrial size lathe's, MIG, TIG, ARC, Oxy, Piranha cutter, drill presses, verticle and horizontal mills, and plasma cutters. Its any wrenchers wet dream.
IMG_1393_zpsc955fc70.jpg


and now.... on to the bike. Hope you guys like it.

IMG_1422_zps524d8b3f.jpg


IMG_1420_zps811e1052.jpg


IMG_1418_zps41b6a540.jpg


IMG_1421_zps805800e7.jpg


IMG_1416_zps011814c7.jpg


IMG_1417_zps634b3c44.jpg
 
got my engine gasket set in the mail the other day. Engine rebuild is the next step. Clean, clean, and clean. Thinking about painting the engine with a matte silver aluminum paint and doing some copper electroplating for accents. Lapping the valves is a definite. I would go with some new pistons but I'm on the college budget like the title says, so thats not in the cards right now.

Oh, and I did a total rebuild on the carbs last week too. Full ultrasonic cleaning after dissasembly. Thinking about taking the carbs apart again and painting them though. They just don't quite have the look i was going for.
 
small update:

here's the start of my custom rear sets. going to mount them in the existing passenger peg holes. I had planned on making a mounting plate that would rest in the triangle space of the passenger peg frame, but after doing a bit of design and mock up, it looked to busy or cluttered so I'm going with this for now.

IMG_1429_zps55168f12.jpg
 
made some changes to the foot peg and made the first lever. It turned out pretty decent but the second one will be a bit better.

64847_4379523417833_819644412_n_zps3188ee8b.jpg
 
Update: lapped the valves, didnt want to buy a spring compressor so I made one out of a C-clamp in the metal fab shop.

Valves, head, and cylinders weren't that bad for being such an old bike. This thing must have been taken really good care of because this engine was clean.

IMG_1439_zps414ff248.jpg


IMG_1441_zpsc302bc44.jpg
IMG_1442_zpsa2b0646c.jpg


took teh entire engine apart, cleaned and painted each part. Took a ton fo time without a sandblaster but the end result was worth it.

IMG_1464_zps07e73073.jpg
IMG_1466_zpsd133df95.jpg
IMG_1469_zpsce1c01d3.jpg
IMG_1470_zps5af2ada2.jpg
 
No love from the DTT?

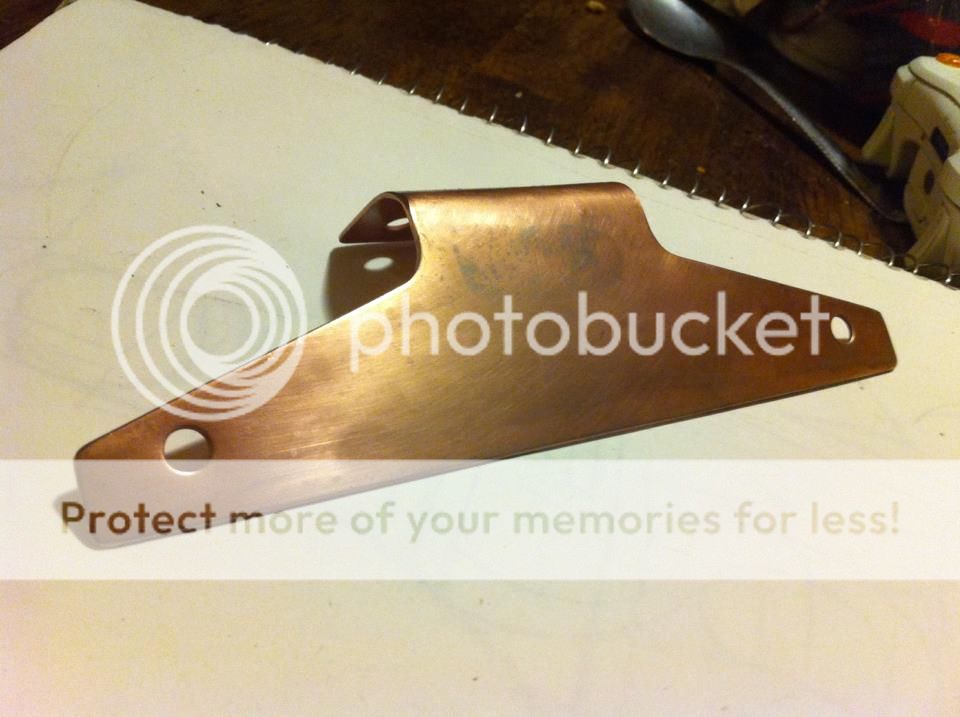
first attempt at some electro-plating with copper. License plate holder started out bare stainless steel. Small battery charger, some aligator clips, and hydrochloric acid, and a sheet of pure copper. Here's the result.

I'm pretty happy with it.

420373_4447433075532_1156052613_n_zps67fe5abe.jpg
 
Engine looks sweet. Copper plating trick is pretty cool. How much of the bike you doing that way?
 
canyoncarver said:
Engine looks sweet. Copper plating trick is pretty cool. How much of the bike you doing that way?

thanks! I'm really excited about how well the copper plating worked out. I think i'll just be doing it for little accents on the bike. Things like clutch and brake levers, random brackets, headlight bucket. Everything I do kind of develops as I go along.
 
Back
Top Bottom