
You are using an out of date browser. It may not display this or other websites correctly.
You should upgrade or use an alternative browser.
You should upgrade or use an alternative browser.
First timer: Honda CB360 Resto
- Thread starter jnorman
- Start date


baxterholmes
New Member
Bringing this one back from the dead. I stepped away from bikes for a solid 9 years. Had kids and lost my DTT account in the process. Well, I didn't lose it in the process of having kids...just the nine year hiatus. Anyway, now I'm back under a new username. But, the best part is I get to resurrect this thread with a happy ending. The CB360 from this thread is done.
In May, I dug the bike out of my basement where it'd lived as a magnet for dust and my anxiety for not finishing it and dragged it into a buddy's garage. From there, we broke the motor back down to check piston ring gaps and other clearances because I didn't totally trust my 25 year old self. Everything checked out and we set about repairing everything else which , ranged from fork seals, to electrical work, to a bunch of troubleshooting, testing and shaking it out. The result was something of a comprehensive refresh. Not quite a total restoration, but far more than slapping new rubber on the wheels and scrubbing out the crusty old boom juice from the carbs. It has an LED headlight, new clutch with heavy duty springs, new drive chain, Shinko 712s, fresh brakes all around and a bunch of other bits. It'd start on the first kick and pulled pretty hard through 50mph. Impressive for a little thing. I ended up selling it to a guy as his first bike. For people wondering the economics, I sold it for $3k and had just about that much into it, plus hundreds of hours. But there was at least a couple hundred in wasted spending that could have been avoided from experience.
I love this project. Nine years ago it gave me the confidence, even though I hadn't finish it, to tackle more complex mechanical tasks. Fast forward and what started as me getting it out of my basement to make room for storage has reignited a love for working on bikes. I have two new projects. One is a 78', 79', 80' Yamaha XS1100 very "special" hybrid that will be getting a cafe-esq treatment and a build thread. The second is an 85' Kawasaki GPZ900R. The second is a longer-term project and will probably be my bike for quite some time. Video and photos of the Honda running and photos of the other bikes down below. I'm looking forward to being more active on this forum from here on out.
Video of the bike running:


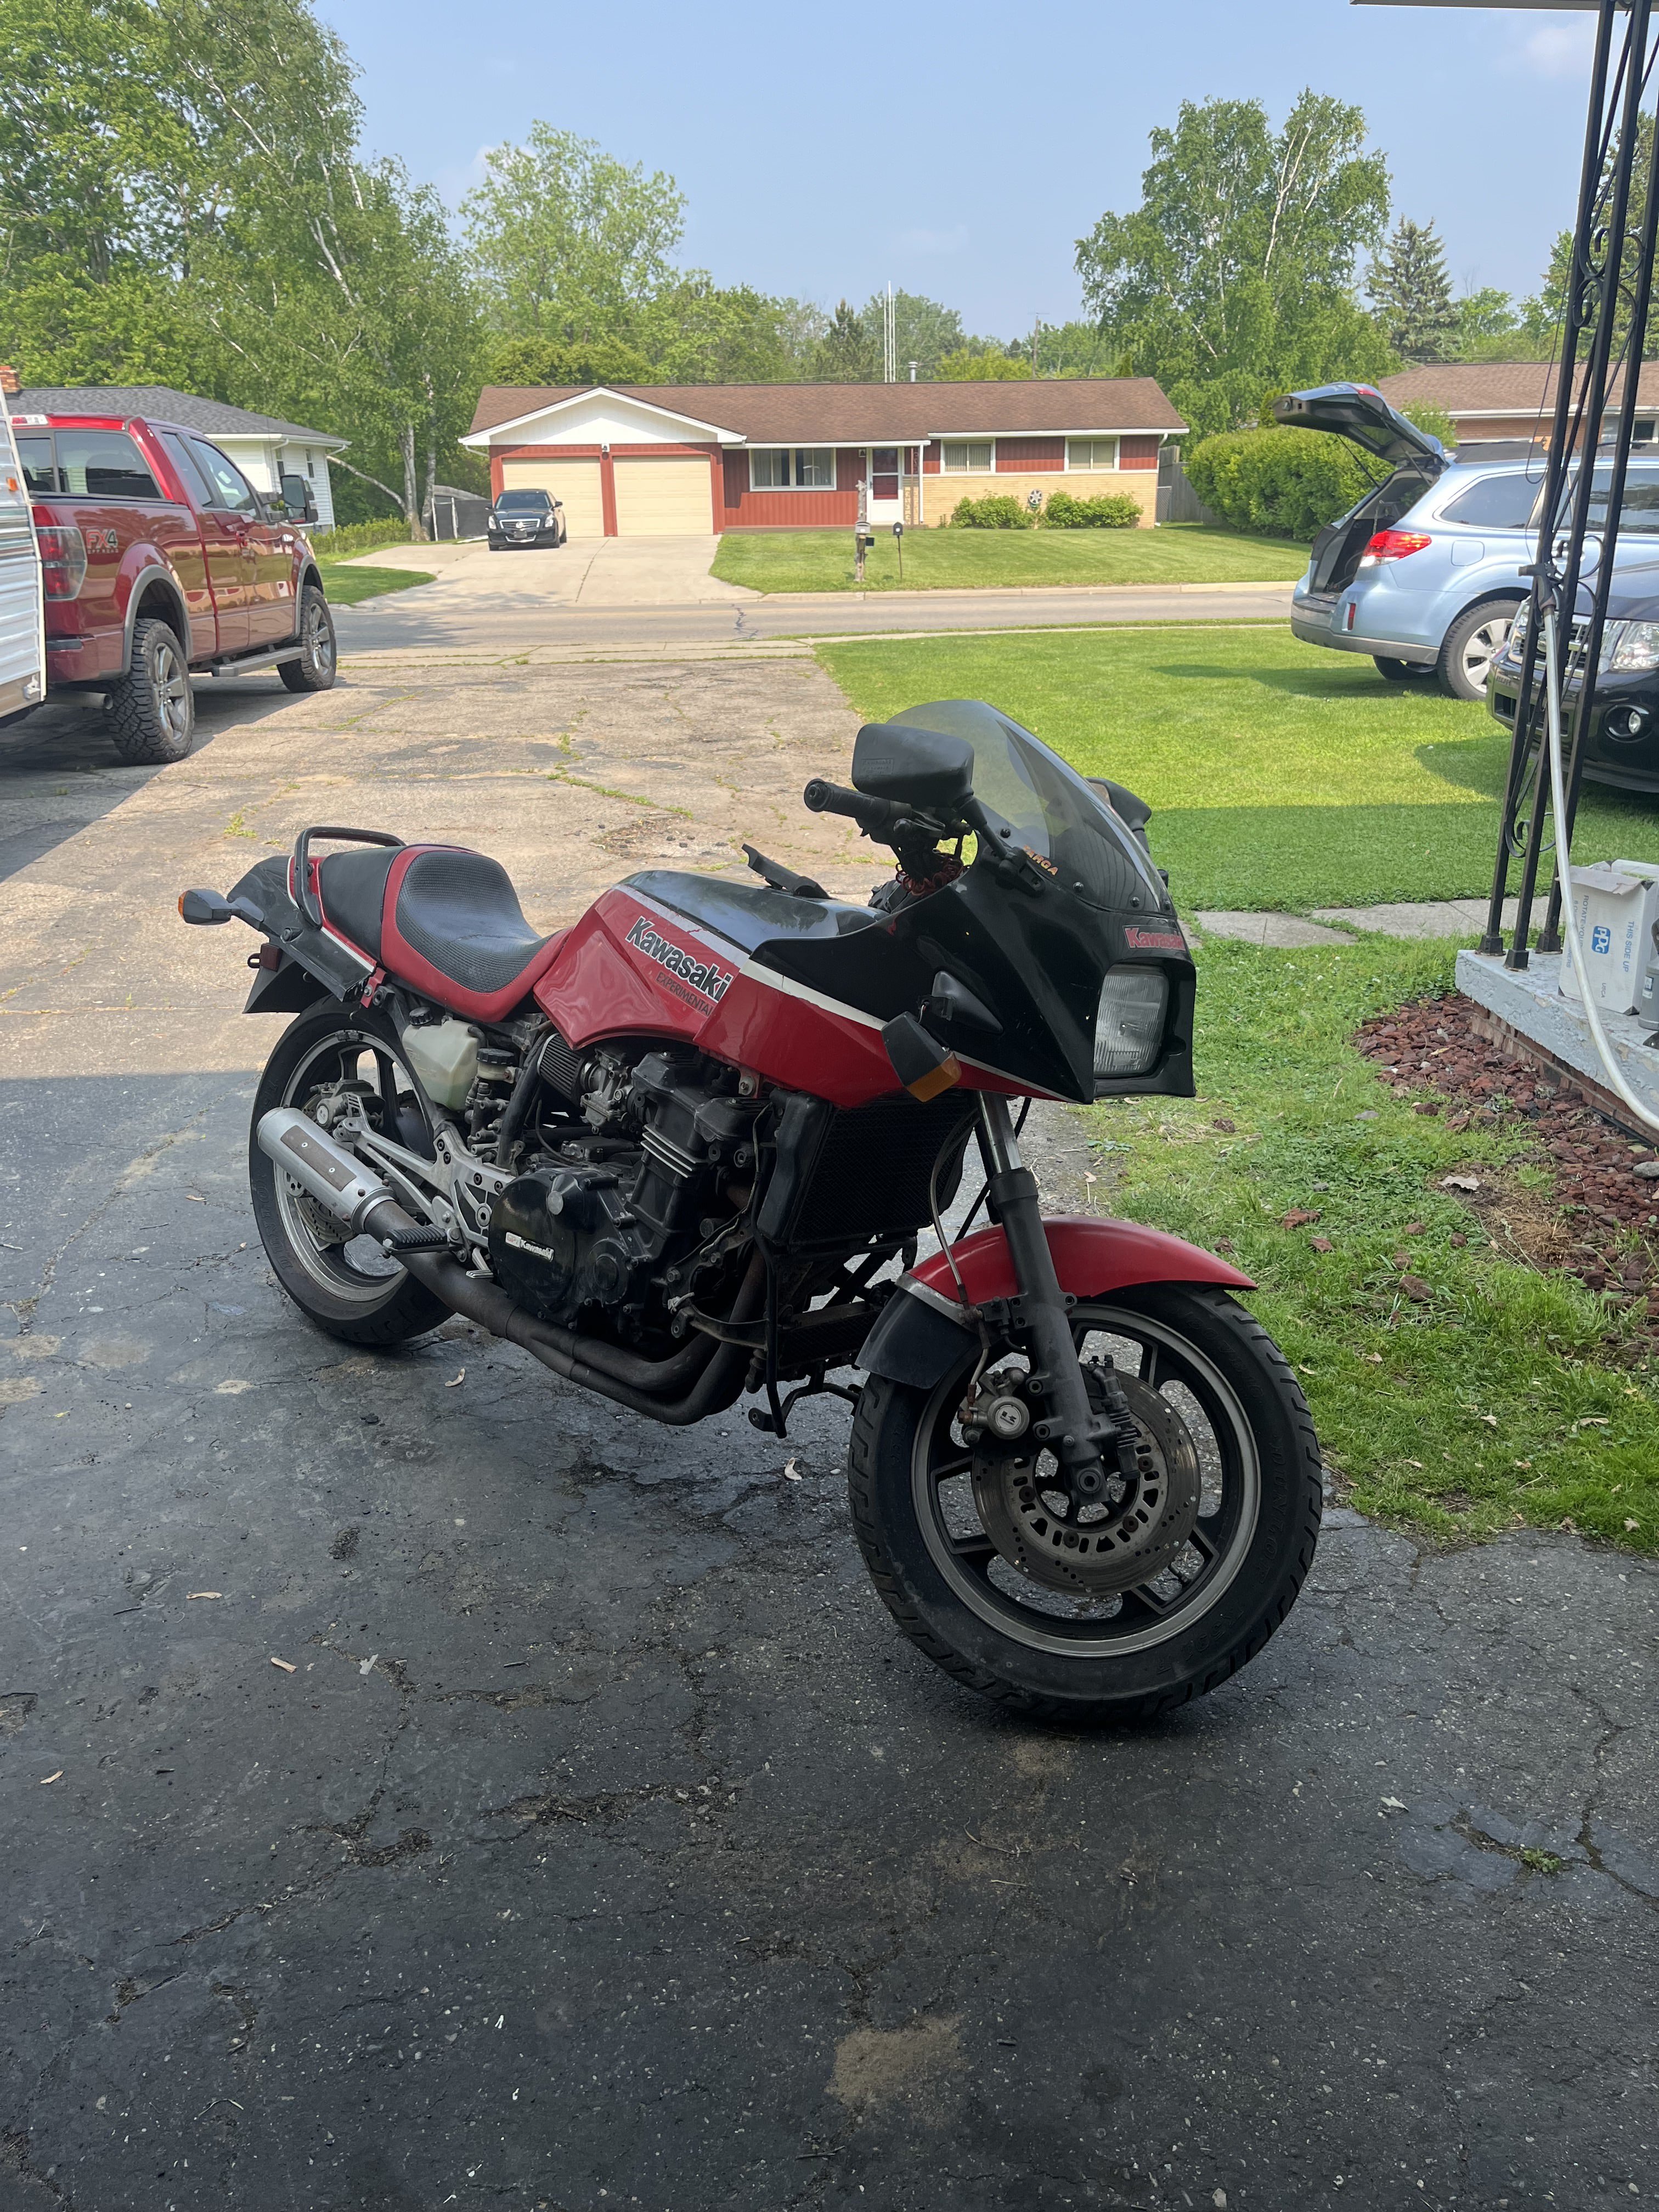
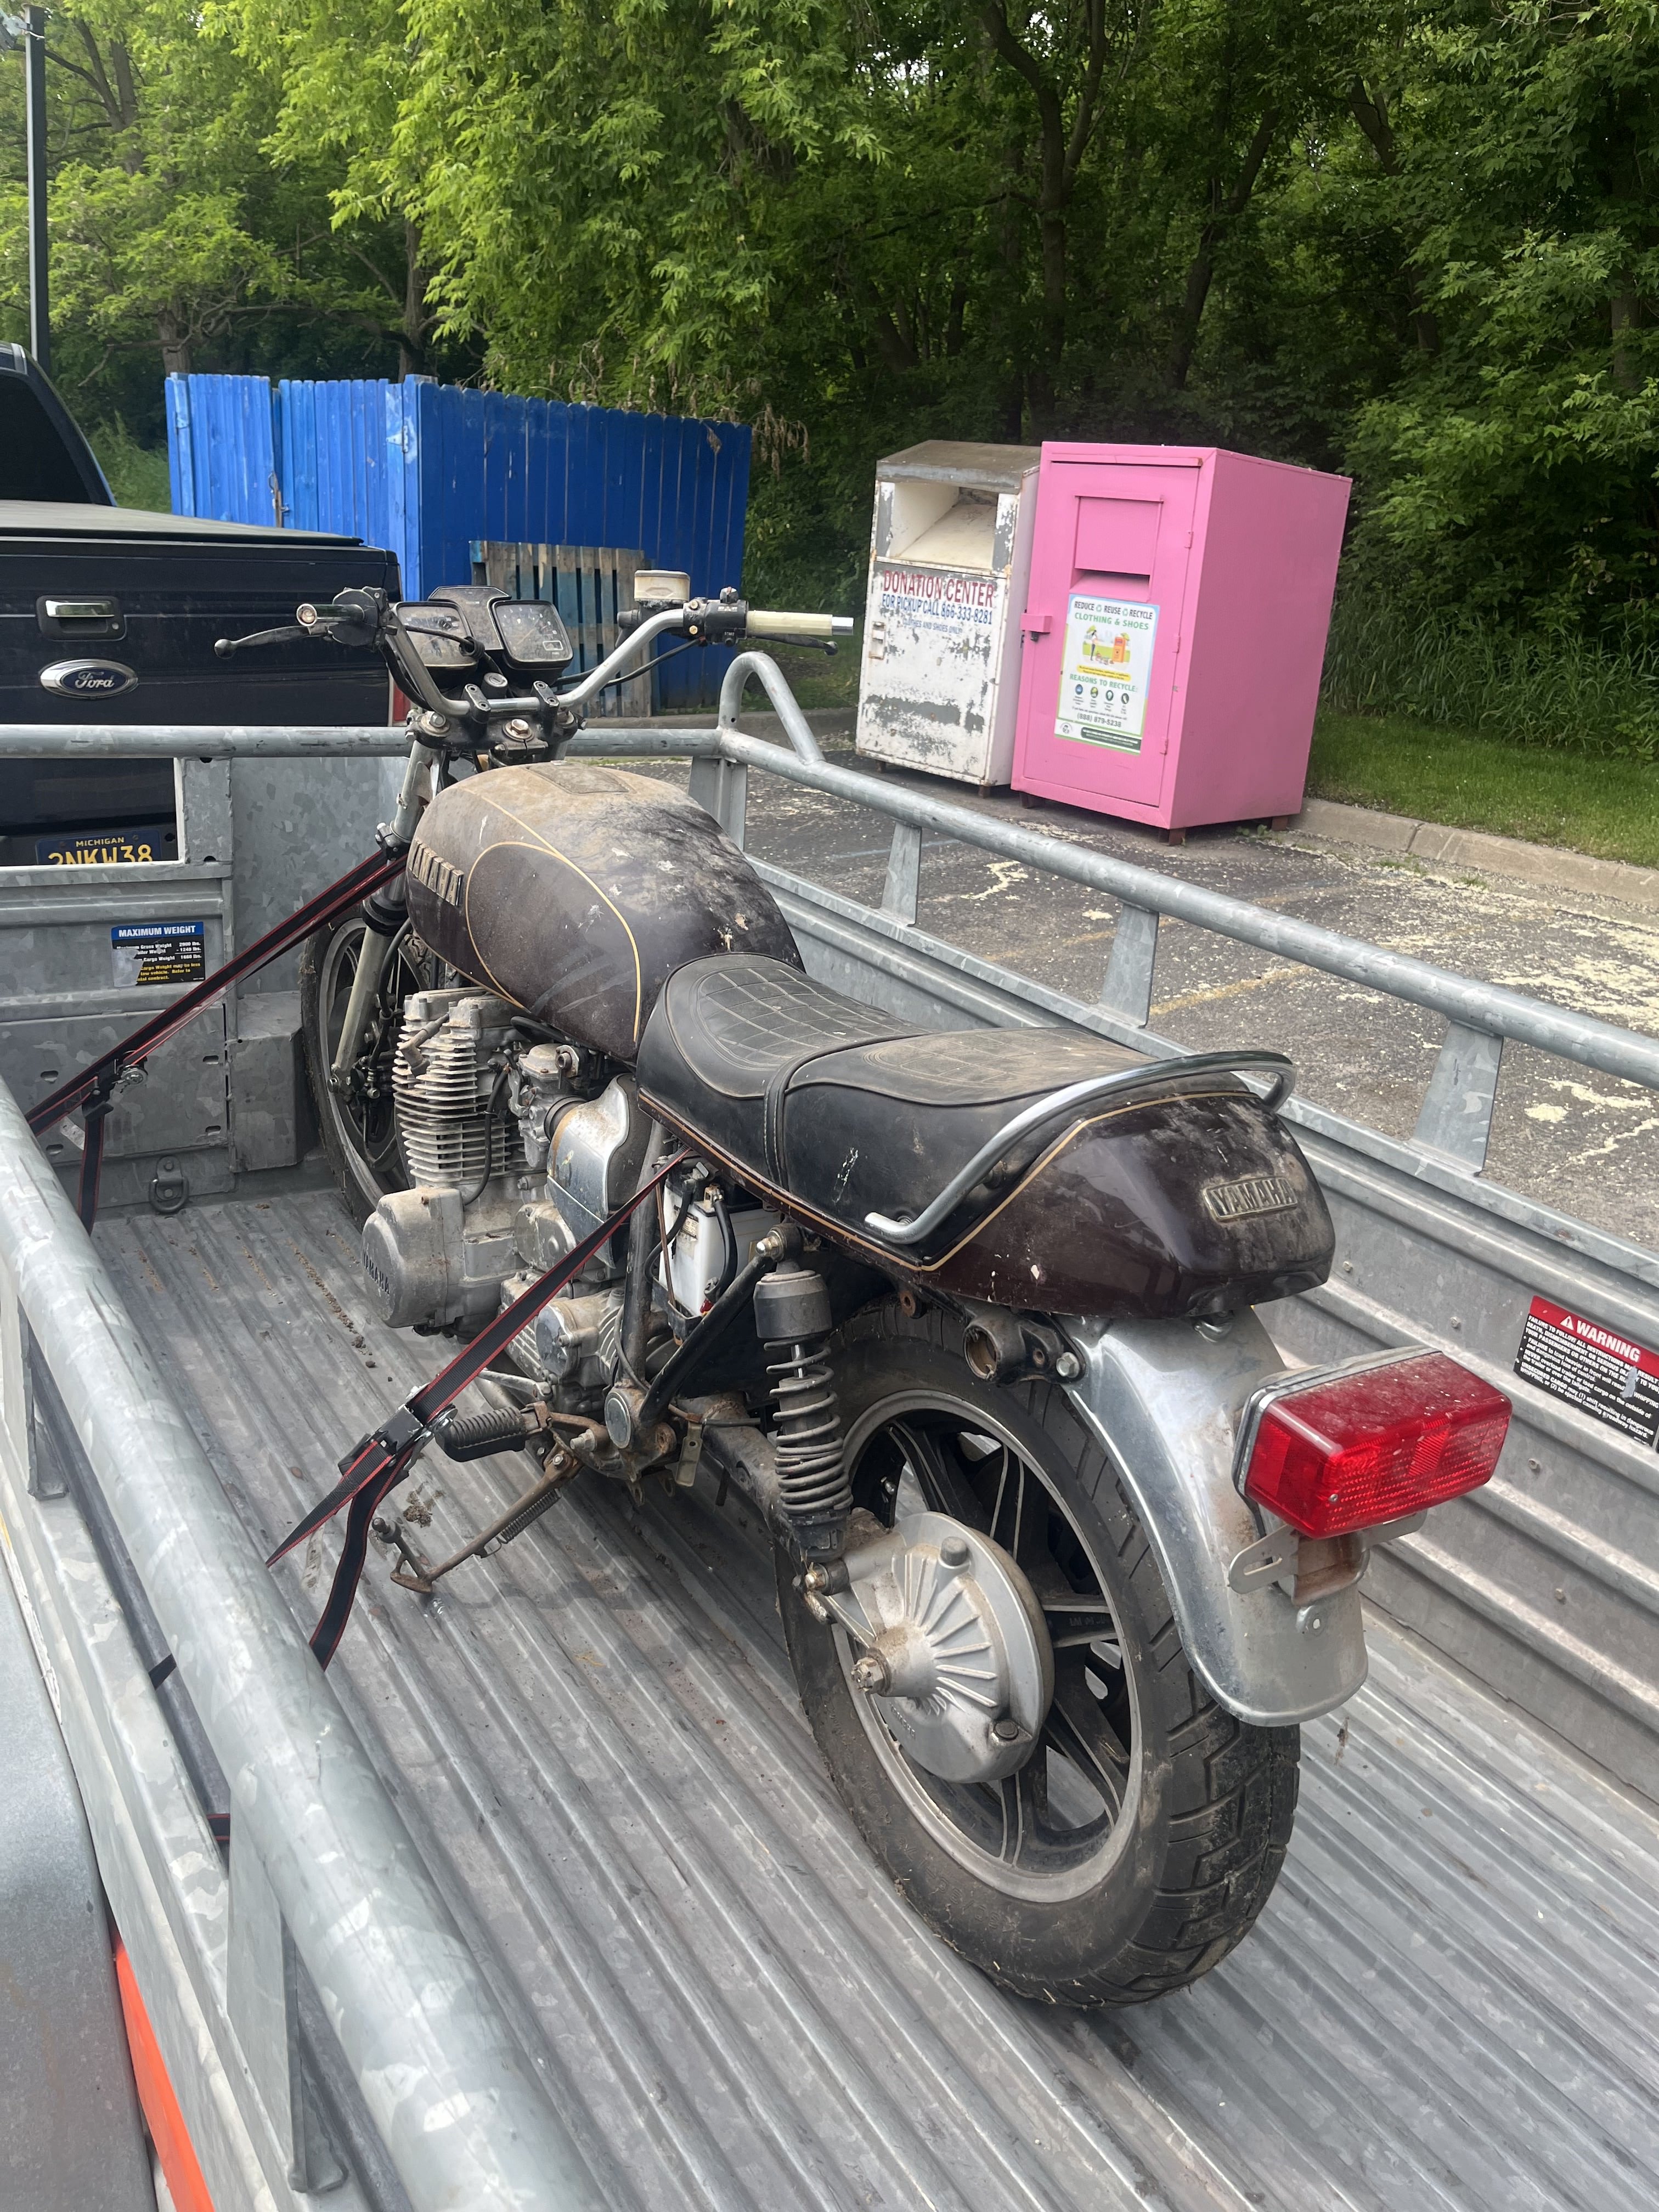
In May, I dug the bike out of my basement where it'd lived as a magnet for dust and my anxiety for not finishing it and dragged it into a buddy's garage. From there, we broke the motor back down to check piston ring gaps and other clearances because I didn't totally trust my 25 year old self. Everything checked out and we set about repairing everything else which , ranged from fork seals, to electrical work, to a bunch of troubleshooting, testing and shaking it out. The result was something of a comprehensive refresh. Not quite a total restoration, but far more than slapping new rubber on the wheels and scrubbing out the crusty old boom juice from the carbs. It has an LED headlight, new clutch with heavy duty springs, new drive chain, Shinko 712s, fresh brakes all around and a bunch of other bits. It'd start on the first kick and pulled pretty hard through 50mph. Impressive for a little thing. I ended up selling it to a guy as his first bike. For people wondering the economics, I sold it for $3k and had just about that much into it, plus hundreds of hours. But there was at least a couple hundred in wasted spending that could have been avoided from experience.
I love this project. Nine years ago it gave me the confidence, even though I hadn't finish it, to tackle more complex mechanical tasks. Fast forward and what started as me getting it out of my basement to make room for storage has reignited a love for working on bikes. I have two new projects. One is a 78', 79', 80' Yamaha XS1100 very "special" hybrid that will be getting a cafe-esq treatment and a build thread. The second is an 85' Kawasaki GPZ900R. The second is a longer-term project and will probably be my bike for quite some time. Video and photos of the Honda running and photos of the other bikes down below. I'm looking forward to being more active on this forum from here on out.
Video of the bike running:
Attachments

Good on ya for getting it finished! 360s are great little bikes. Looking forward to the other projects.


crazypj
Split personality, I fake being smart
No idea how I missed this in the original posting although I started looking after stepdaughters son in 2016 a week before his first birthday (so understand exactly what you mean about having kids) .
Anyway, post 19, page 1.
You have a valve spring upside down, (left side exhaust)
The 'closed' coils go towards head.
It won't cause too much problem until you get rpm up when valve will most likely 'float' then contact piston.
Below 6K you'll never notice but of course your losing a lot of power if you can't rev to at least red-line. (motor is actually 'safe' to 12,250rpm, points won't let it rev much over 10,750~11,000 though)
The oil transfer piece in clutch cover needs modifying to prevent cam bearing and rocker arm problems, it's been a long time since I posted about it but there should be pictures of modifications somewhere (also done on CB350 engines, they are a lot easier with removable oil filter cover and may be easier to find?)
The GPZ can have an issue with the drive chain under clutch cover behind clutch (I forget if it's alternator drive or oil pump drive, haven't done one for about 35 years) Tensioners stick or break if chain is worn which can make a real mess, probably enough to scrap an otherwise good bike nowadays unless you can find good used parts.. (takes out clutch basket and some other bits)
XS1100, fantastic low speed torque, one of the 'fun' things is dropping it into second gear about 15~20mph then riding it 'sideways' (like a flt track bike) but in a straight line.
Had a lot of fun with them when I ran workshop at Suzuki/Yamaha dealers in 80's
Anyway, post 19, page 1.
You have a valve spring upside down, (left side exhaust)
The 'closed' coils go towards head.
It won't cause too much problem until you get rpm up when valve will most likely 'float' then contact piston.
Below 6K you'll never notice but of course your losing a lot of power if you can't rev to at least red-line. (motor is actually 'safe' to 12,250rpm, points won't let it rev much over 10,750~11,000 though)
The oil transfer piece in clutch cover needs modifying to prevent cam bearing and rocker arm problems, it's been a long time since I posted about it but there should be pictures of modifications somewhere (also done on CB350 engines, they are a lot easier with removable oil filter cover and may be easier to find?)
The GPZ can have an issue with the drive chain under clutch cover behind clutch (I forget if it's alternator drive or oil pump drive, haven't done one for about 35 years) Tensioners stick or break if chain is worn which can make a real mess, probably enough to scrap an otherwise good bike nowadays unless you can find good used parts.. (takes out clutch basket and some other bits)
XS1100, fantastic low speed torque, one of the 'fun' things is dropping it into second gear about 15~20mph then riding it 'sideways' (like a flt track bike) but in a straight line.
Had a lot of fun with them when I ran workshop at Suzuki/Yamaha dealers in 80's
baxterholmes
New Member
Thanks all. And thanks for the insight, PJ.
The GPZ is an interesting one. Somewhere in its life it popped the original 900 motor and the original owner put a 1000 RX motor in it. From my reading, it's largely the same but with a longer stroke and slightly larger bore. The blown motor isn't all that surprising. The bike's odometer reads 60+k and the original owner used to drag race it. I know this, because the dude I bought it from told me. But I also got two totes full of parts and found some really cool "Ram air" induction components made out of plastic oil containers chopped in half with pieces of flexible hose zip tied to them. Impressive stuff. I'll take a picture the next time I'm working on it. I'm sorting the electrical on it right now, but I'll check into that tensioner before I crank it over anymore.
The 1100 is down to the bare frame. I suppose I should start a build thread on it soon.
The GPZ is an interesting one. Somewhere in its life it popped the original 900 motor and the original owner put a 1000 RX motor in it. From my reading, it's largely the same but with a longer stroke and slightly larger bore. The blown motor isn't all that surprising. The bike's odometer reads 60+k and the original owner used to drag race it. I know this, because the dude I bought it from told me. But I also got two totes full of parts and found some really cool "Ram air" induction components made out of plastic oil containers chopped in half with pieces of flexible hose zip tied to them. Impressive stuff. I'll take a picture the next time I'm working on it. I'm sorting the electrical on it right now, but I'll check into that tensioner before I crank it over anymore.
The 1100 is down to the bare frame. I suppose I should start a build thread on it soon.

Last Chance
Been Around the Block
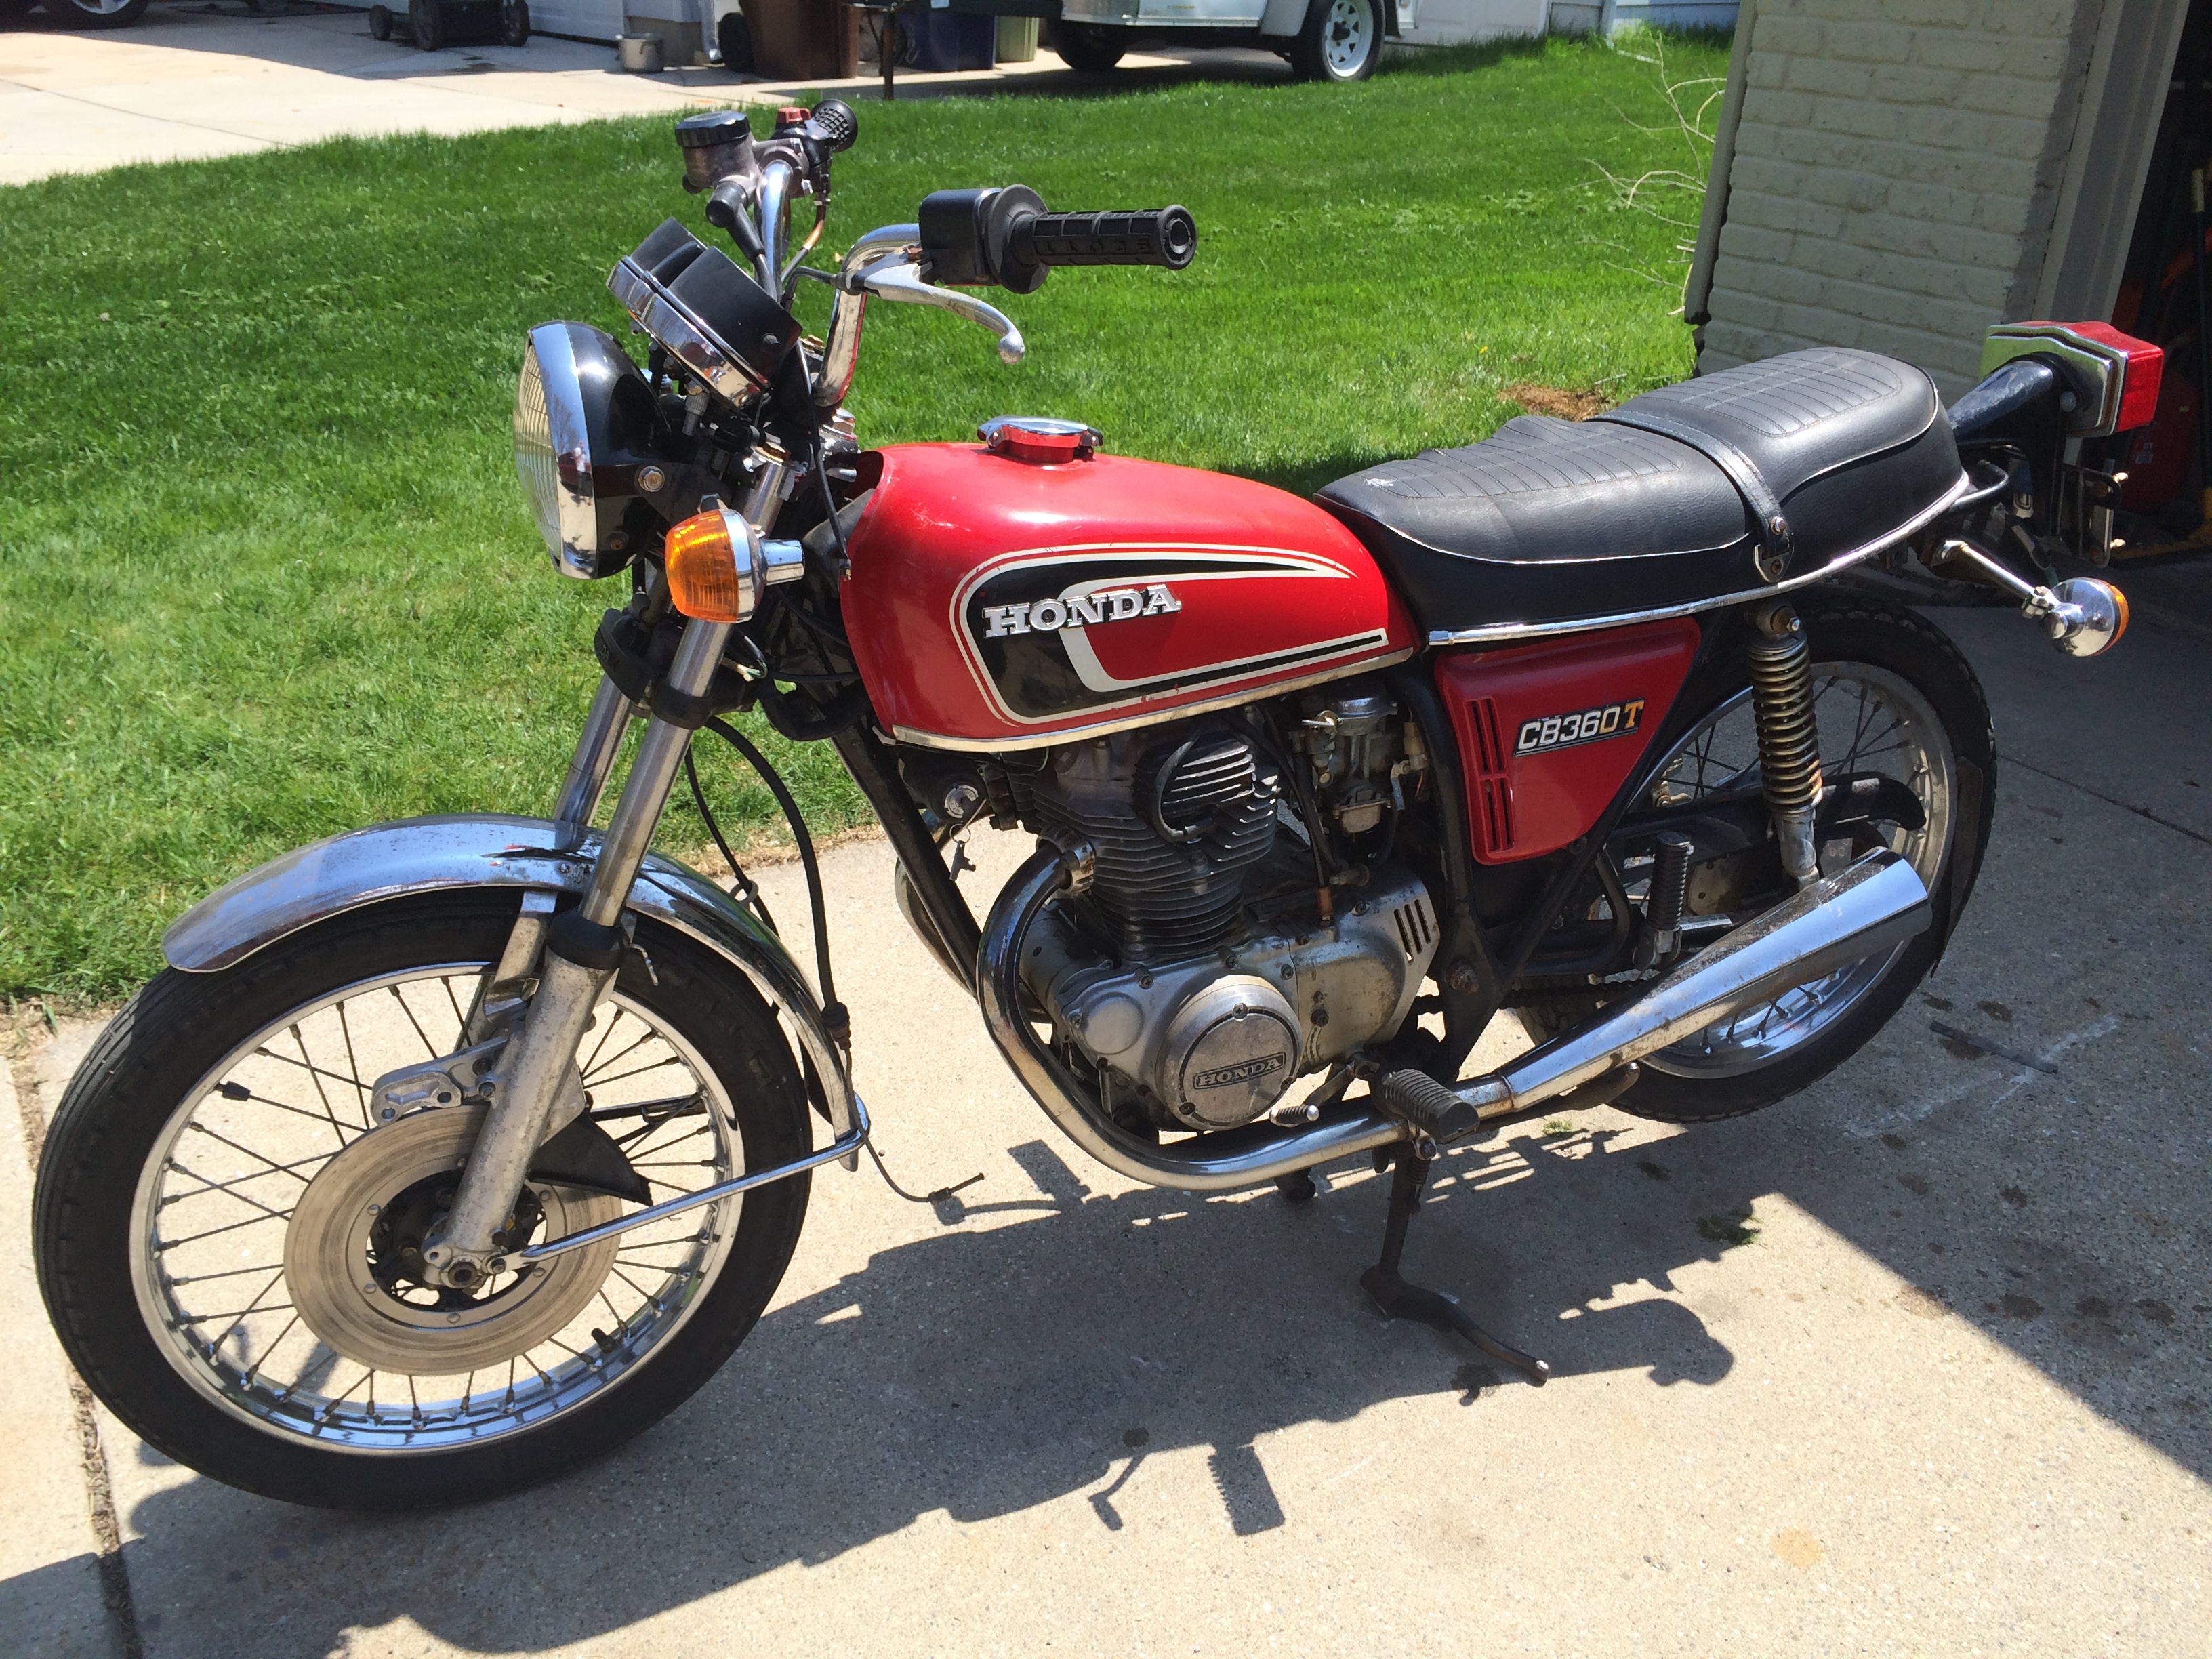
How many beers do you use to get those parts like that?Last April I bought this 75 Honda 360T as a way to go beyond the routine maintenance I'd done on my Nighthawk and, learn how to wrench on bikes. The price was right and the bike was fairly complete and clean but not running. I opted for a refresh/resto rather than some sort of half ass cafe job, because, well I'm very much a novice at this. Quick note: I have some mechanical ability, my dad and I rebuilt a Camaro when I was a teenager, I've welded (not well), and have been around mechanical people and things throughout my life but am still very new to bikes.
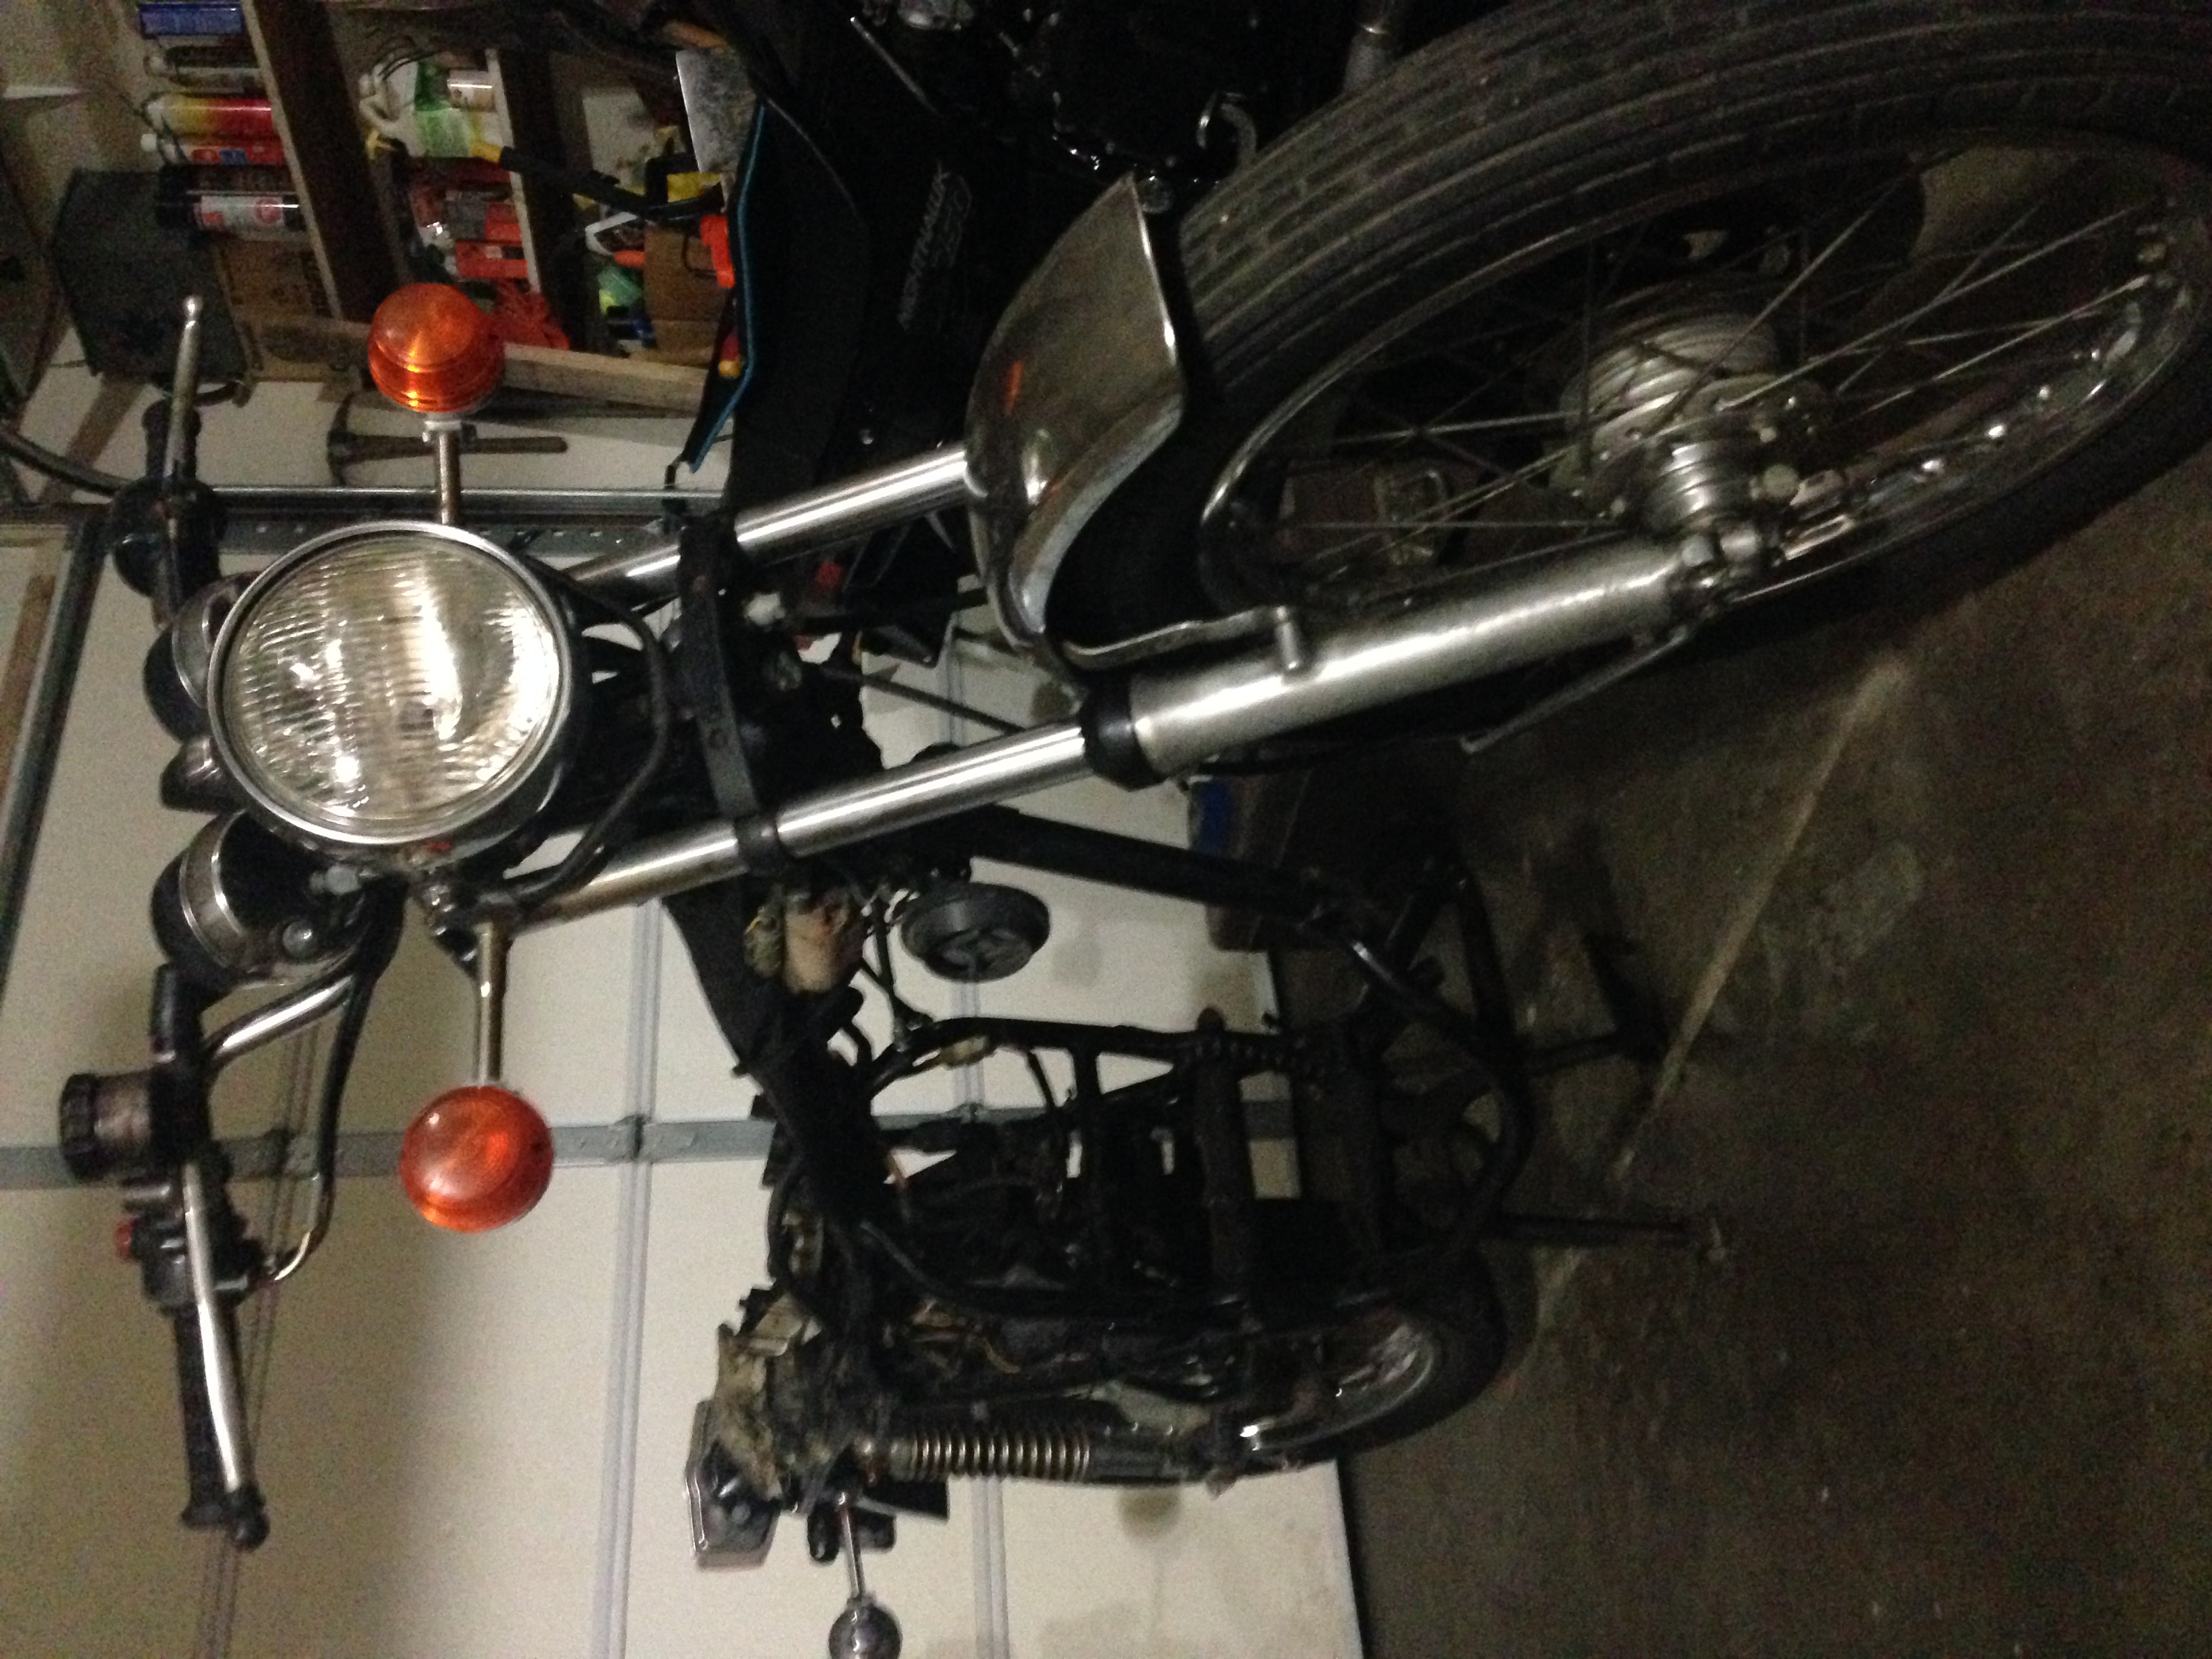
Anyway: here's the bike
I've taken my time on this build (no where near complete yet) and took about a 3 month hiatus as my fiance was pregnant. We just had twins so my time is even more sparse, but working on this is a stress reliever.
The build has focused on the motor thus far. Like I said the bike wasn't running when I bought it. It turned freely but compression was way low (50 psi, I think) on one of the cylinders so I pulled the motor and went to work disassembling the top end. I found a shattered piston ring that came apart in pieces. Because it came out in pieces and, probably more so, because I was curious and this is supposed to be a learning experience, I split the case to inspect the rest of the motor and make sure none of the piston found its way into the case. It was blast and I learned a ton.
The bike was much lighter:
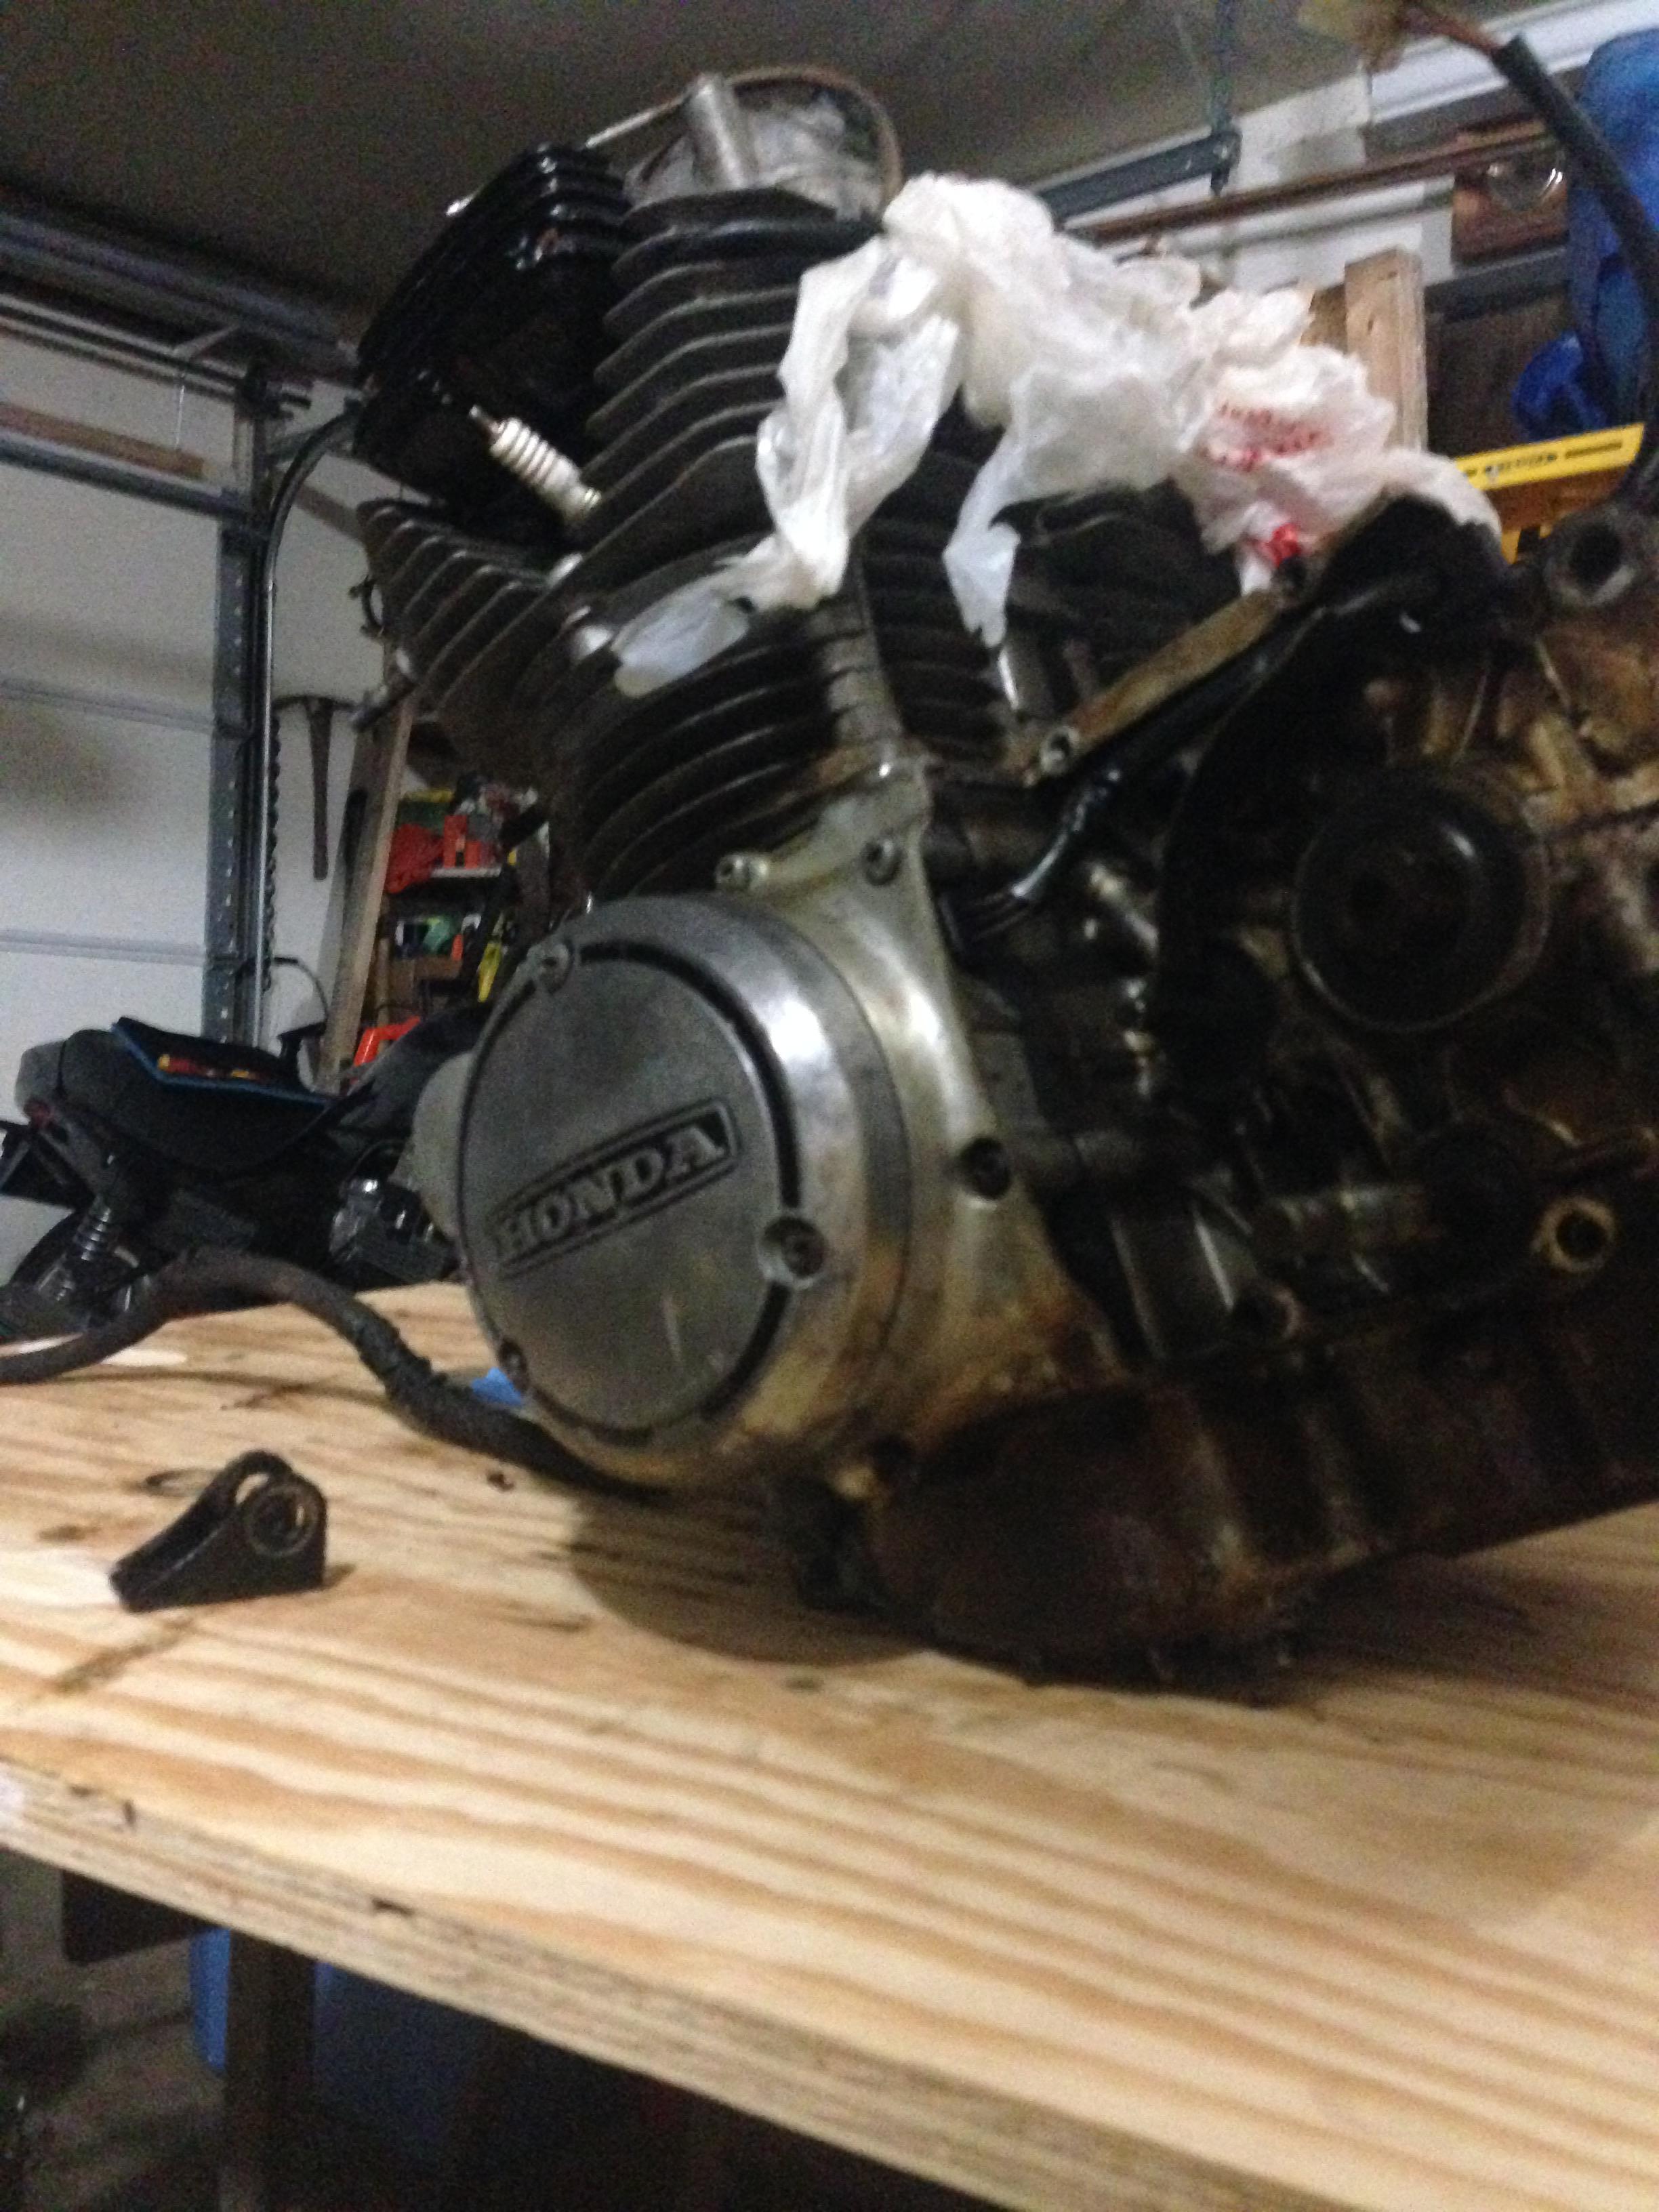
Here's the motor sorry for the weird angle.
I've had to replace some parts... Some my fault others not... One of the PO's let the cam chain get nice and loose and it started to wear through the jugs. He solved that with some bondo.... I solved that by getting a new set of jugs from Ebay. I'll take a pic of the old jugs tomorrow and post it.
Also, word of warning to other newbies - bag everything...seriously bag everything. Like as soon as it leaves the motor, bag it. I threw away both my counter and main shaft bearing retainers because I thought they looked like broken piston rings...they weren't. Ebay saved my ass.
So a breakdown of the progress thus far:
Head, cylinders, cam and pistons inspected by a reputable shop here.
Cylinders honed (by shop)and pistons cleaned and fitted with new rings (by yours truly)
Valves removed, cleaned and lapped. Passed leak test.
Gasket material removed (Worst part)
Cases, jugs, head, and rocker cover? (piece above the head) painted stock aluminum with heat resistant paint. Points cover painted black.
Numerous covers polished (what a job...but rewarding)
New oil seals all around
New gaskets (obvi)
New cam chain tensioner
Cleaned the gas tank with vinegar, some nutzzz and vigorous shaking/ rolling the tank down a small hill.
There has to be more, but it's late and I'm sleep deprived. I'll update if it comes to me.
I checked out the bottom-end, everything looked fine, no shards of piston ring. Cleaned everything up, laid some gasket sealer and put the case back together. Installed piston rings, put the pistons on the rod, jugs on, shifting mechanism, clutch, starter, etc and then the baby-hiatus happened.
Now I'm back at it and after watching another forum member's (Saturday Wrench) latest video on inspection and putting the bottom end together I figured out some stuff I could have done better. So tonight I took everything back apart and resplit the case again.
Here are the reasons:
- Last time I assembled it I used a mix of 10W-40 and Marvel Mystery oil as my "assembly lube". But since I don't know how long the motor will be sitting before I get the rest of the bike up to speed, I bought Permatex assembly lube and and going to relube with that.
-I plan to inspect everything a little better, the dog ears on the transmission shafts, etc.
- I wasn't sure if I had put the barrels on the studs for the cylinder jugs
This being my first build, I want it done right or done absolutely as correctly as I can.
That leads me to couple questions (hopefully you haven't stopped reading yet.)
In case you have, here are some before and after shots of shiny engine bits to re-excite you:
Before:
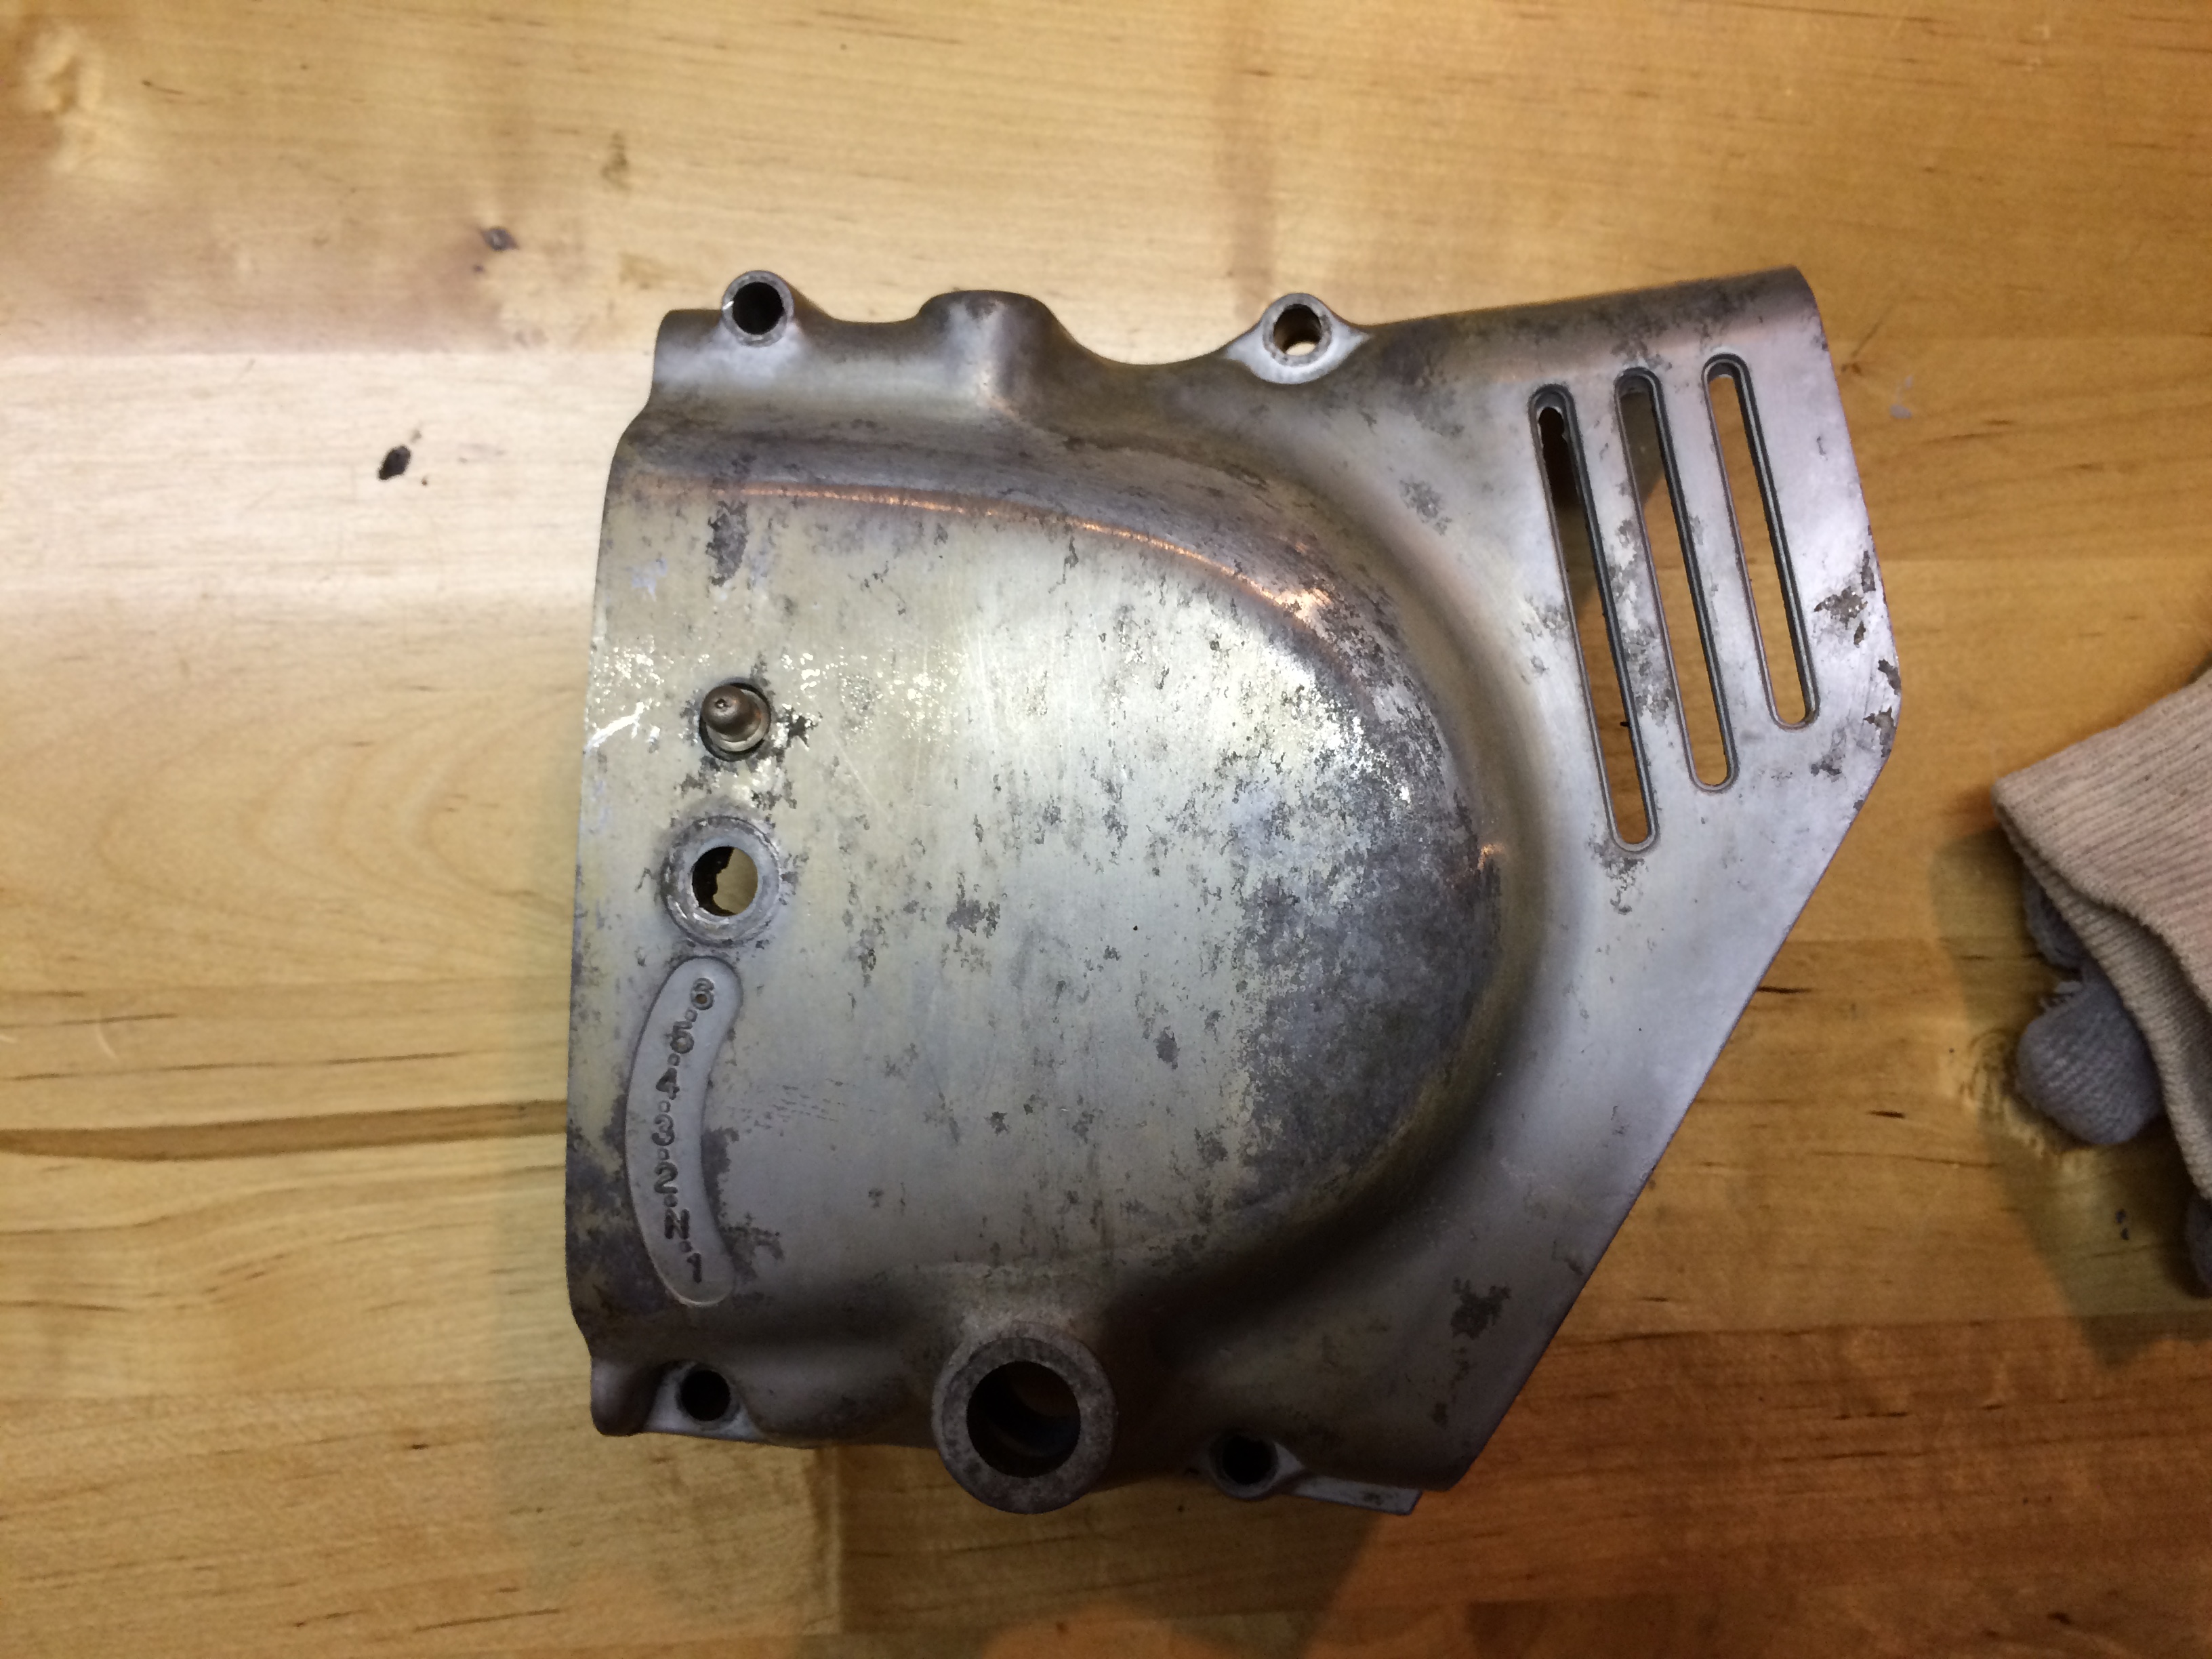
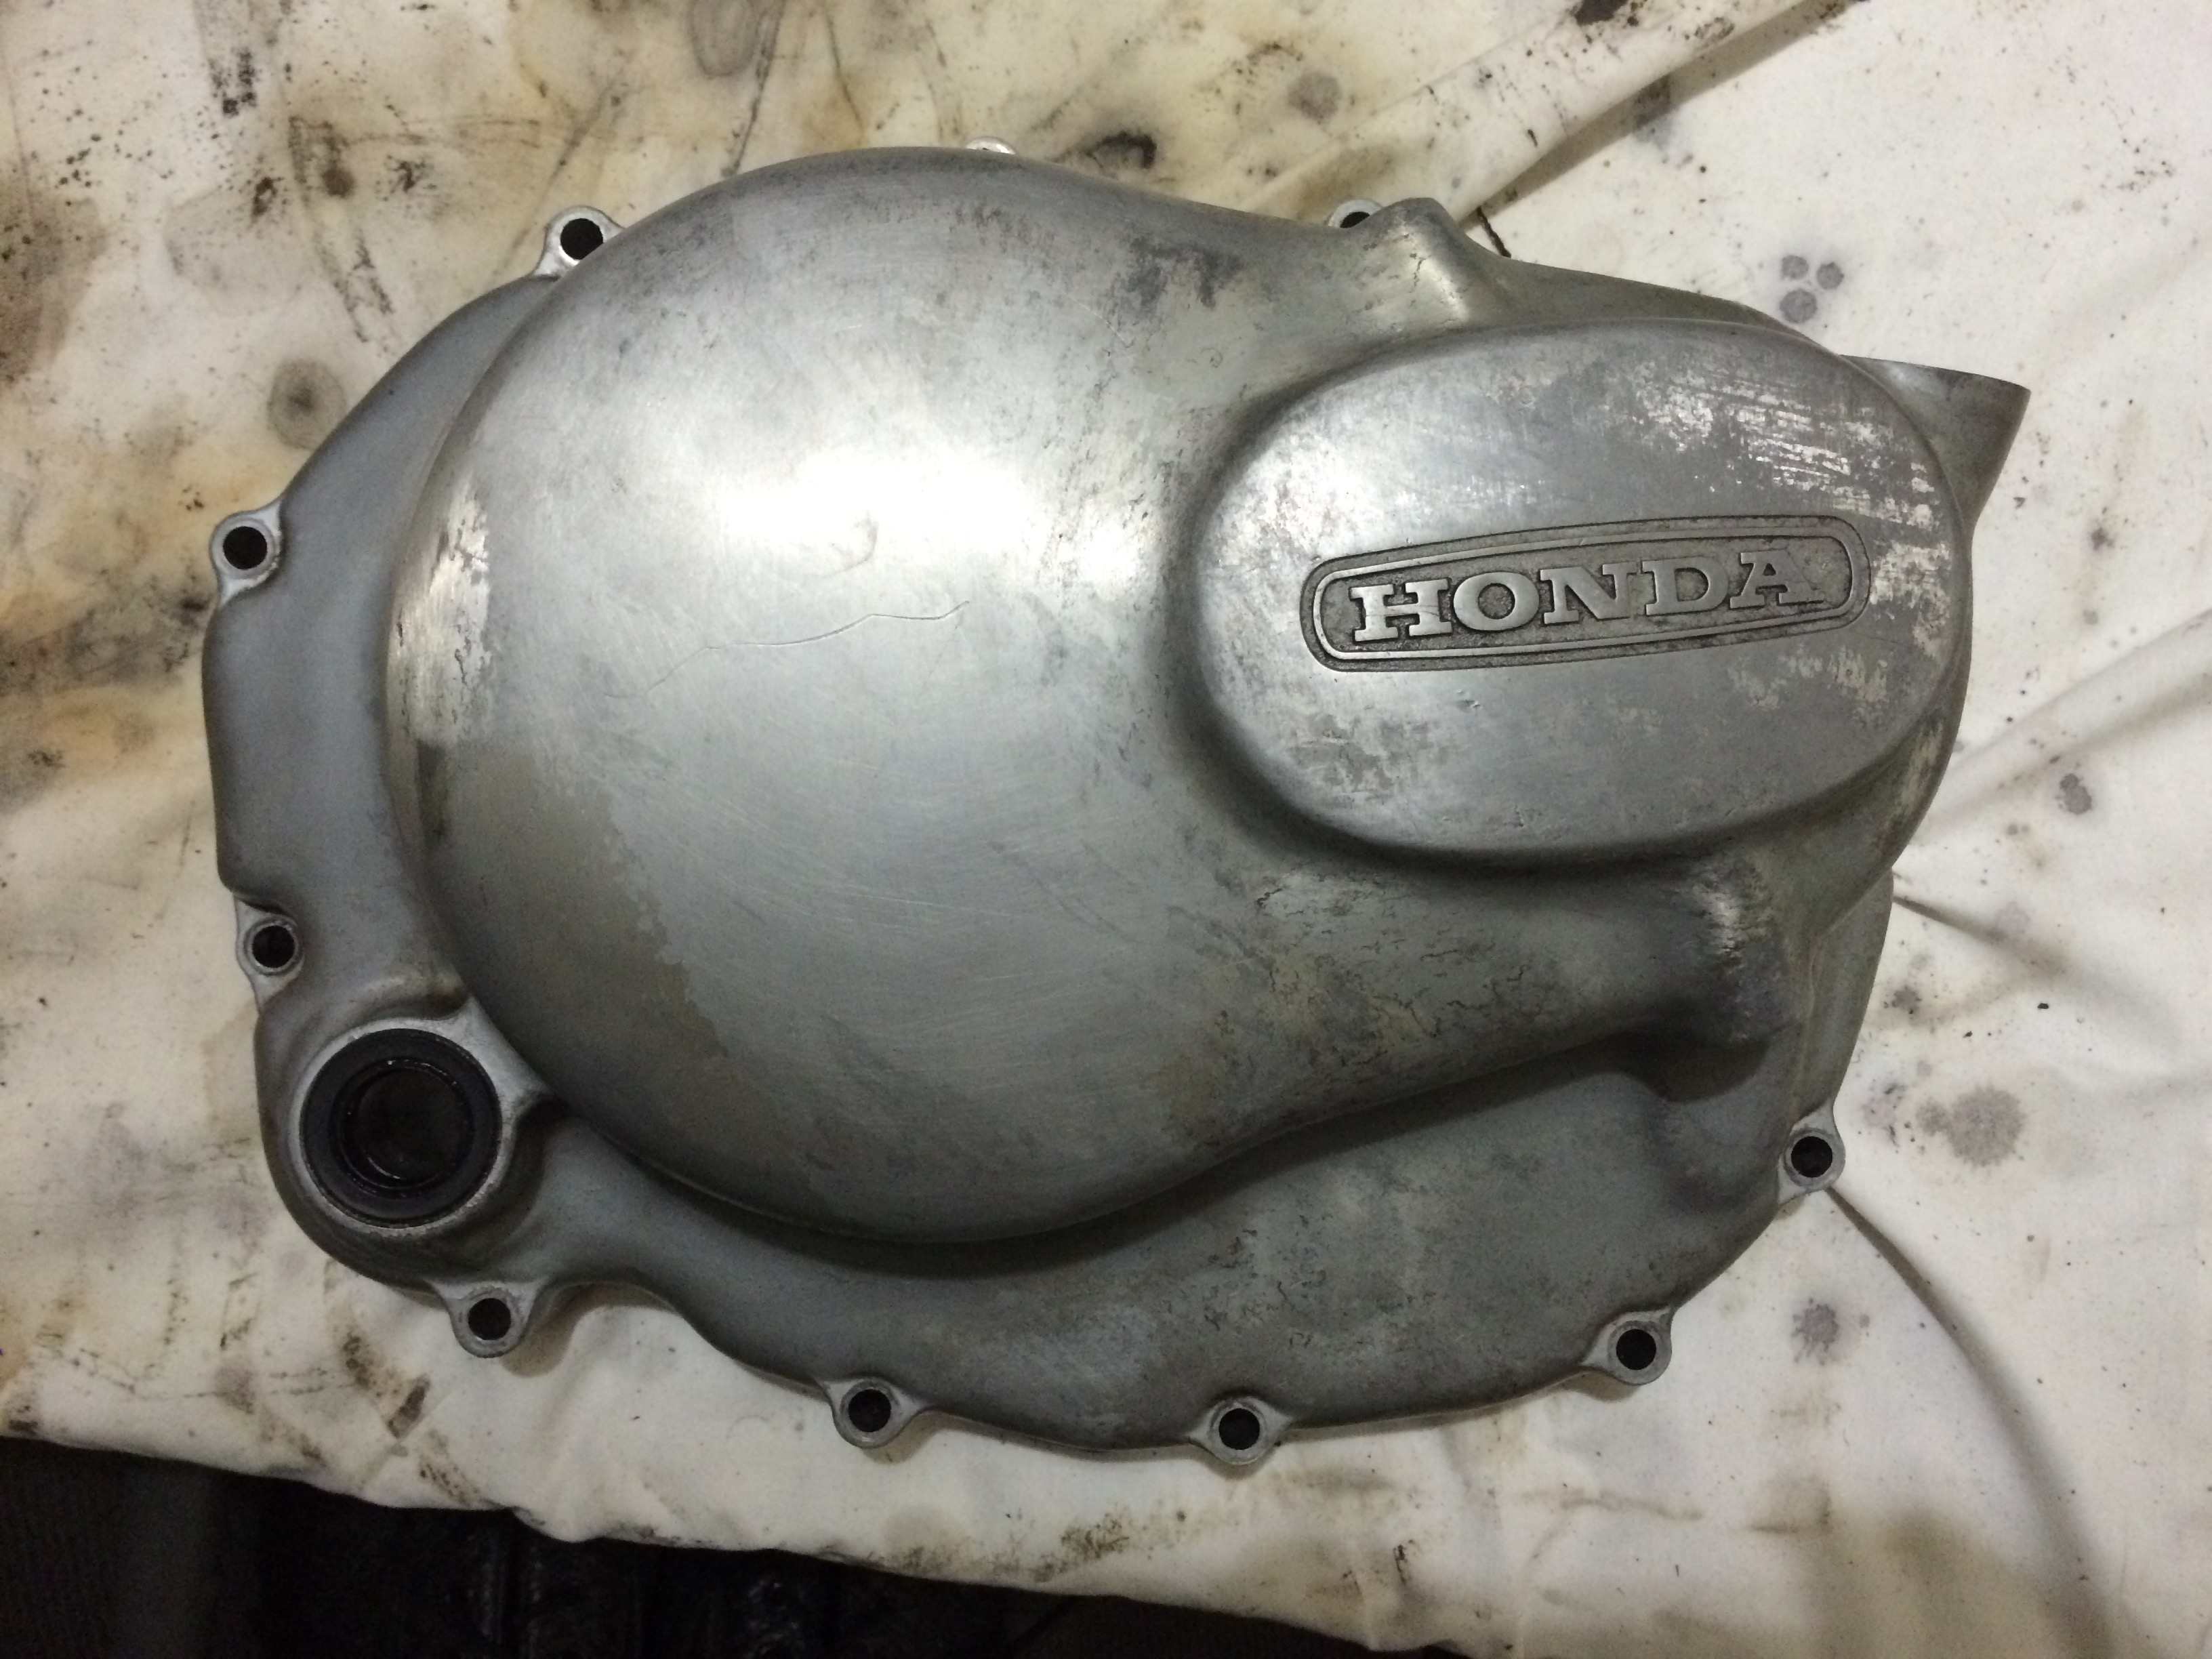
After:
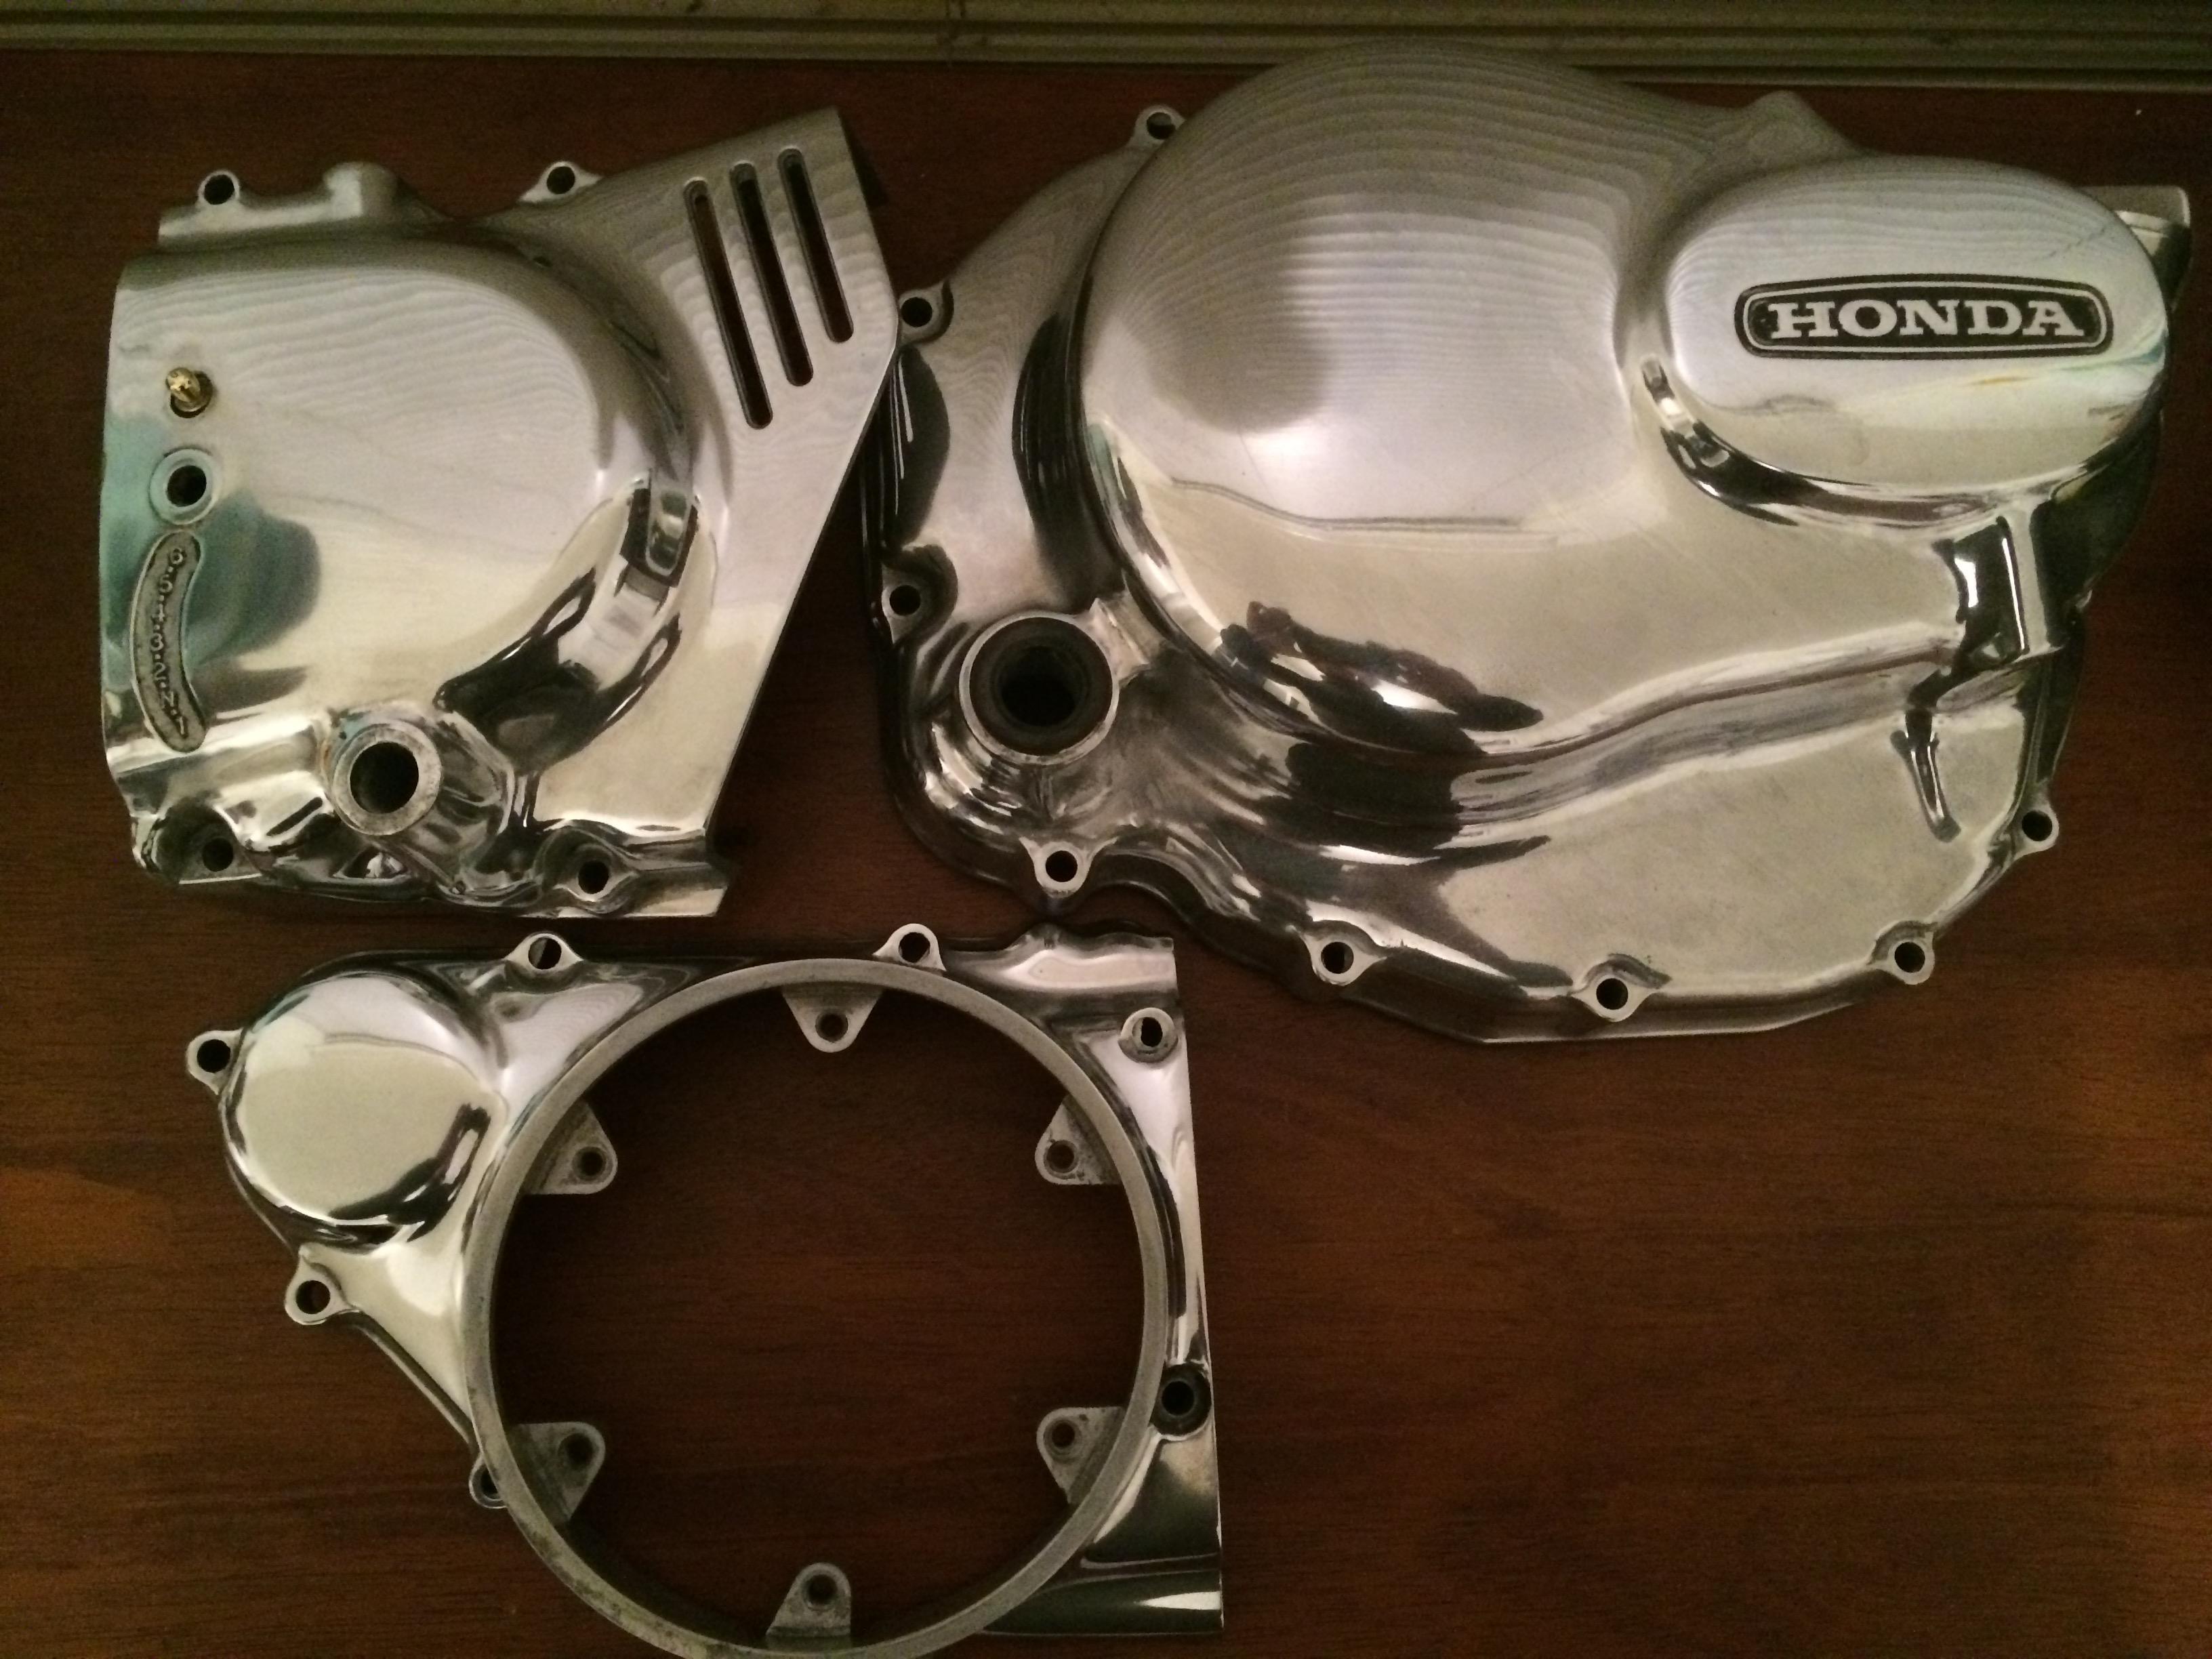
Yeah. I'm proud of that.
Back to the engine questions:
1) I found that the pin that helps hold the bearing on the counter shaft in place when the case is closed somehow sits below where it would catch the hole in the bearing. How do I get it out to reposition it? What if I can't get it out...Can it stay that way without blowing something up?
Pic:
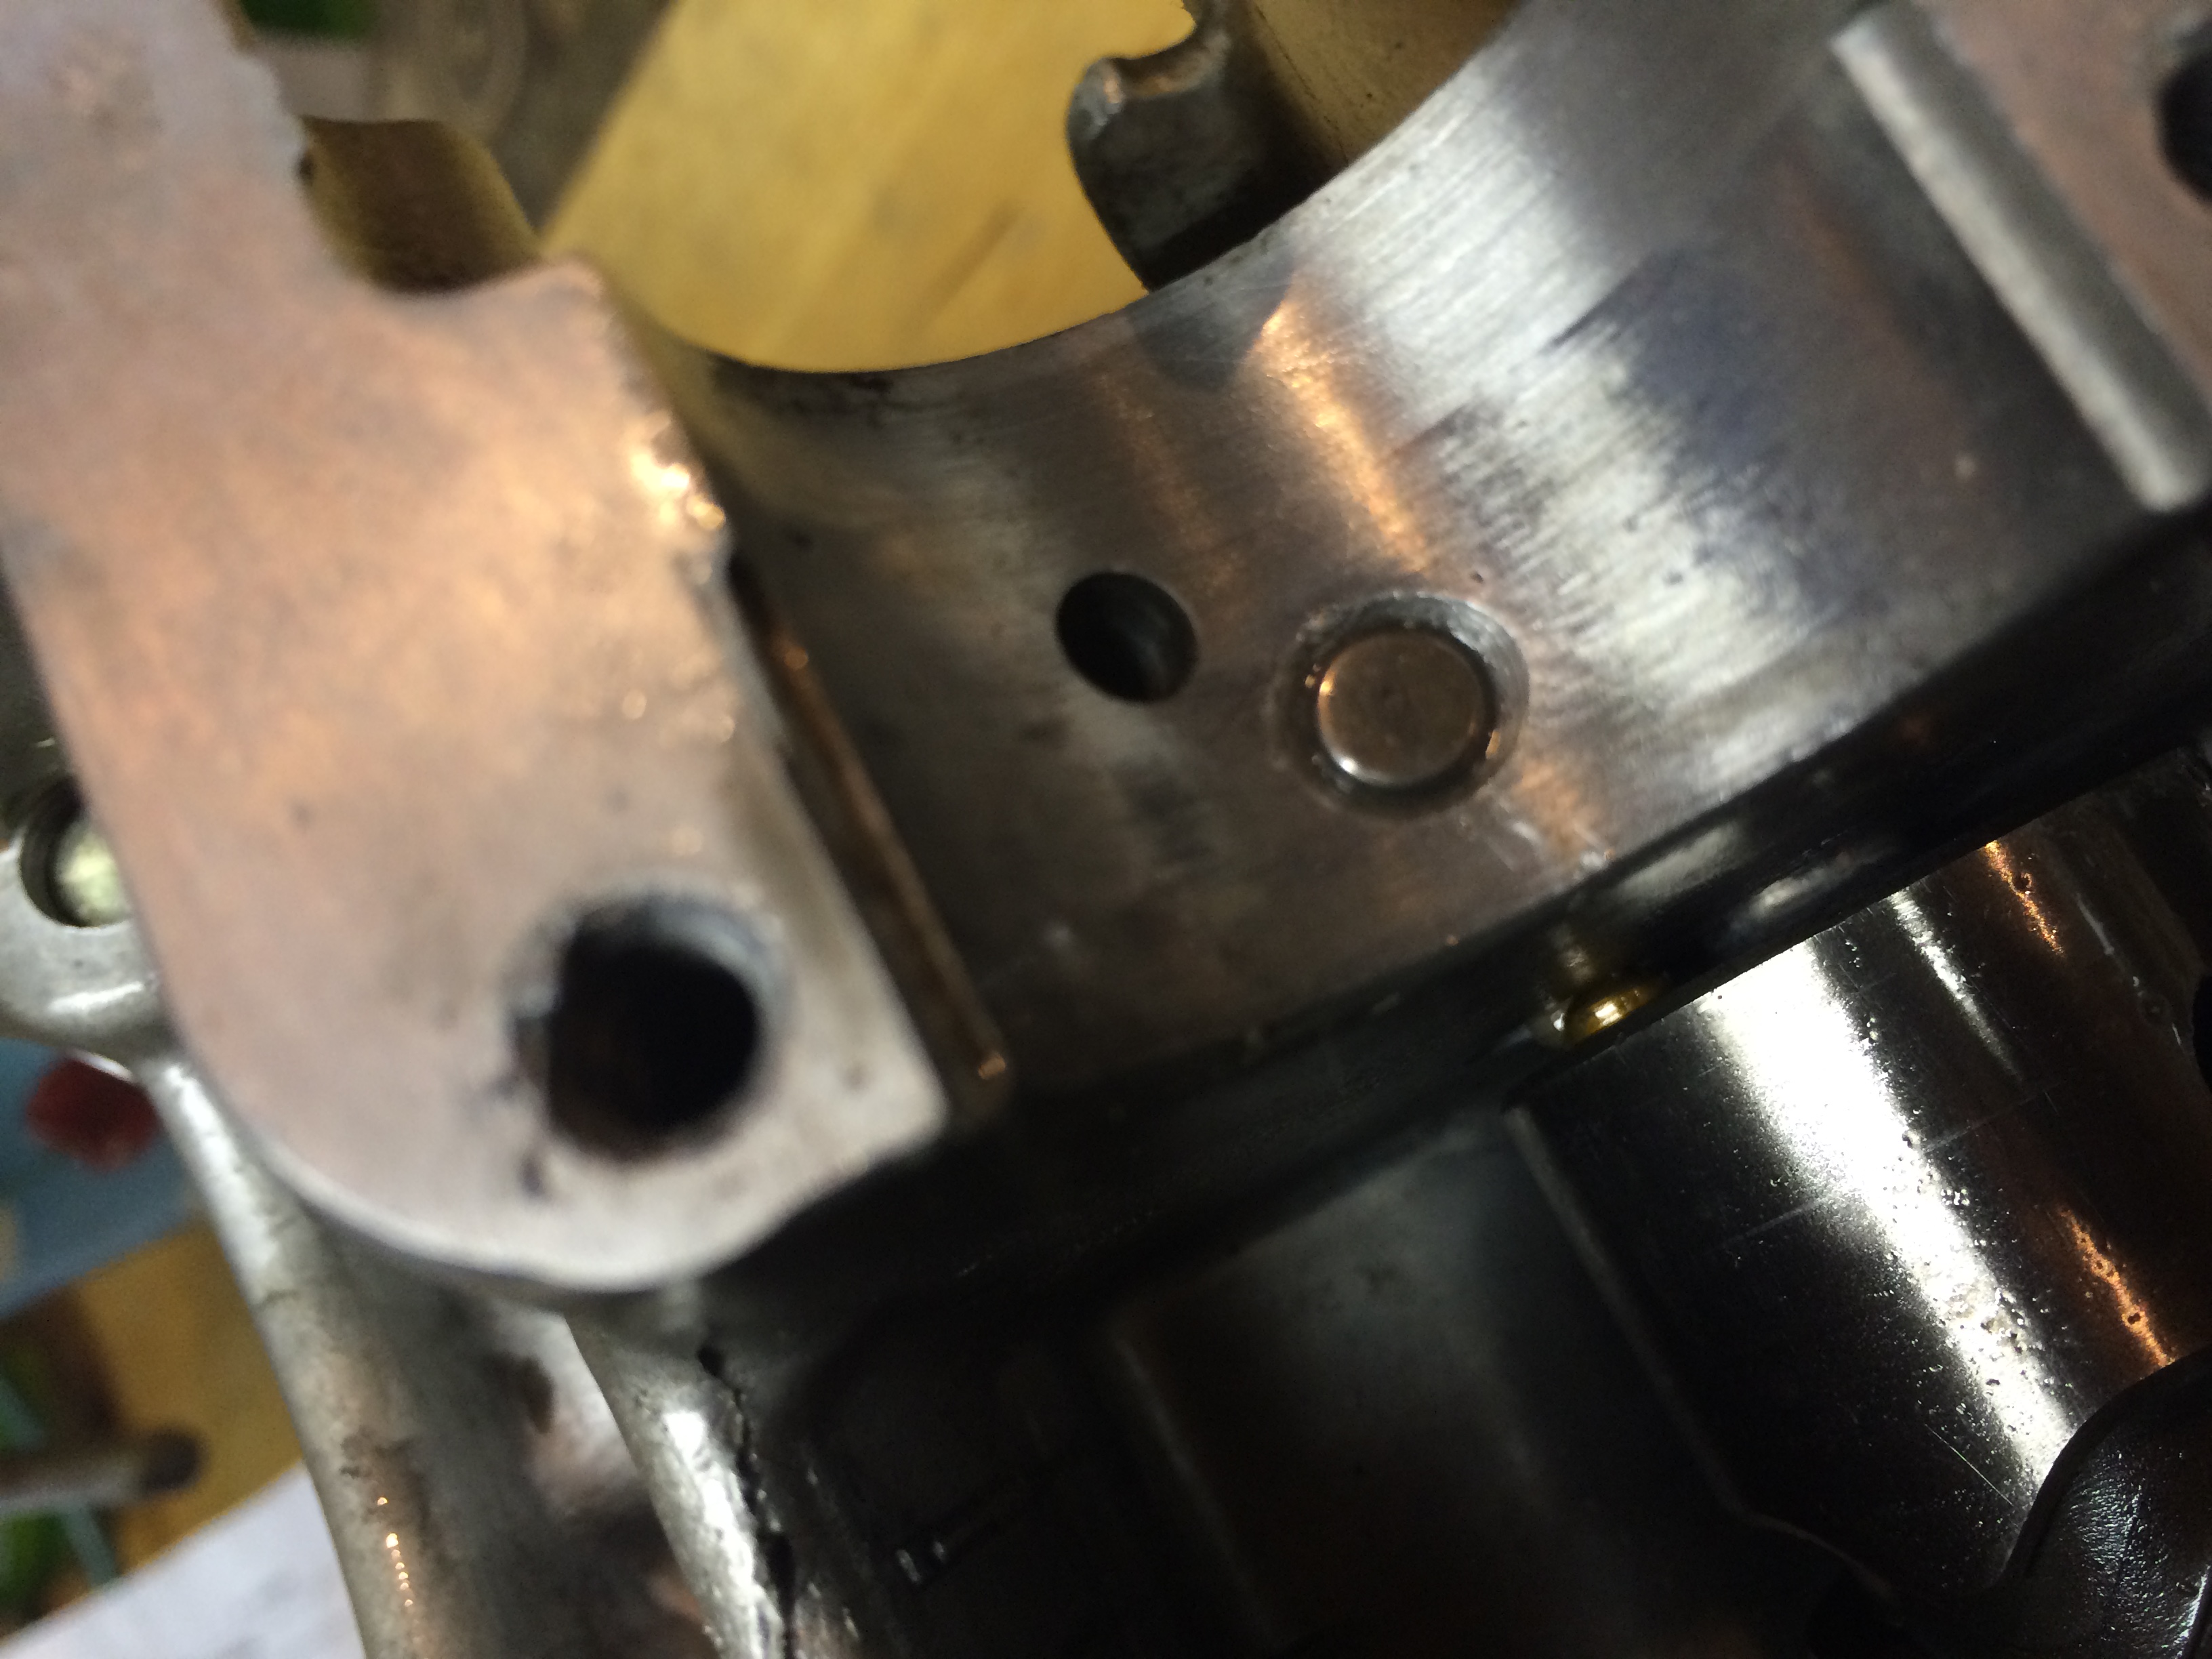
2) How much side to side play should the connecting rods have? Mine have very little, but its there. Both have about equal play (from what I can feel) so it leads me to believe they are okay but I wanted to double check. There is no movement pushing down or pulling up on the rod.
3) What am I looking for on the bearing surfaces on the case. This is some of the stuff I've found:
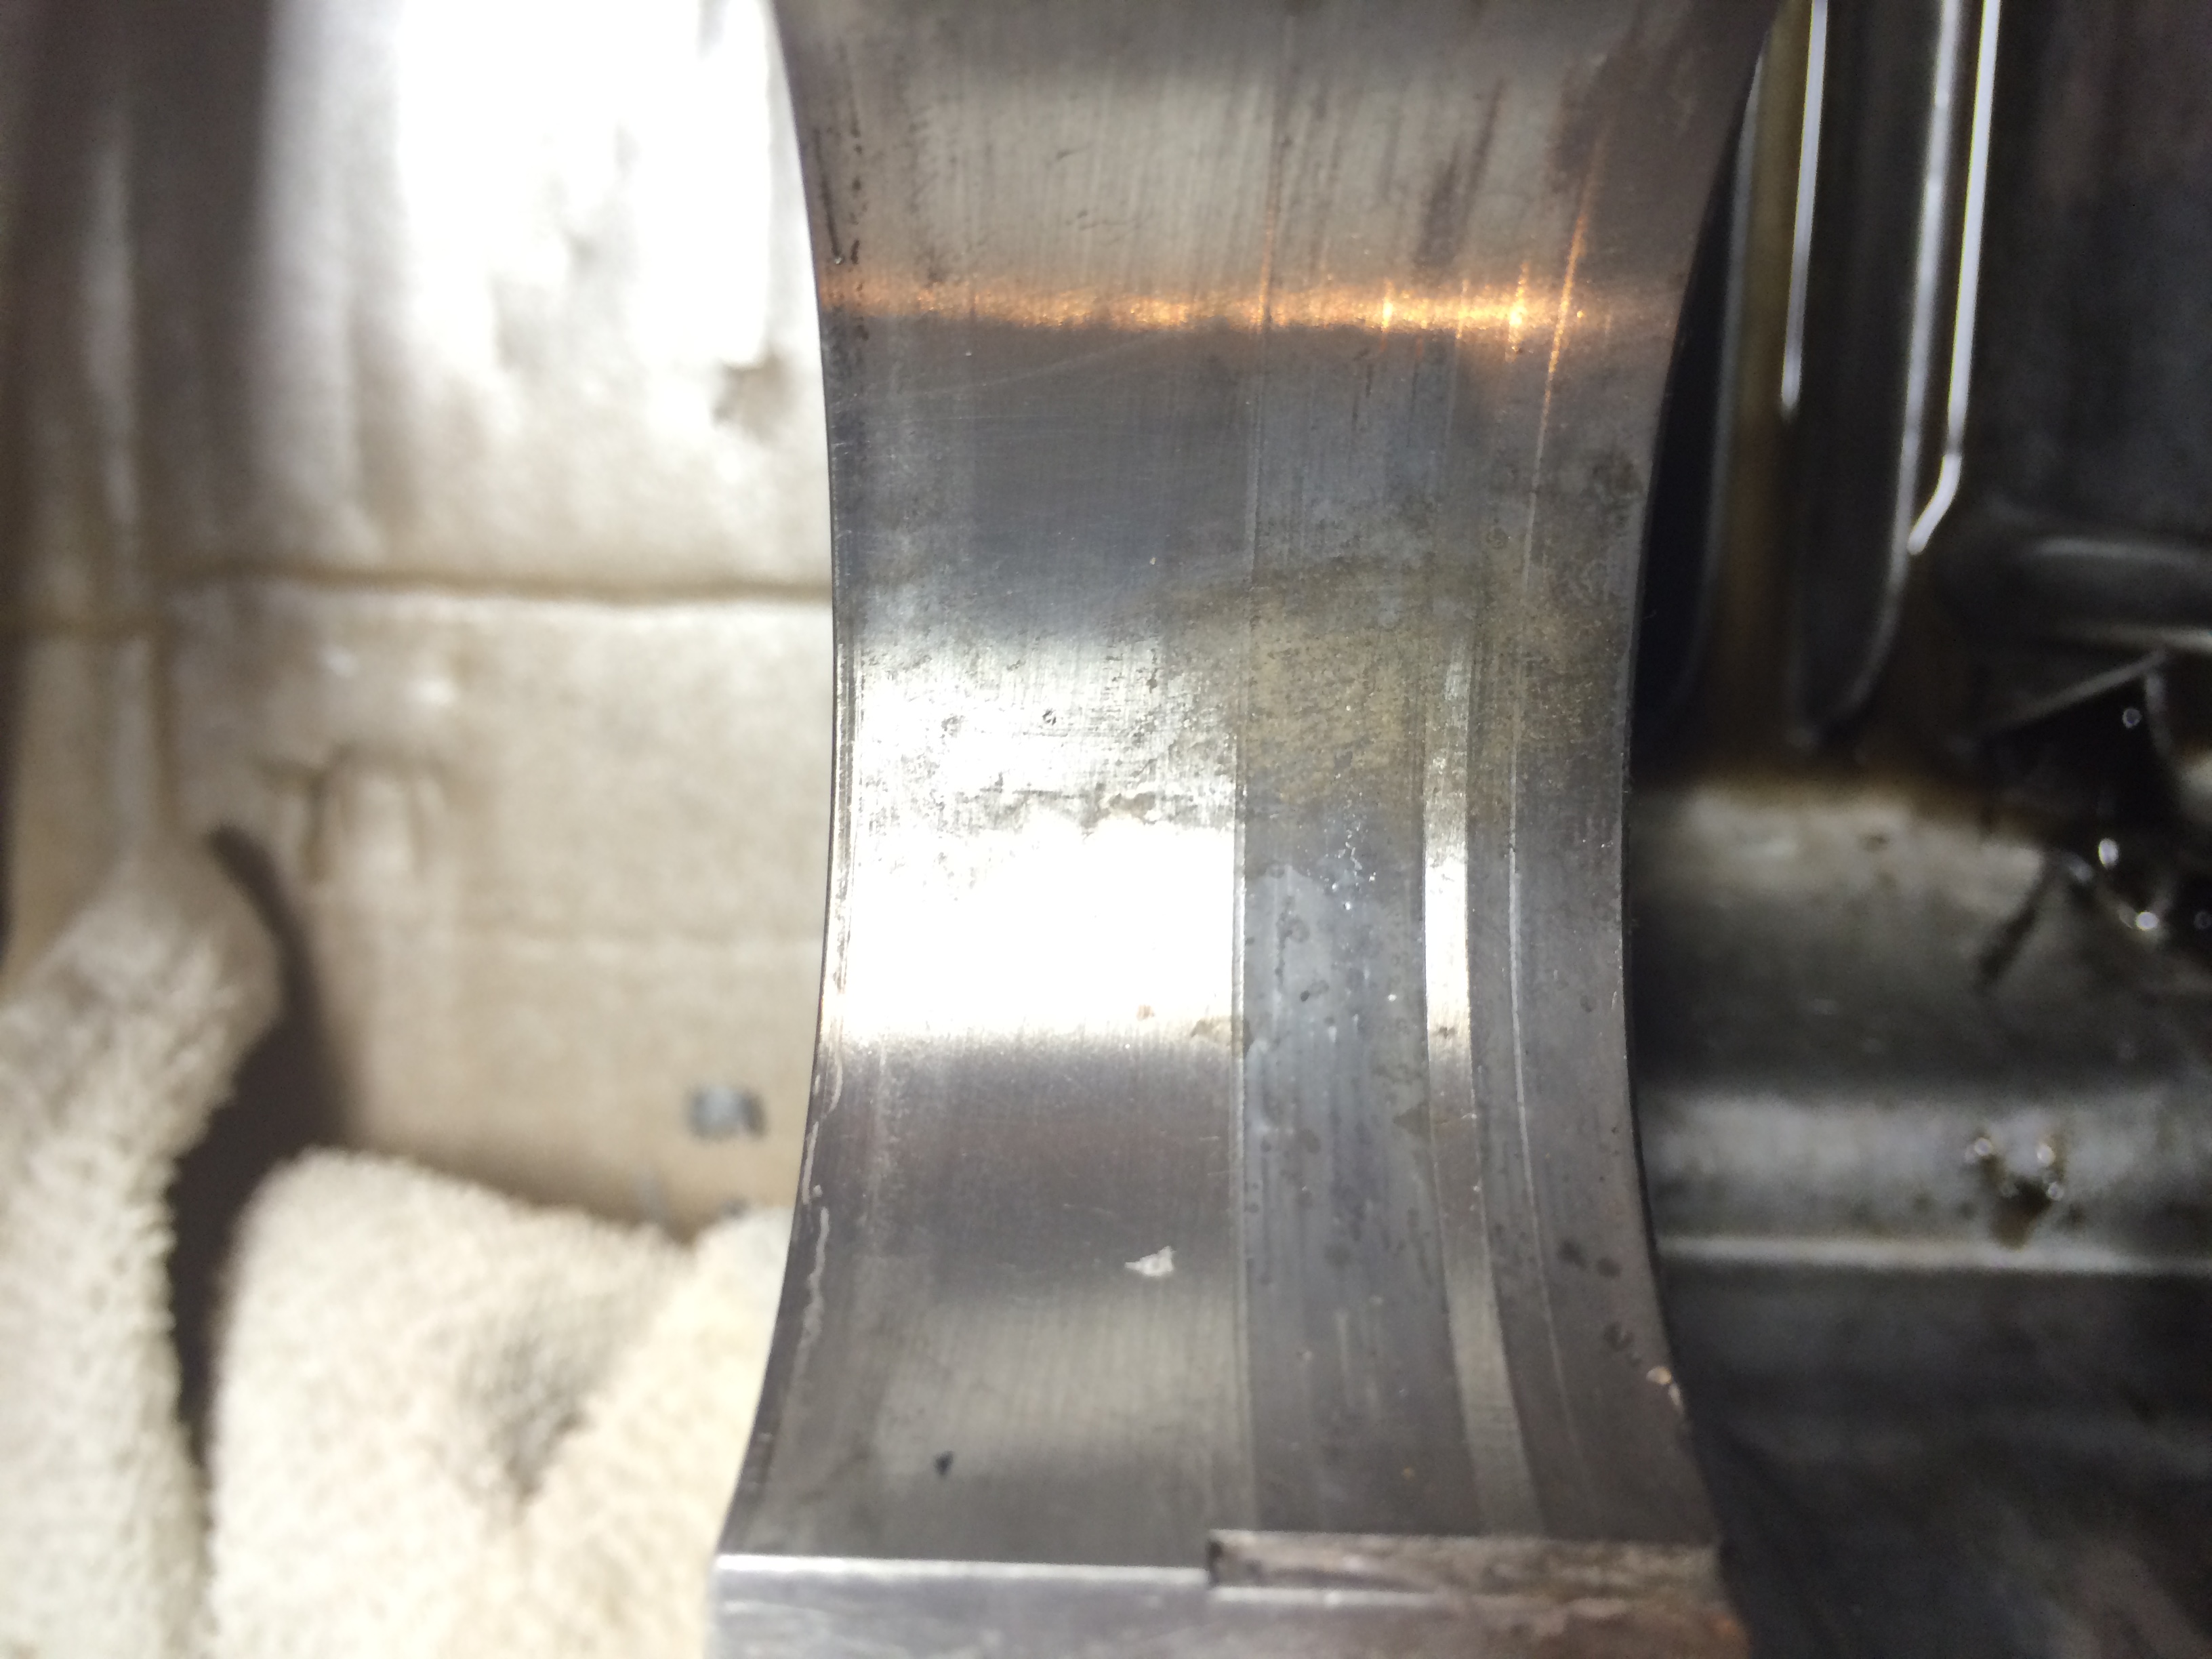
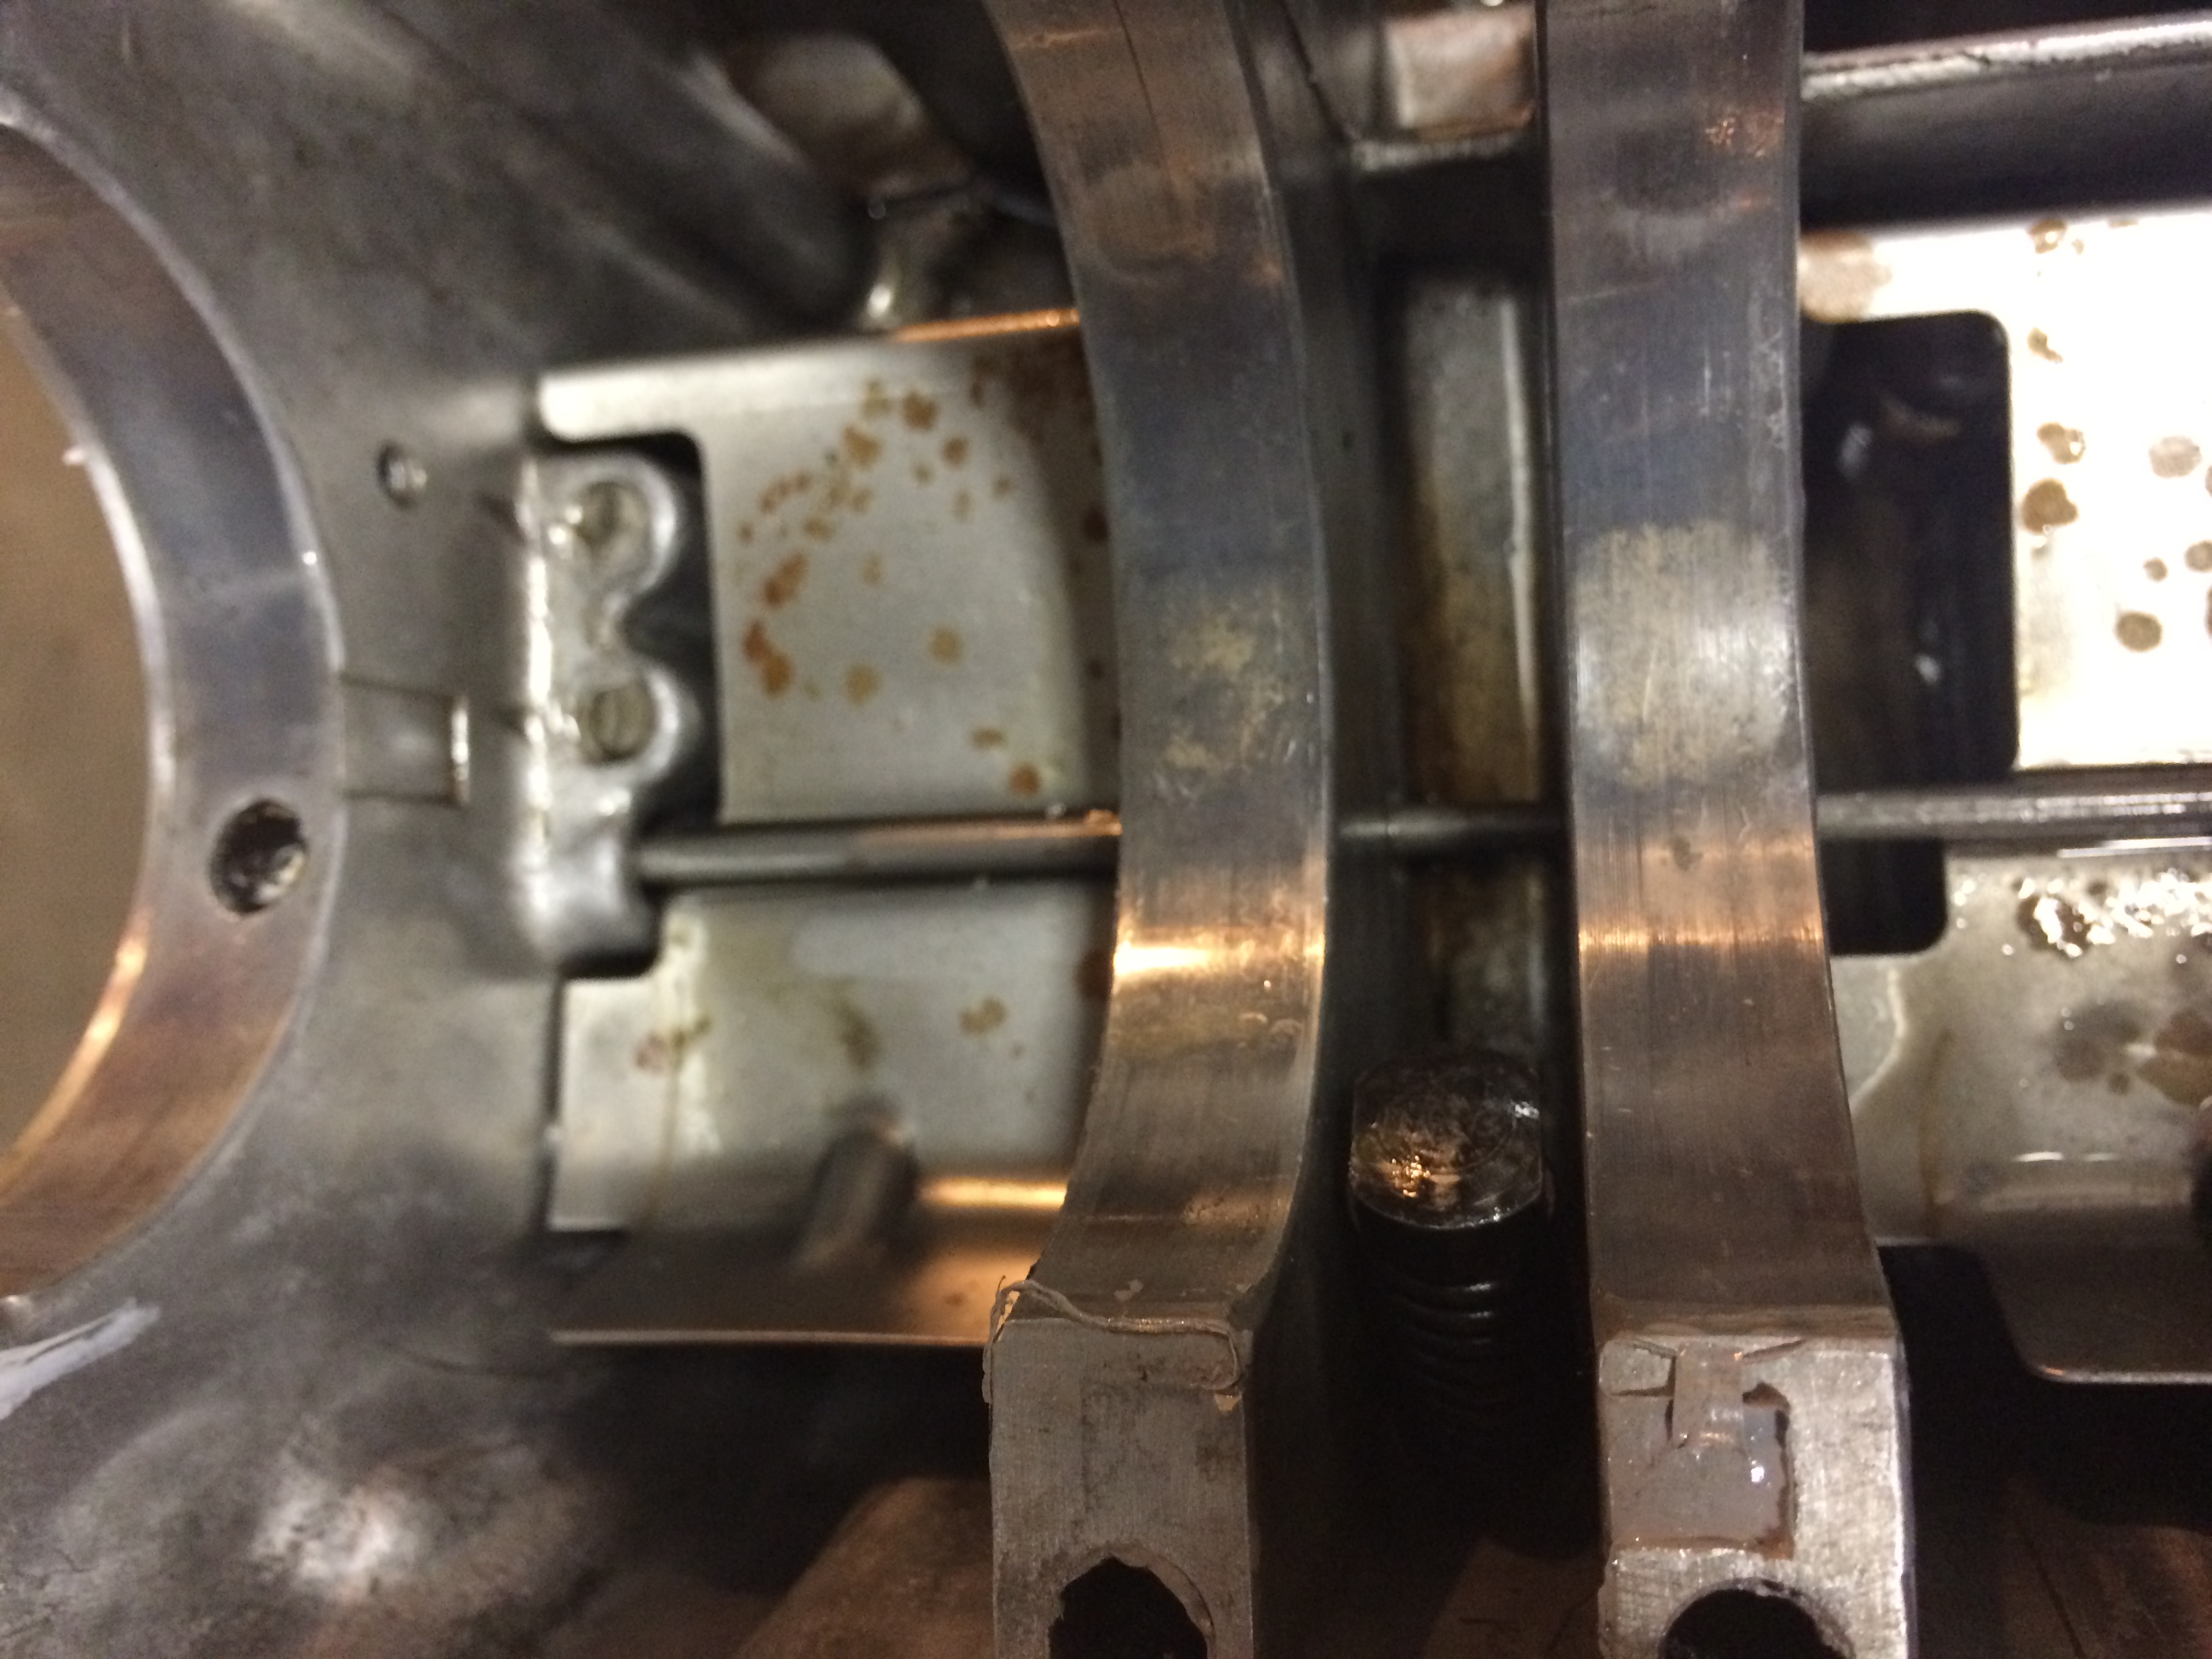
Please ignore the rust on those plates. I cleaned them up later.
With that last photo as well - the manual says something about the cam chain plunger having a mark on it that's supposed to be facing a certain way. It doesn't look like mine has that....I haven't removed it to measure to see if there's a difference over which side faces up...but was wondering if anyone else knew?
Any additional words of wisdom? Advise? Un-fettered opinions?
That's it for now ... thanks for going through the novel. I appreciate all help and criticism.
Cheers

The 360 looks great. So much love for that tank and graphics.