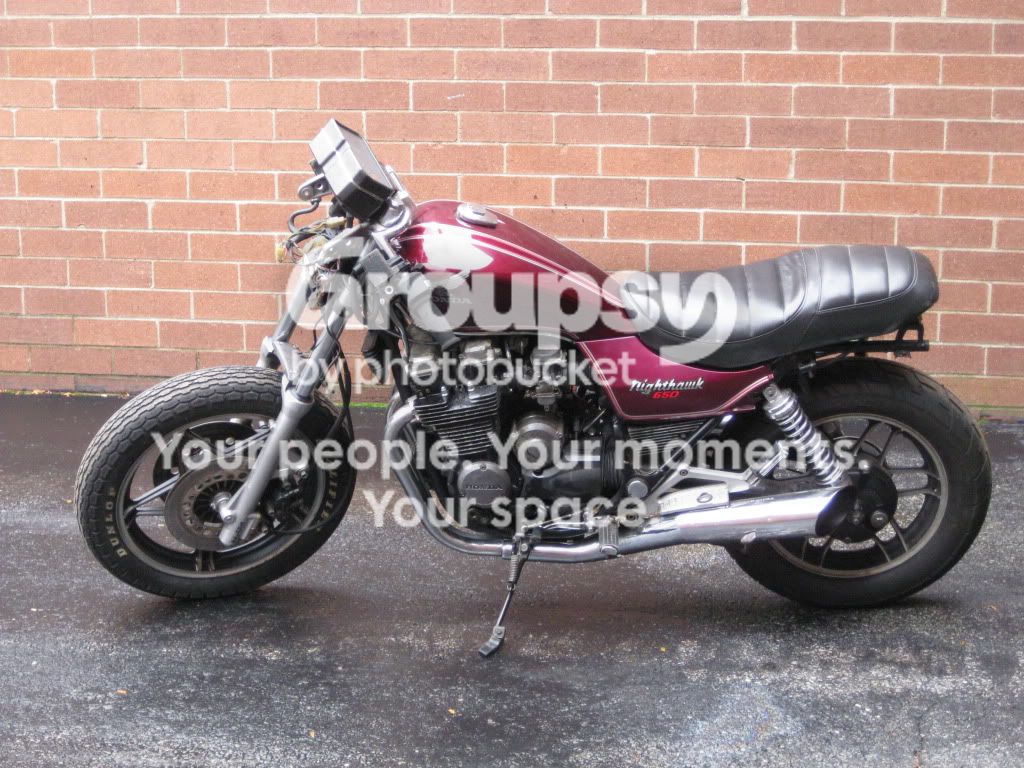
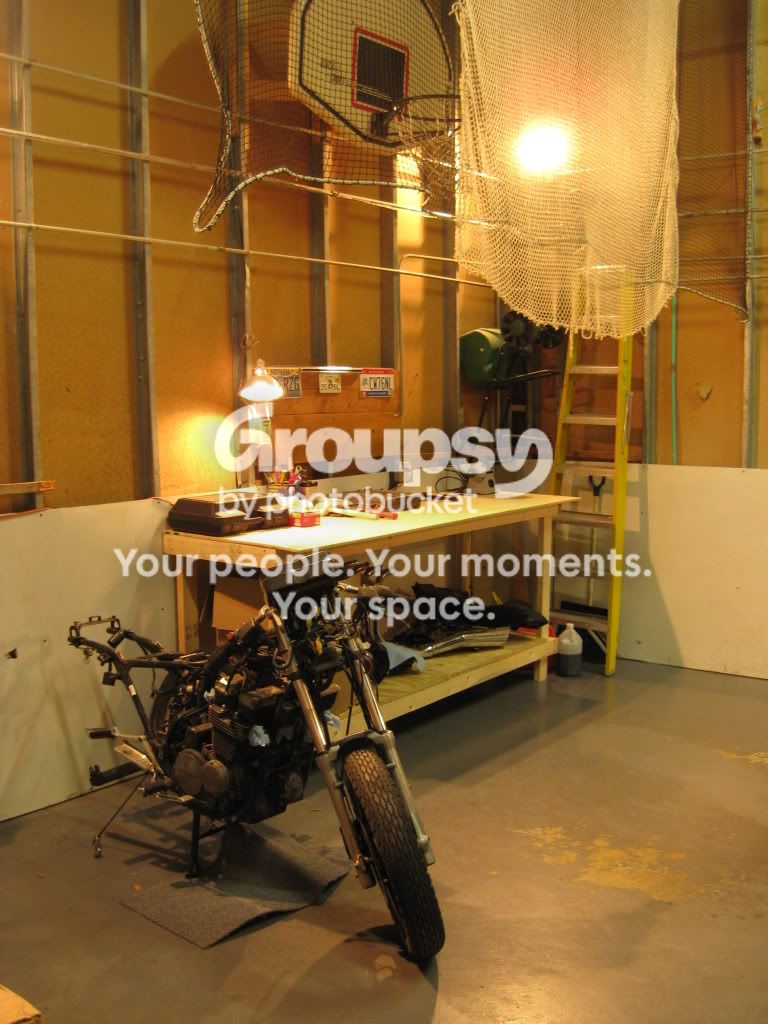
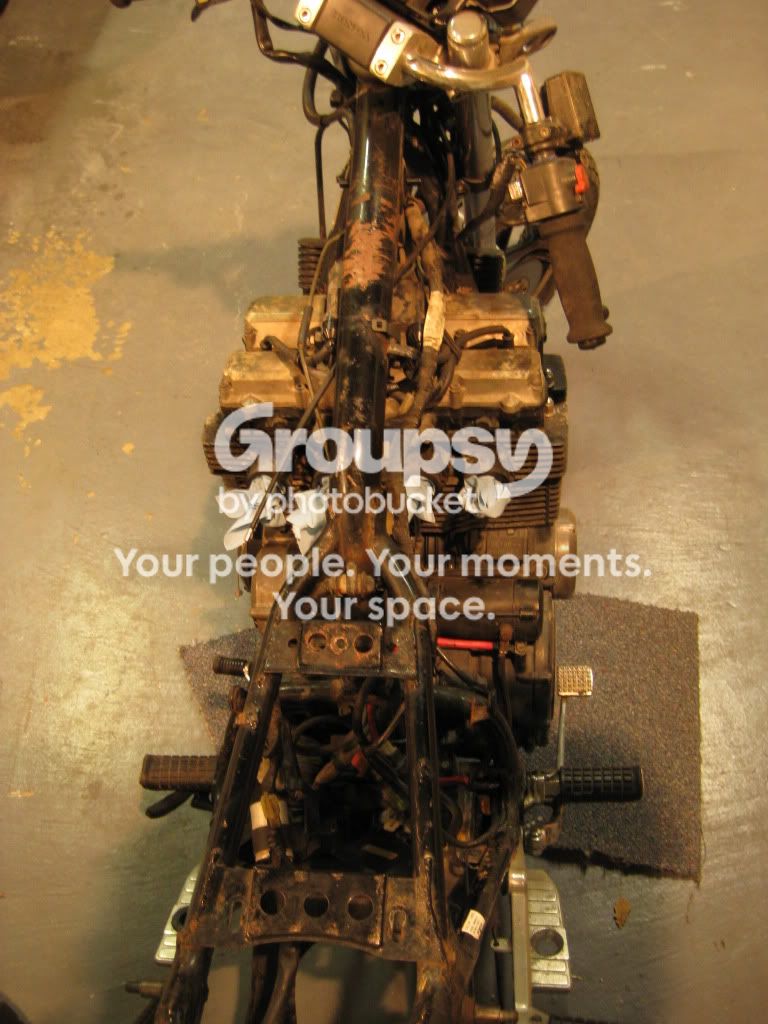
My CB650 project...

Almost all the honda's from that age use a push pull 2-cable throttle. I have it on my 81 CM400. and all the nighthawks have them. I think the design is so that if you get some resistance on the cables you can close the throttle by twisting it where if the single cable sticks, you can't twist it closed, you have to rely on the spring and the cable moving 100% freely. I know I had some road grime build up on my carb linkage while riding and getting caught in a thunder storm. It made my throttle slow and I had to close the throttle myself. Without the second cable it would have stuck open on me bad. Once I got out of the crappy weather and cleaned the link, it was fine again. Dirty roads and rain make for some nasty crap. I know that the twin cable makes the throttle a little heavy though.

Cheers,
 
I've got an 80 cm400t with the dual throttle cable setup and i used a kit from motion pro and it worked BETTER than stock, and retained the dual cable function. It snaps the throttle ALOT faster and is WAAAAYYY smoother. I'll have to get the part number from the kit later, i'm not close to the garage at the moment.
 
This thing could go really well, at least you'll have a one of a kind. I've seen plenty done with less and can't wait to see how this one turns out. Good luck with it brother...
 
Here are a few pics of mine.

65010.jpg


CB6505.jpg


65013.jpg


6508.jpg


So far I have replaced the headlight, speedometer, handlebars, and grips. I am also getting it ready to paint. This is a lot of hard work but I am having fun with it. I have a pan for the seat ready to get glassed up this weekend.

Couple of questions - 1. What would be the best way to polish that dirtly little alternator cover off? It has some serious varnish from one of the carbs dripping.

2. The gas tank is lined but the lining is peeling out. Would you go ahead and get it re lined ? I have a quote from a radiator shop to clean and re line for 70.

Thanks for any advice or suggestions.
 
Hey man, thats awesome that yours is silver because I was wondering how it looked either in silver or with a polished tank... Anyways, polishing the alternator cover, or at least getting all the junk off of it would best be served by wire wheeling it. Theres a TON of info and pics on wire wheeling and polishing on here but the guy to ask would be JRK5892. I asked him a few questions and he gave me a bunch of helpful info. Regarding your tank, it looks like its in good shape from the pics and as long as there isnt any rust that you can see inside the tank or anywhere on the bottom then I would say that would be a smart investment. Last thing you want is to have gas leak onto a hot motor and start a fire... You could even look at another tank but your still getting a 20 year old tank that may have the same problem so its up to you. Hey how did the throttle cable problem go, were you able to fix it? Keep the pics coming, Id love to see how the new gauges look... :)
 
Yeah for a 900 dollar bike I didnt think it looked too bad. Silver was the last of many colors. When I sanded it down I think I went through 9 coats of paint. At one point some idiot had painted the entire bike including the engine red. I am probably going to paint it a jet black with a silver or white stripe. Those beautiful decals have already been peeled off. :) I am also planning on coating the wheels in a silver epoxy. I am planning on doing the seat this weekend and I want to have the tank mounted to match the seat shape up with. I am planning on taking the tank in Monday though to get re lined. Your suggestion about gas leaking on a hot engine helped me make that decision. lol
 
That's crazy about the paint. Are you planning on disassembling the whole and painting the frame and motor as well? That's my plan but I'm just worried about the wiring because a new wiring kit is hard to come by and I'm a little worried about screwing it up...
 
I am not doing a frame up restoration at this point. I figured since the bike already runs well I would just take care of some cosmetic stuff and ride it around while the riding weather here is nice. It has been unseasonably mild here the past few days and I am itching to get this thing back on the road.

At some point this winter I would like to take it down to the frame and go through everything but, like you I am scared to death of the wiring. :)
 
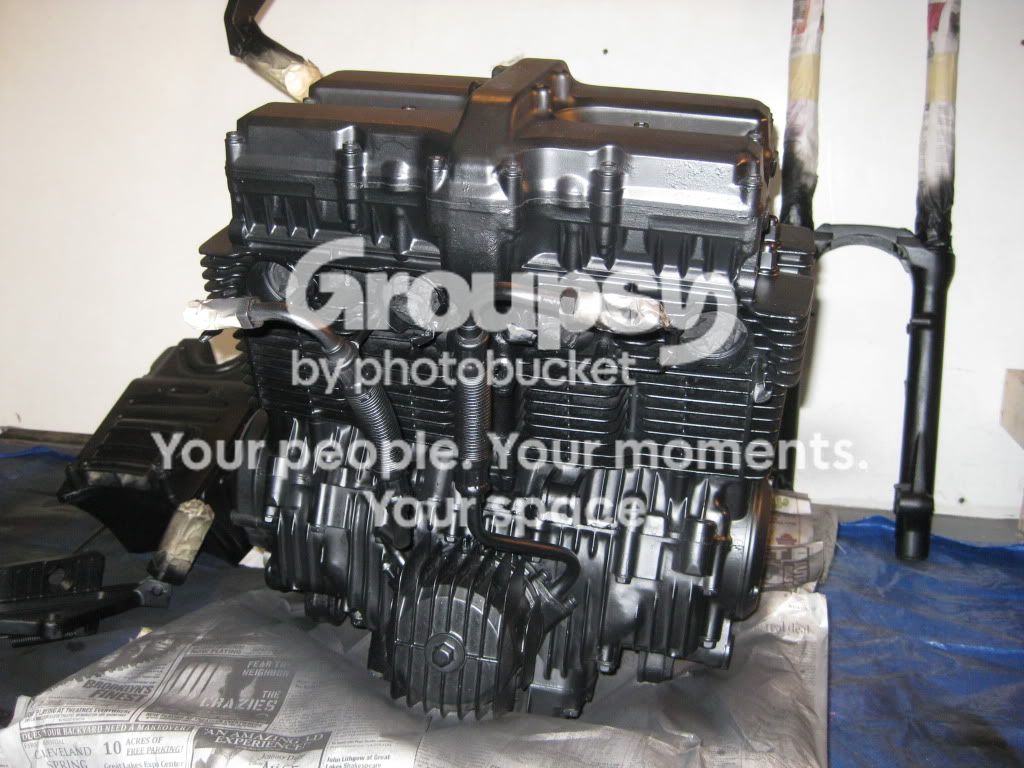
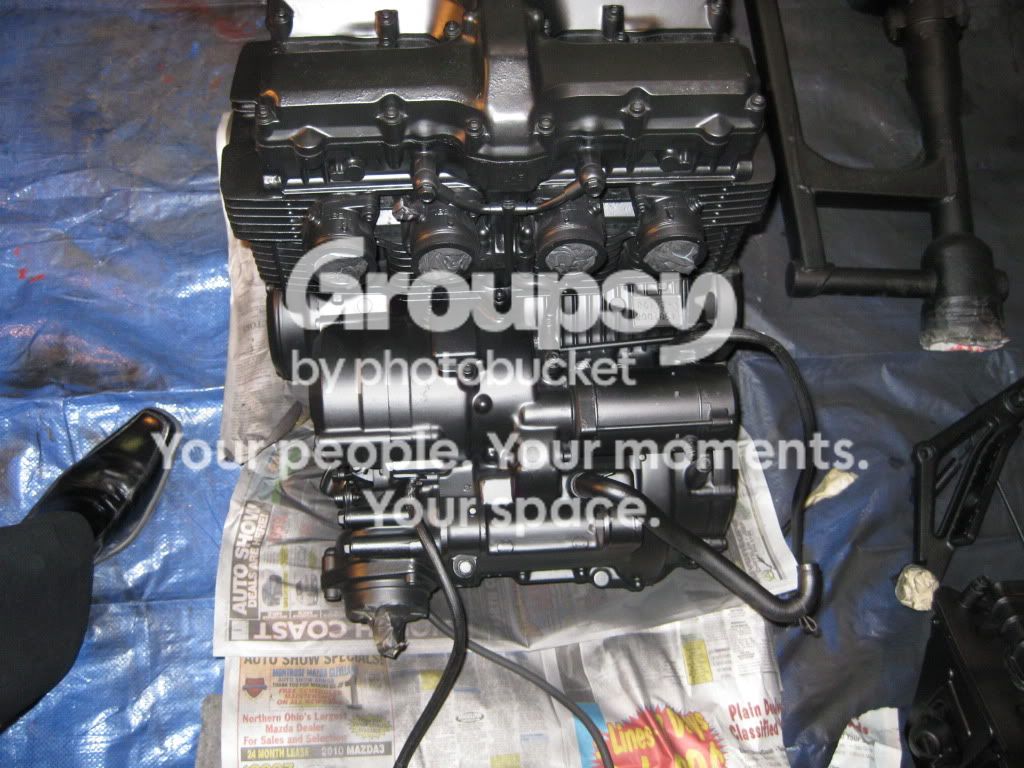
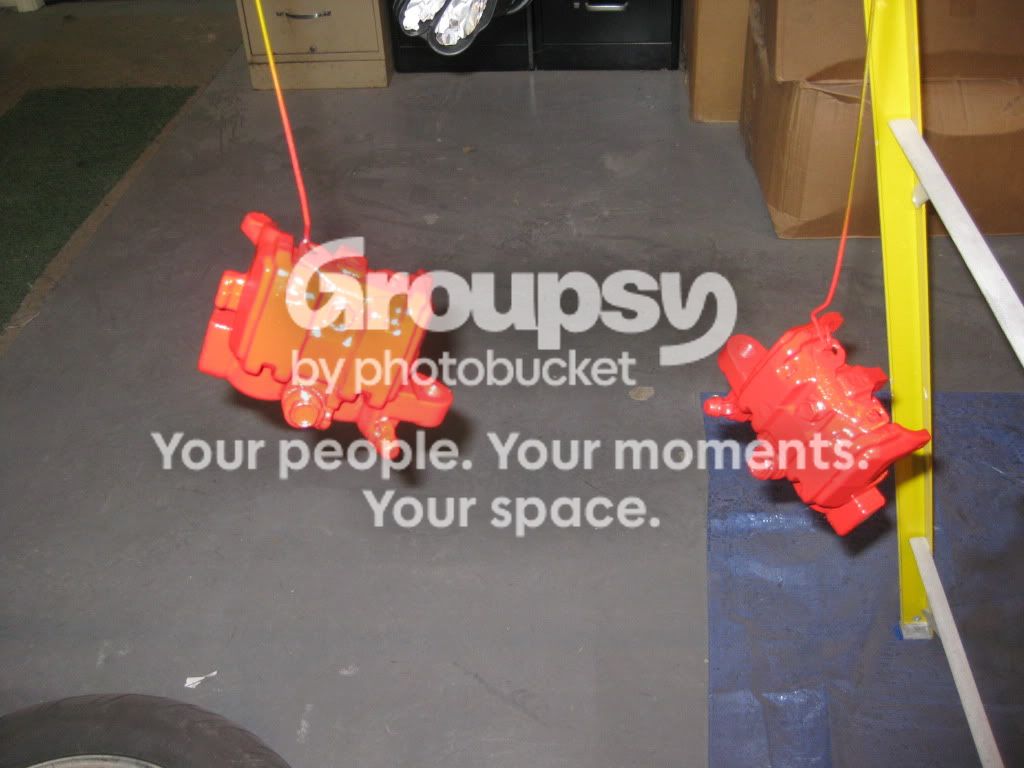
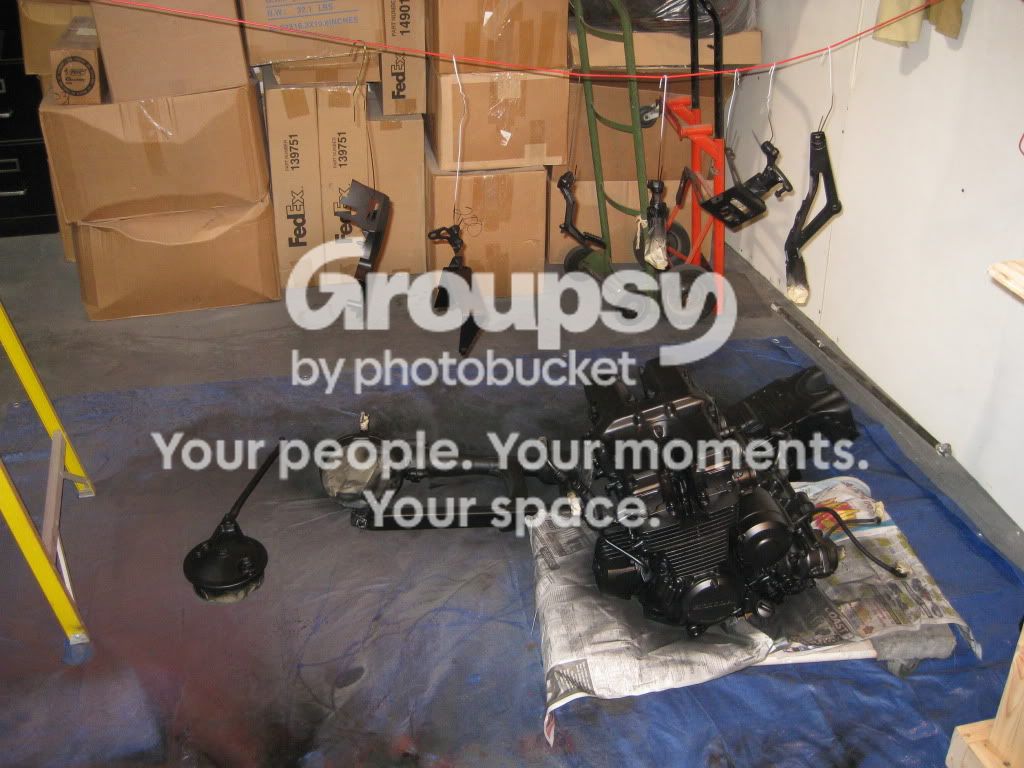
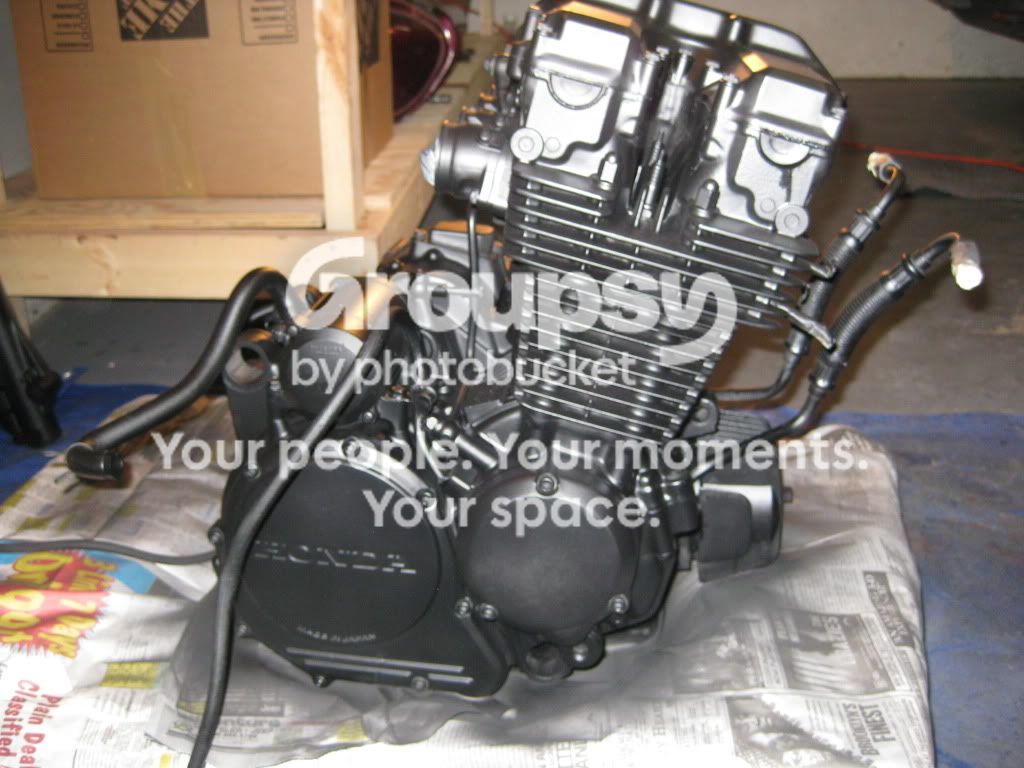
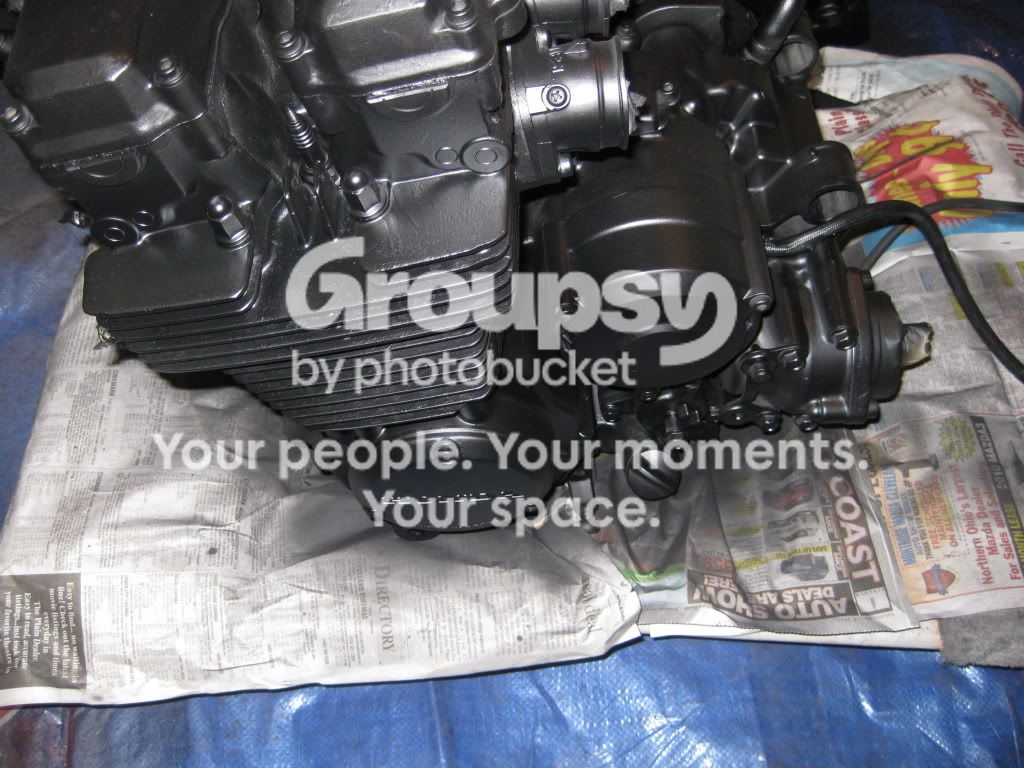
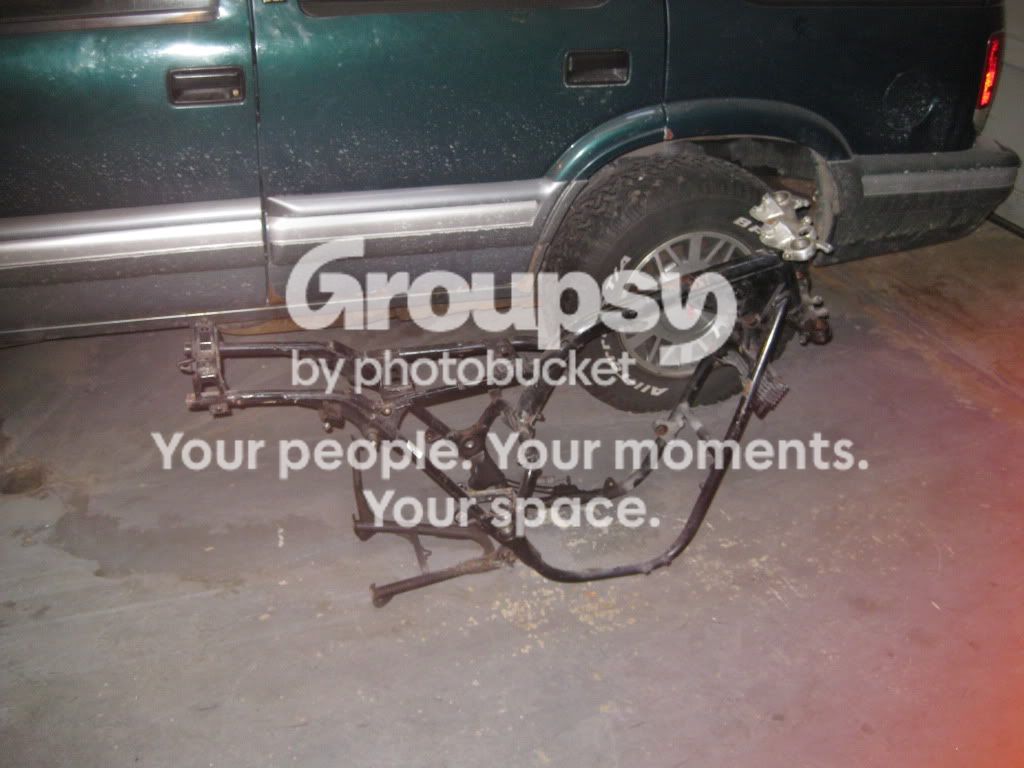
Ok, so it's been a long time since I've updated this thread but life has been taking priority this past year and I finally have been making some progress. I got the whole bike stripped down, cleaned and prepped for paint. Started painting last weekend and got the motor, swing arm, rear drum, foot pegs, forks, brakes, and some other odd's and end's painted. I decided to put on two base layers, once those dried I added a layer of textured paint to everything but the motor (only rated for 200 degrees), then added two more coats on top of that to give everything that rough textured look, and I have to say they turned out pretty nice. Makes the all-black not look so boring. My goal this weekend is to take all the bolts off the valve and side covers and paint those silver so that there is some contrast on the motor and not just have it all black. Then I need to take the frame and have it cut and modified for my seat, then I'll get the frame all painted. Once thats done then I'll do the tank and that should be be all there is for the painting. Here's everything so far.

Bike001.jpg


Bike003.jpg


Bike004.jpg


Bike005.jpg


Bike009.jpg


Bike014.jpg


Bike018.jpg


Bike022.jpg


IMG_1170.jpg


IMG_1171.jpg


IMG_1173.jpg


IMG_1174.jpg


IMG_1175.jpg


IMG_1176.jpg


IMG_1177.jpg


IMG_1180.jpg


IMG_1183.jpg


this should give you an idea what I mean by "textured"
IMG_1186.jpg


IMG_1187.jpg


here's another textured view of my forks this time
IMG_1193.jpg


textured battery tray
IMG_1196.jpg


IMG_1198.jpg


IMG_1199.jpg


IMG_1204.jpg


IMG_1205.jpg
 
Way to get into it man! Looking good! Good luck on the tank, let us know how it is going! Hit me up if you need anymore help with the paint! I will be more than happy to help!
 
Ok so here's what I've gotten done on the tank so far. I think I really screwed up the two tone (you can see the nice ridge I have between the white and black) so I'm going to have to figure out what to do there. Twisted was right, I think a nice red pen paint stripe along the ridge should cover up the mess along with some clear. Either that or I have a lot of sanding to do, not sure which way to go though. Either way, here's my half ass mock up of what the bike looks like so far.


You can see the rough edge from the white


MOre rough edge


Any ideas on what to do with this?
 
gsdapollo said:

I admire your enthusiasm, but mate! You painted everything ??? ???
<highhorse>How hard is it to pull these apart and NOT paint the rubber bits?? These are your brakes FFS. If you can't be careful with these then leave the freakin' things alone. Nothing screams ghetto more than someone let loose with a spray can and no will to mask. Show us a pic of the pad area, and I'll bet there's paint on the pistons too!</highhorse>

I just don't understand it :-\
 
gotta agree with bike boy on this one...

your fucked when you go to bleed those lines.
 
Ha, ya actually I did mask over the pistons, I didnt bother with the rubber boots because they were rotting and I needed to order new ones anyways, plus it saved time masking over it. The bolt that connects the brake line to the caliper was also masked, its just hard to tell in the pics, I pulled off all the masking tape the other day and minus a few spots, everything looked good. But then again you never know...
 
gsdapollo said:
Ha, ya actually I did mask over the pistons,

OK. I guess I was a little harsh there ;)

I didnt bother with the rubber boots because they were rotting and I needed to order new ones anyways, plus it saved time masking over it.

well, there you go. They've got to come off. Pull them off before you paint. You'll never get a clean line if you paint over the rubber, the remove it latter. The paint will tear somewhere, and it's likely to come off your metal because you haven't been able to clean it properly because there was a rubber boot in the way.

The bolt that connects the brake line to the caliper was also masked, its just hard to tell in the pics, I pulled off all the masking tape the other day and minus a few spots, everything looked good. But then again you never know...

Why not just take it out before you paint and put a plug in there? Same with the bleeder and cap? I don't think I'm being to anal here, but you won't have saved yourself much time, and the results will look a million dollars:

caliper.jpg


Do it once, do it right ;)

For your tank problem, I'd suggest you get some fine wet and dry, and take the edge down a bit, then go with the stripe idea. Rather than use a pen tho', I'd look around for some vinyl tape (about 3-4 mm?). That should cover the blend, and be nice and uniform. If you didn't want a third colour, you could get a white or black as well and it would tidy it up just as nicely. Then you could clear over the lot.
 
bikeboy said:
Do it once, do it right ;)

For your tank problem, I'd suggest you get some fine wet and dry, and take the edge down a bit, then go with the stripe idea. Rather than use a pen tho', I'd look around for some vinyl tape (about 3-4 mm?). That should cover the blend, and be nice and uniform. If you didn't want a third colour, you could get a white or black as well and it would tidy it up just as nicely. Then you could clear over the lot.


To be honest, the brakes have been the only thing that ive skimped on and I havent really been perfectly happy with the results, I just kinda said "eh, good enough" with a guilty feeling in the back of my head. After seeing that pic, I'm goig to strip them down and clean them perfectly over the next couple of days and redo em. Question on the pistons though, should I try and compress them so I can get all of the grime and crap out that's up in that whole area where the slider pins are? I tried gently but they wouldnt budge so I didnt want to force em, but I figure if you can do it with a c-clamp on a car piston, it should be the same with this right? and with the tank, Im going to have to add another coat of black because I saw a number of imperfections I didnt catch before I put the white on so I after I do that I have two options. Either add the vinyl stripe, or I have a friend that's an art major and insanely talented so she might be able to lay a pretty good stripe down the ridge. I'll figure that out while I'm redoing the brakes... :-\ Thanks for your help guys!!
 
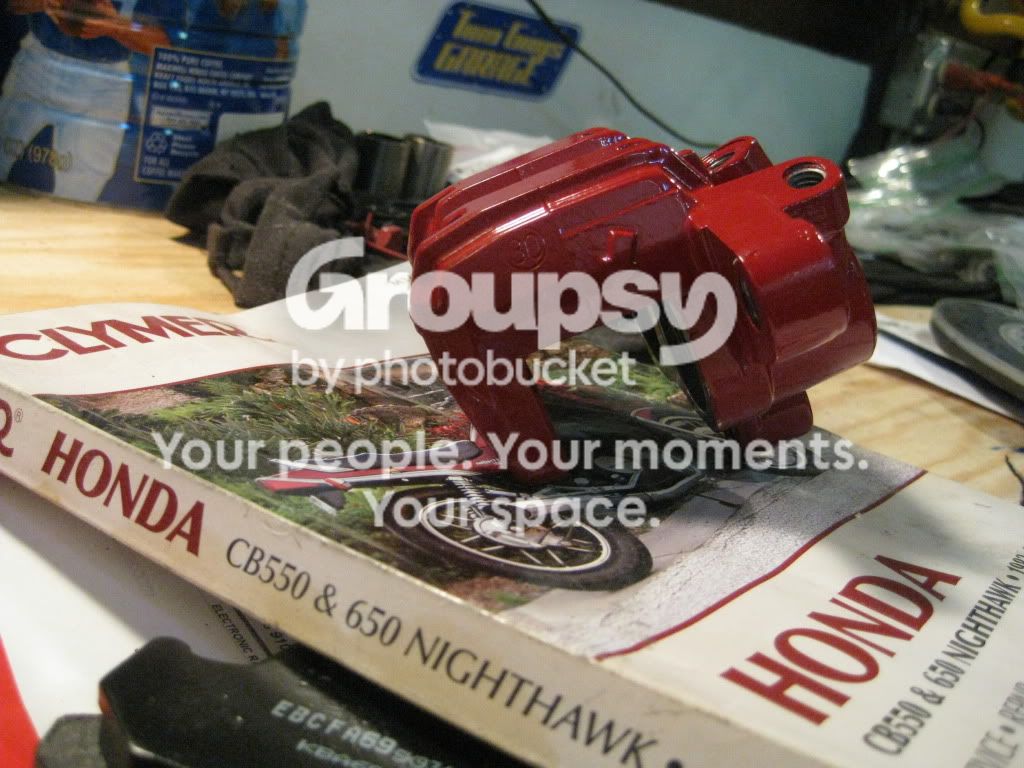
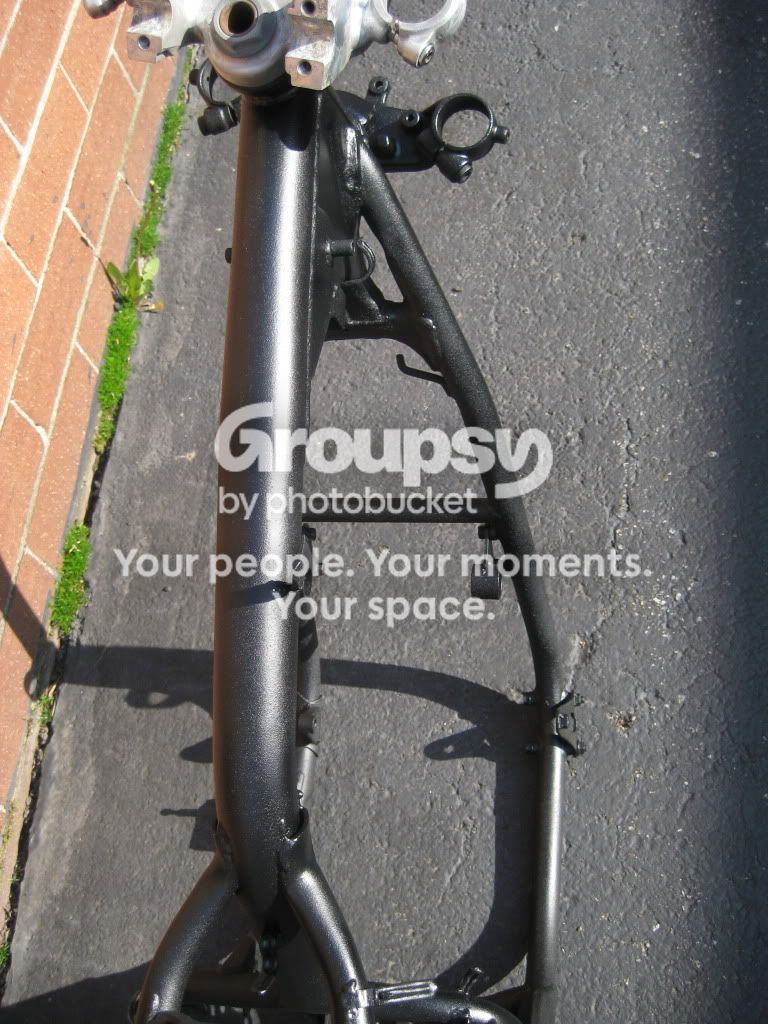
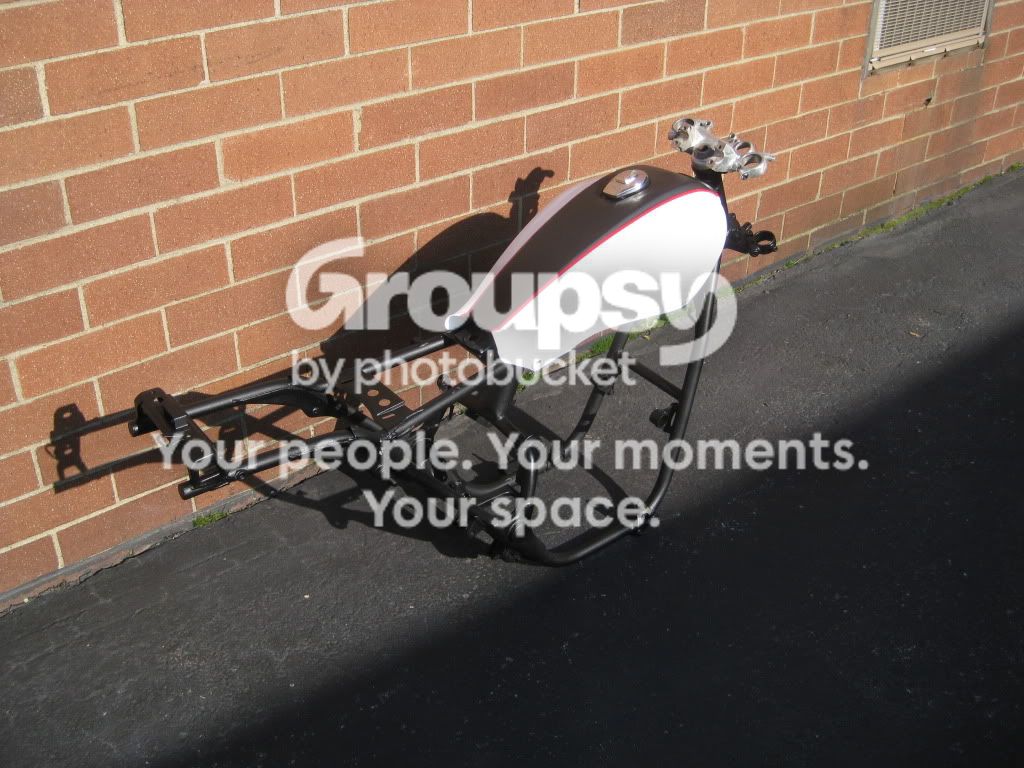
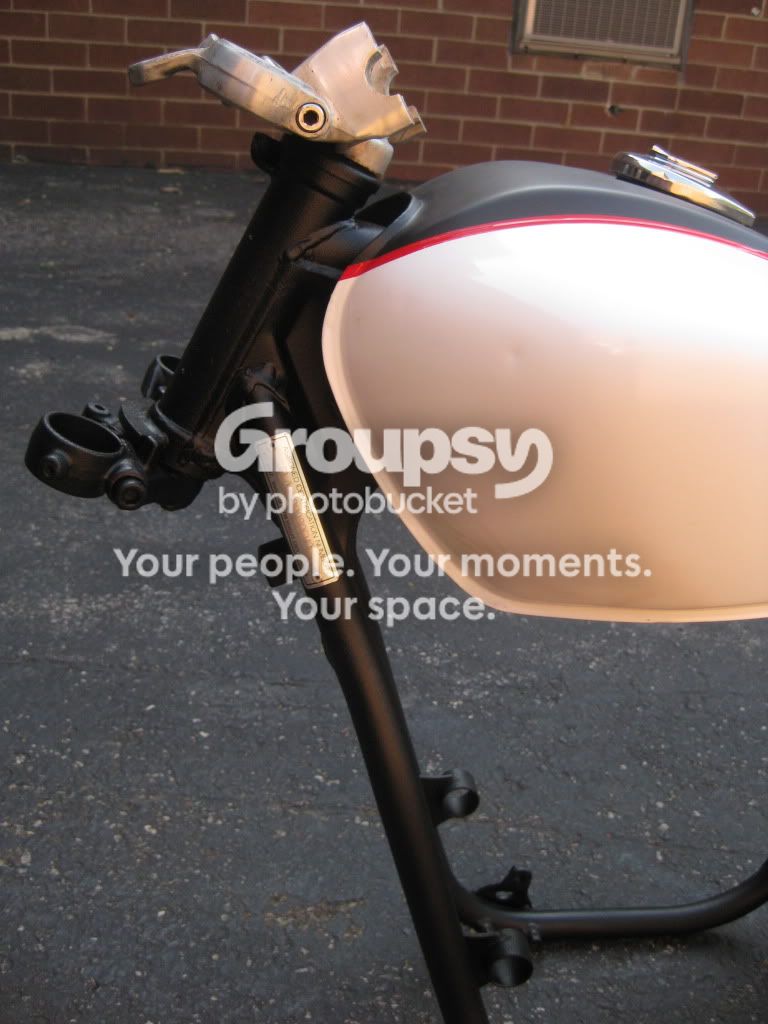
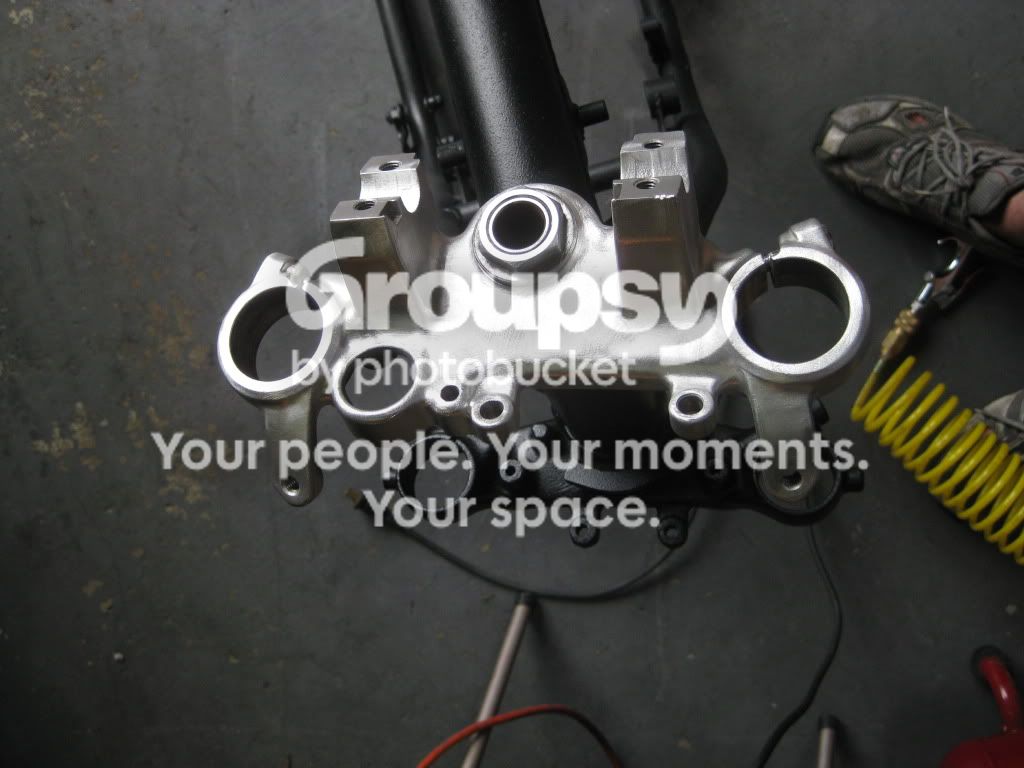
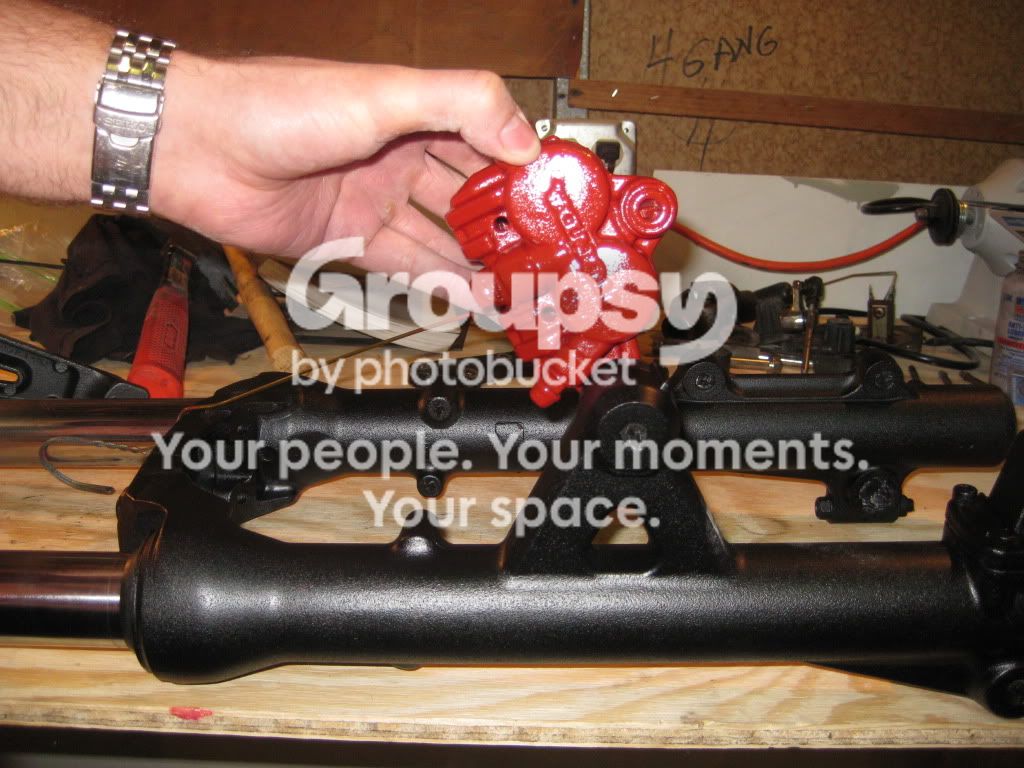
Ok, so a few weeks have gone by and I've completely disassembled my brake calipers, cleaned and sanded the bores and pistons, bought all new rubber boots and dust seals so when they go back together they will be brand new. I also followed some much needed advice and stripped and repainted them (correctly this time) and what a difference!!! Thanks to TwistedWheelz for all the help on those and tank!! Anyways, beyond gettin the calipers done right, I fixed the issue with the ridge between the two tone on the tank by putting a strip of red vinyl right on top of it and worked perfectly, tank came out really nice. After that, I stripped, sanded, primed and painted the frame which came out pretty sweet. I used the texturing technique on the frame that Ive been doing to everything else (minus the motor and tank) and it just looks SWEET in the sunlight, unfortunately the pictures dont really do it justice. Once the frame was done, I wire wheeled the top of the triple tree, cleaned up the forks, and ordered about $100 worth of parts. So while Im waiting for those to come in I just have to finish painting the headlight, fairings, and clean and wrap the exhaust. She's gettin close!!

I still need to paint the "Honda" part white, but you get it...
IMG_1425.jpg


IMG_1418.jpg


IMG_1422.jpg


IMG_1426.jpg


Finished frame
IMG_1375.jpg


IMG_1377.jpg


IMG_1379.jpg


IMG_1376.jpg


With finished tank...
IMG_1382.jpg


IMG_1383.jpg


With primed fairing
IMG_1387-1.jpg


IMG_1391-1.jpg


IMG_1391.jpg


IMG_1393.jpg


Before wire wheeling
IMG_1405.jpg


IMG_1408.jpg


After wire wheeling
IMG_1410.jpg


IMG_1411.jpg


IMG_1413.jpg


IMG_1414.jpg


IMG_1415.jpg


Thanks to everyone for their help!!
 
Damn!!! a million times better... Wow your caliper turned out great, it looks brand new. This went from 0 to 10... The stripe on the tank looks amazing as well, shows what a little extra effort does. I am sure you are proud of your results and you should be! Props man, I am glad you took the criticism positively... it is what this place is all about, pushing each other to build better bikes!
 
Back
Top Bottom