Building my own two-stroke "Mongrel" - Inspired by CharlieT & TedT

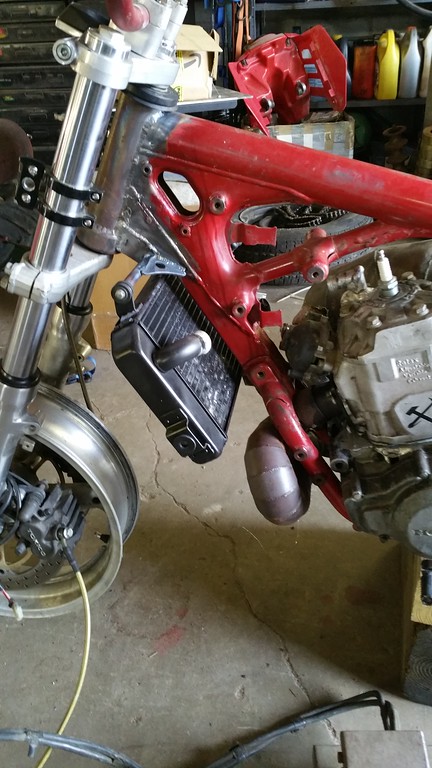
So I got the radiator about 75% mounted this afternoon. Weekend was shot to shit with work, so didn't get the hours I wanted on this project. Not really happy with how this is turning out so far. Going to finish it in the manner which I had planned and then re-evaluate.


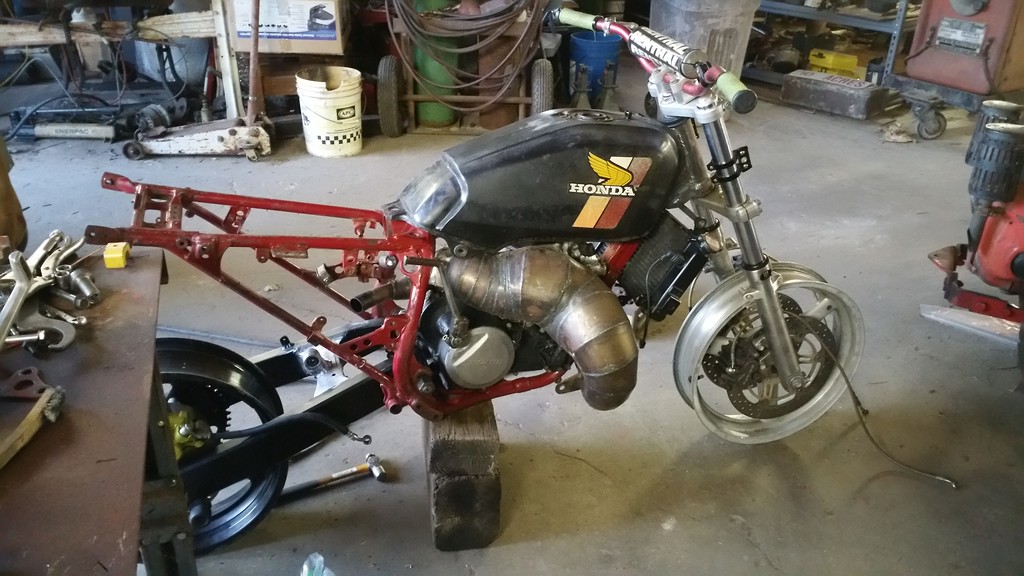
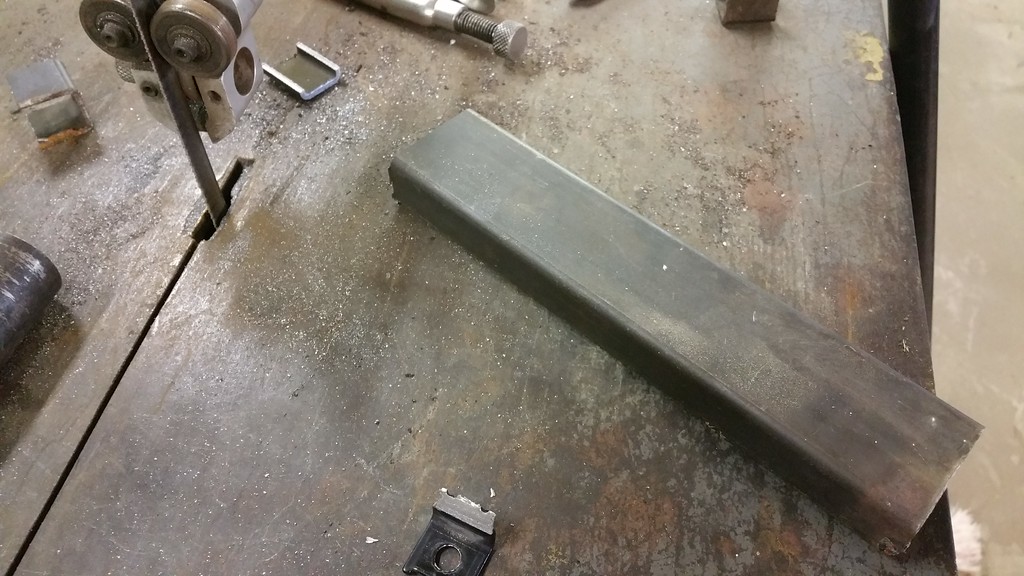
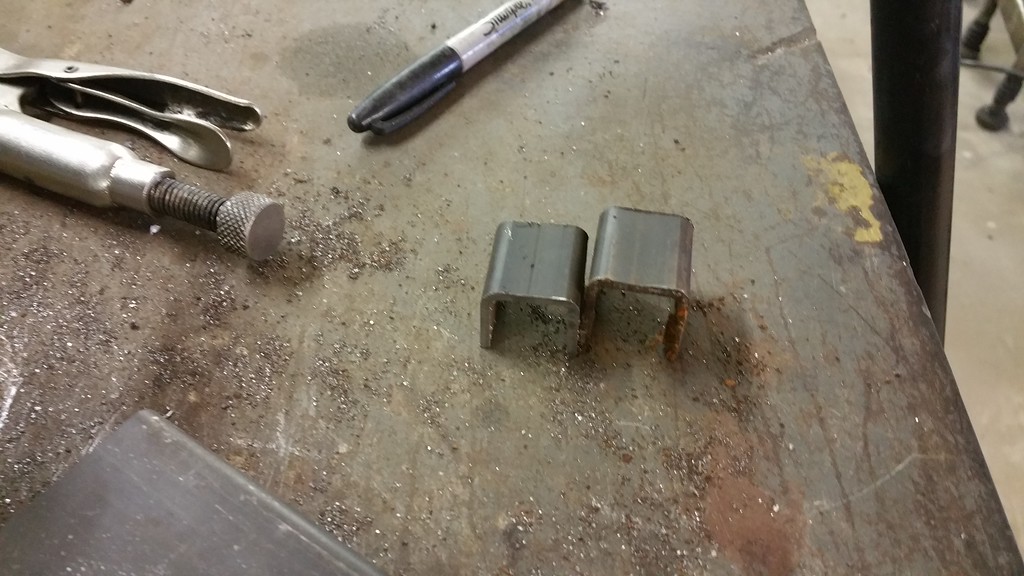
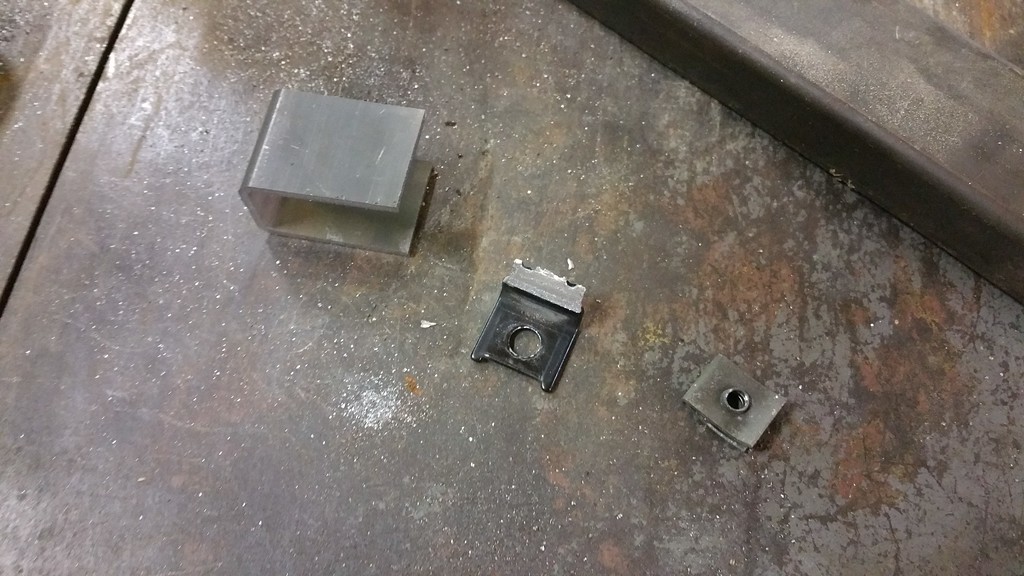
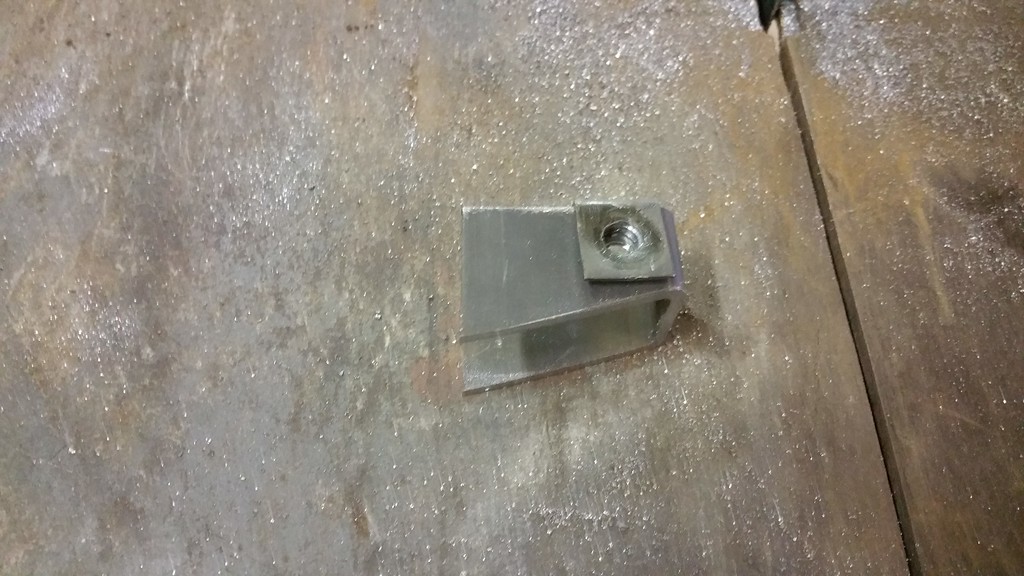
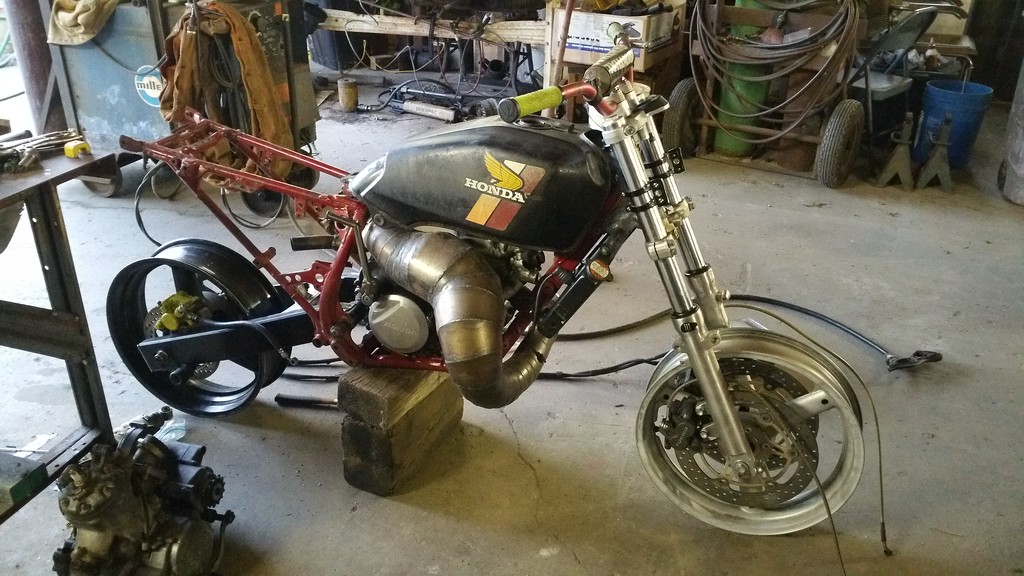
Basically I just have a piece of 1/2in cold roll that was tapped on the end and then welded to the frame for the radiator tabs to bolt to. I need to complete one for the bottom. The radiator will be inefficient in this configuration (leaning so much) but I am in a balancing act between room for the exhaust, keeping the radiator away from the heat of the exhaust, and keeping front wheel/tire clearance. My turning radius looks like it'll still be fairly decent.


Also took apart the 200X shock to put an eyeball on the internals about shortening it. This looks to be a bit different than others I have had apart where you can just put a spacer under the shim stack and seal head.


As you can see, thing is pretty fricken crusty. I gotta decide if that is the avenue I want to continue forward with, or not. The shortening of it is going to consist cutting the outer shock body shorter and cutting a new snap ring groove into it. Shouldn't be a terrible lathe job, but it a little bit tricky since the body has some protruding parts that don't think will fit in the 3-jaw chuck. I gotta put a new resivour hose on it also as it is all rotted and cracking up. So its at a cross roads of being parts only/experimentation or actually rebuilding the entire thing.

Having just went back and looked at my images again and thinking a bit, I don't see why I couldn't add a spacer between the exterior of the seal head, and the snap ring inside the outer shock body without having to lathe or cut anything that way....need to investigate a bit more thoroughly but that would be a simple enough solution.
 
Re: Building my own two-stroke "Mongrel" - Inspired by CharlieT & TedT

Don't have anything to add of any real meaning, besides that vice is awesome. We have a wilton about that size at school. I picked it up to set it on a table once and about "blew an o ring" if you know what I mean
 
Re: Building my own two-stroke "Mongrel" - Inspired by CharlieT & TedT

hurco550 said:
Don't have anything to add of any real meaning, besides that vice is awesome. We have a wilton about that size at school. I picked it up to set it on a table once and about "blew an o ring" if you know what I mean
Haha... Yeah that thing is a beast. Dad is in his 80s and pretty sure he bought it new back in the day. I'd love to find another that size. I have seen a few over the years but not many.

Sent from my SM-N910V using Tapatalk
 
Tank is going to need quite a little modifying to really fit and work right. I need to trim the bottom corner ears off where the side panels went on the Ascot originally. As a matter of necessity I need to cut the tunnel a little bit deeper, its kind of weird that it looks like when they formed the bottom half that one side didn't form all the way out, so its not the same depth evenly through. Maybe it was supposed to be that way. Also the back ear of the tank is really crusty so I'm going to cut it off and attempt a bronze tig weld of a new piece on. The tank has some rusty spots in the seems that concern me. So hopefully it is salvageable and will not pose any problems.

 
Re: Building my own two-stroke "Mongrel" - Inspired by CharlieT & TedT

BillyGoat4130 said:
Haha... Yeah that thing is a beast. Dad is in his 80s and pretty sure he bought it new back in the day. I'd love to find another that size. I have seen a few over the years but not many.

Sent from my SM-N910V using Tapatalk
ee55e566515ddd2f4f511eaf35b79210.jpg
 
Re: Building my own two-stroke "Mongrel" - Inspired by CharlieT & TedT

BillyGoat4130 said:
Man, i thought ours had a rough looking life!
We always say, if you want to test a piece of equipment, give it to high school kids and see how it holds up
 
Re: Building my own two-stroke "Mongrel" - Inspired by CharlieT & TedT

Looks like it had a previous life

4f3b9a1cbfcd2afe431682dbf7fad607.jpg


Sent from my iPhone using DO THE TON
 
Re: Building my own two-stroke "Mongrel" - Inspired by CharlieT & TedT

So plan this weekend is to finish the radiator mounting and get the tank closer to being finished. It has a few dents on it I need to fill. Never been a fan of body putty so I intend to use brass as filler. Not much to do luckily.

Sent from my SM-N910V using Tapatalk


My new stainless steel expansion chamber. Laser cut by a friend of mine in Germany and shipped over. He was able to laser etch each individual section so it is easy to keep track of in the build process. Its like 55~ pieces. The stainless was then annealed so it will roll and form better. He actually did these for me the same time I had the mild steel pieces for the first pipe, and I've had them stashed away ever since. Fun tidbit, the customs declaration said "sheet metal puzzle" on it...lol ;D


Below is an image of when I built the mild-steel one. You can see how labeling each individual section after they are rolled and have the seams welded would be helpful to organizing and keeping them in the right order.

 
Re: Building my own two-stroke "Mongrel" - Inspired by CharlieT & TedT

clem said:
What do you use to layout your cones?

Sent from my SAMSUNG-SM-G920A using DO THE TON mobile app

https://www.conelayout.com/

And then export to 2d .dxf format. You can also print on 8.5x11 paper sections (It automates the determining of multiple sheets needed to template the pattern even). Great program, works good for megaphones and pretty much anything sheet metal cone related.


For the actual exhaust Parameters I used the software at www.buildandclick.com and was very happy with it originally. Since then it has not worked since a windows 10 upgrade and the developer has not responded to email support requests which is most disappointing as I wanted to utilize it to design something a bit more perhaps road-friendly pipe for this engine but I may have to look at other alternatives.
 
Re: Building my own two-stroke "Mongrel" - Inspired by CharlieT & TedT

jag767 said:
Of course it is. Shit adds up fast man.
As soon as you get away from the eBay and Princess Auto stuff, real parts add up really fast. A set of good rear shocks can be $1000. Actually I measure any part I touch as a $1000 minimum. A set of untuned Keihin carbs- $1000. Wheels and tires- $1000. Motor rebuild- $1000...

The last one assumes a proper motor rebuild, not just gaskets and paint, and calling that "rebuilt".
 
redwillissuperman said:
As soon as you get away from the eBay and Princess Auto stuff, real parts add up really fast. A set of good rear shocks can be $1000. Actually I measure any part I touch as a $1000 minimum. A set of untuned Keihin carbs- $1000. Wheels and tires- $1000. Motor rebuild- $1000...

The last one assumes a proper motor rebuild, not just gaskets and paint, and calling that "rebuilt".
Exactly. Custom stainless exhaust, $1200, nice tank paint $500+.......


Sent from my iPhone using Tapatalk
 
Re: Building my own two-stroke "Mongrel" - Inspired by CharlieT & TedT

redwillissuperman said:
As soon as you get away from the eBay and Princess Auto stuff, real parts add up really fast. A set of good rear shocks can be $1000. Actually I measure any part I touch as a $1000 minimum. A set of untuned Keihin carbs- $1000. Wheels and tires- $1000. Motor rebuild- $1000...

The last one assumes a proper motor rebuild, not just gaskets and paint, and calling that "rebuilt".

Again, don't wanna go off topic in a great build, but, yea, pretty much.
 
Building a bottom radiator mount. Stared at this thing about 45 min this afternoon and came up with the idea to use piece of modified square tubing with a nut welded in it for the mount. Then about half way through I came up with a better idea.


Starting material, 095 4130 in 1x2 configuration. This was from a short drop under the band saw left over from when I was building some swing arms a few years ago. Don't ever throw away material!

My plan was to cut some pieces off, drill a hole for a bolt to come into, and weld a nut on the inside of the webbing for the bolt to thread into. First two tries were too short...


Was cutting a 3rd one and realized, hey, why dont I recycle one of those flat nuts off of the fan mount tabs I had to remove from the radiator before? Will save me from having to weld a nut onto the inside and it'll be lighter weight... ;D


Center punched a hole, drilled it with a uni bit, slid the flat nut over the hole, peened it with a punch to roll the edges in a bit to secure it to the part. Quite a little vise-grip massaging to make it refit the much thicker material than what it was on, also.


Took a straight edge and drew a line to cut off some unnecessary material, trim it up and make it not quite so squared off. Back into the band saw again...

 
Added some neato triangle gusset tabs to the cold roll for the top mounts, and also welded the square tubing mount to the frame so the bottom mount is now secured. I have to put a pass on the opposite side's leg when I take the motor out and pull the whole thing back apart, too much of a pain to worry with now.


So the radiator mounting is pretty much done. Now I get to tinker with the gas tank a bit more...
 
Back
Top Bottom