BillyGoat4130
Been Around the Block
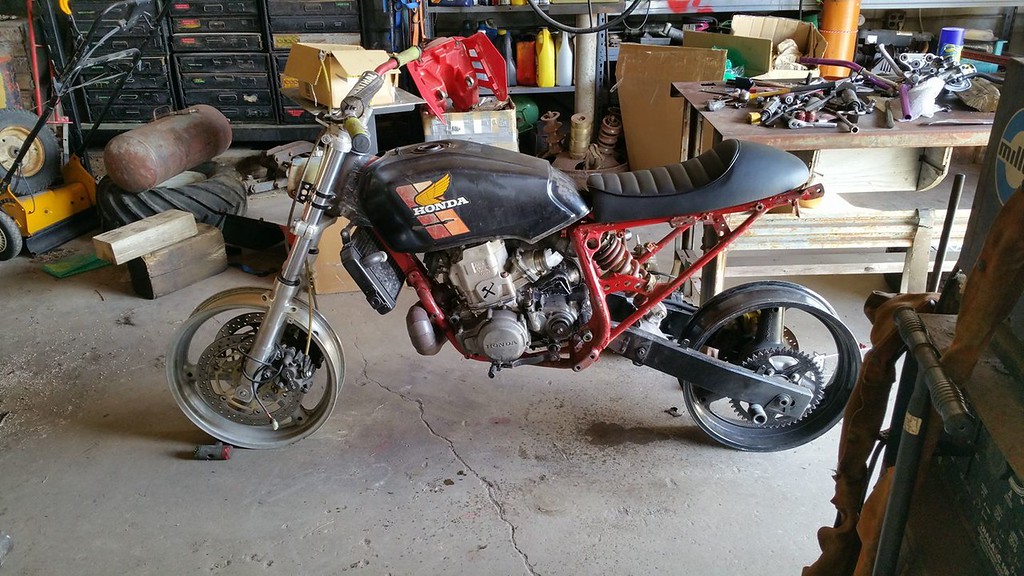
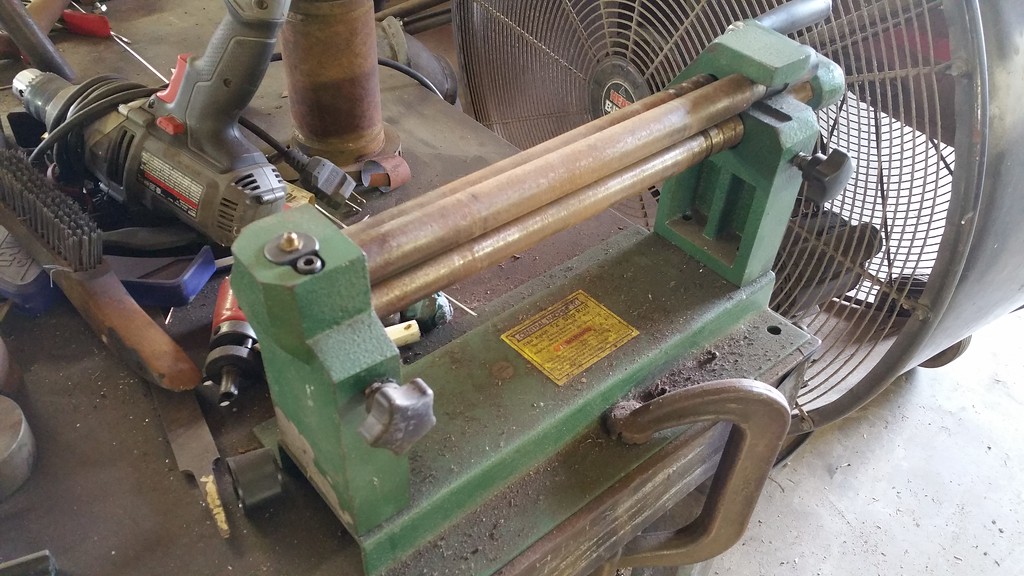
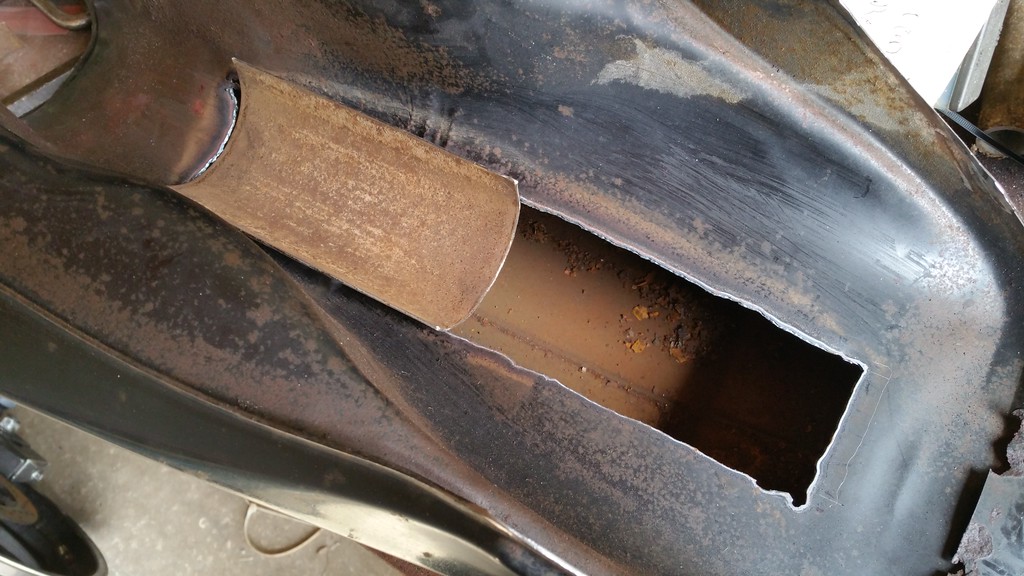
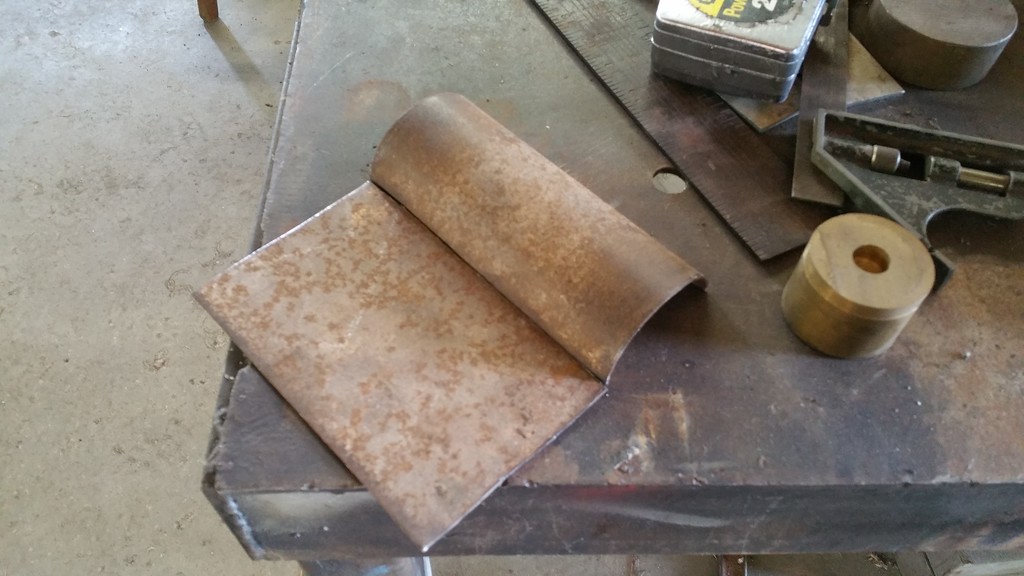
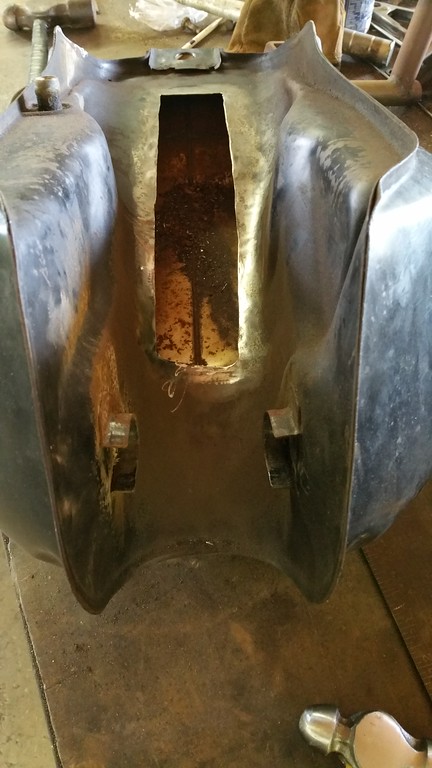
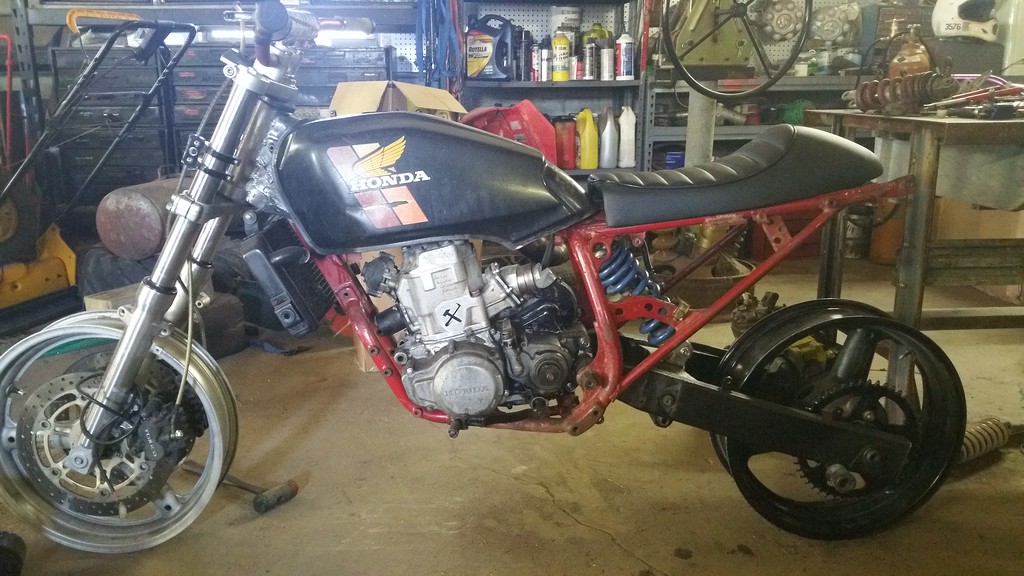
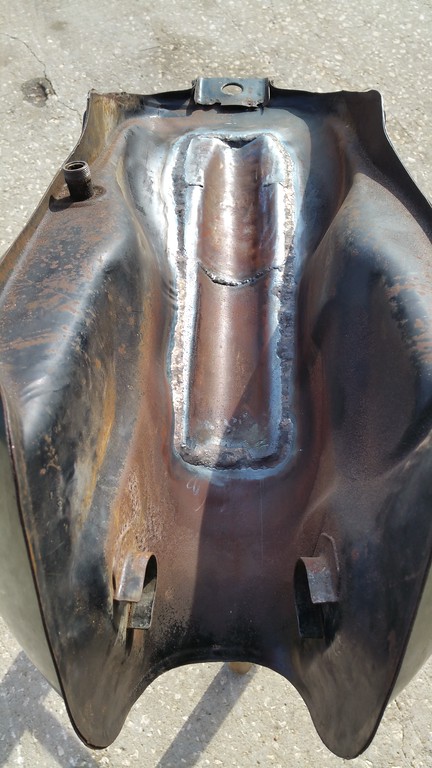
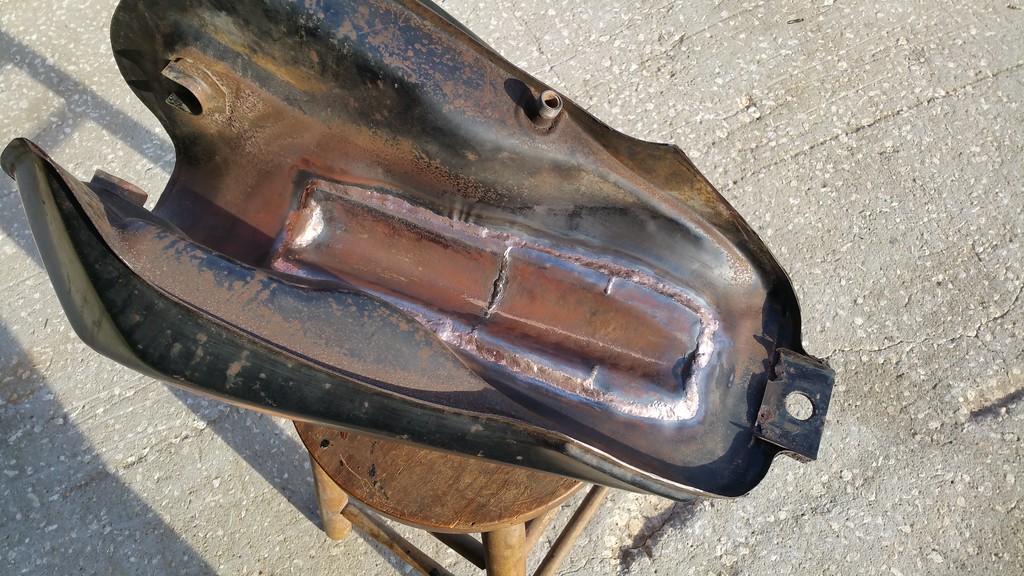
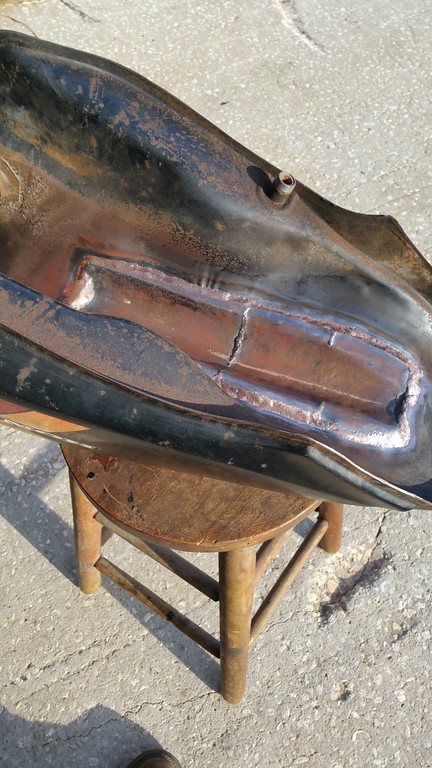
Well I got the front tank mounts figured out a lot simpler and easier than I anticipated and was able to recycle 2 of the top original radiator mounts with a little creative thinking. I was able to cut a small bushing to fit inside the tank rubber grommets and then flip them upside down where they had a concave side, and use a hex bolt to bolt it to the frame, and keep the hex headed bolt from protruding out past the round grommet, so it fits the tank really nicely without rubbing metal to metal there. I had to narrow up the grommets on the belt sander a little also, but hey, that saved me from having to machine and weld anything else onto the frame there in the front. Down side is, when I had done some mock up before I had raised the front of the tank to level out the look a little bit, as you can see its got a front ward slope now. I still need to make a mount for the back, but the back will be a hair bit higher than as pictured to keep from metal to metal contact.
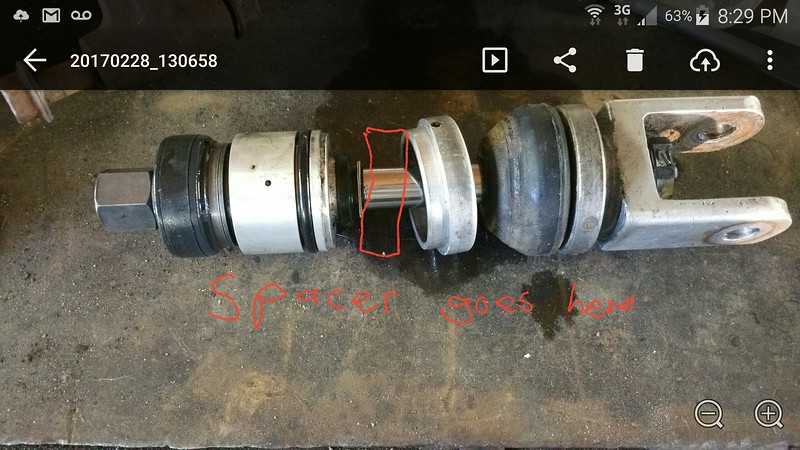
New seal head for the 200X shock should be here in a day or two, and then I can try assembling it back together with fresh oil and nitrogen after installing a shortening bushing. The thing does not have a lot of travel to begin with so I am a little nervous in shortening it up even more, but maybe I'll spring for a $800 custom shock in the future for it. The 200X shock is from a linkage-less application also originally and a bike that weighed 282lbs so should be very comparable application except the swingarm is probably 2 inches longer from pivot to axle.
Thought/idea requesting feedback: Rather than doing a shit ton of metal work to the back of that tank and making to flow into the seat lines, I have the original ft500 ascot seat still somewhere in my barn. Do you guys think it'd be a good idea to try utilizing it to match those back lines, and then have it reshaped into the hump similar to the I've been using for mockup/idea? I love how that one is shaped, but can't decide if the match up to the tank is something I can live with, or it needs matched up better...
This is an FT500 Ascot seat to give you an idea of what the front corners and front edge would look like matched to the tank; http://www.ebay.com/itm/82-Honda-FT-500-FT500-Ascot-seat-/311606192129?hash=item488d2d2801:g:K7wAAOSwYmZXKxsO&vxp=mtr
")