treitz
Over 1,000 Posts
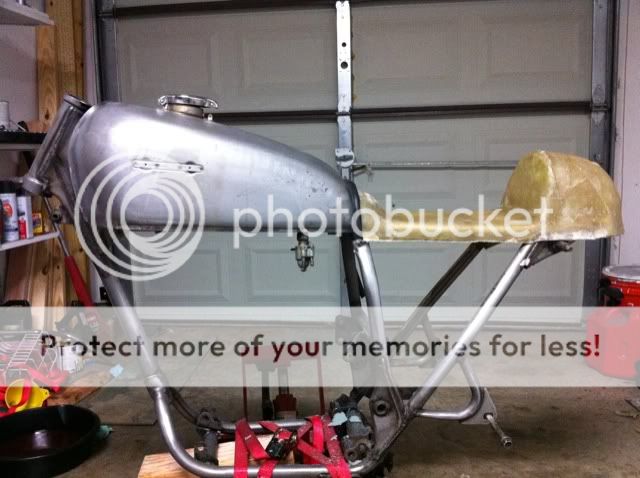
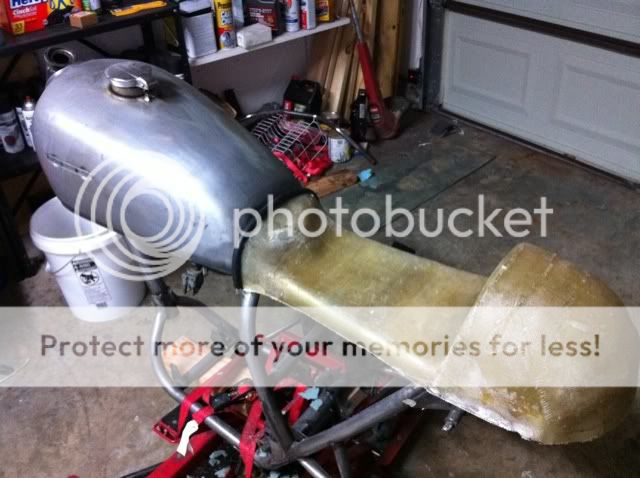
Re: Winston: My CB360 Project (new fiberglass seat)
Alright glad I didn't get him in too much trouble! Keep up the good work. I love watching fast builds like yours!
kzpokey said:LOL...that's really funny. I owe a lot of kudos to cafematty for all his help...so he's not in the dog house...yet
Also, great to see another lady on the forum! Are you working on a bike right now?
")
Alright glad I didn't get him in too much trouble! Keep up the good work. I love watching fast builds like yours!