Follow along with the video below to see how to install our site as a web app on your home screen.
Note: This feature currently requires accessing the site using the built-in Safari browser.
We noticed you are blocking ads. DO THE TON only works with community supporters. Most are active members of the site with small businesses. Please consider disabling your ad blocking tool and checking out the businesses that help keep our site up and free.
I started this project and posted a build thread a few months back. Then the summer came and my update slowed to a halt. So here is take two for my build thread...
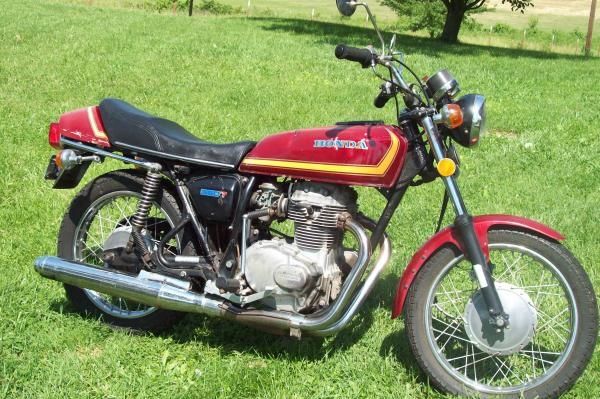
I picked up this rusty, non-running cj360t for $200 in the beginning of summer. After a few hours of cleaning/tinkering and a battery it fired up. I drove it around the driveway, then started stripping it down.
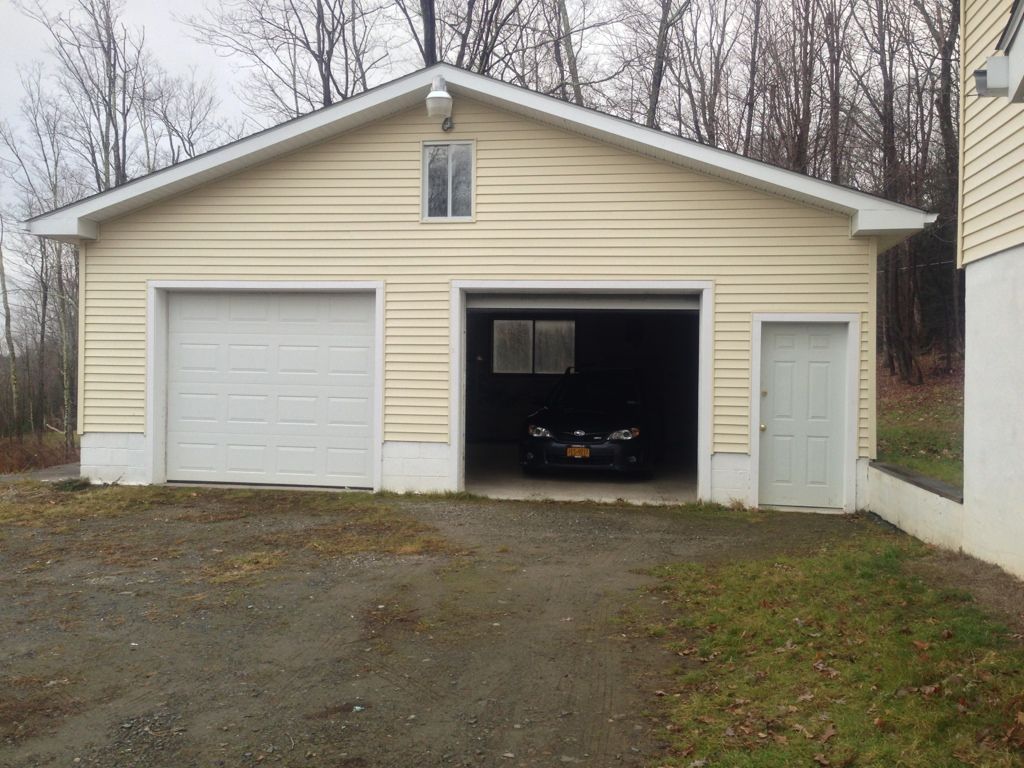
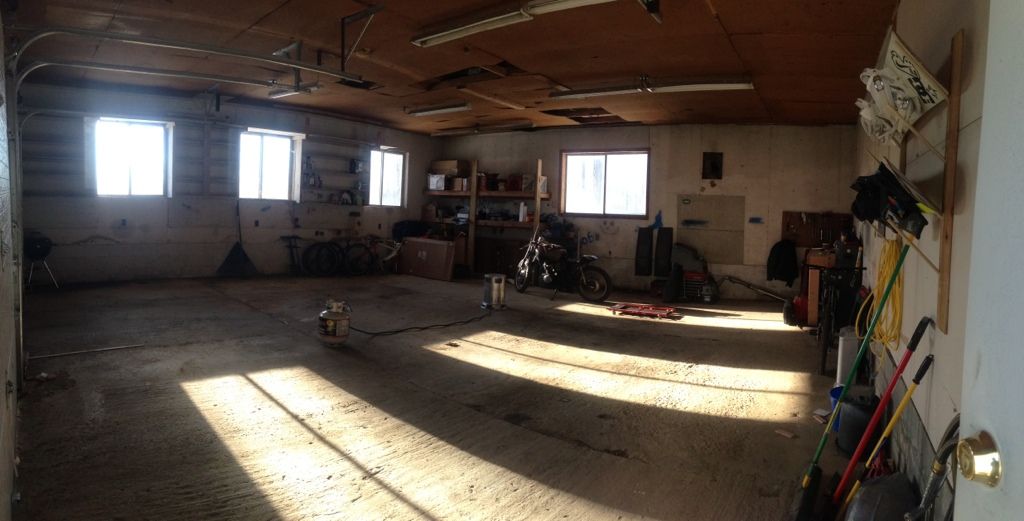
After shaving some weight off the frame it was ready for metal work. Also not my crappy little temp workshop! Moving from a ok house with a nice garage to a nice house with no garage is a strange transition..
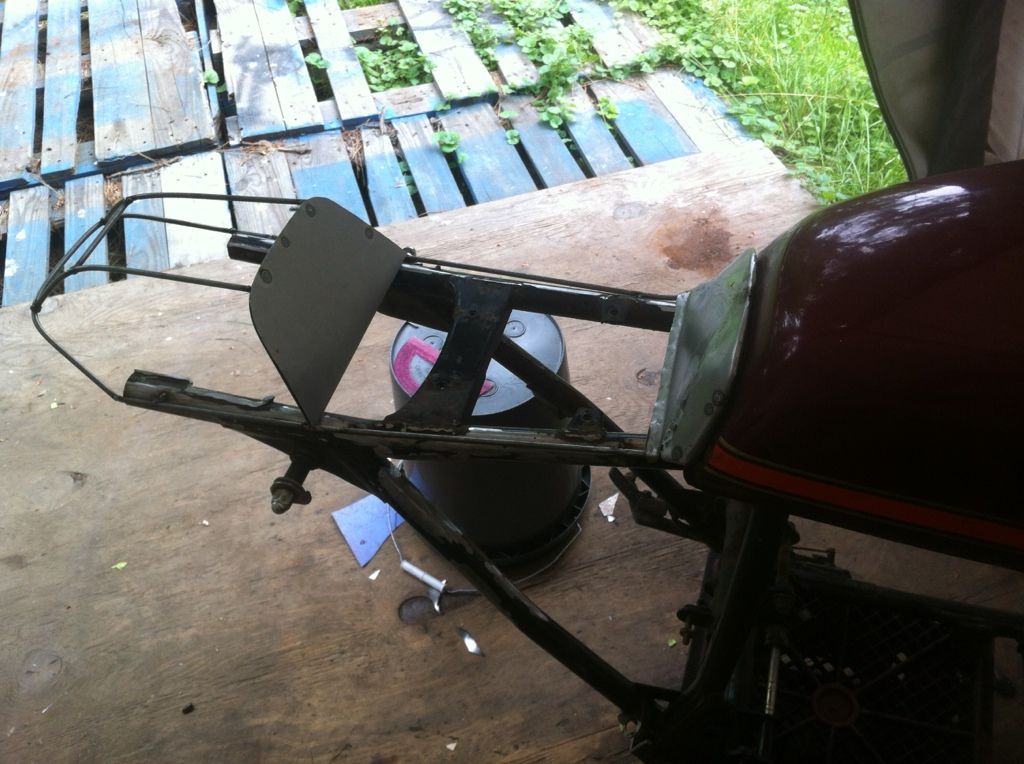
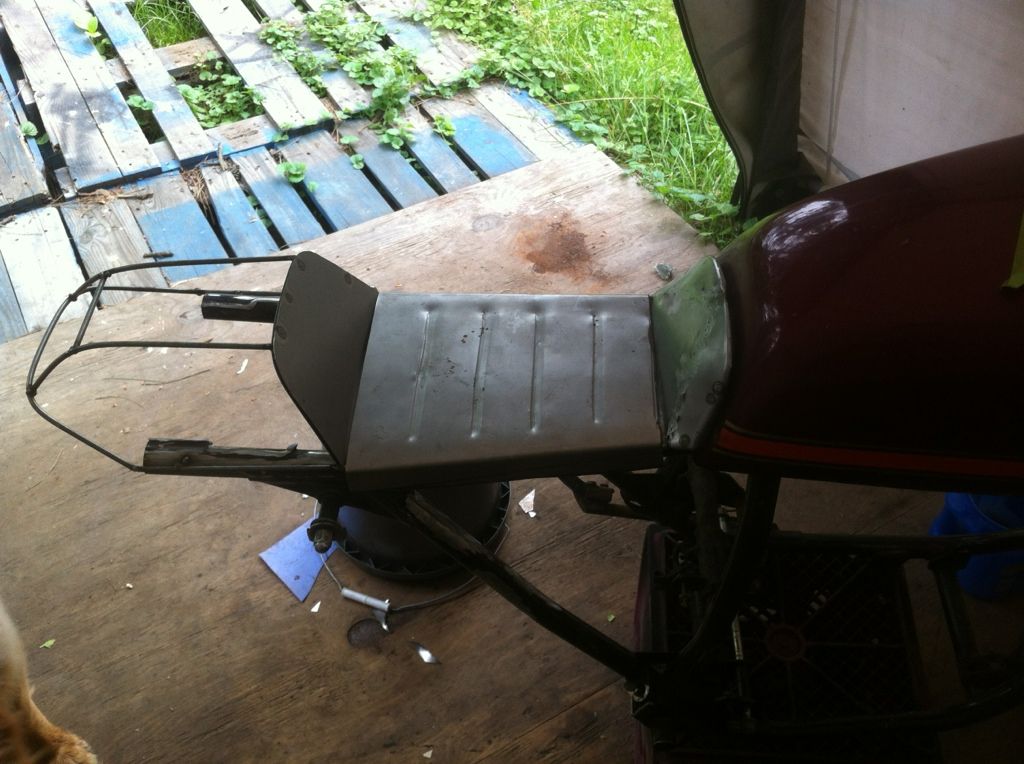
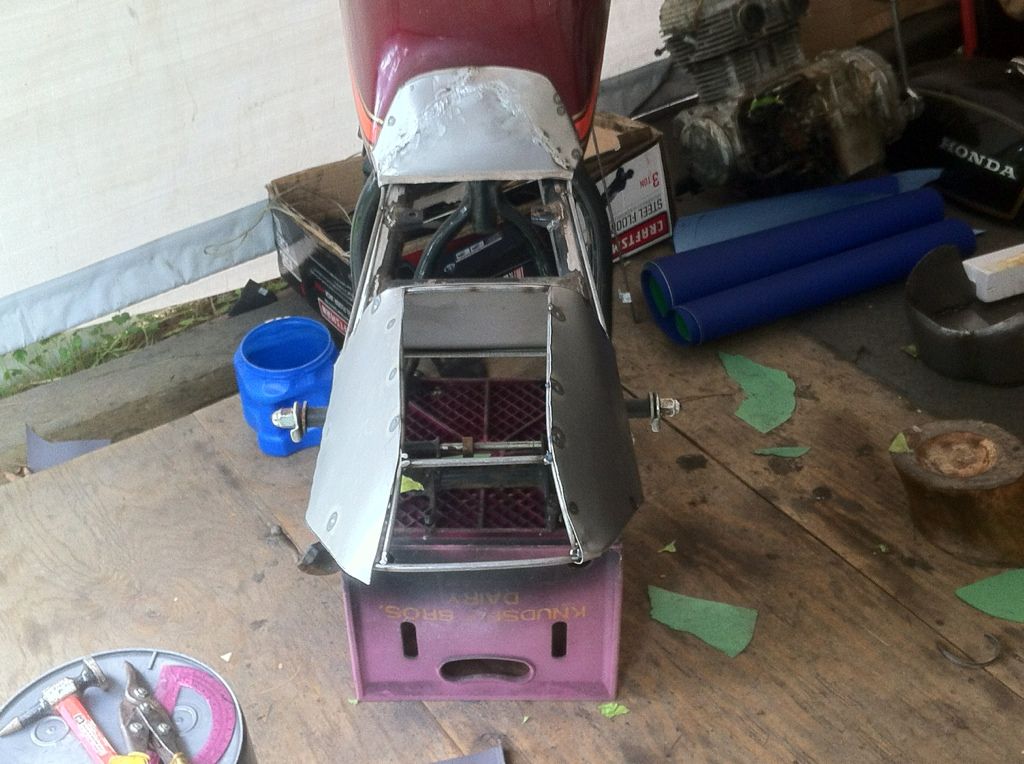
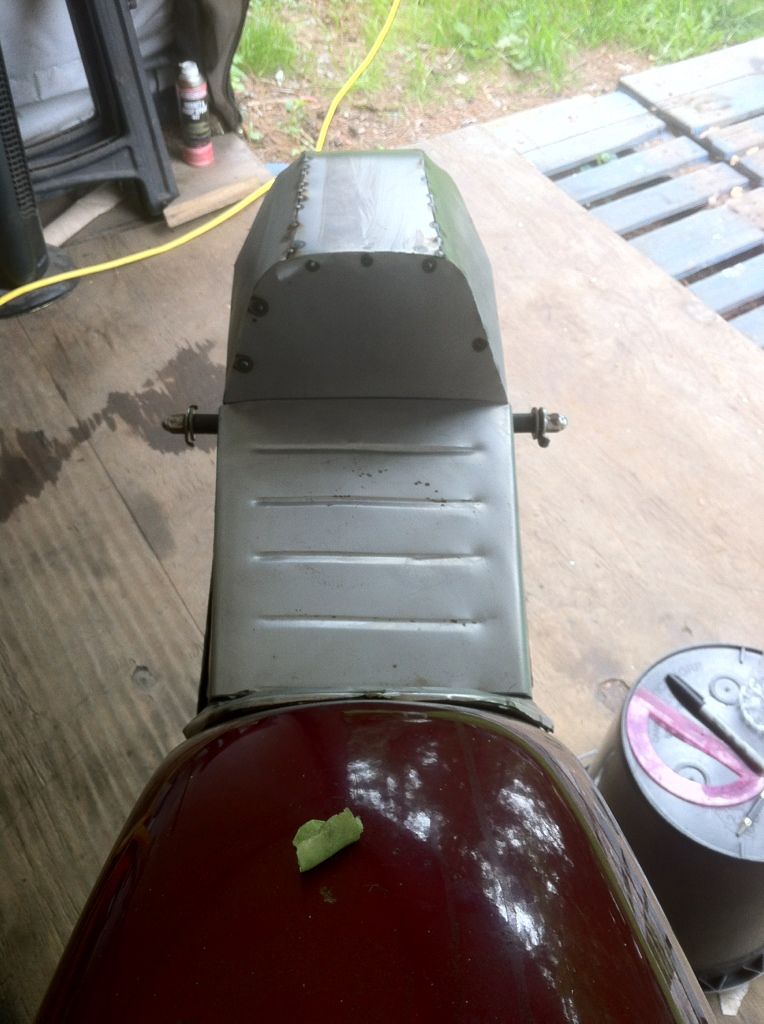
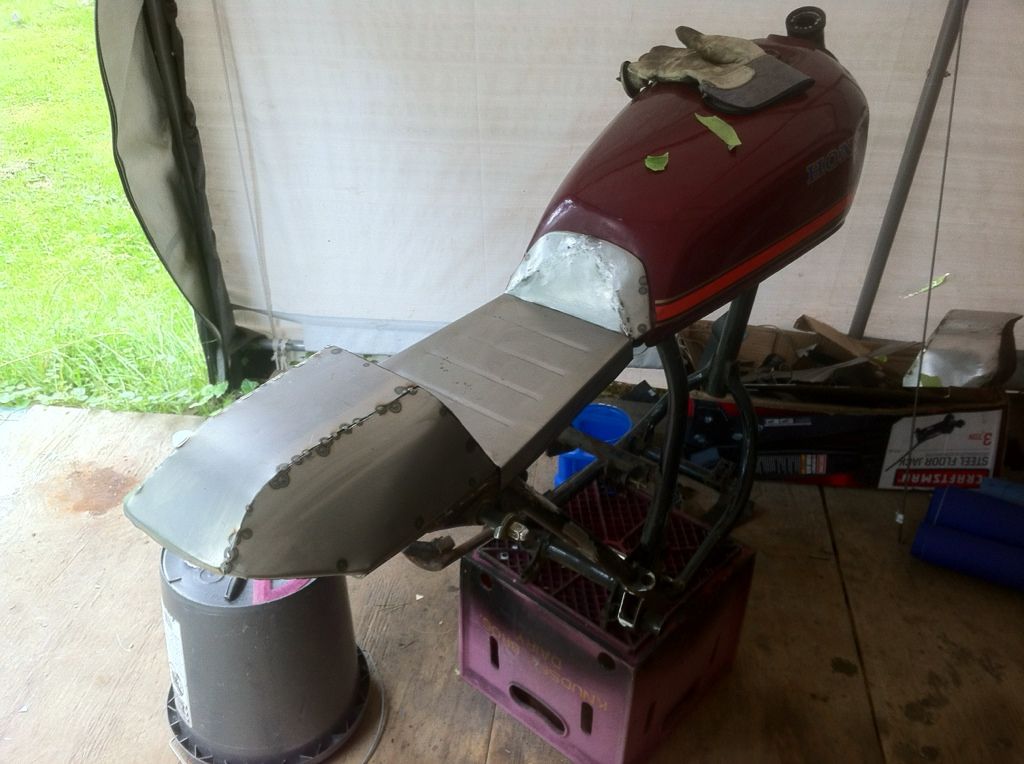
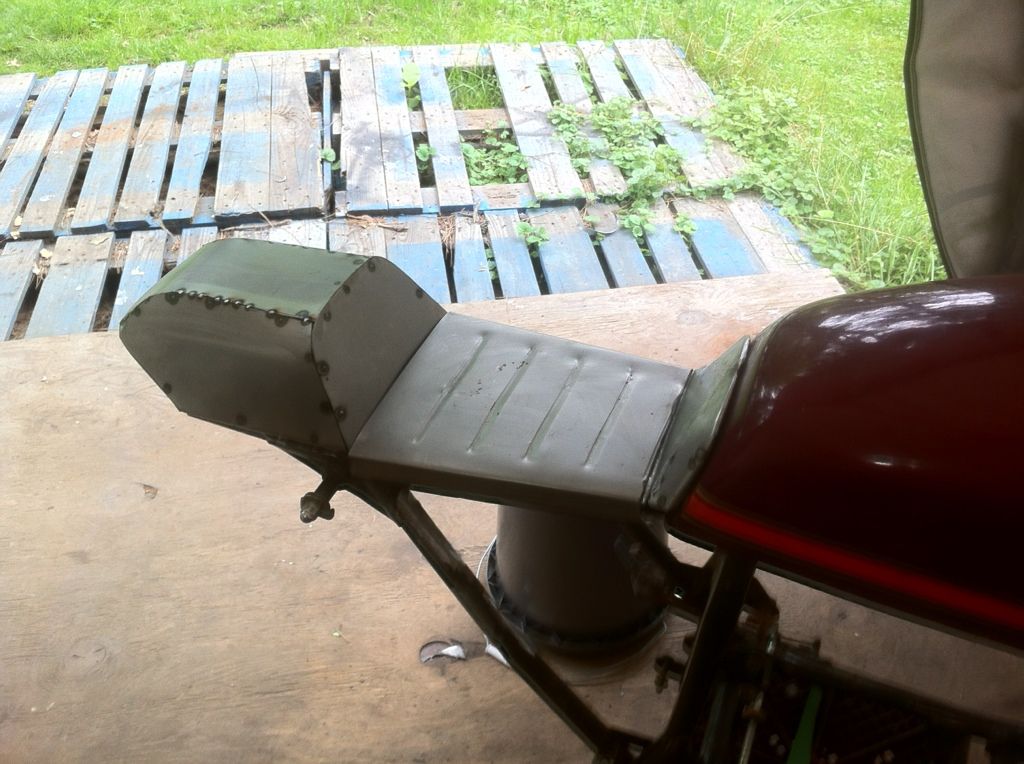
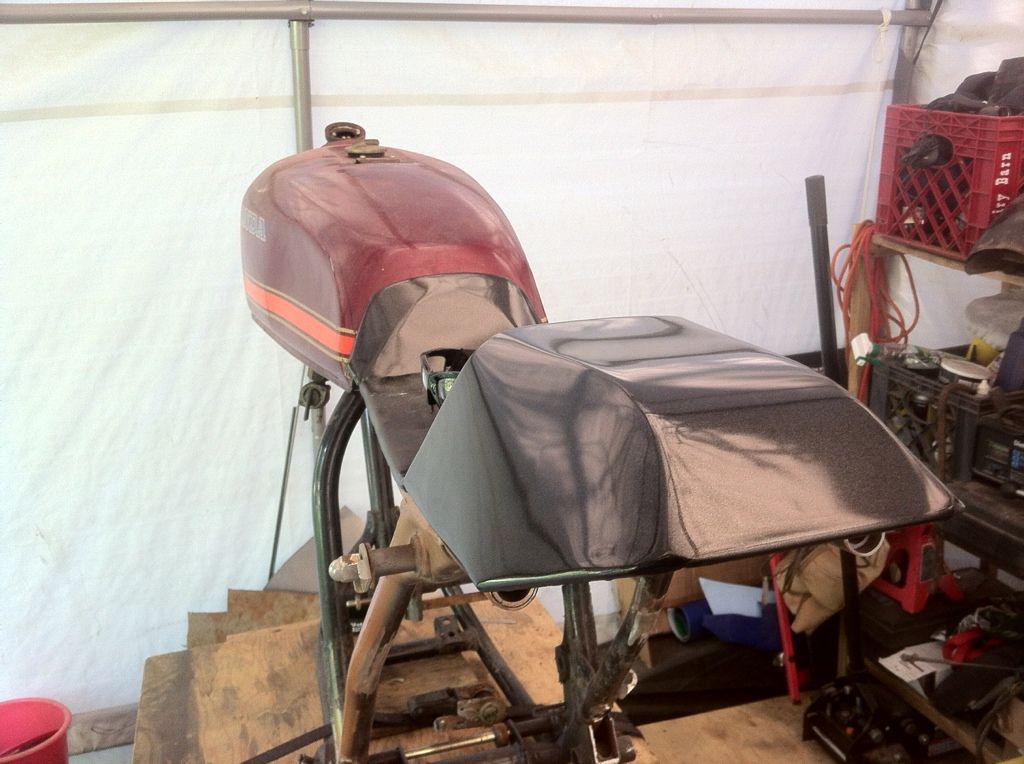
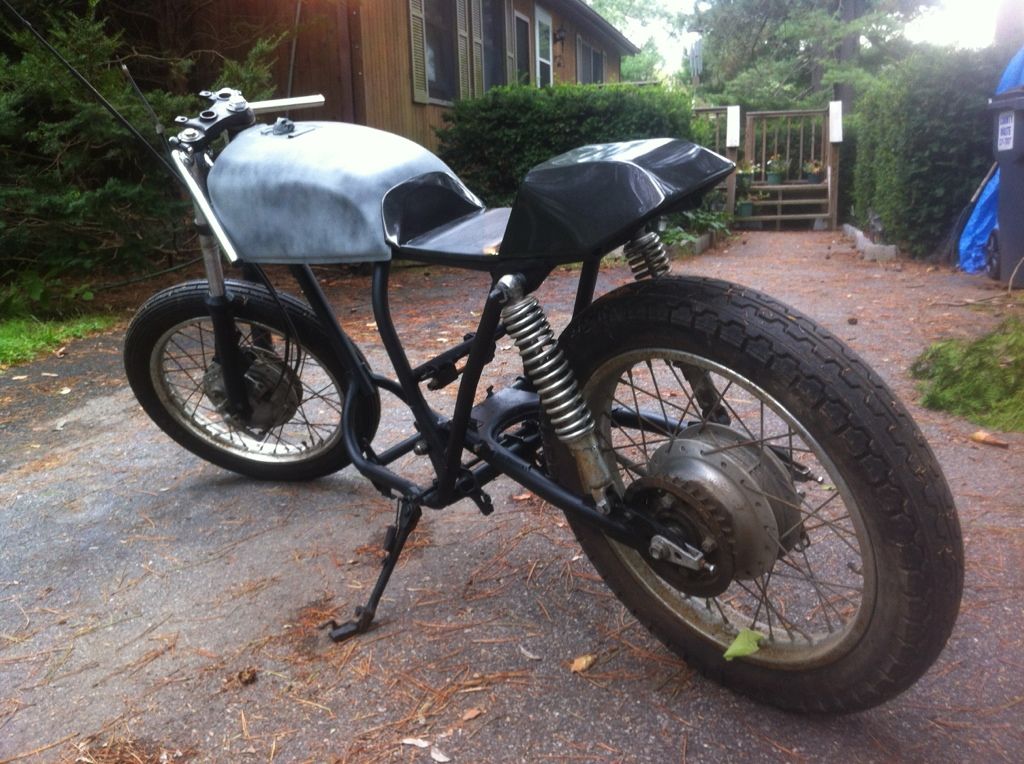
Next I fiddled around with some different ideas for a seat cowl. I wanted something a little different than the traditional round hump, I'm happy with the results. Here was the build process.
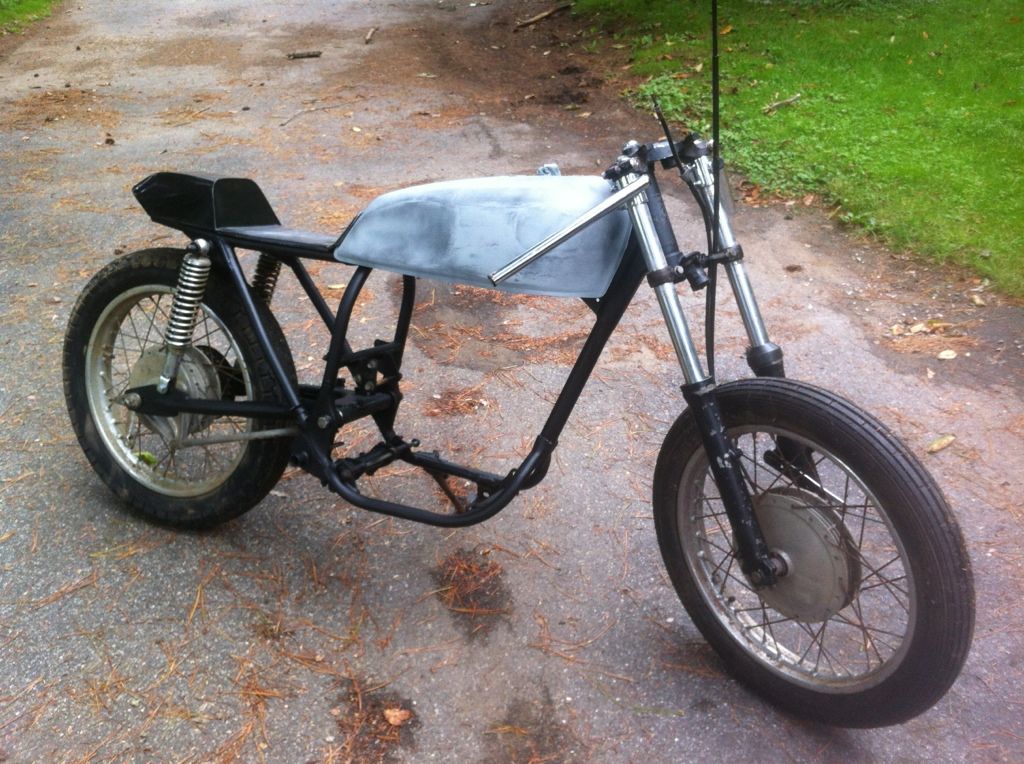
The next steps were pretty self explanatory. Dent and smooth tank (there was also a good size dent to be puled), smooth and paint frame and weld in battery tray.
I will post some finished pics of the battery tray and hold down soon. I also welded in a tray under the seat area to house electrical components.
It does look great. you may consider adding a stiffener between the frame rails at rear shocks. most guys do the hoops for cafes, I added a heavy piece of bent flat stock, doubles as a seat support for my brat style seat.
Bookmarked!
Great job on the seat! Looks great!
I have to second what Trek97 said. You should have something to tie the 2 frame rails together to add some stiffness to the frame.
Great job on the seat! Looks great!
I have to second what Trek97 said. You should have something to tie the 2 frame rails together to add some stiffness to the frame.
Thanks for the input. There is a stock crossmember there right now, and I also have something planned to tie the ends together and also support the taillight.
The build was temporarily put on hold while I moved into the new house during December. This project was born in a temporary garage. (You can see tell in a few of the progress pics lol) needless to say its hard to produce good work in that space. But good news is the bike is in its new home with a little extra room to work..
Current task is wiring. I'm debating weather to modify stock or make a custom harness...
Yep '12 WRX, I had just pulled it in to fo an oil change, install some RA mud flaps and a JNA lip. I'm on nasioc with the same name. The garage sold me on the house lol. Always good to meet a fellow subaru guy!
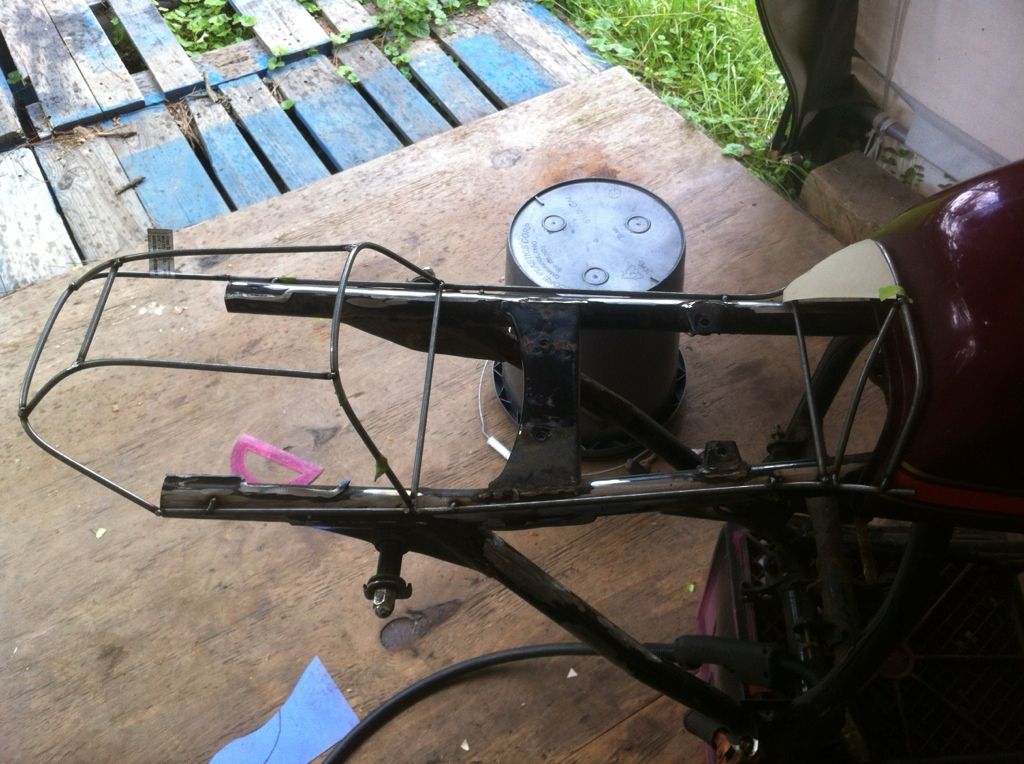
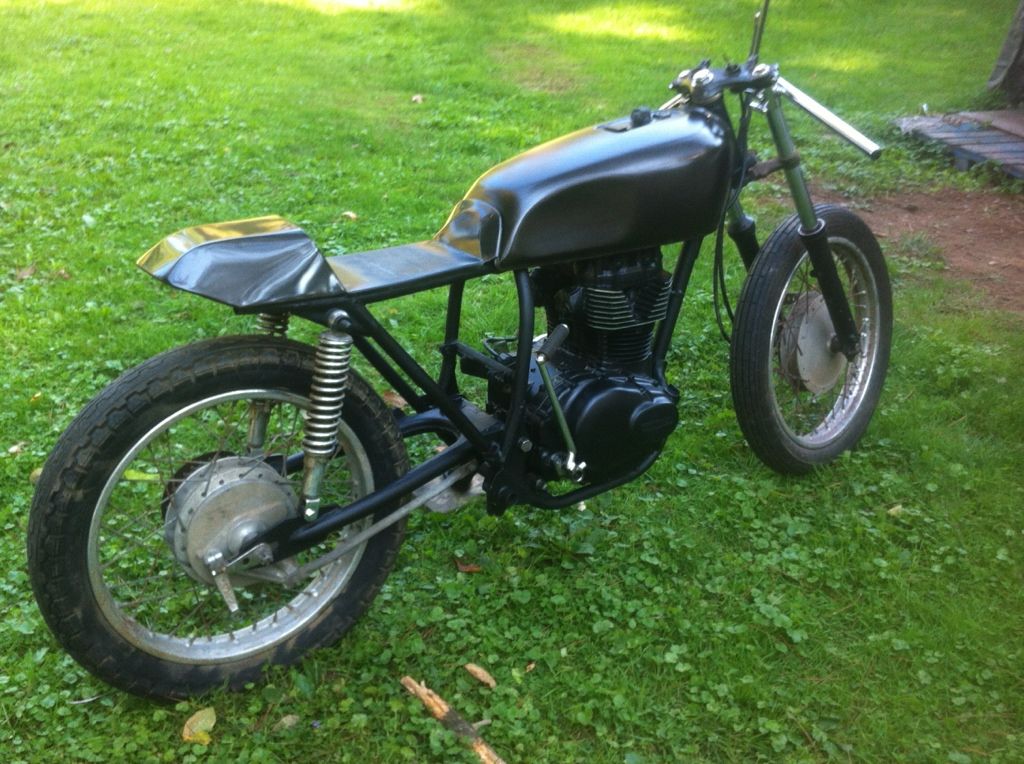
Now that I'm all cozy in the new place it's back to work. I needed to tie the rear frame rails together, but I didn't want the traditional style hoop with the tail I made. Unfortunately, I don't own a pipe bender yet. But I did have a plan.
I started with one of the rear peg mounts that I had lopped off the frame, and cut it in half in the middle of the bend. I adjusted the angle of the cuts until they sat the way I wanted. Next I cut each piece to the right length. Then welded to two pieces together, and welded to the frame. Strong, subtle and free. I'm happy with it.
This site uses cookies to help personalise content, tailor your experience and to keep you logged in if you register.
By continuing to use this site, you are consenting to our use of cookies.


")